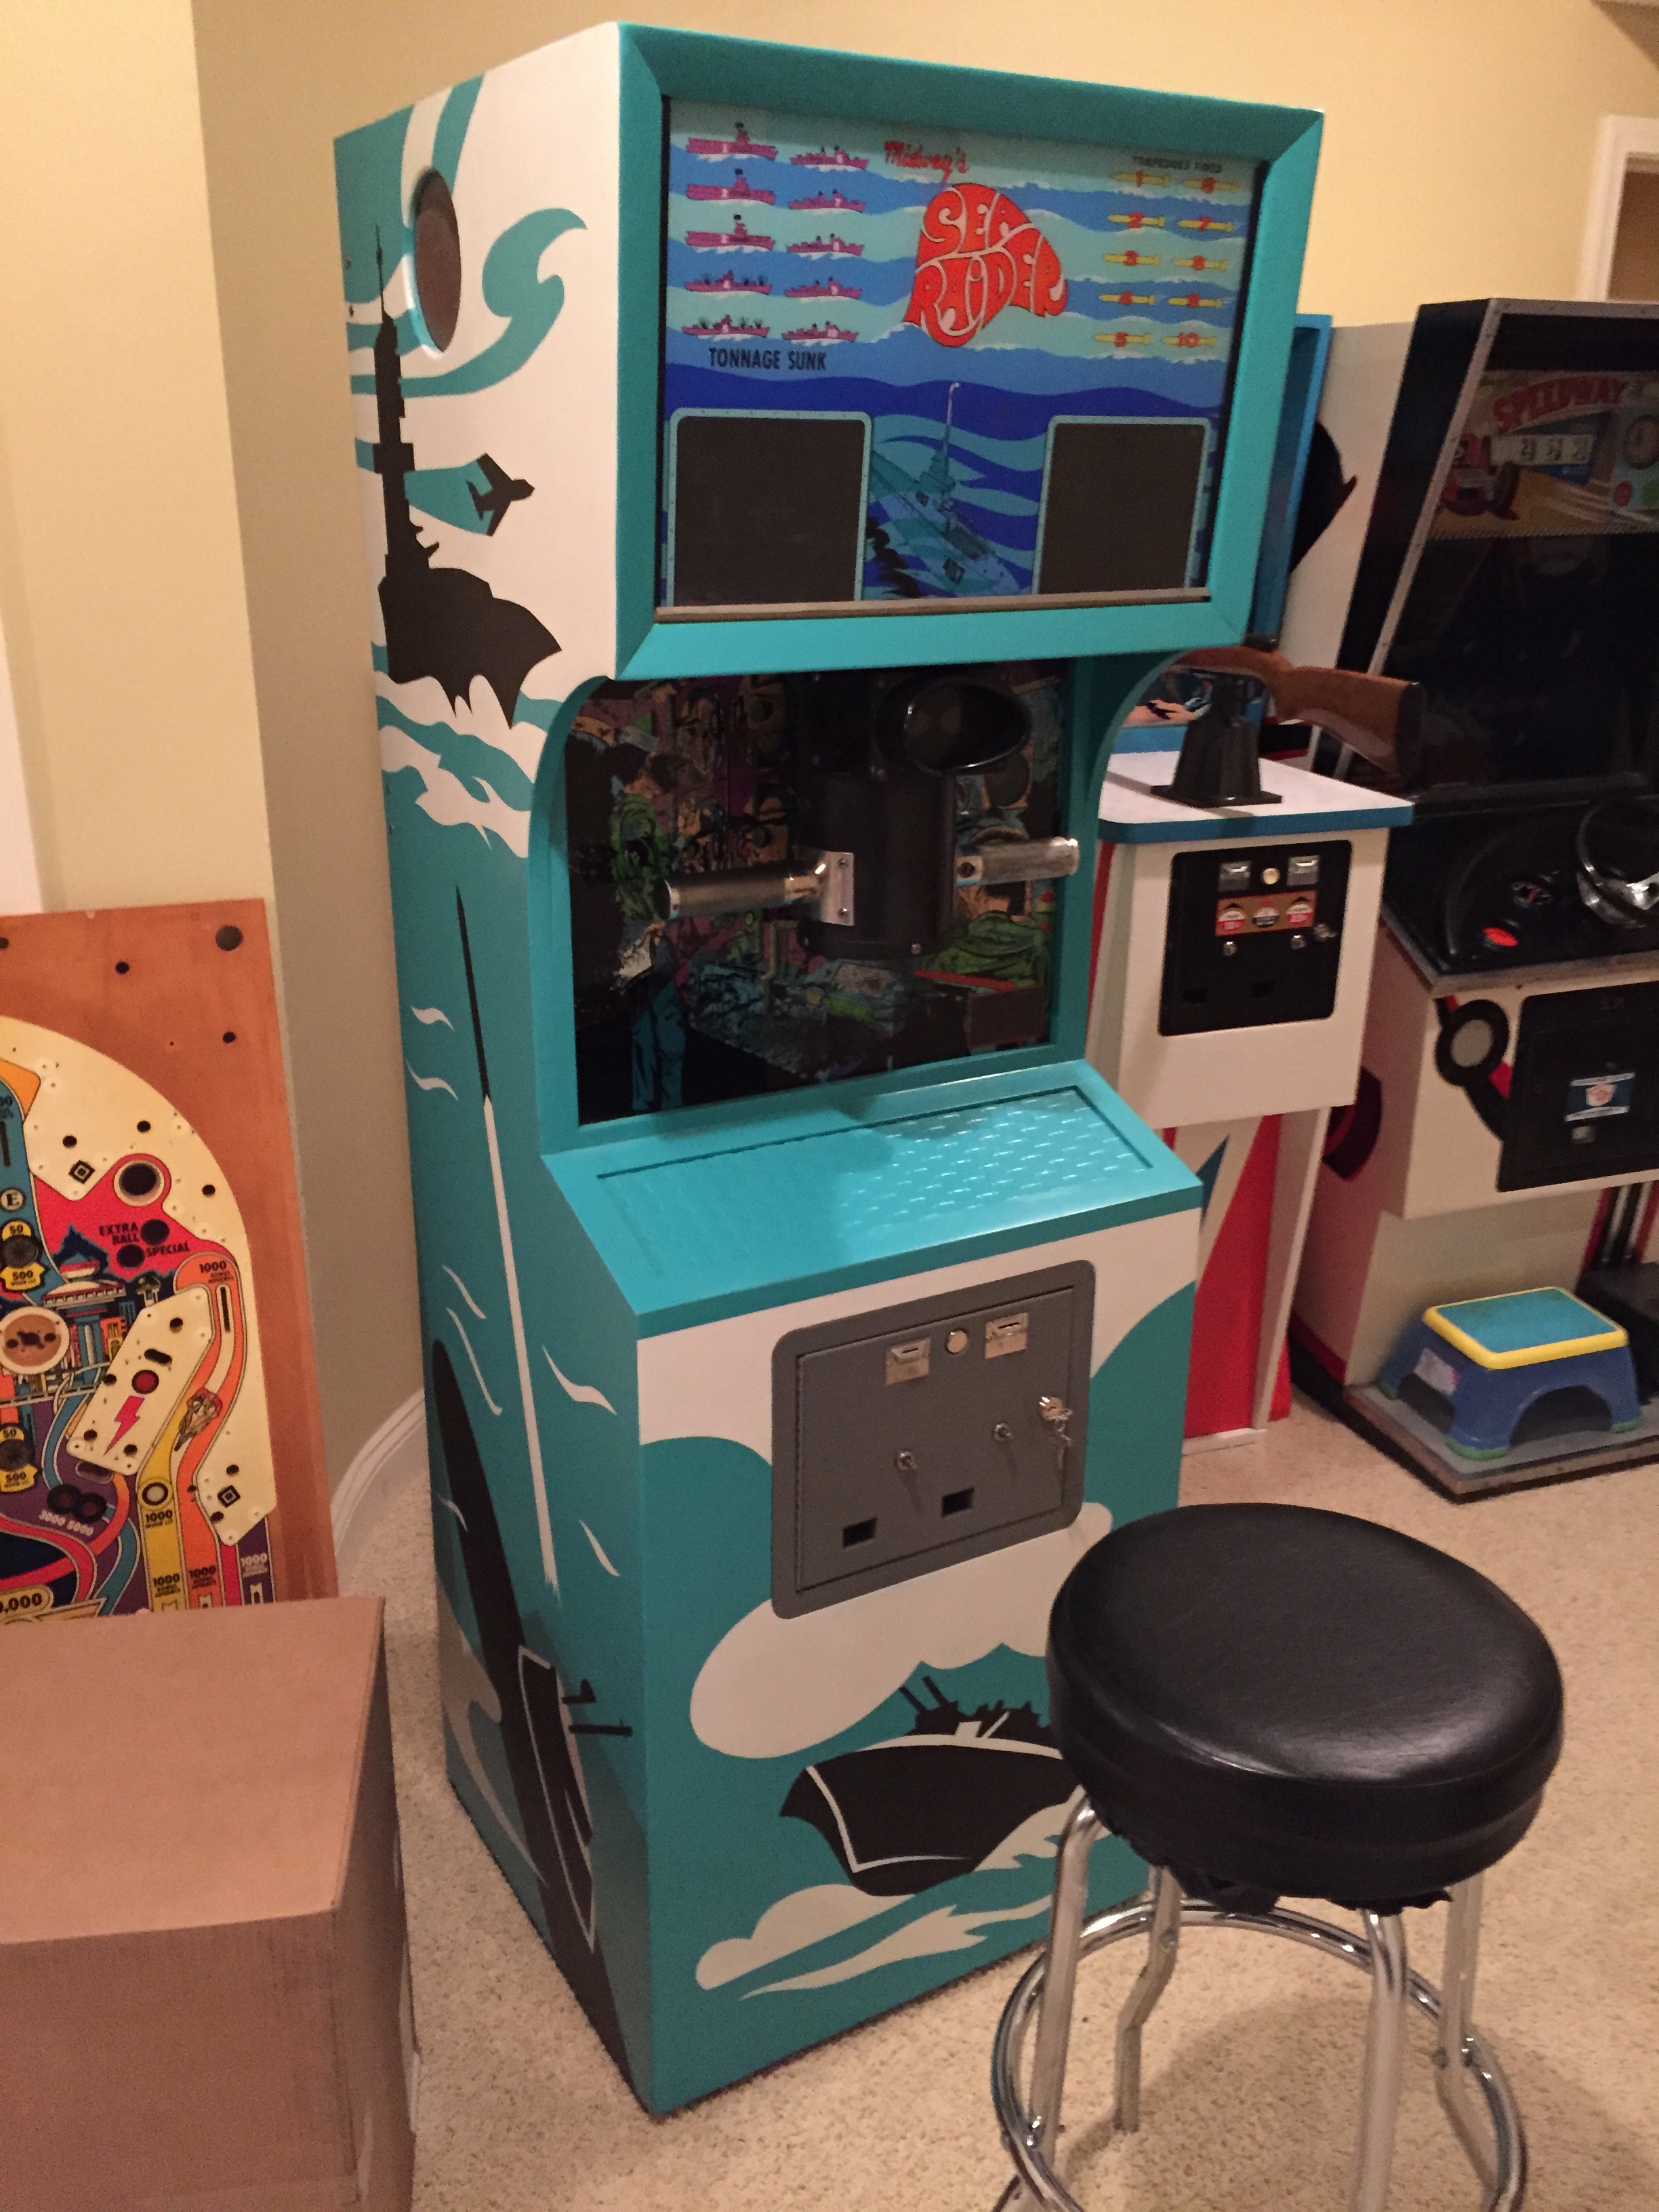
My Sea Raider had a lower backglass in seriously bad shape, and the upper backglass was scratched in the viewing port windows by someone probably trying to remove a sticker or something with a knife or scraper, so I figured I would replace them.
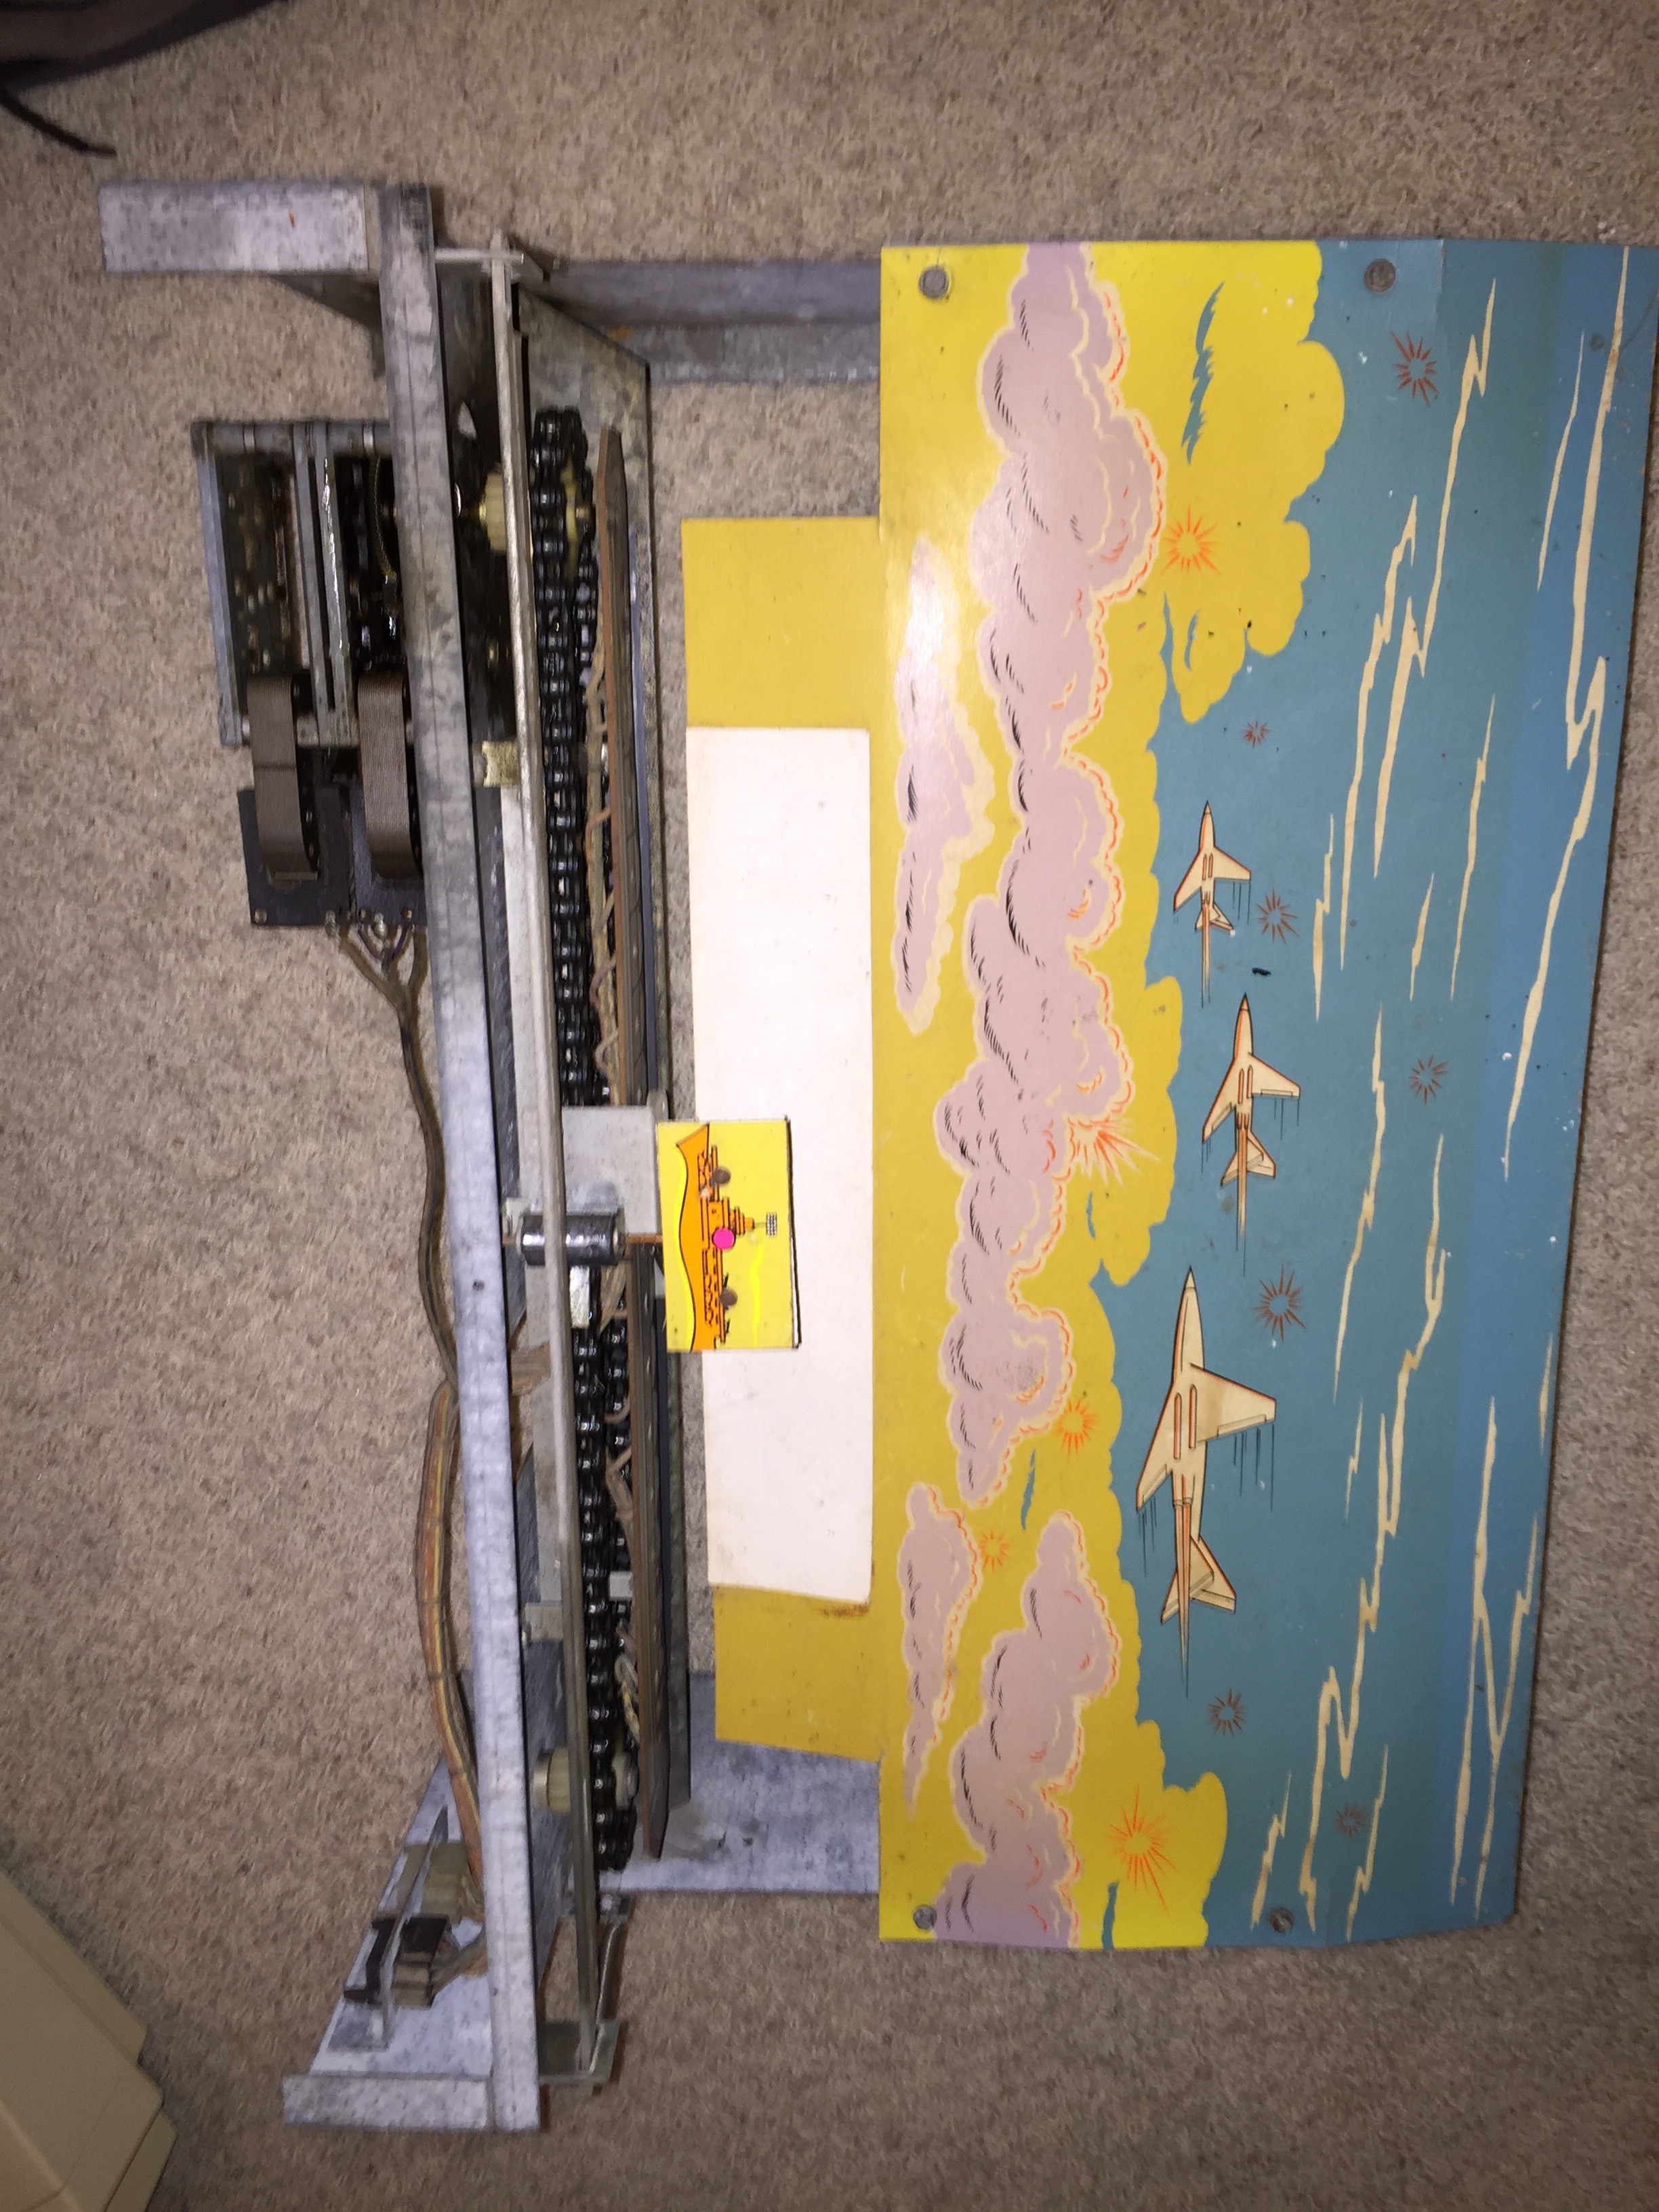
I found some posts on KLOV about a guy named Gary that reproduces them. About the same time I found him listing an upper backglass repro on eBay. I contacted Gary about the lower glass and he was able to reproduce both of them for me. Here’s what my lower backglass looked like before…

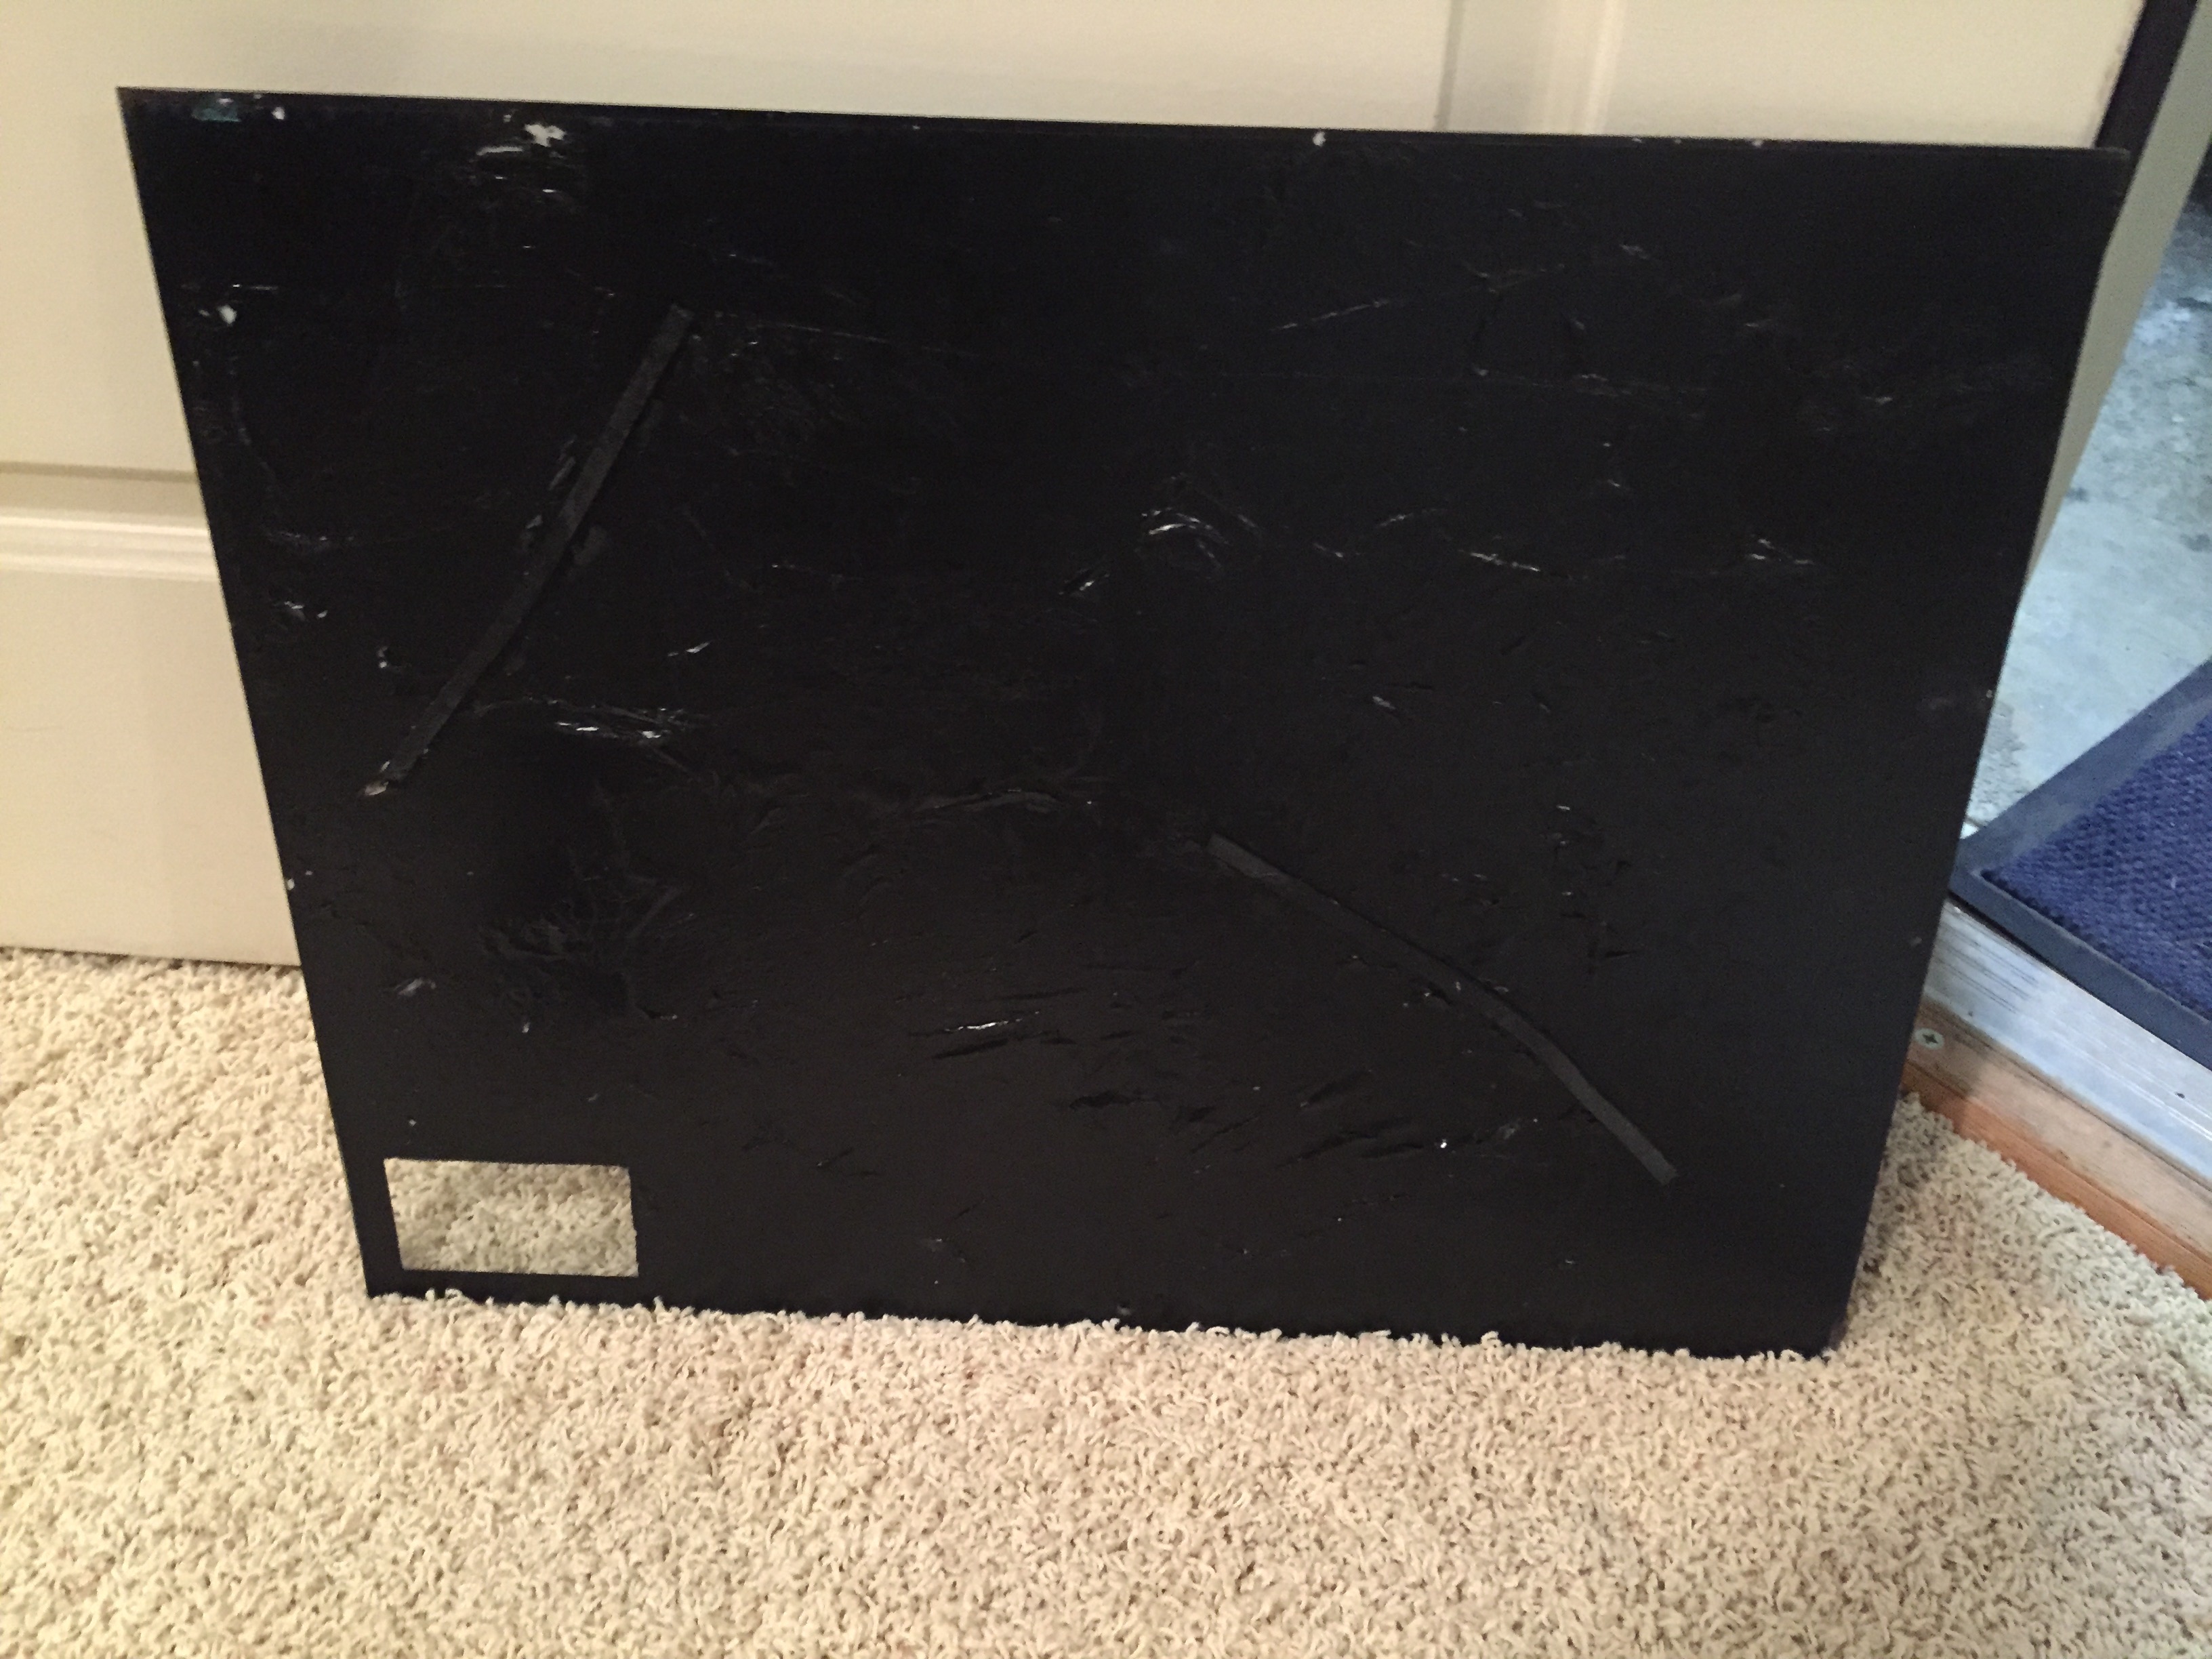
Yes, someone painted the back with some kind of black spray. I guess this was to stabilize the flaking paint, but look what it did to the look of the front!
It looked horrible on the game.
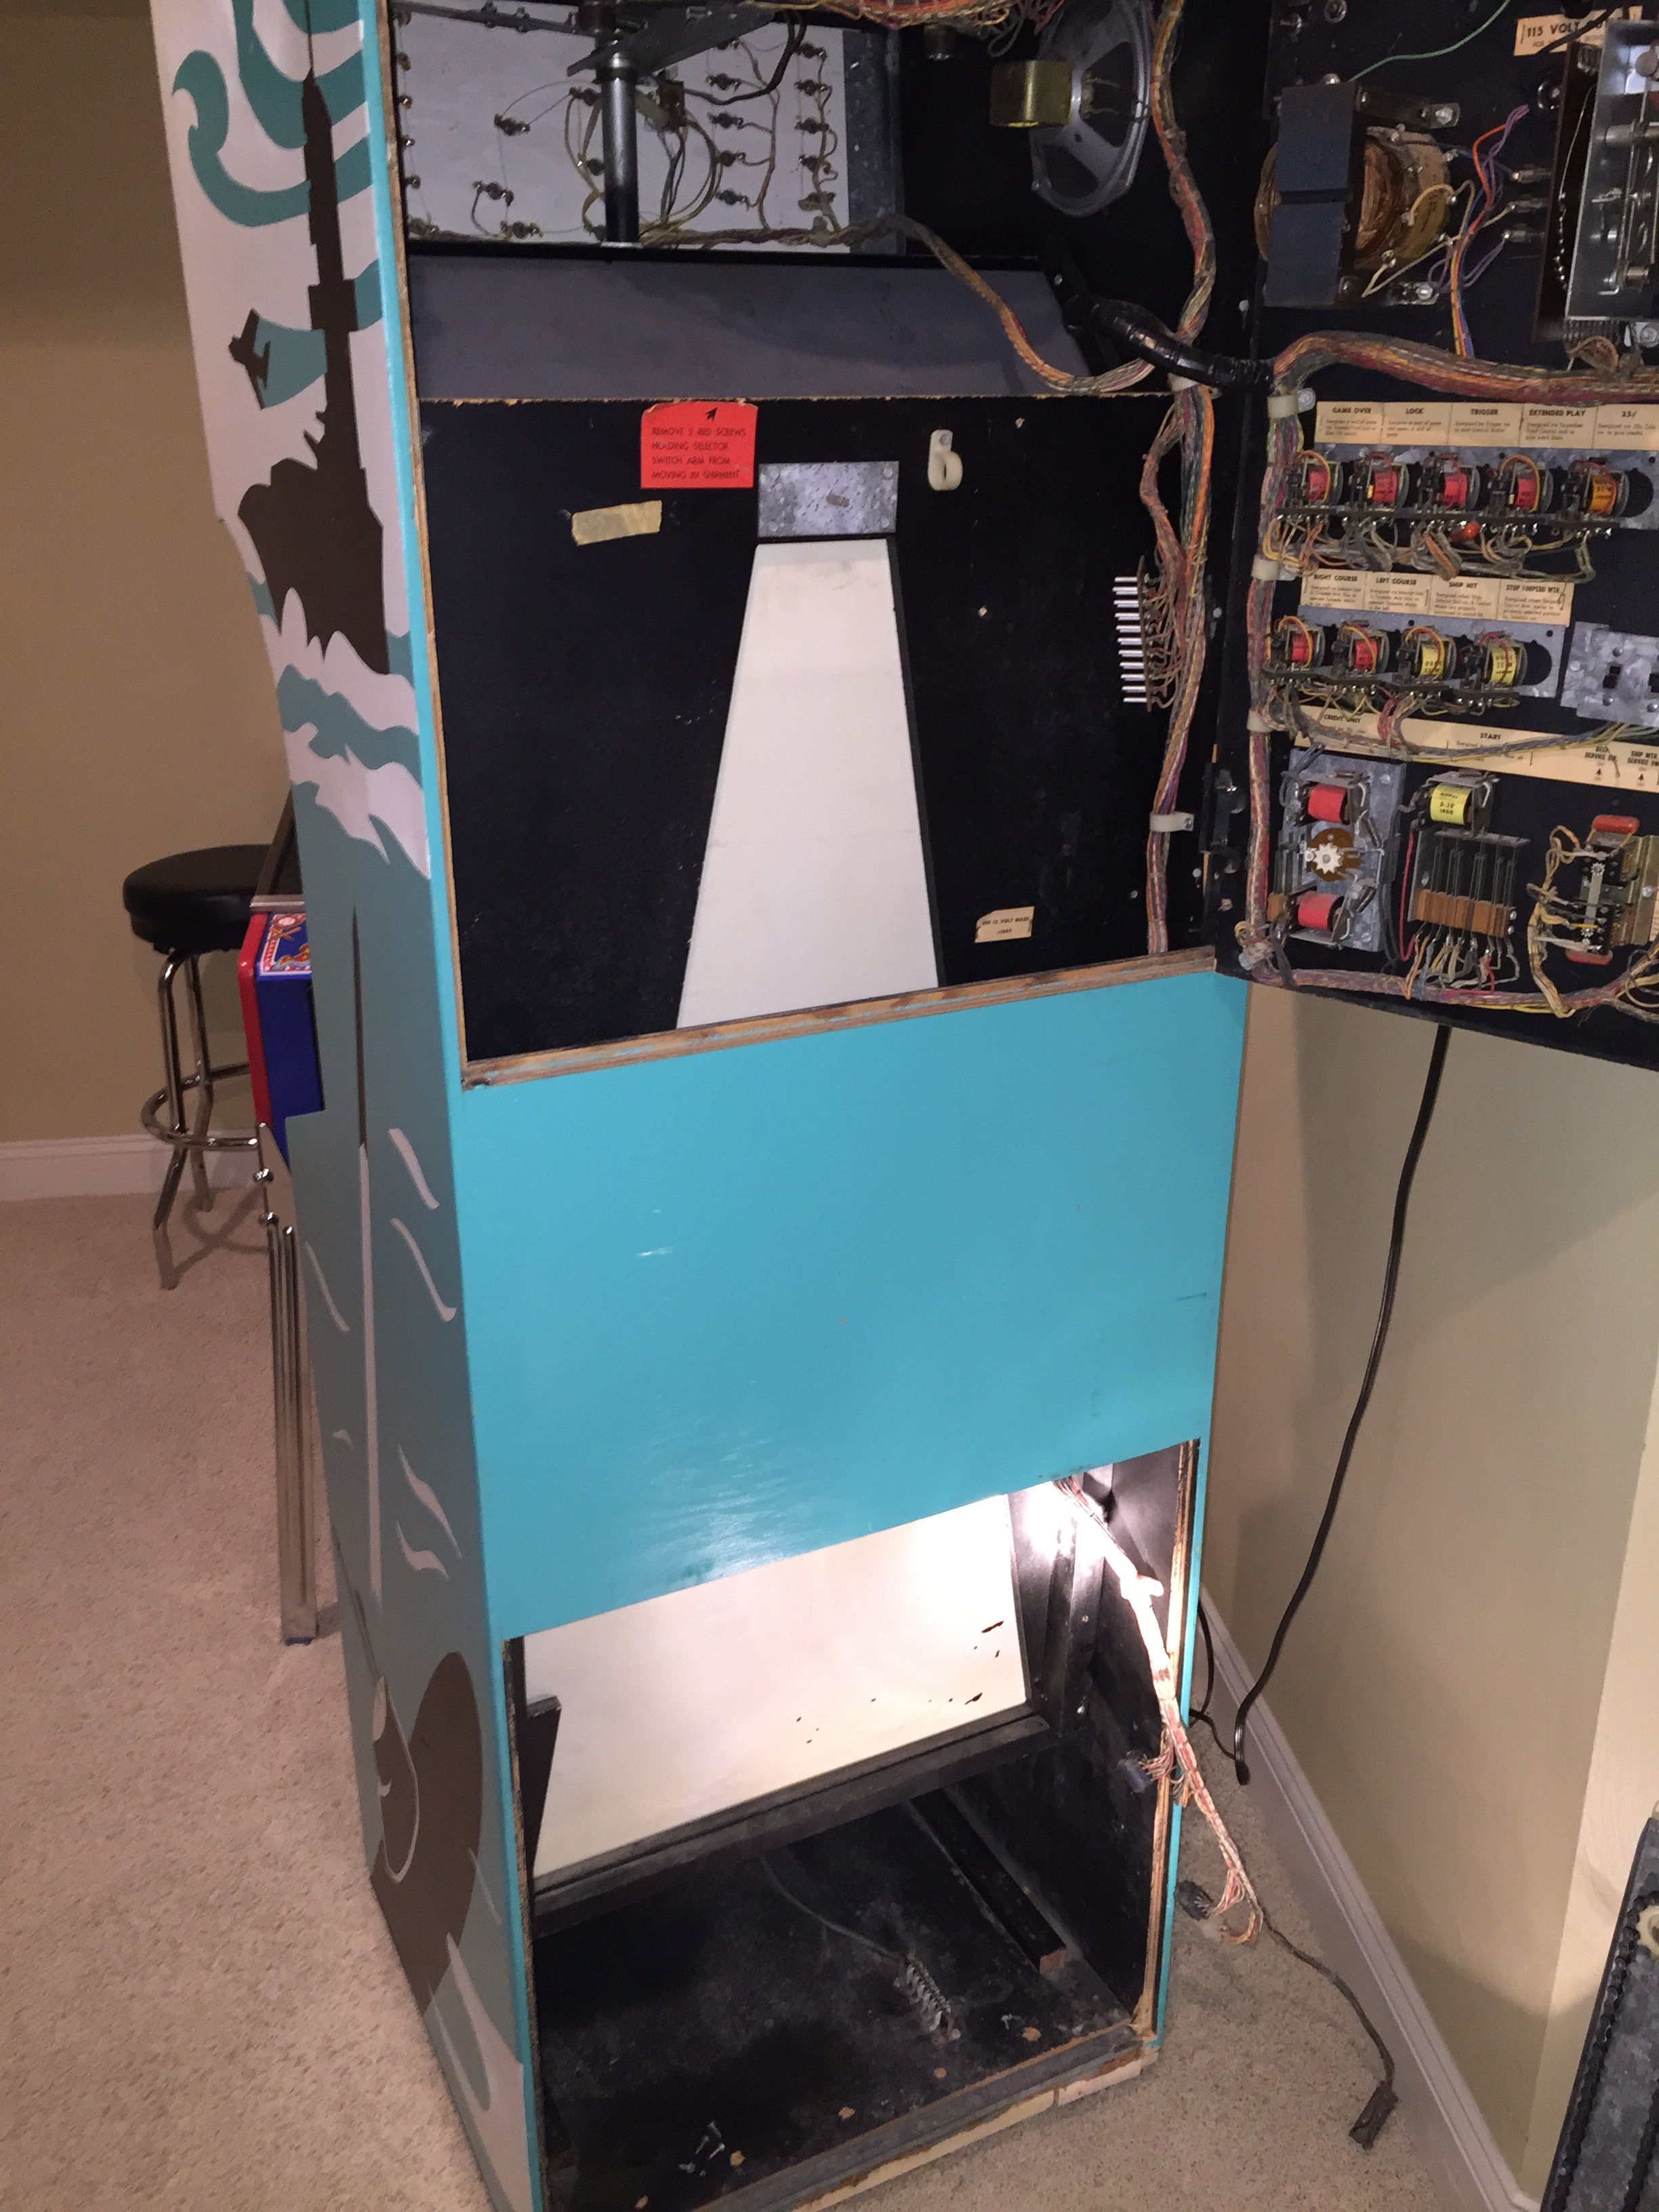
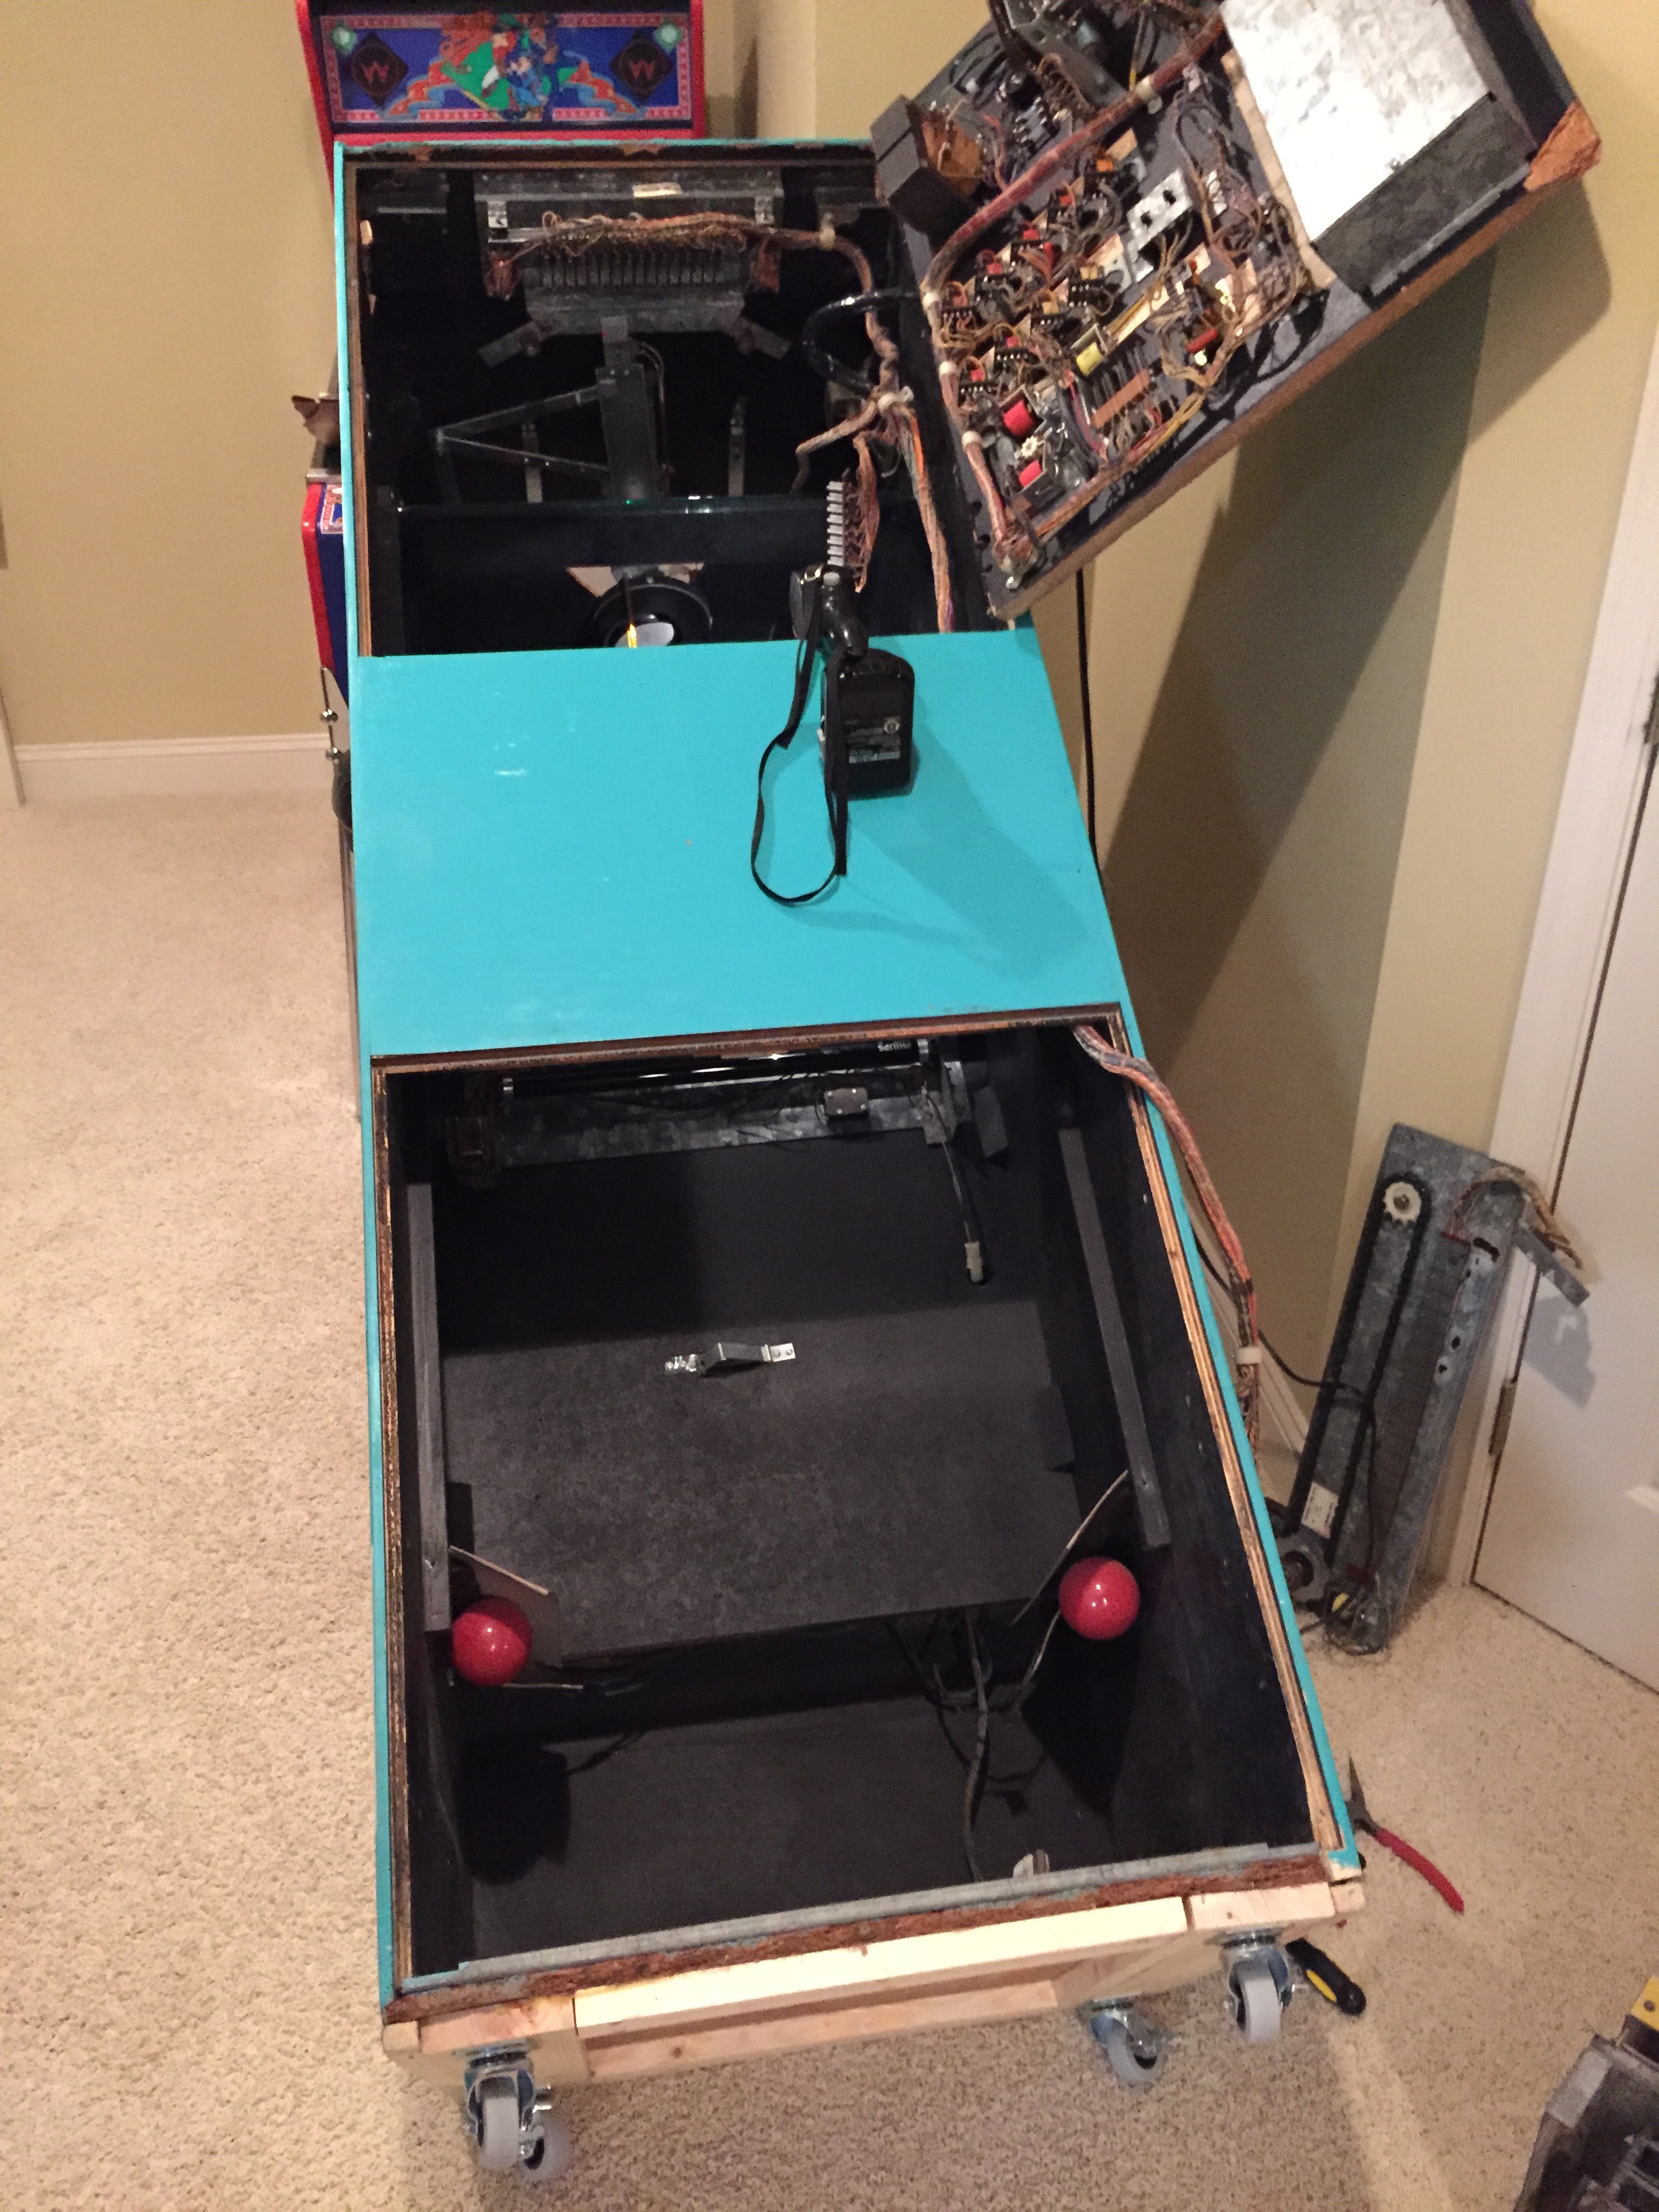
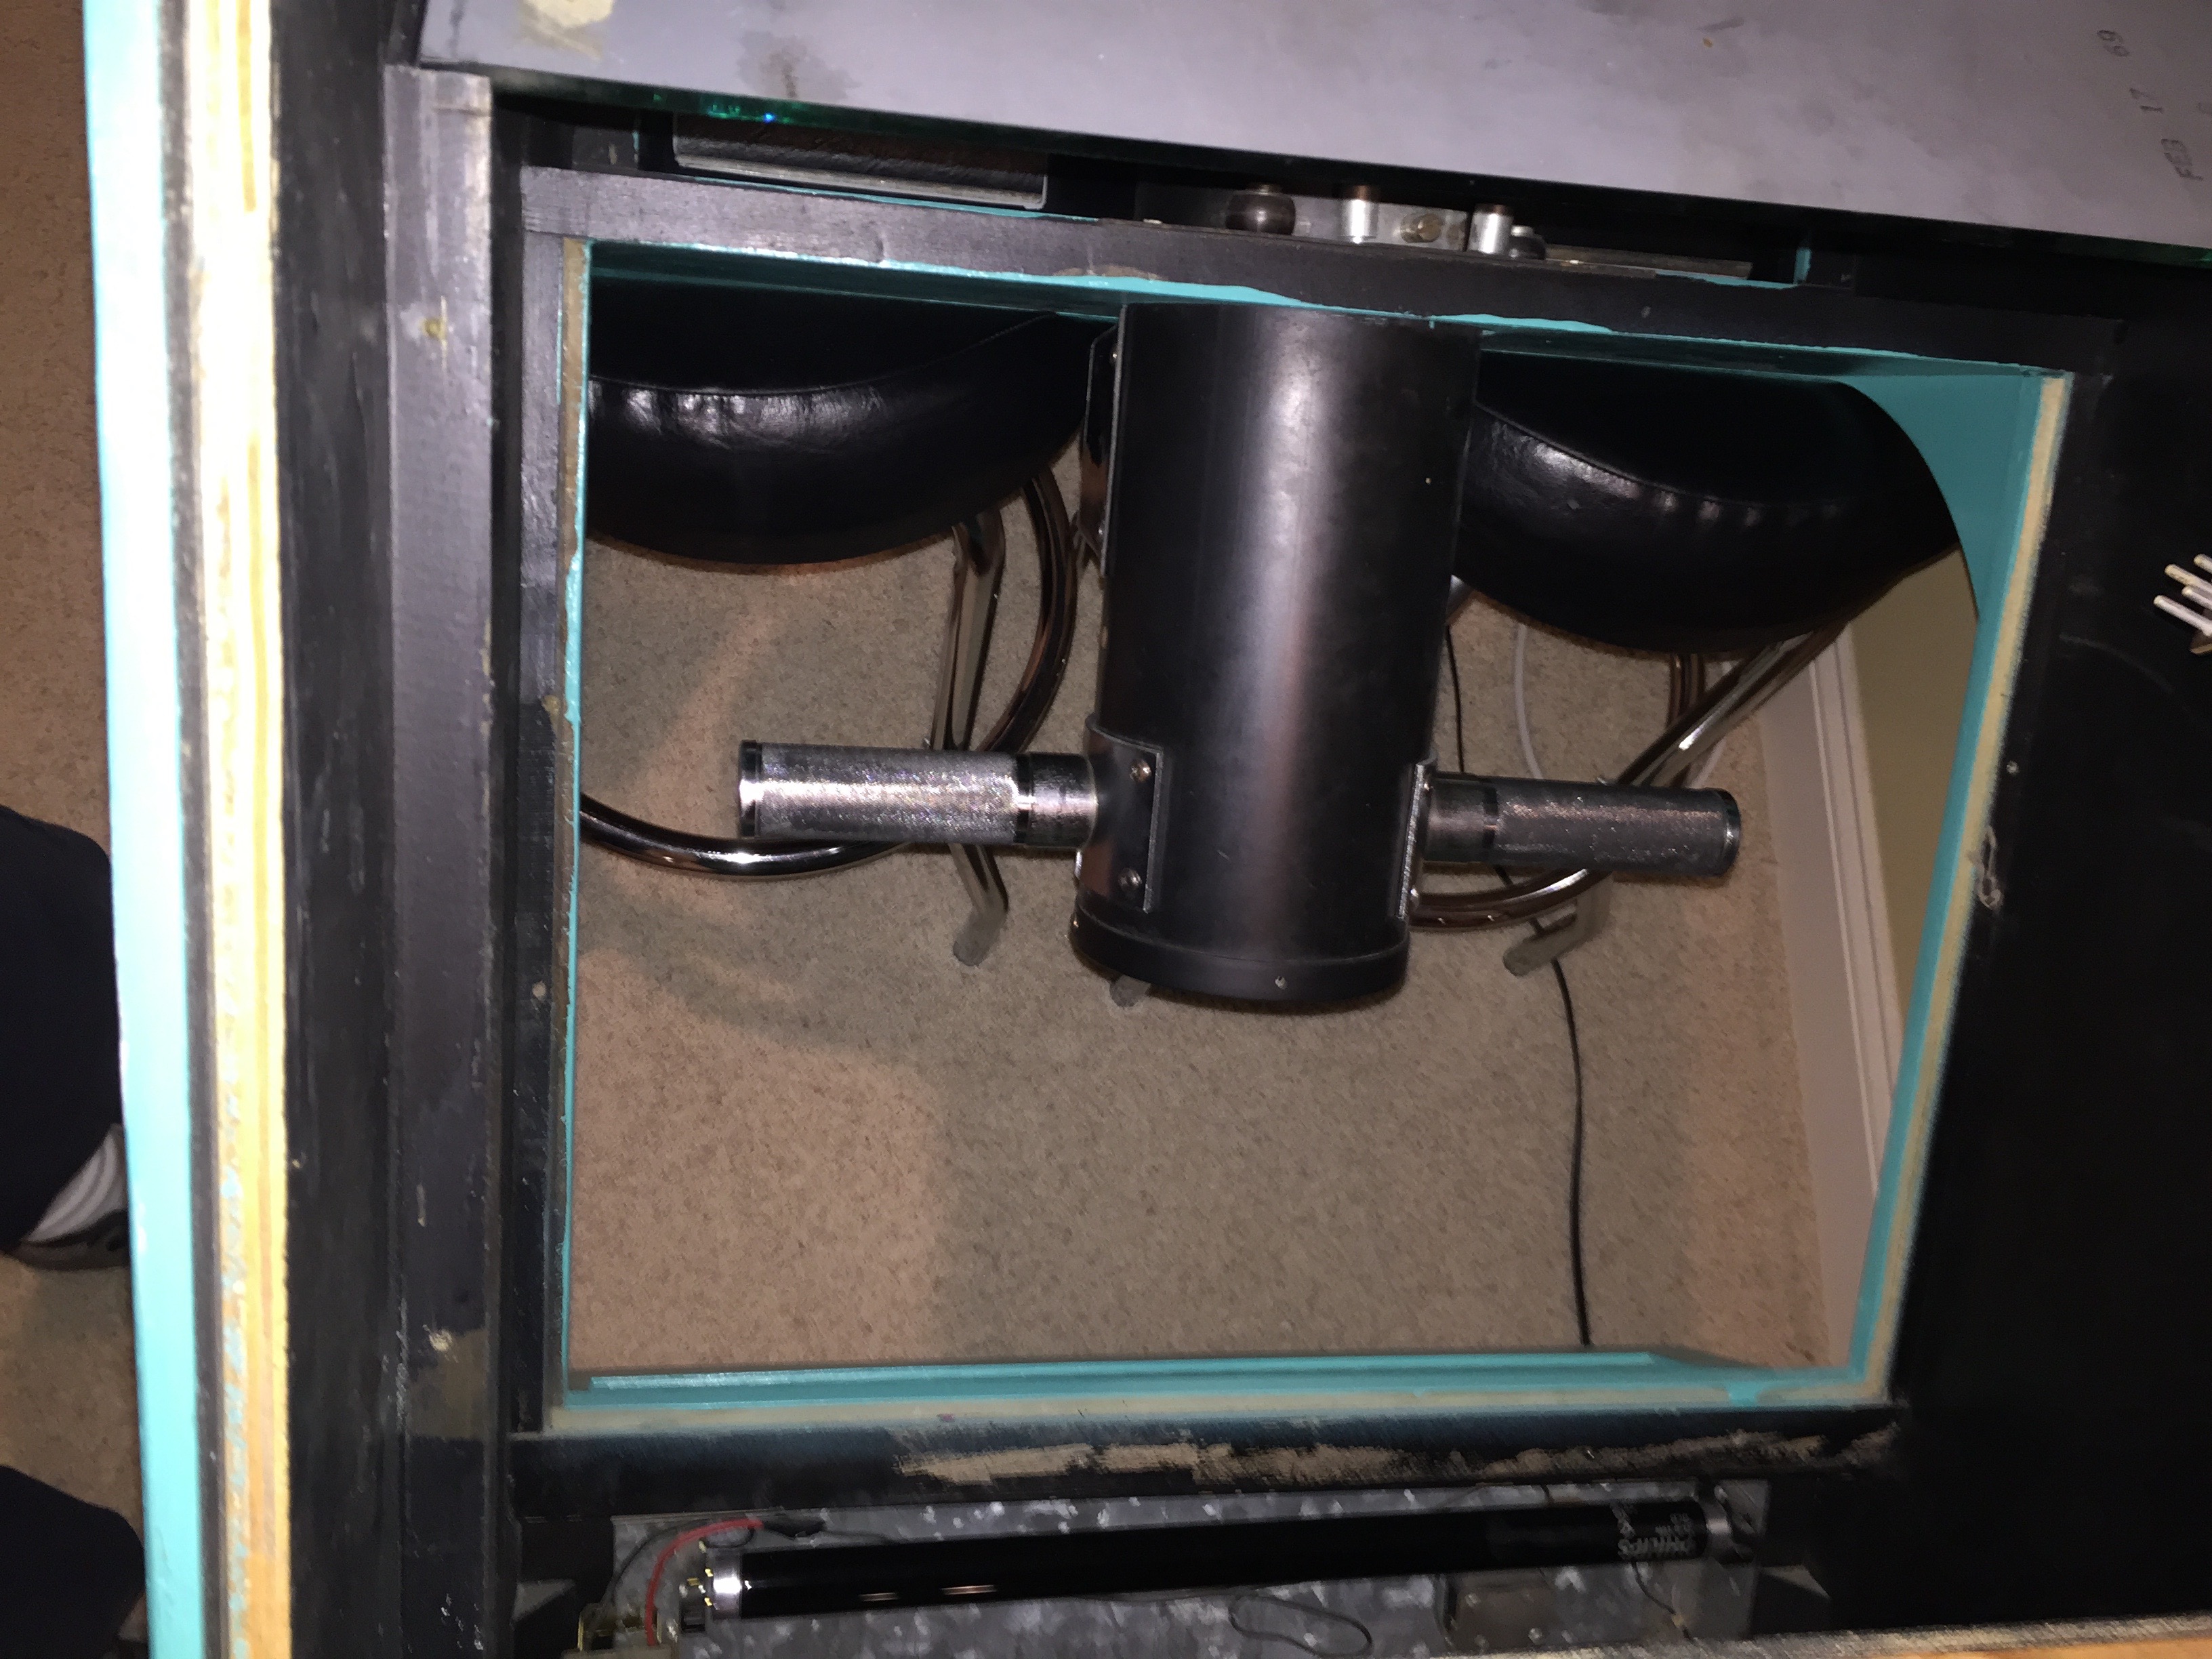
The lightbar arm has to come off and out to remove the “seascape”. The motor assembly for the control the arm has to come out to remove the arm. I removed the assembly, and then the lightbar arm by lifting it carefully up and out of the back/top of the cabinet.
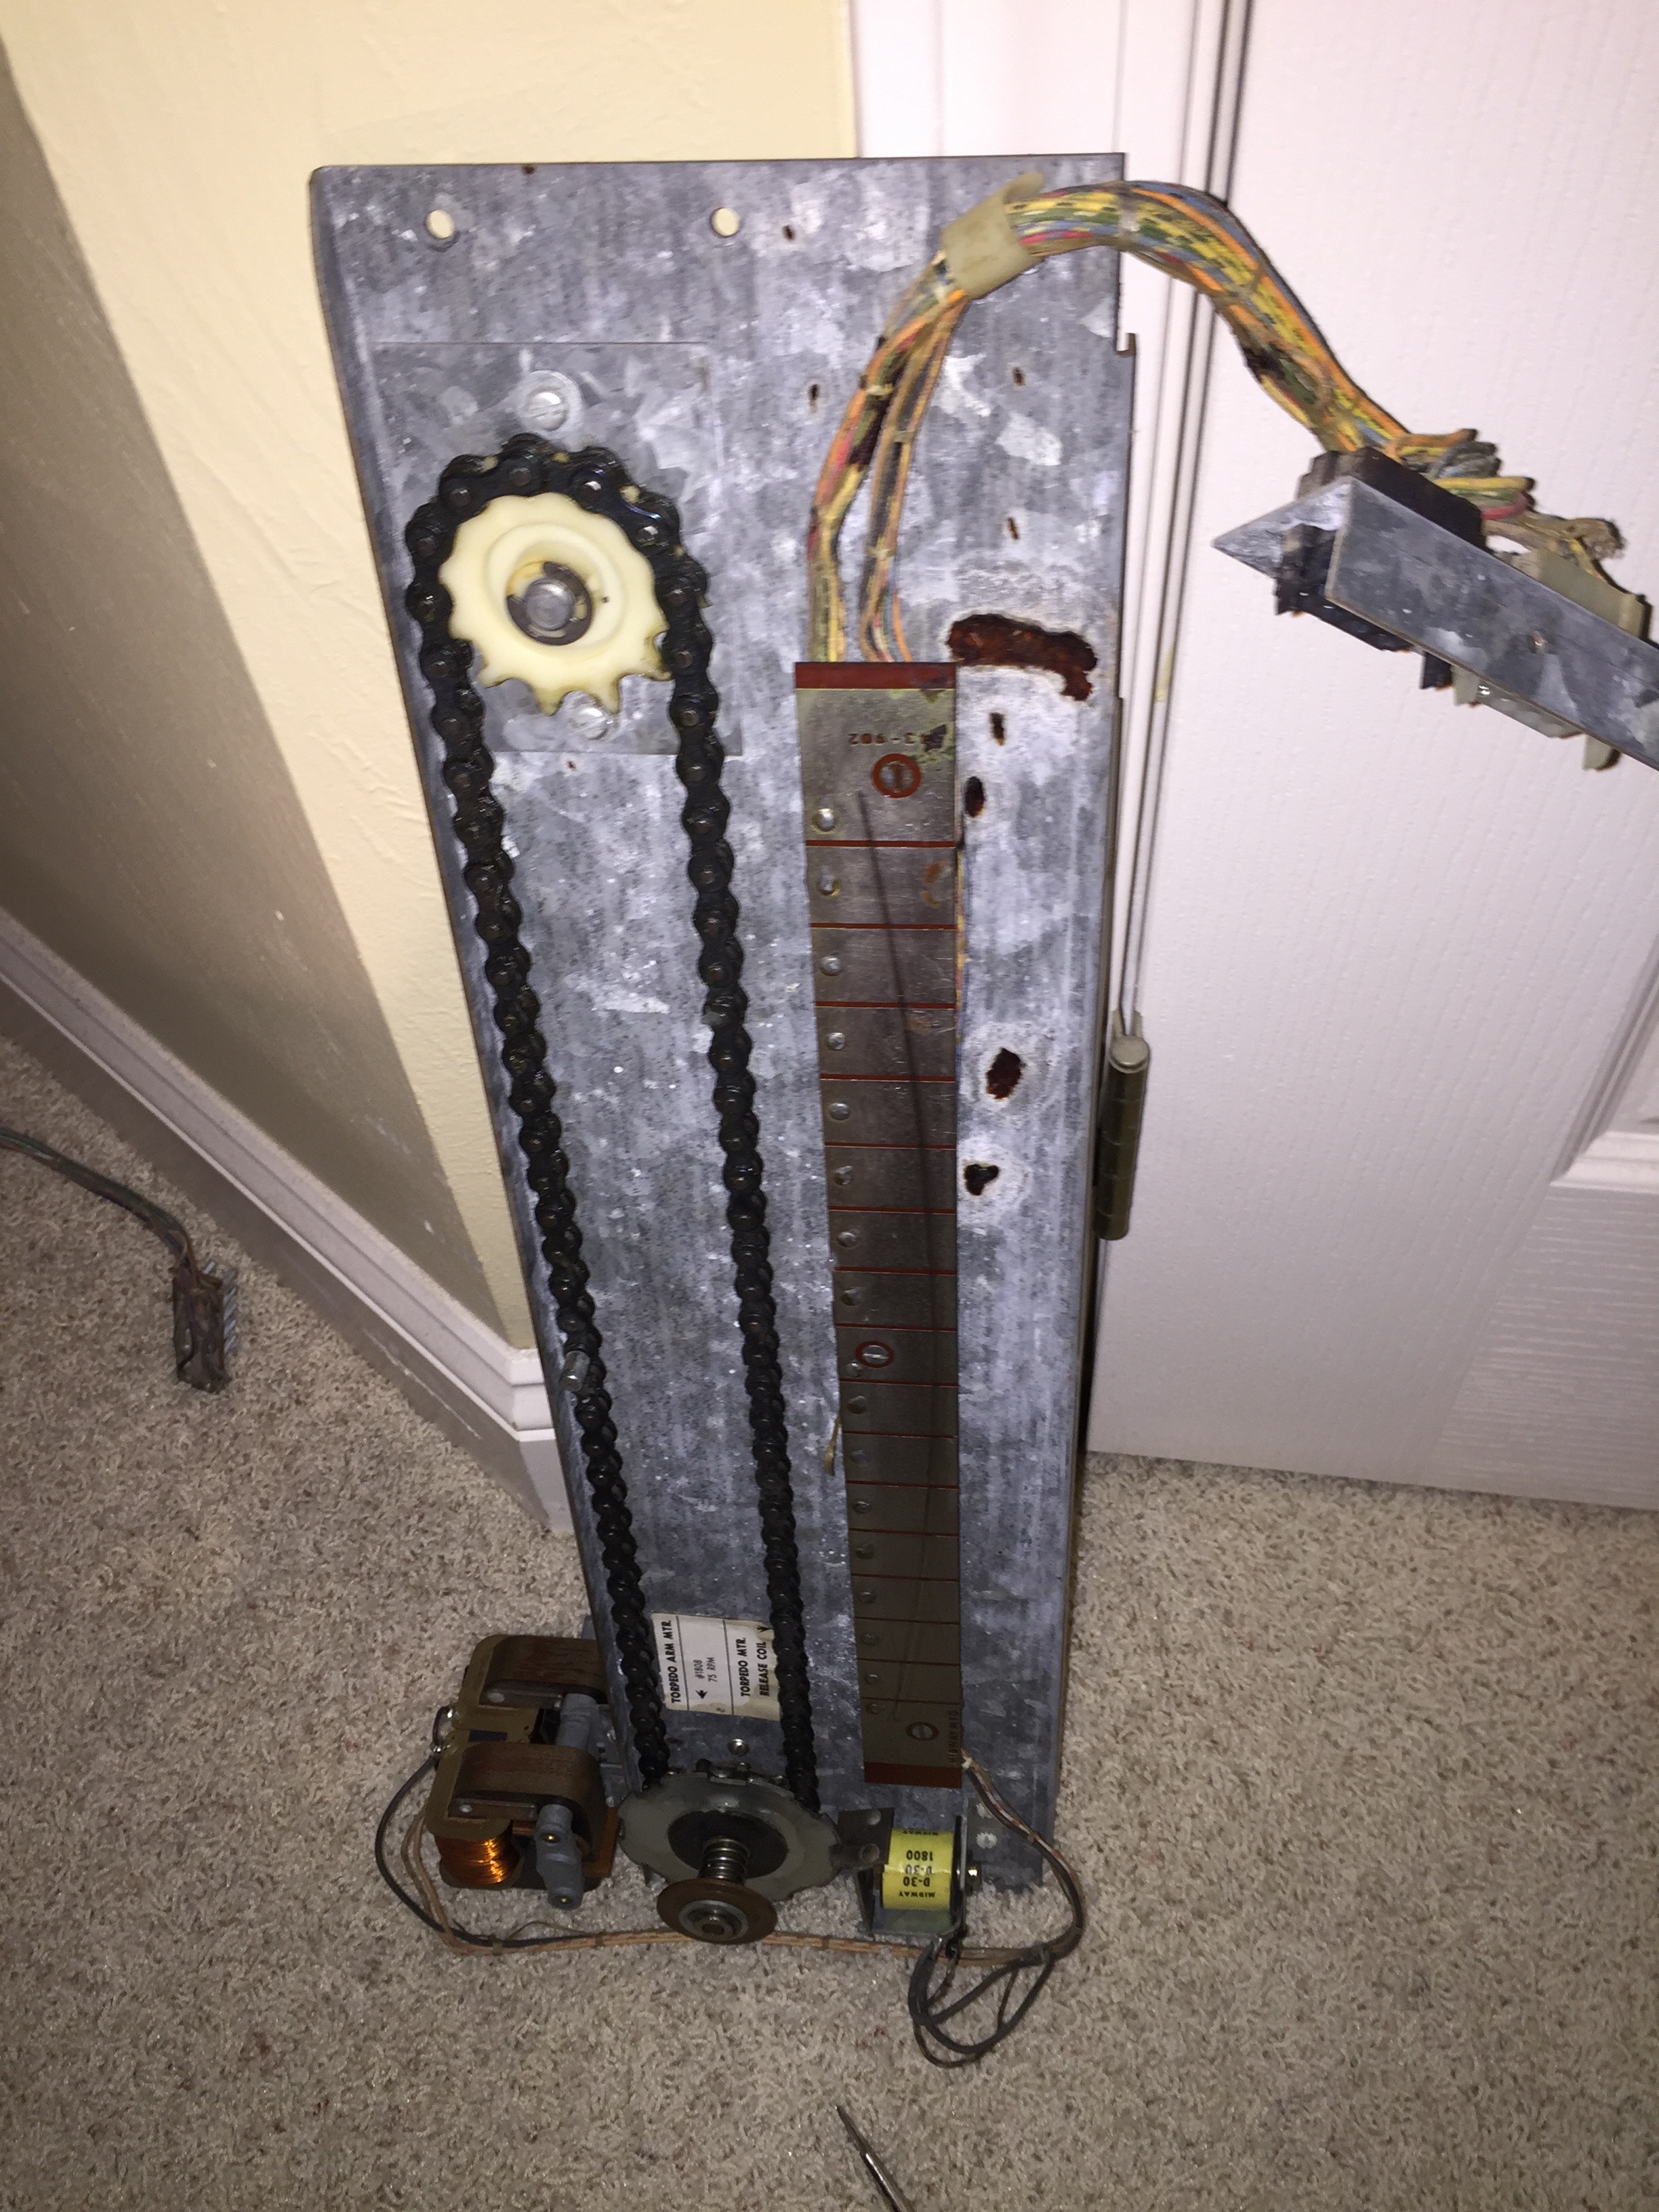
Slide the target assembly straight out the bottom back by removing two screws that hold it in. Don’t forget to unplug the connector first.
Remove the “sea scape” by removing at least 4 hex head screws at the top on the sides and at least 2 long round head screws at the bottom. Be careful as the this assembly will fall/drop onto the jones plug connector at the bottom of the cabinet if you don’t support it. The cabinet must be tilted forward about 45 degrees or more in order to slide the assembly out the bottom/back of the cabinet. Also be careful because the sea scape material is brittle after more than 45 years. Many of my staples that hold it to it’s wood frame were no longer holding the material to the frame as the material had cracked around them.
Now you have access to the two boards that hold the bottom backglass in. While you’re here you might as well replace the blacklight, cause this is a pain in the butt to get this far! Also, check your bulbs in your lightbar, because it has to come out to change them, so while it’s out, might as well make sure they all are working, and clean them…
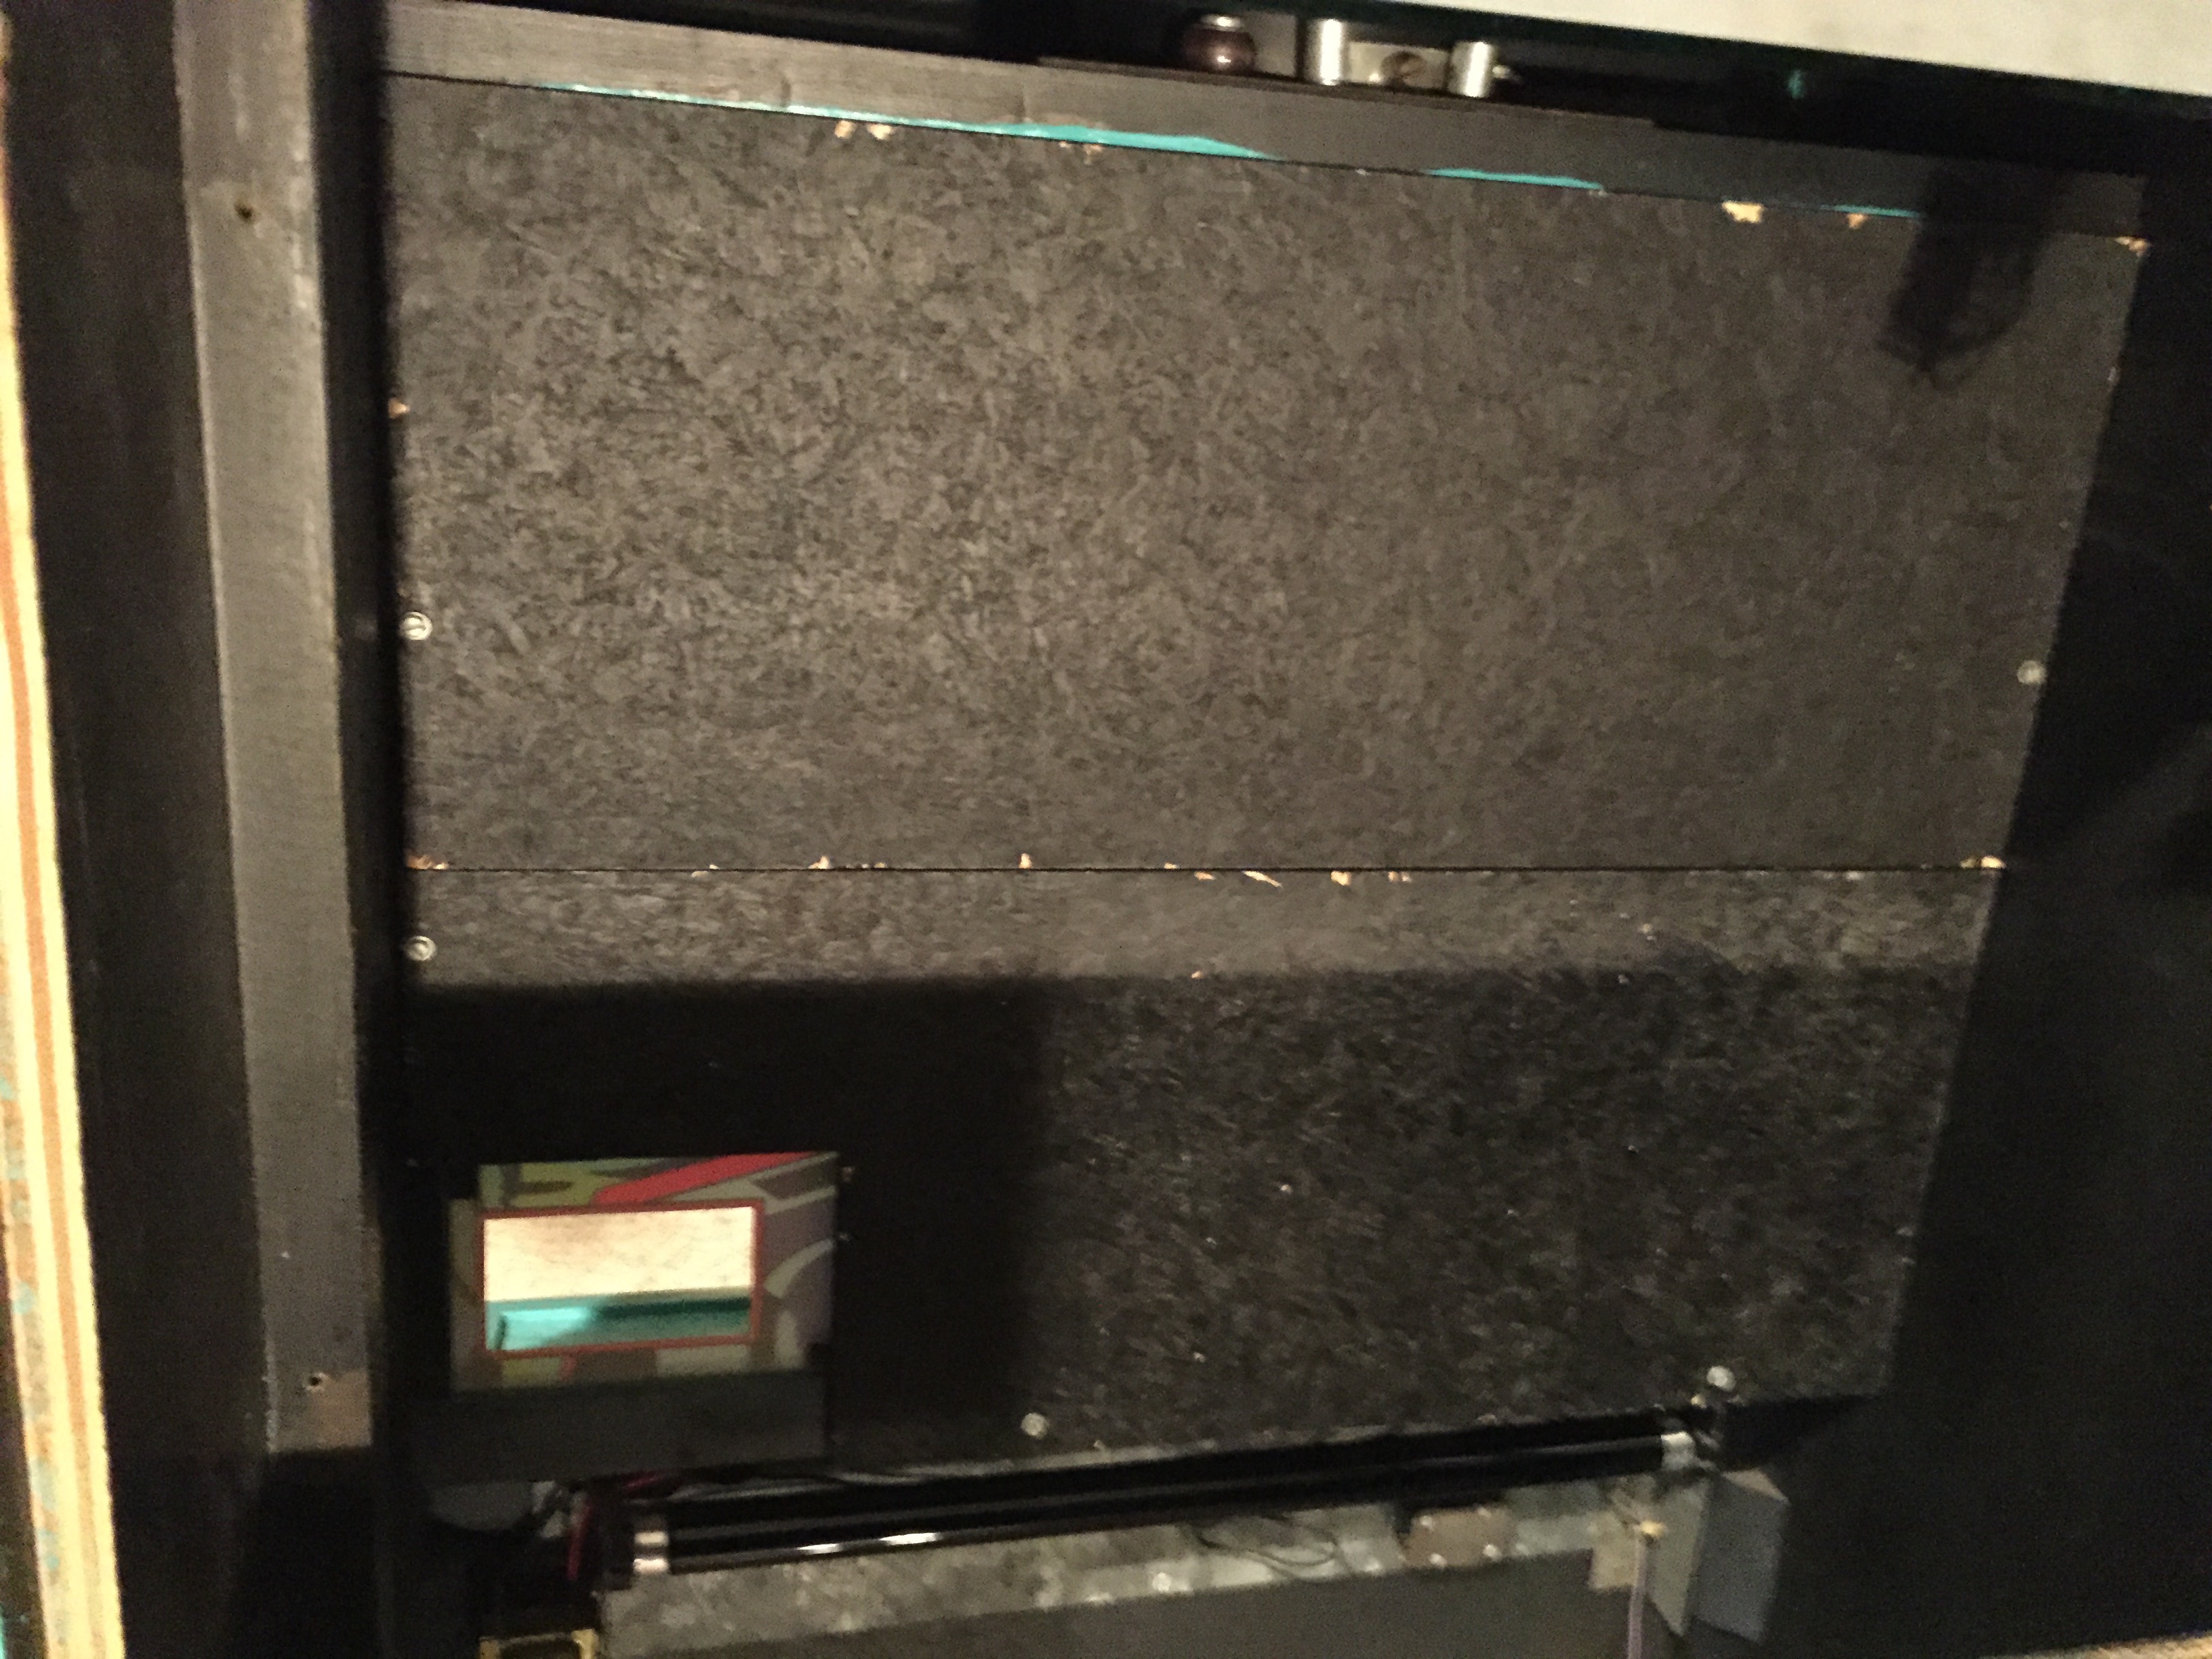
Once the screws are out remove the two boards, and then the backglass.
Reassemble in reverse order.
Here’s what it looks like with the new backglasses.

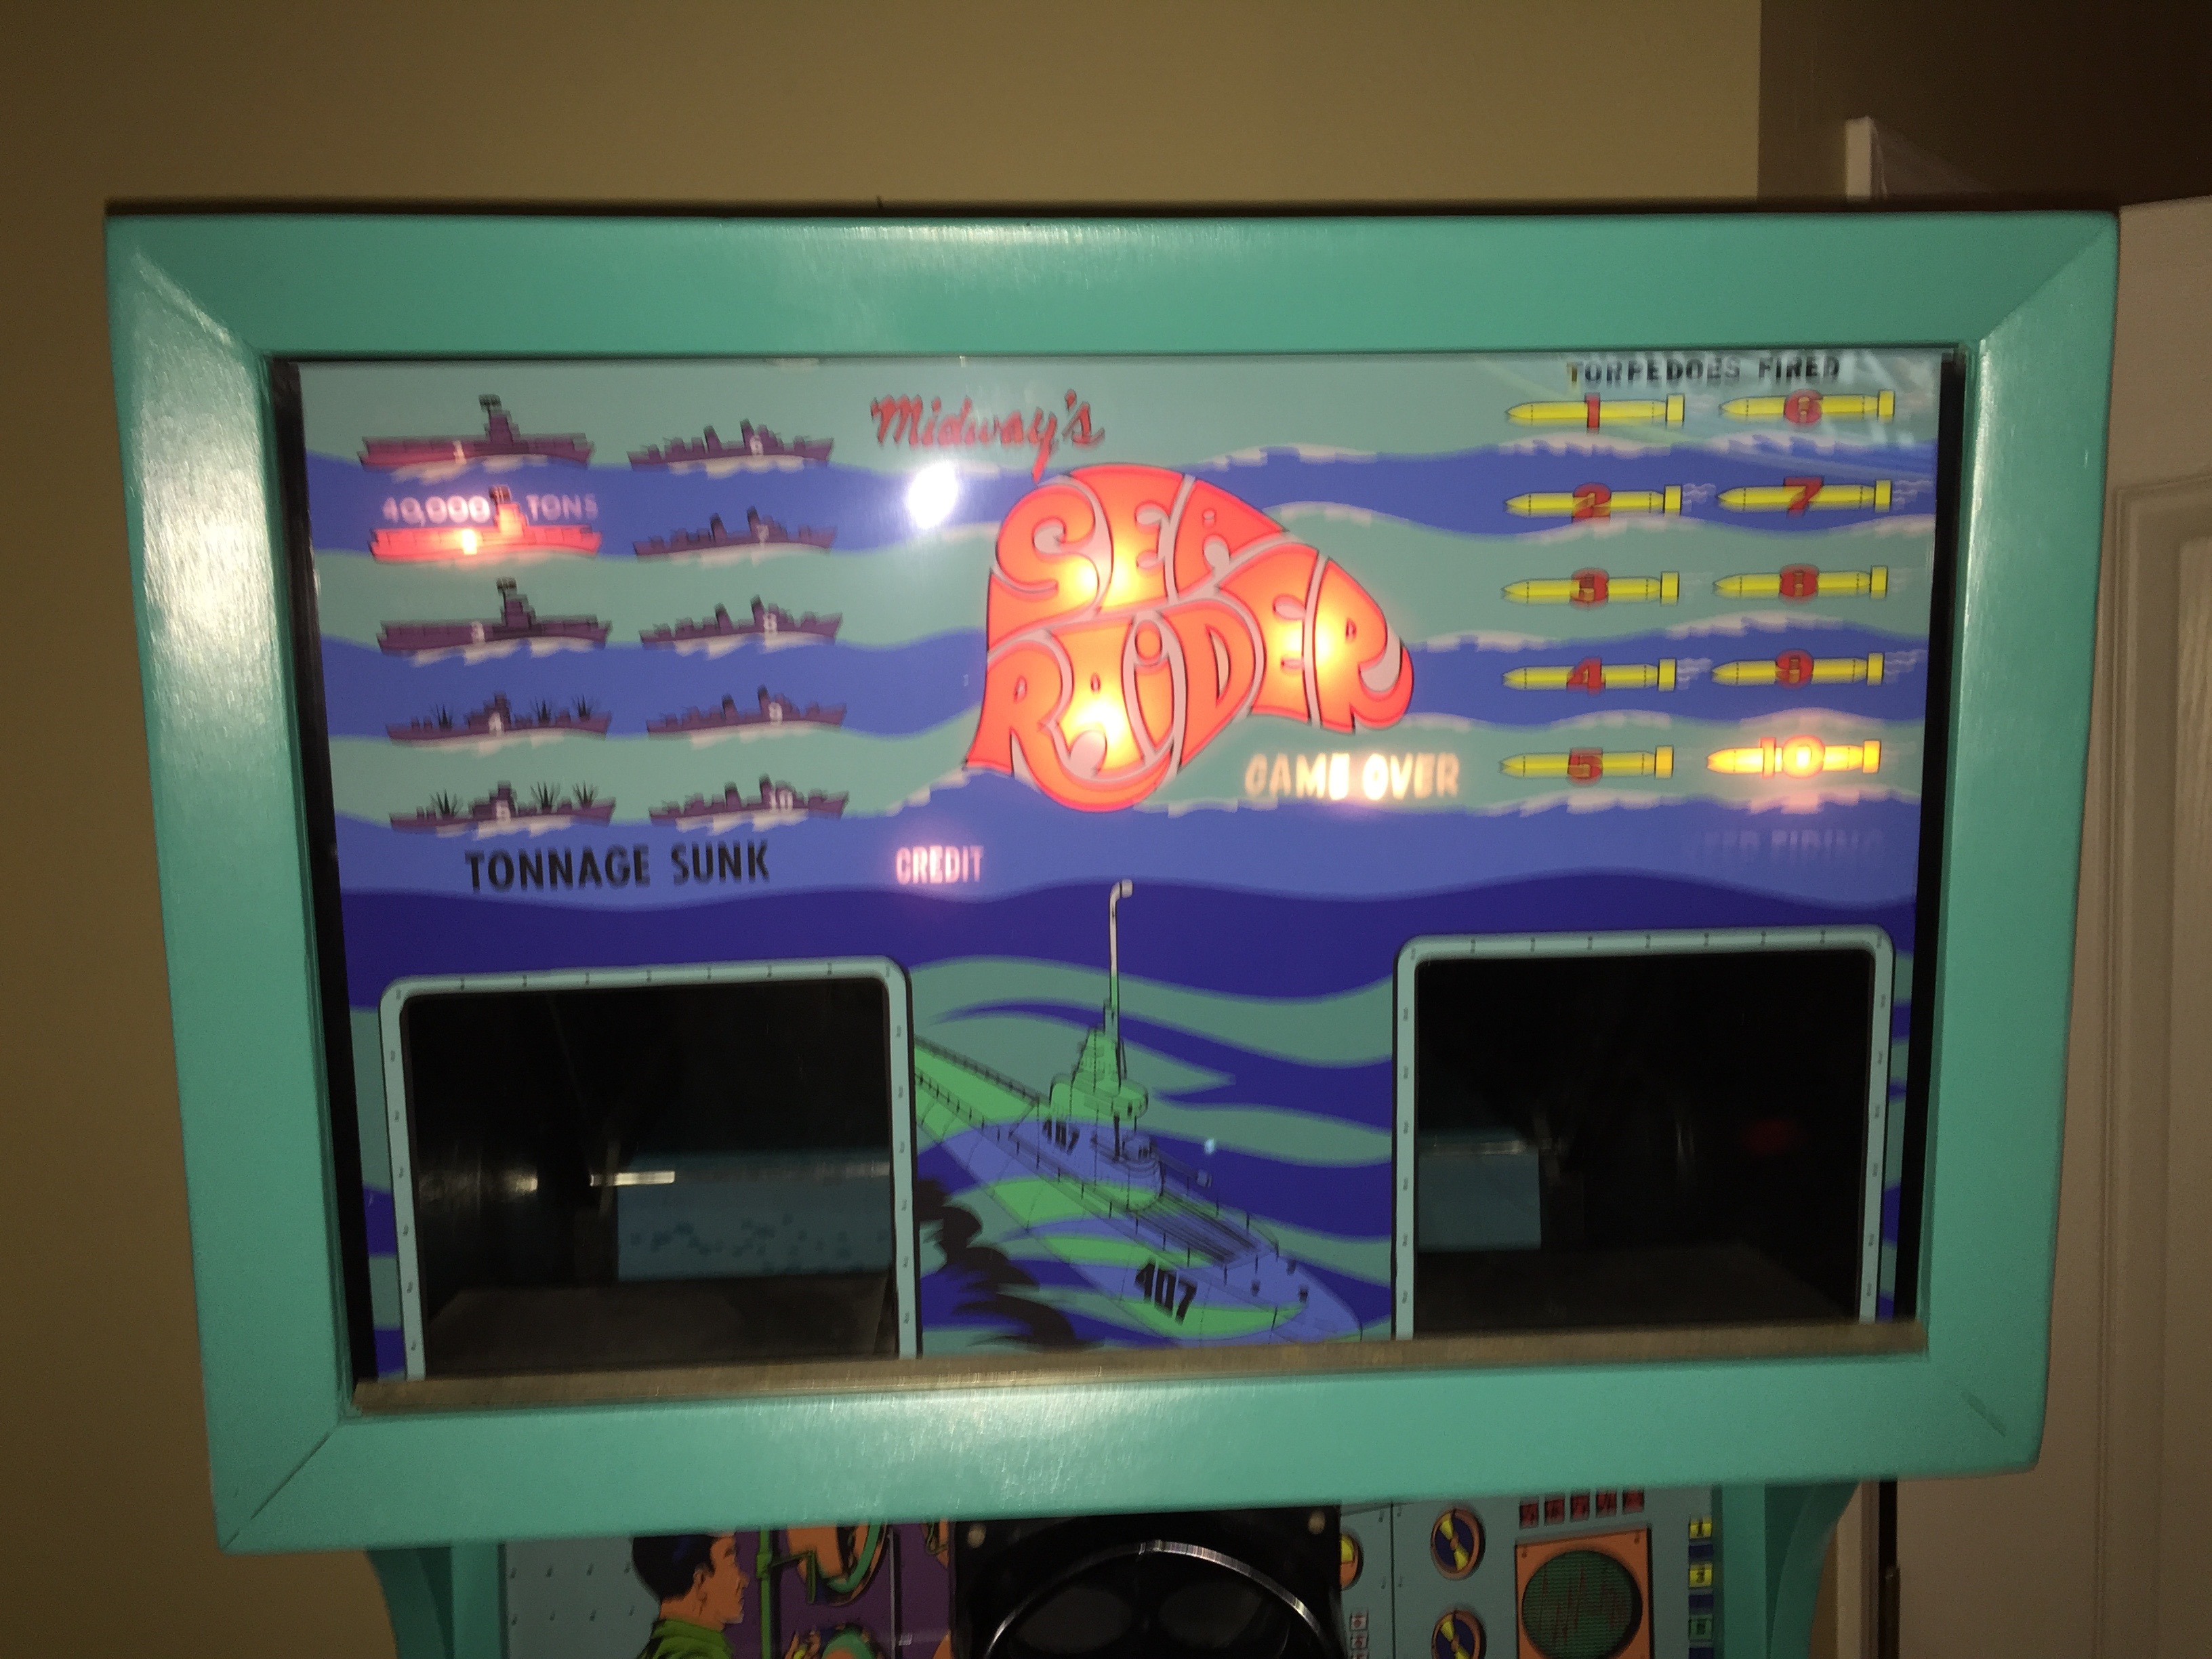
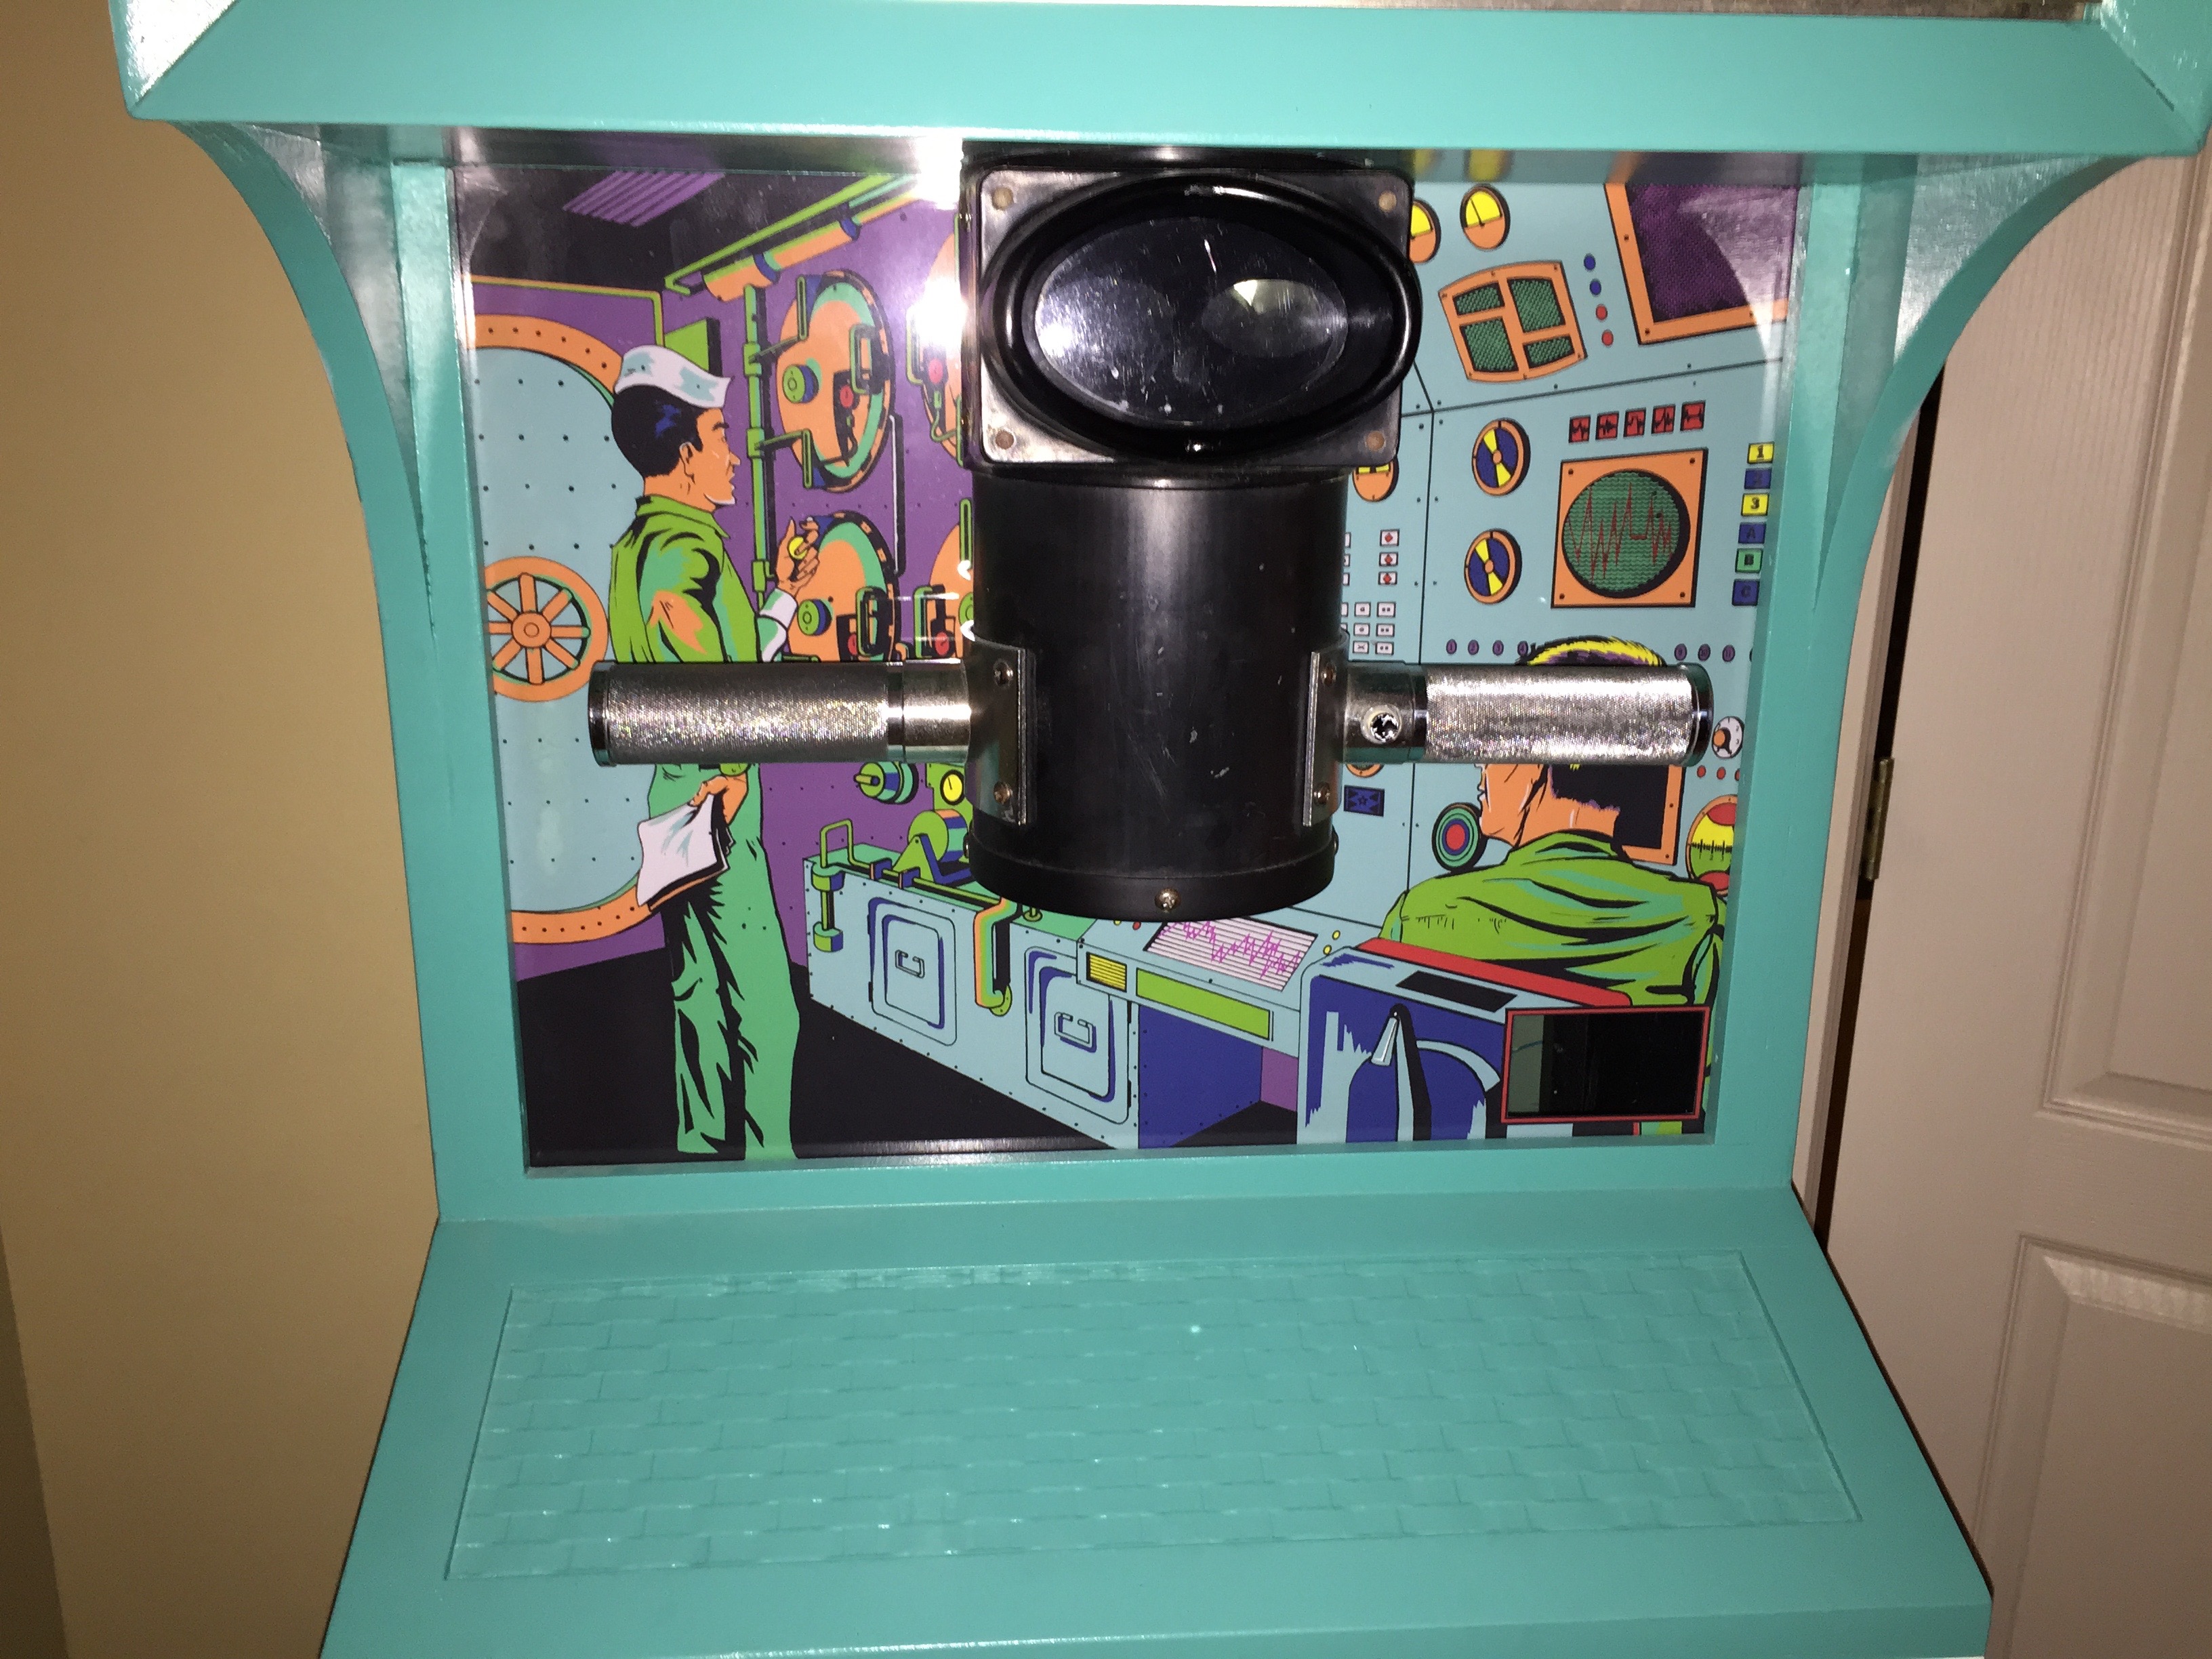
Ahhhh, much better…
See https://www.petesgameroom.net/1969-midway-sea-raider/ for more info.