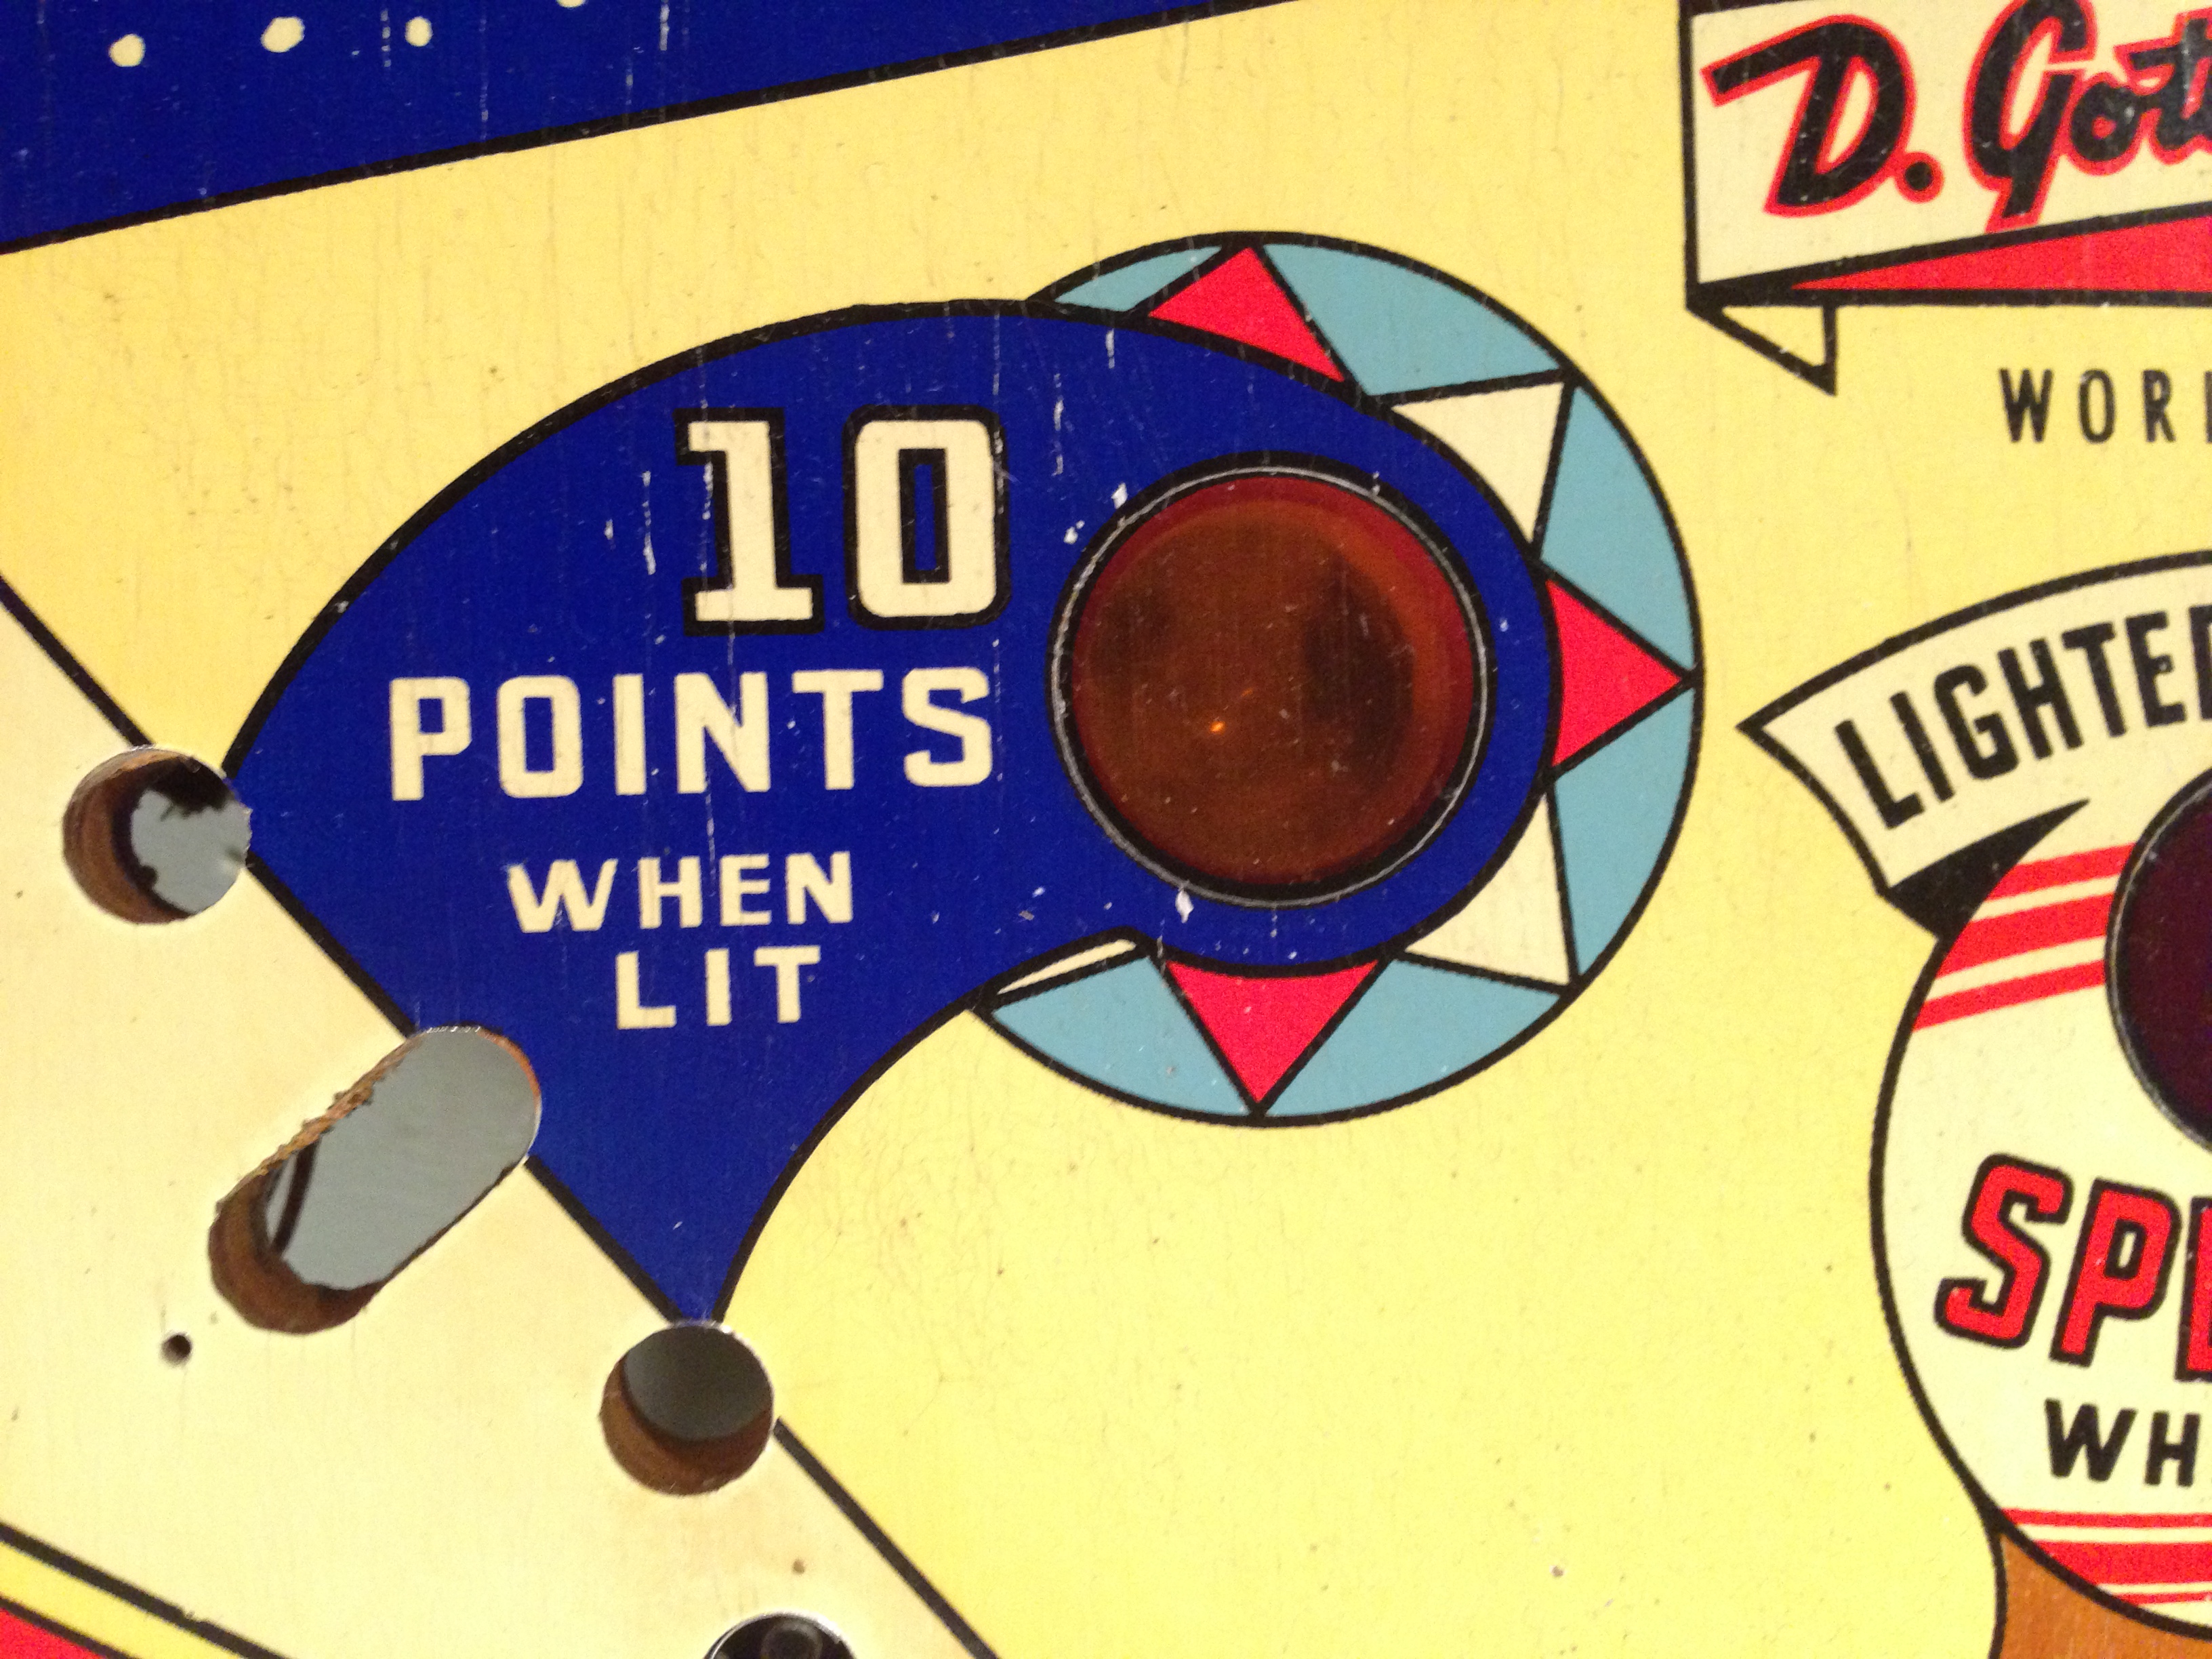
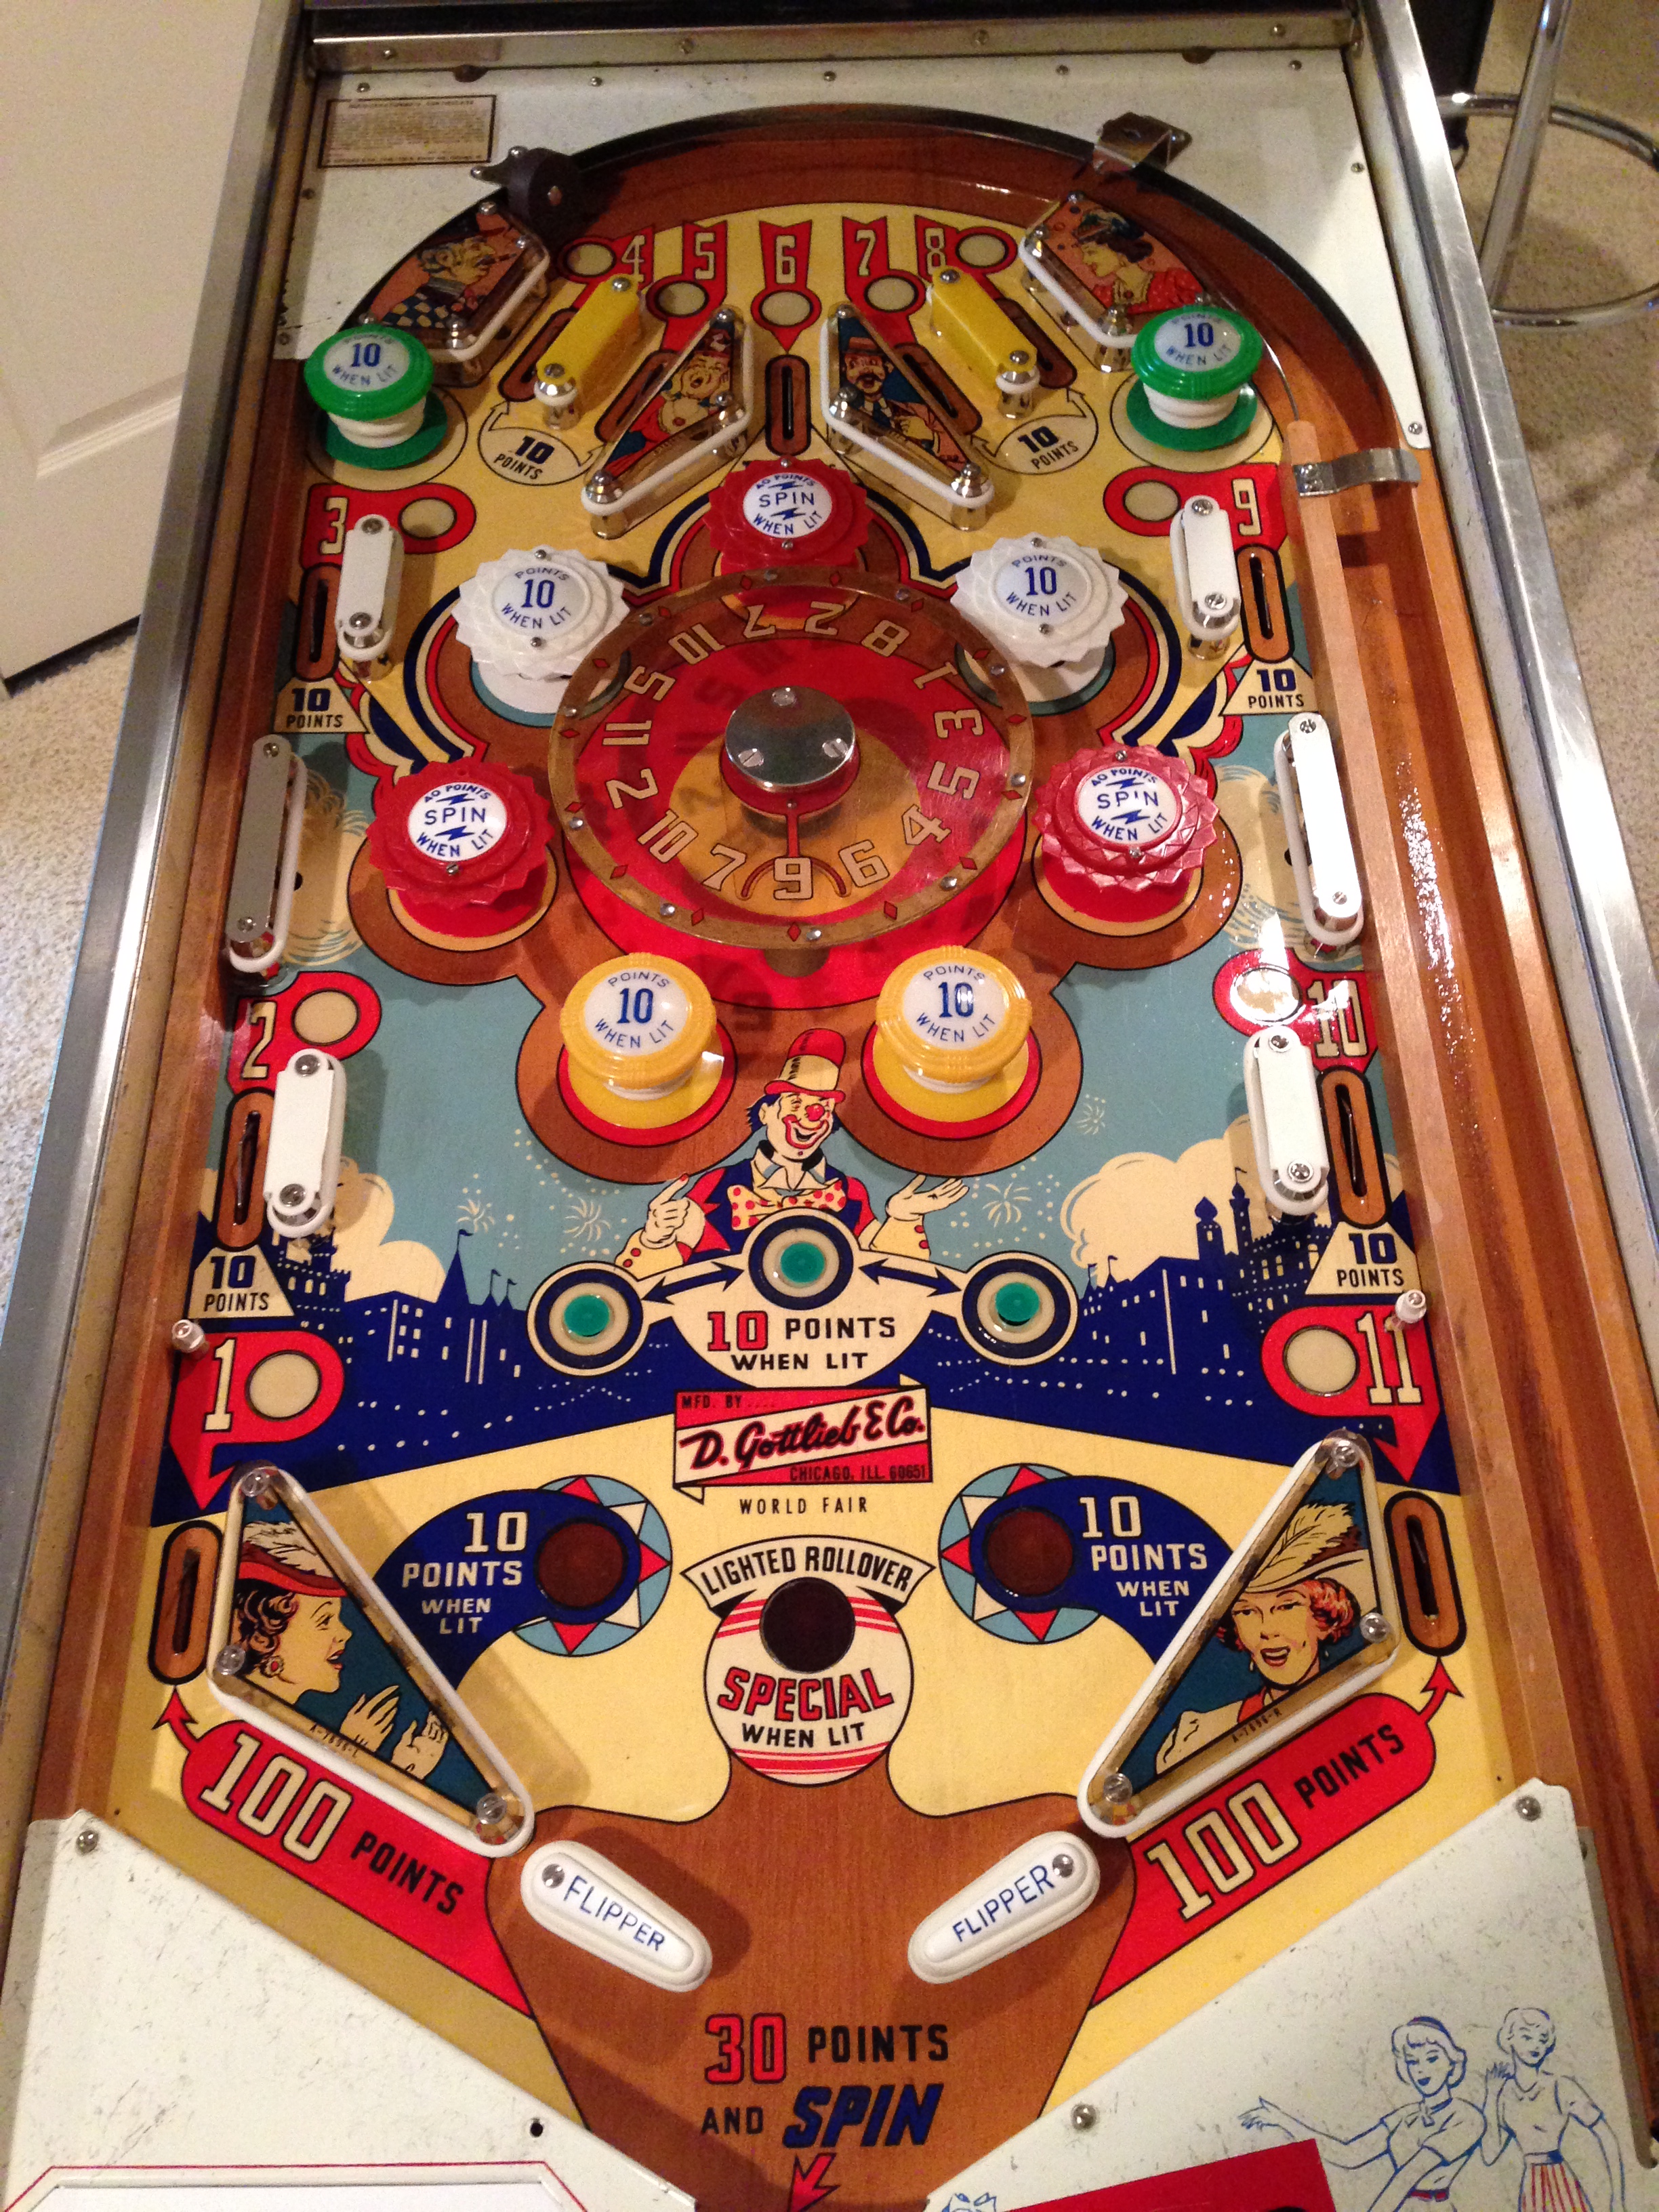
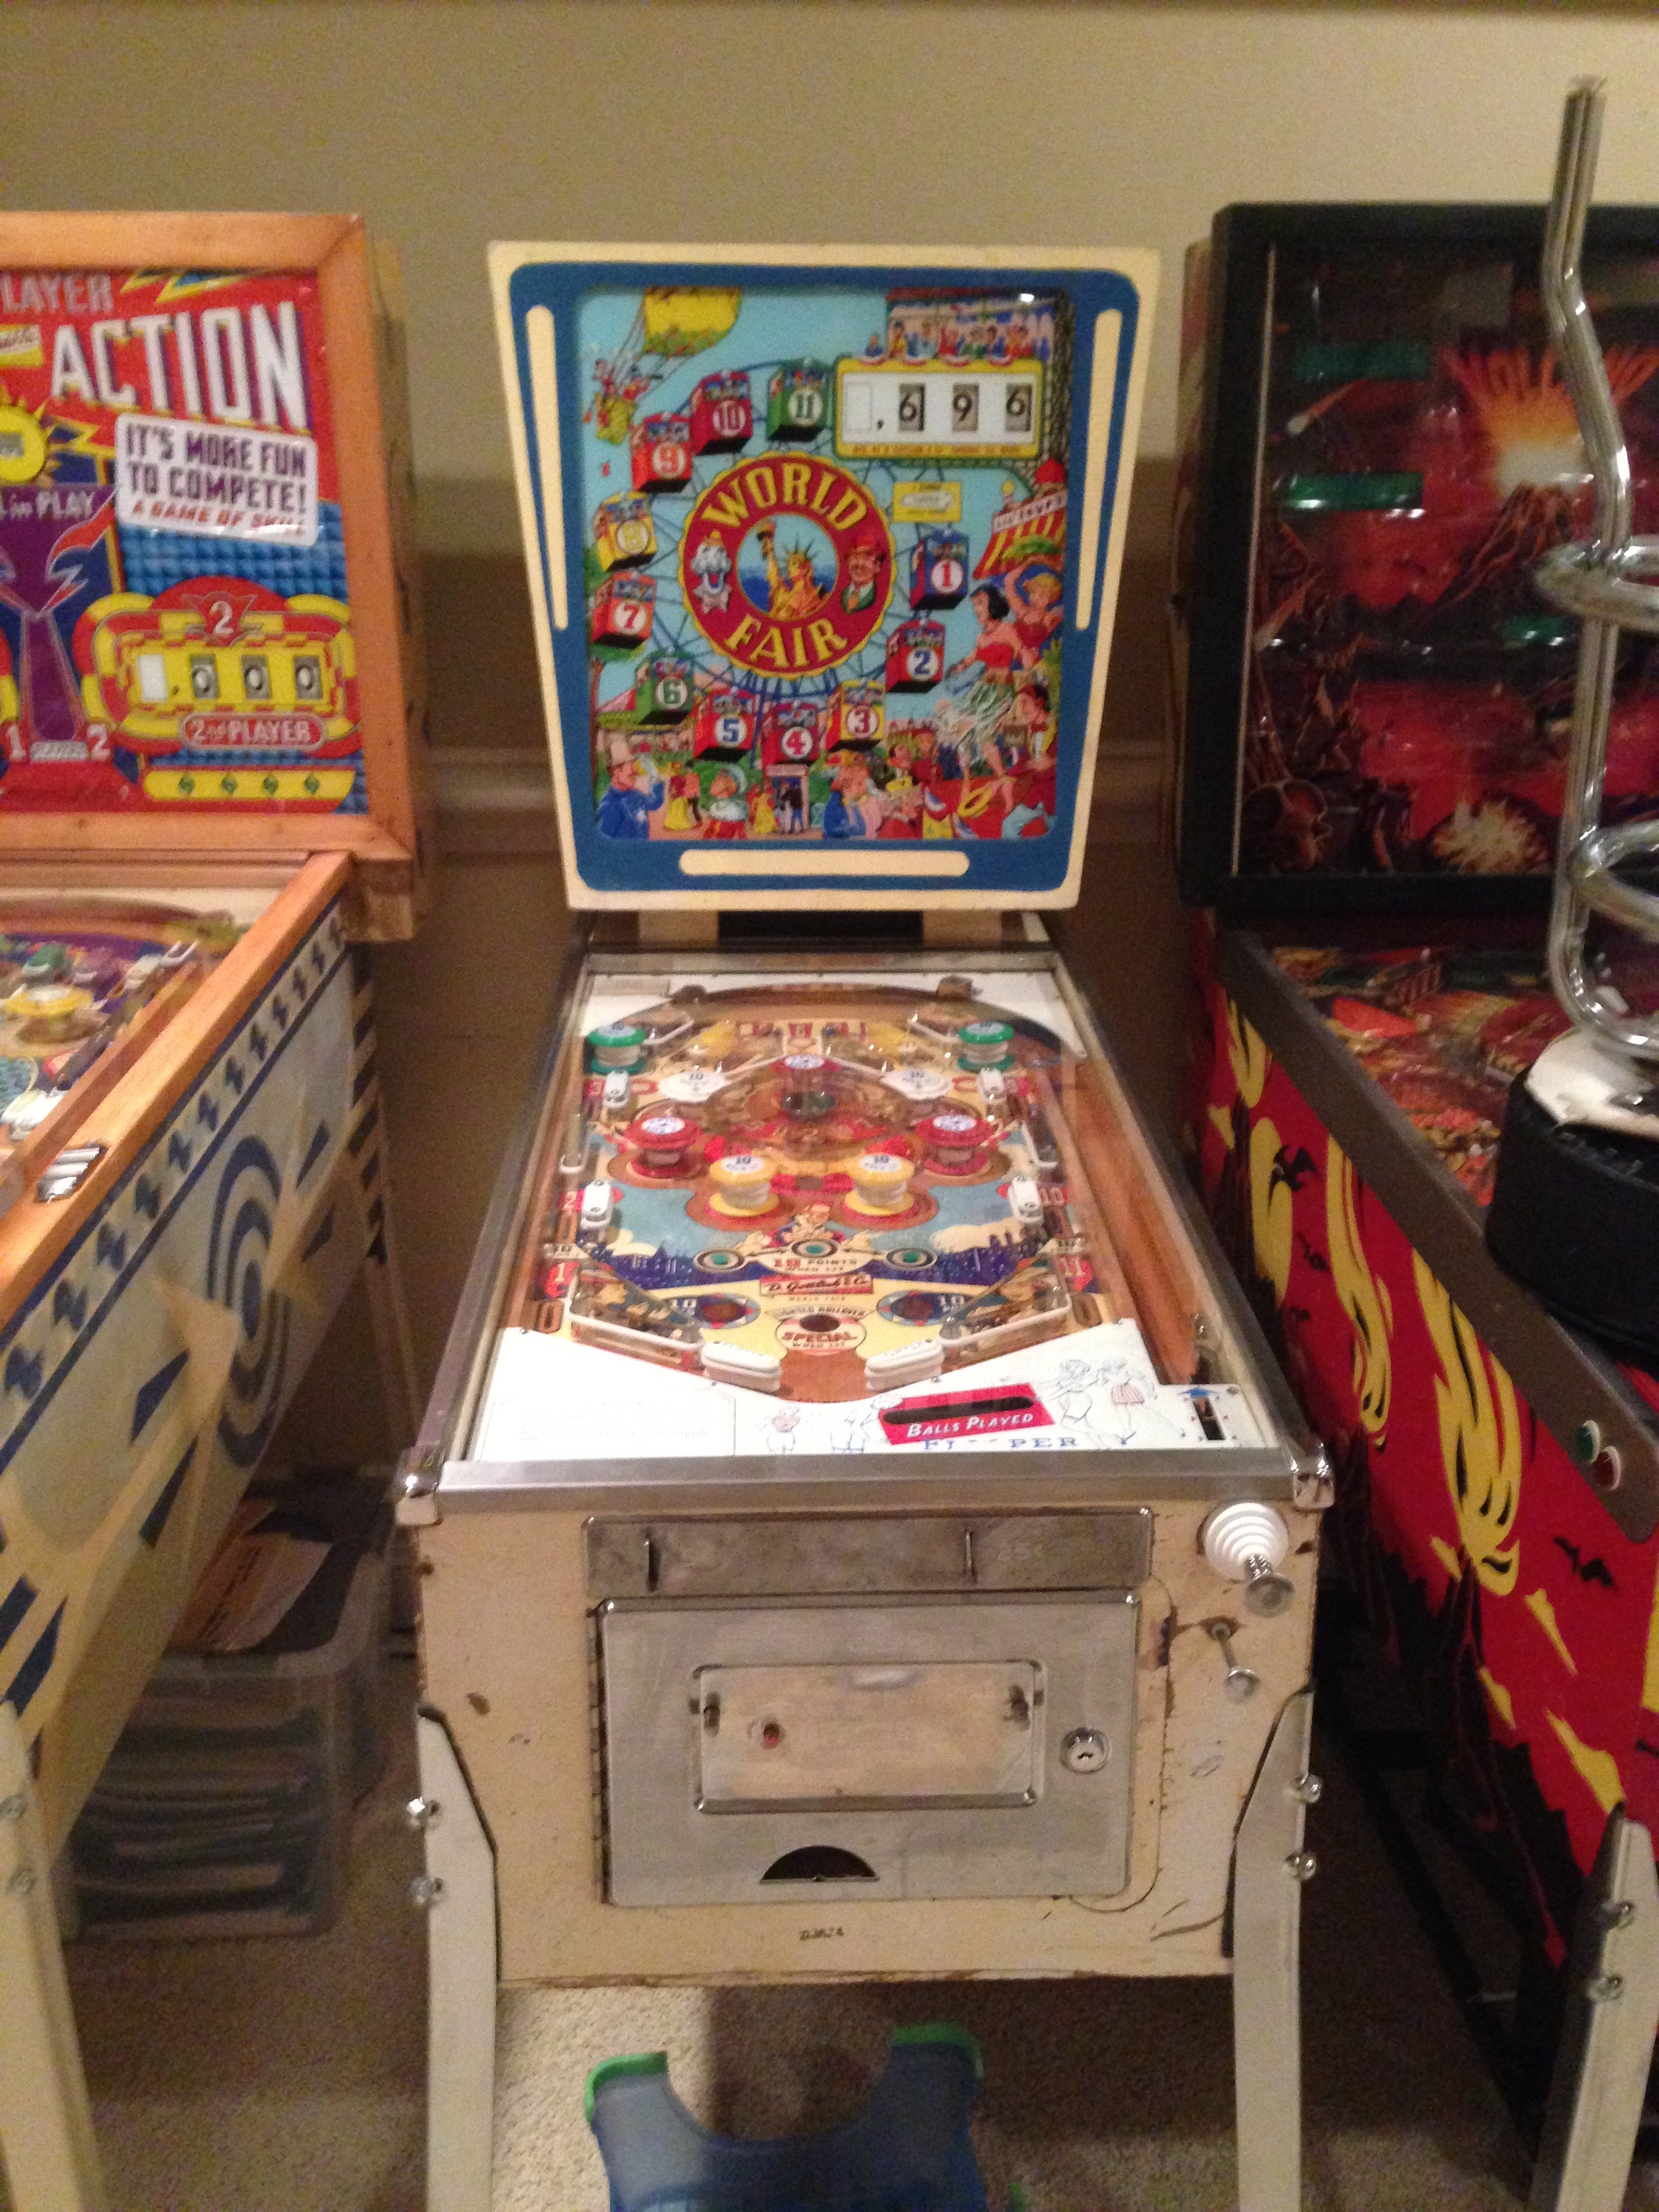
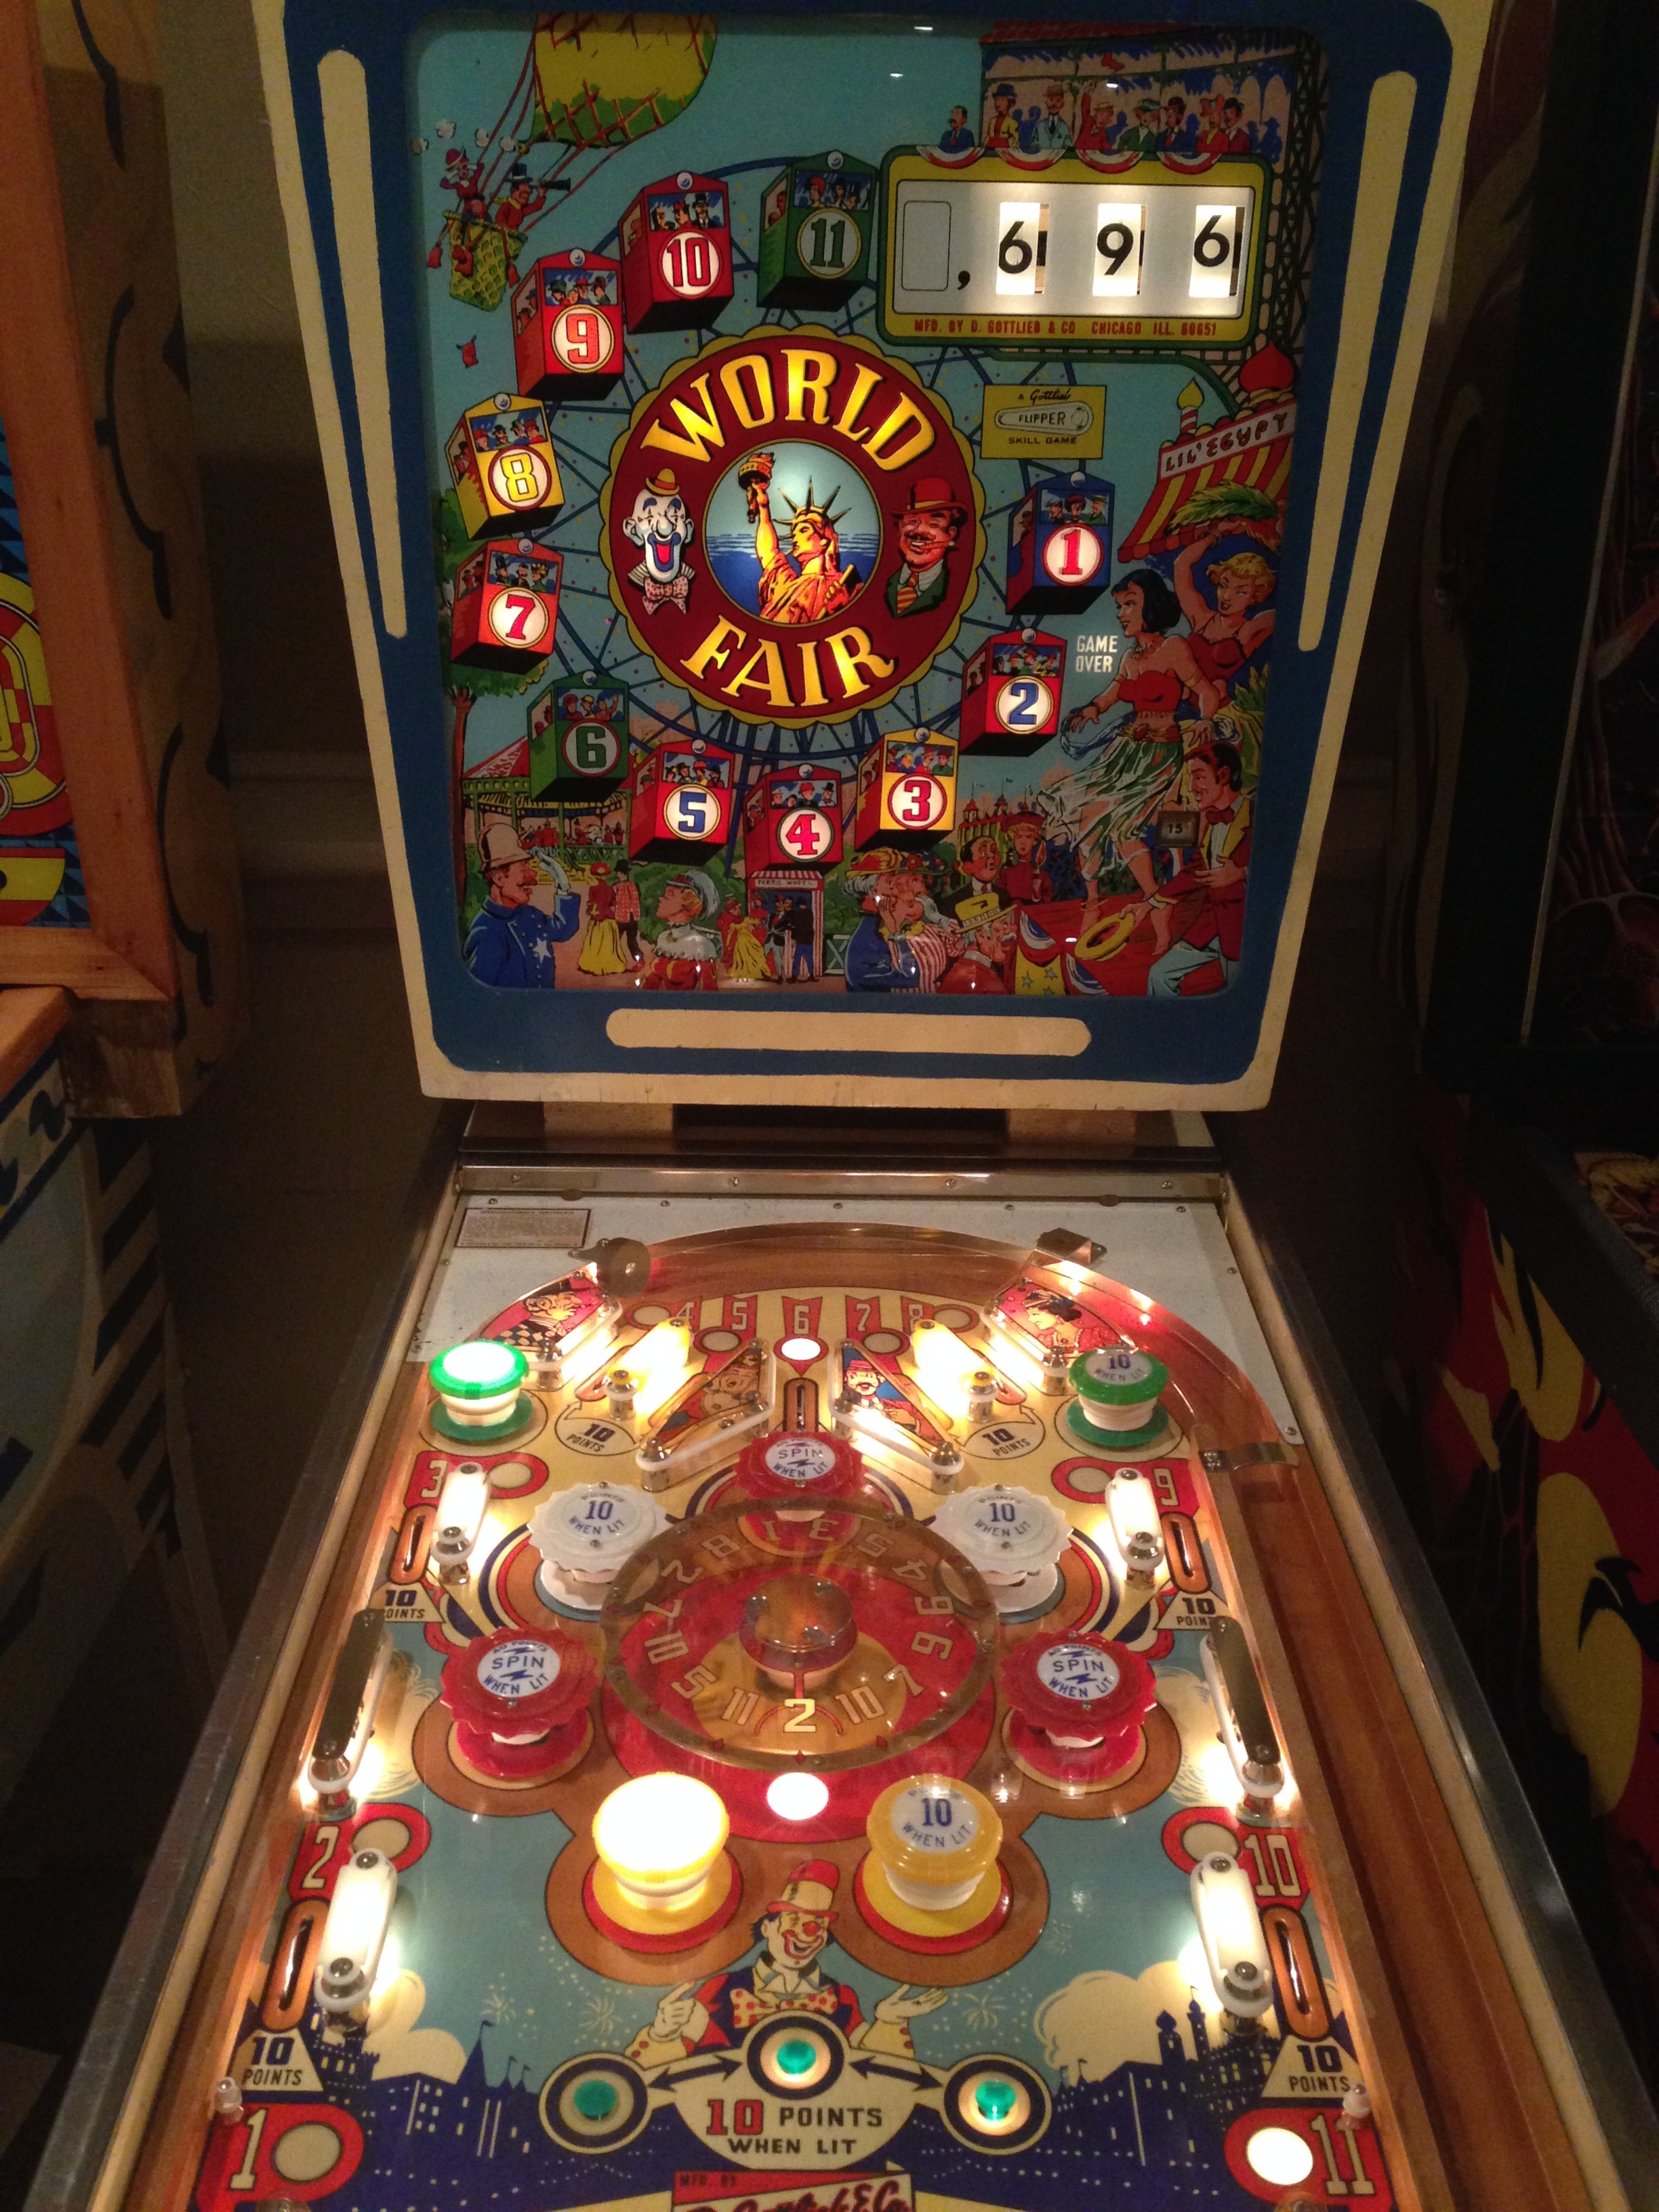
New to the collection is a 1964 Gottlieb World Fair Pinball. There were 4650 of these made, and apparently it was released in conjunction with the 1964-65 New York World Fair.

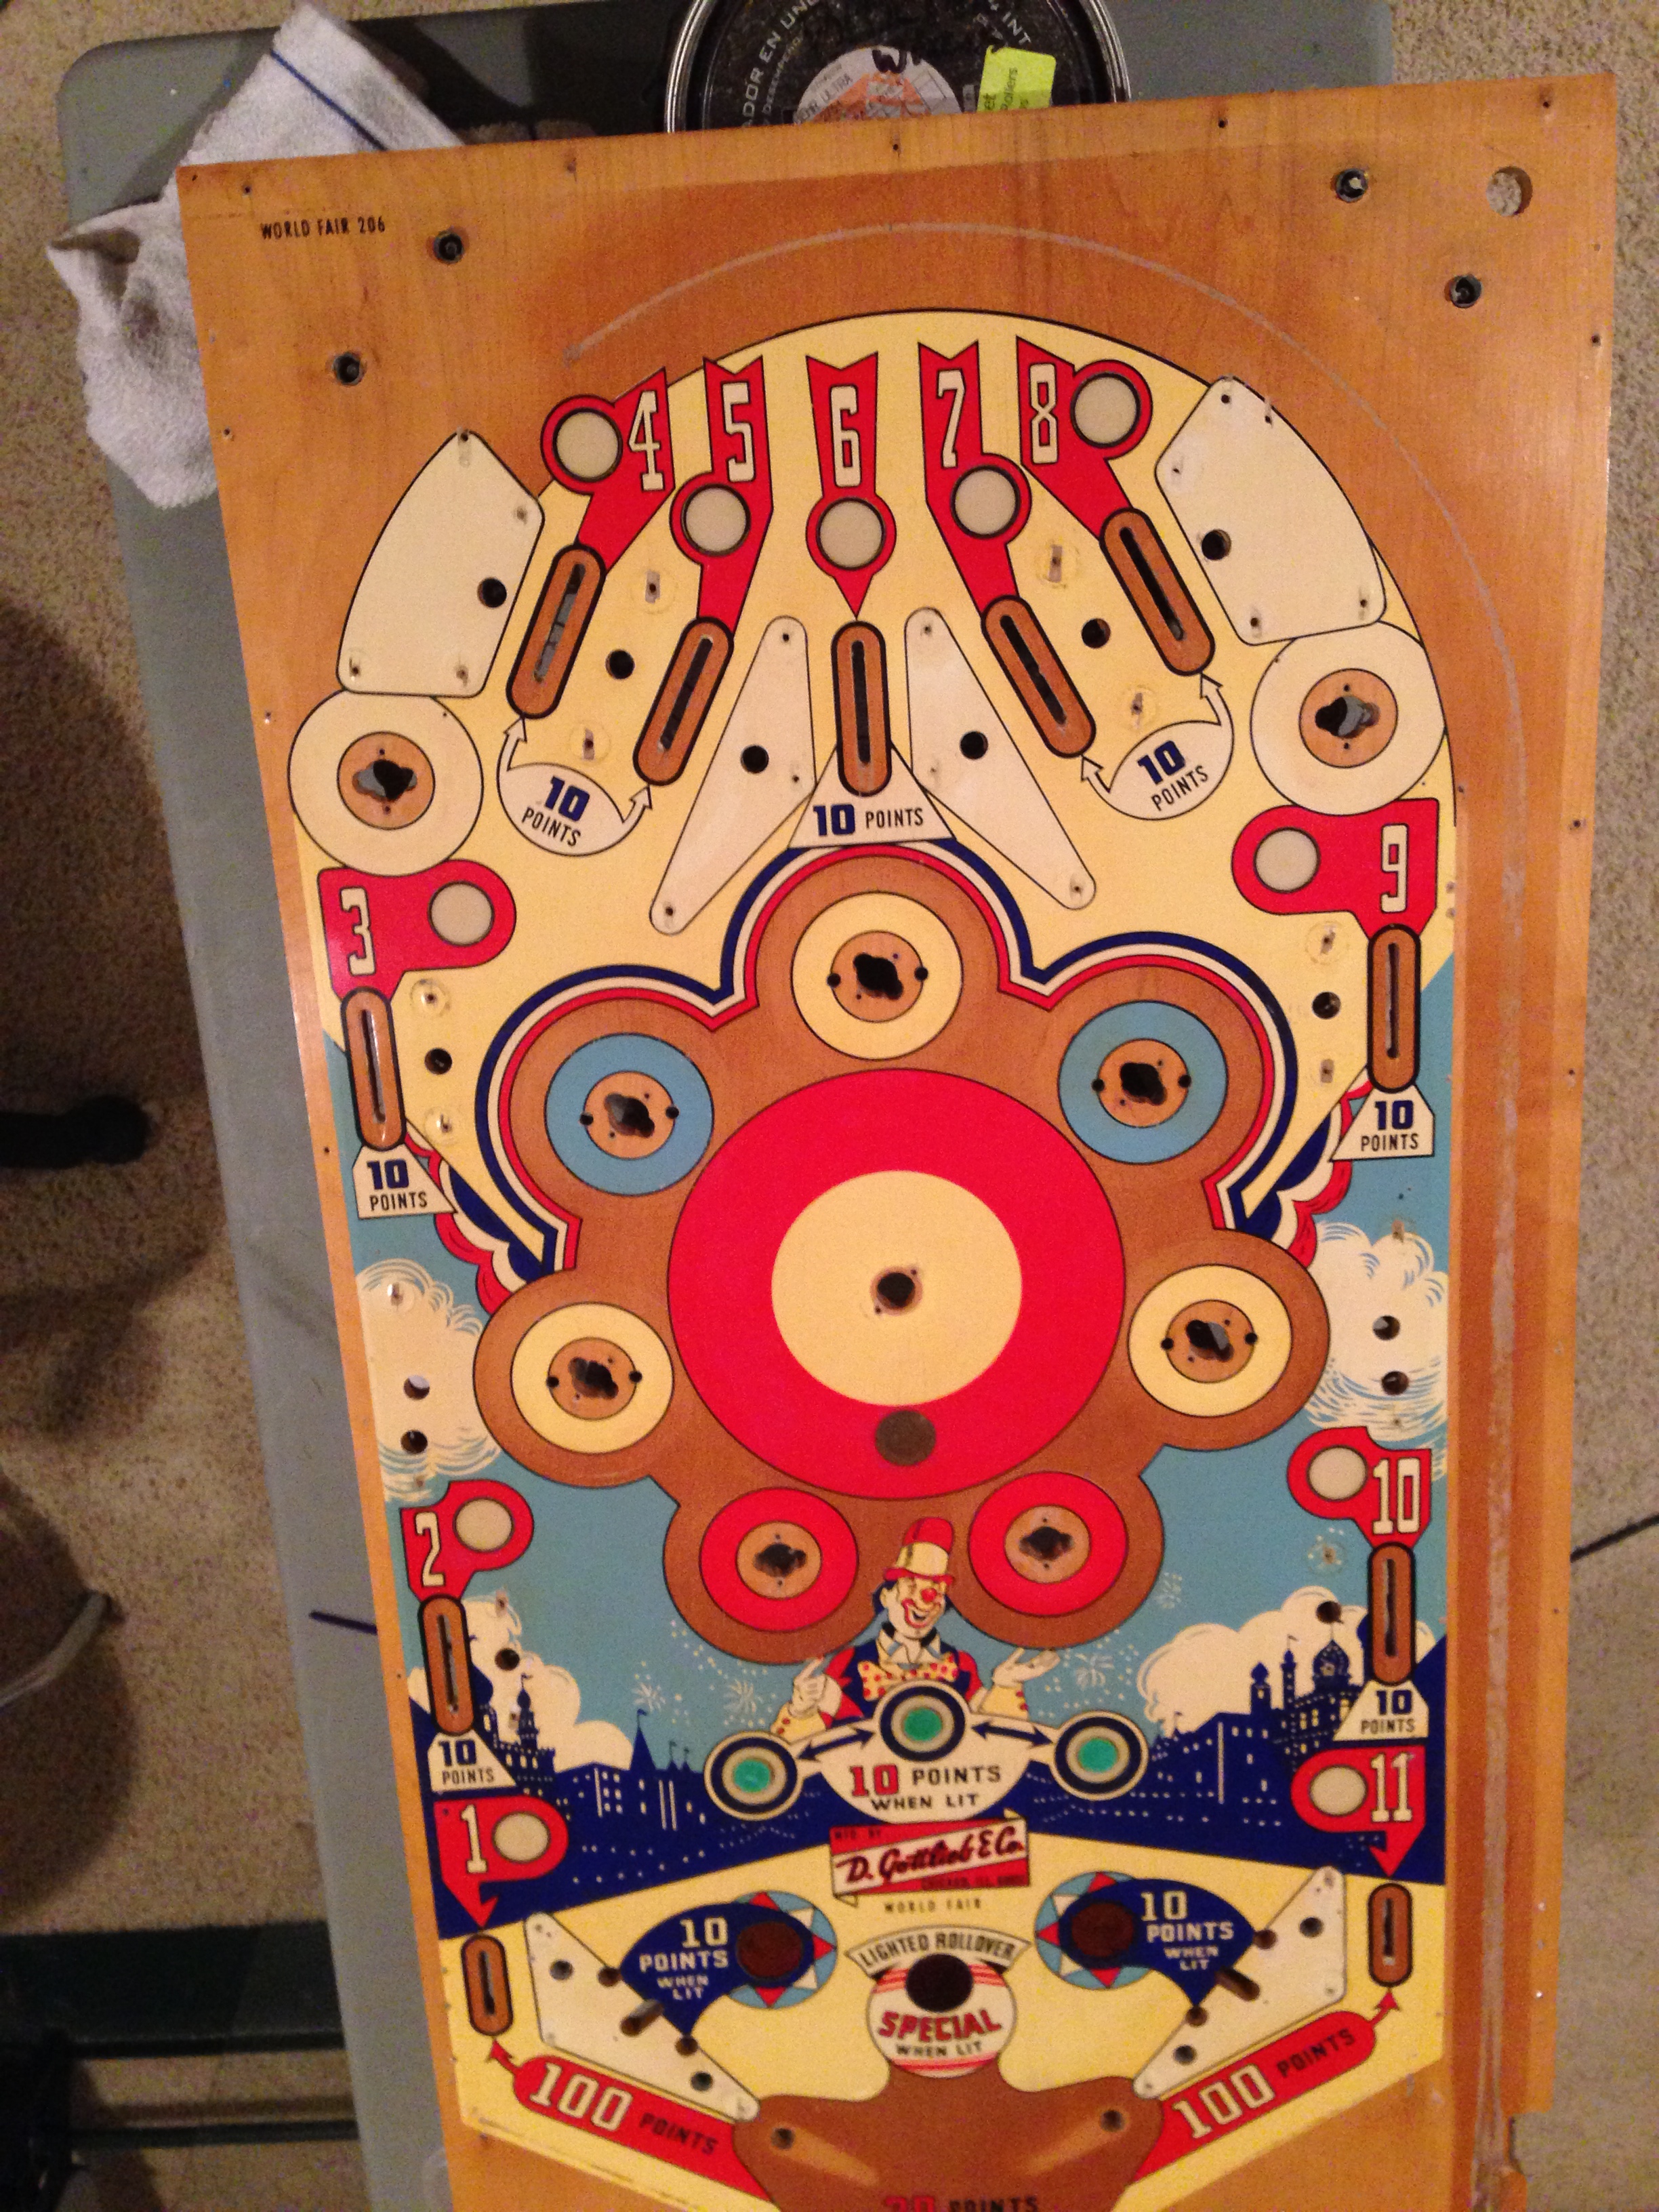
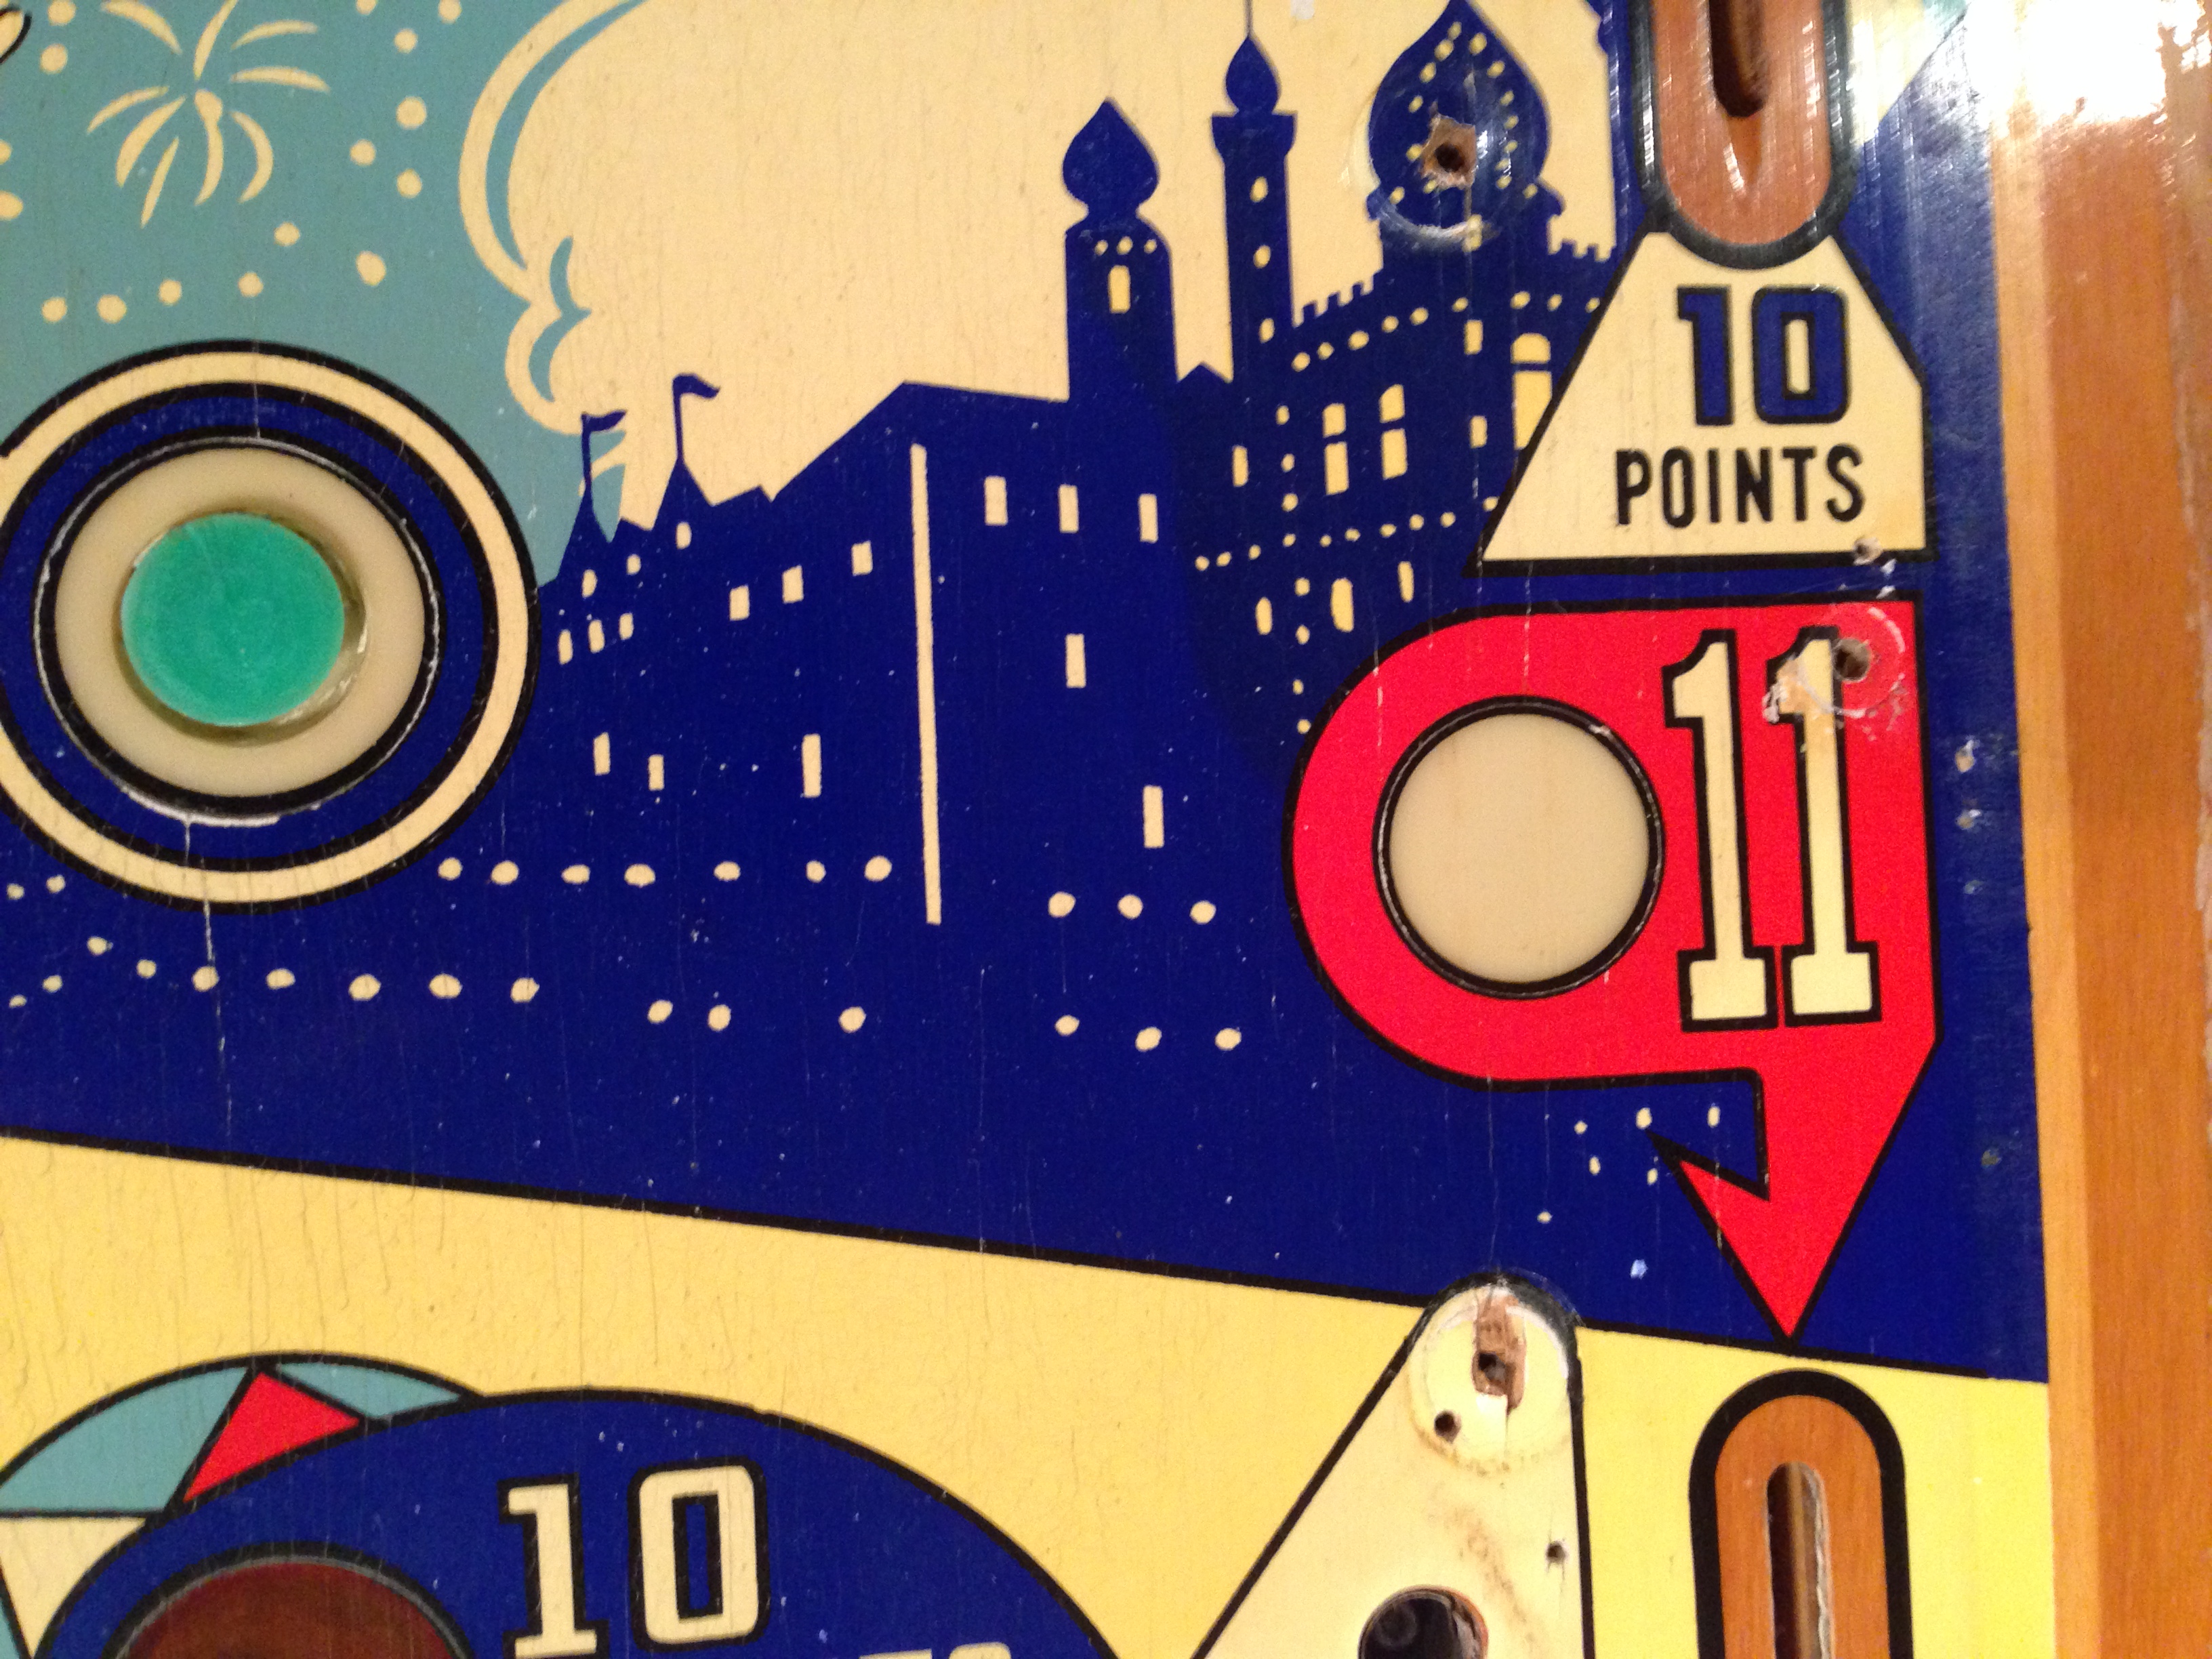
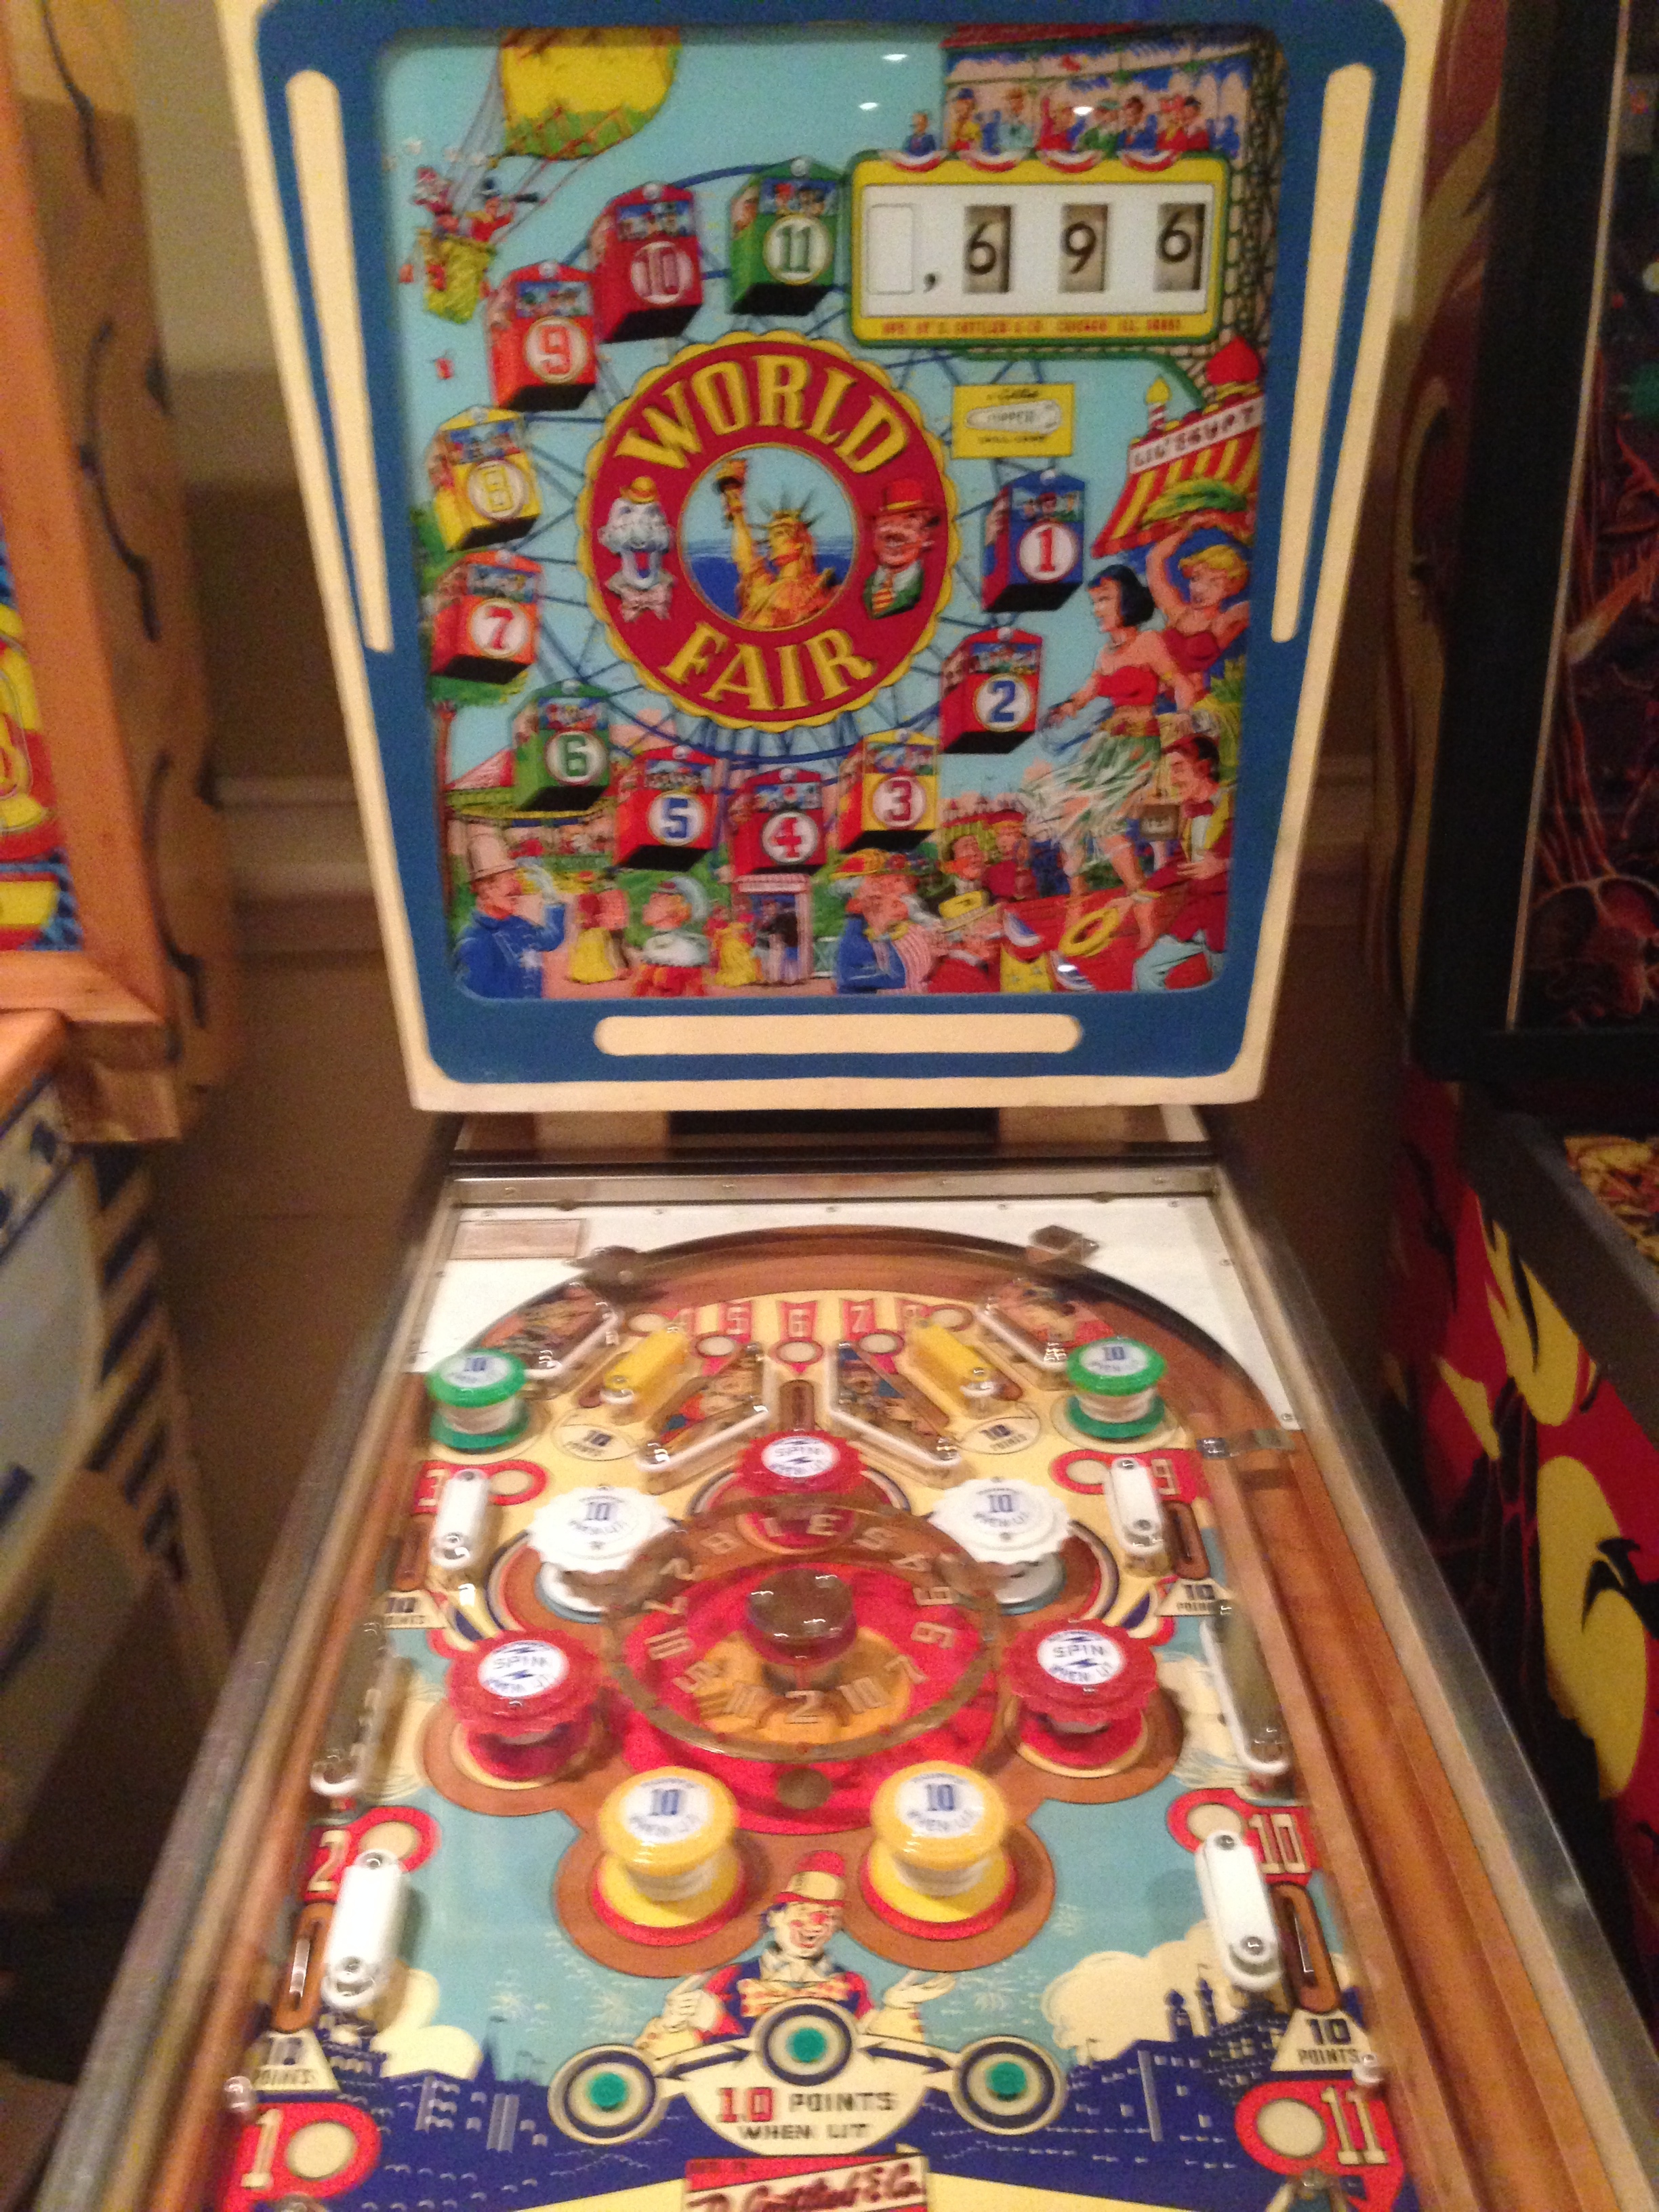
One of the goals of this game is to light all 11 cars of a Ferris Wheel on the backglass. This can be done by shooting the ball through rollover switches on the playfield, or by a really neat spinning disk feature that spins to a new number every time you hit a lit pop bumper.
All cars must be lit in order to get a special.
This machine is in decent mechanical and fair cosmetic condition. I’ll be doing some basic repair and restoration on this machine. I’ll post updates as I progress. I’m considering getting a stencil set to repaint the cabinet, and also perhaps requesting BGResto to repair the backglass for this machine.
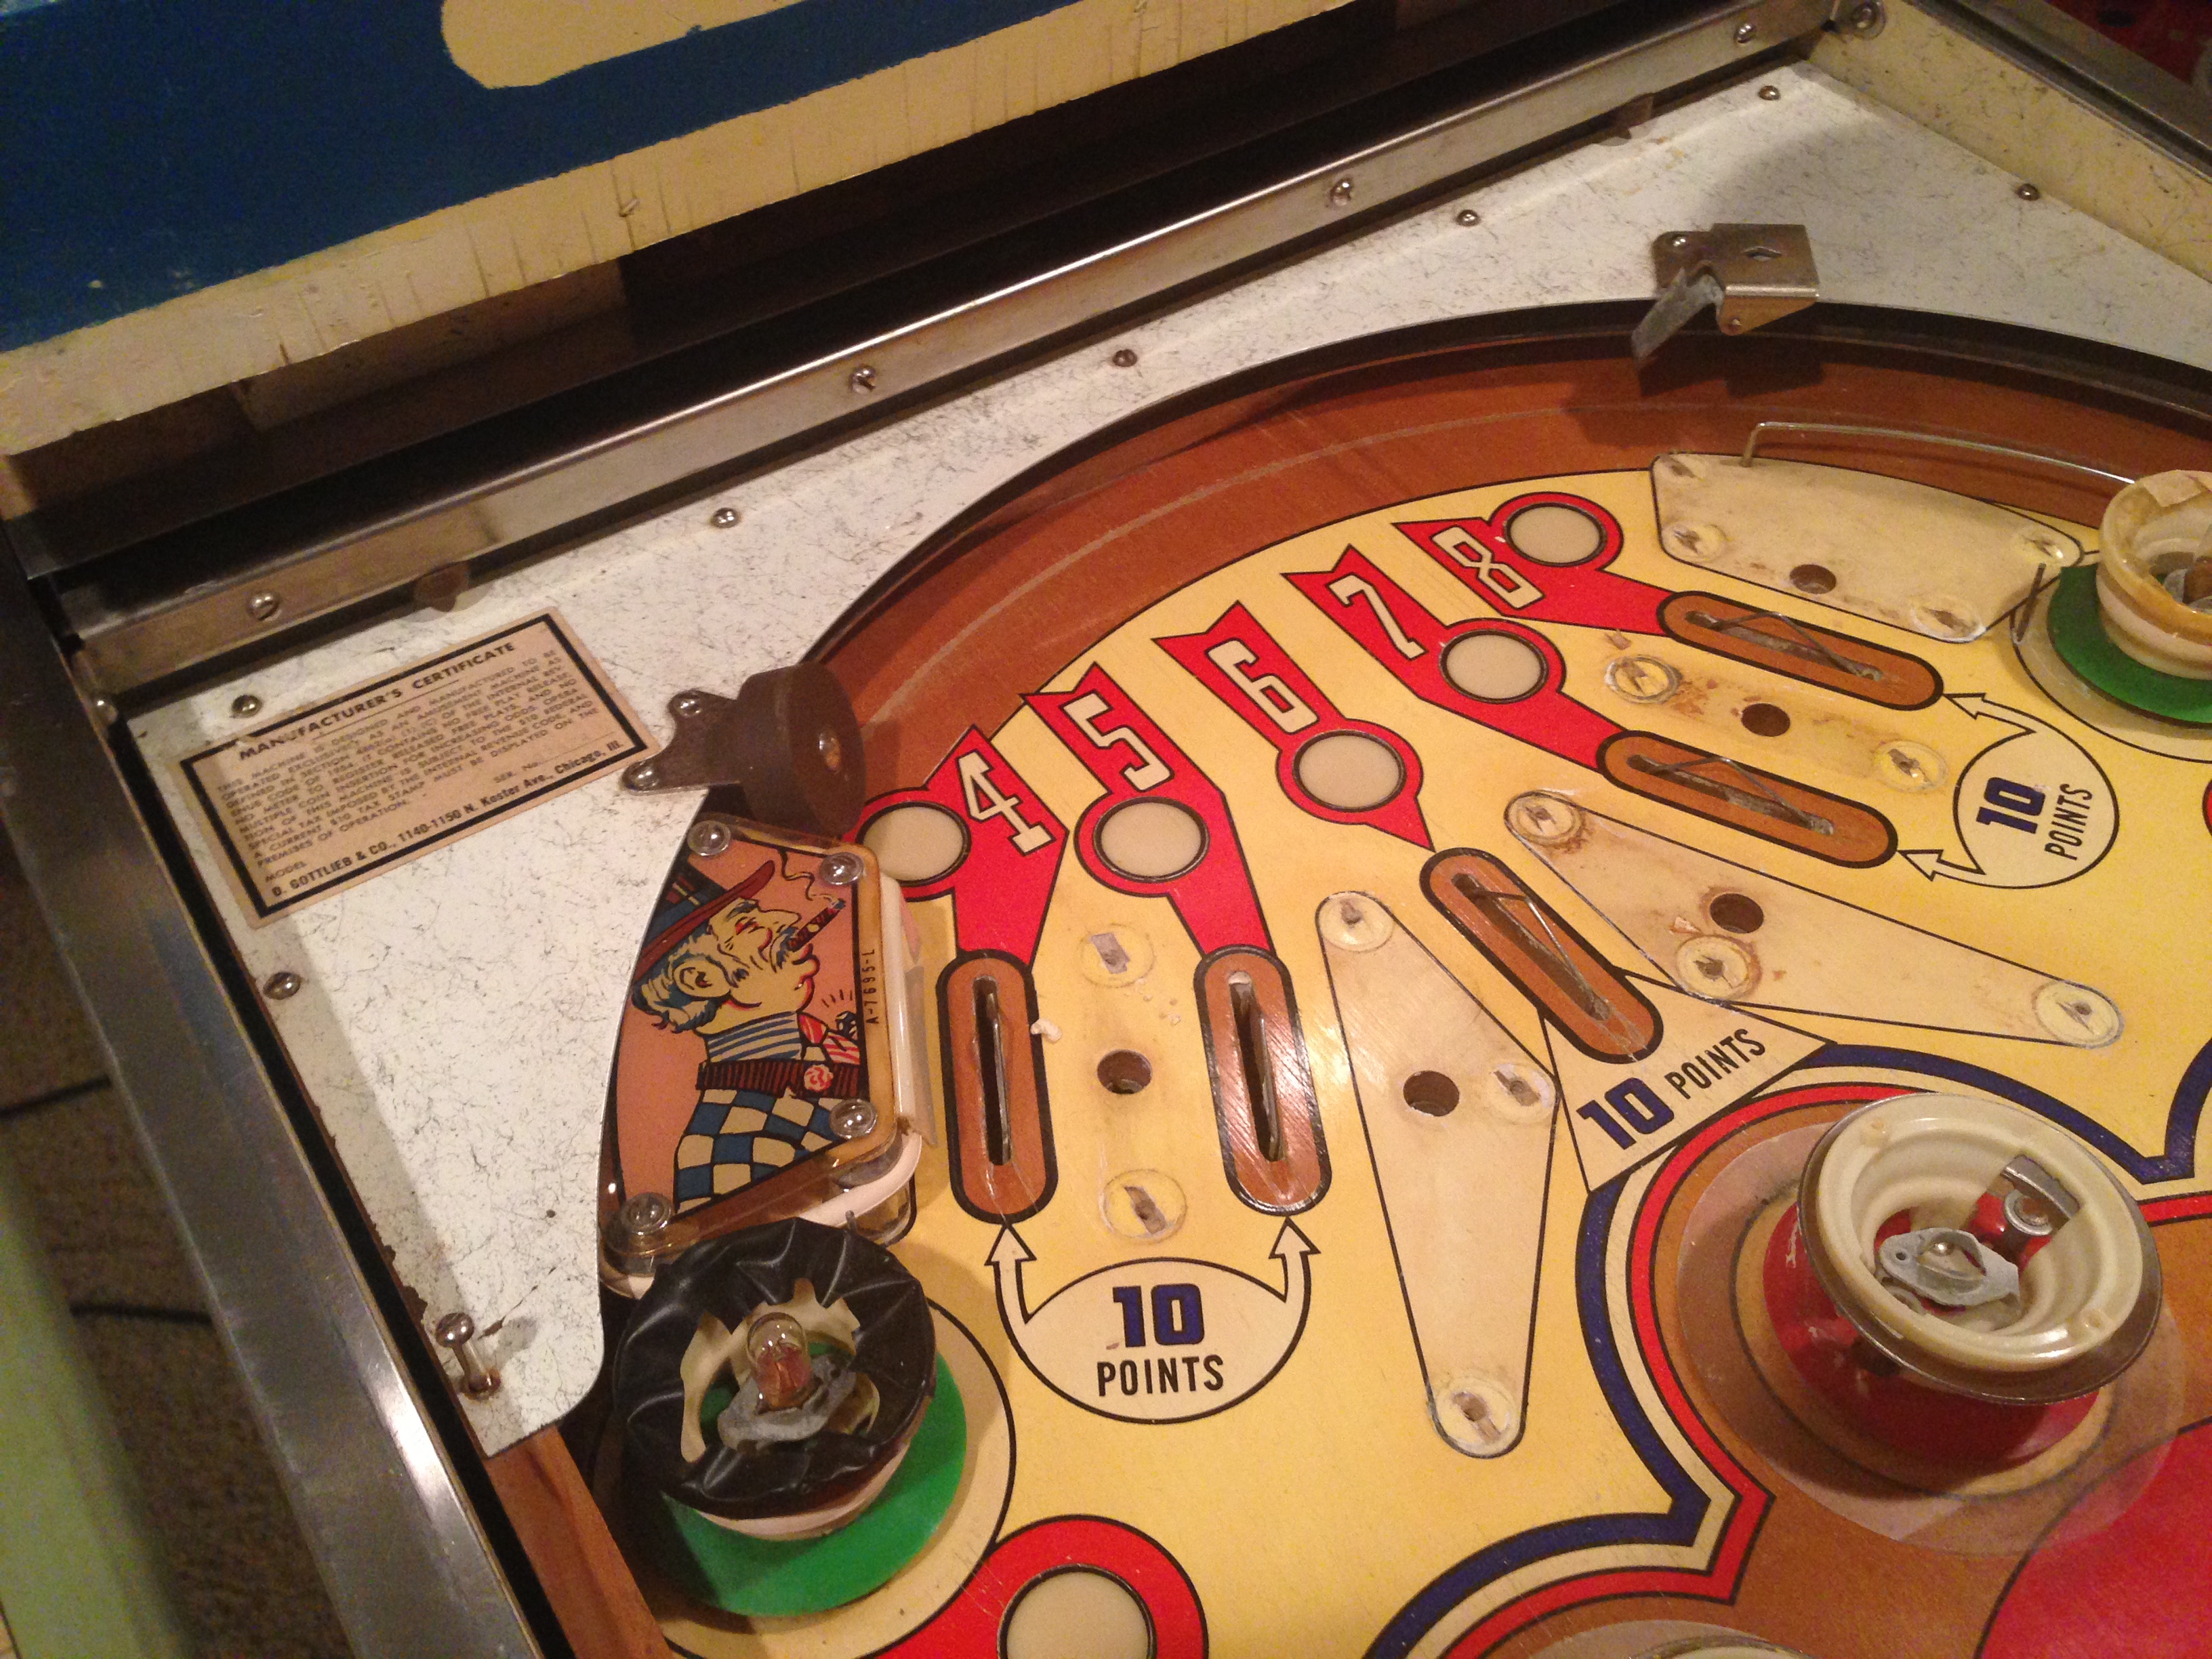
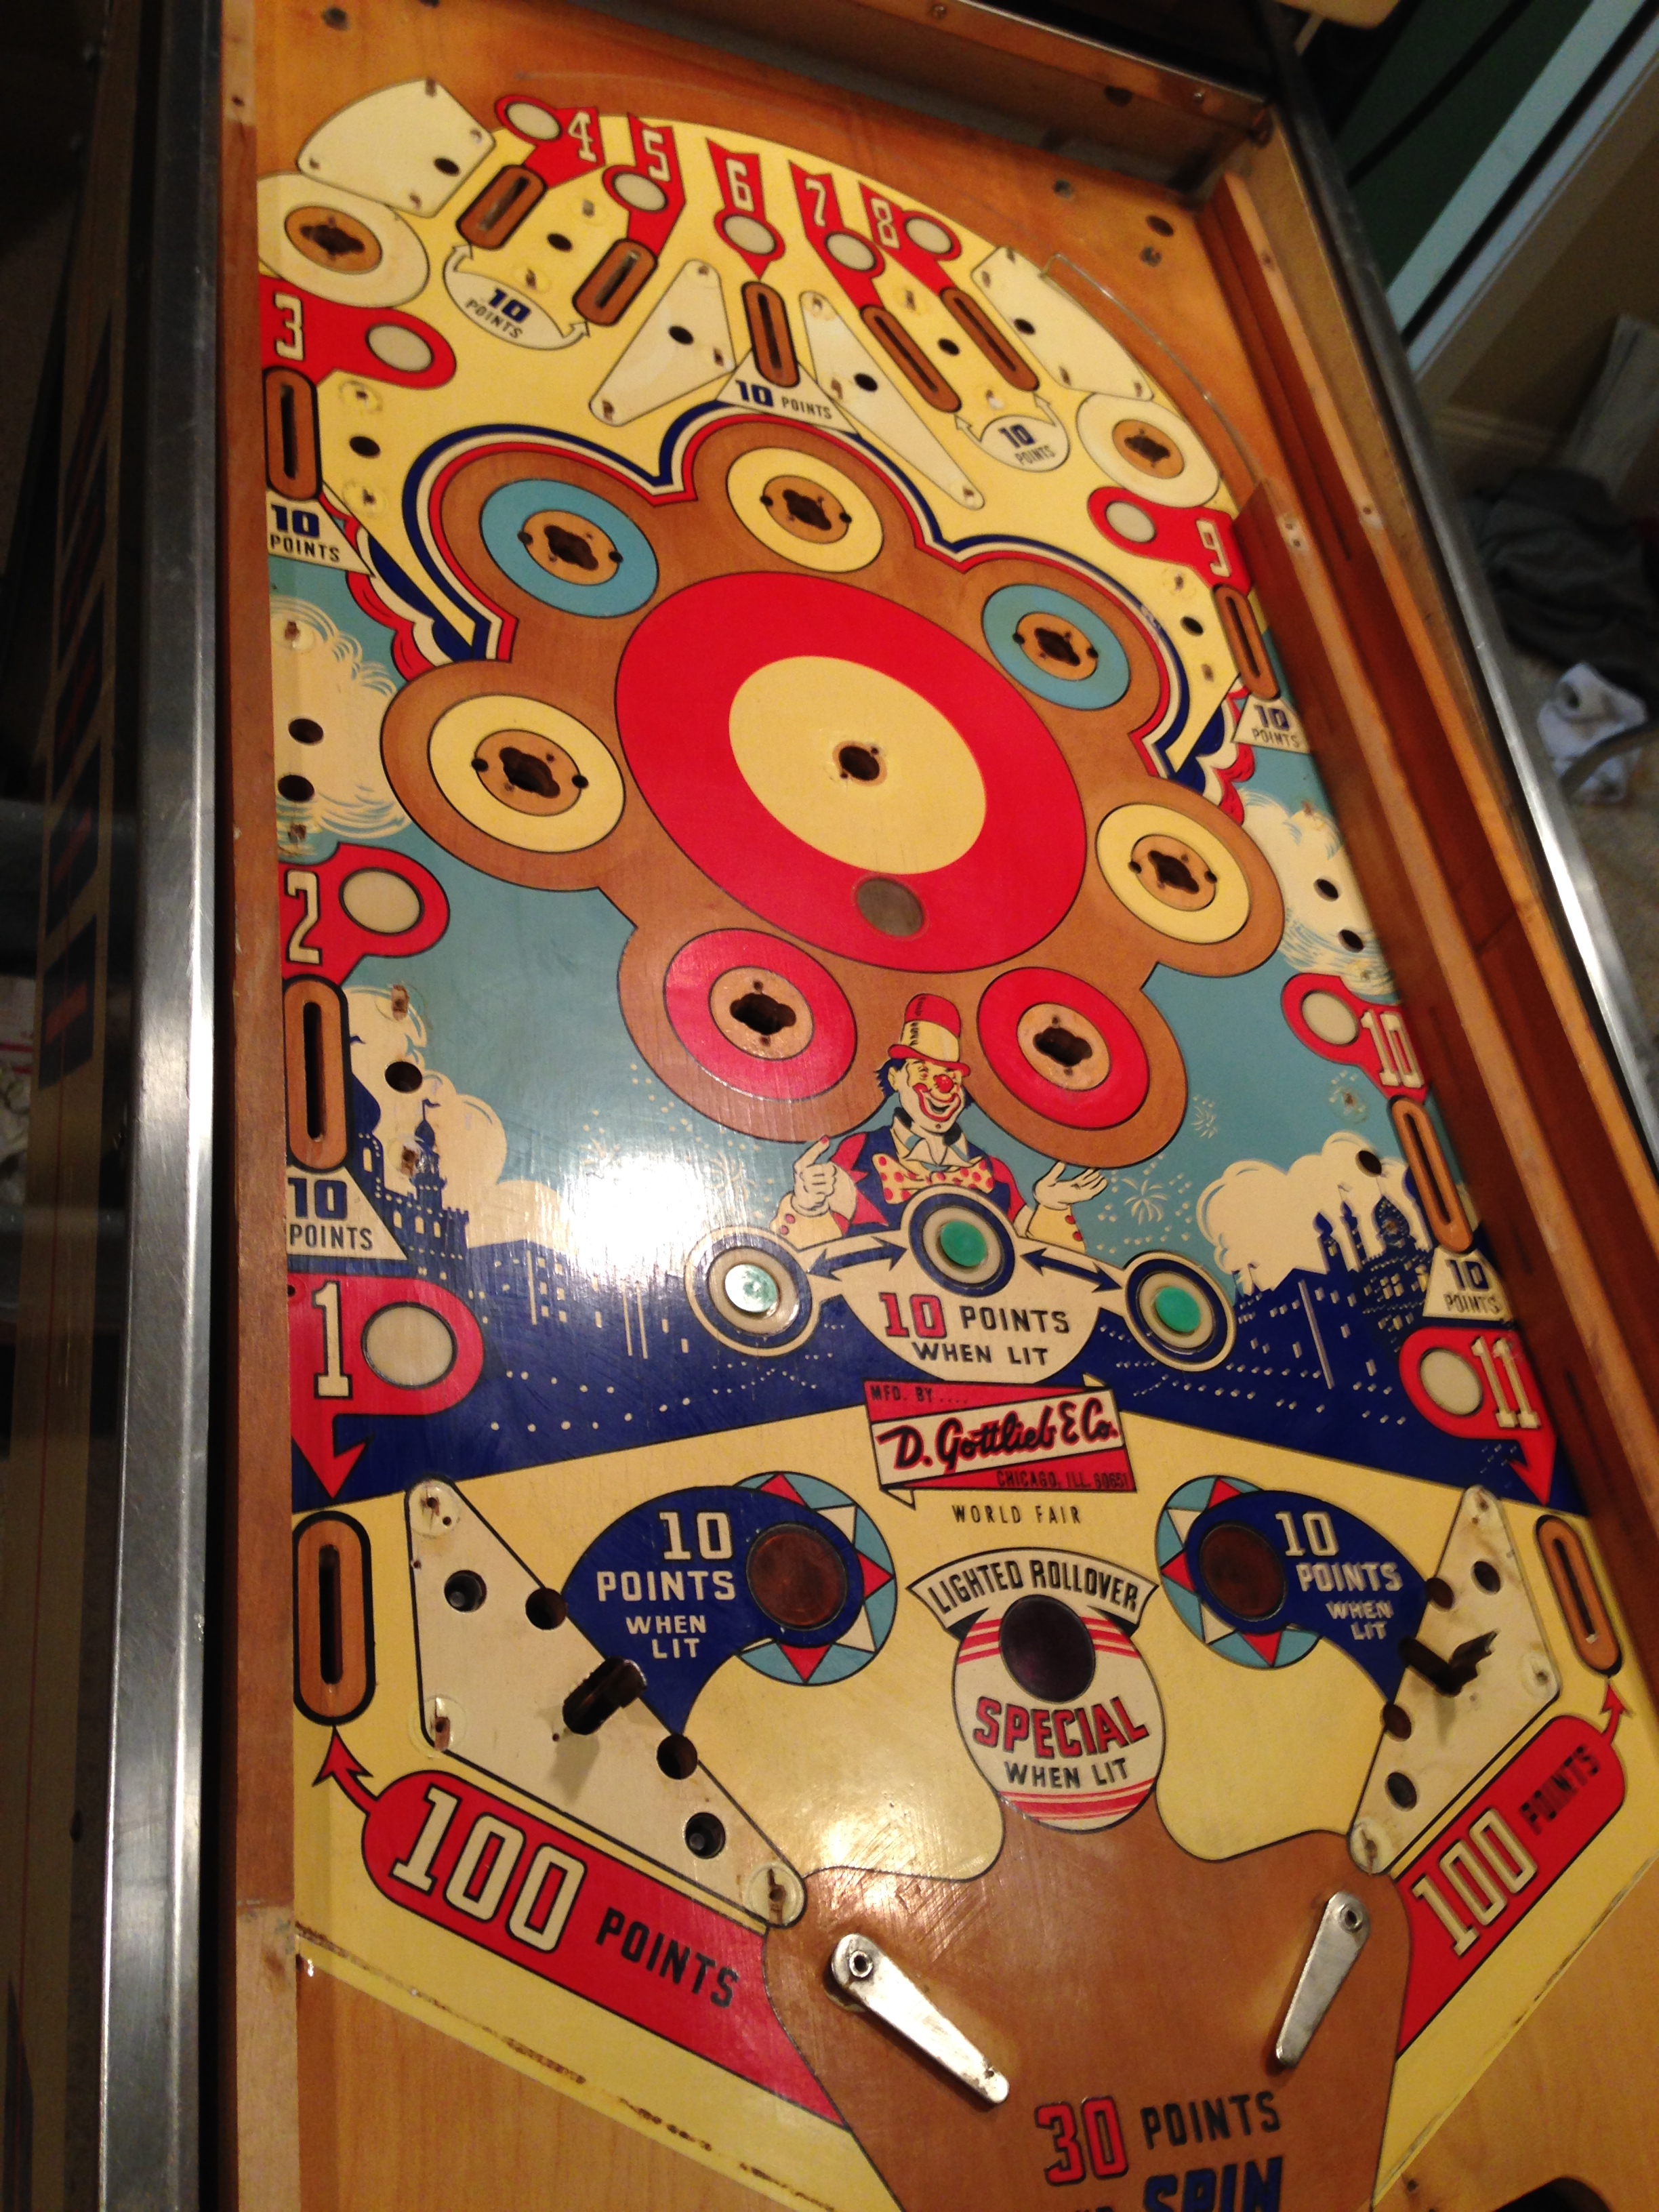
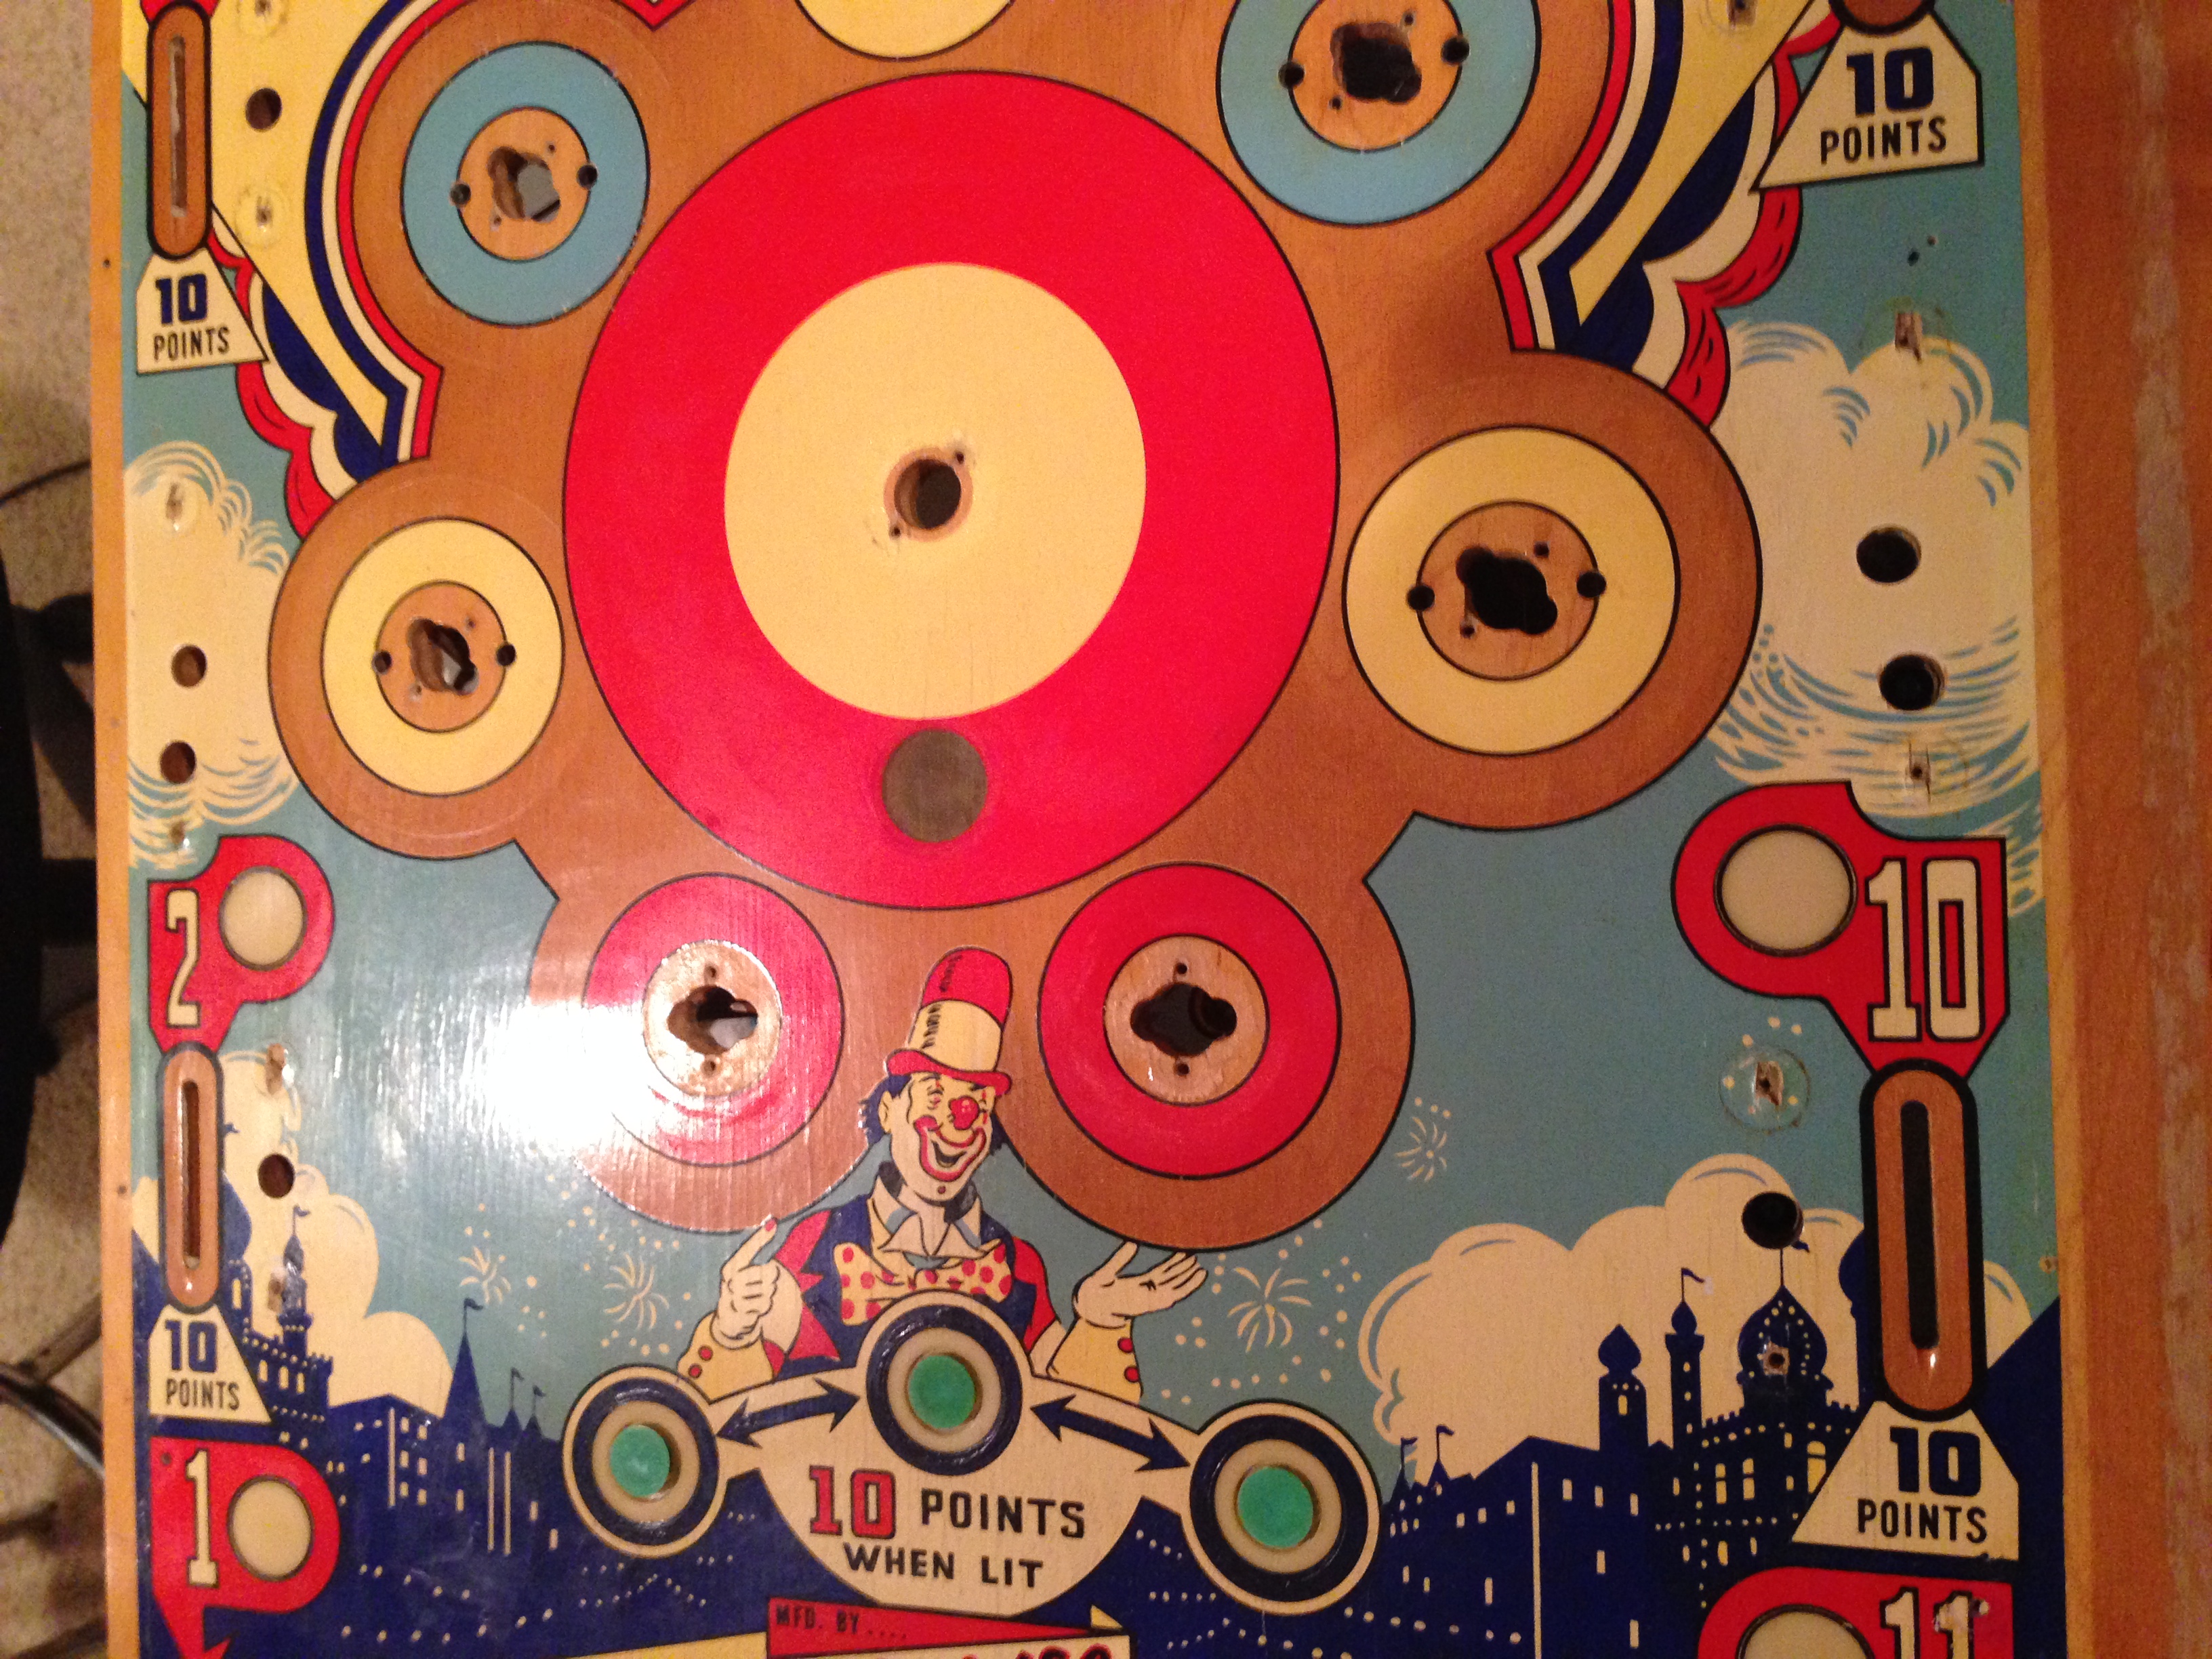
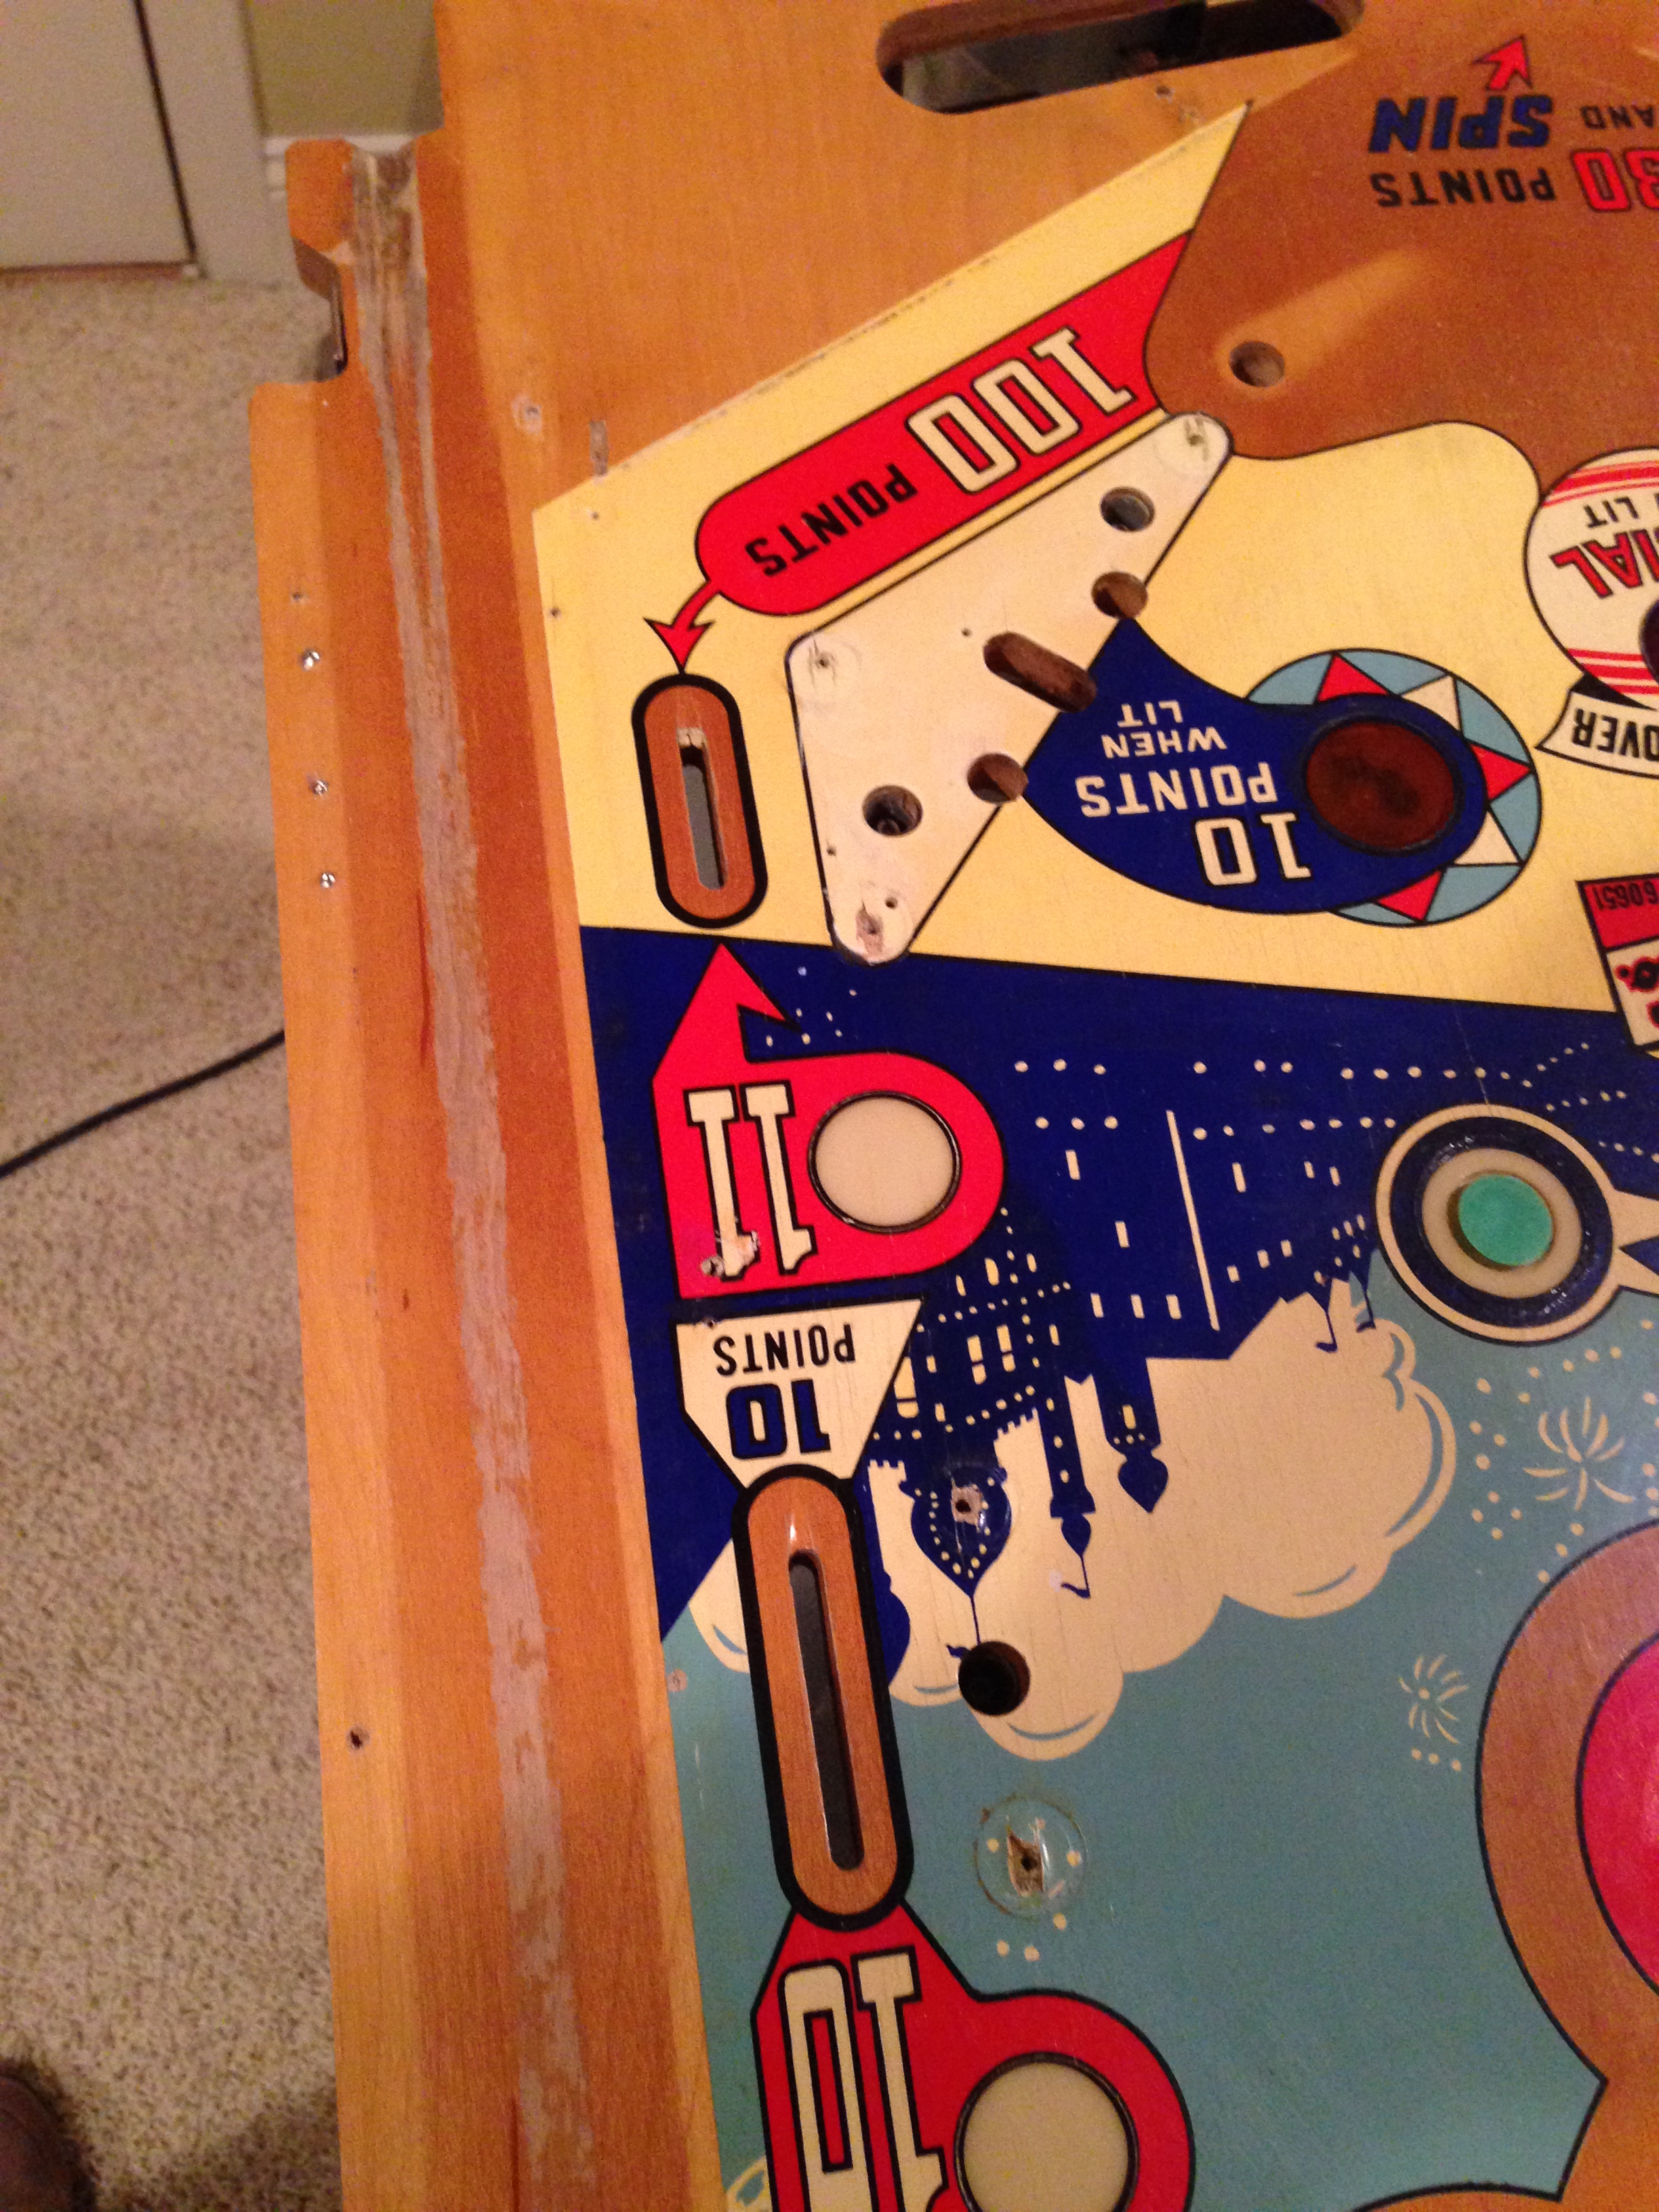
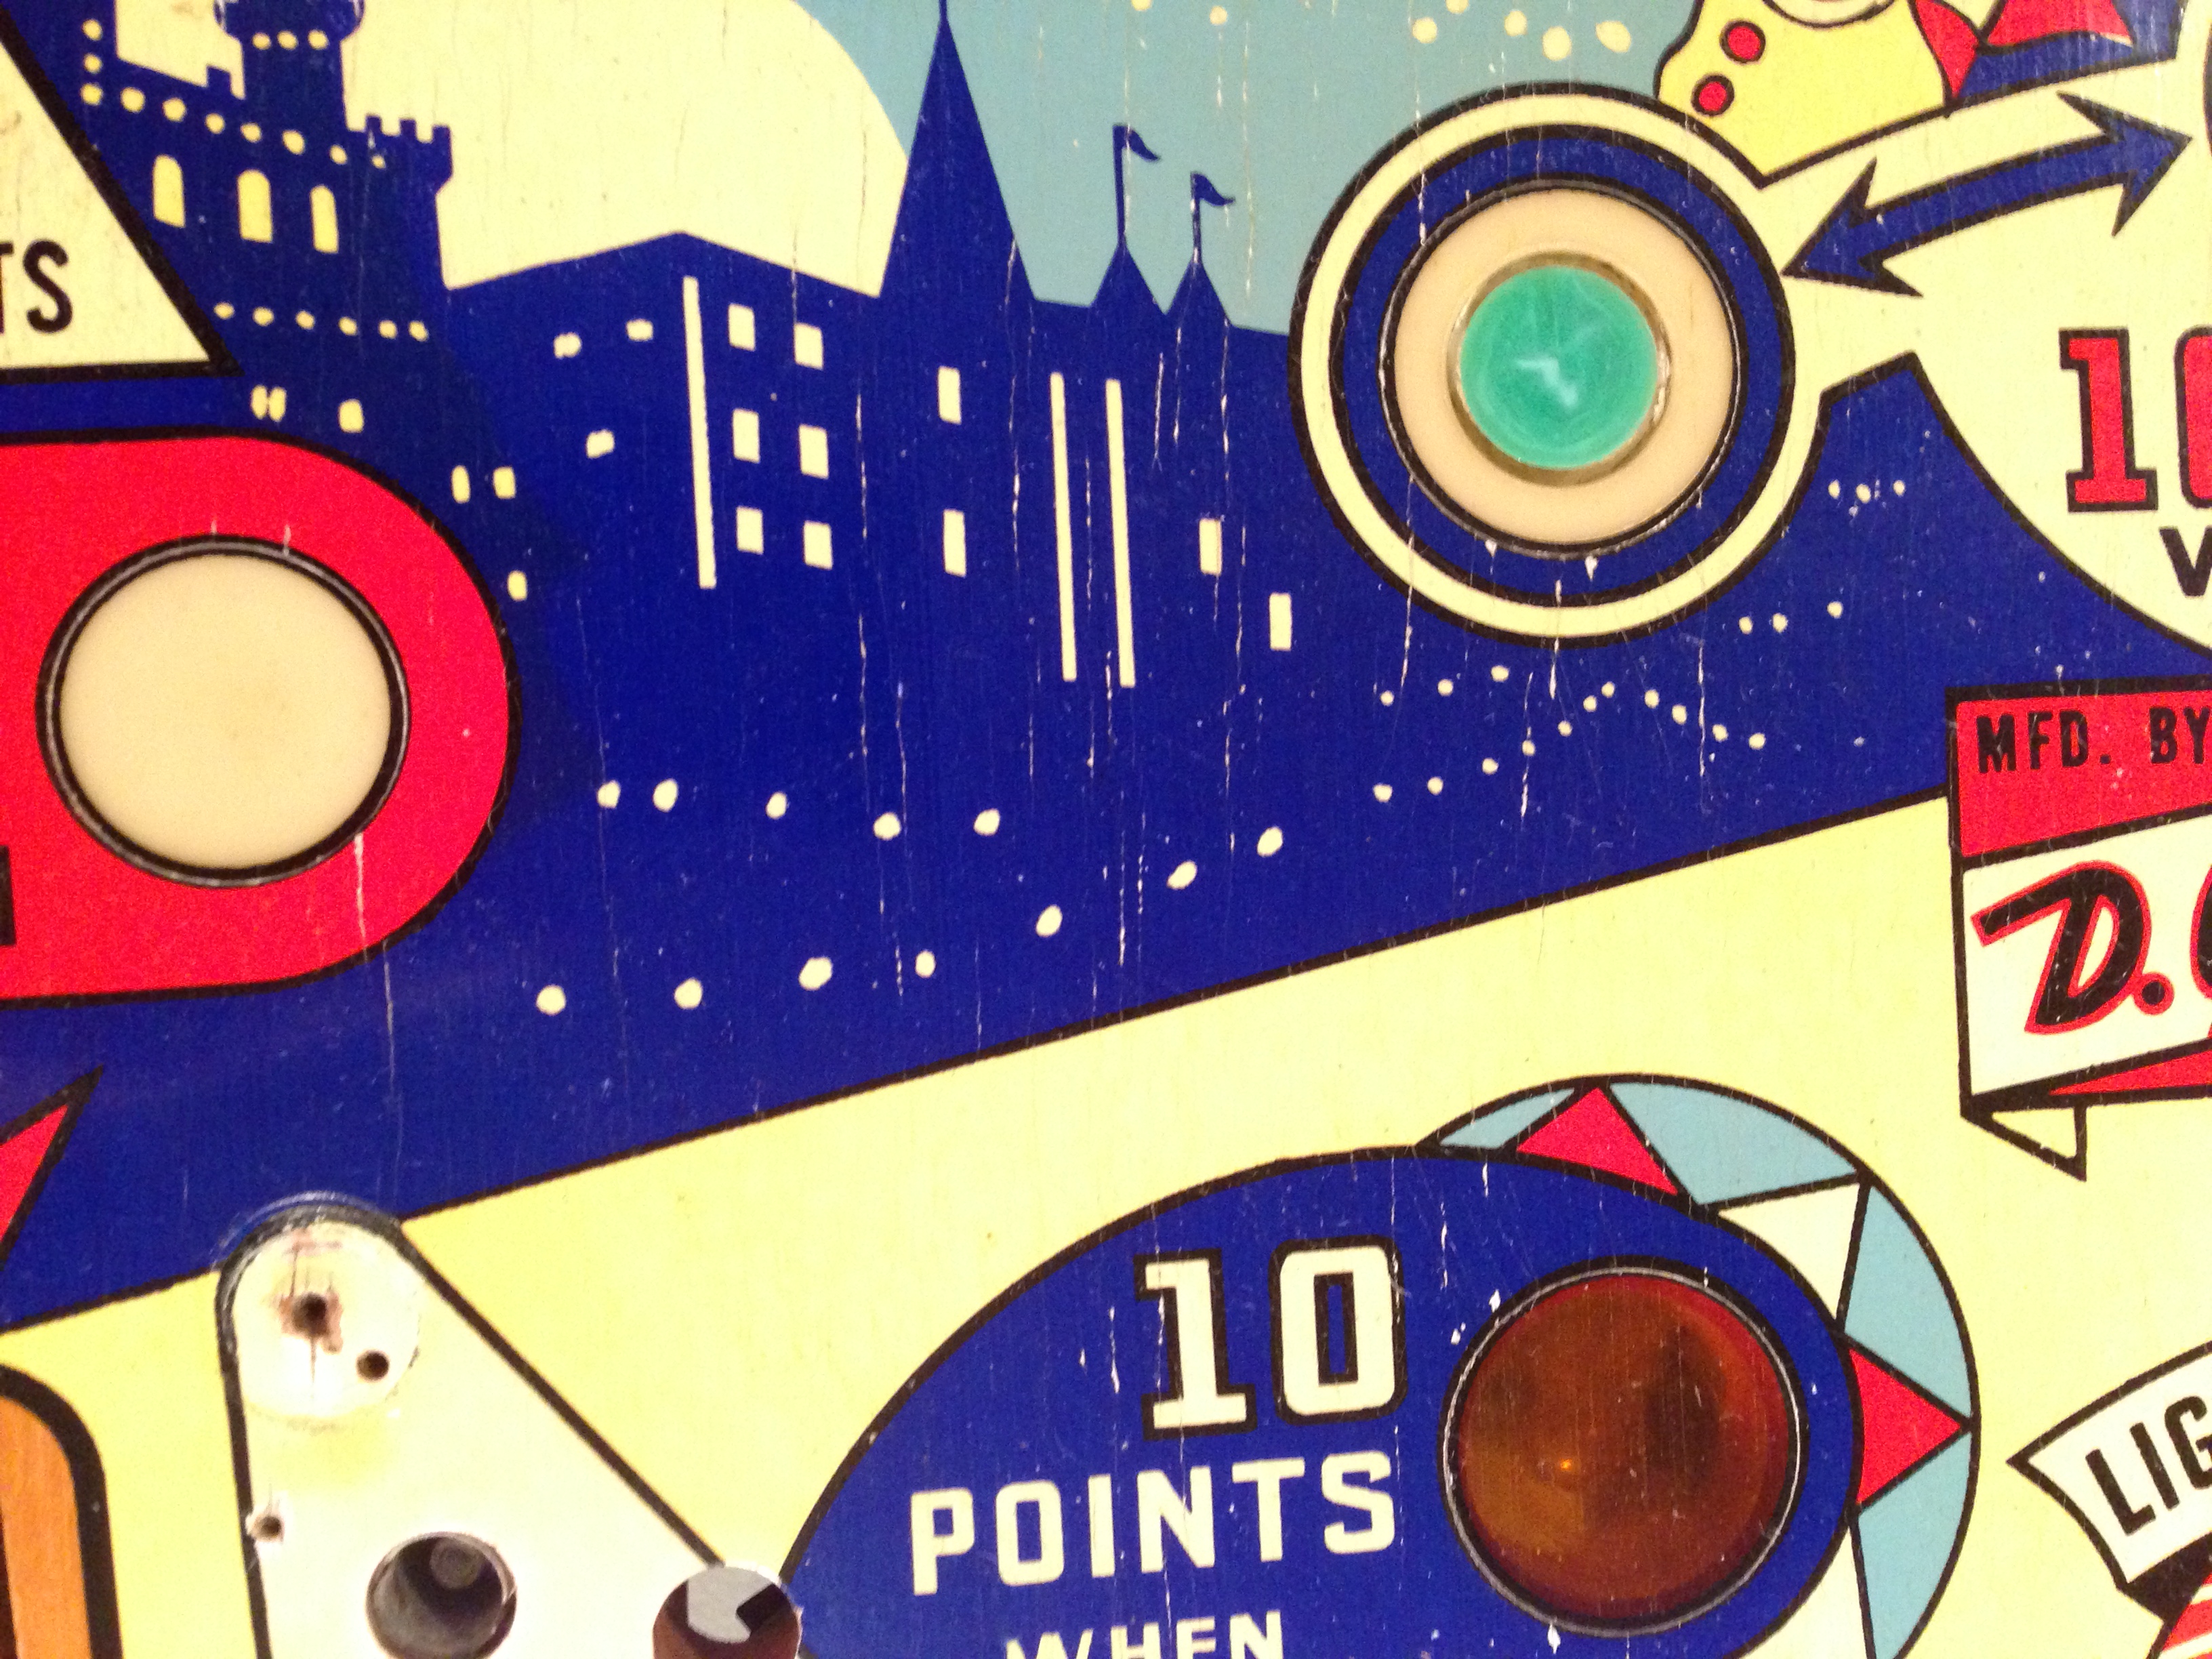
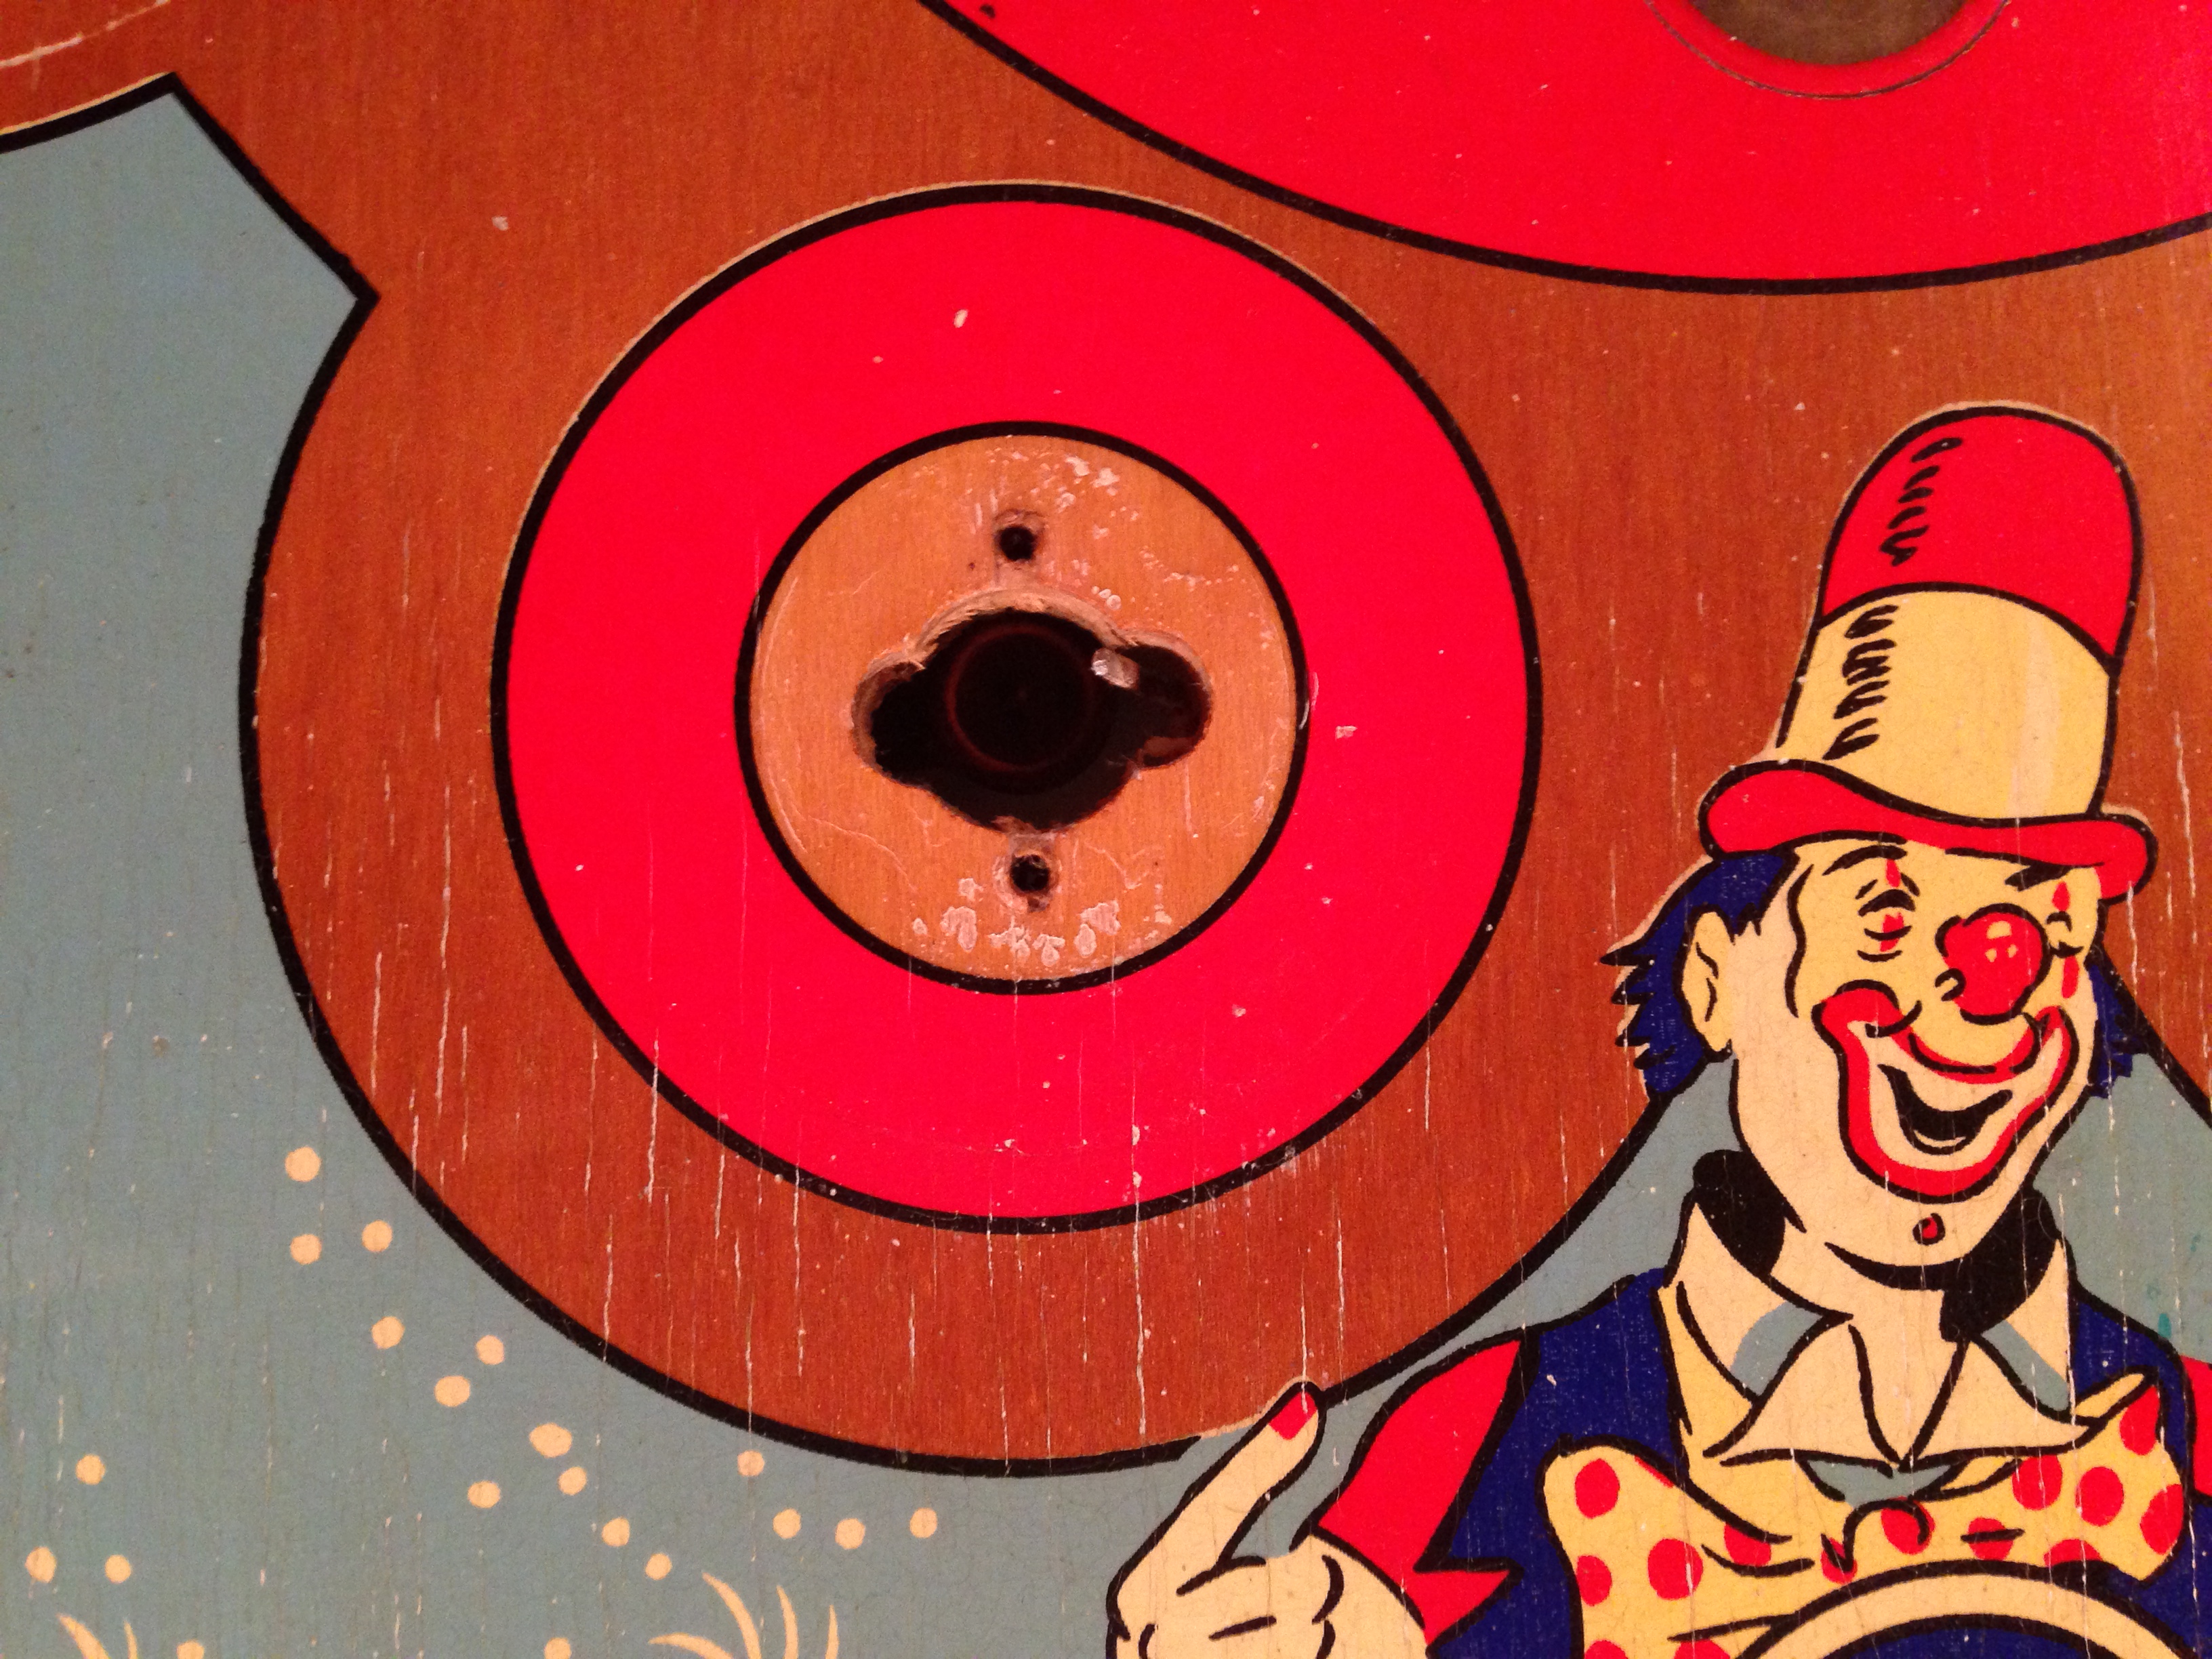
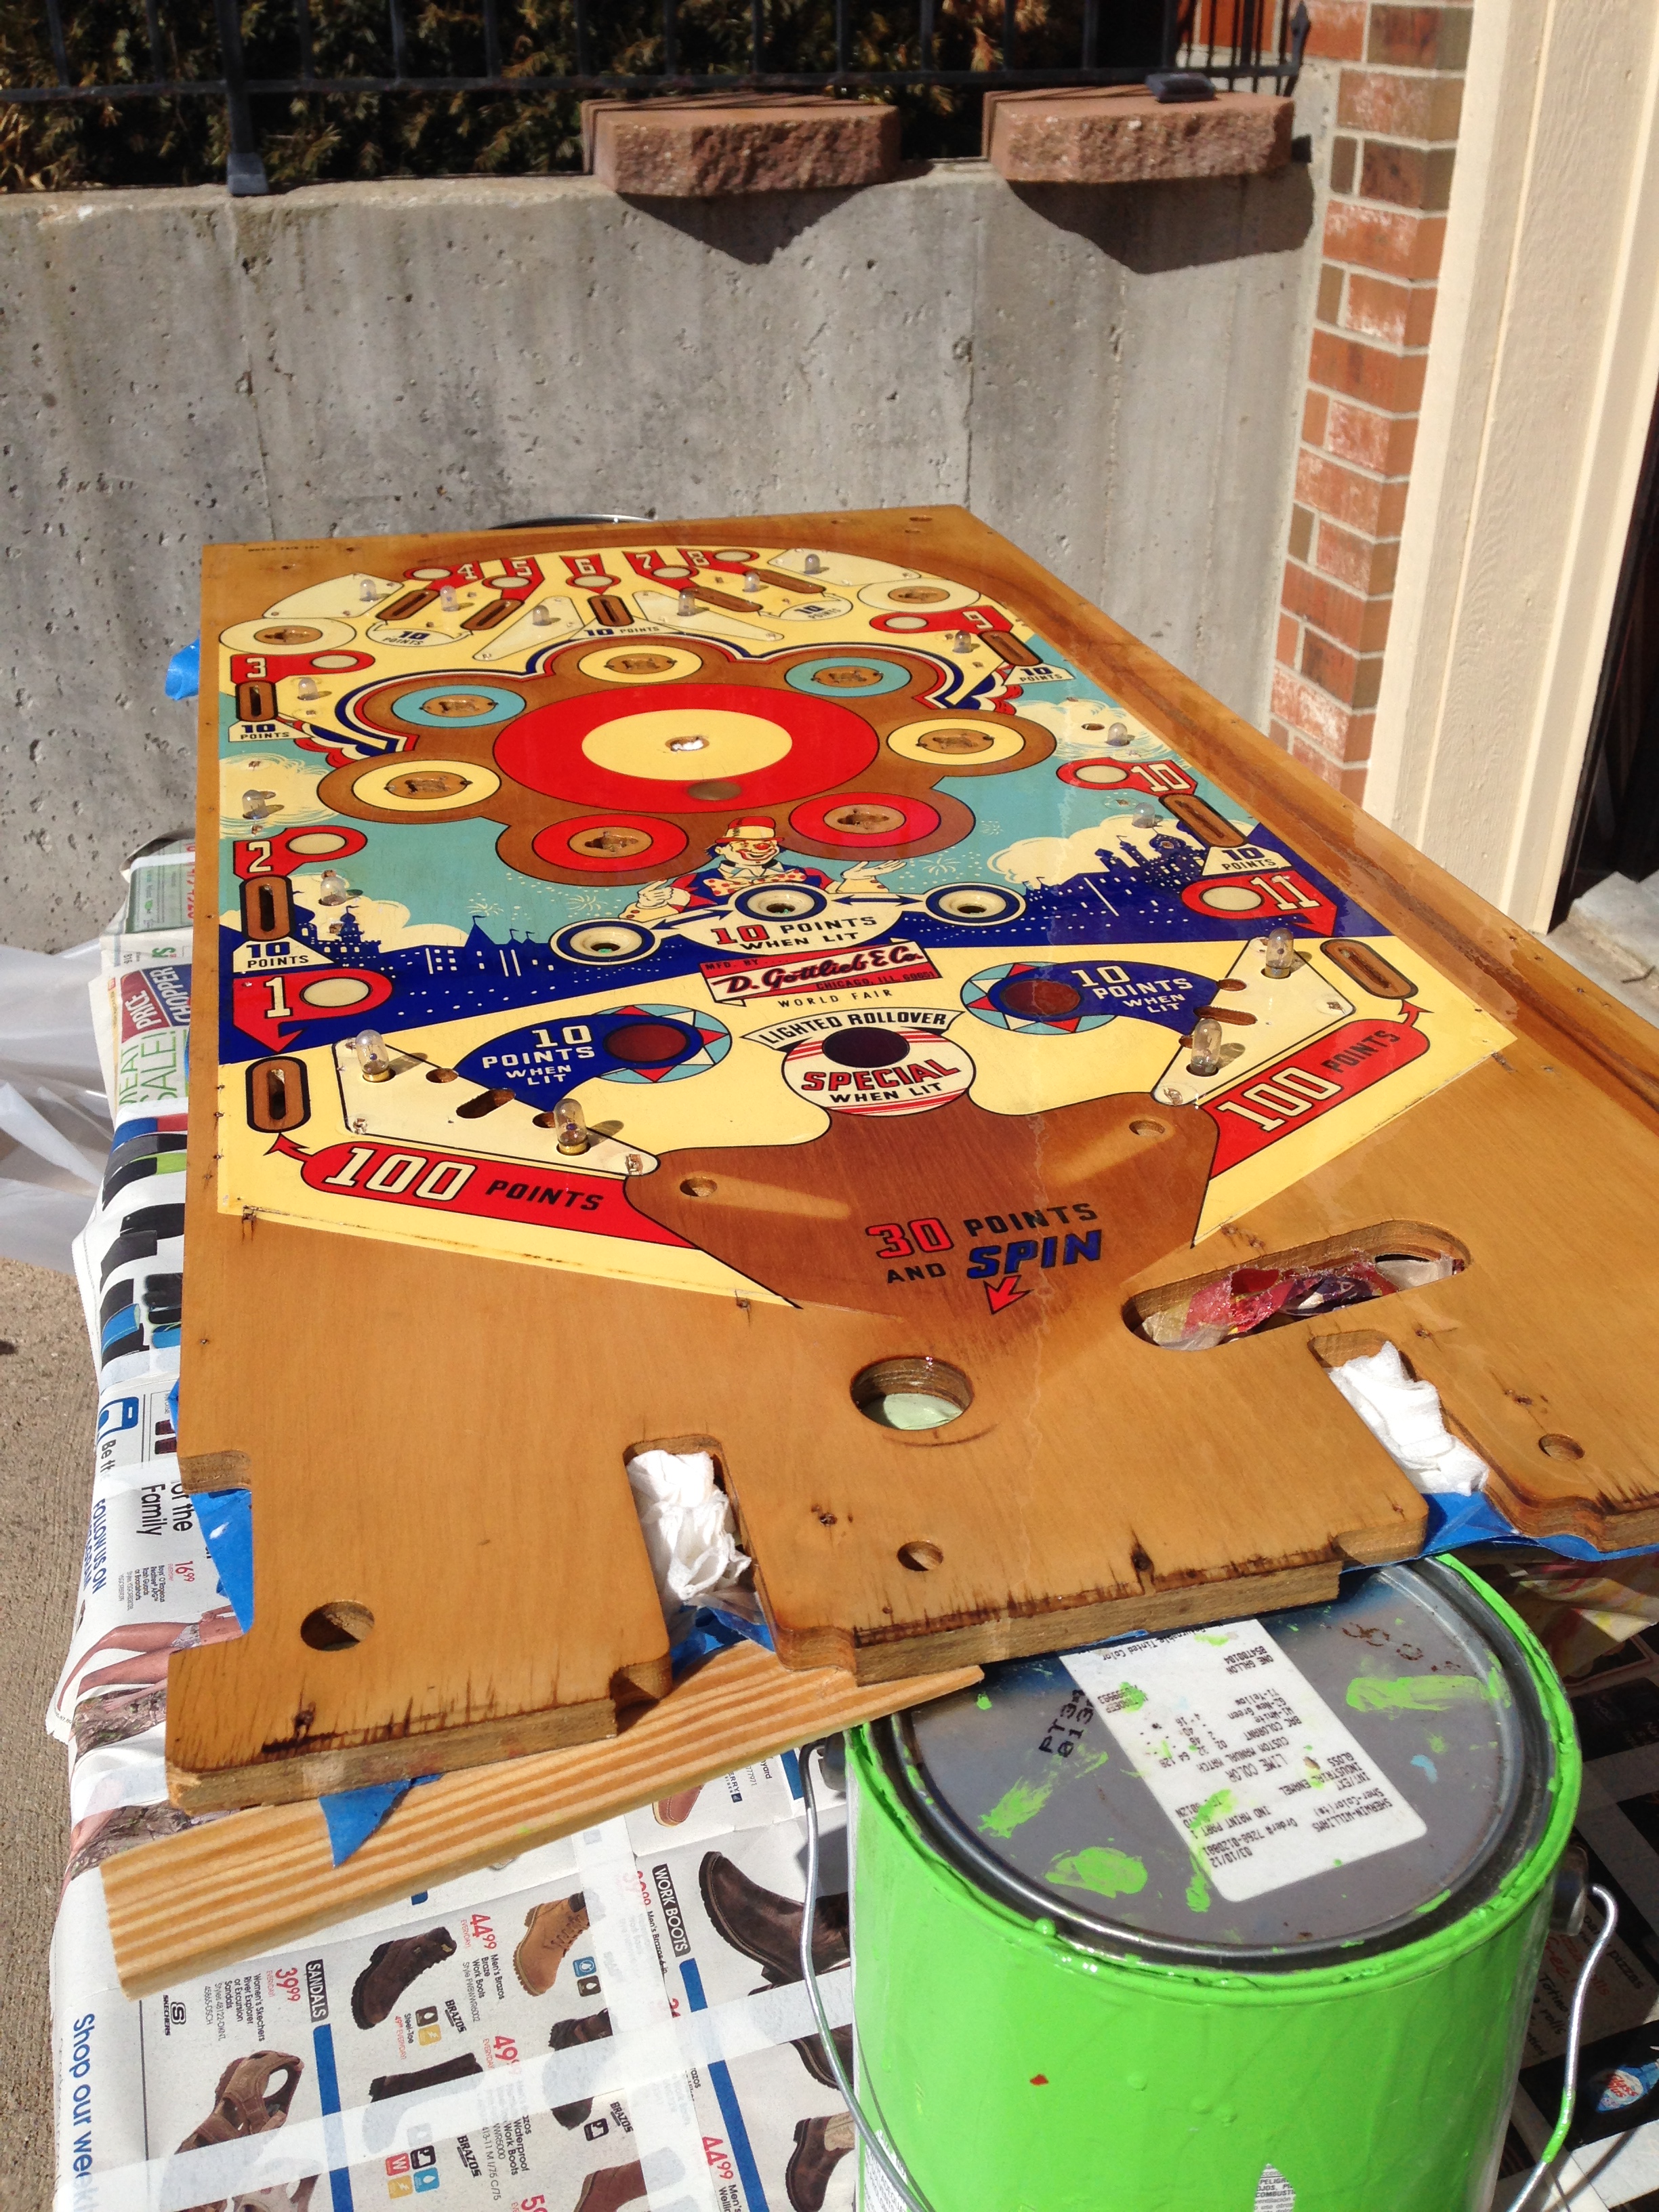
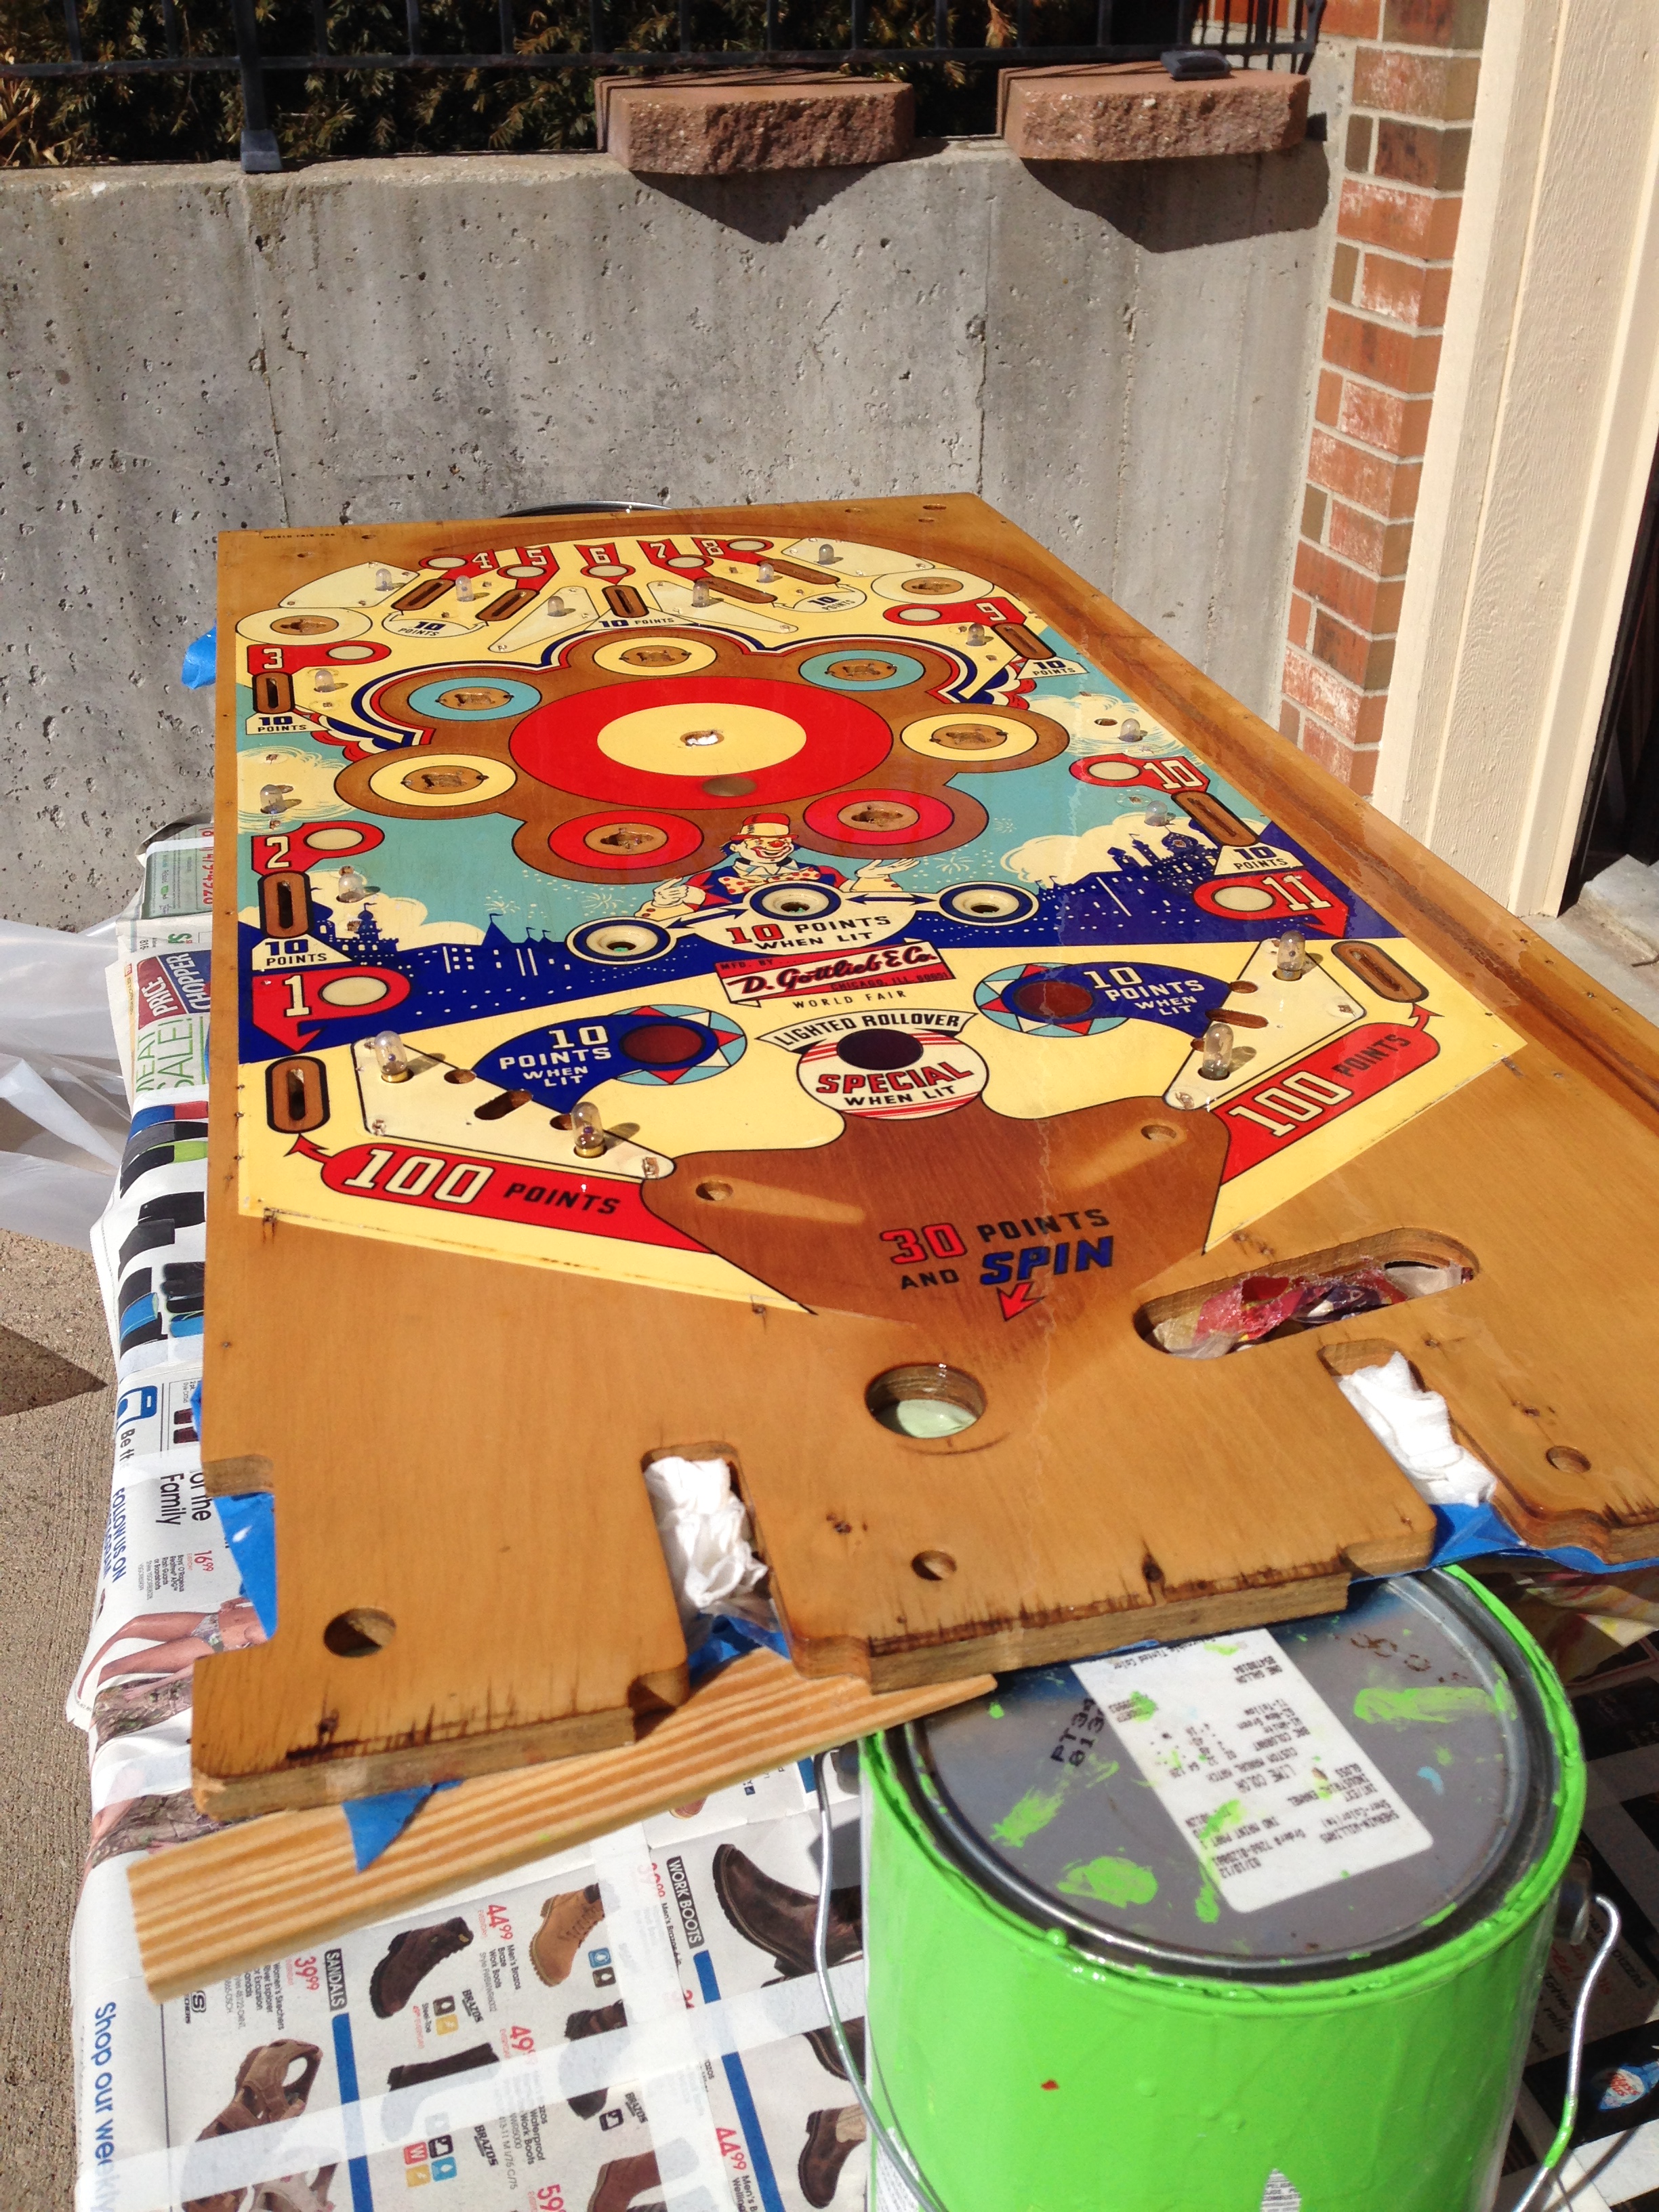
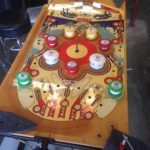
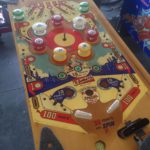
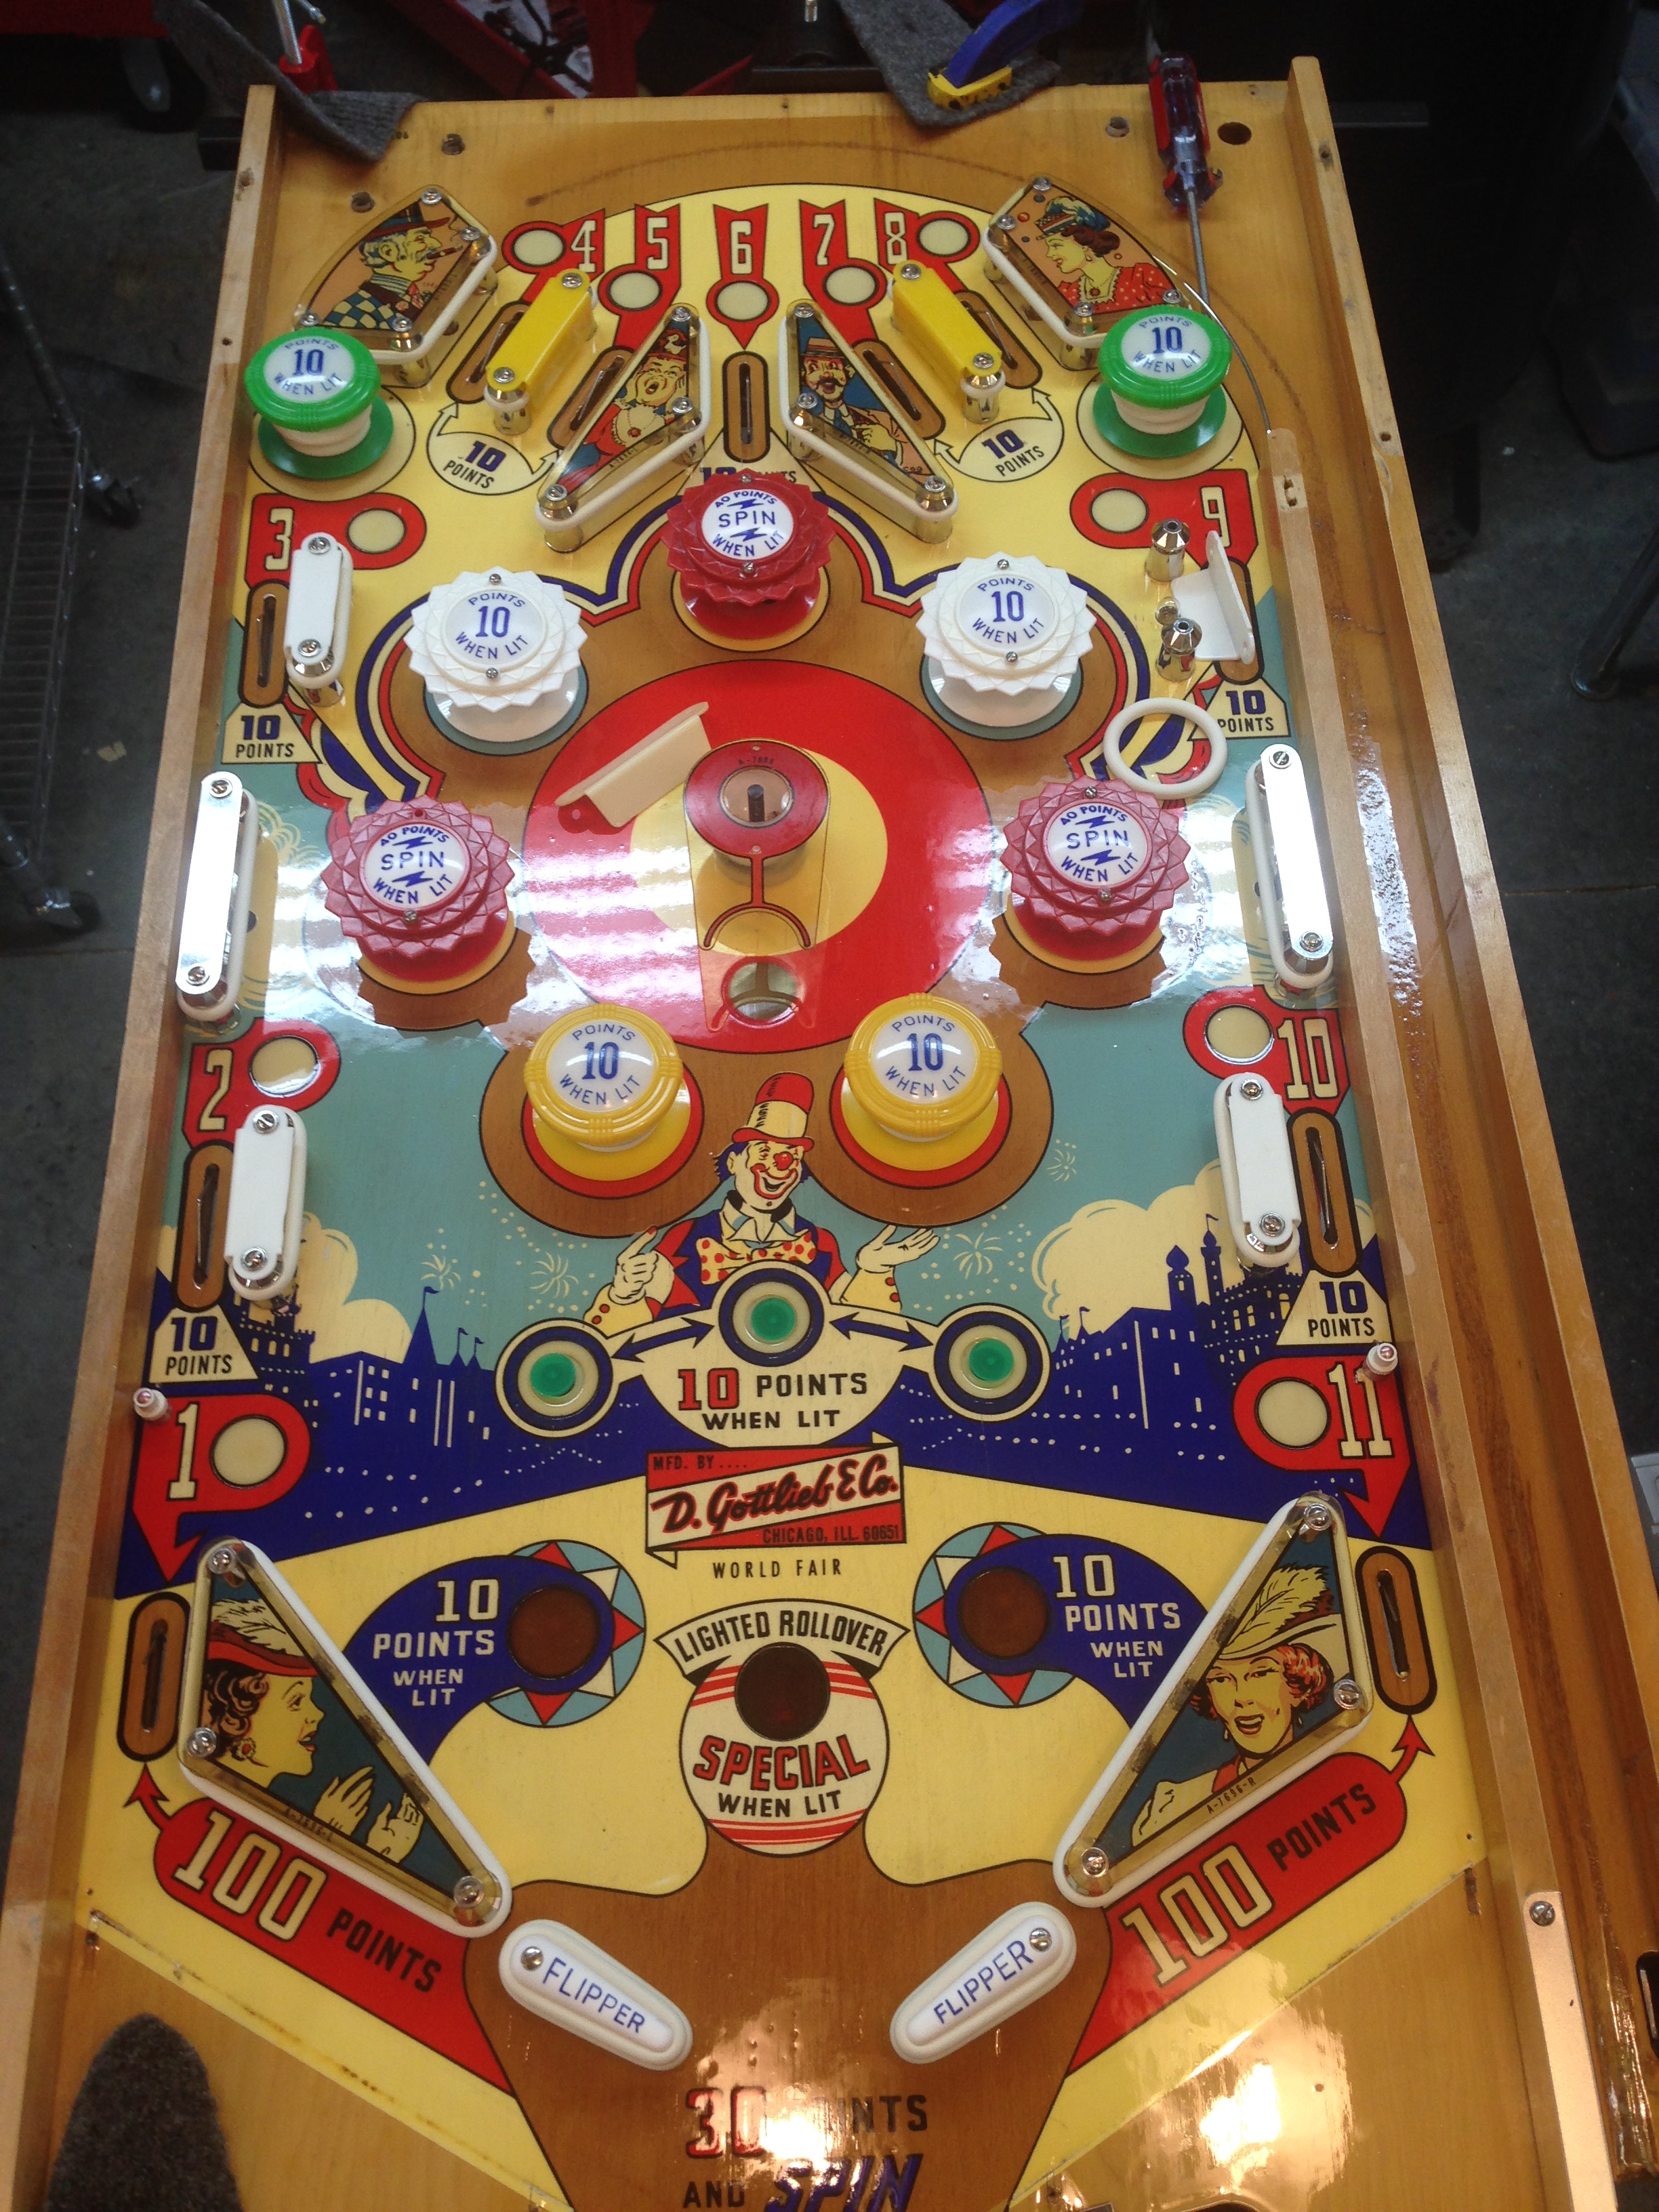
The playfield is in pretty good shape. For the most part, the paint has held up well. As I started looking closer, there was an awful lot of wax residue on the playfield, and especially under the posts and plastics. It was so bad that in some areas there were actually chunks of wax that had broken off of larger spots and were laying on the playfield.
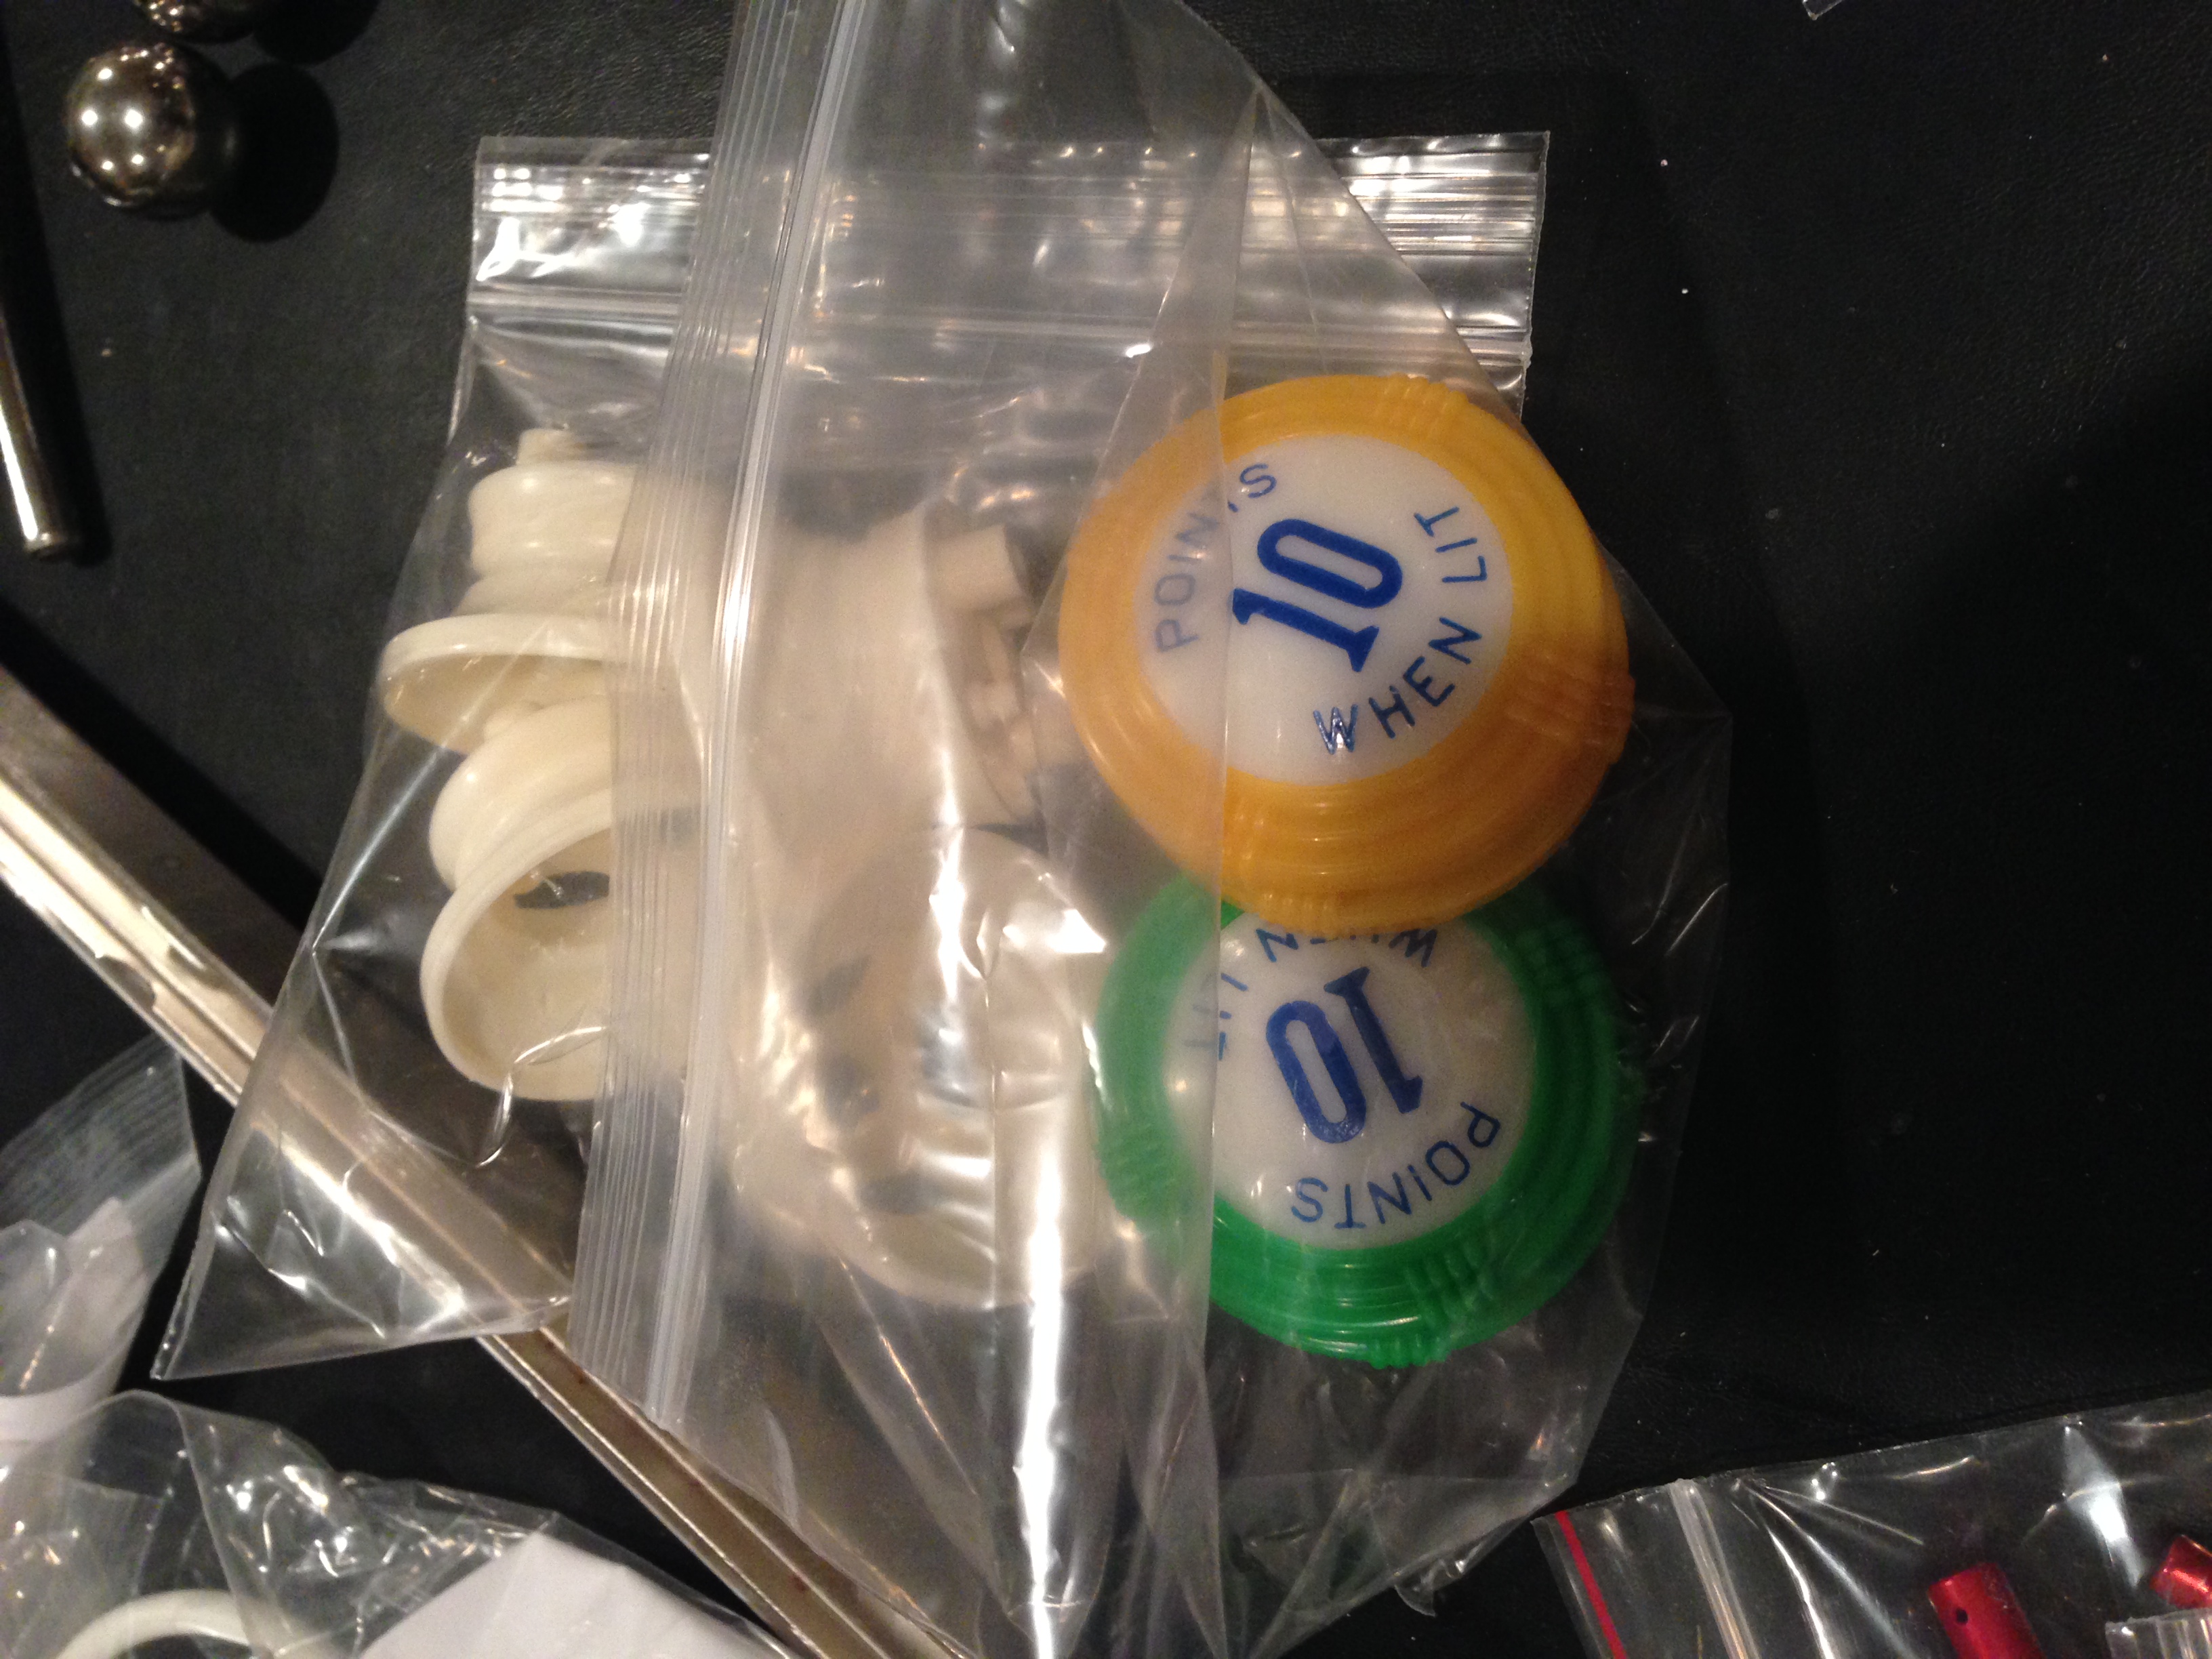
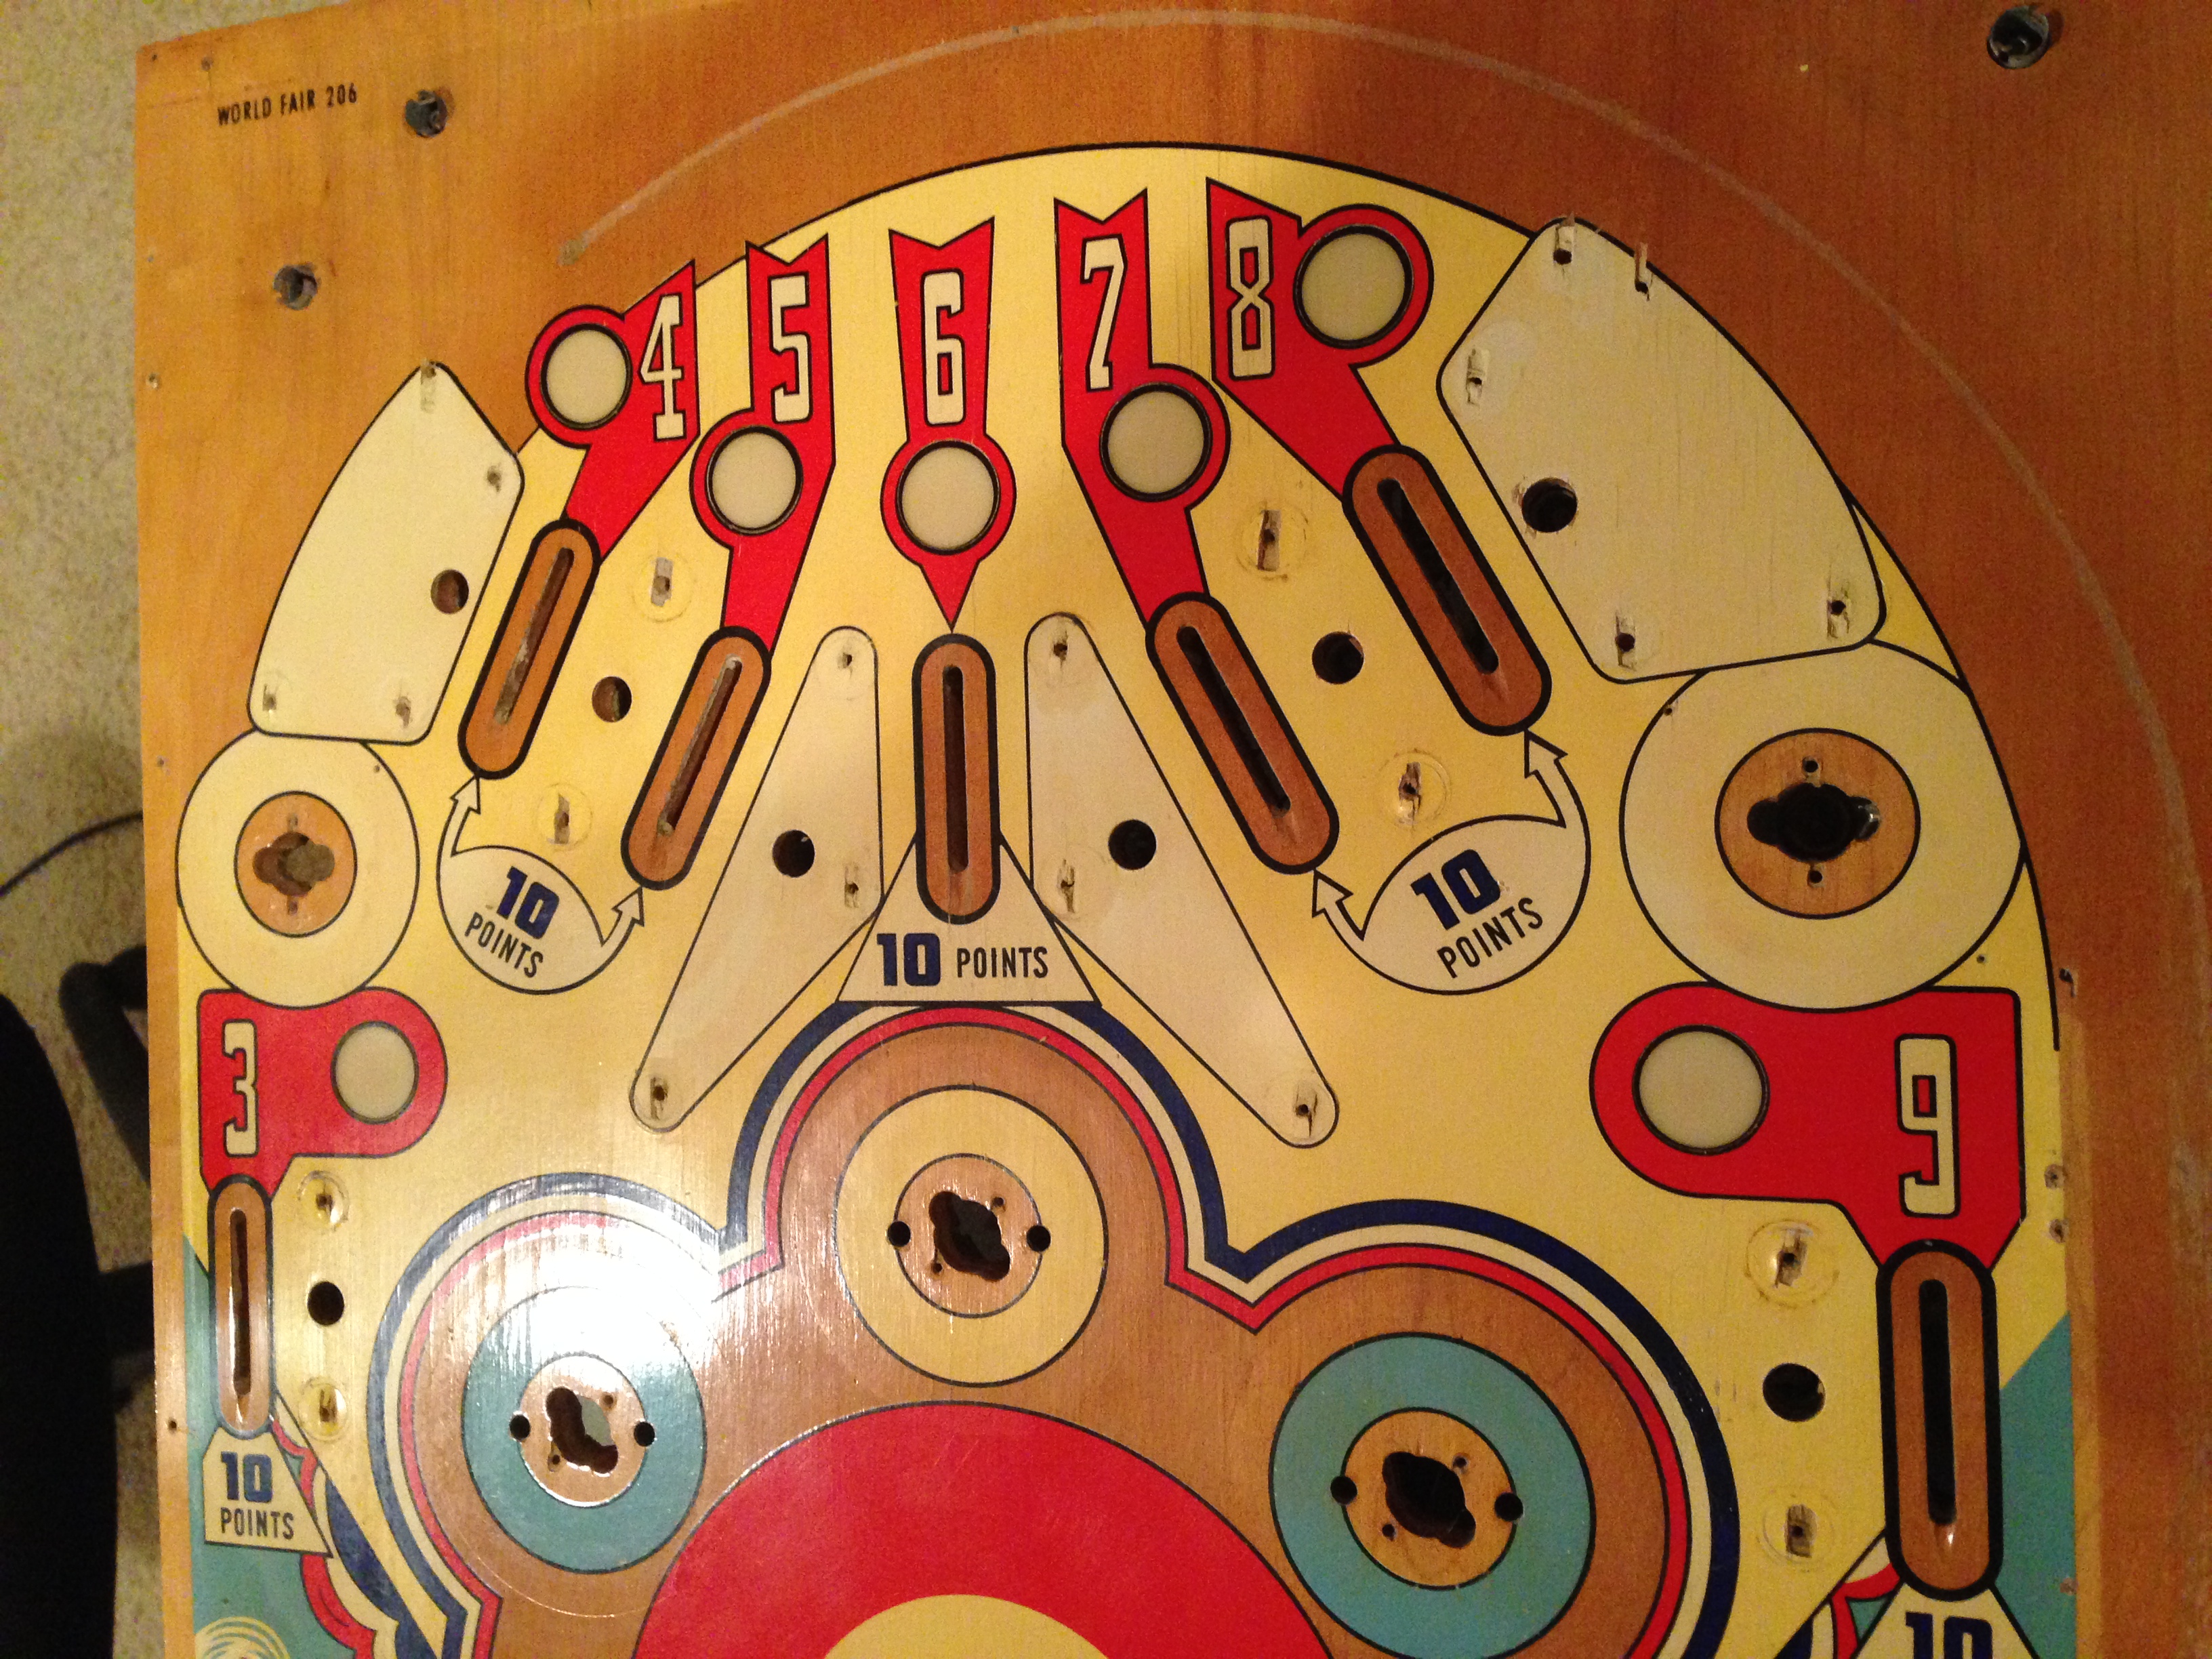
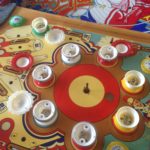
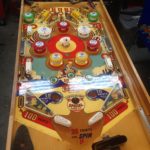
The pop bumper skirts were all in really bad shape, along with some of the pop bumper caps. You can see from the pictures that someone put various kinds of tape under the caps to get them to stay on.
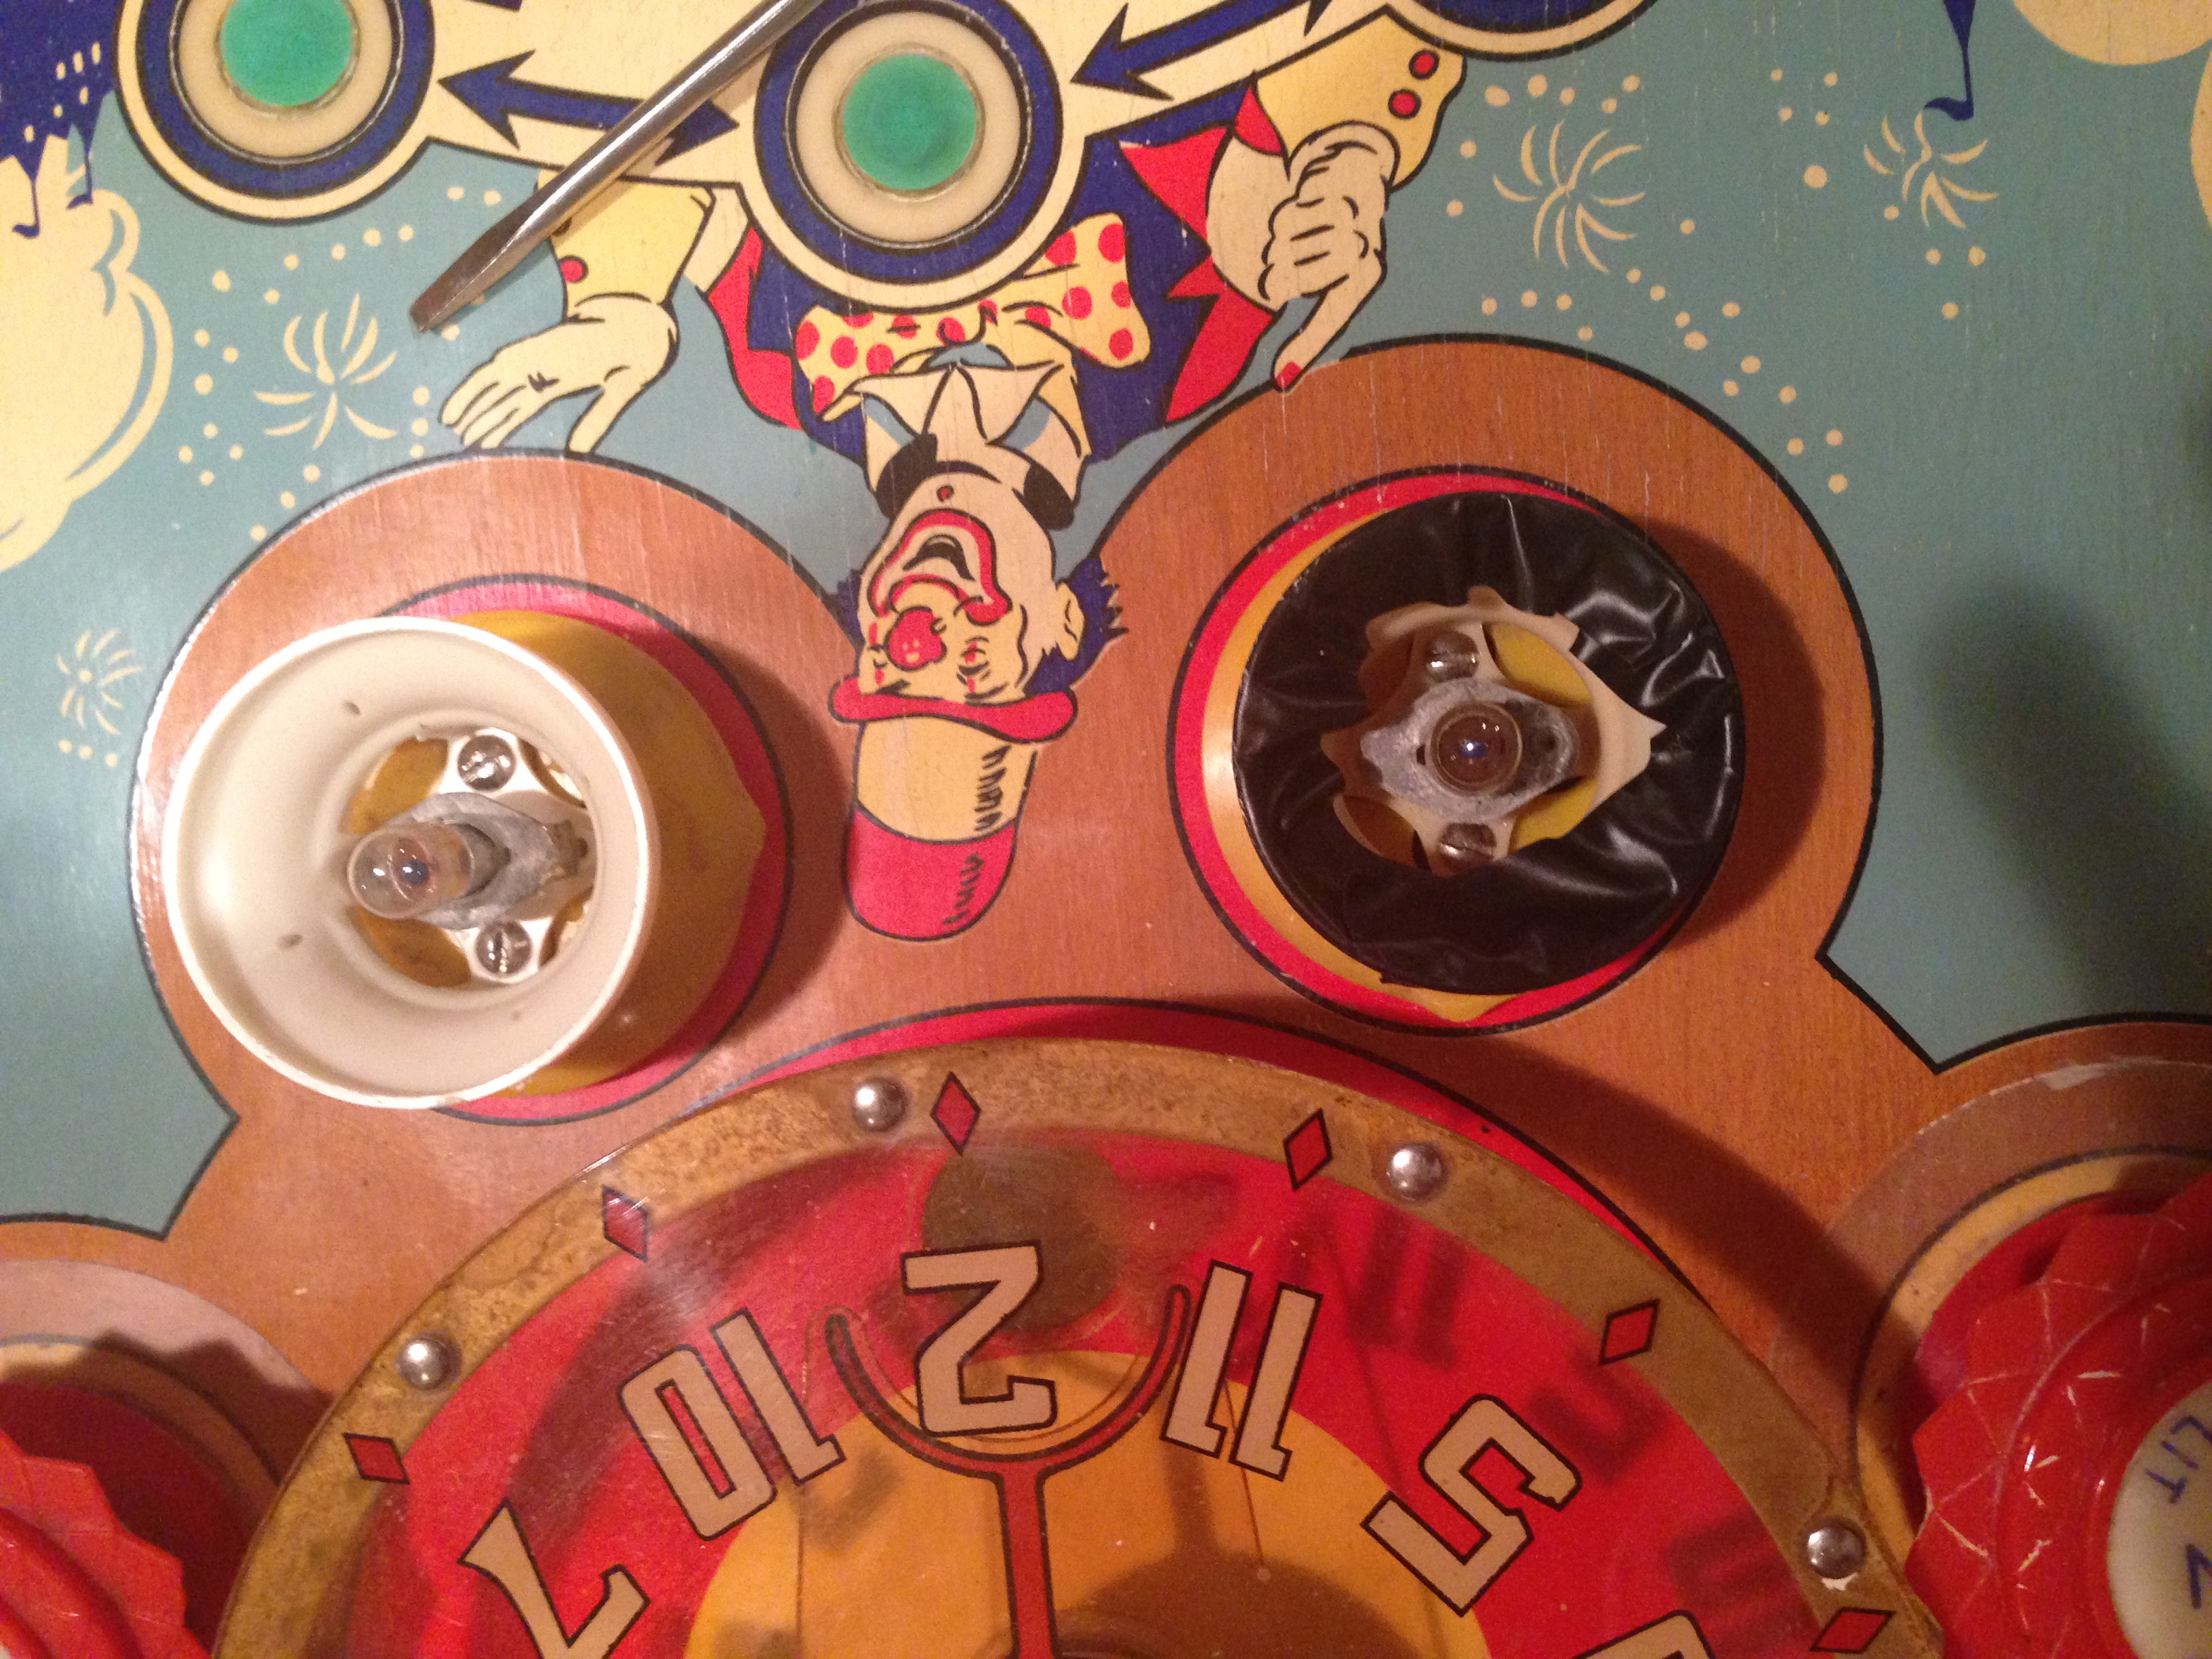
You can see the dirt and grunge that was under the plastics, along with some wax chunks in the second picture above. There is some kind of crusty brown stuff all along the top right hand side of the playfield. Looks like dried coke. It’s been very hard to get off. I’m using Novus 2 and Mean Green to clean it, but it’s been very stubborn.
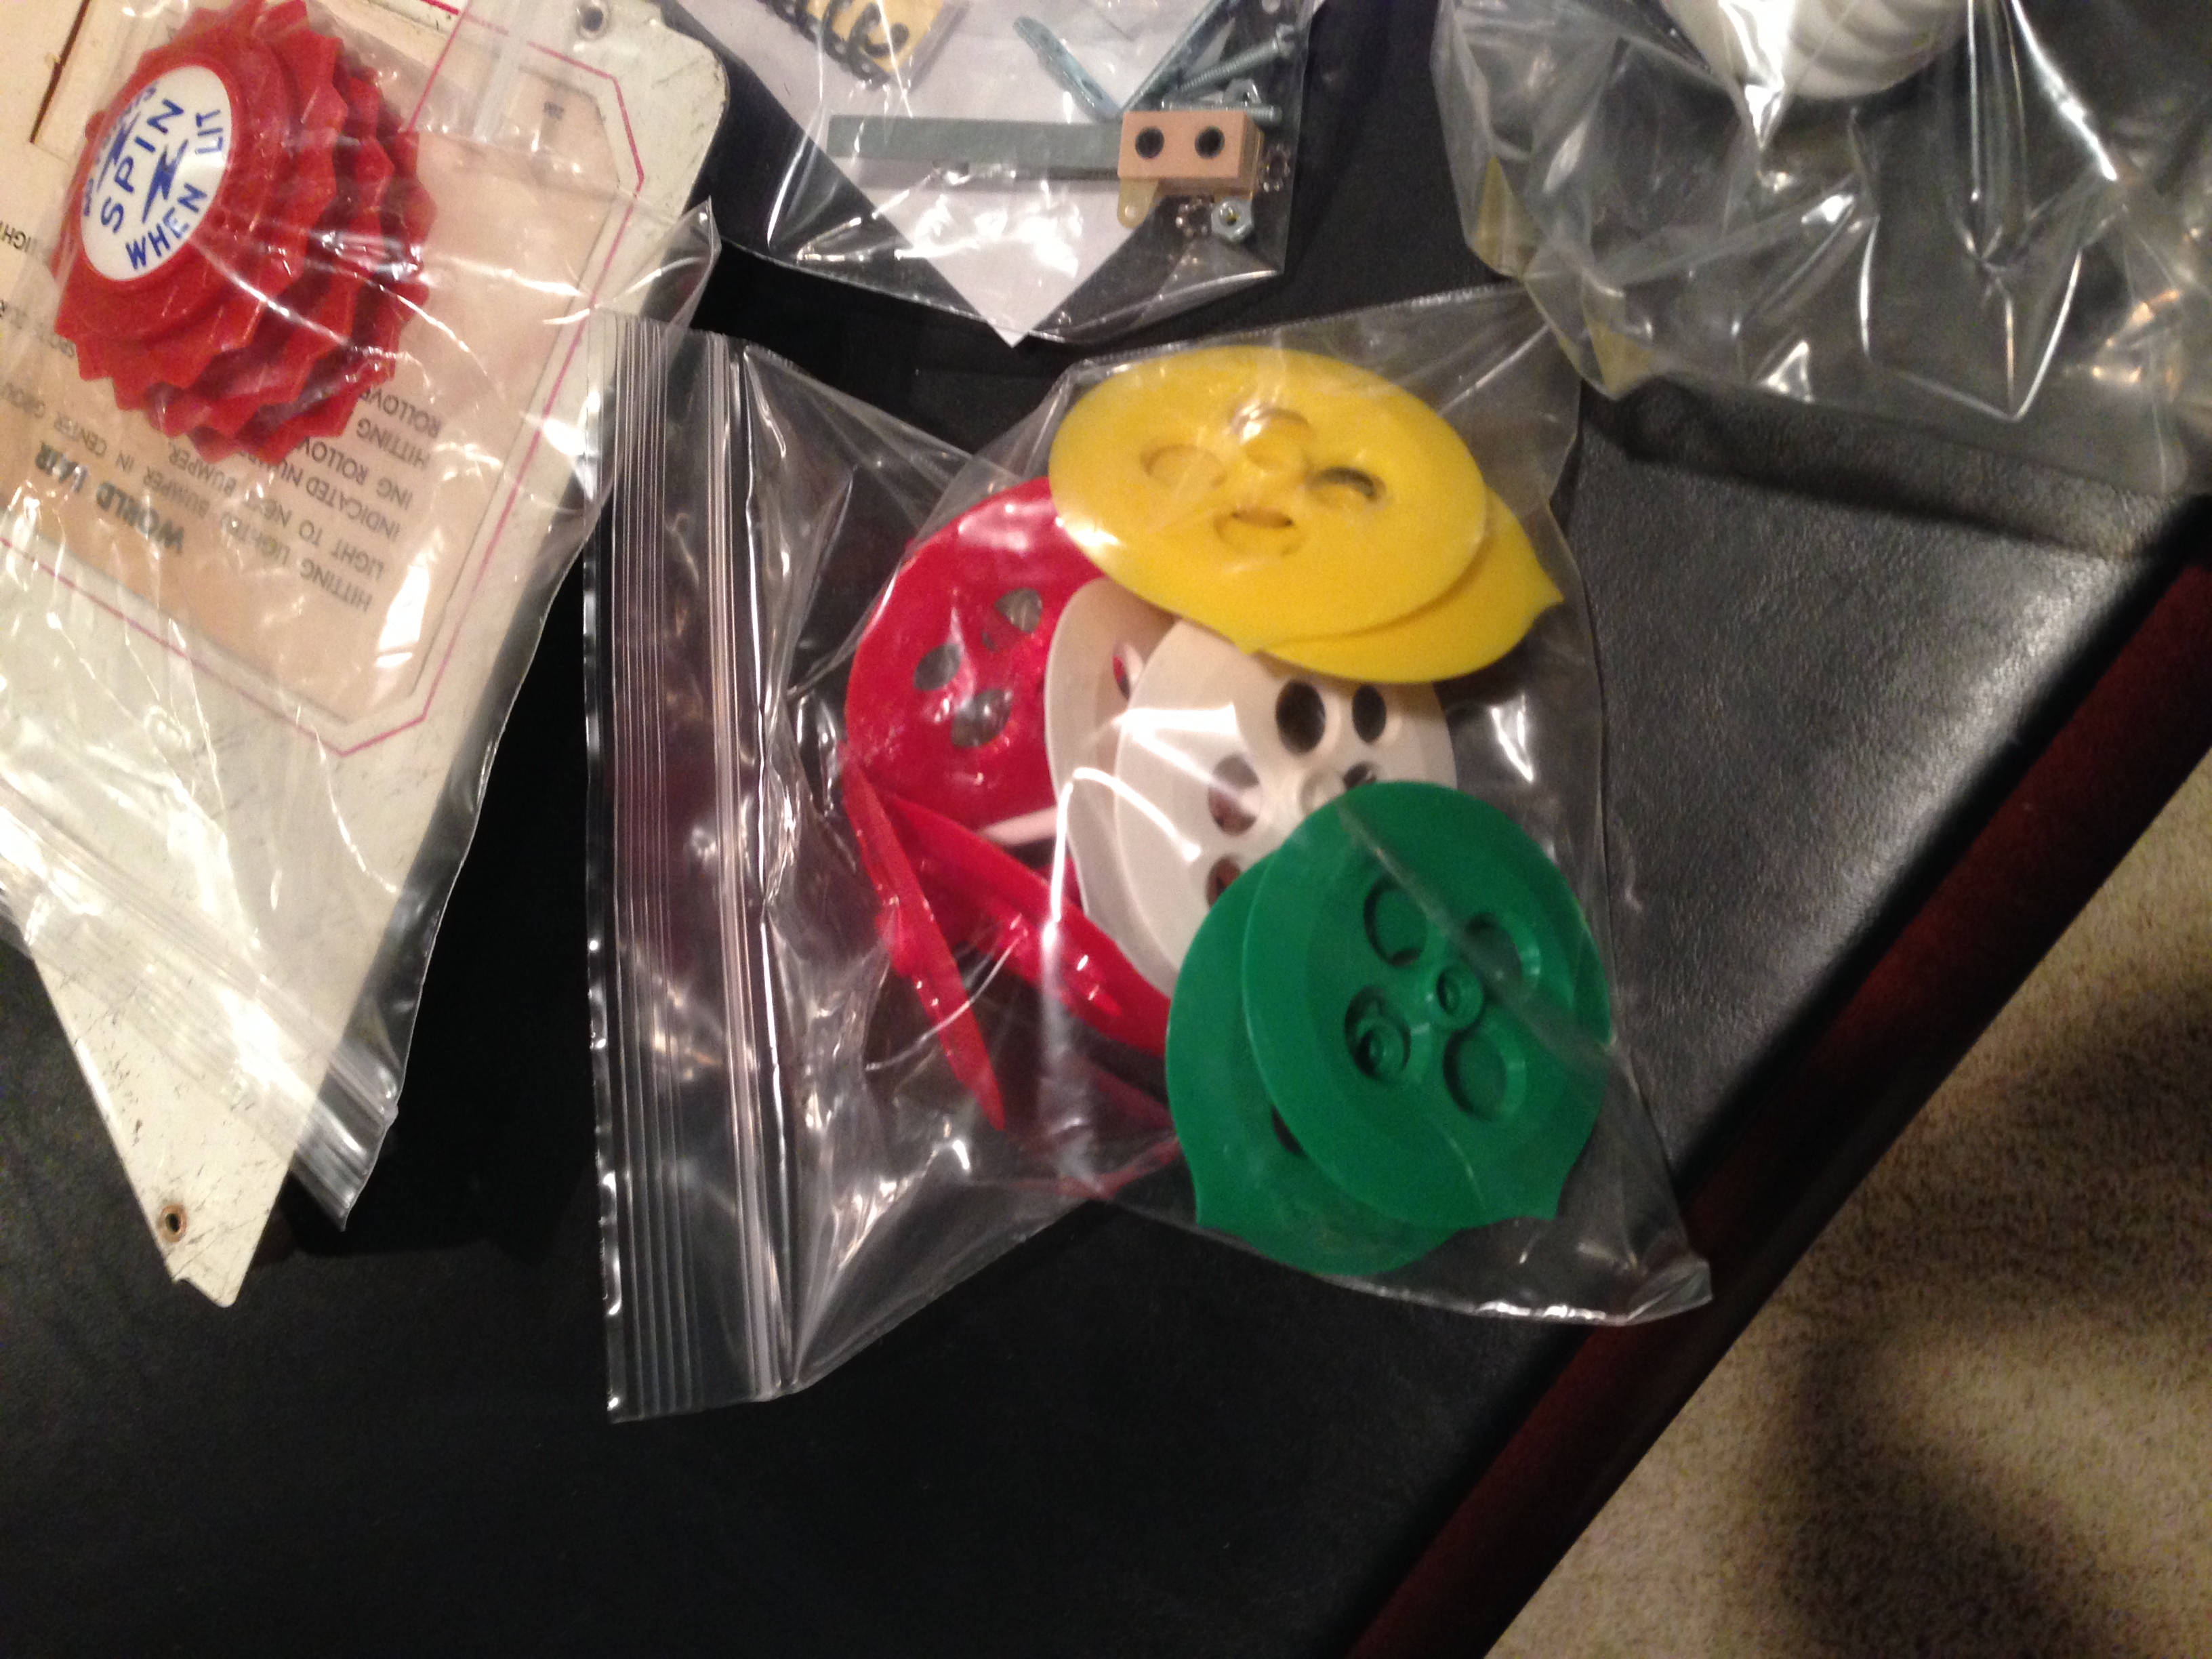
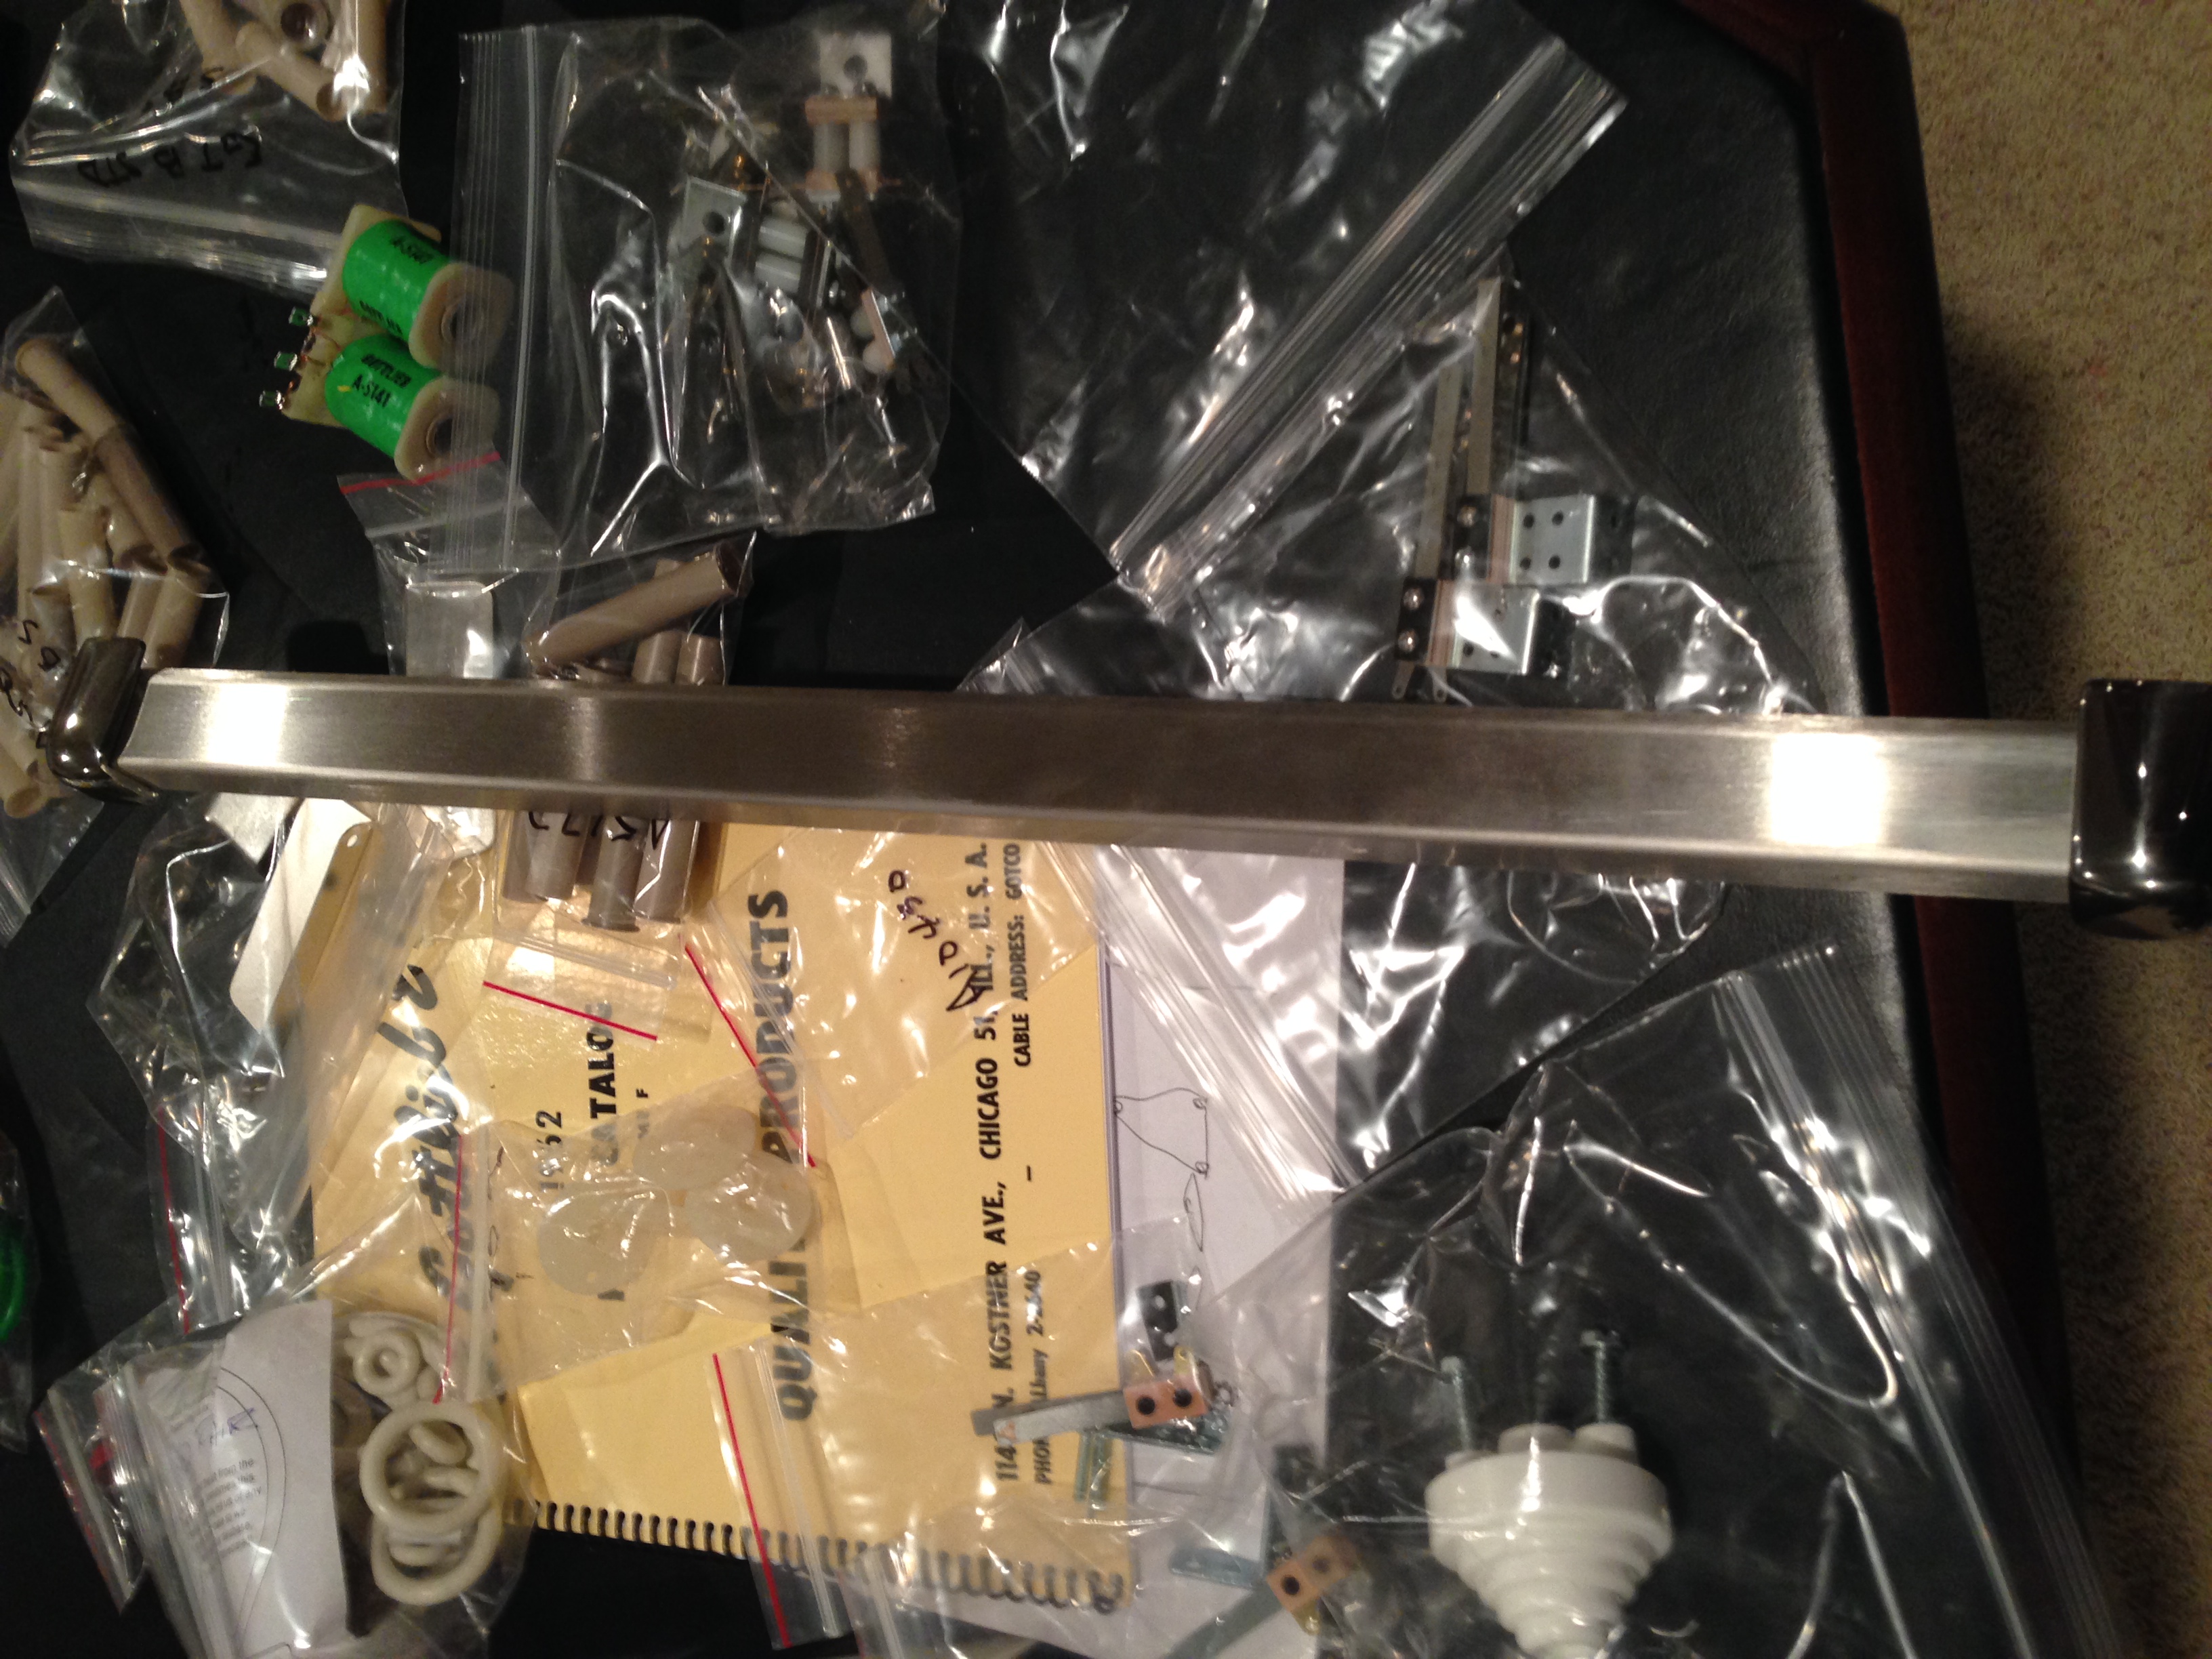
I ordered new pop bumper bodies, skirts, and caps from Pinball Resource . This is the best place (in my opinion) to get older Gottlieb pinball parts. I also ordered a new lock down bar, coil sleeves, a shooter rod guide, and various springs and other small parts that were either rusted, corroded, or broken.
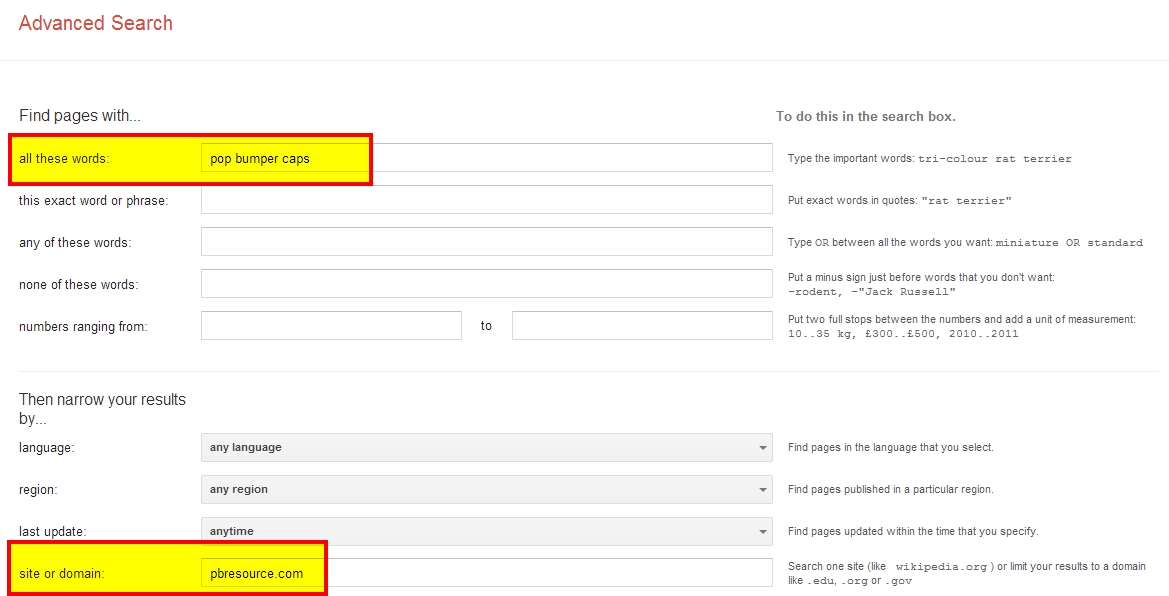
It can be a little bit difficult to find things on their site. One trick I use is to use Google’s advanced search feature to search the site for part numbers or names. Here’s a link and screenshot of how I use it. Google Advanced Search
The game had a schematic with it, but I also ordered a Gottlieb parts manual
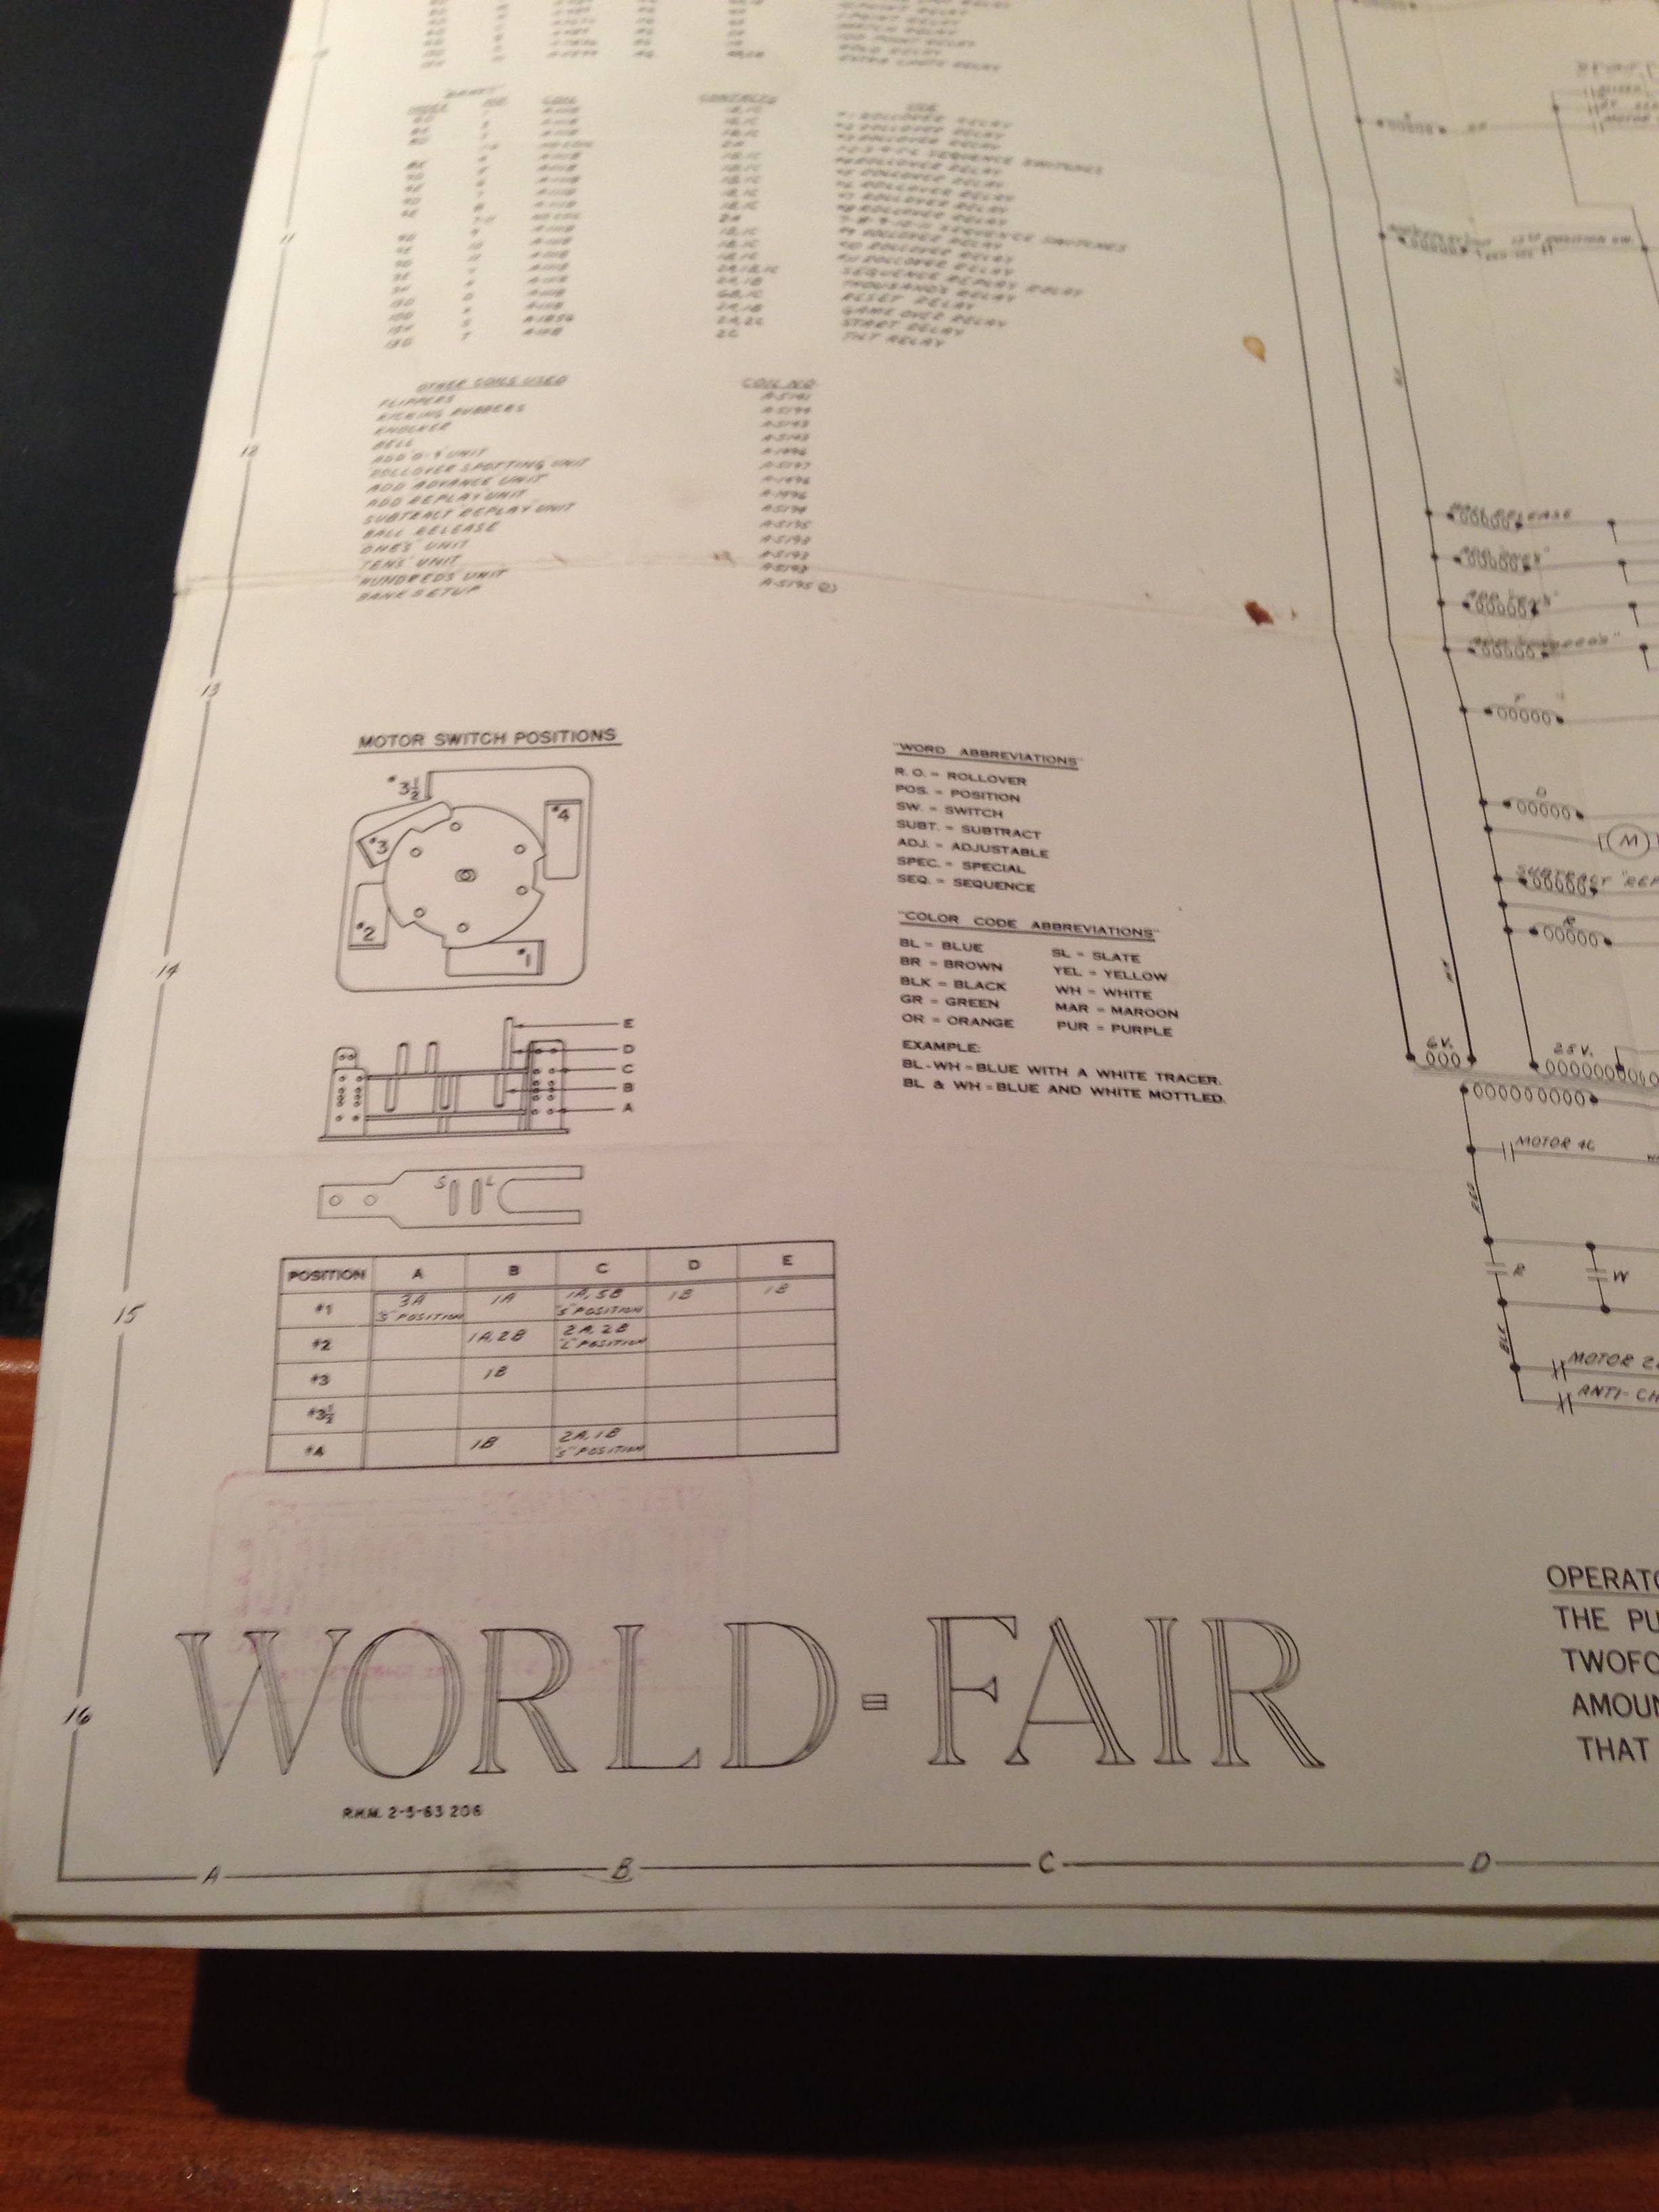
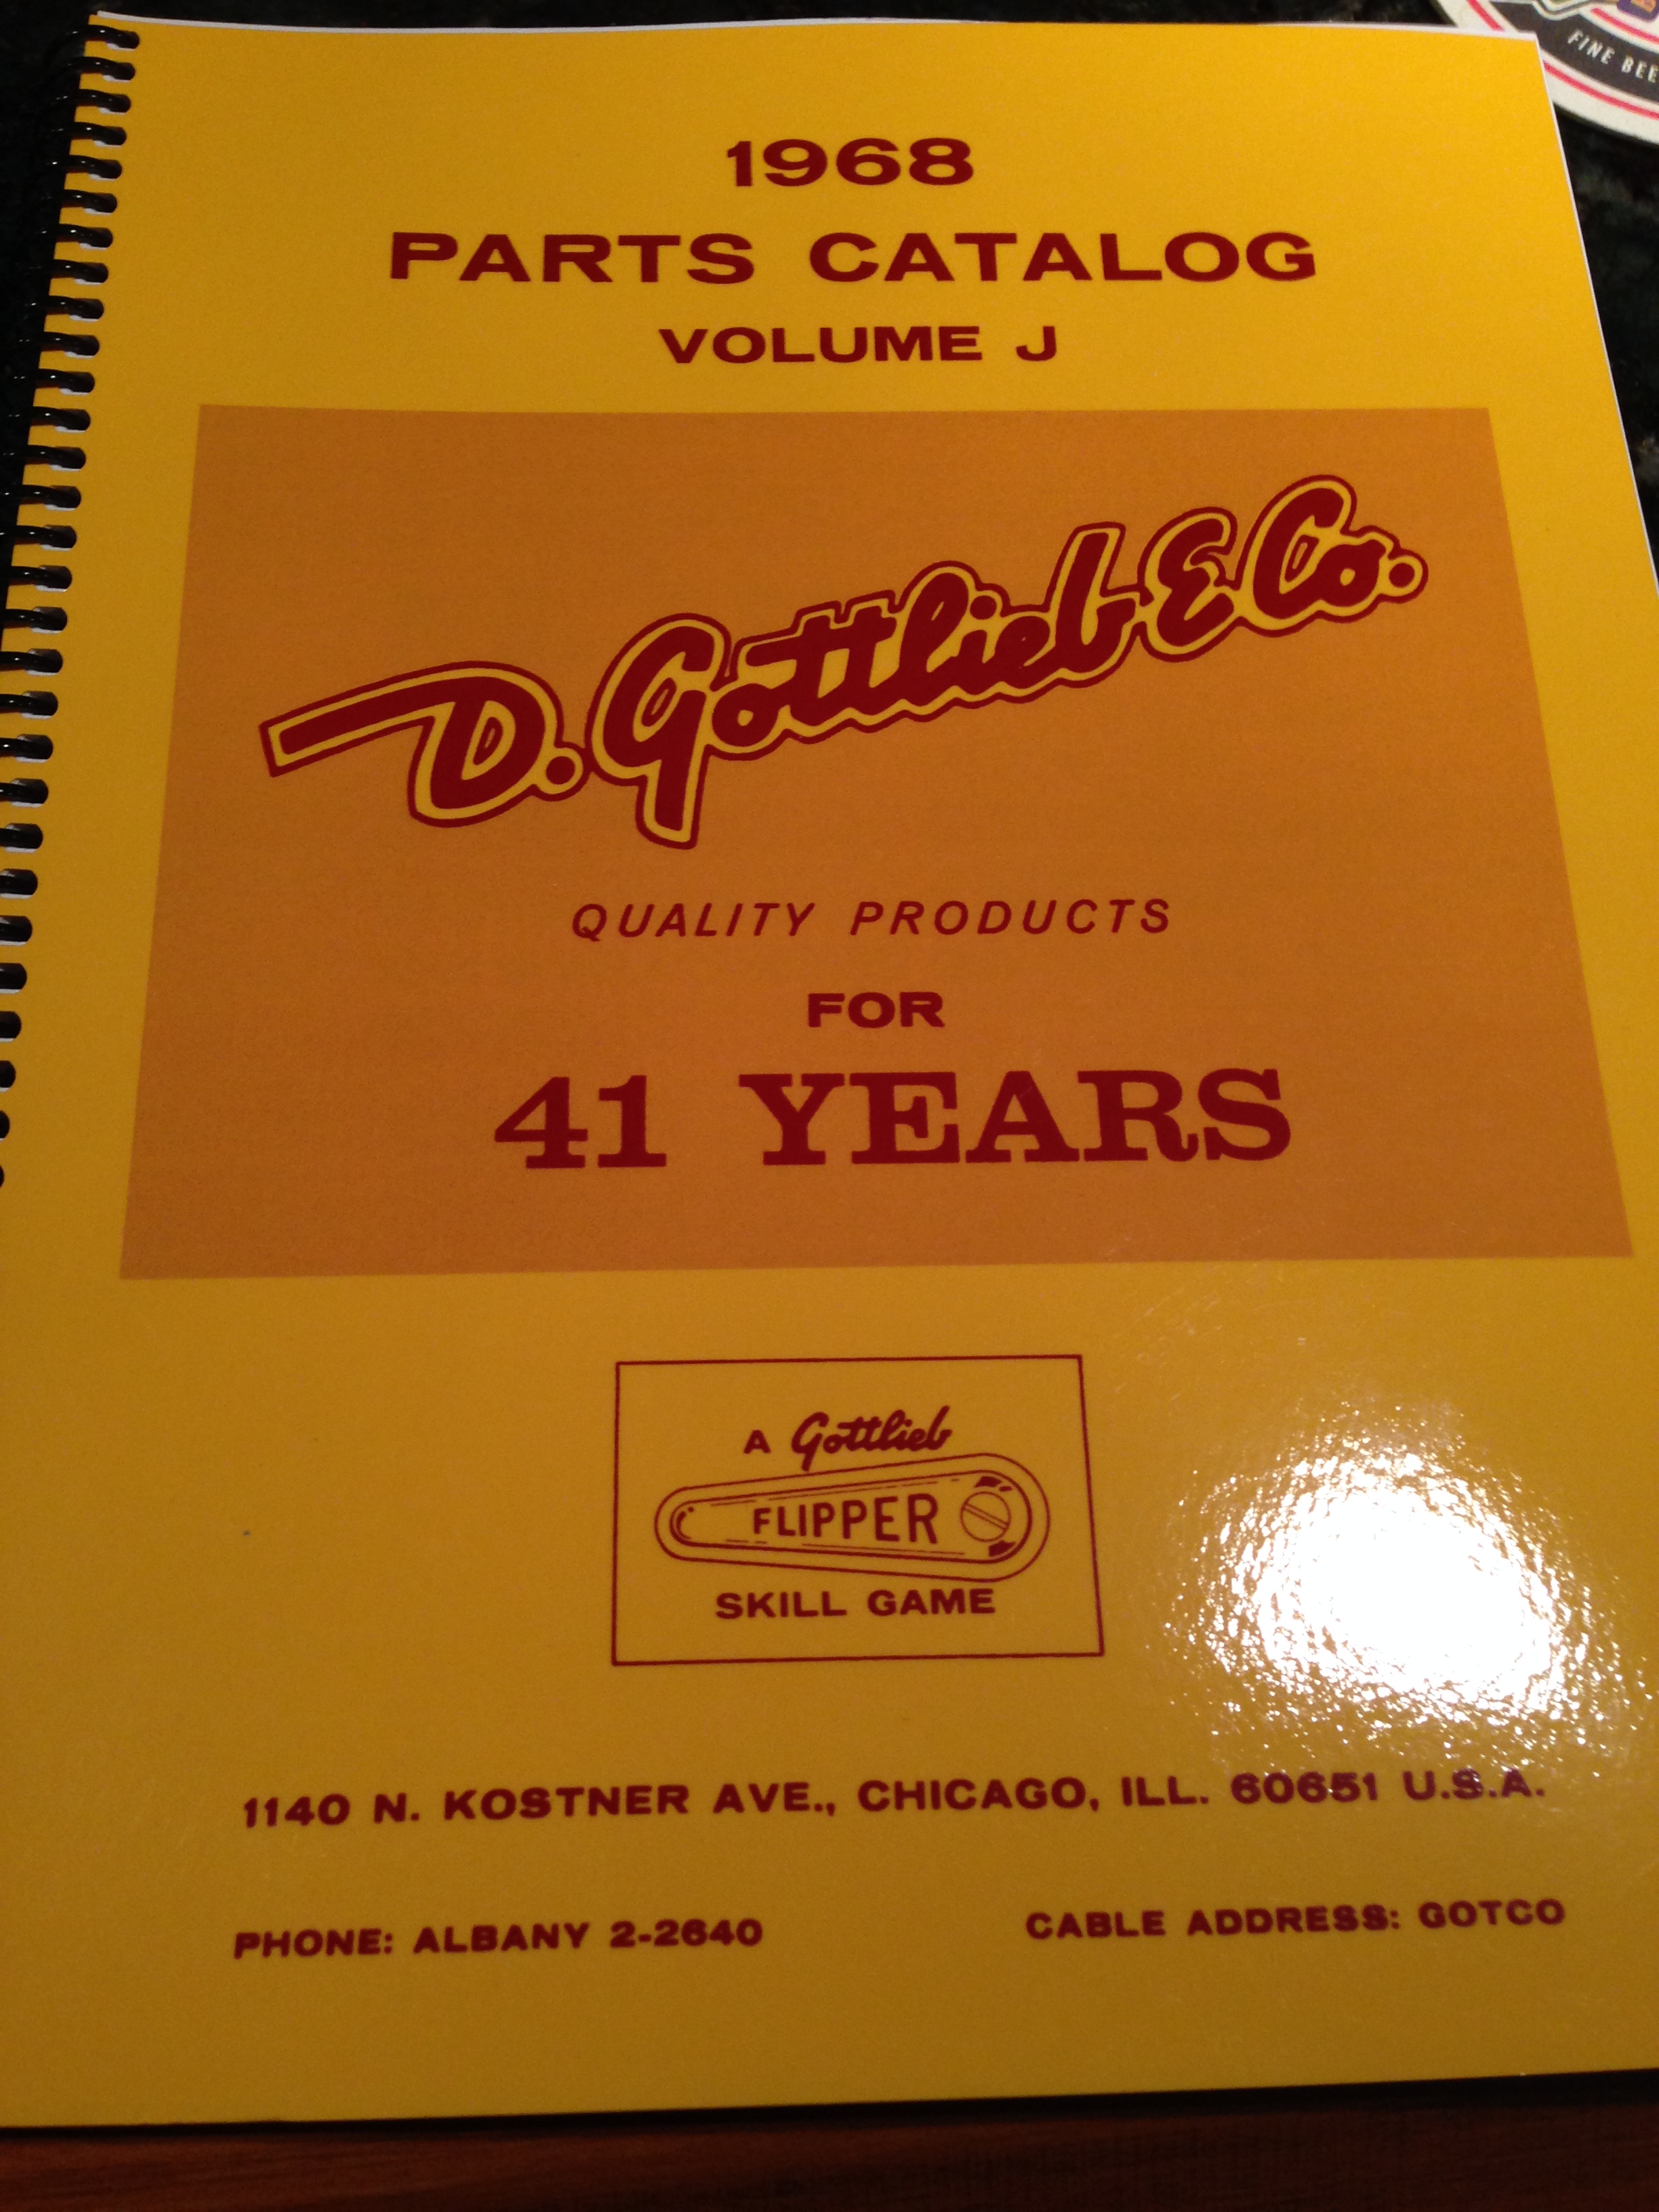 which included this machine (they are produced by year of manufacture), as I find this an indispensable resource for identifying part numbers, or as an illustration of the way various mechanisms are assembled, or how they may have originally been implemented on the machine. Machines this old are often modified, and it’s difficult to know how they should have been originally.
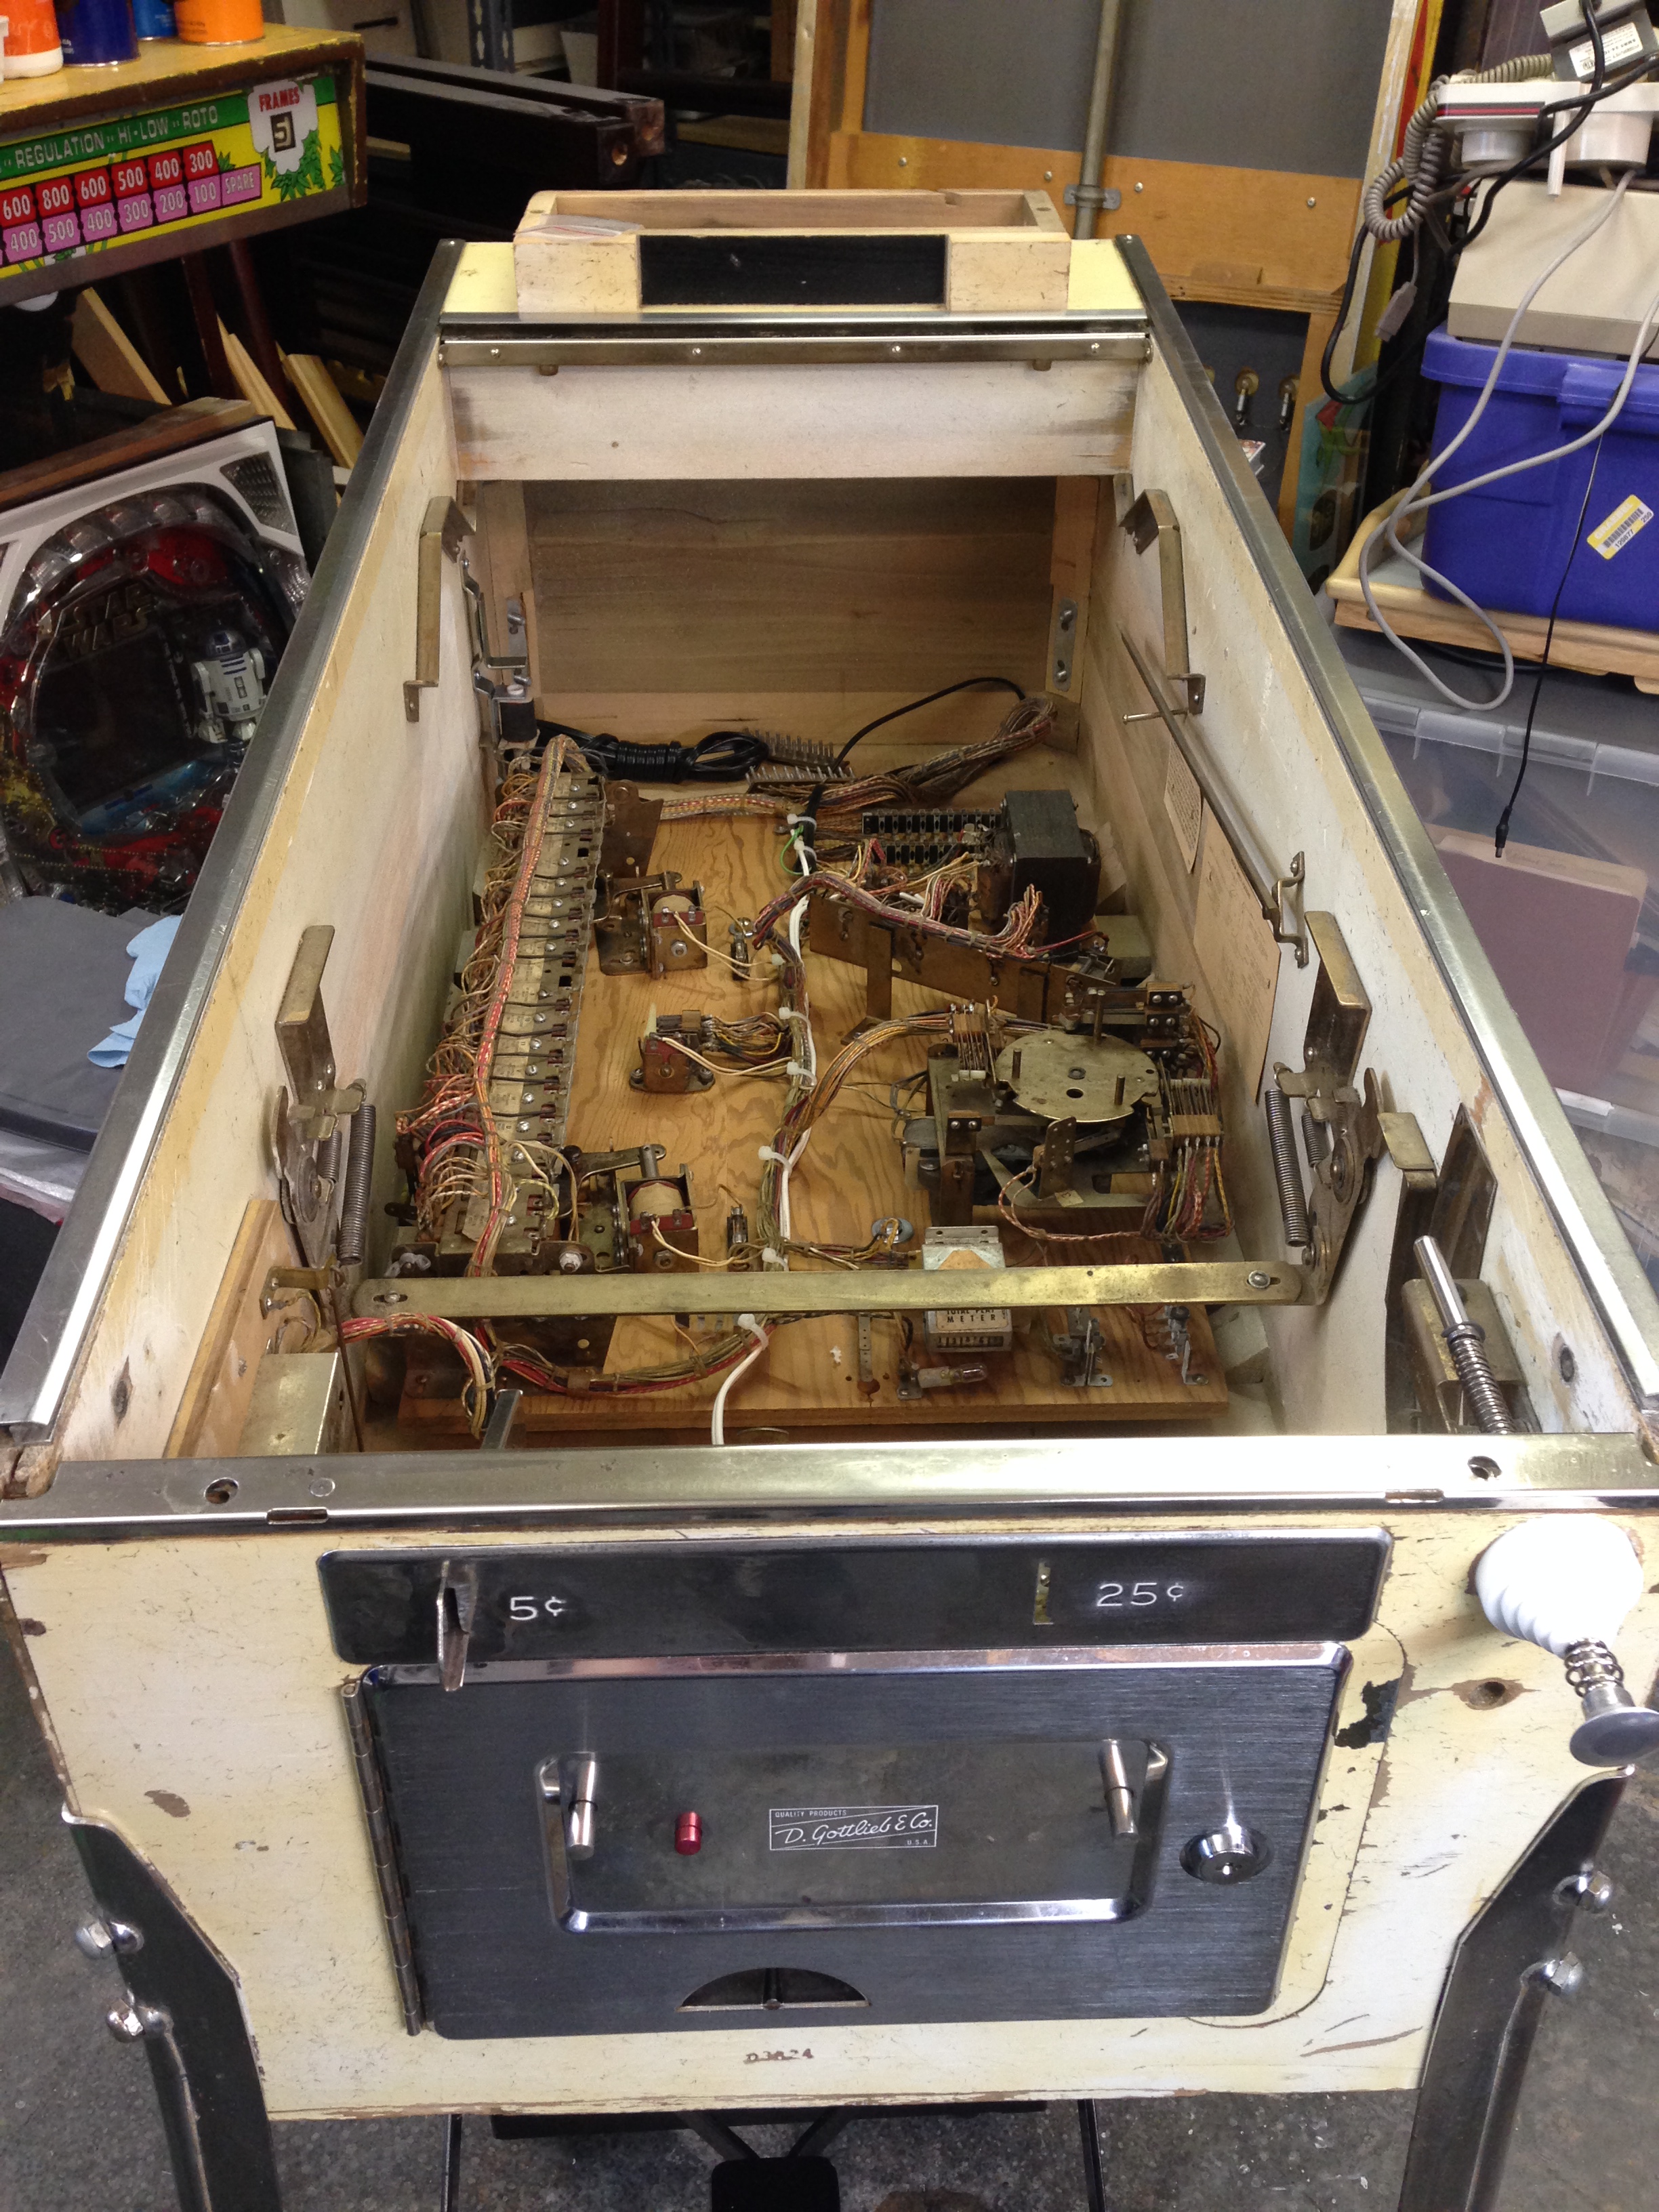
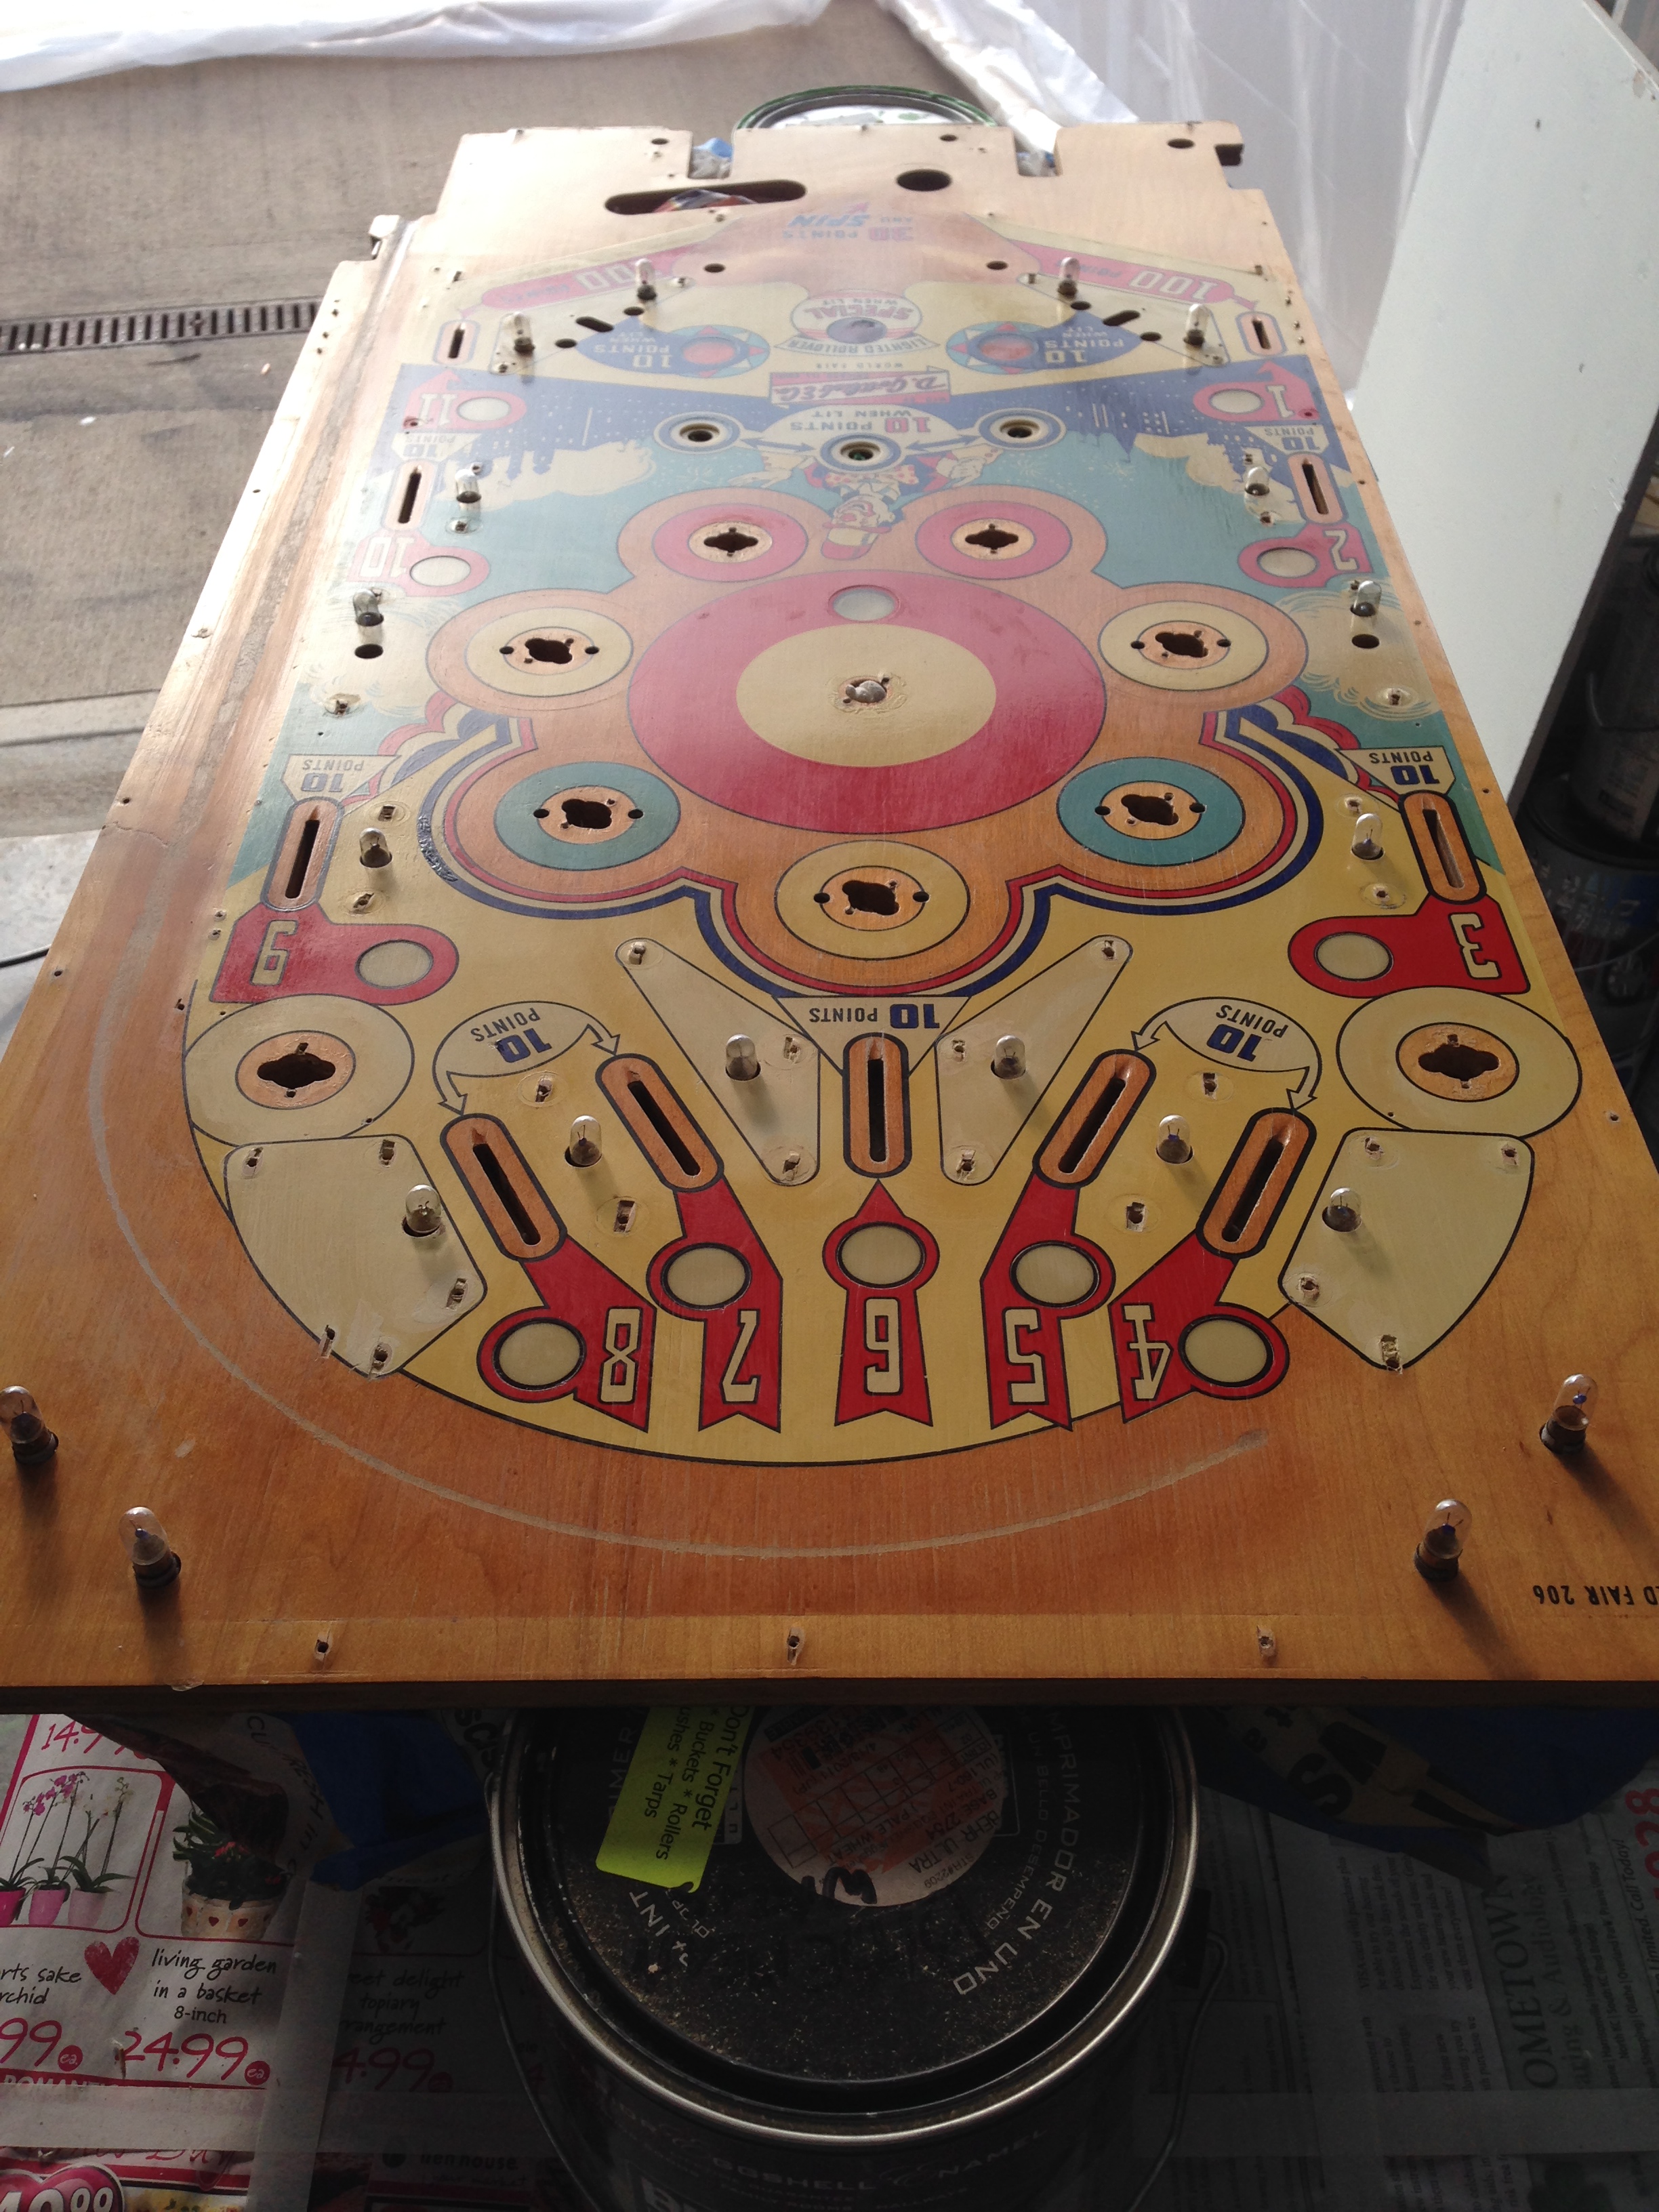
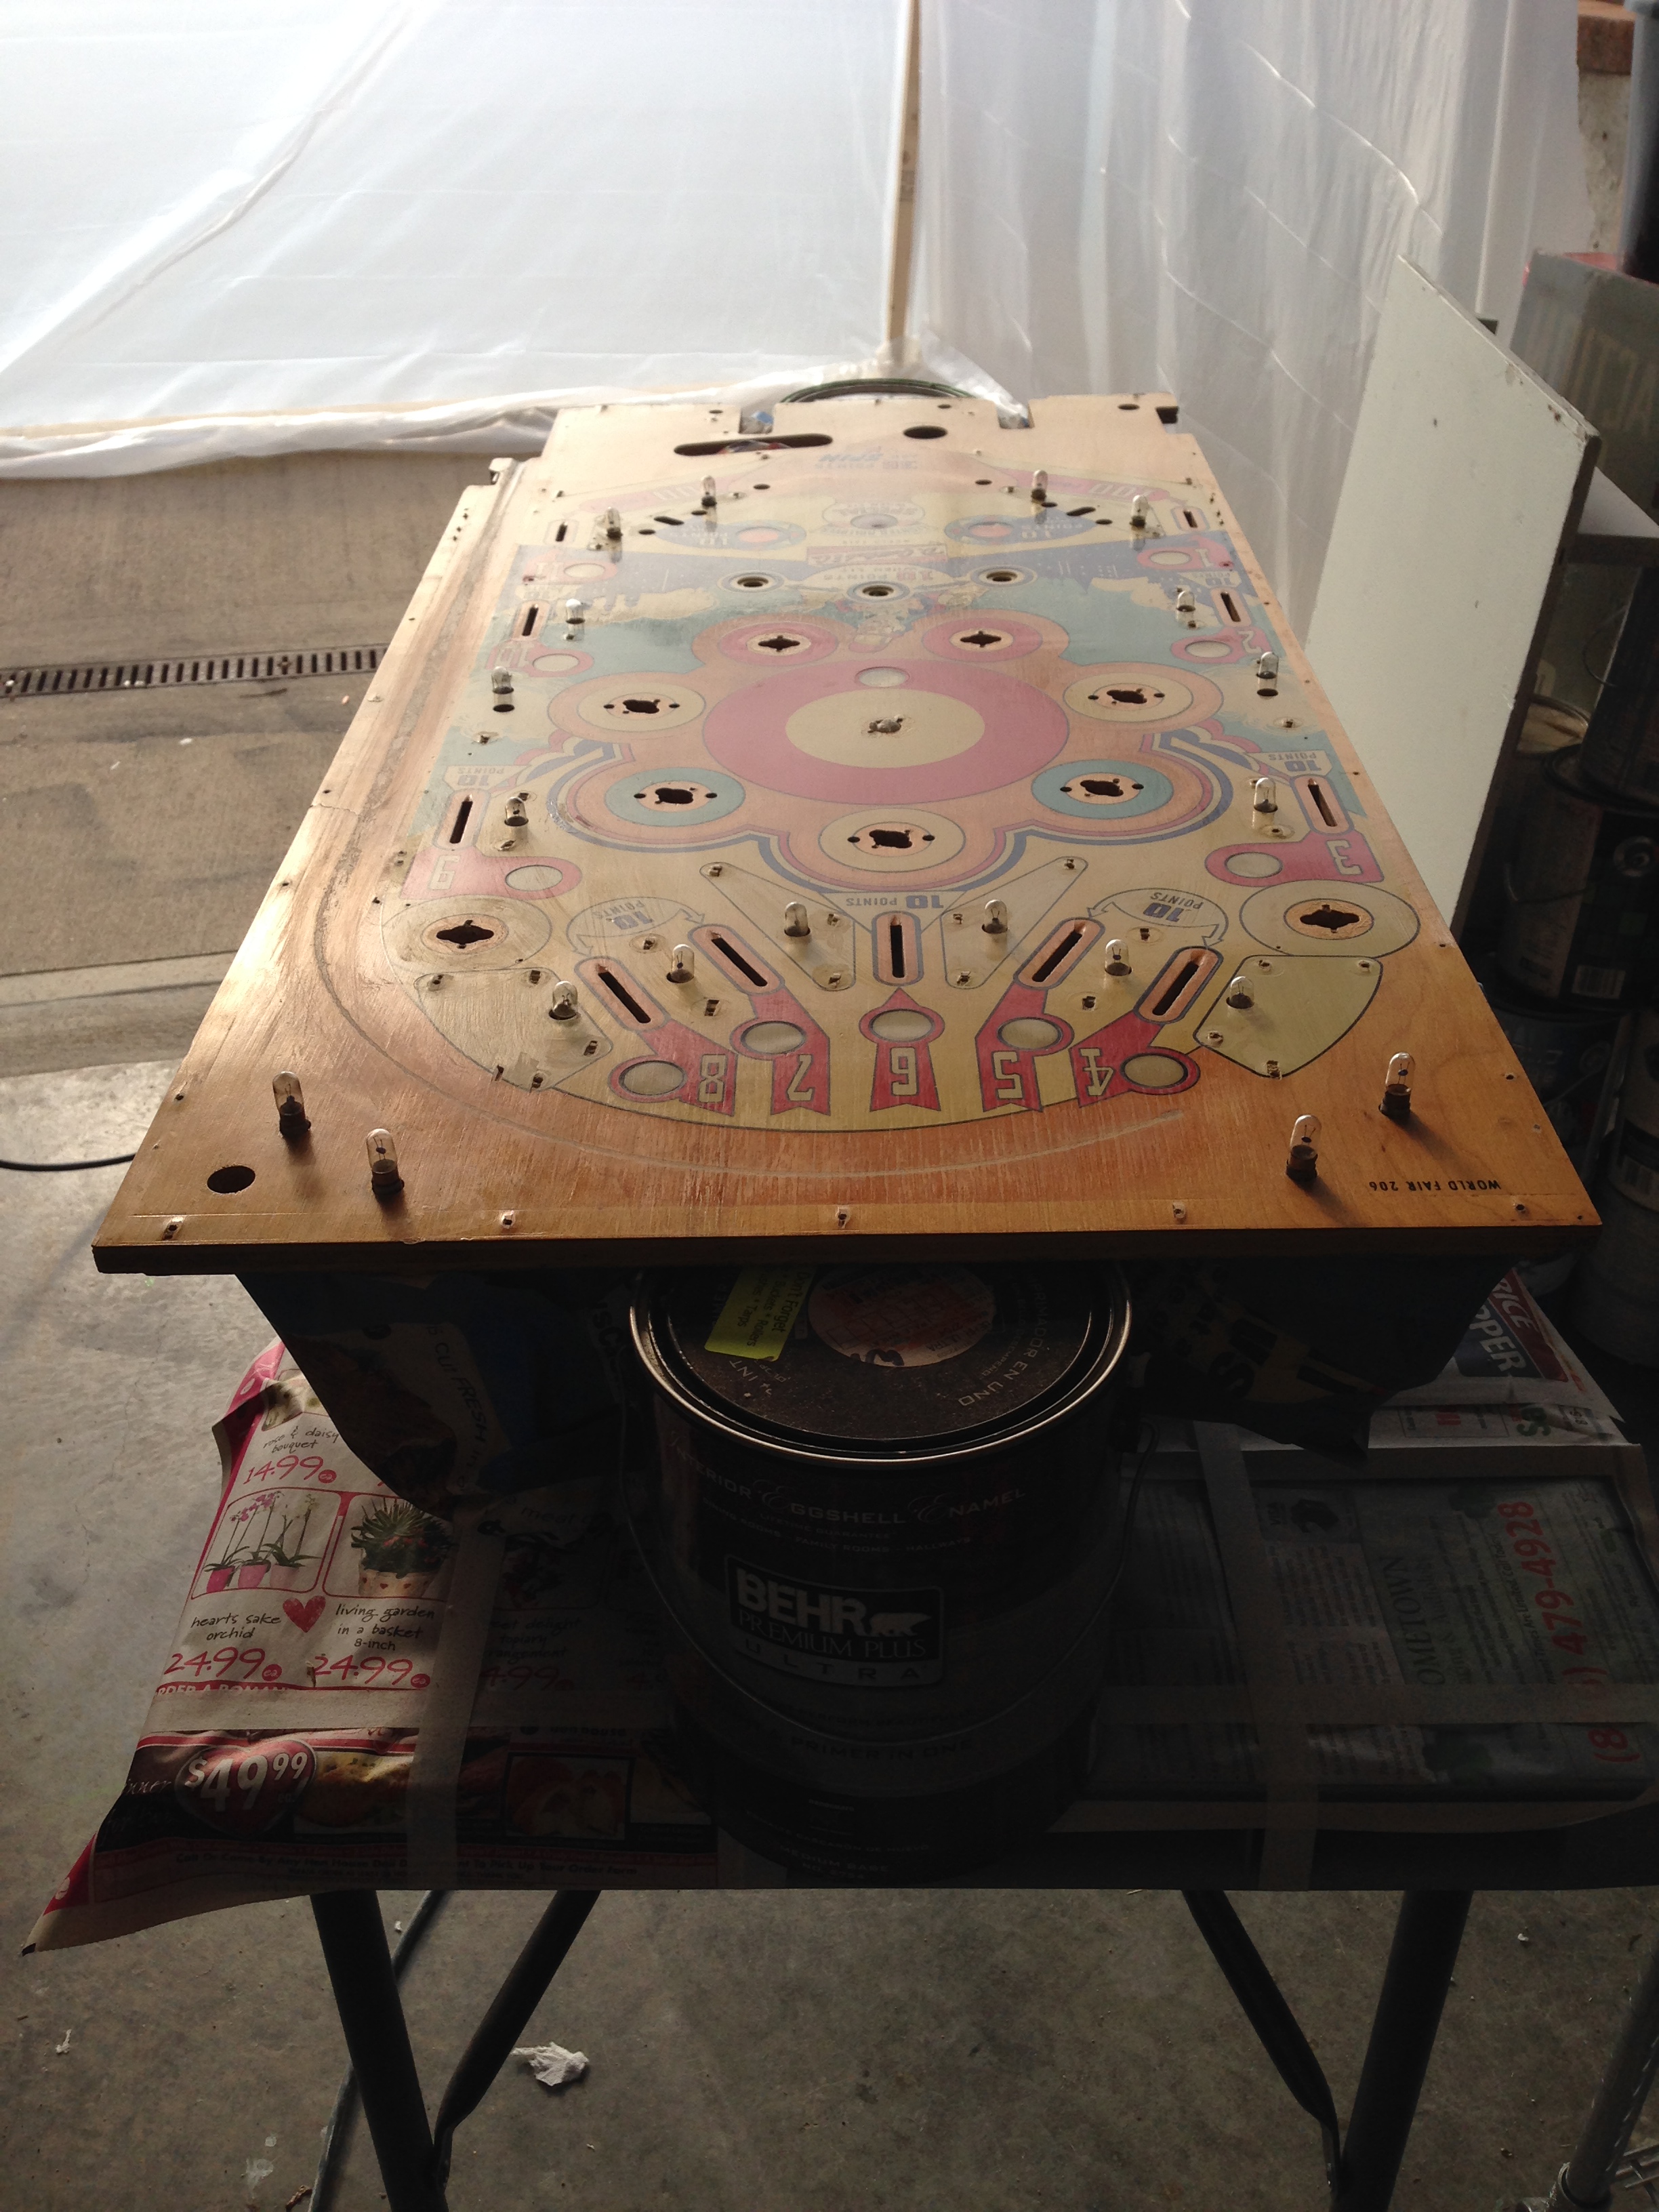
Playfield Disassembly
In order to really clean, touch up, and clear coat the playfield, everything must be removed. Keep track of where things go with a digital camera. There are a LOT of parts on a playfield.
I’m following Clay’s instructions on how to prep the playfield for clear coating. You can probably see my touchups just a bit on the pictures above. I’ll go over them with a damp rag one more time before I clear coat. For the most part I expect the clear to hide the texture difference between my touchups and the original paint. We’ll see how well this works. I’ll post pictures when I’m done.
I’ve ordered the Omni AU clear and activator from Welle Auto (I had a little trouble find this either locally or online. I ordered a mask and goggles from Amazon, along with a paper painting suit. I’ve used these suits when spray painting in the past, and they make a huge difference by keeping the paint off your skin and clothes.
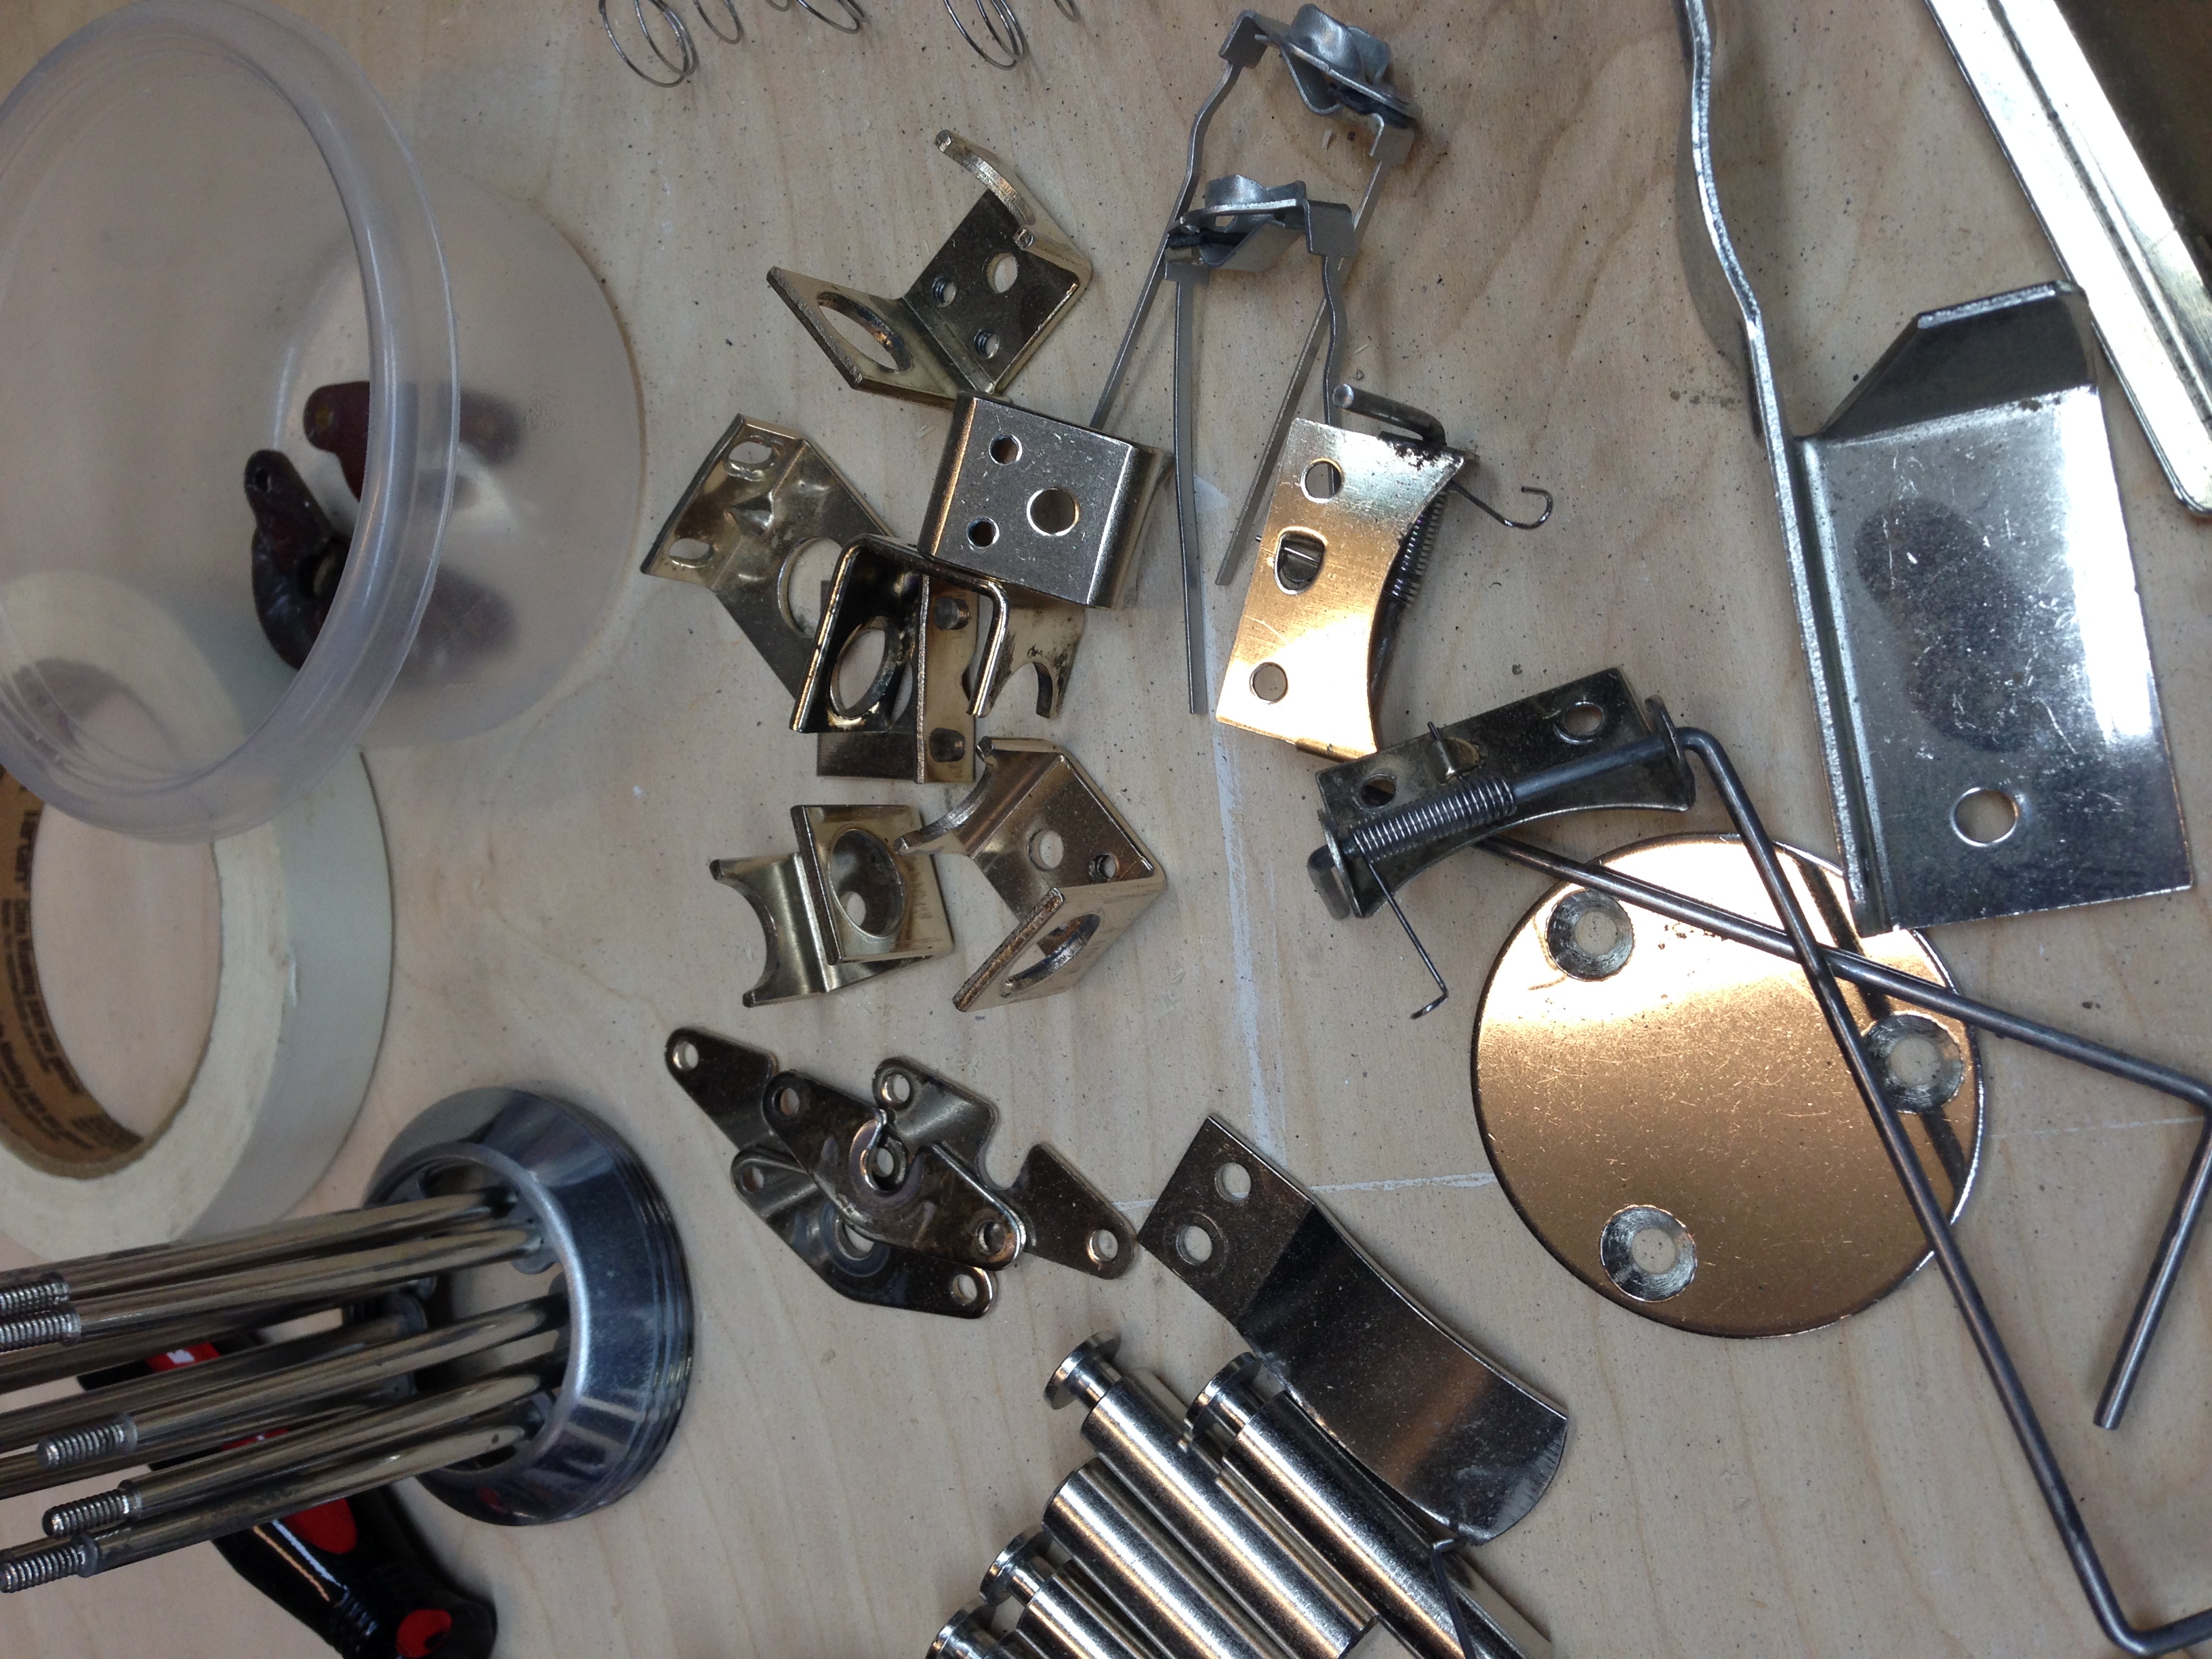
Cleaning and Polishing Parts
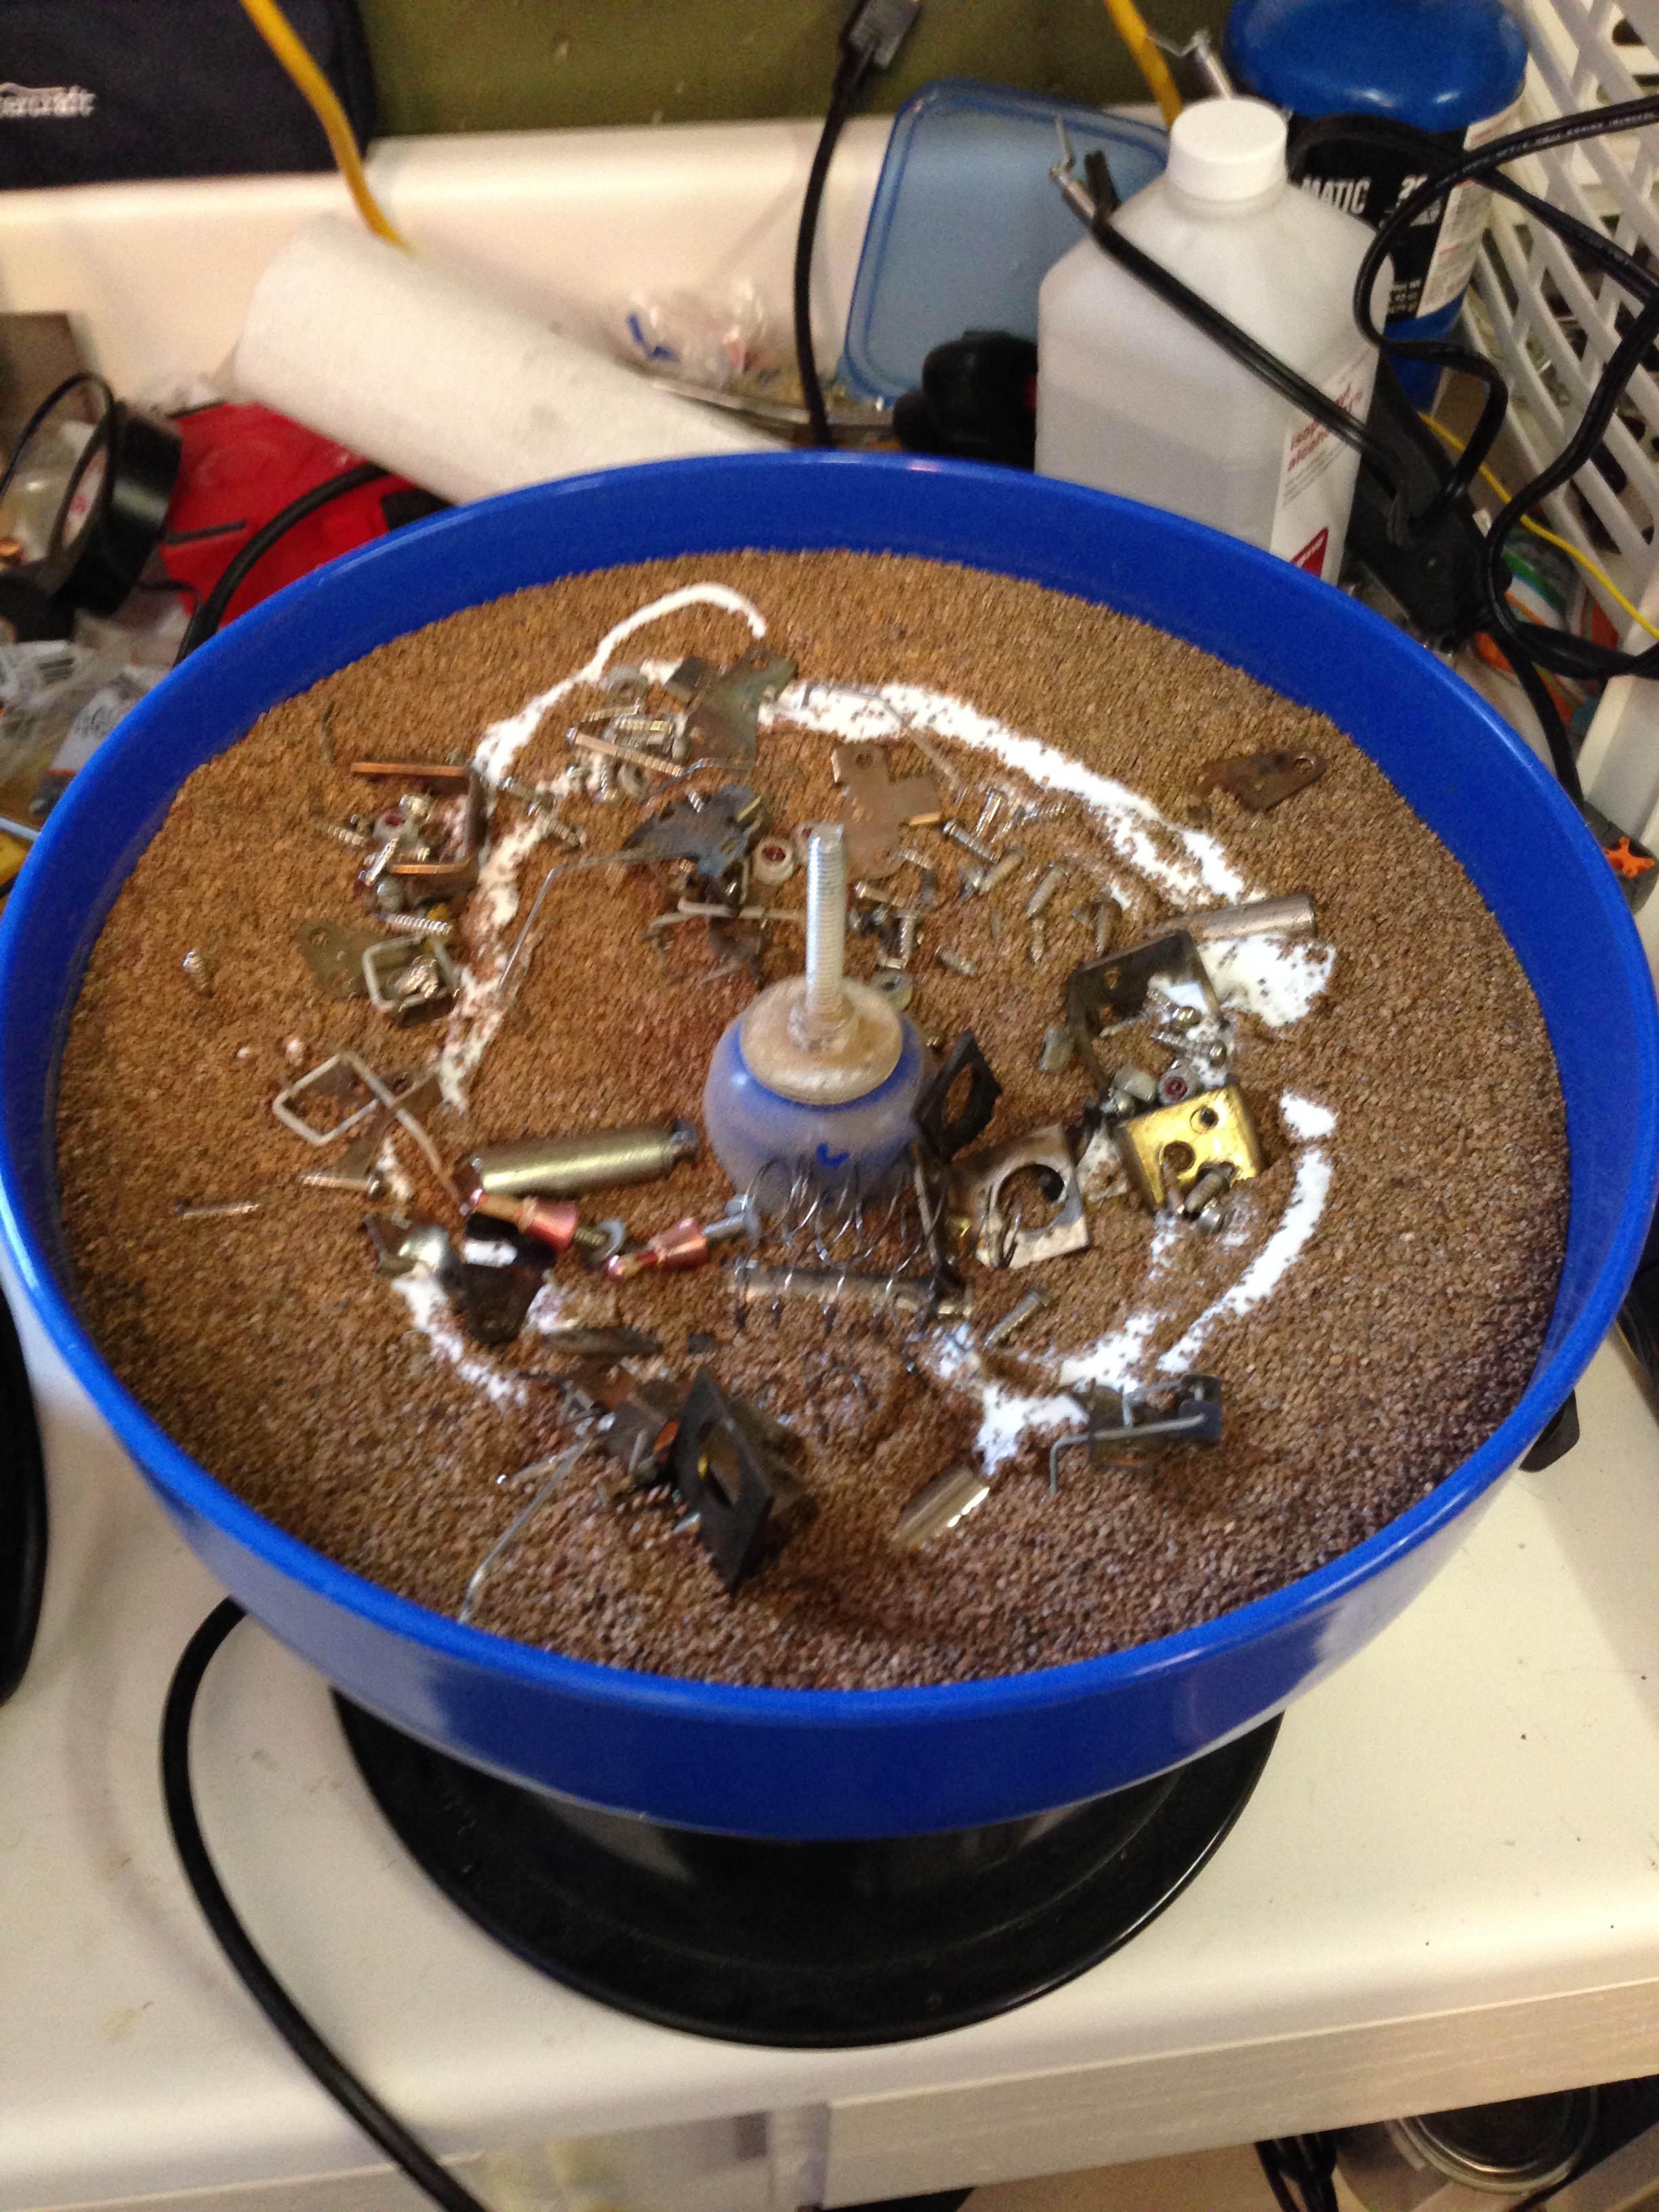
Many of the metal parts of this game have 50 years of rust, corrosion, and dirt/grime on them. Some of this can affect game play. So, while I have the machine apart, and while I’m rebuilding the pop bumpers, kickers, flippers, and stepper units, I figure I might as well clean and polish the metal parts I take out.
I use the vibration polishers, with walnut shell media. I learned this from Clay’s guides and videos.
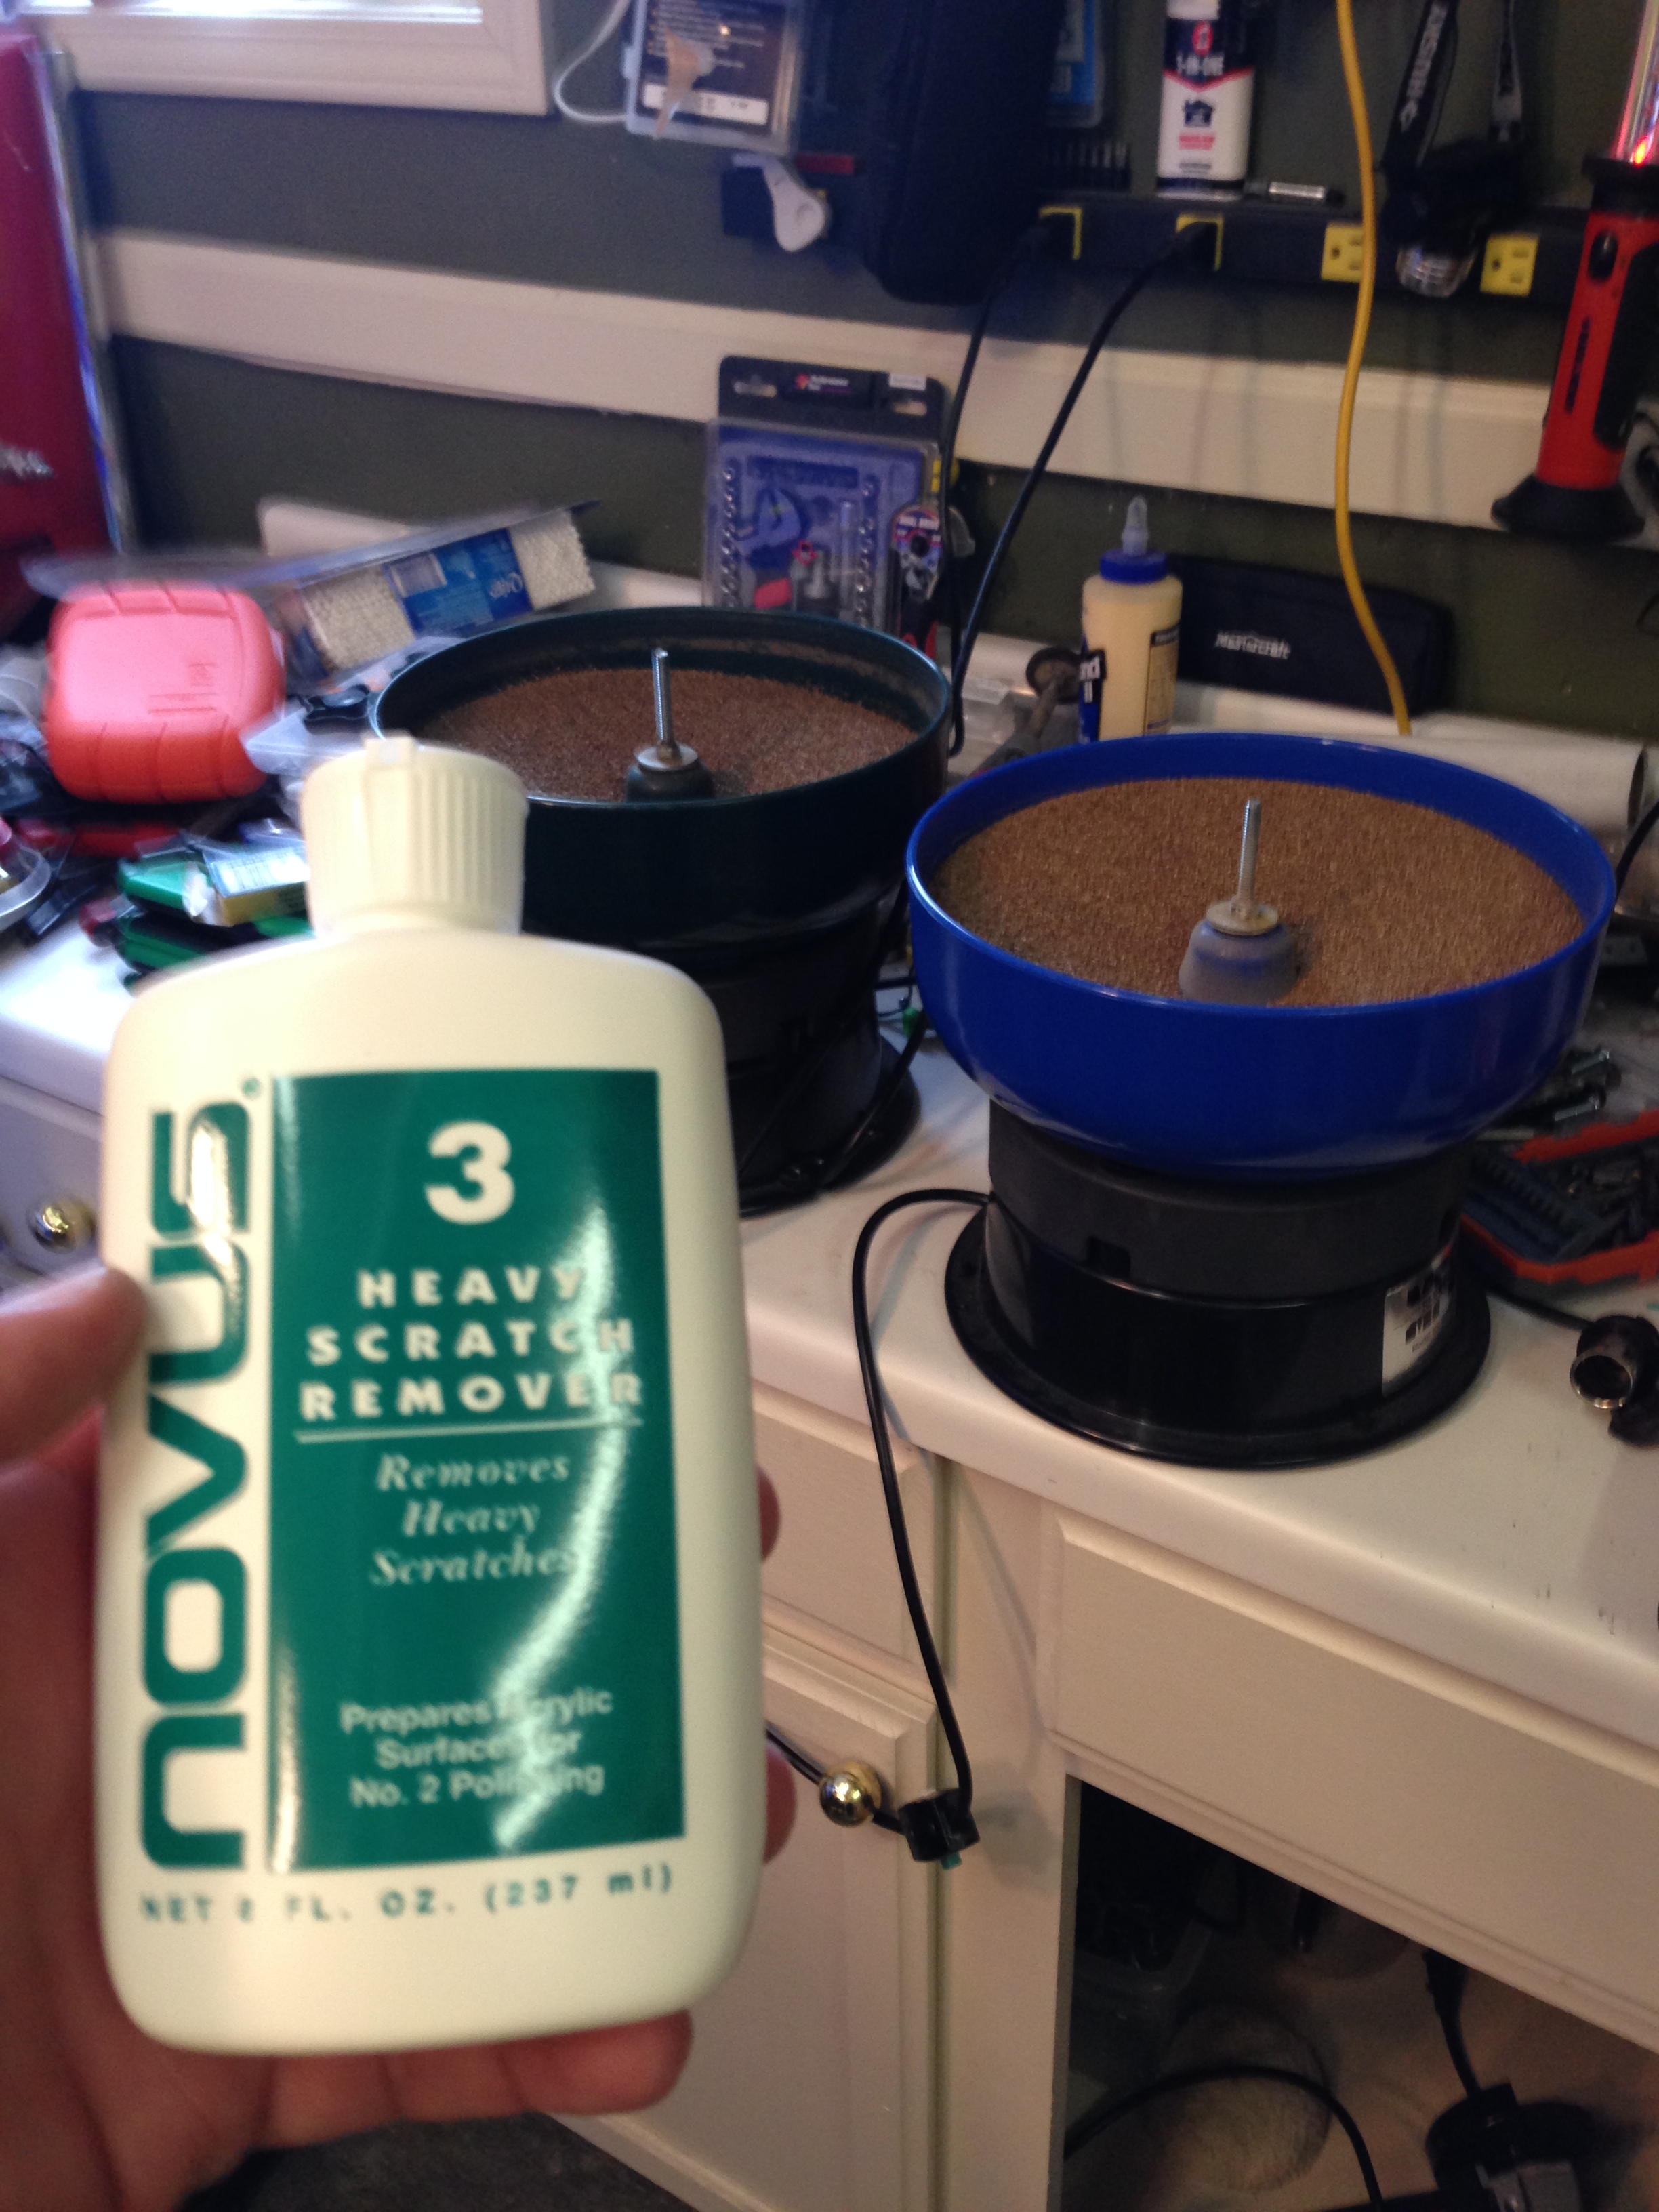
I only have two because I “lost” one in a move, and then finally gave in and bought another one. As soon as it arrived, I found my old one in the bottom of a box… so now I have two. It is nice though when you are doing a lot of parts.
These parts came out really nice. Whatever kind of stainless steel (or whatever it is) they used on these older machines must be really high quality. The shine is amazing.


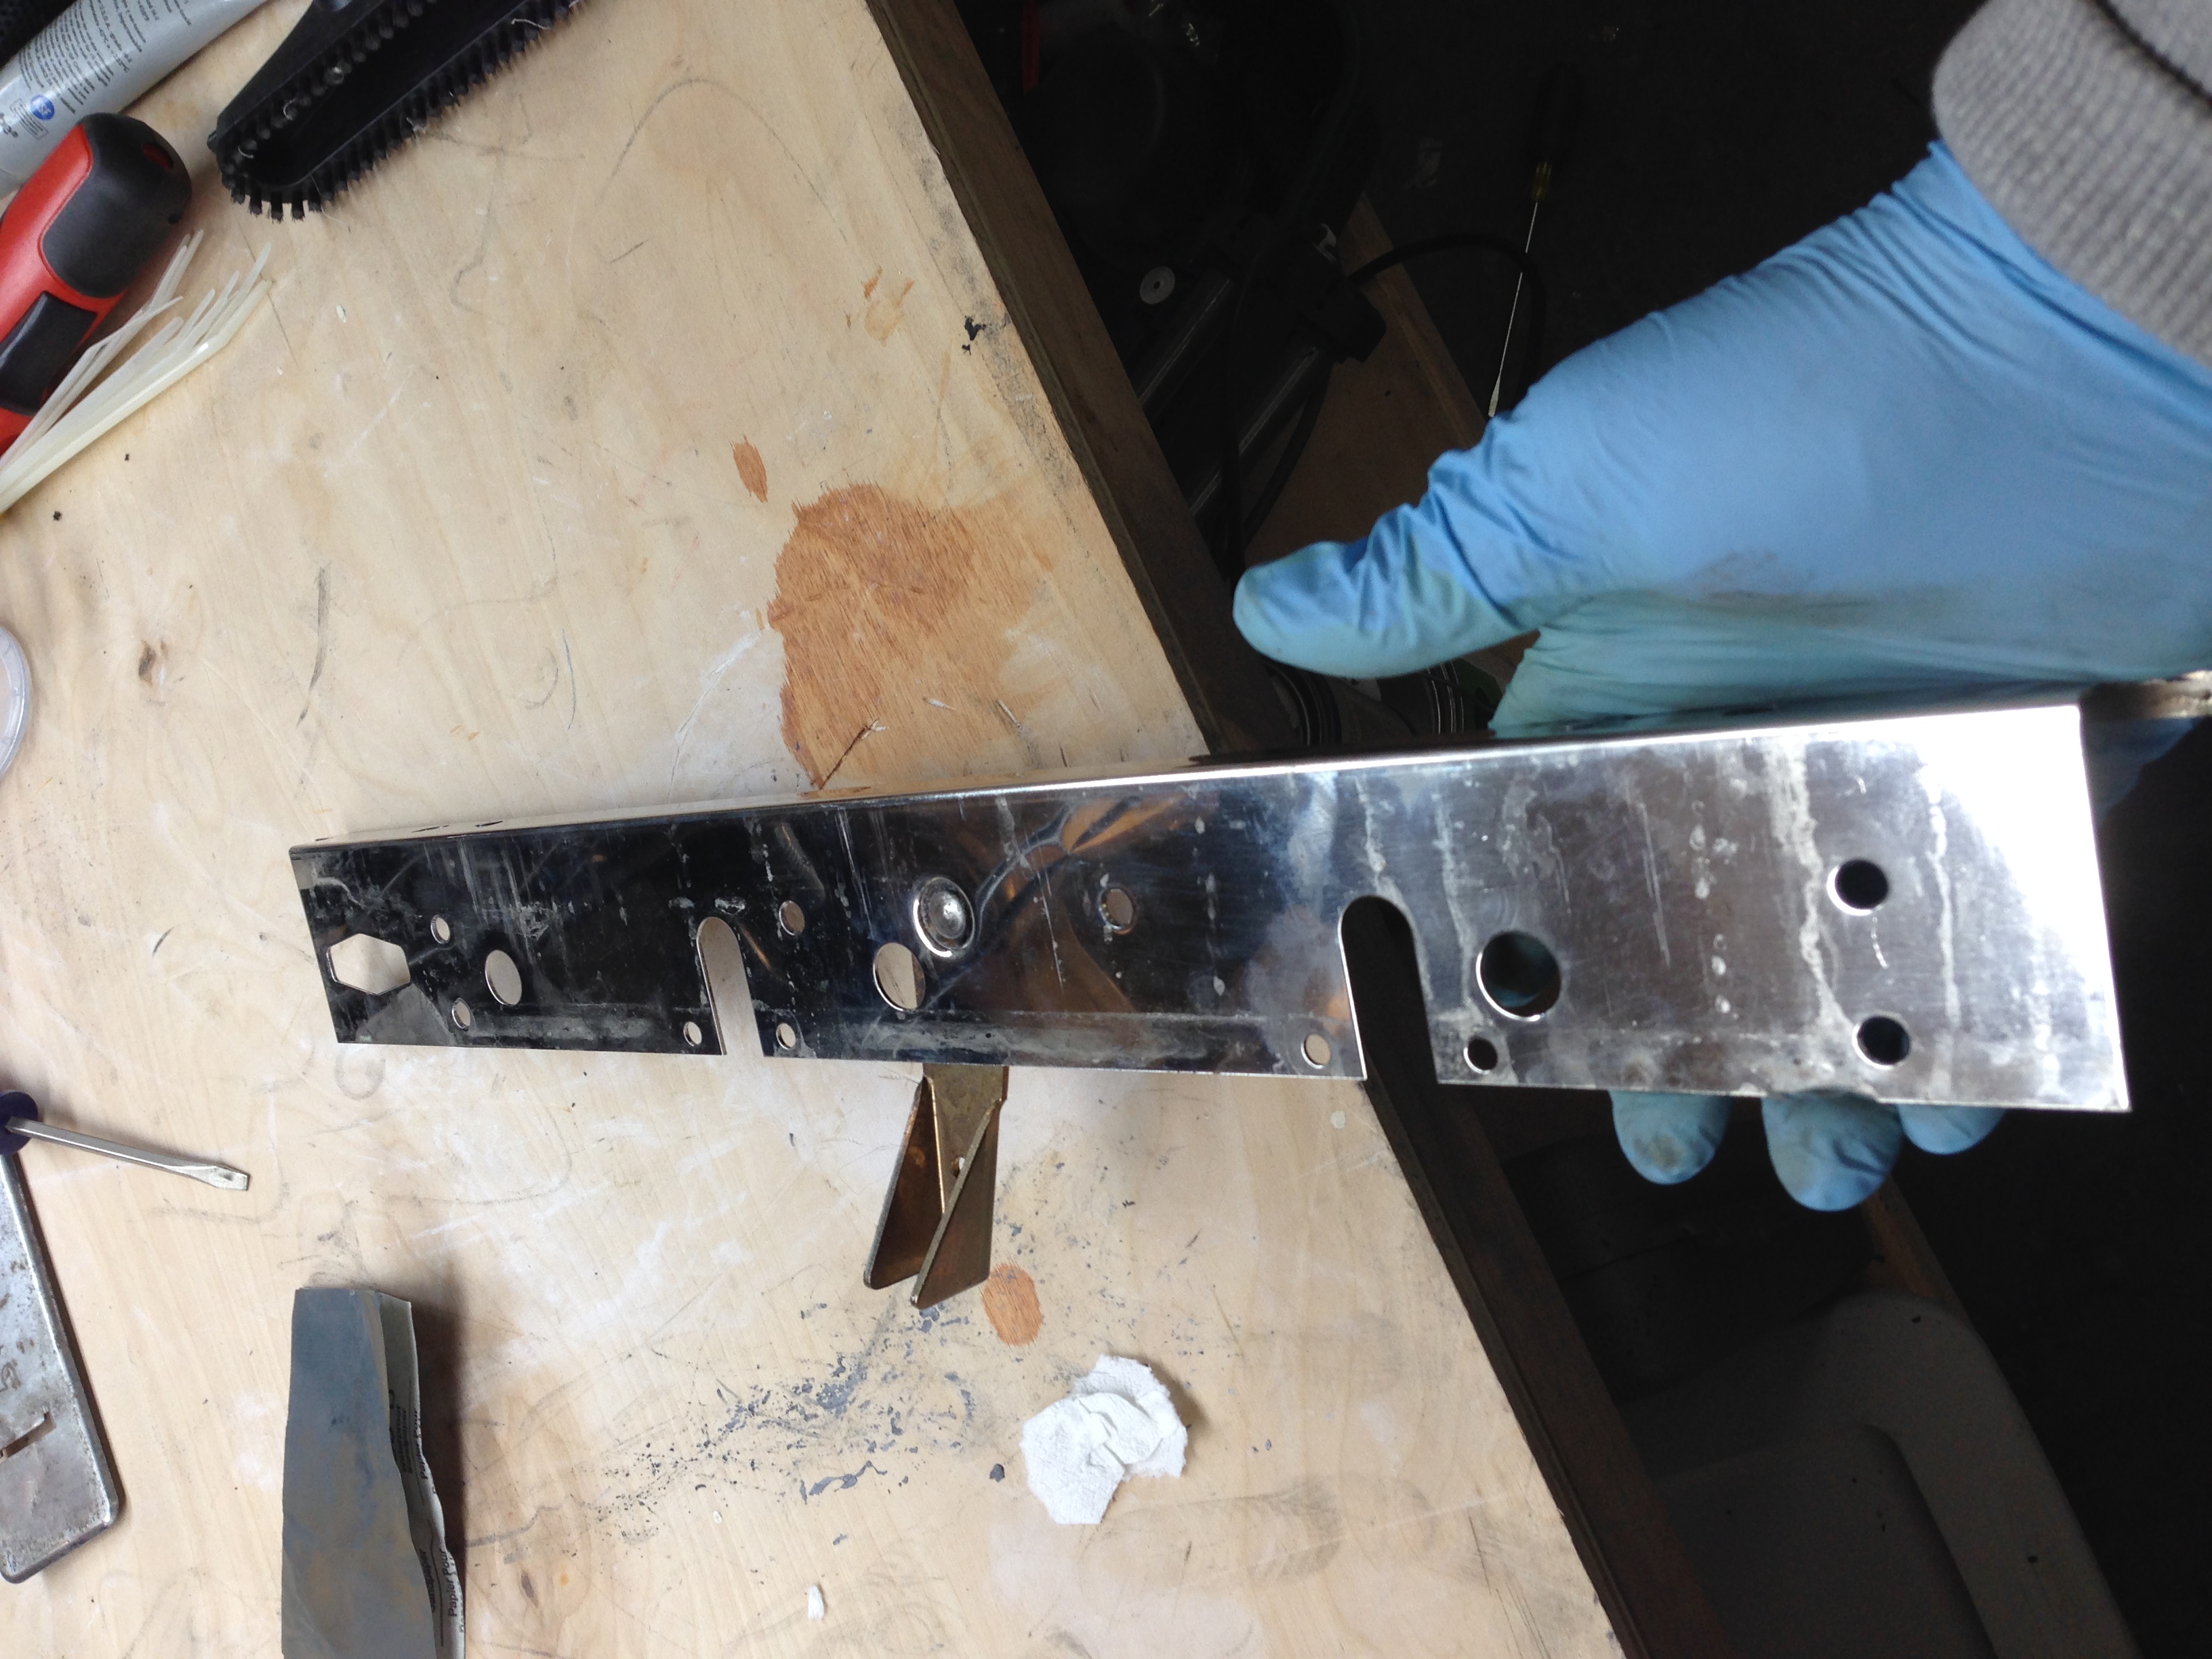
The flipper pawls still have some discoloration that I couldn’t get off, but overall, most everything cleaned up pretty much like new. The lock-down bar above (last 2 pictures) was super corroded and covered with all the crap everybody spilled in this machine over the years, but it cleaned up really nice too. It still has some marks and discoloration, but is hugely improved, and looks better in person than in the pictures.
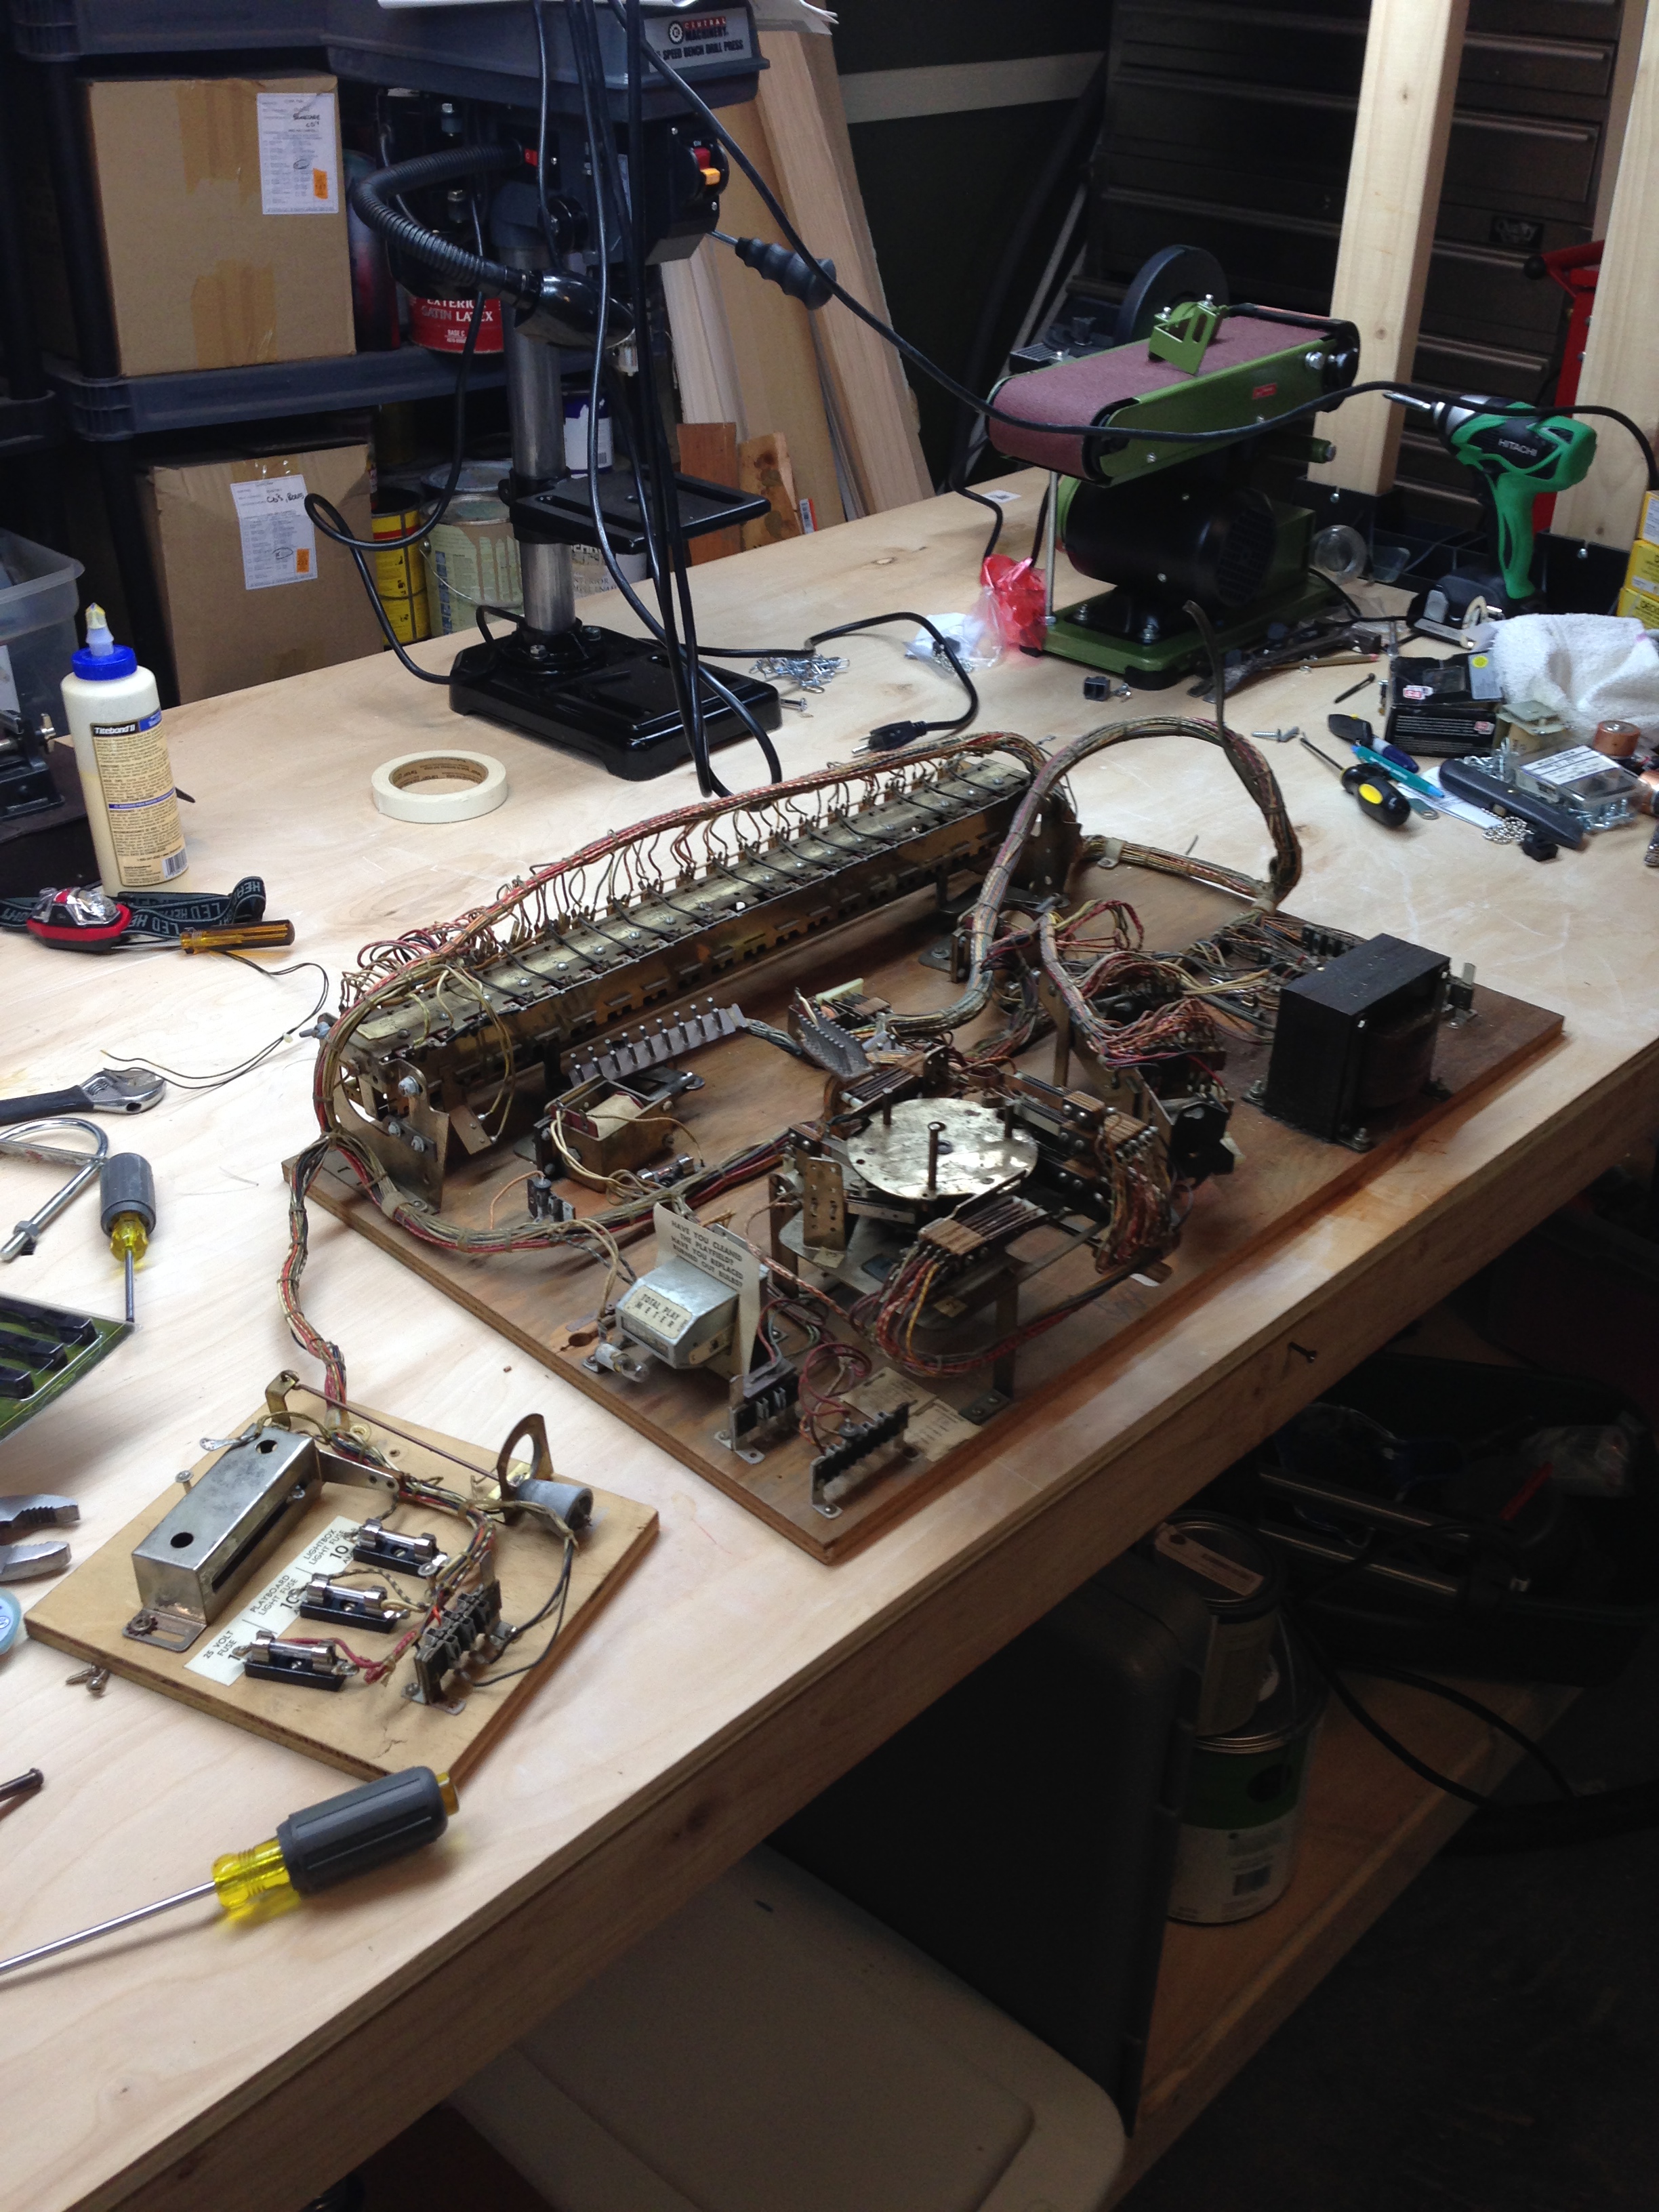
Bottom Board
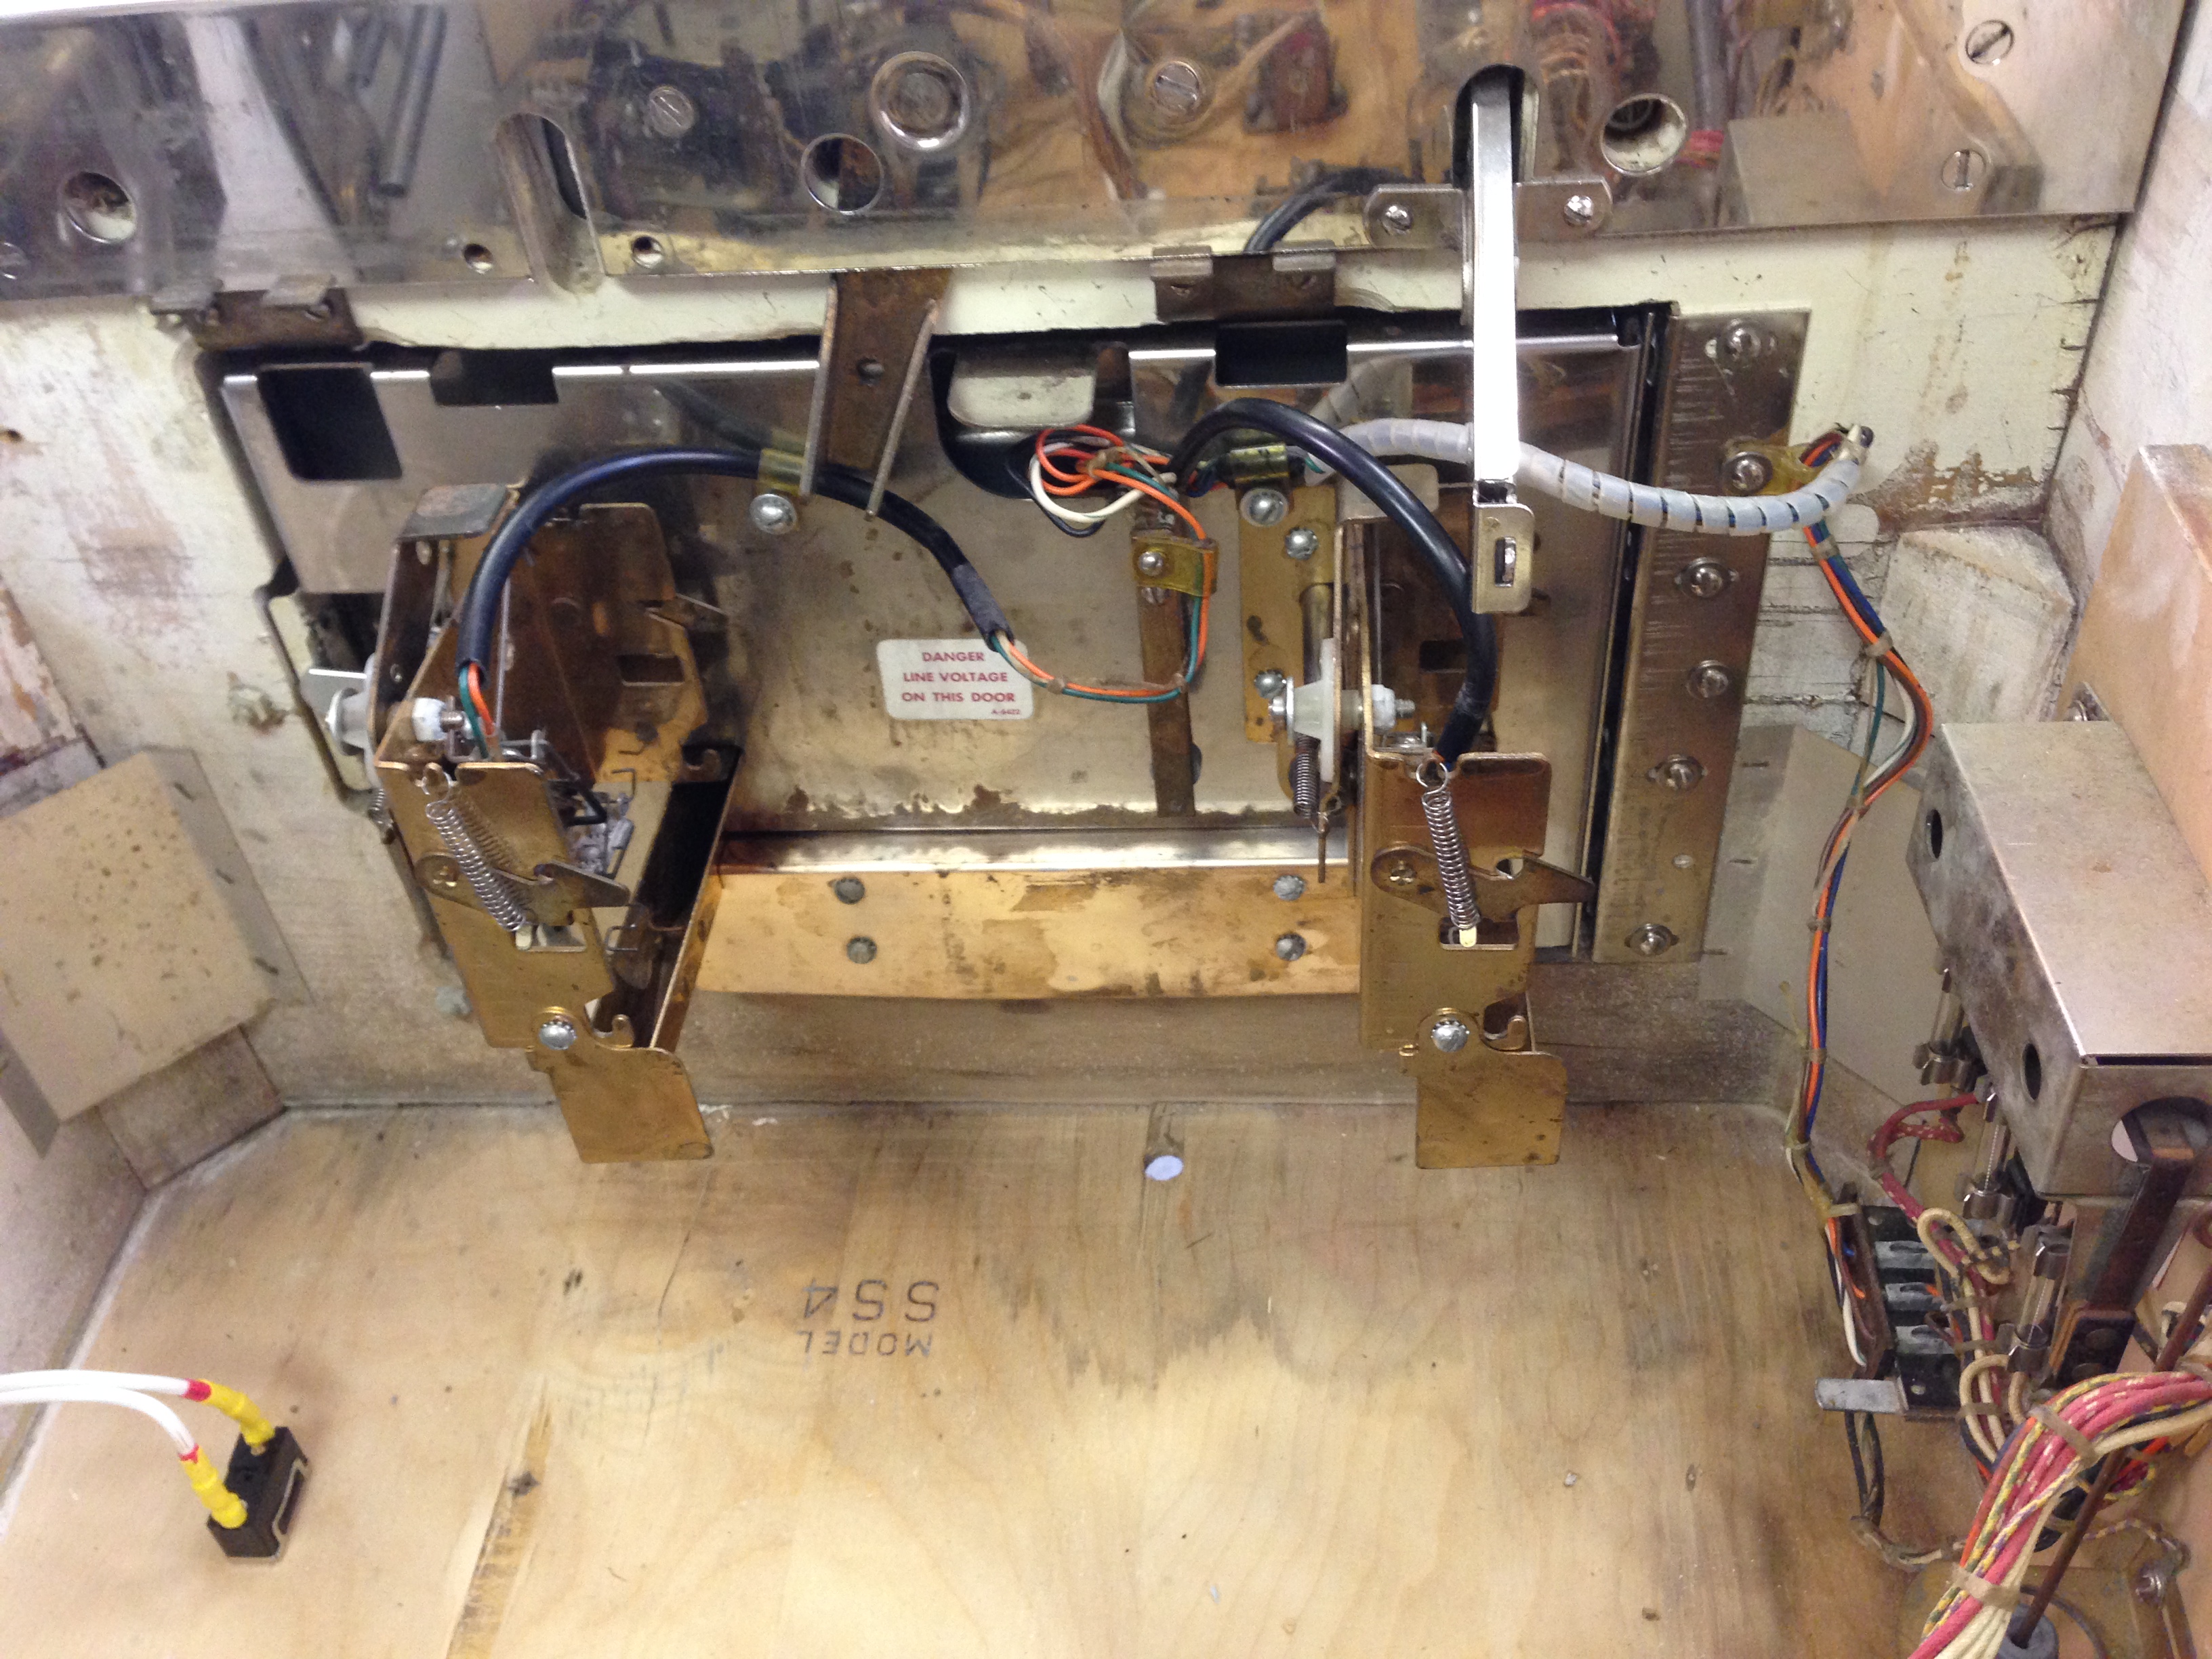
The bottom electronics board has a couple of problems. Like every older machine (for the most part), the bottom board takes all the crap that drops out of the playfield. All the metal dust, dirt, and anything else that collects on it over the years. So, usually, it is disgusting, and this one was no exception. The only real way to clean these is to remove all the electronics and sand all the crap off. You can paint or clear them when you’ve sanded it, but I don’t think I’ll go that far. Here’s a before and after… in the after, I’ve added a new power cord, and the white cord will go to the front of the machine for a normal power switch.
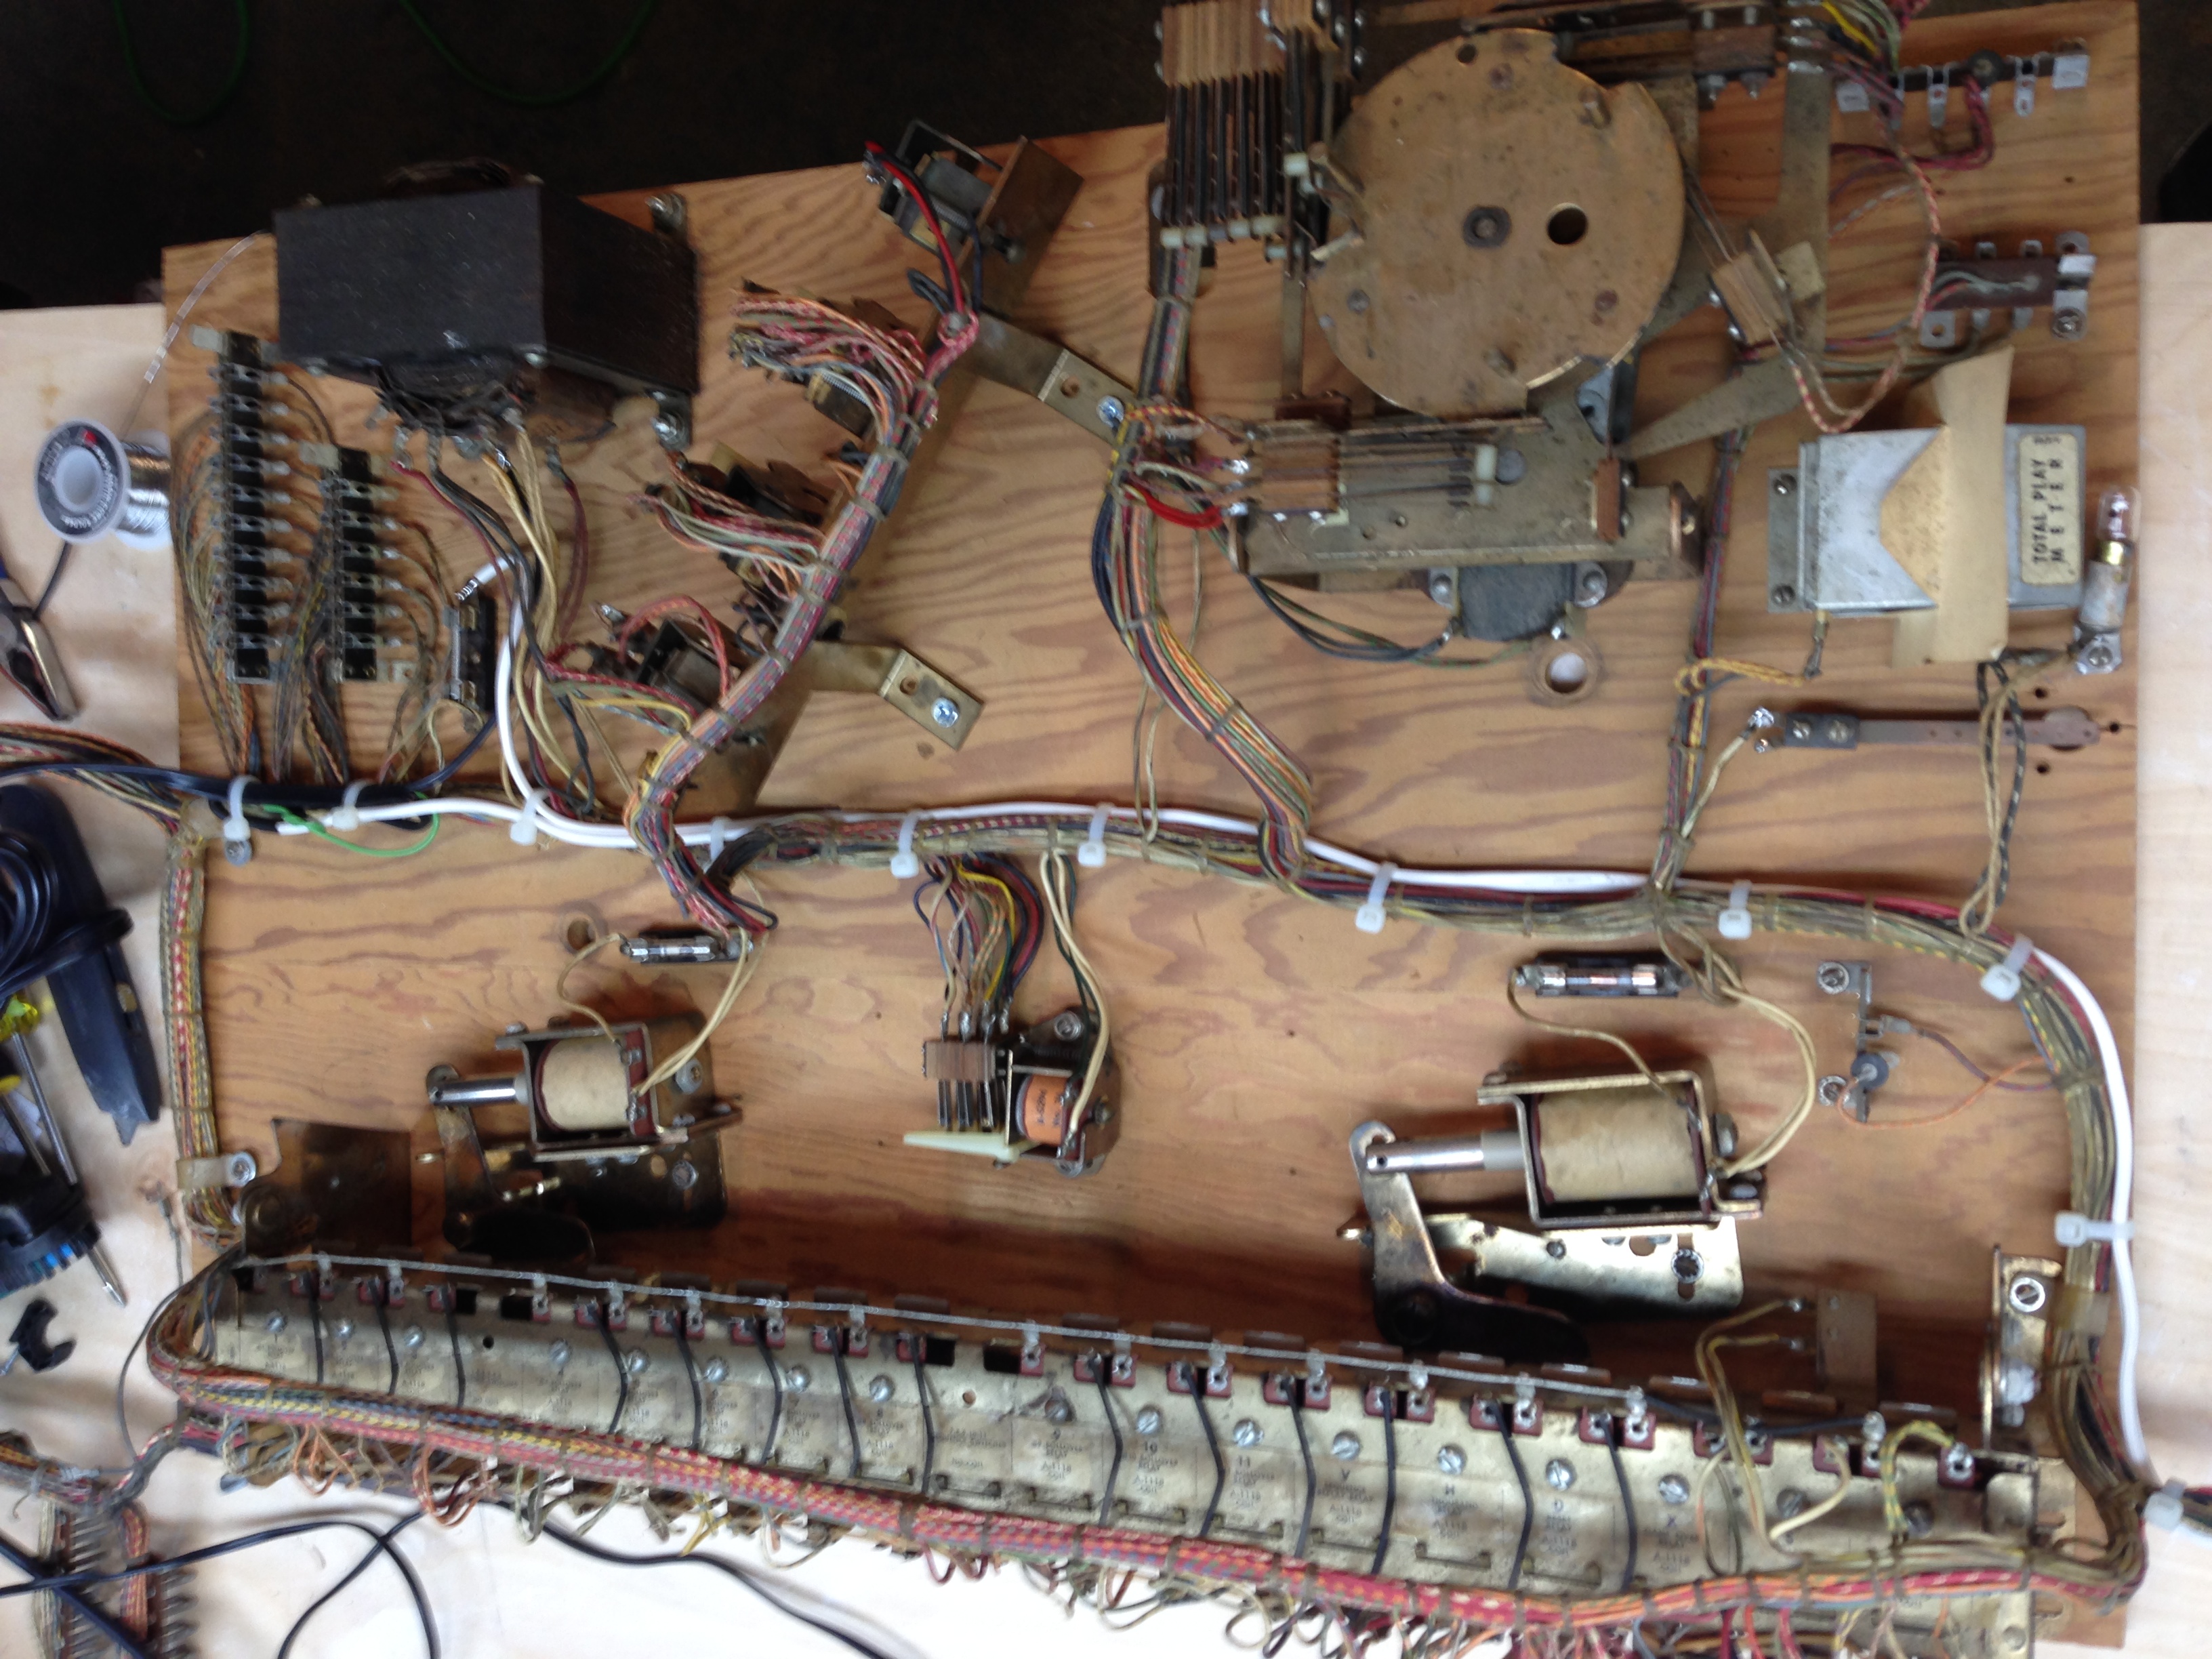
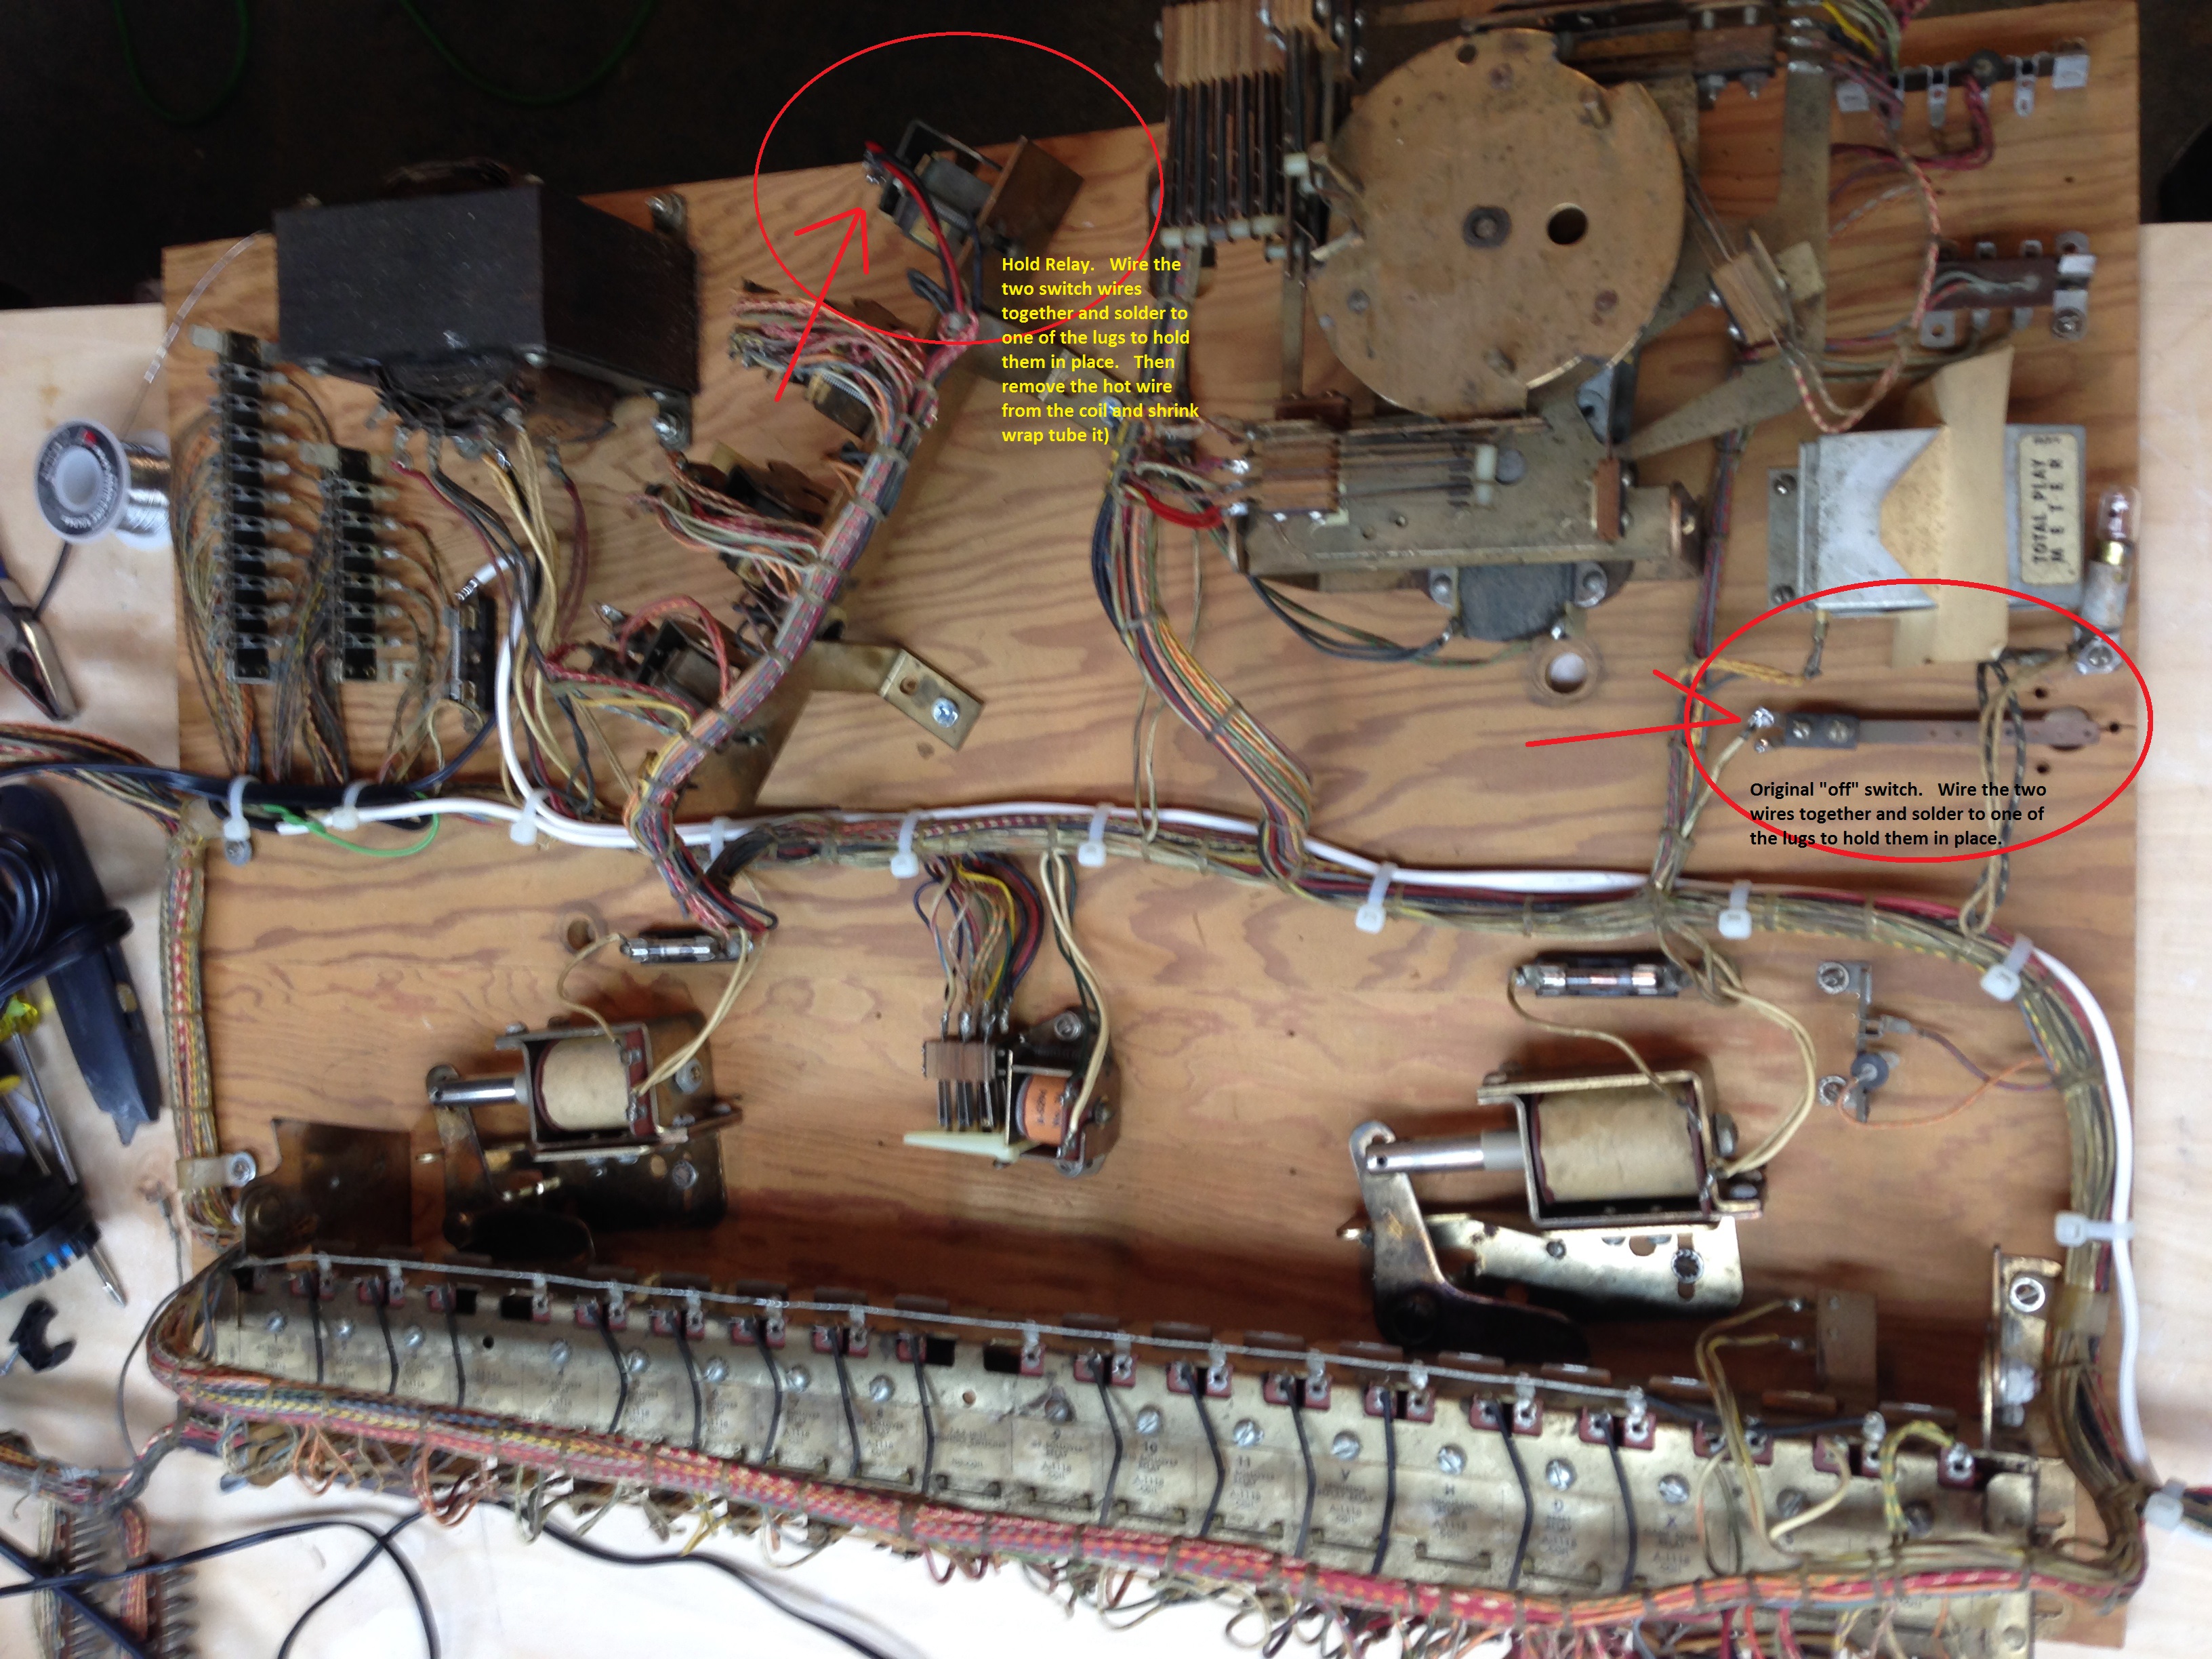
The second problem my bottom electronics board had was that it had some oily or waxy stuff all around the transformer that had spread out about 6 inches in each direction. I believe what happened is that the transformer slightly overheated, and the wax on the paper slightly melted and dripped out onto the bottom board. The transformer still works, and I’m guessing it’s ok. I’ll have to test it’s voltages when it’s back together to see if there is any problem. I was able to sand most of this off. It’s kinda hard to tell from the first (before) picture above, but you can see the board around the transformer is slightly darker than the rest of the board.
While I had the board out, I also soldered the hold relay switch wires together, and unhooked the hot wire to the hold relay coil. This is because I’m adding a power switch, and don’t really need the hold relay anymore (see Clay’s guides as he goes into the detail of why). I also wired the two wires to the original “off” switch (the one you pound on the bottom of the cabinet to activate), as this is not needed anymore, and I didn’t want problems it might have in the future affecting gameplay. Both of these changes can easily be undone if I want to return the game to original function in the future.
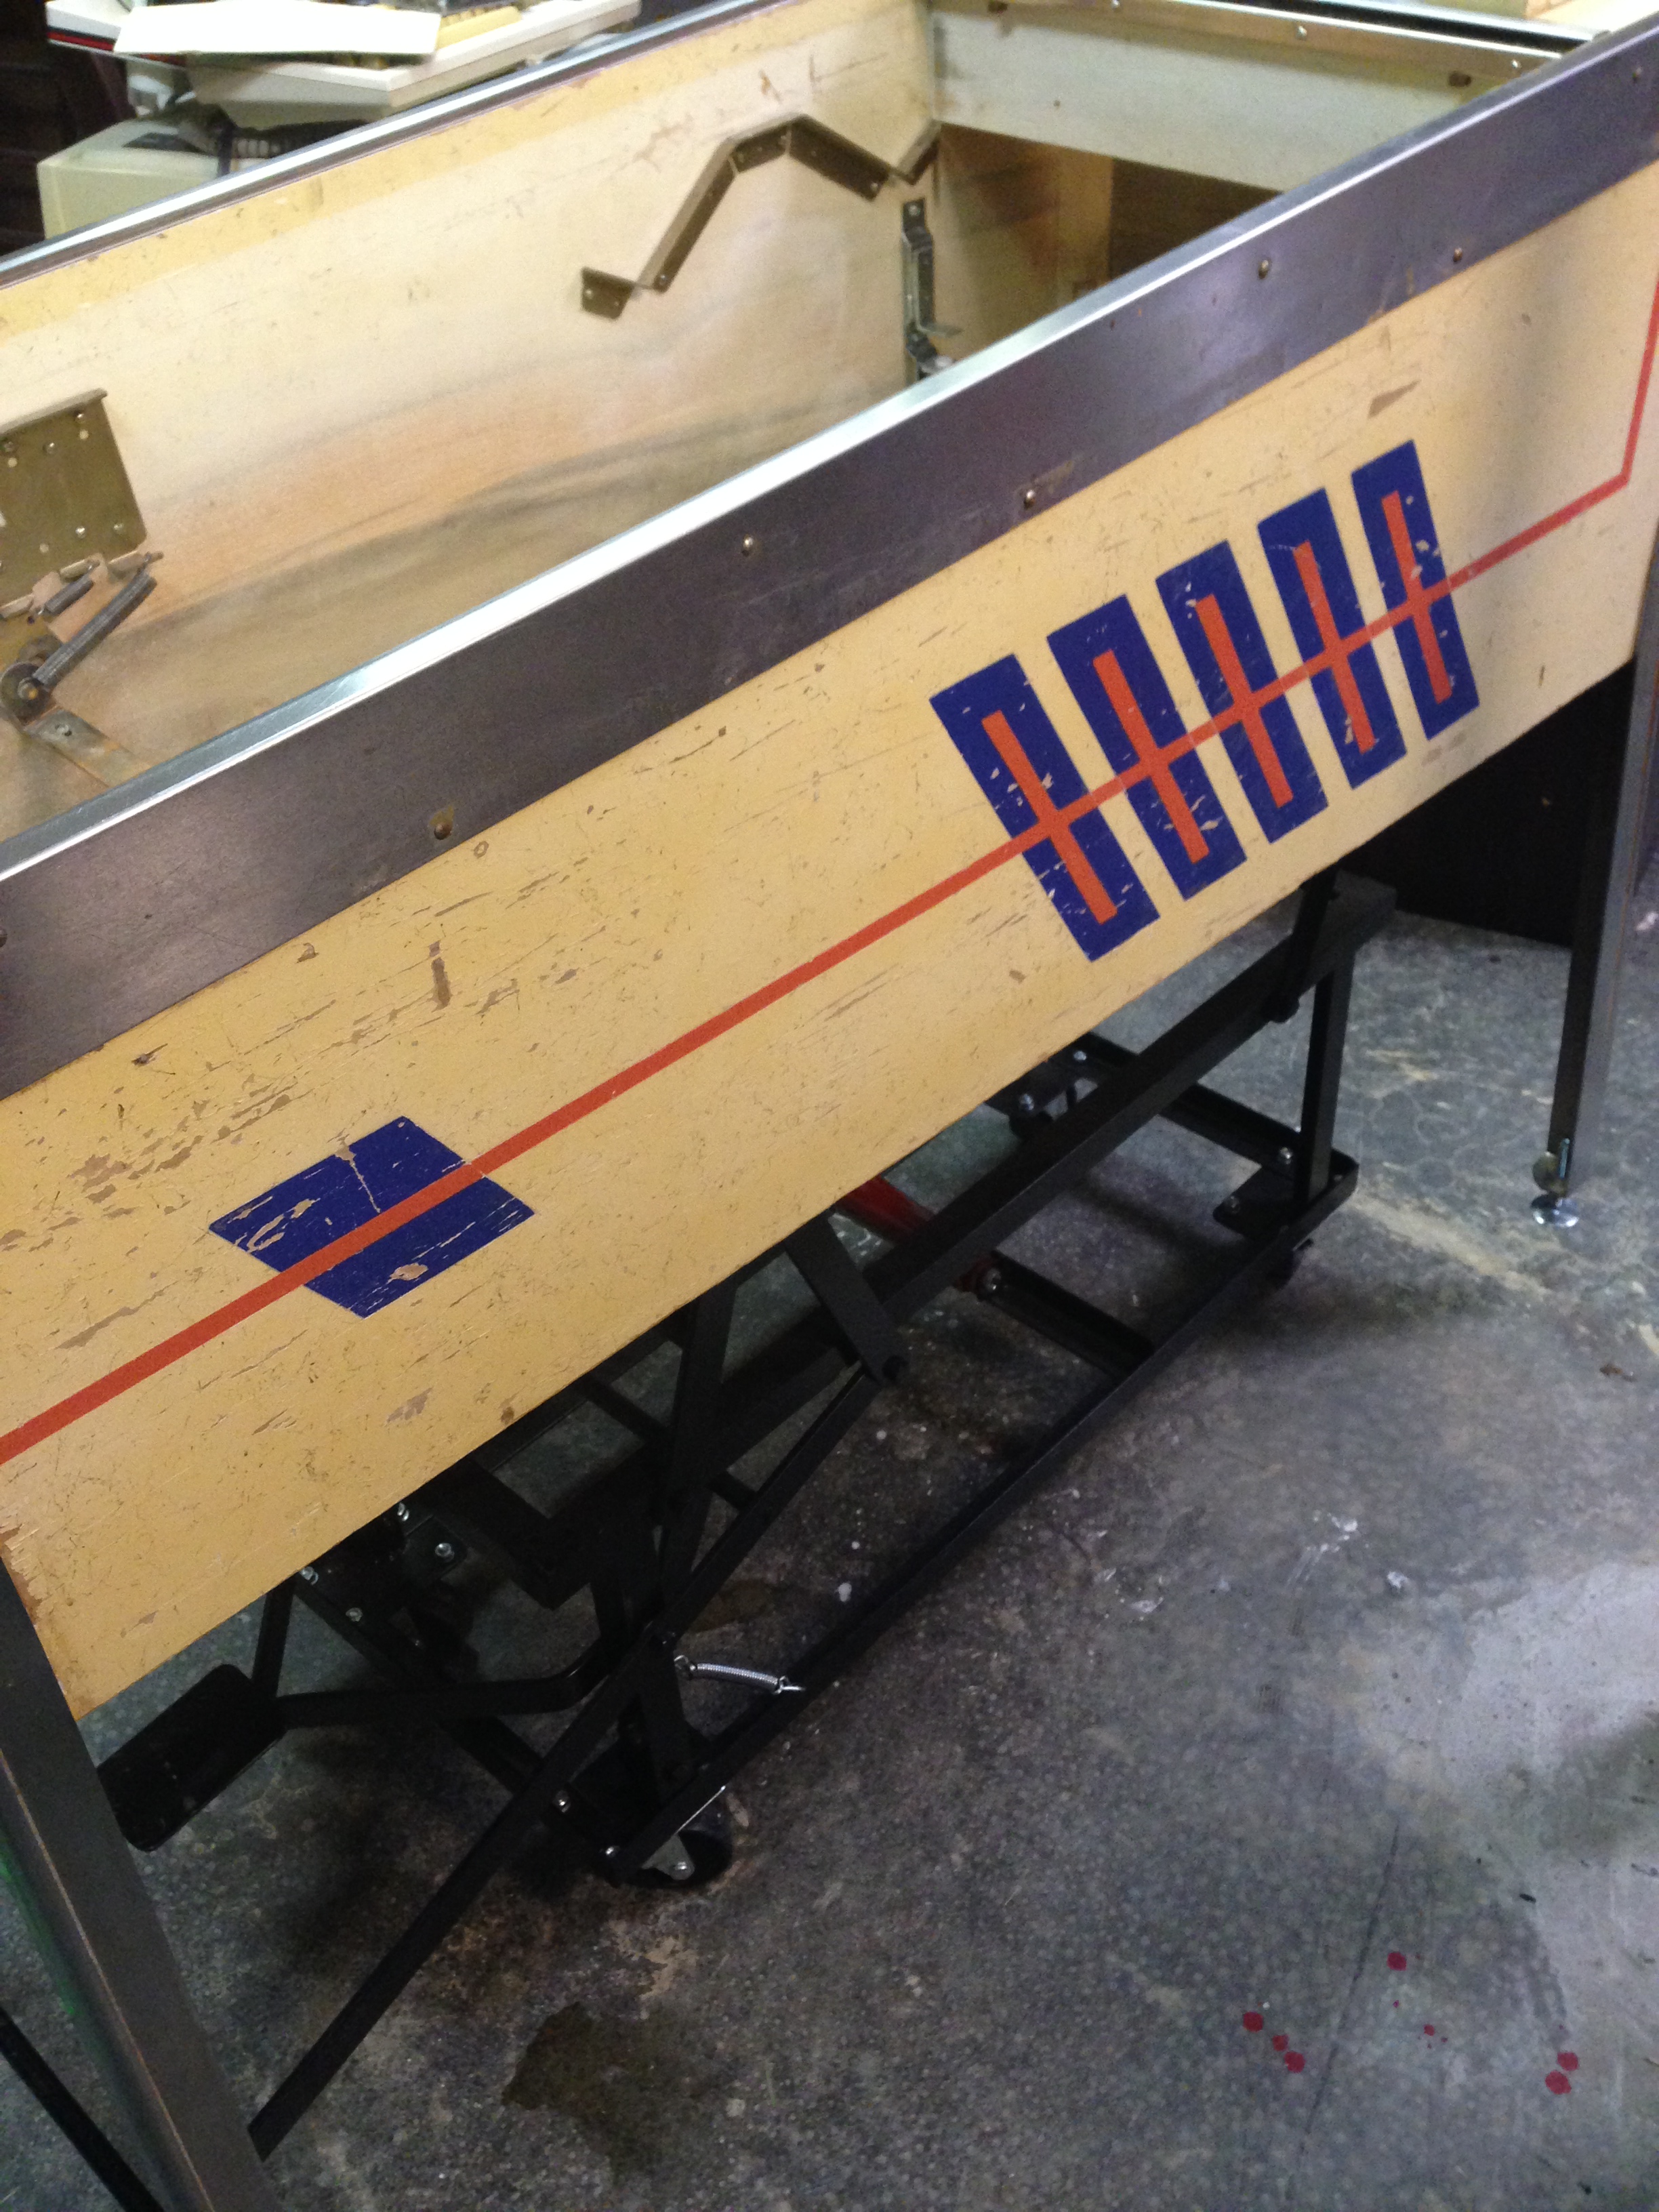
Cleaning up the cabinet
Besides being somewhat scuffed up after 50 years of sitting arcades, basements, and being moved from place to place, the cabinet was also pretty dirty. Much of the discoloration was from cigarette smoke. Mean Green took care of that. The yellowish orange grime just drips off. Be careful with this though, because the paint will start coming off too if you scrub too much.
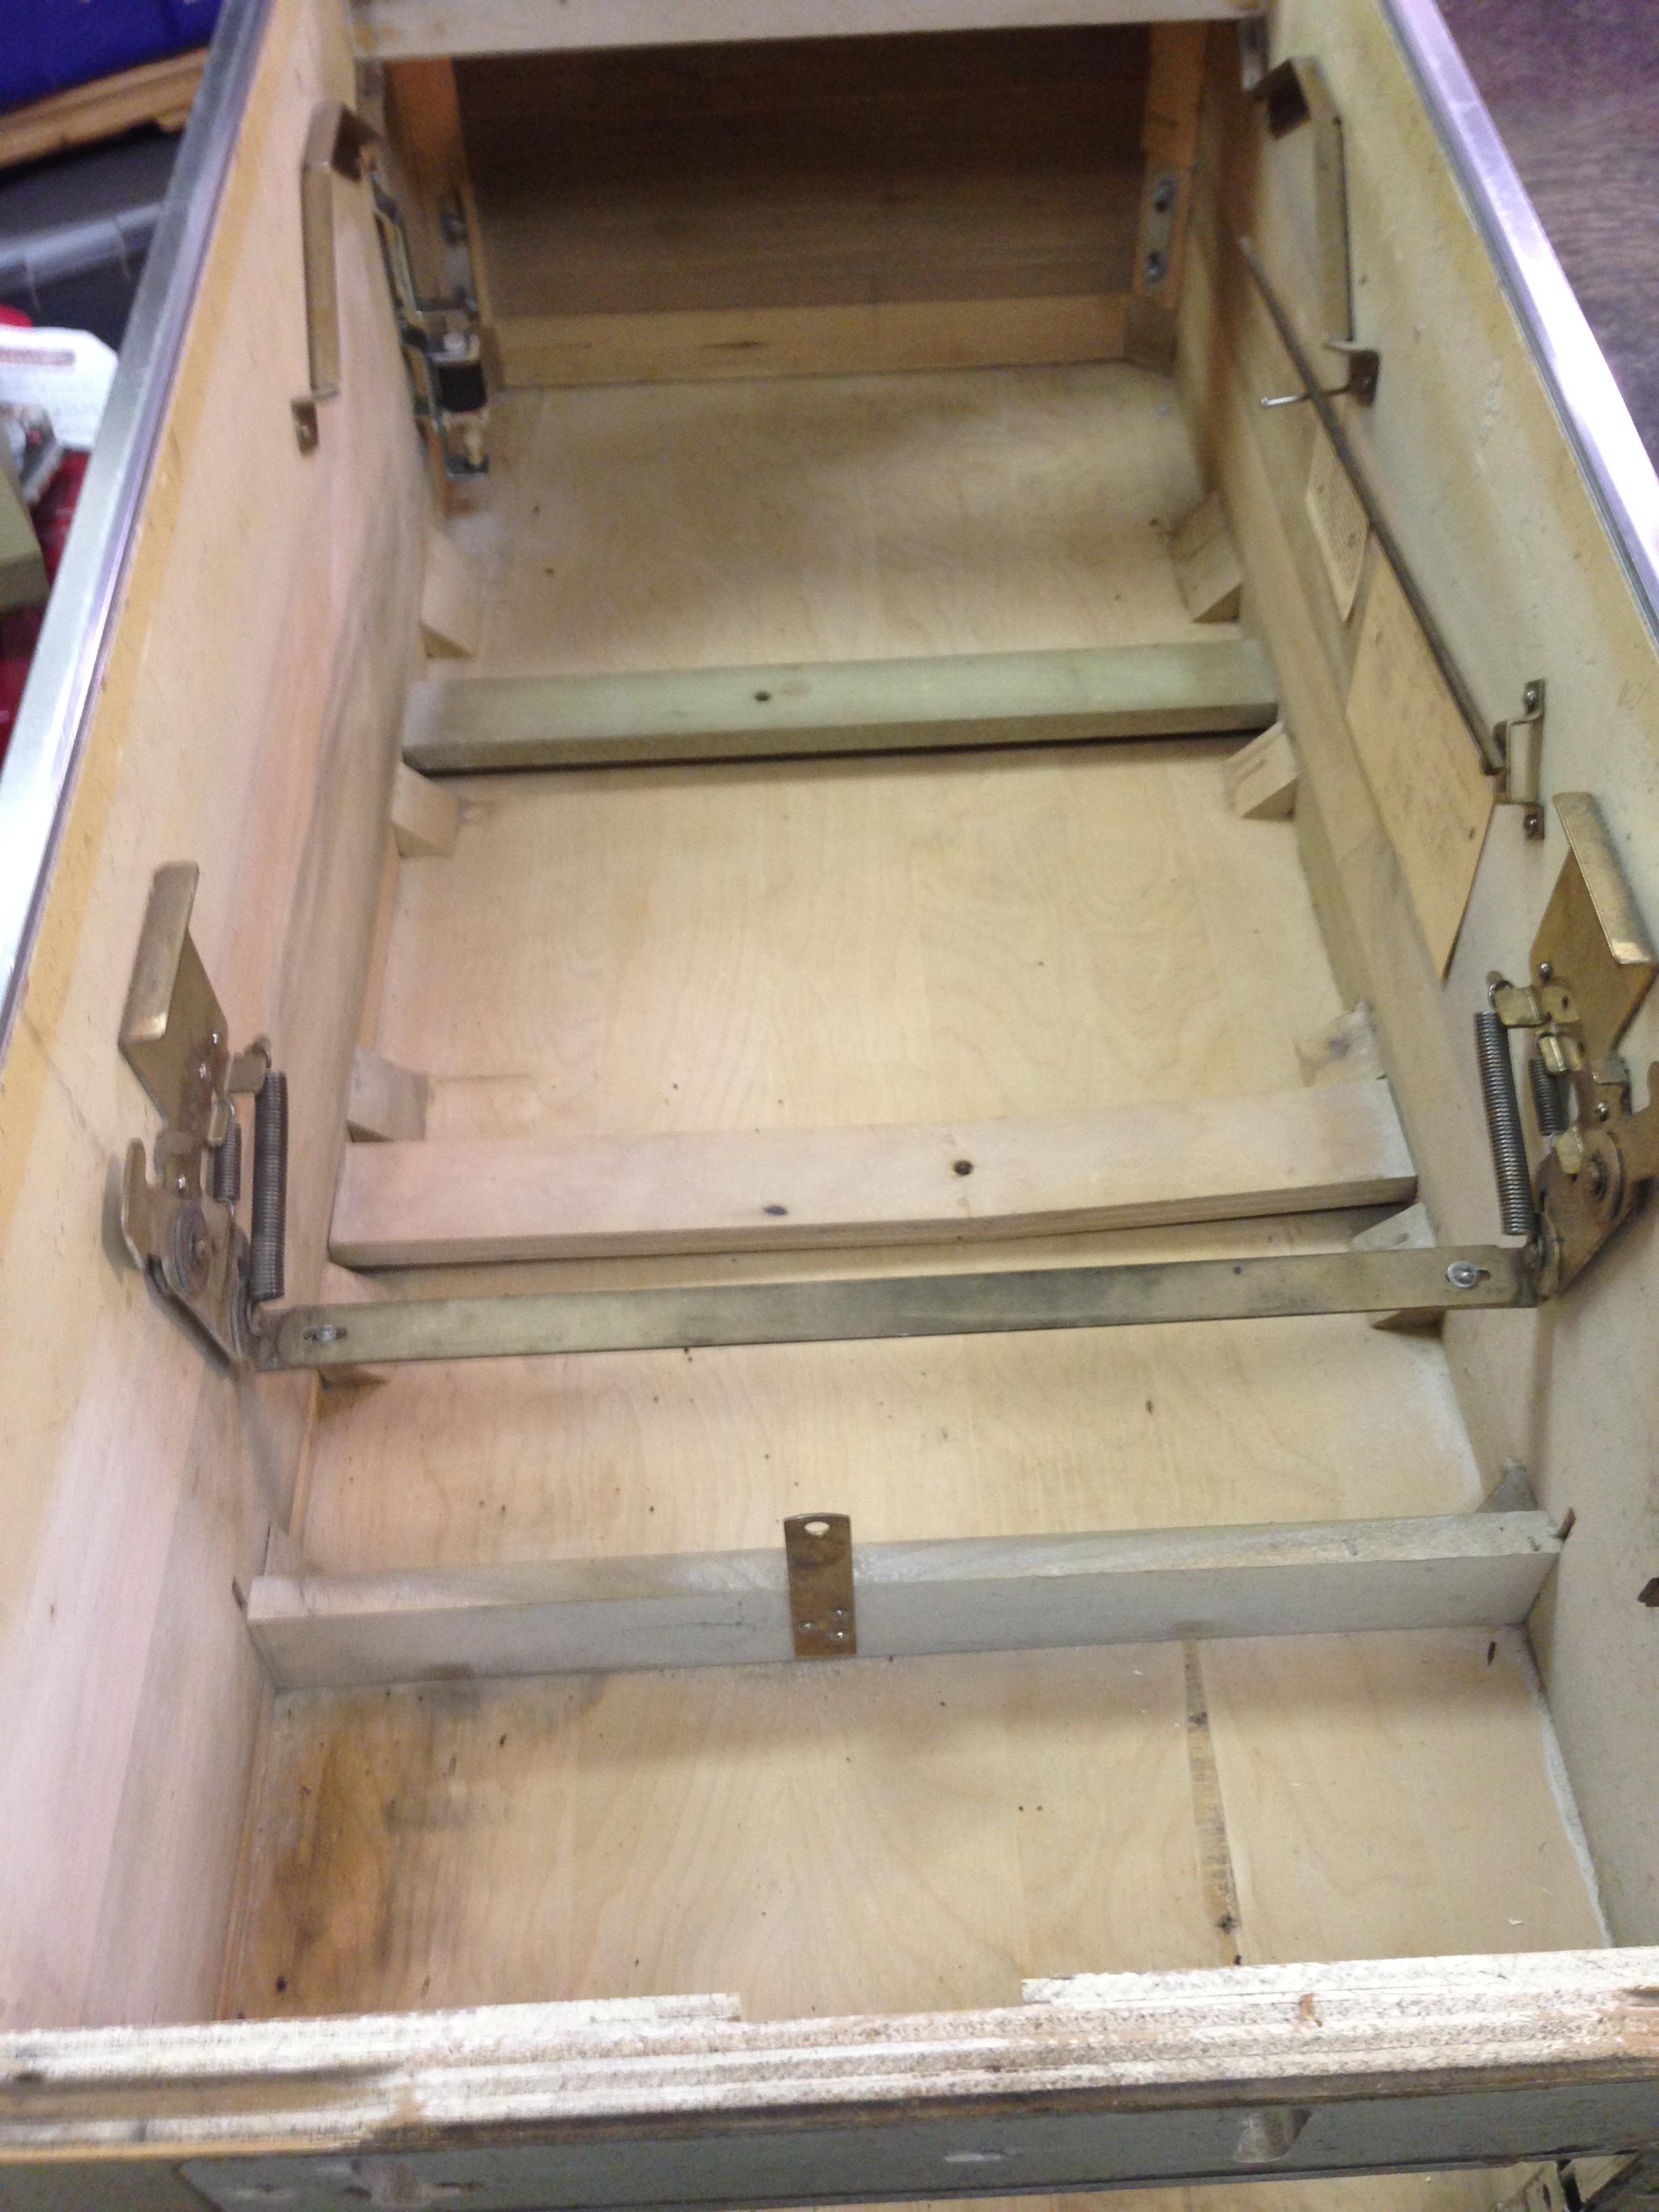
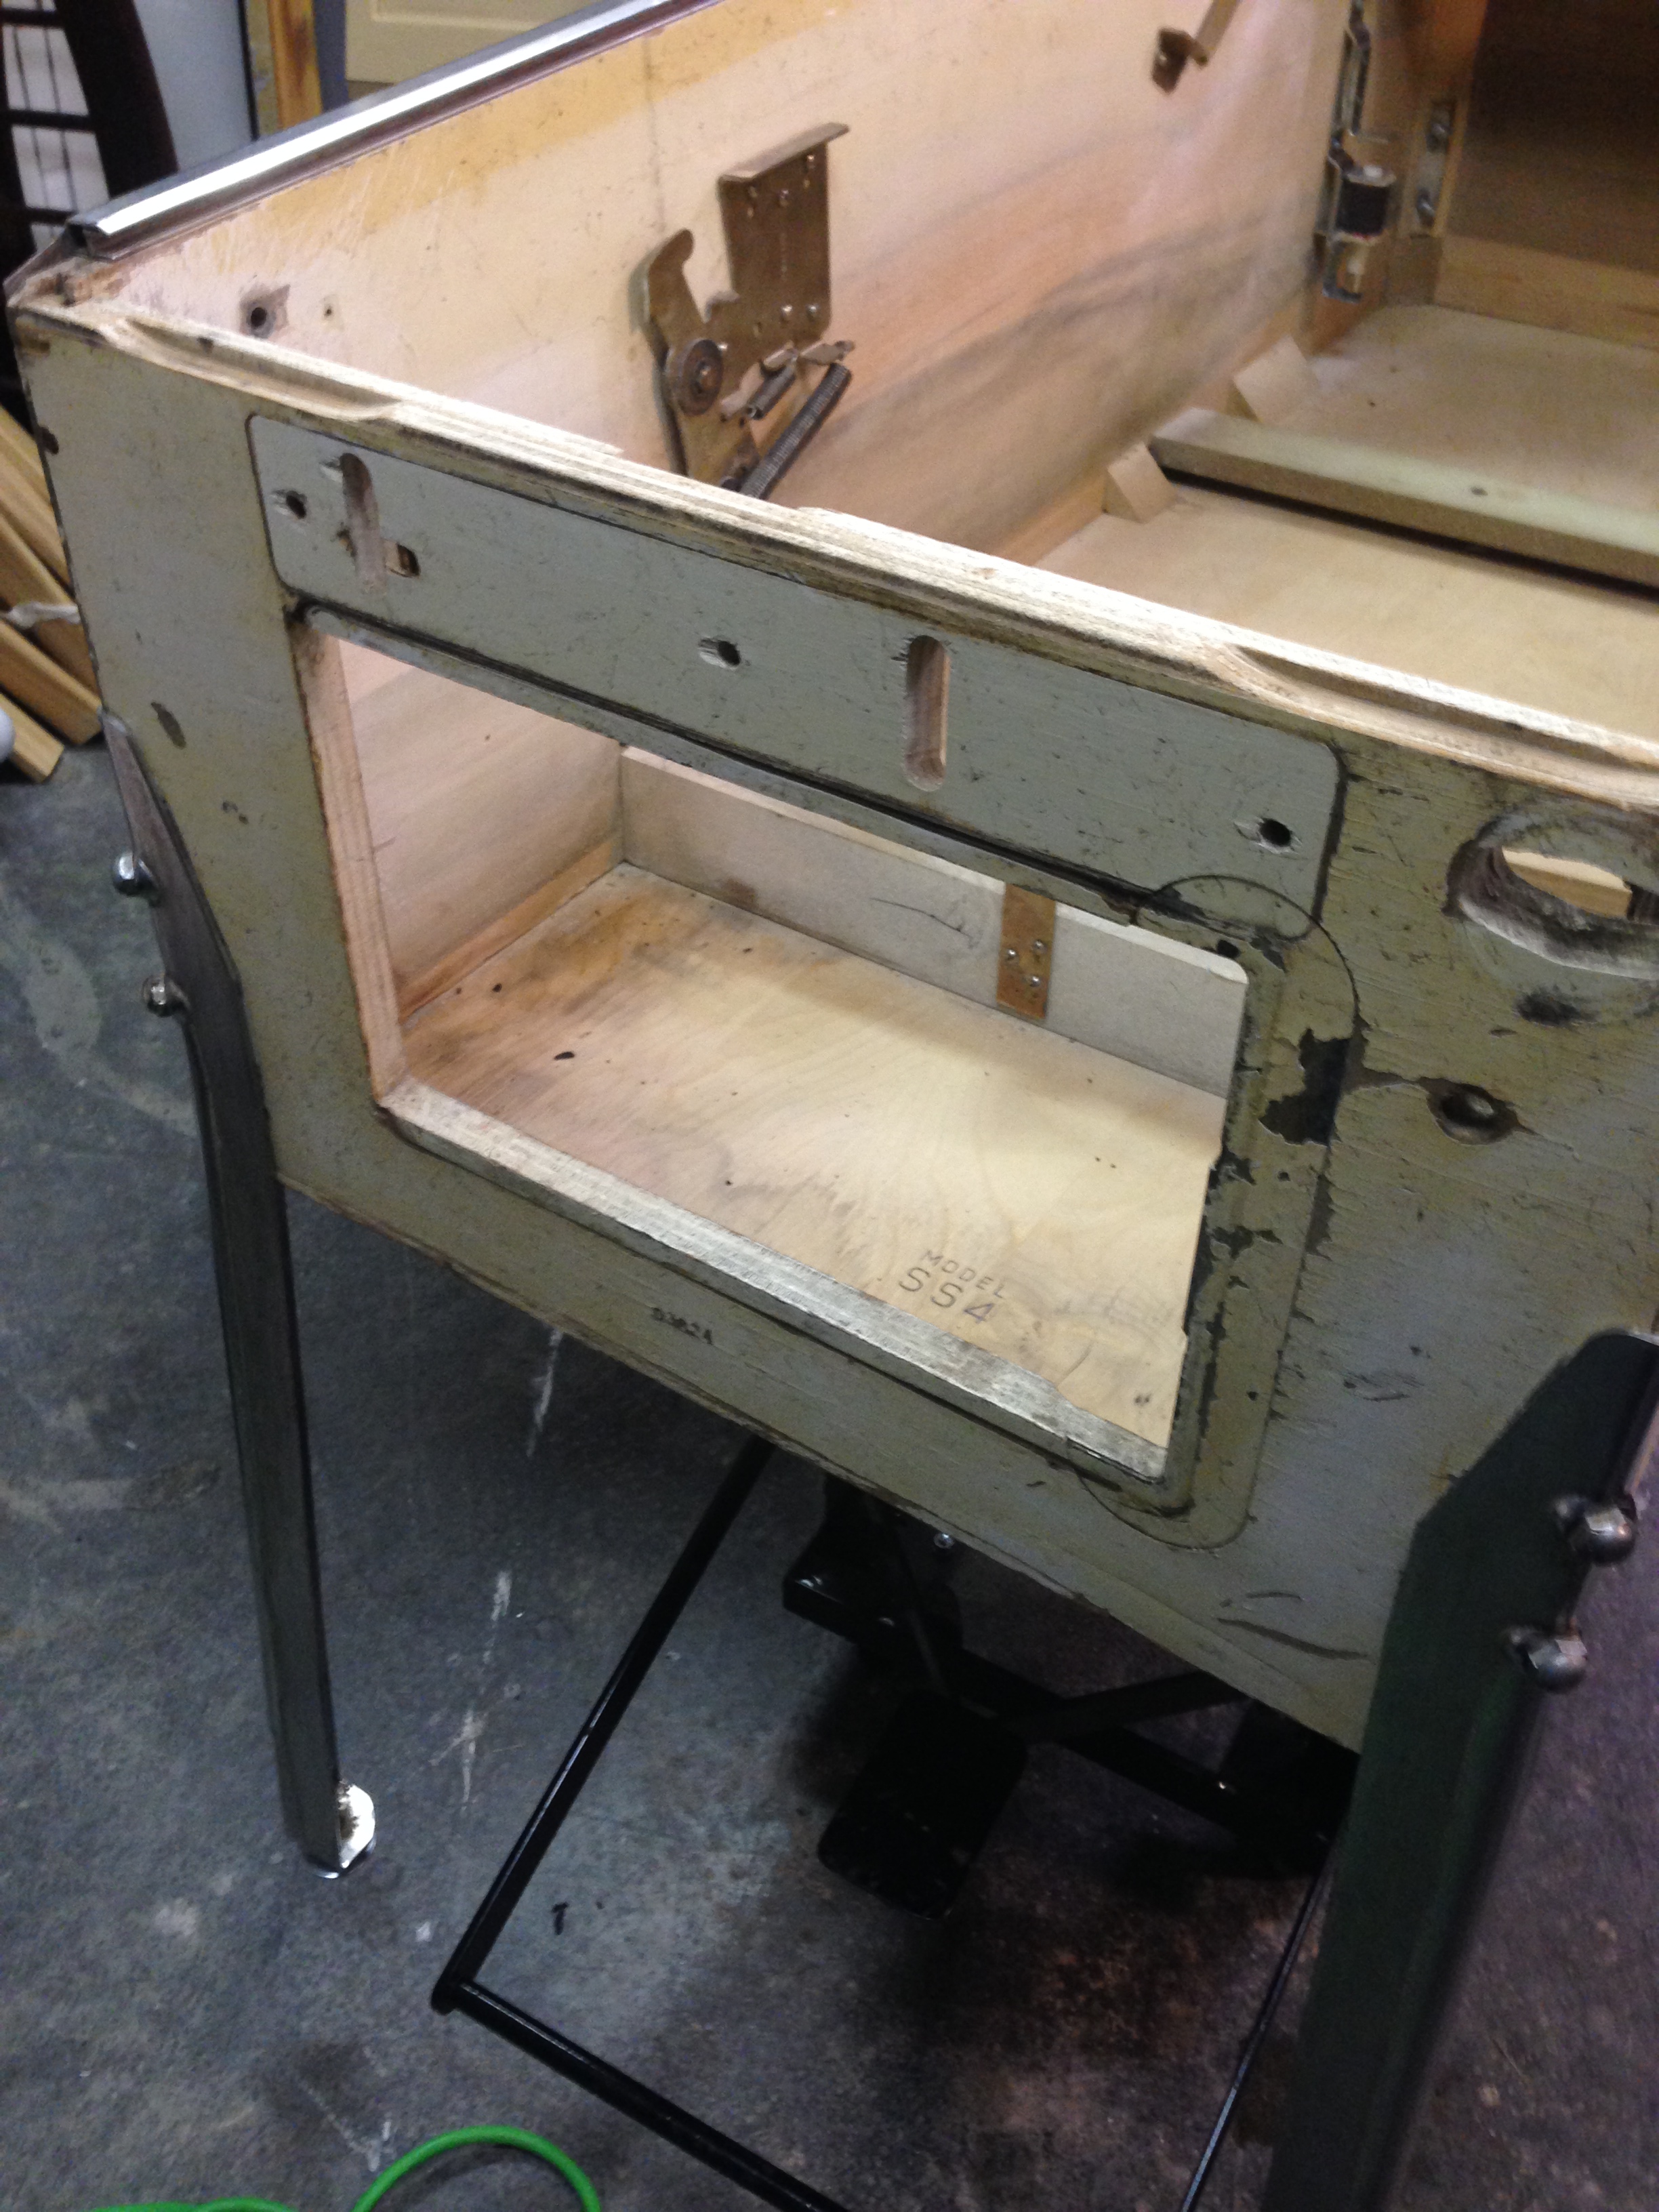
The inside of the cabinet was pretty grimy, especially at the front under where the coin box would have gone (if I had one). I sanded this with 150 grit sandpaper and a random orbital sander, along with a smaller sanding tool that can get into corners and hard to reach places.
Here’s some pictures after I got done with cleaning up the cabinet.
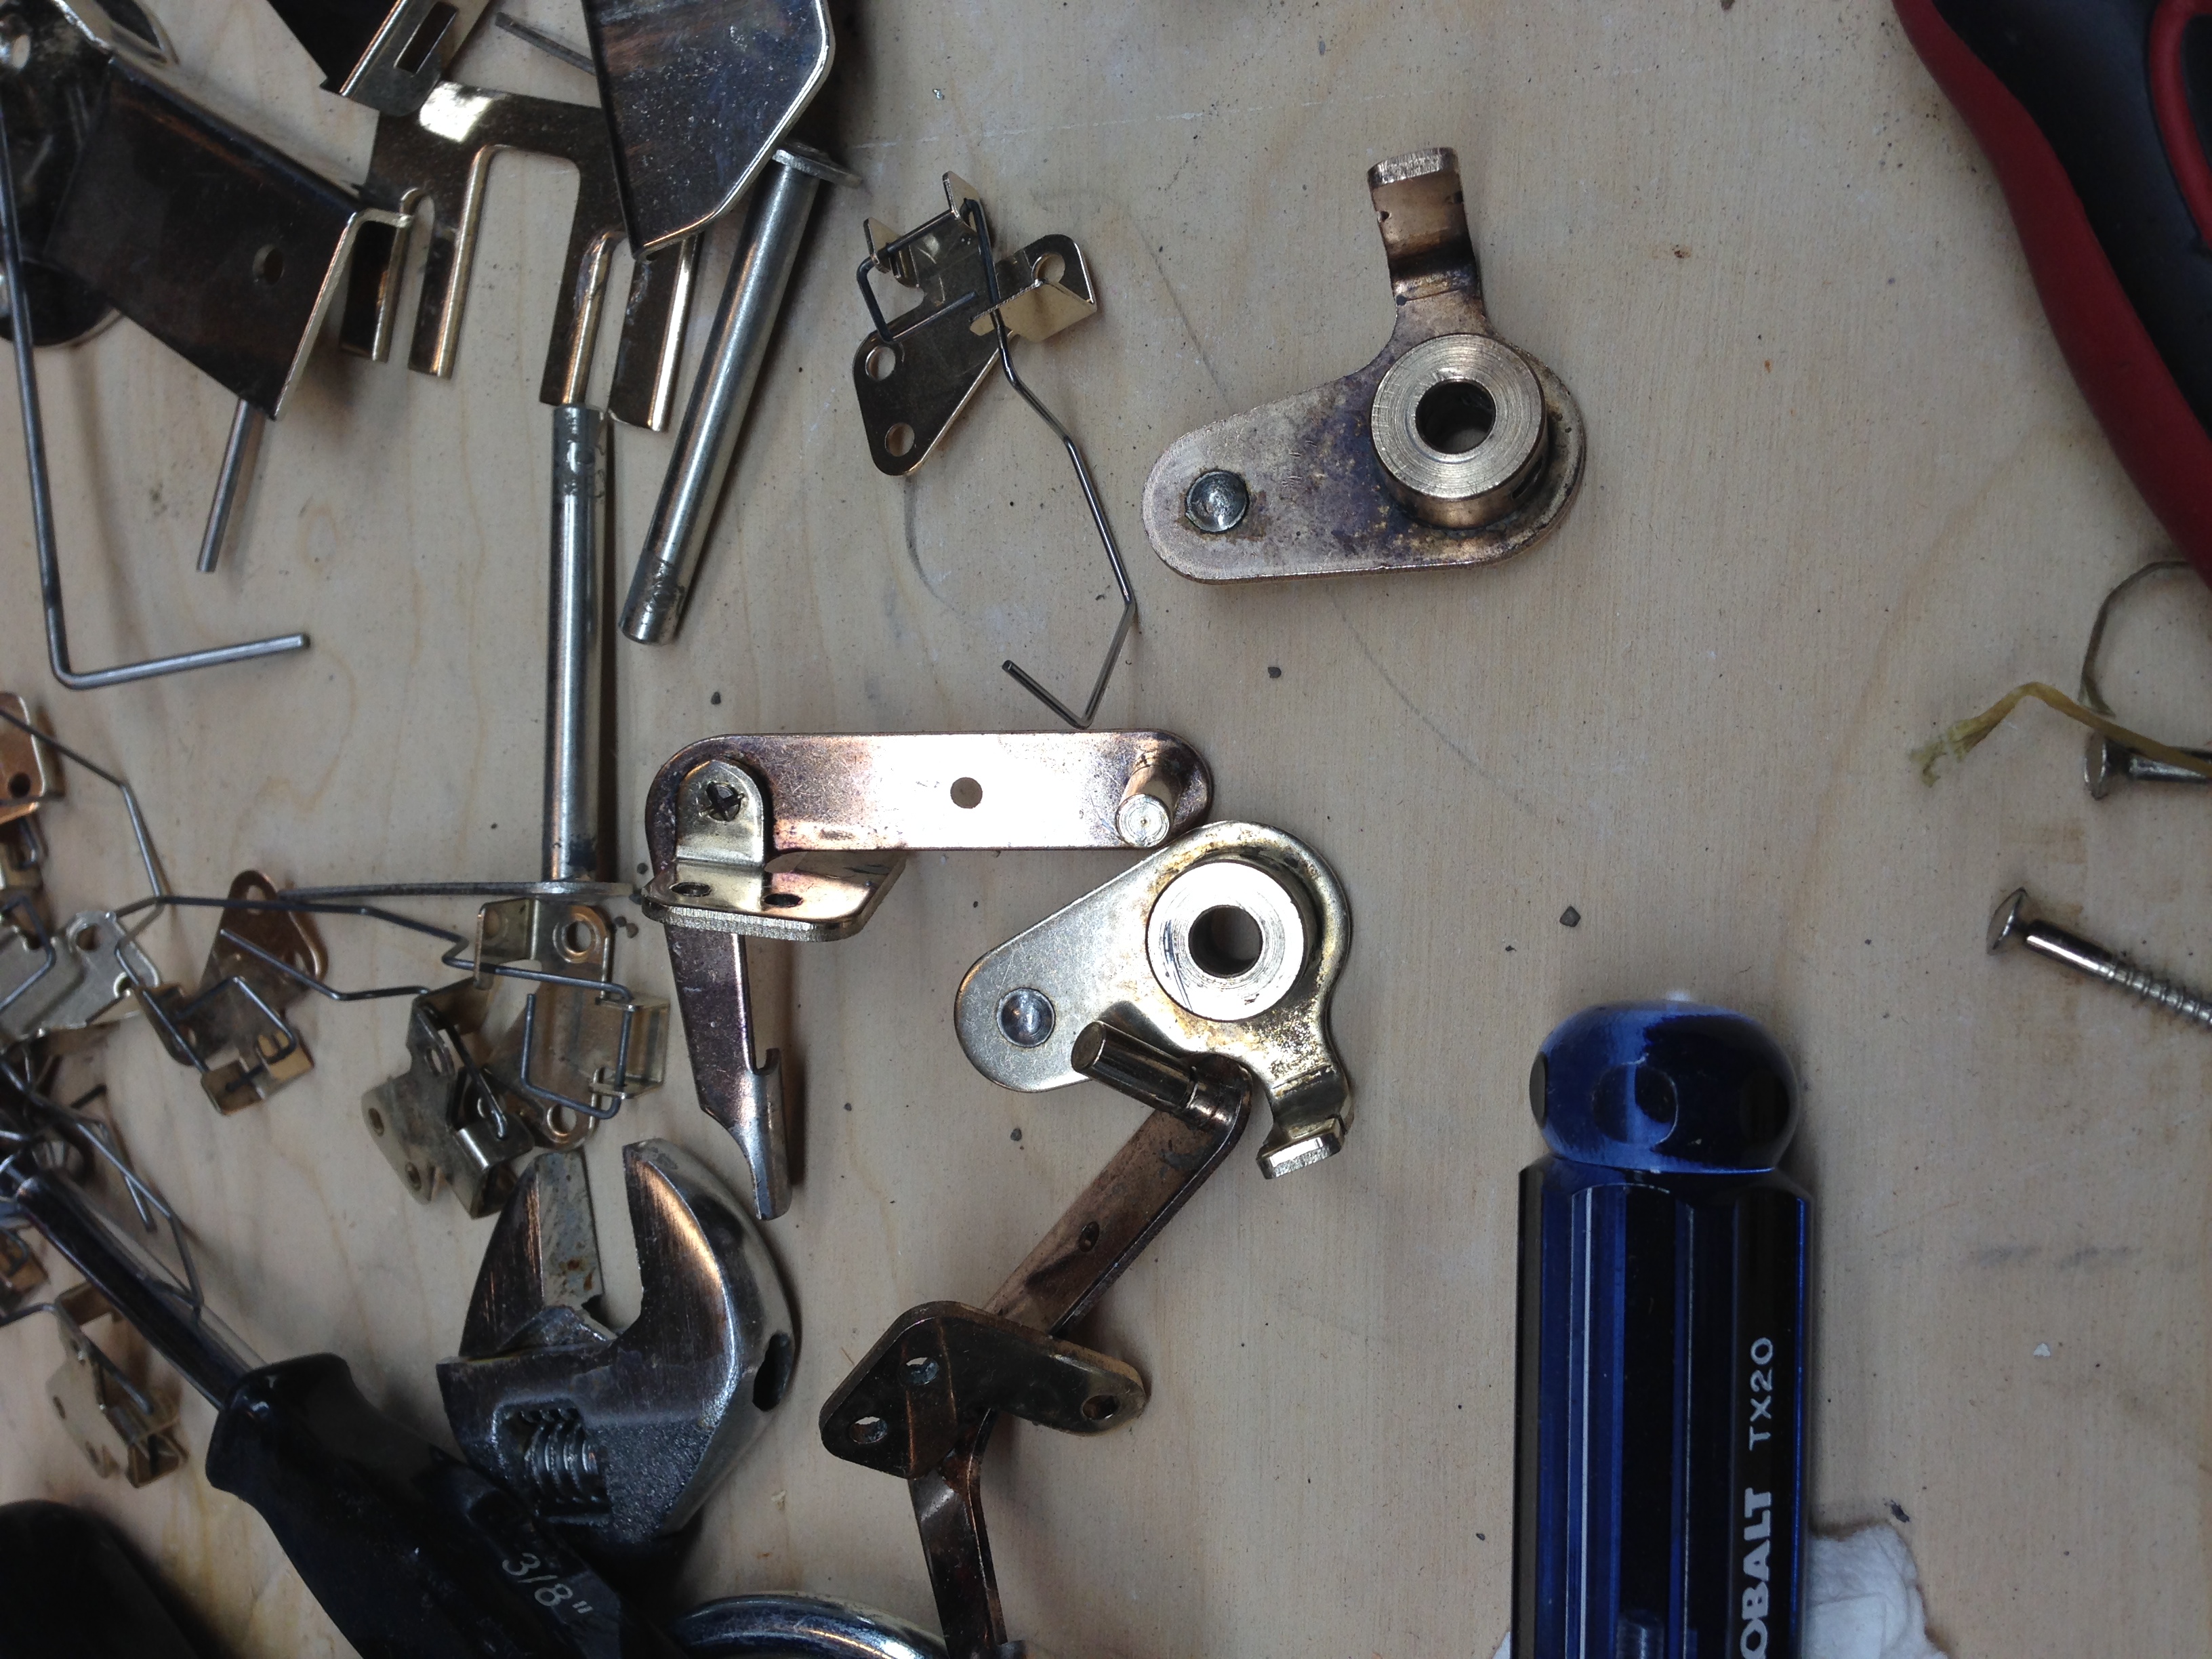
Spinning Stepper Unit
I had to take the spinning unit off to get it off the playfield, and figured I’d clean it up while it was off. Here’s a before and after picture.
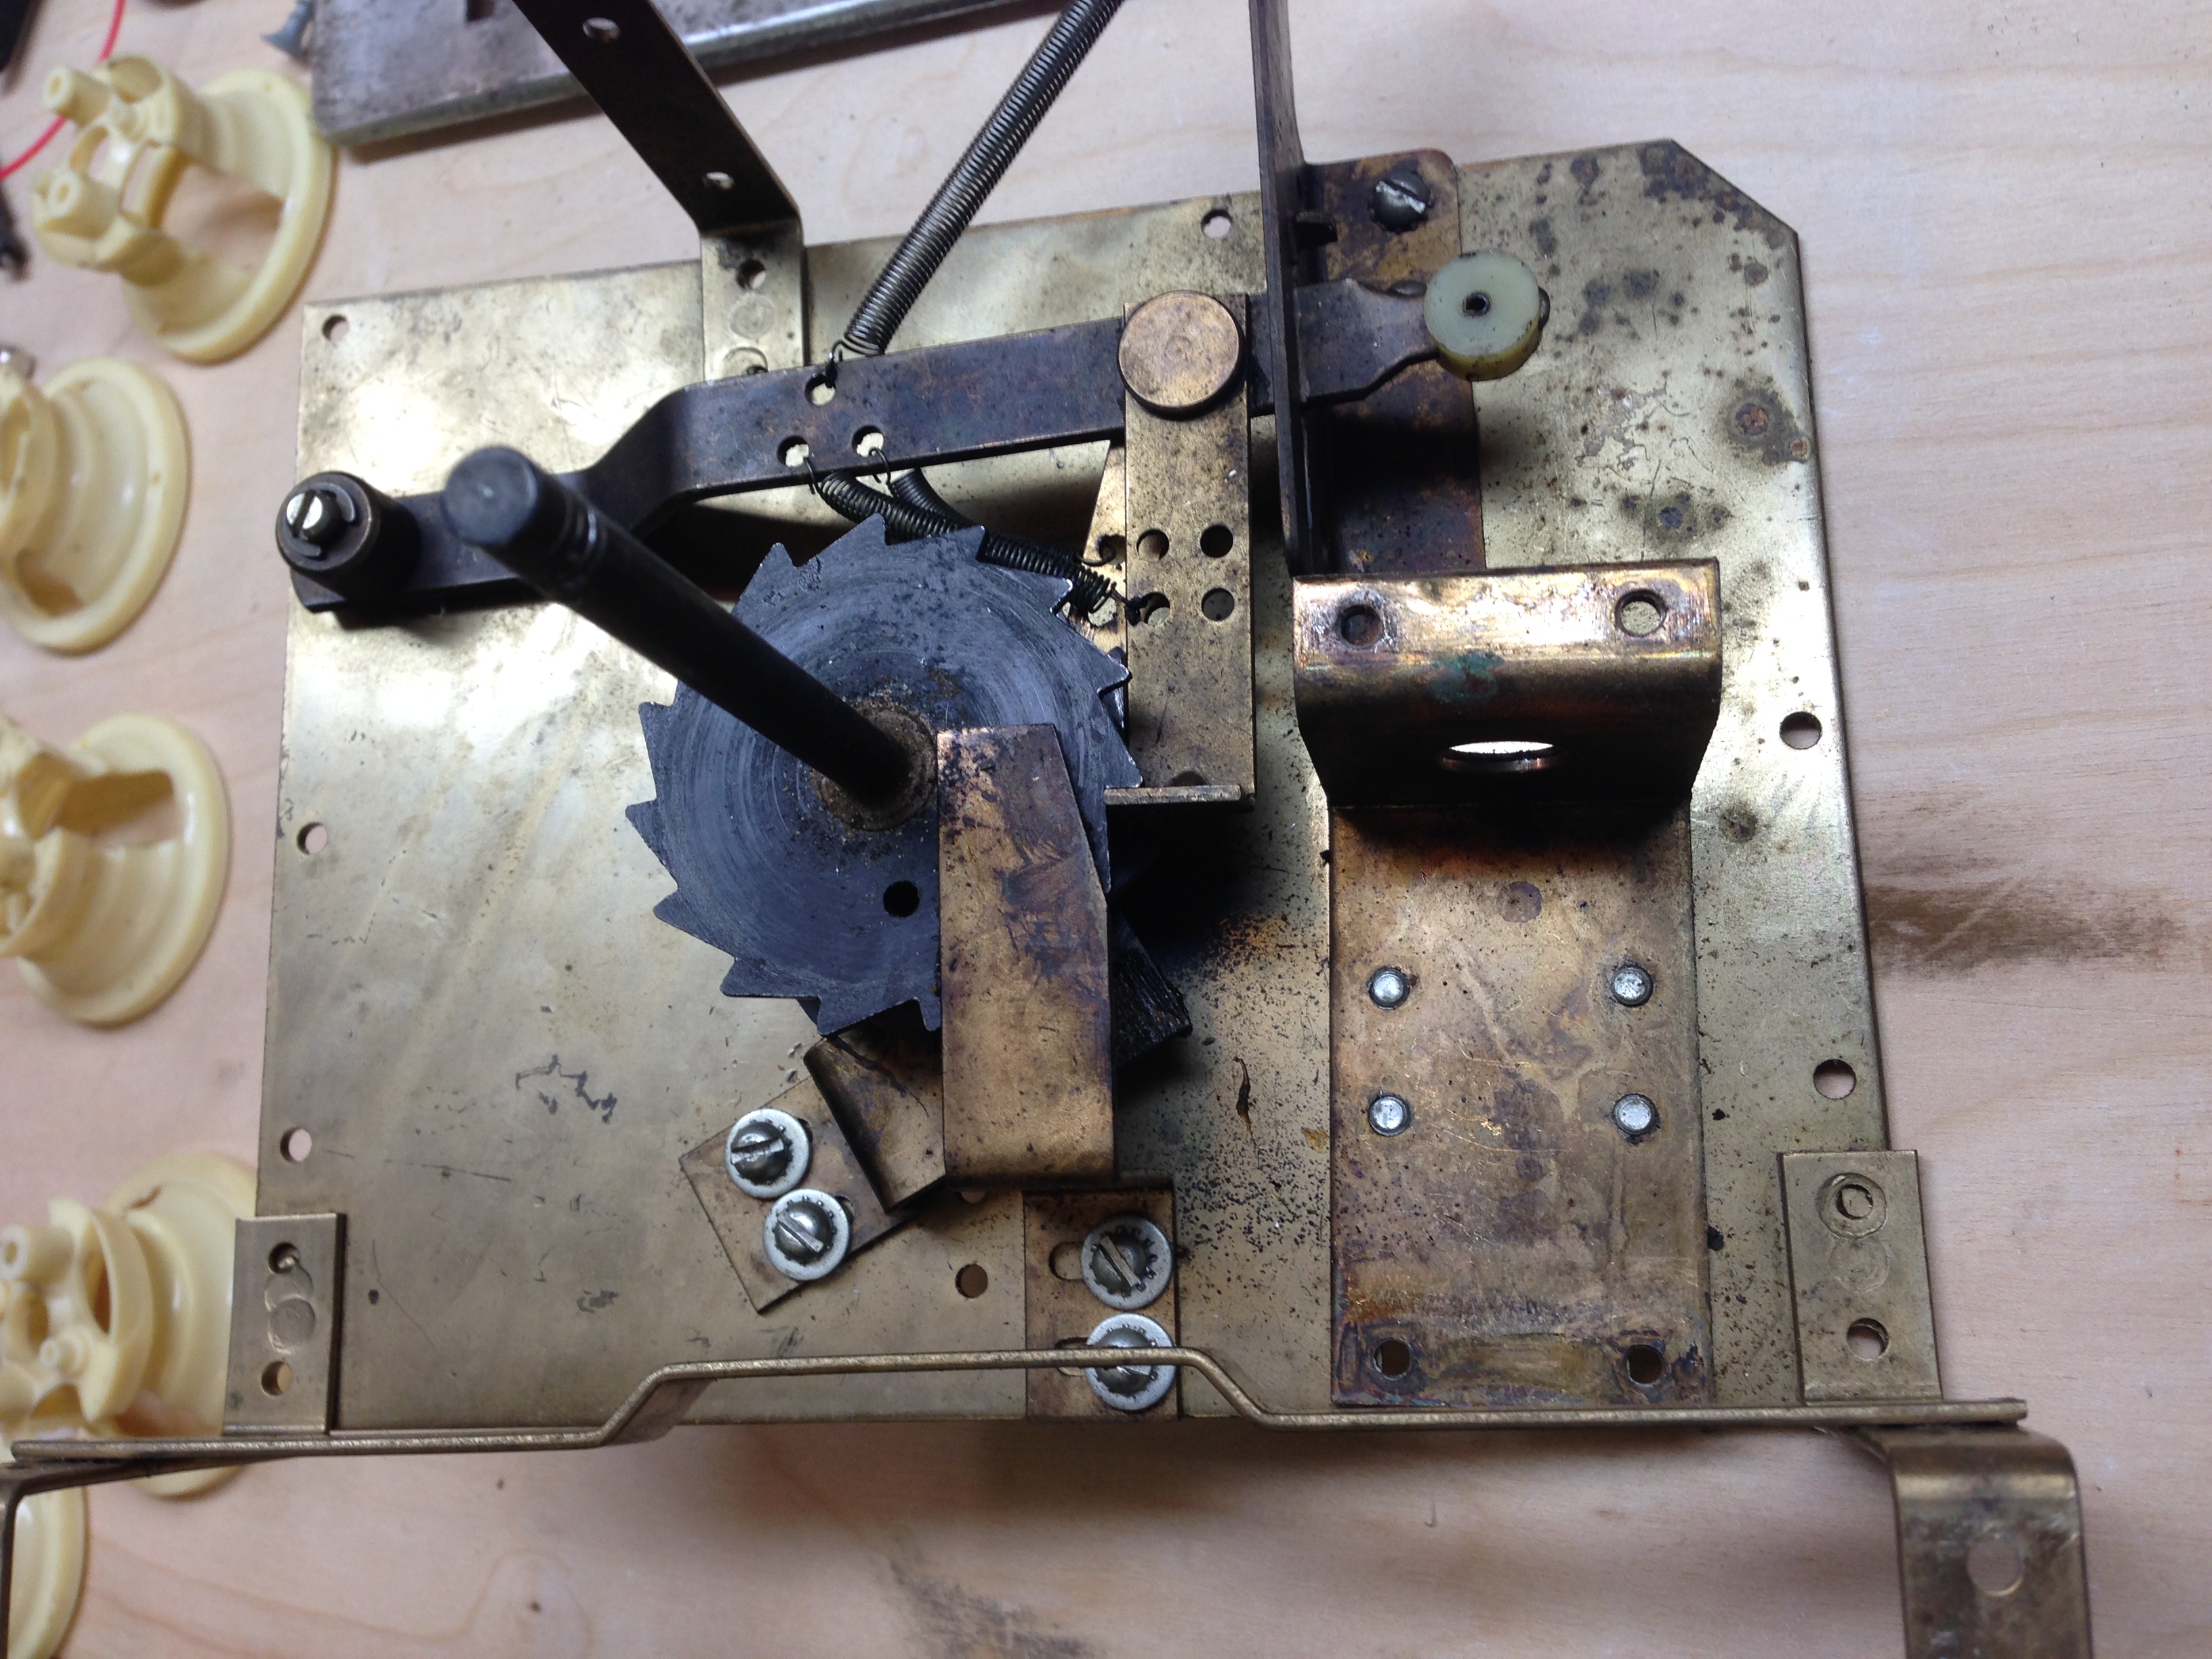
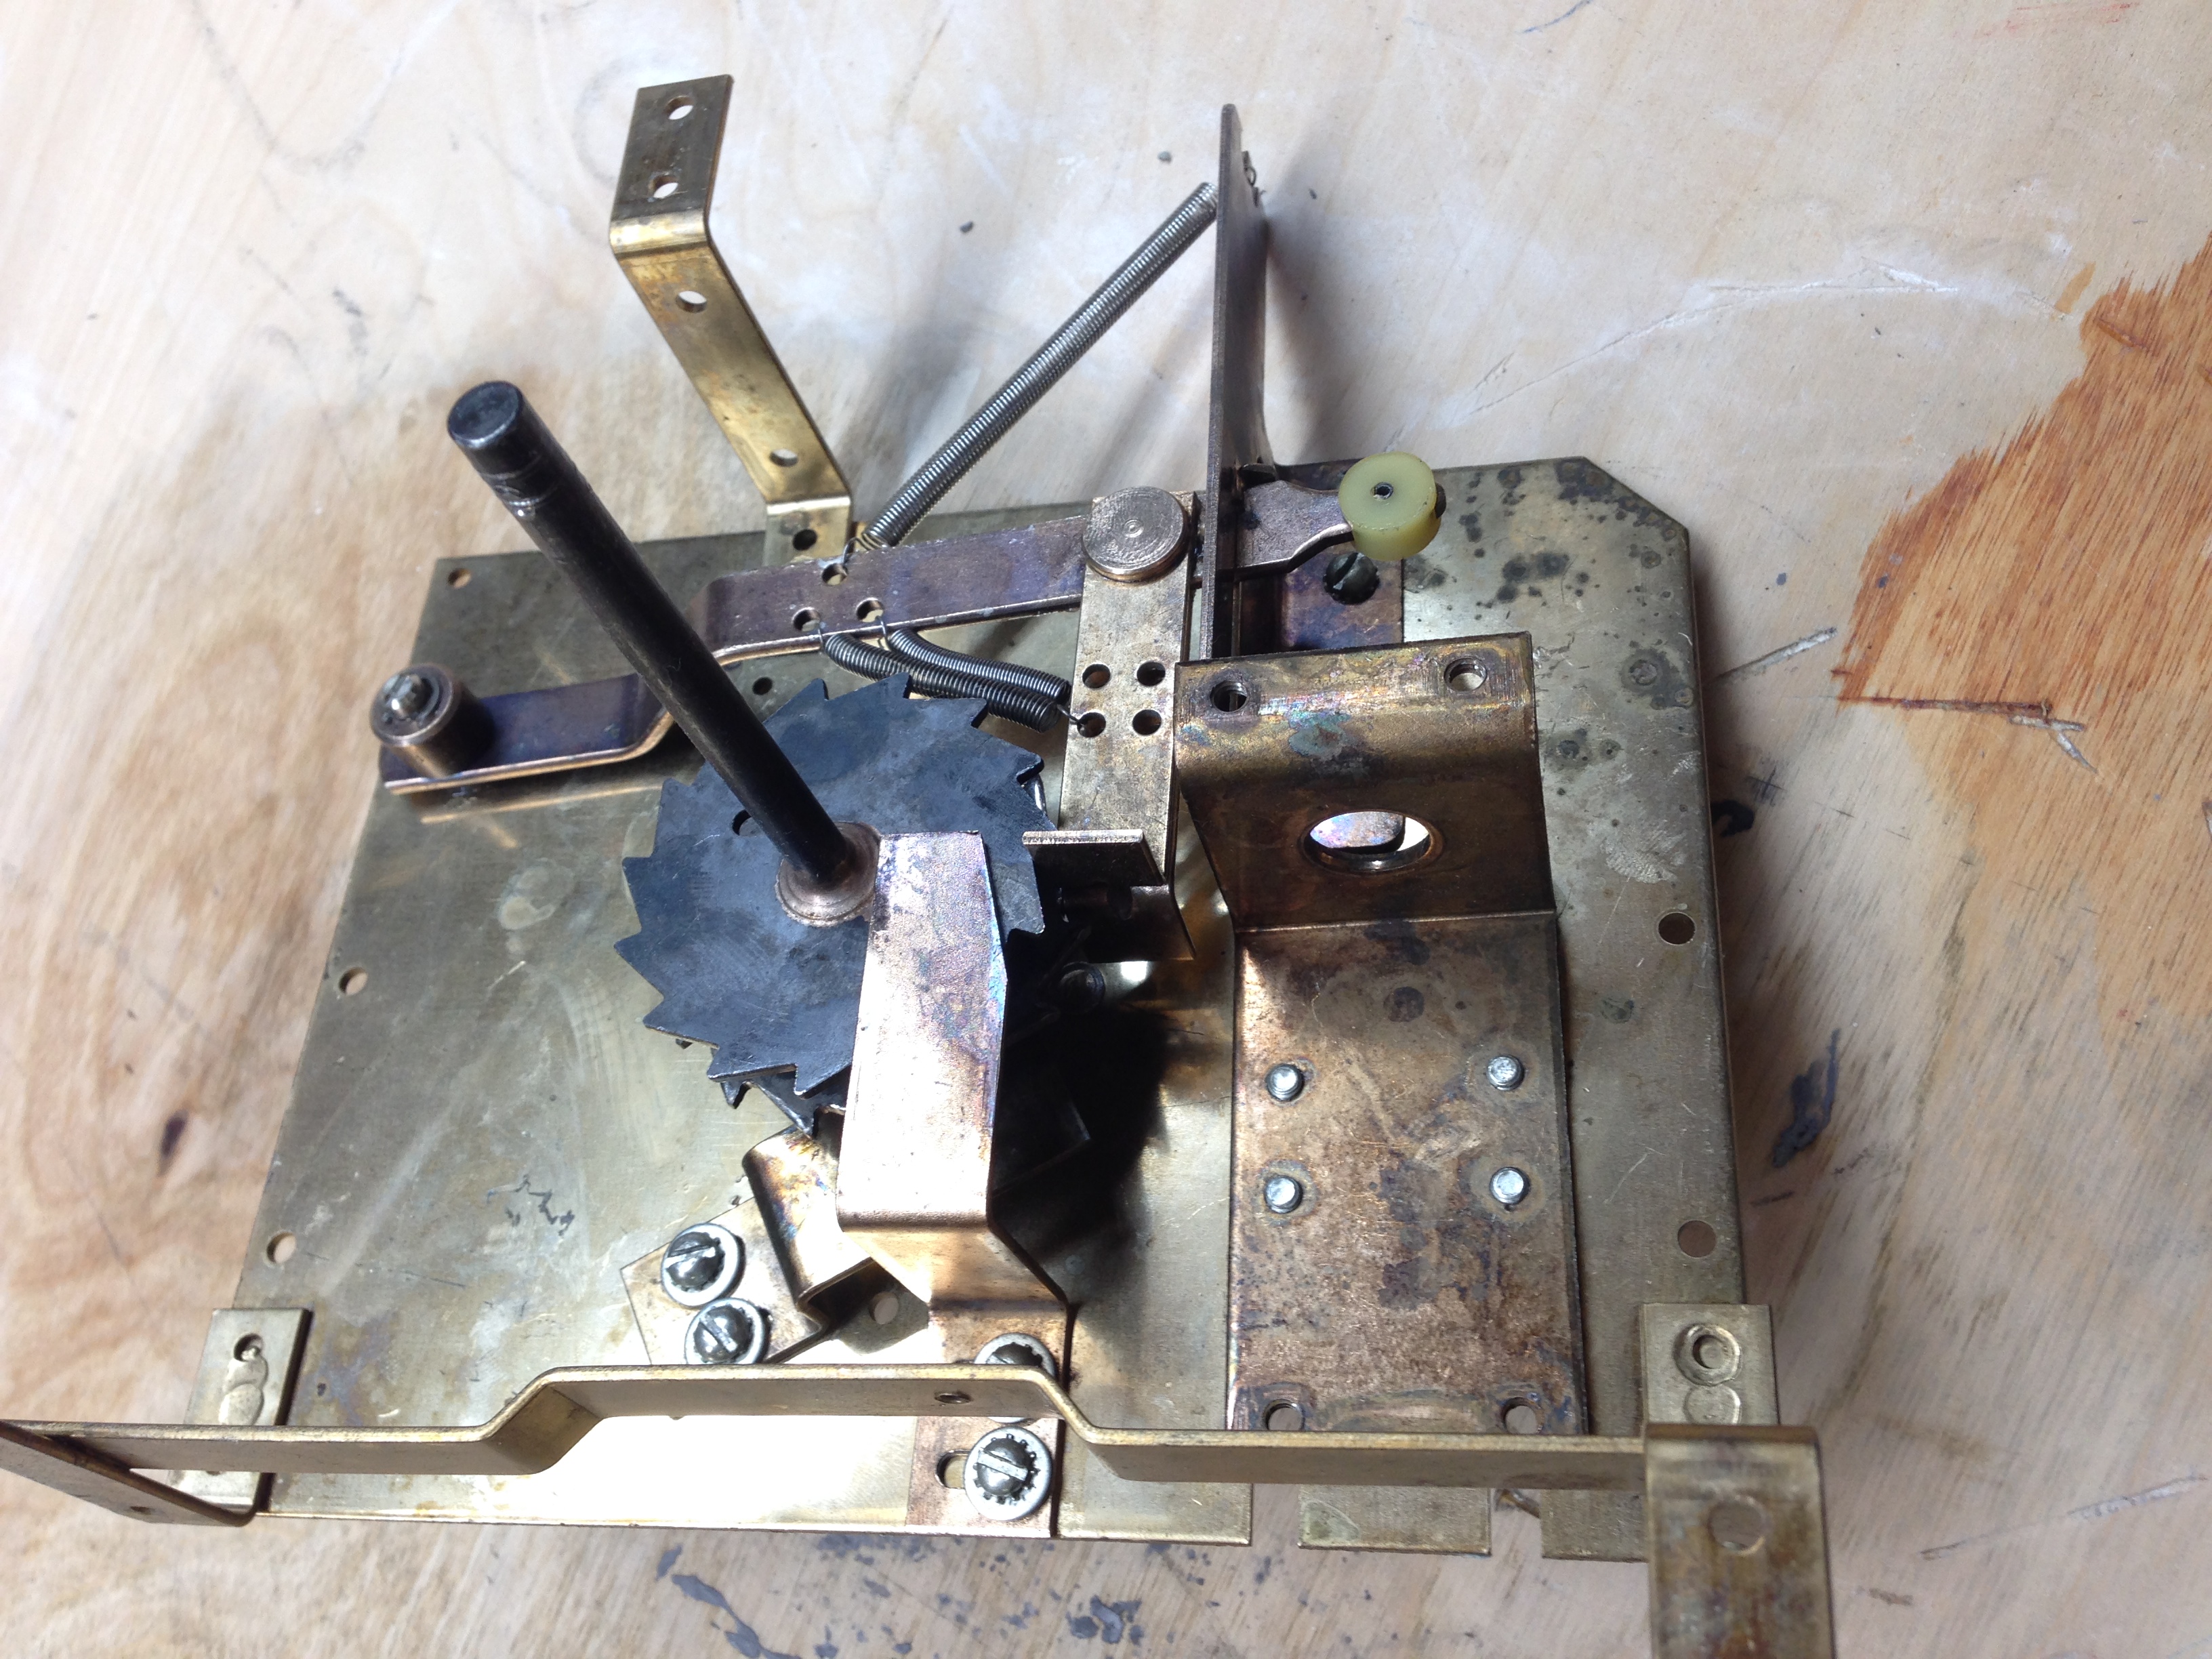
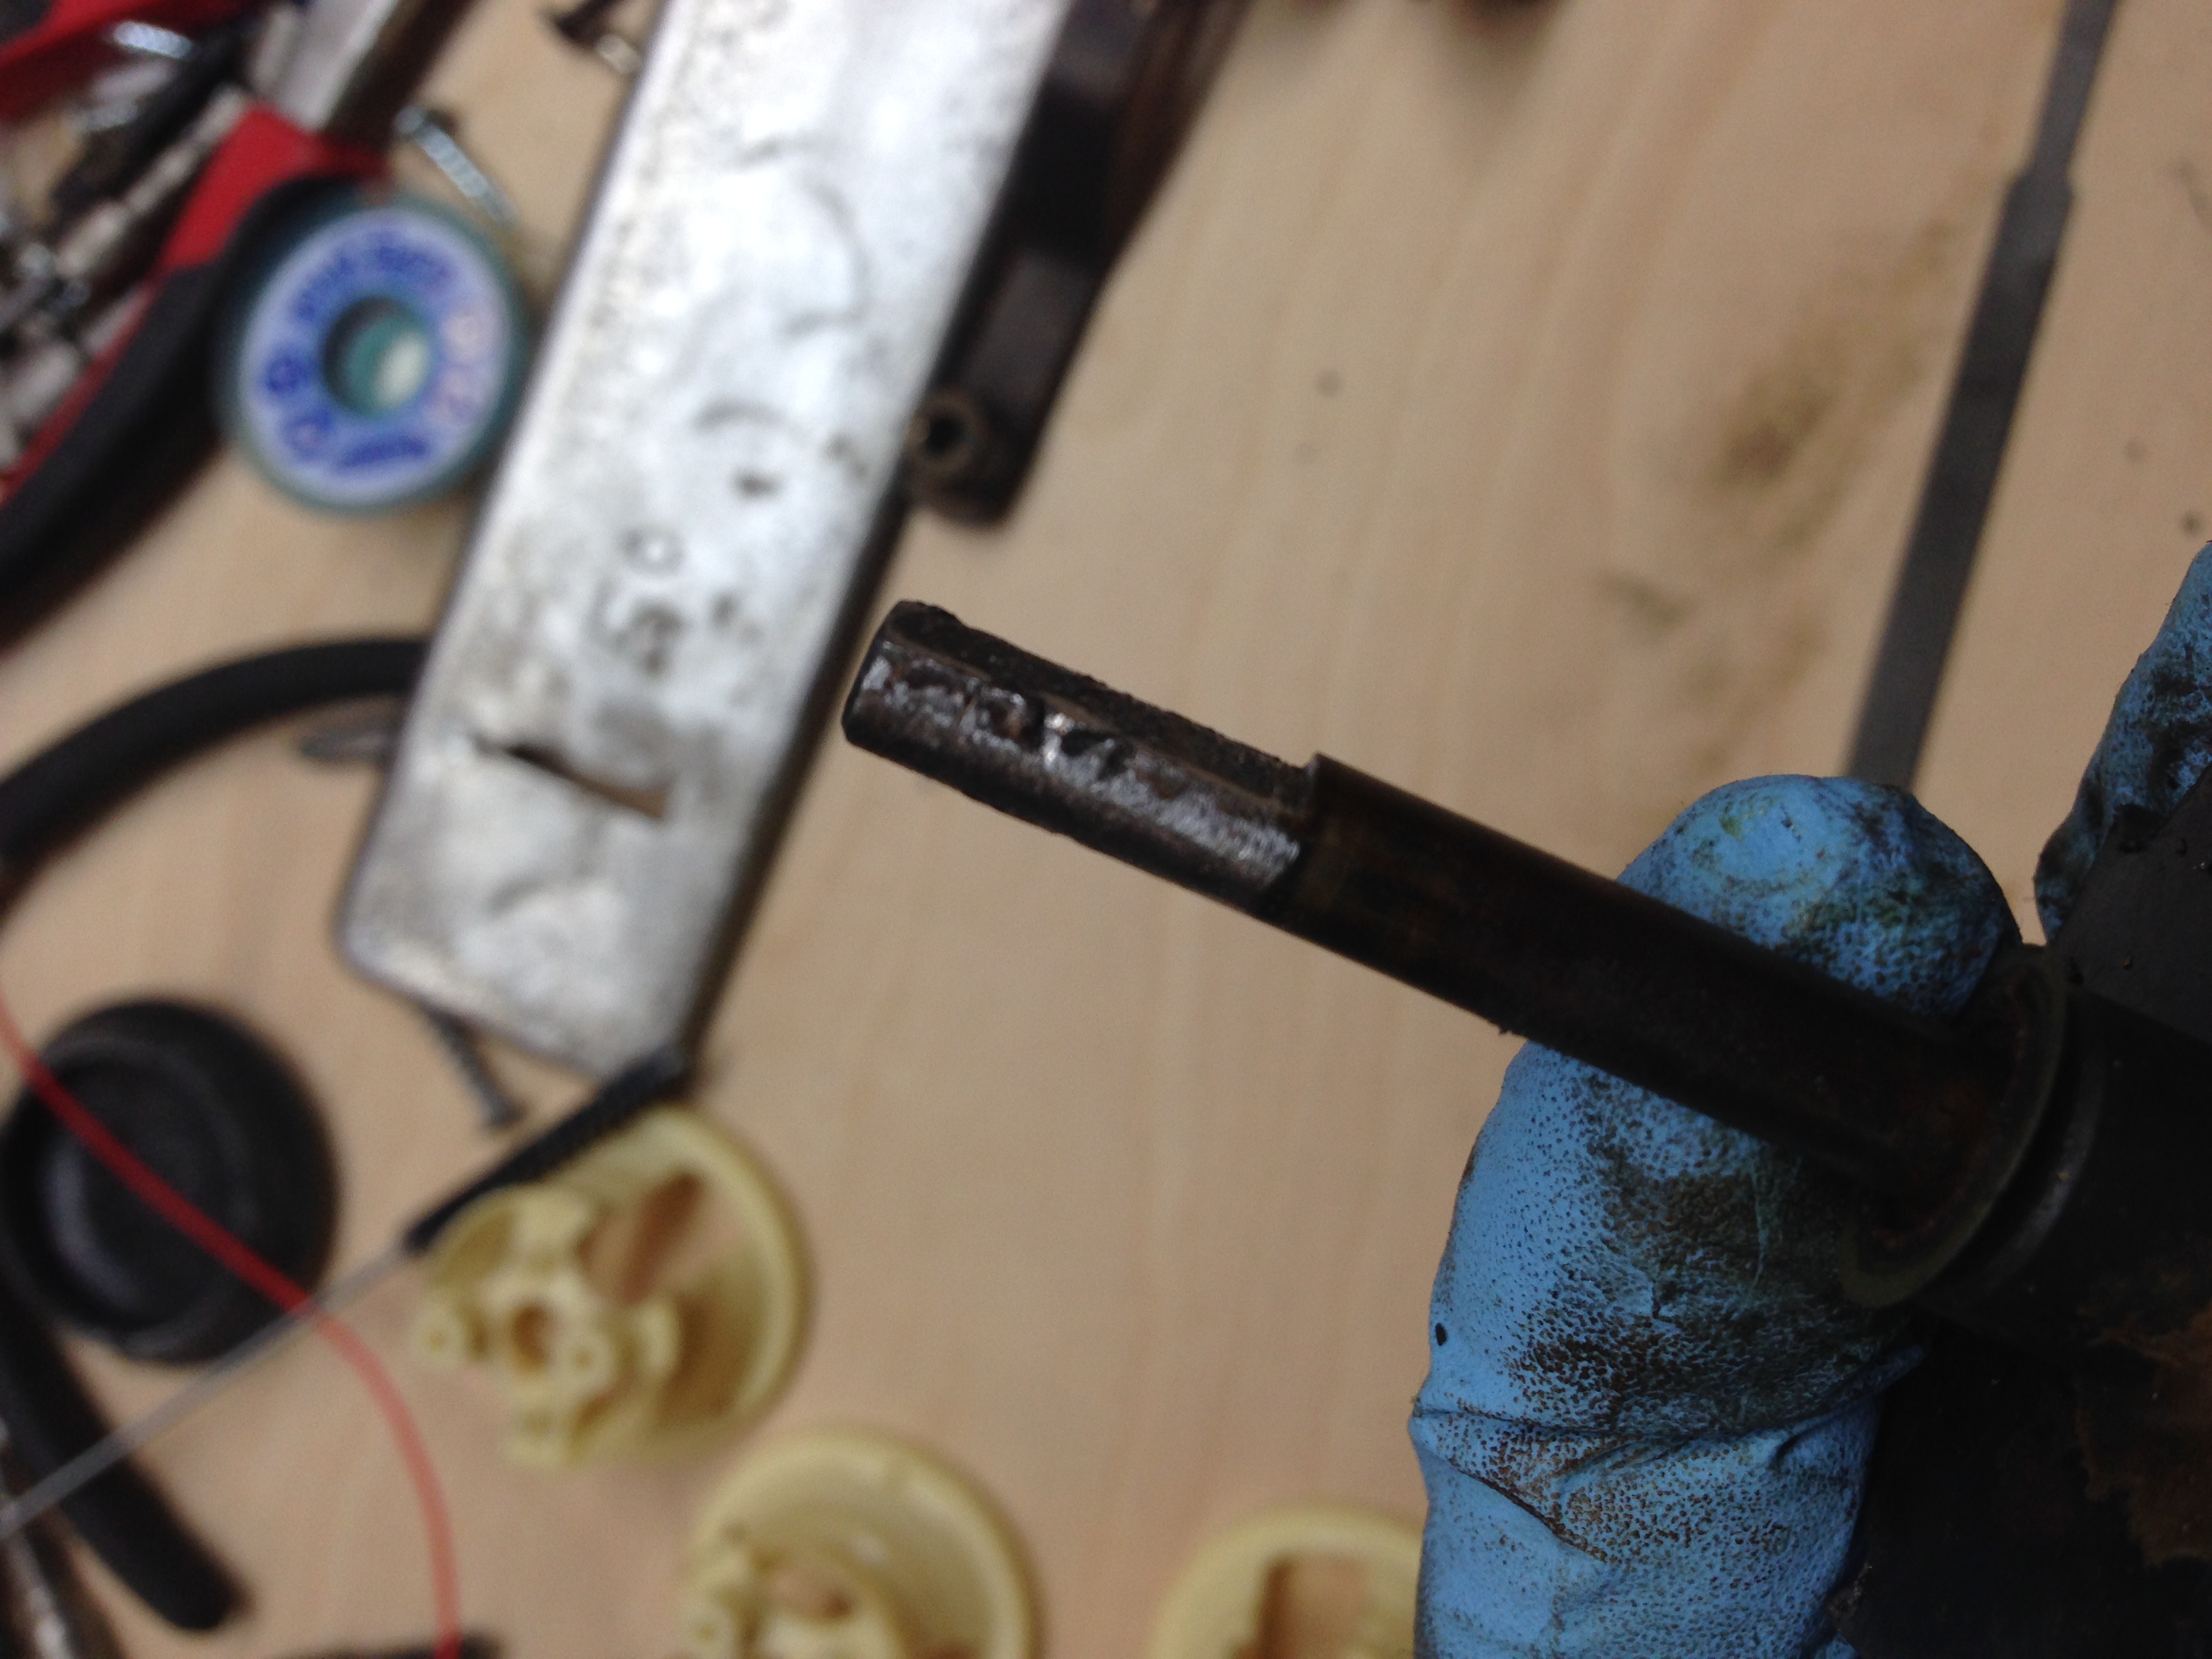
You clean and lube these like any other stepper. Take all the metal parts apart and clean them with alcohol (use lighter fluid, mean green, or other solvents to cut the gummed up grease), and clean off the residue with alcohol. Remove the shaft from the unit and make sure to clean that well. I had to file the top of the shaft on my stepper because the set screw on the top of the mechanism had bit into the metal and cause ridges that were too wide to fit back through the hole (see 3rd picture above). I cleaned it, filed it smooth and then buffed it. The metal parts cleaned up pretty well, although there is some discoloration that would take a LOT more work to remove, and frankly doesn’t affect it’s function, so I left it as you see it in the second picture.
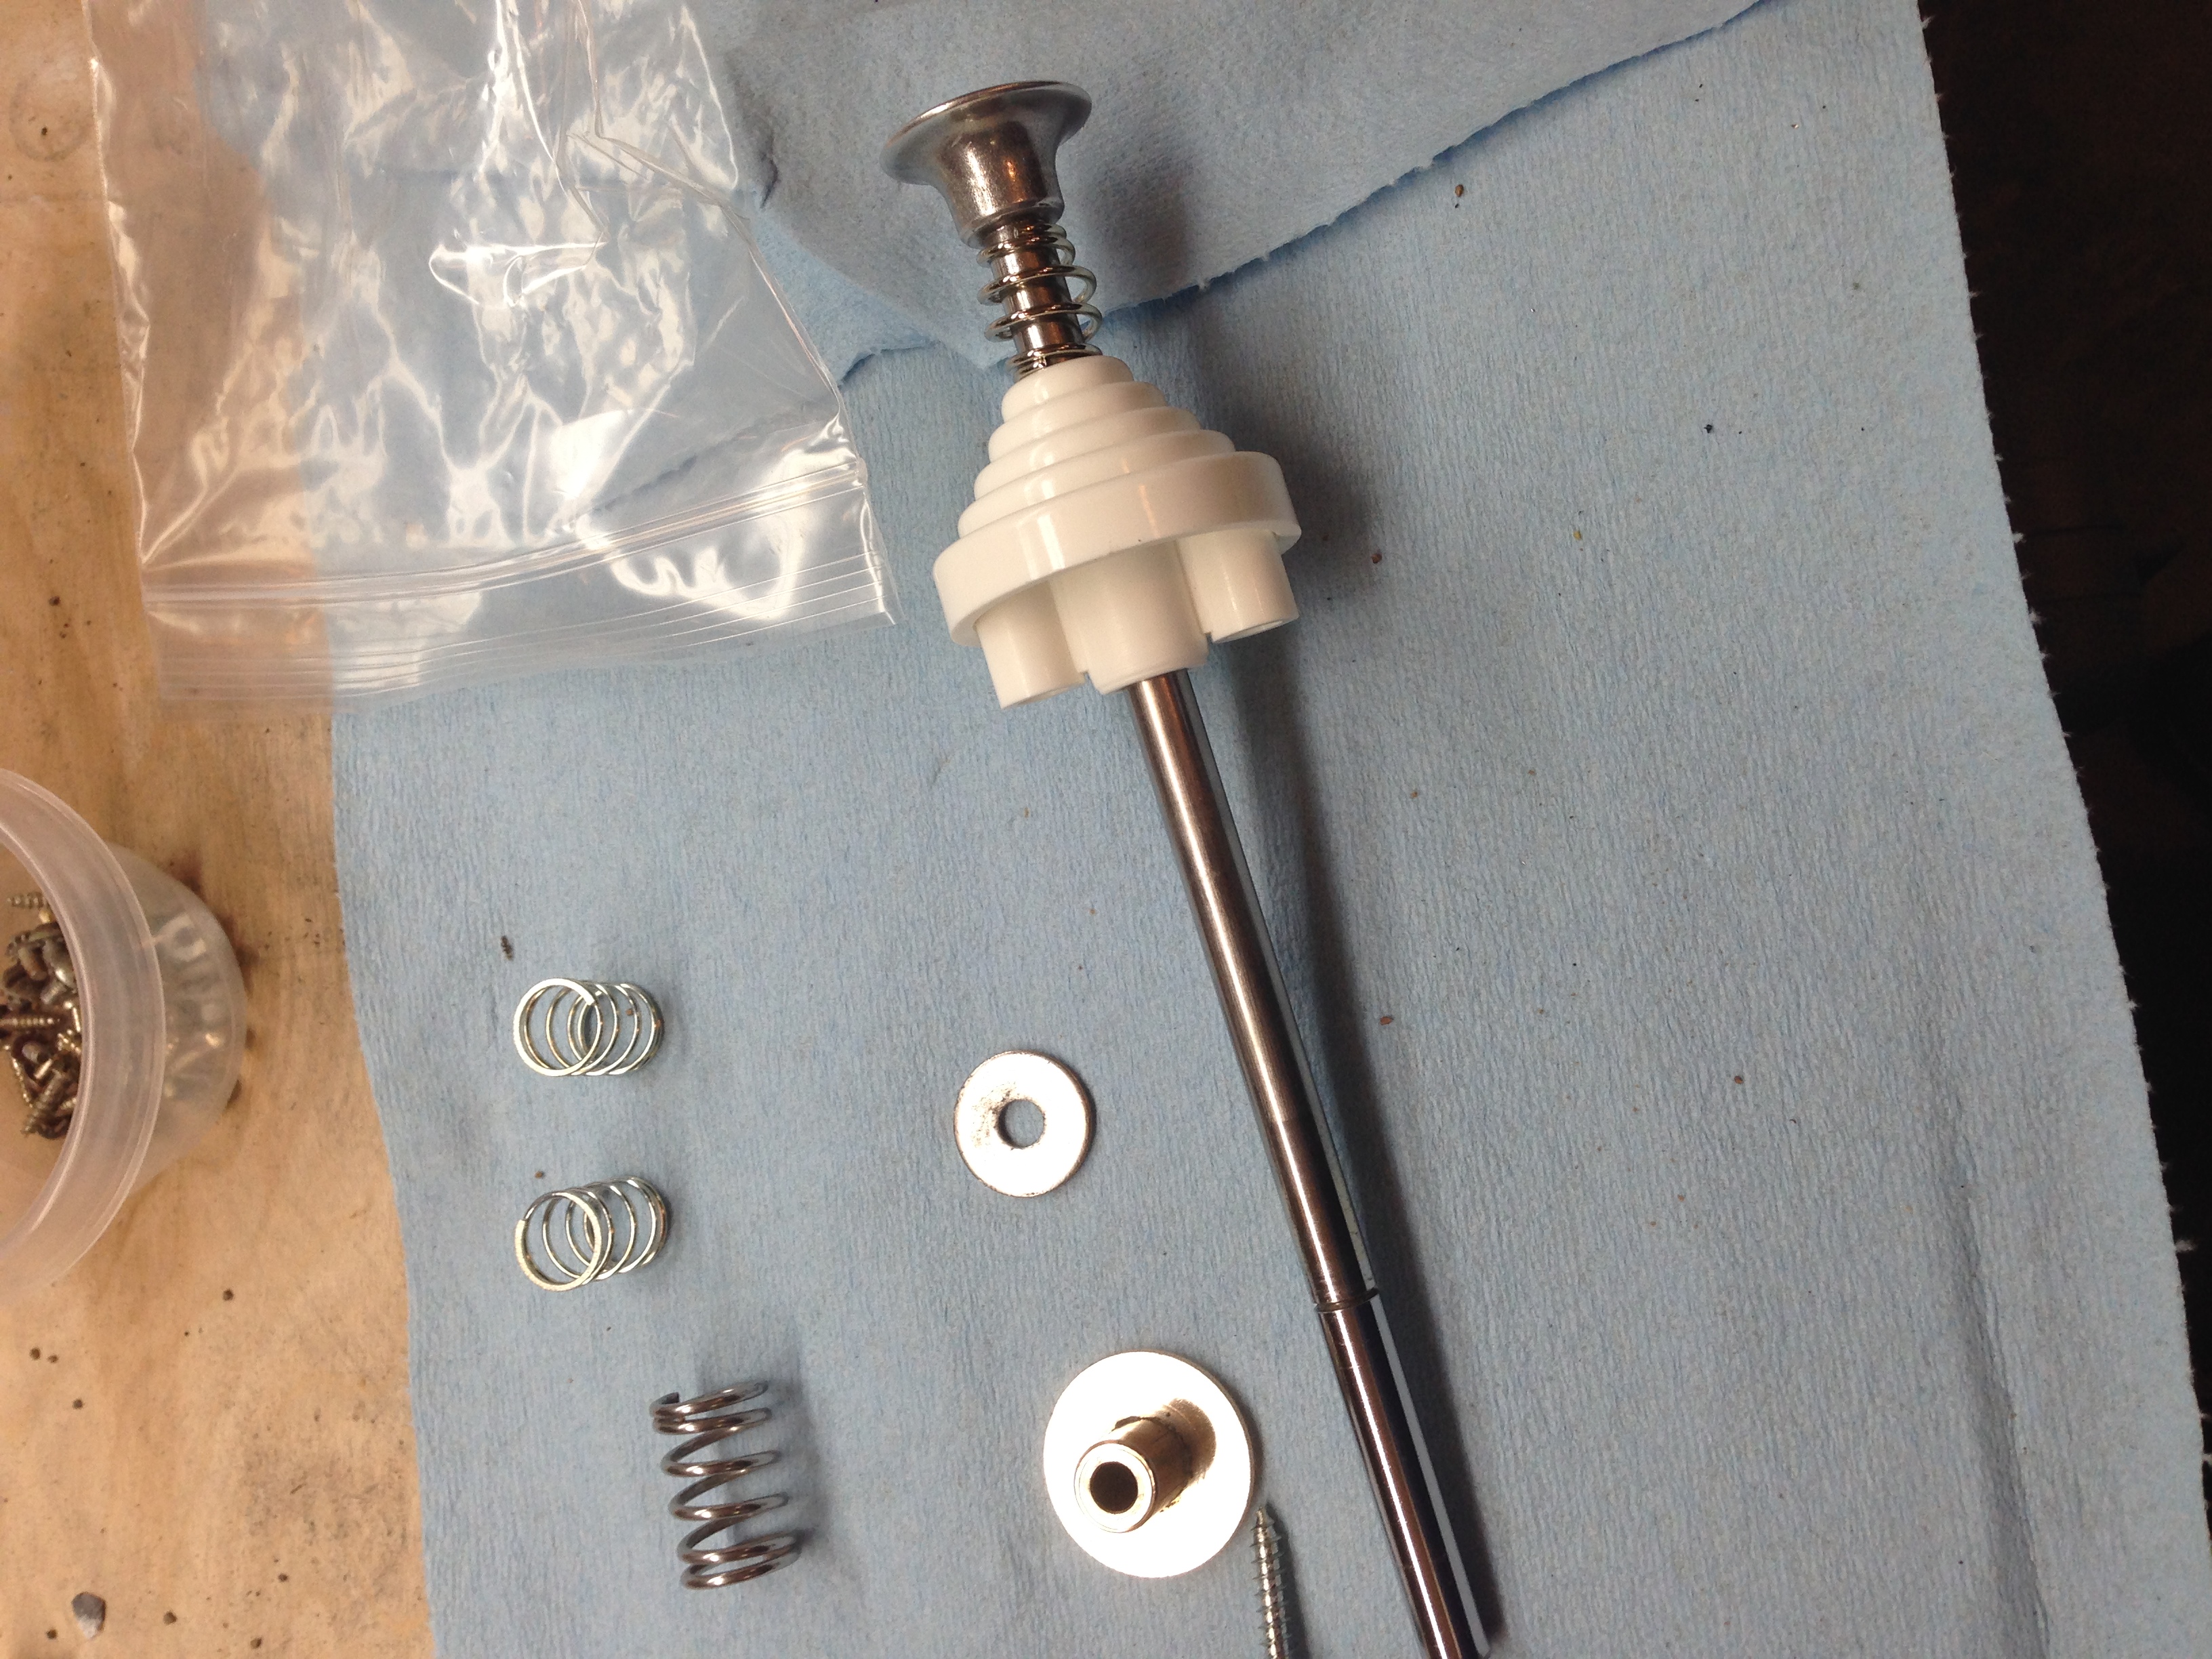
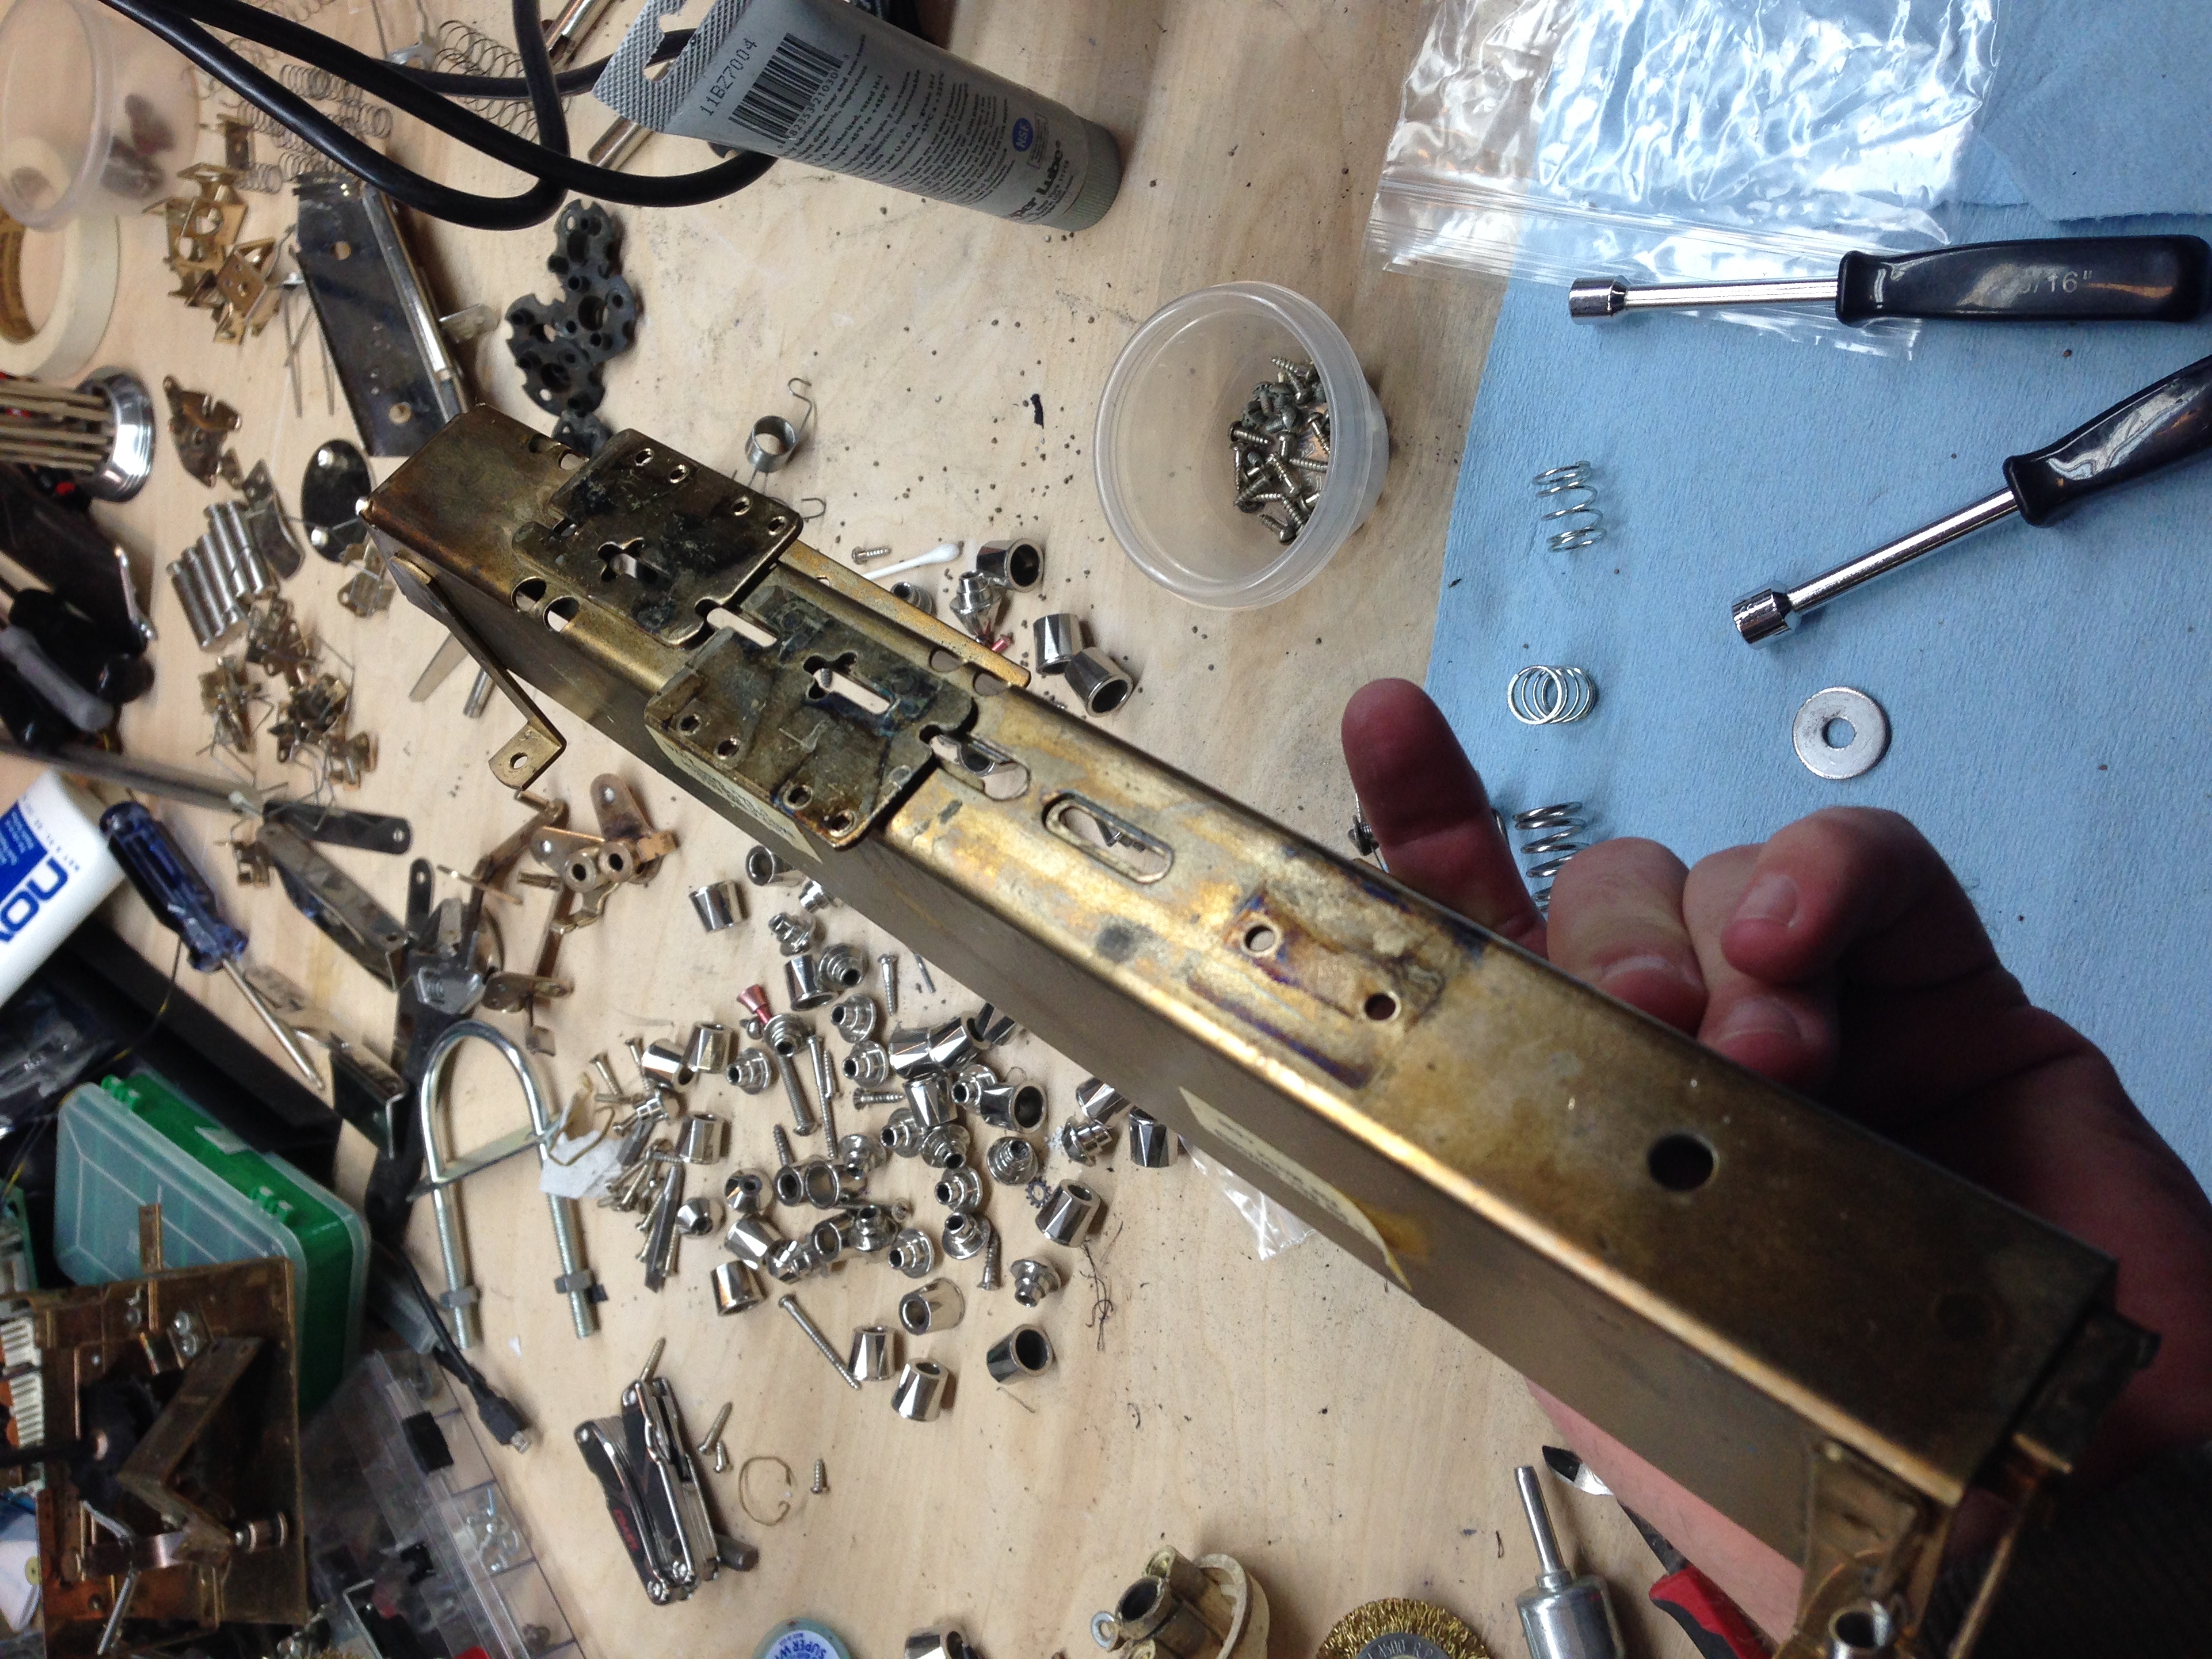
Ball Shooter Rebuild
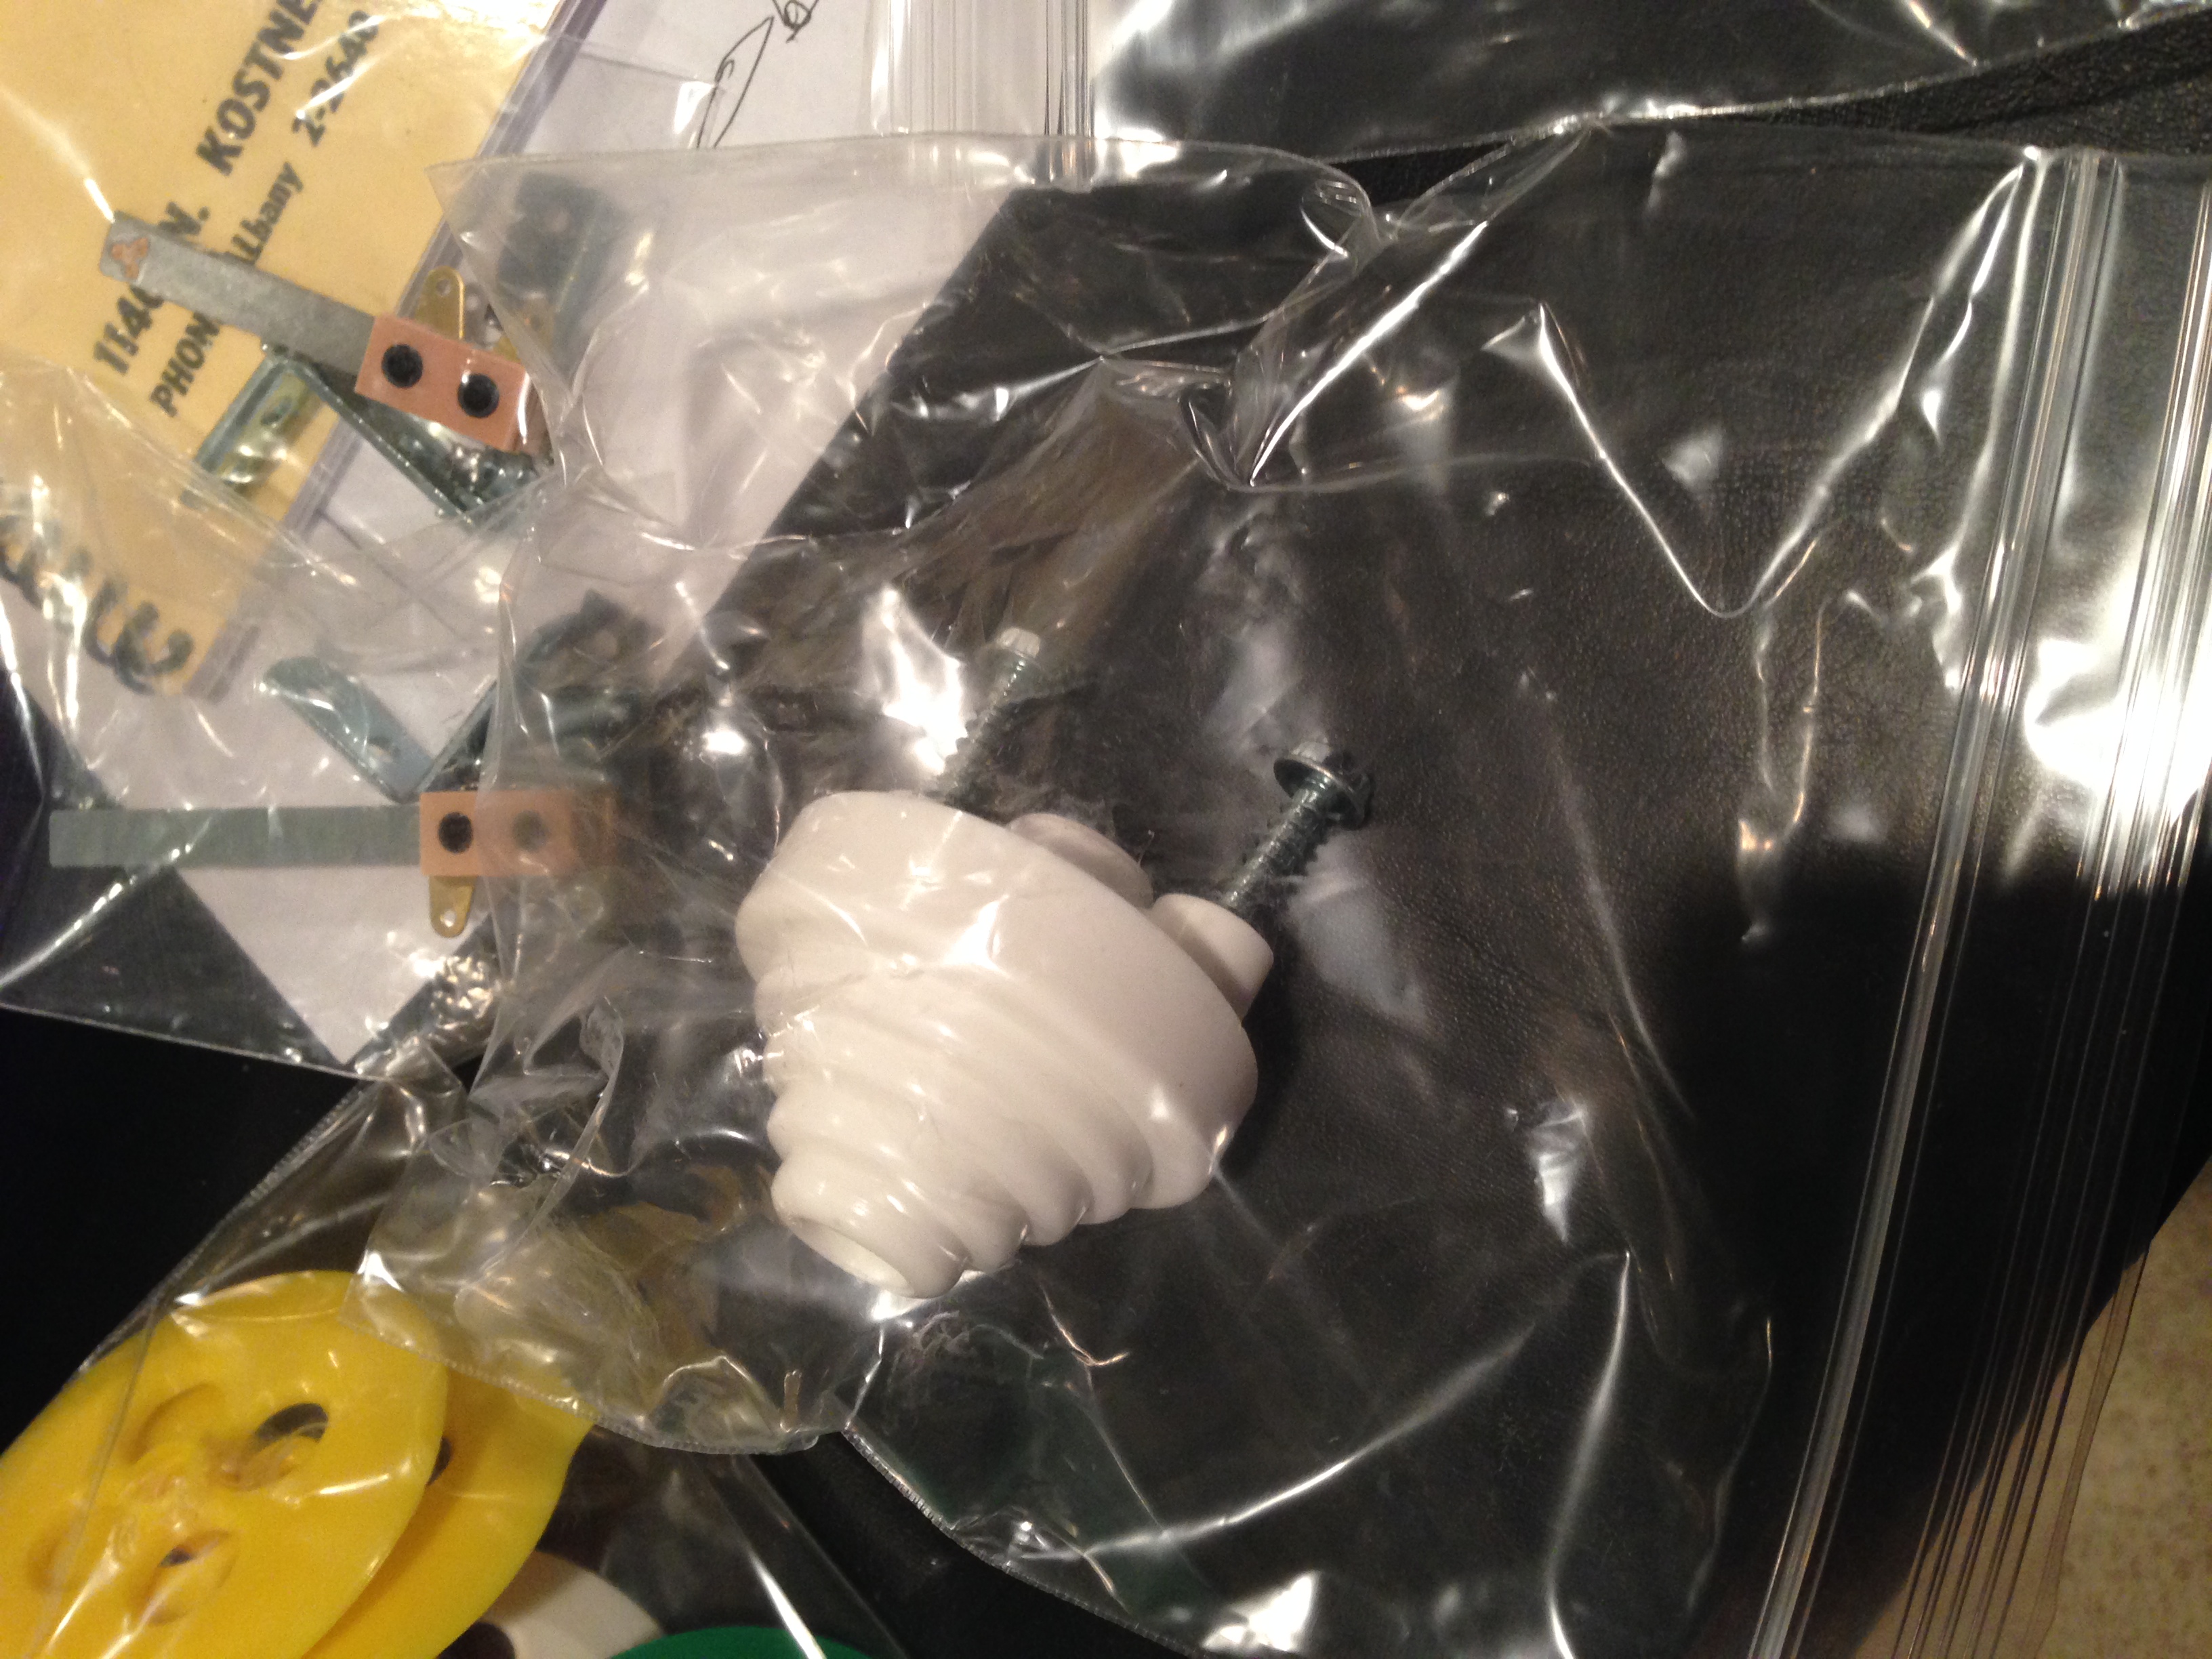
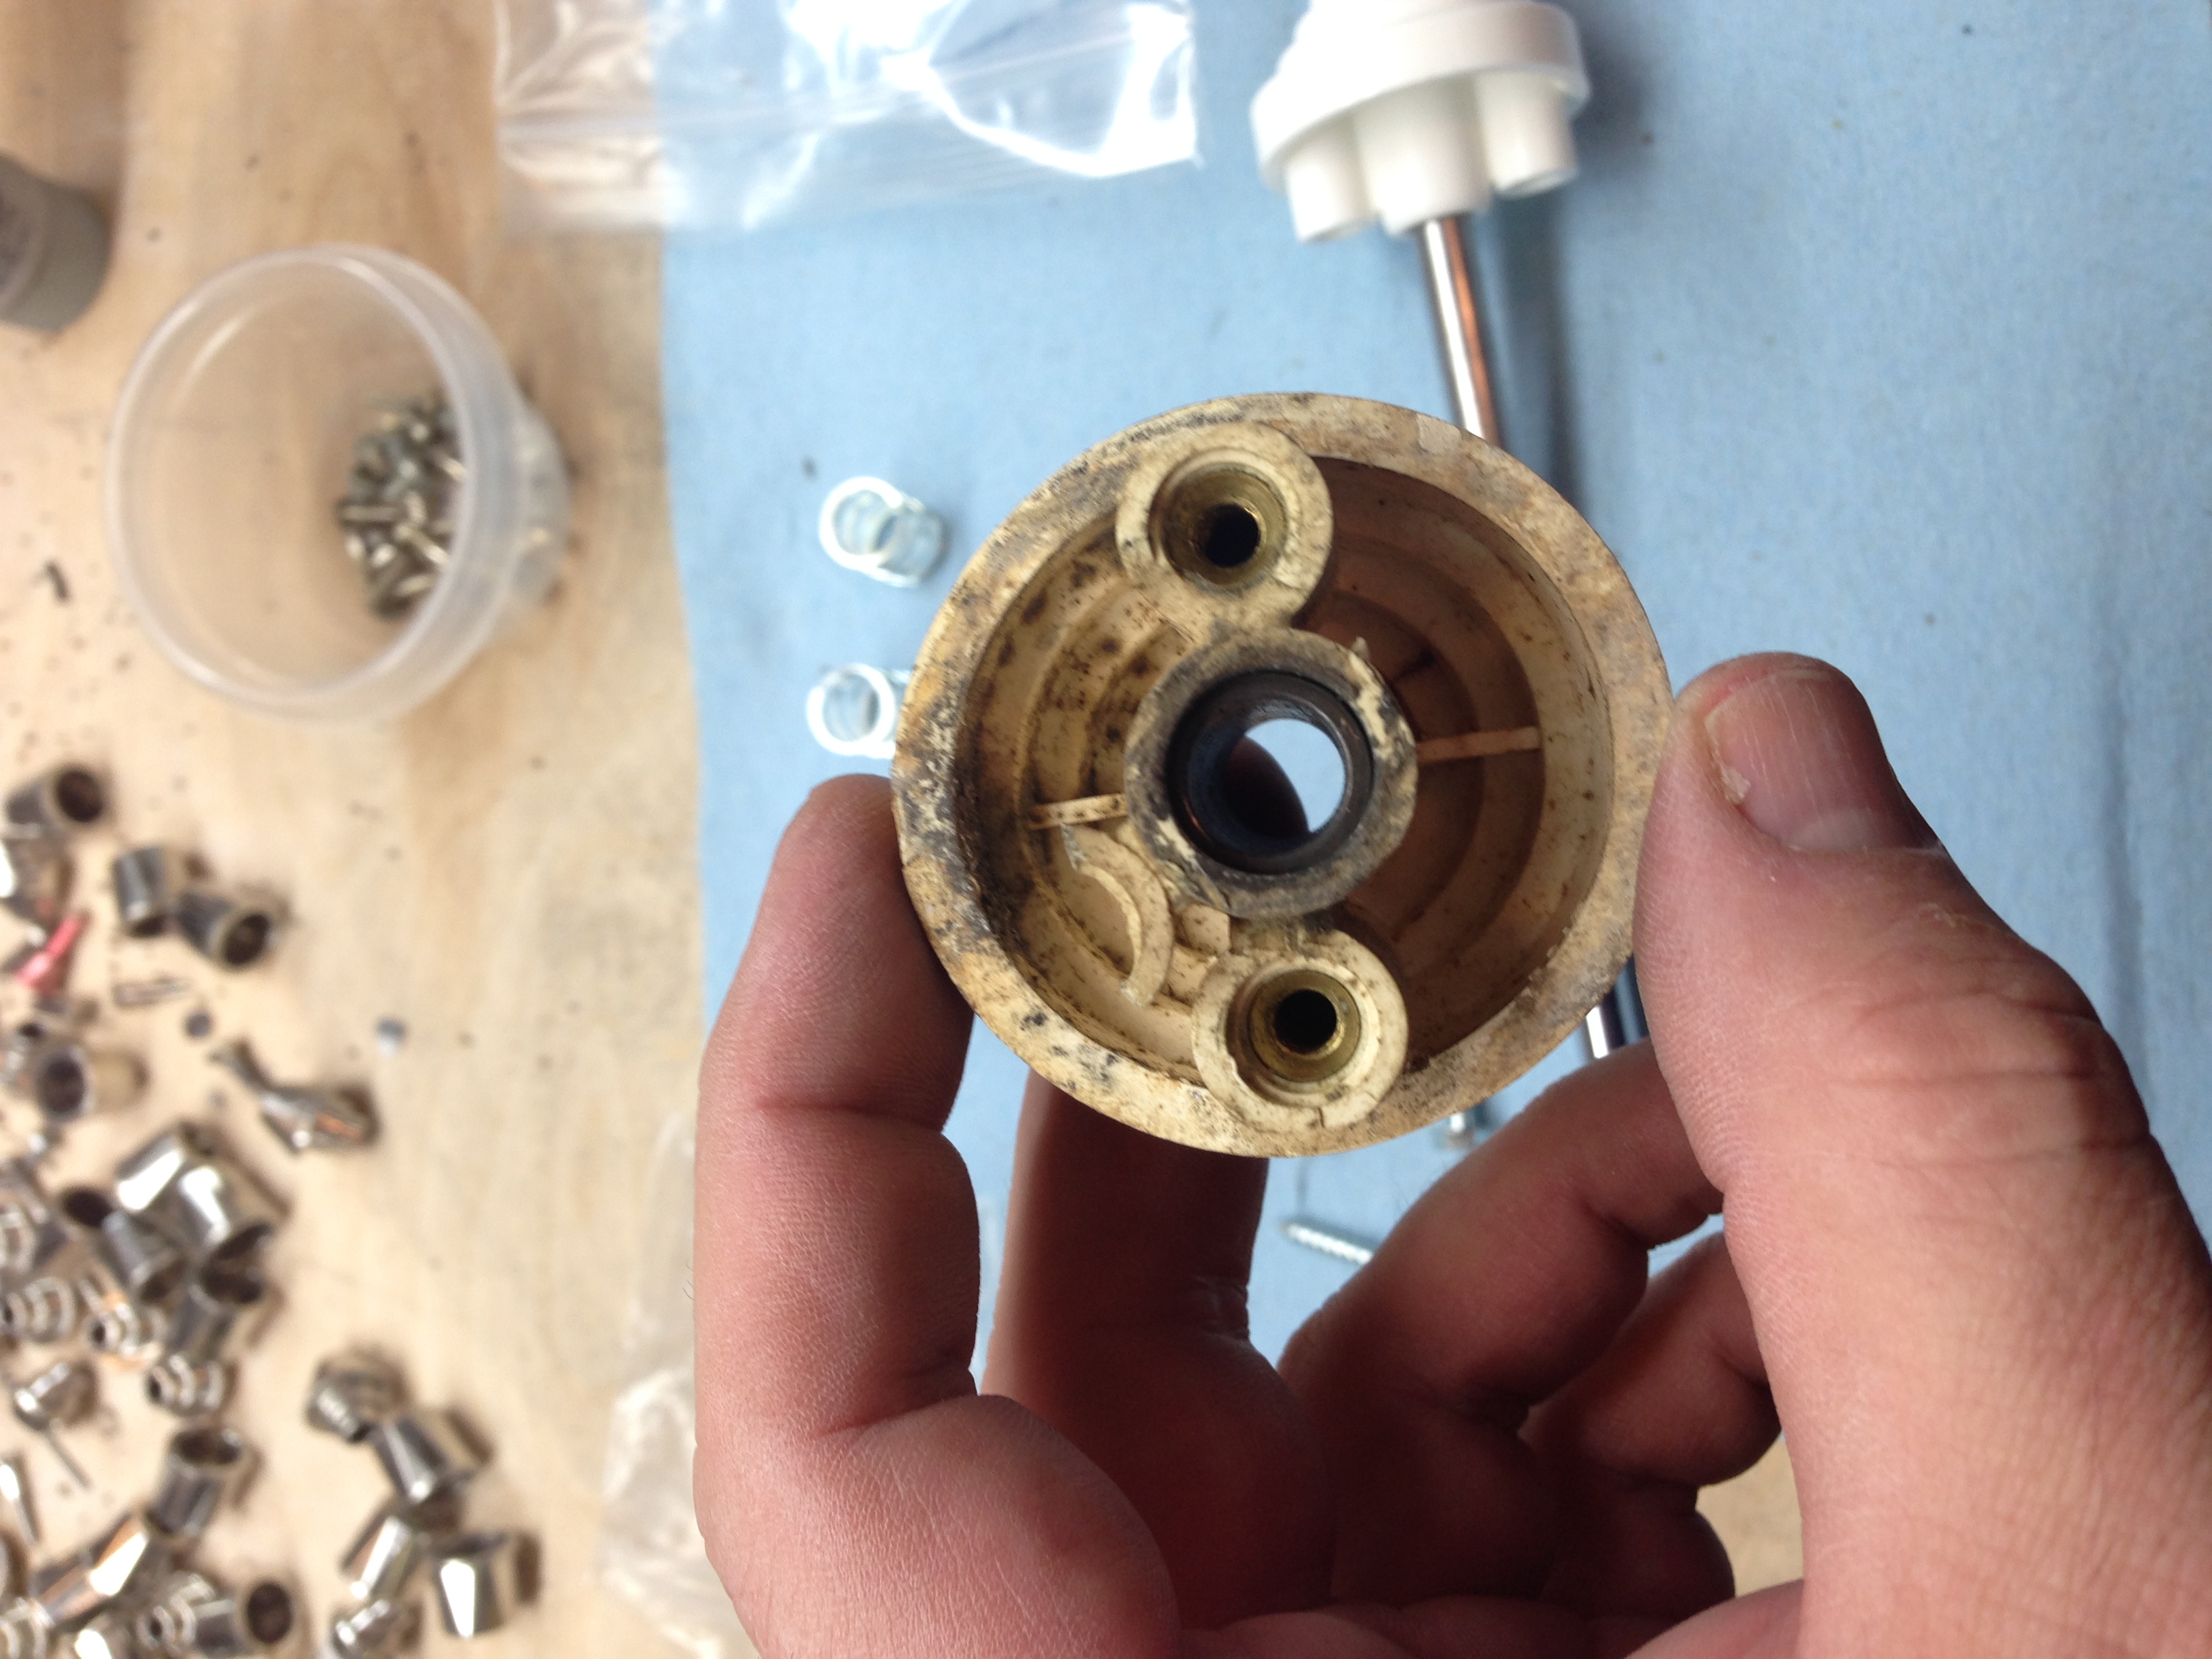
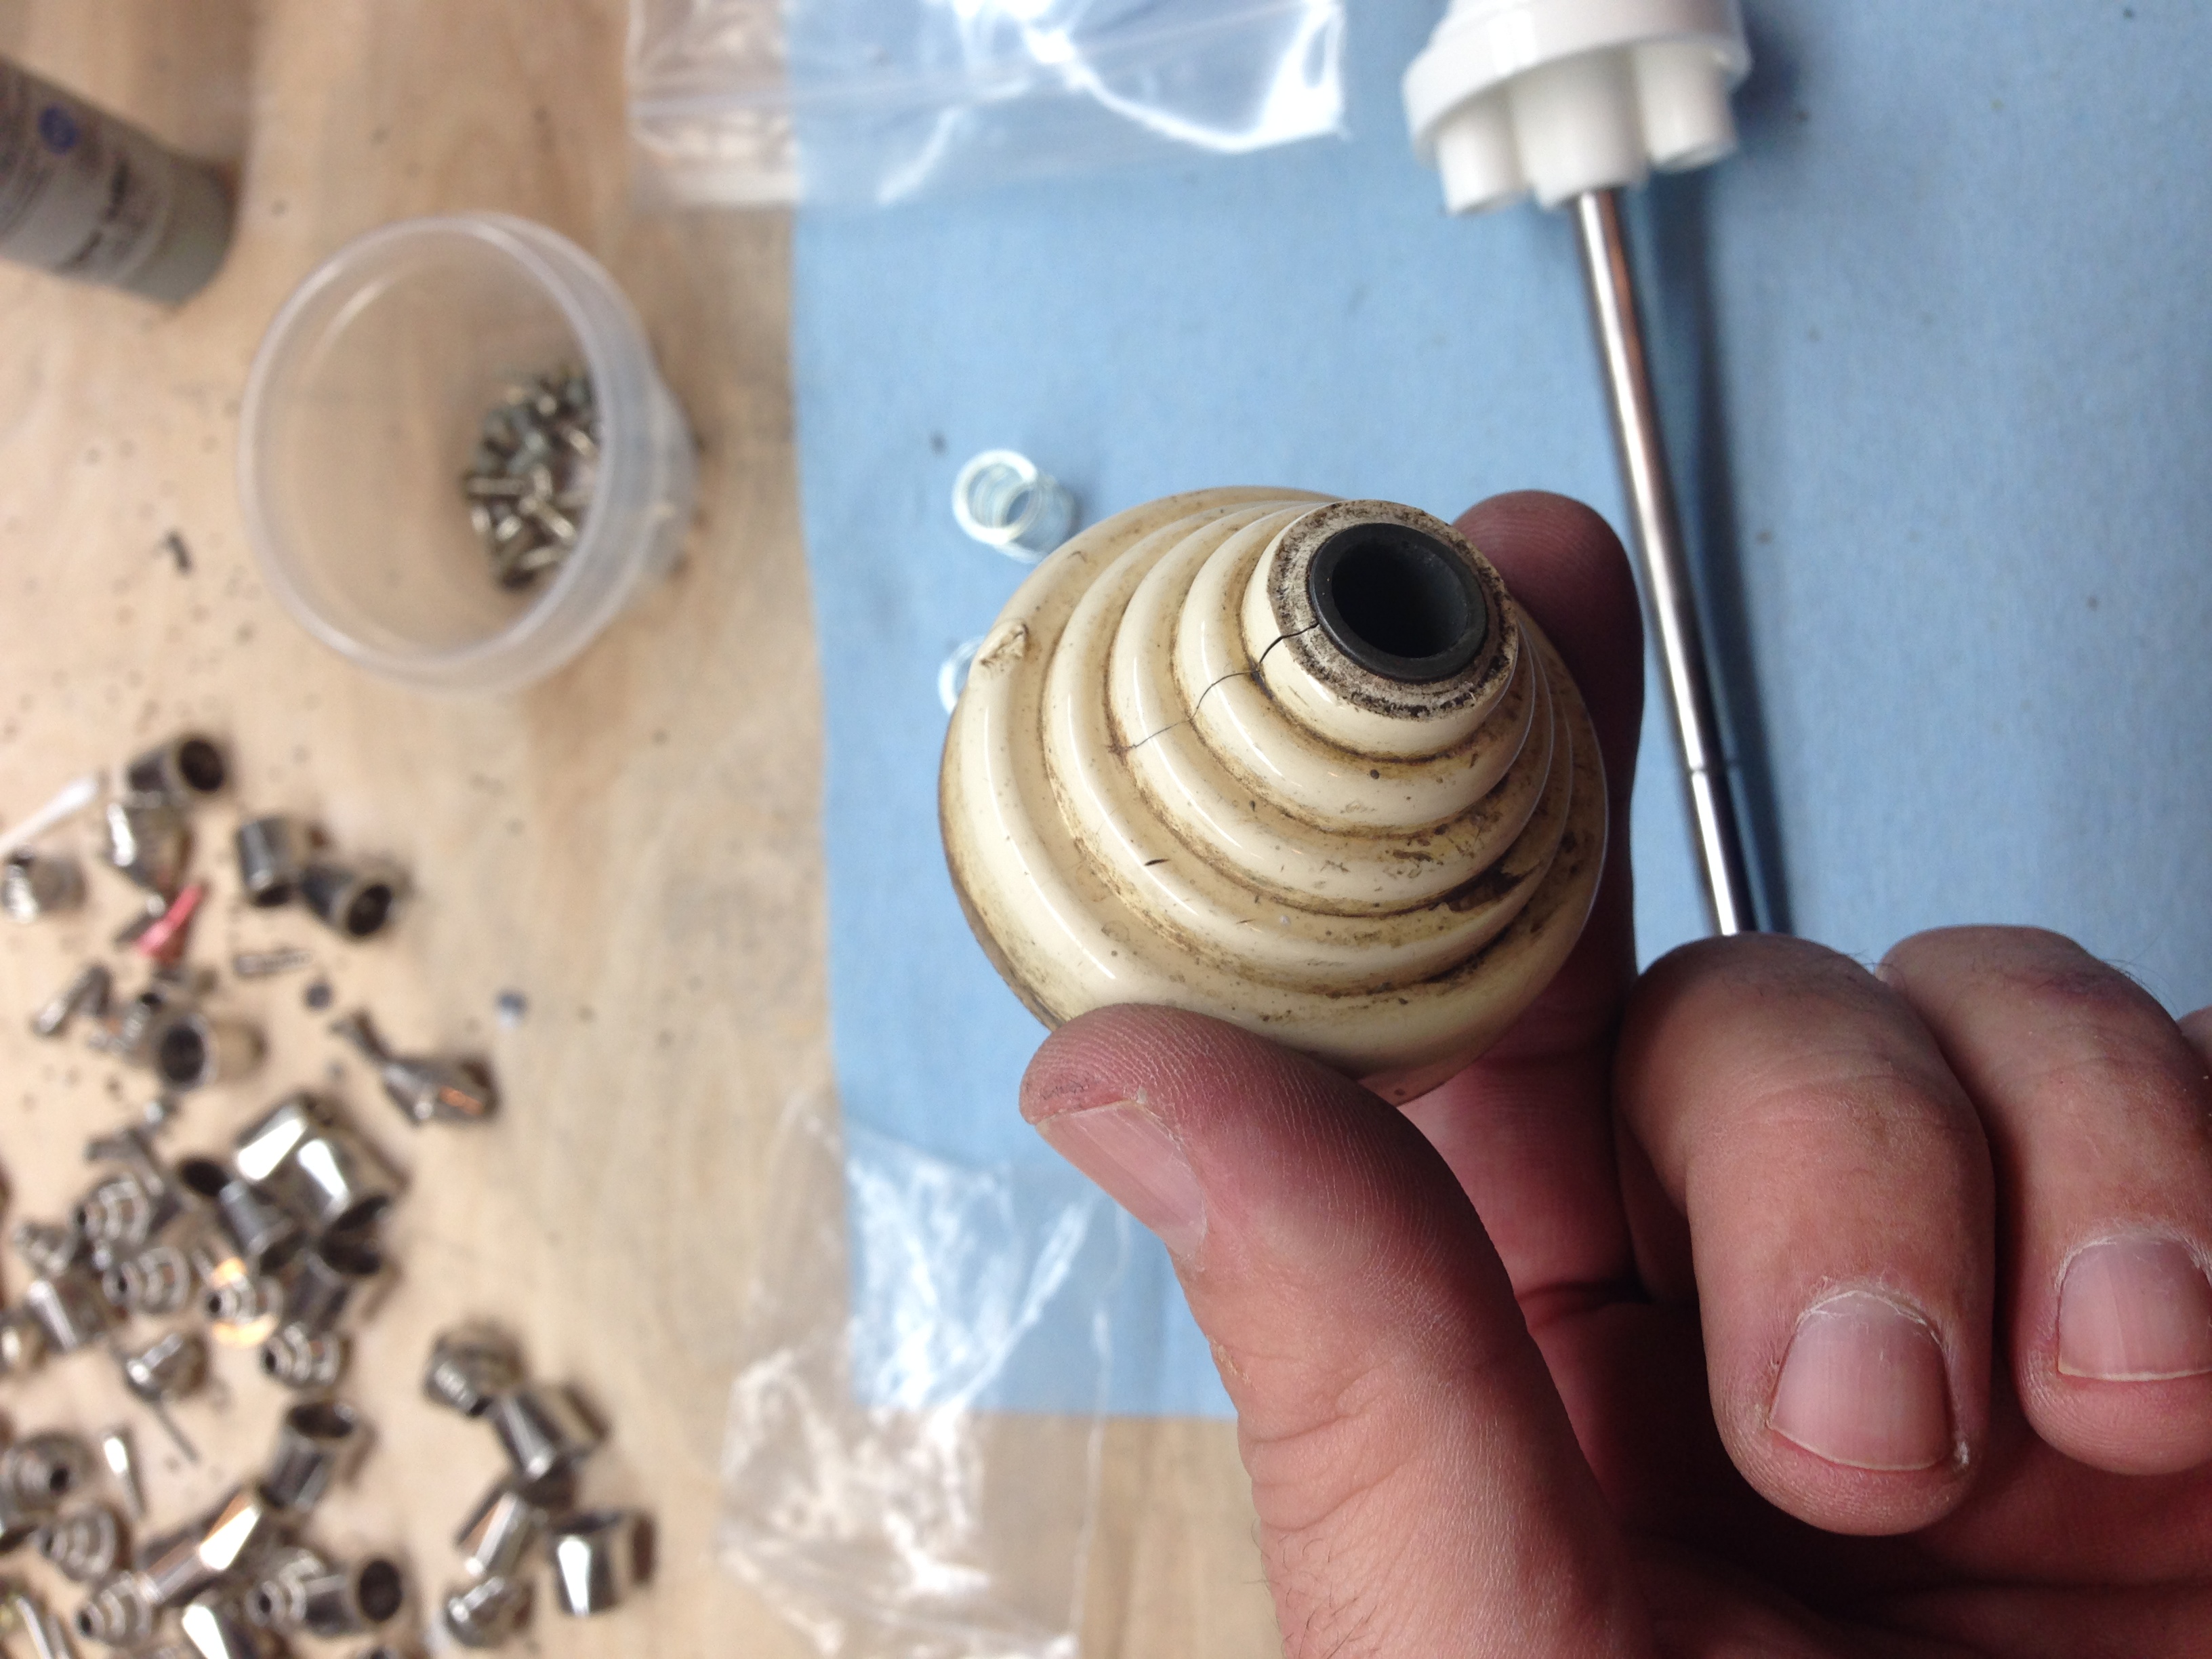
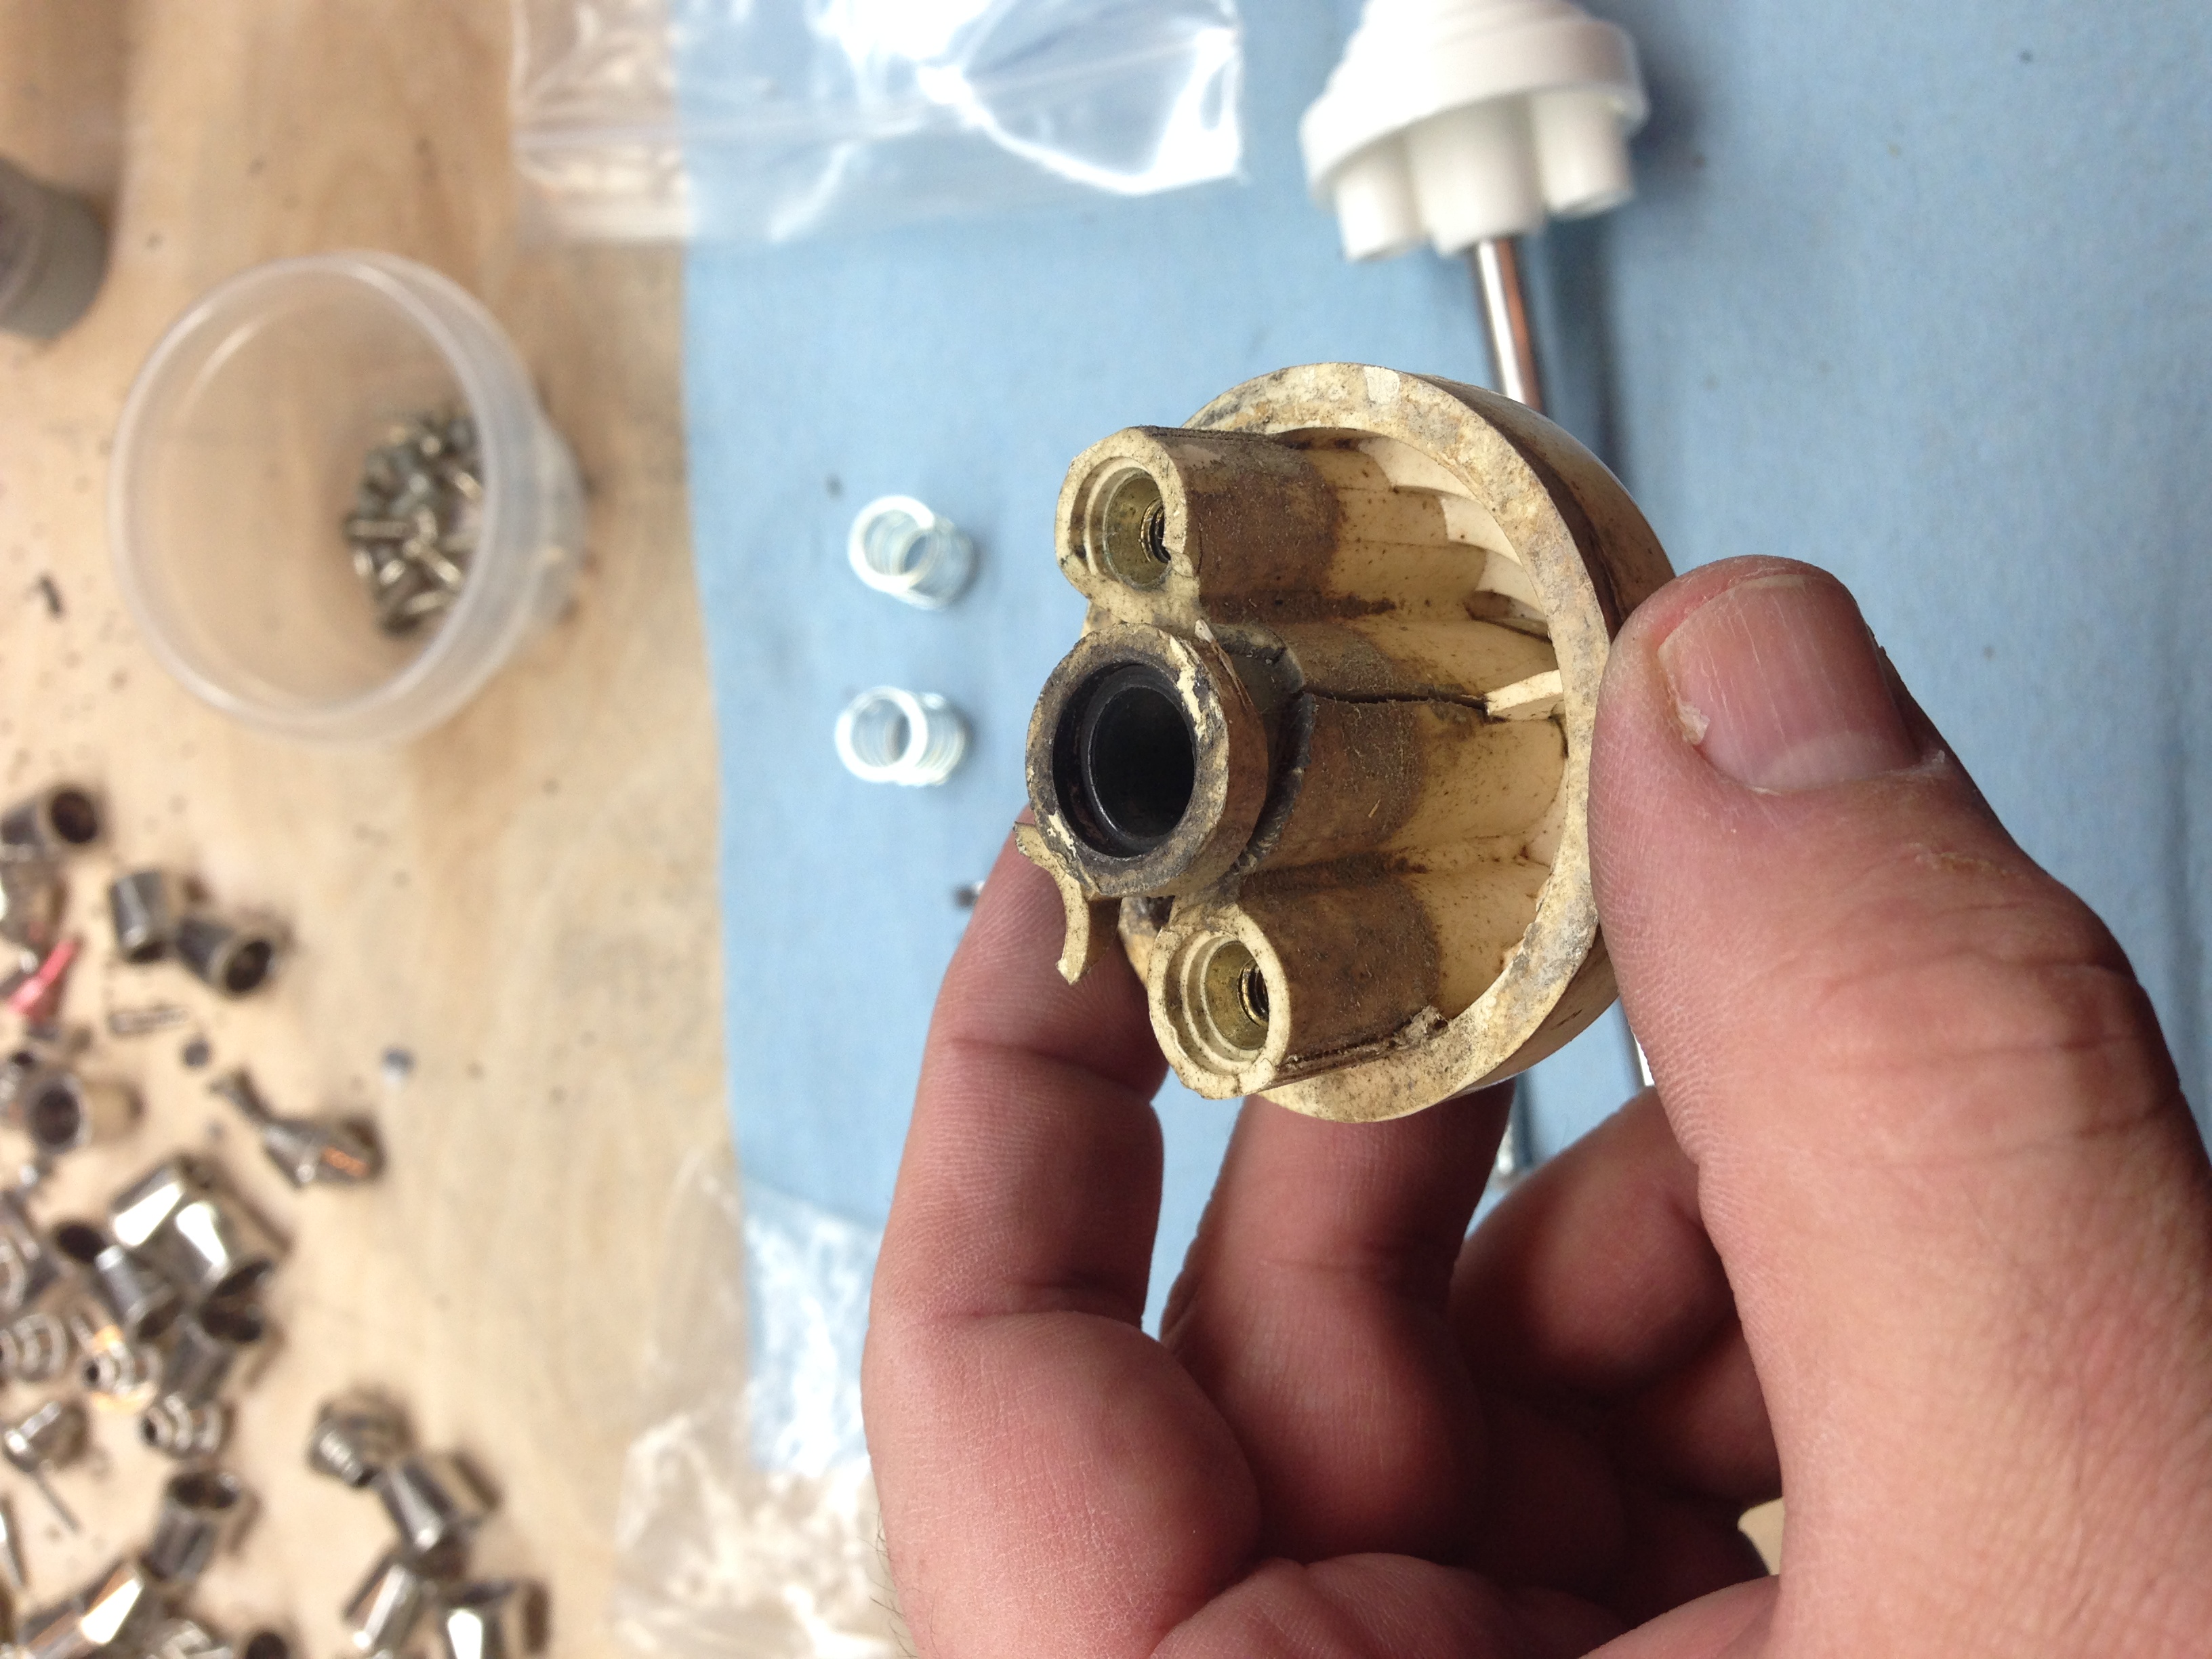
The ball shooter was about as toasted as I’ve ever seen one. At least it wasn’t bent, but it was rusty and dirty, and the beehive shooter housing was dirty (I mean really dirty) and cracked in many places – basically beyond help. Here’s some before pictures.
I had ordered a new “Beehive Shooter Housing” from pinball resource, along with a new barrel and shooter spring. After polishing the shooter rod, and the bracket the new assembly looks soooooo much better!
Playfield Light Sockets
Many of the light sockets on the playfield were very corroded. They develop this rough corrosion coating on the metal, and then you start having intermittent contact with the bulb terminals. Also, the bakelite (or whatever it is) insulators shrink and get loose, causing the same issue. I’m replacing the worst of these as I work under the playfield. Here’s some before/after pictures.
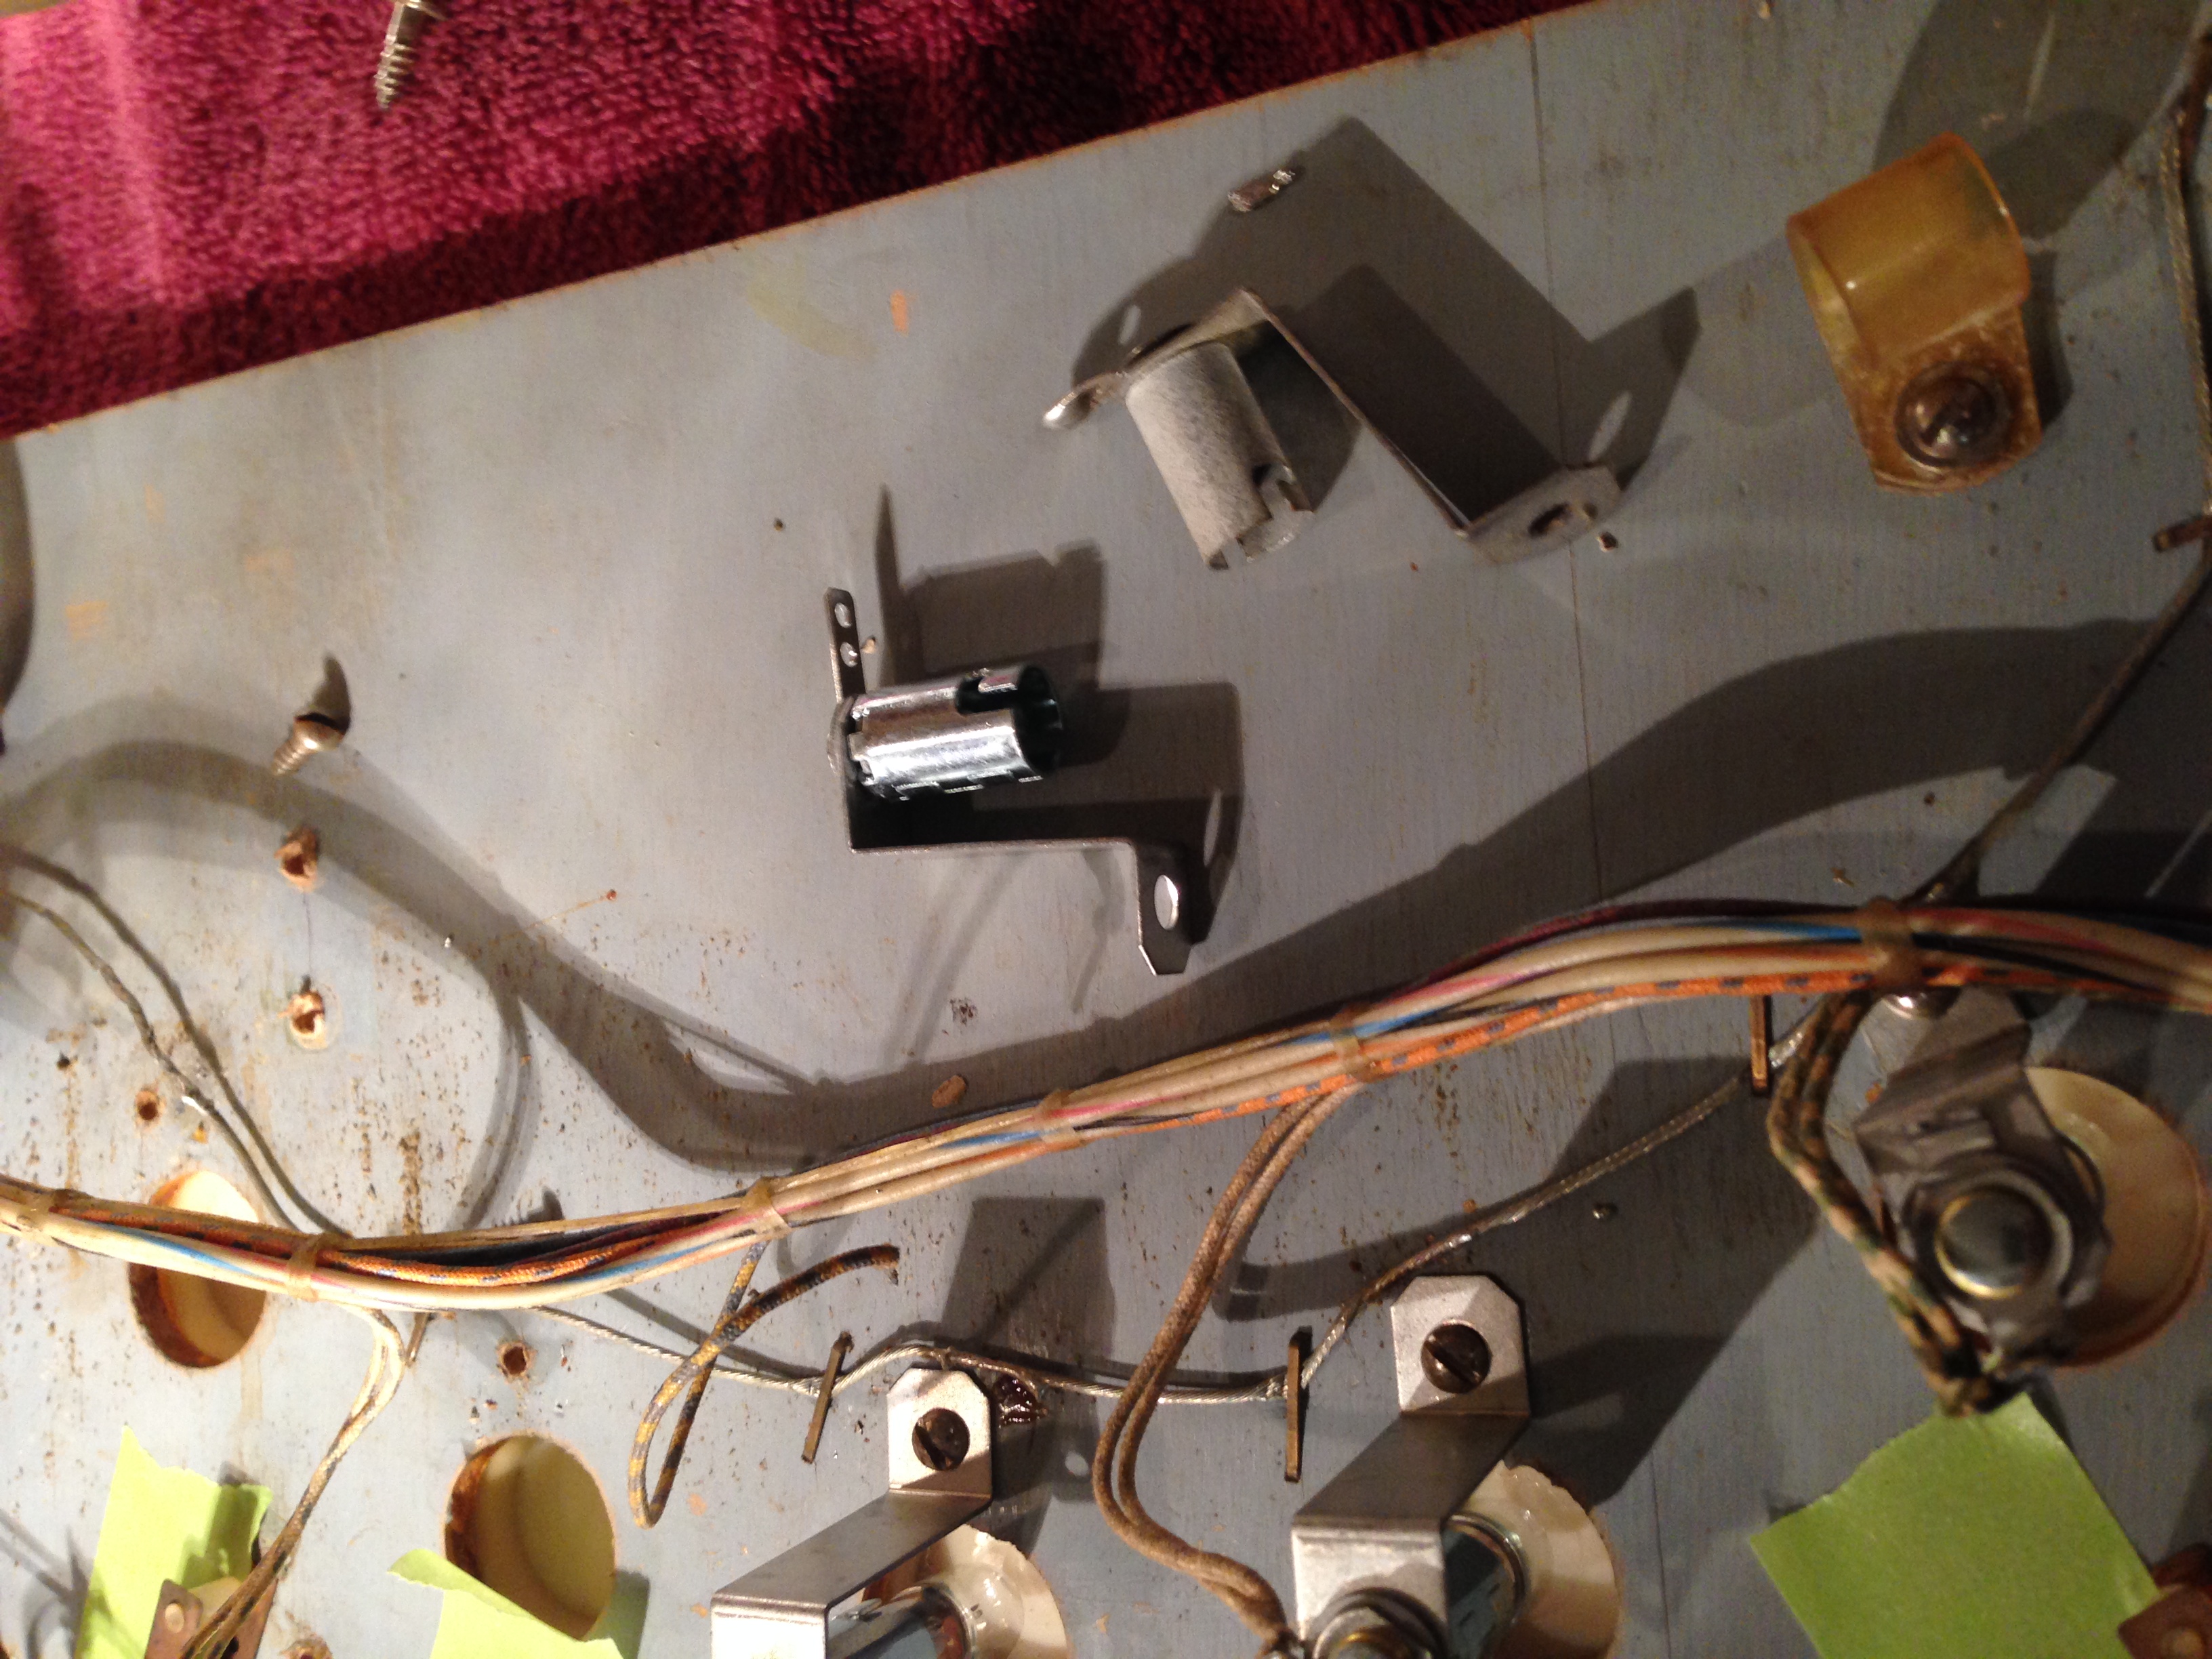
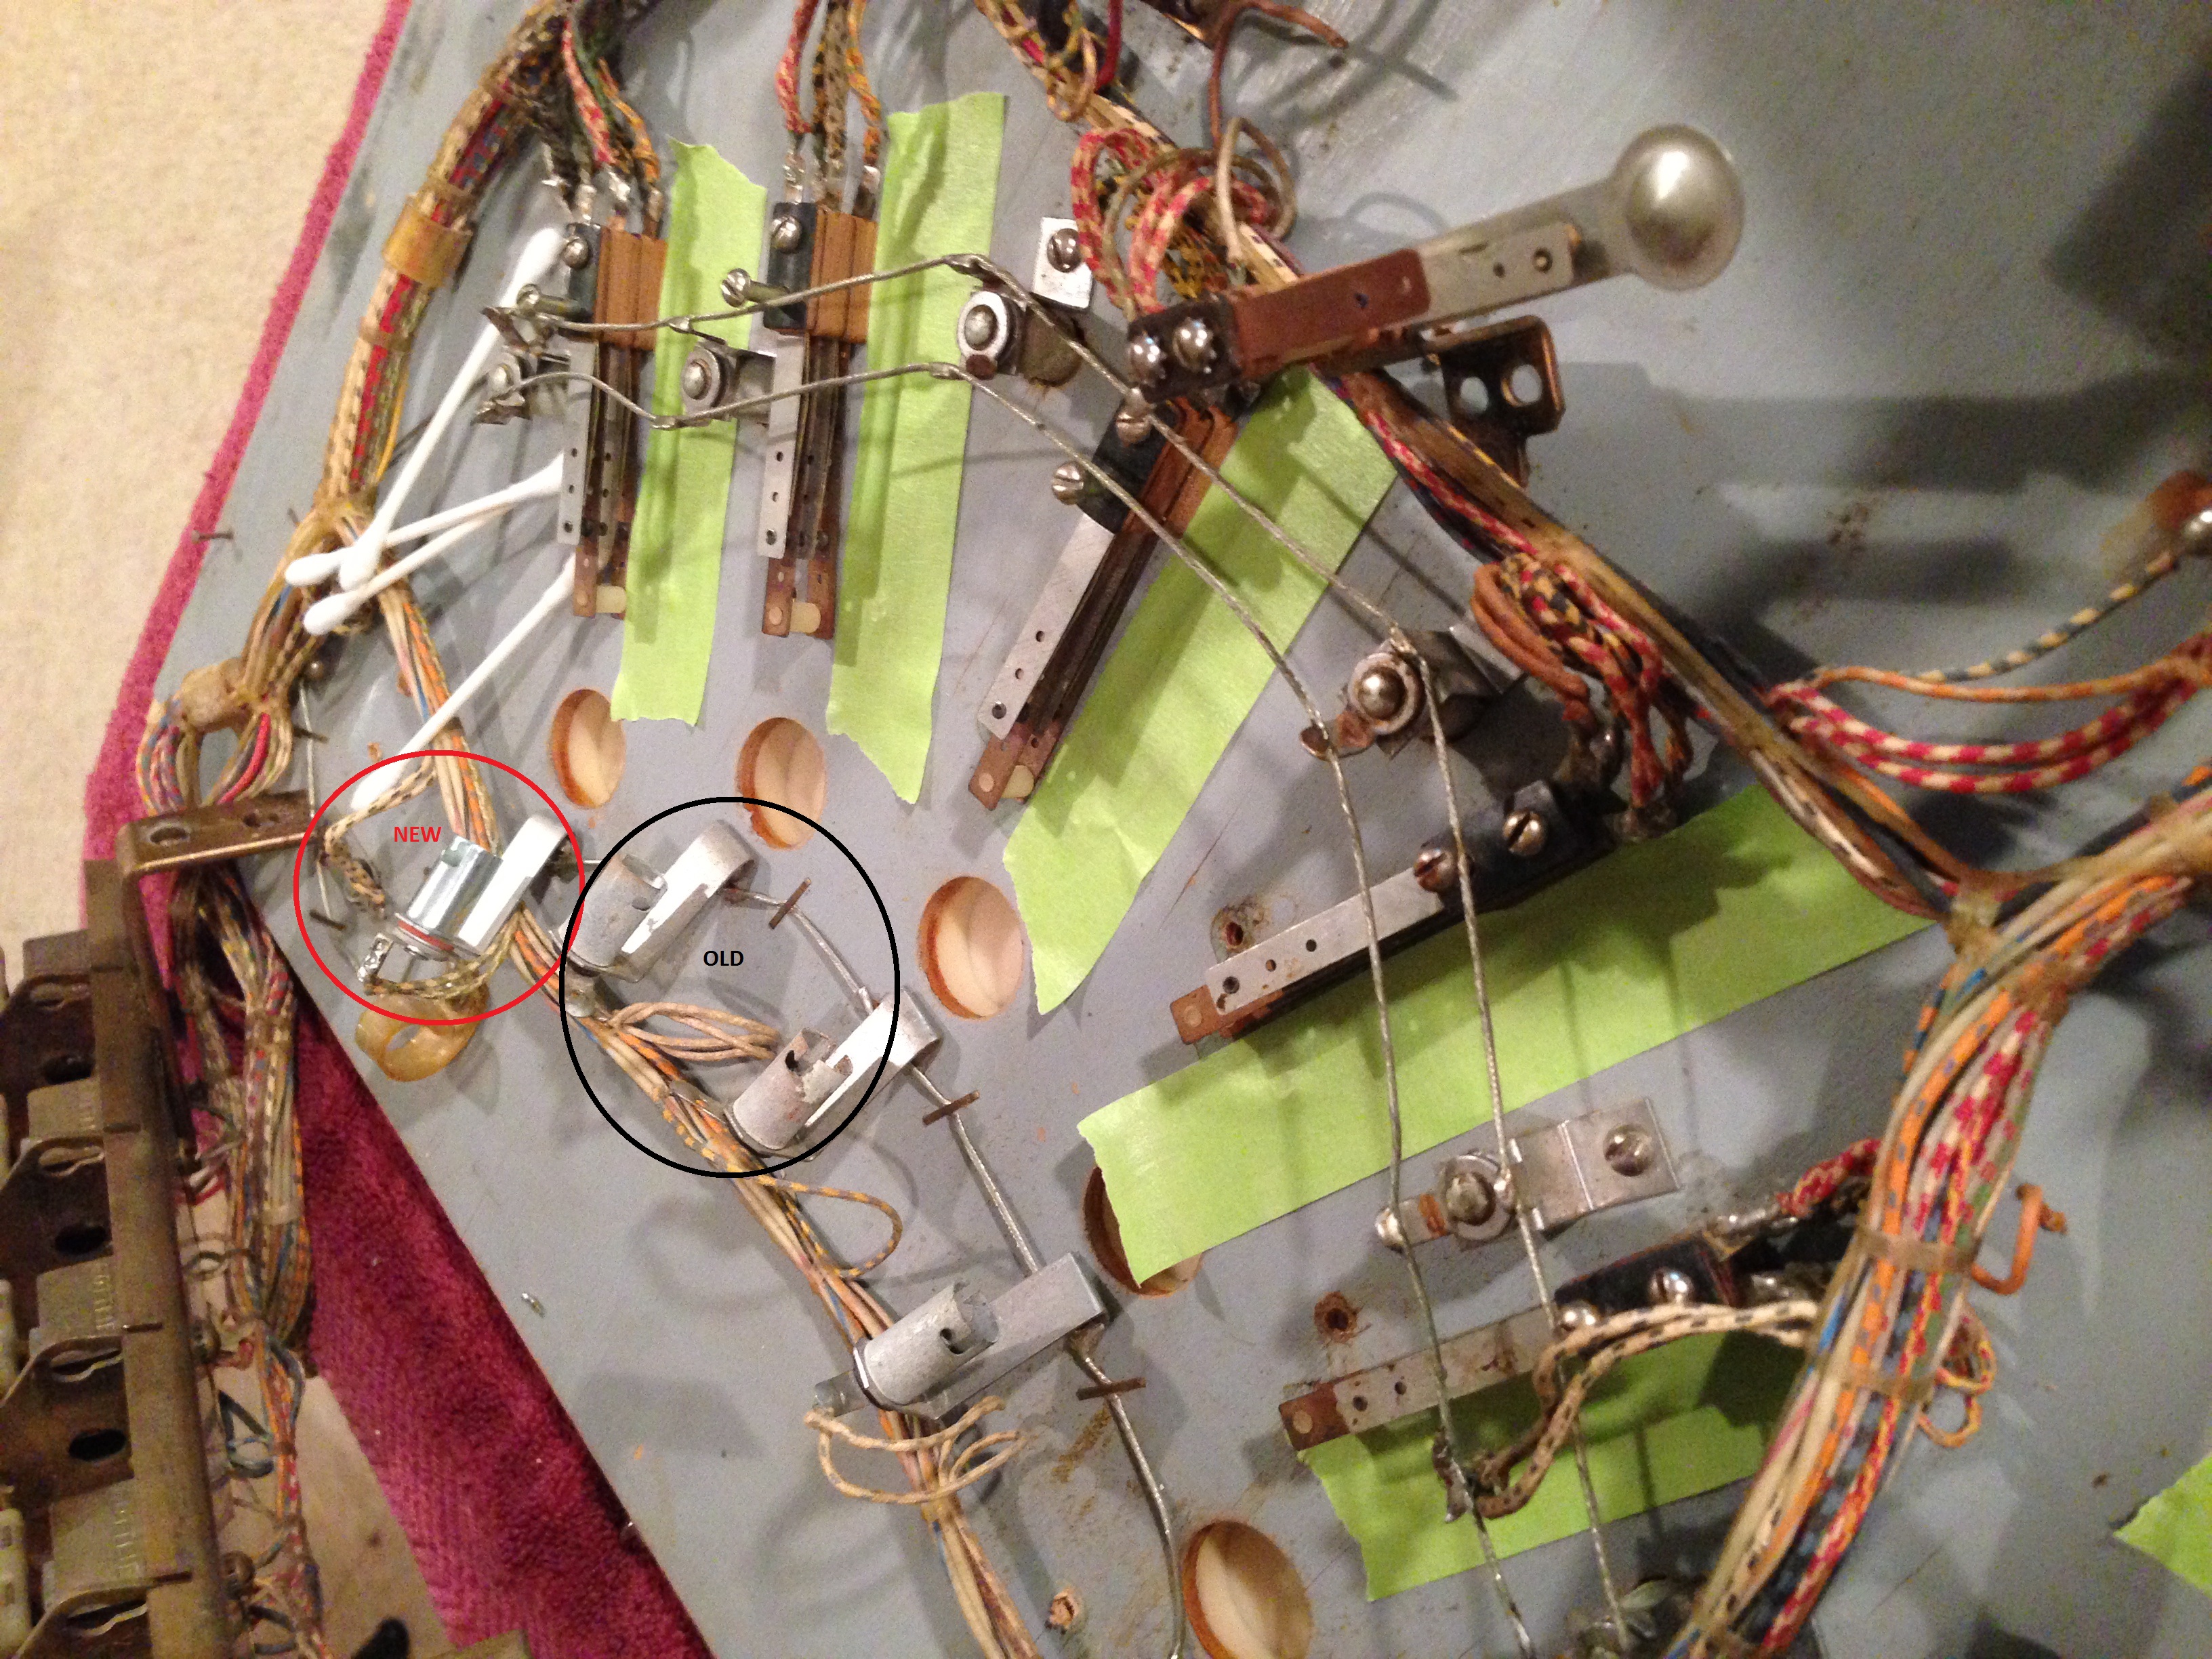
You can see a huge difference. These aren’t the worst sockets I’ve seen, but since I’m doing all this other work anyway, I figure why not take care of it while I’m already here.
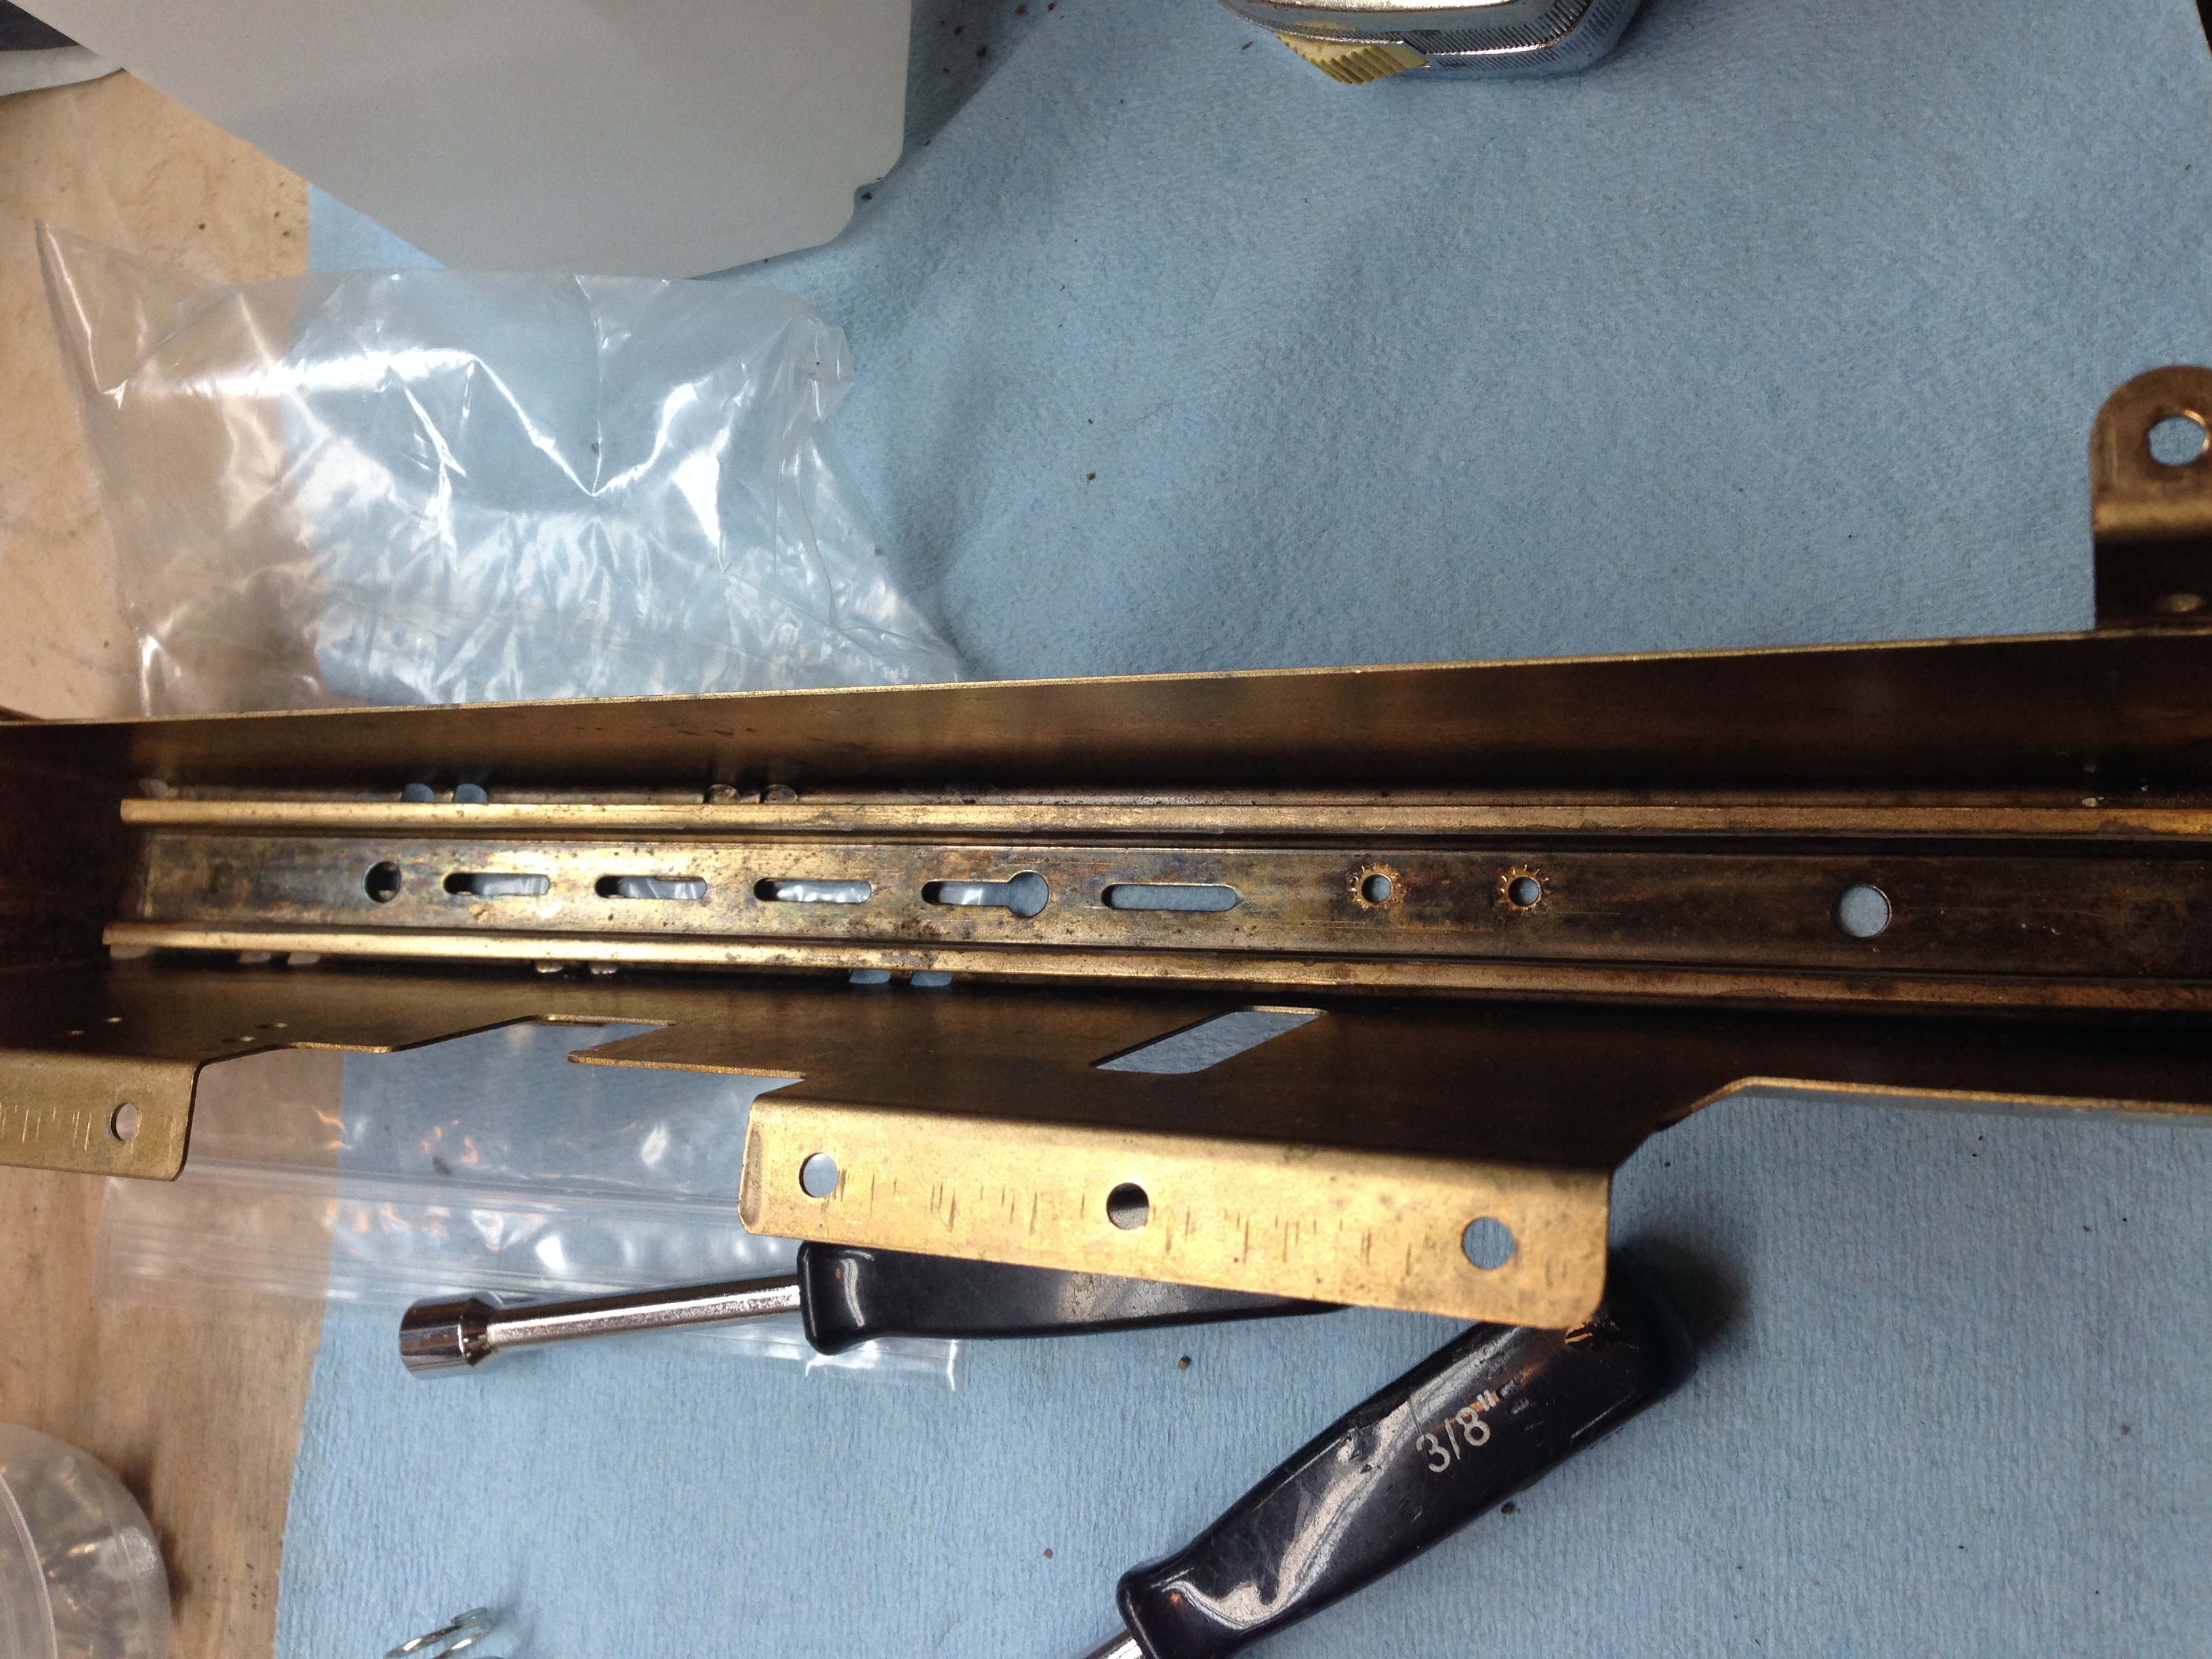
Ball Trough
I’m guessing the under playfield ball trough that feeds the balls to the ball lift assembly gets very dirty, both because it is hard to get to and clean, but also because the balls drag all the dirt and other crap from the playfield down there. Have a look at this one!
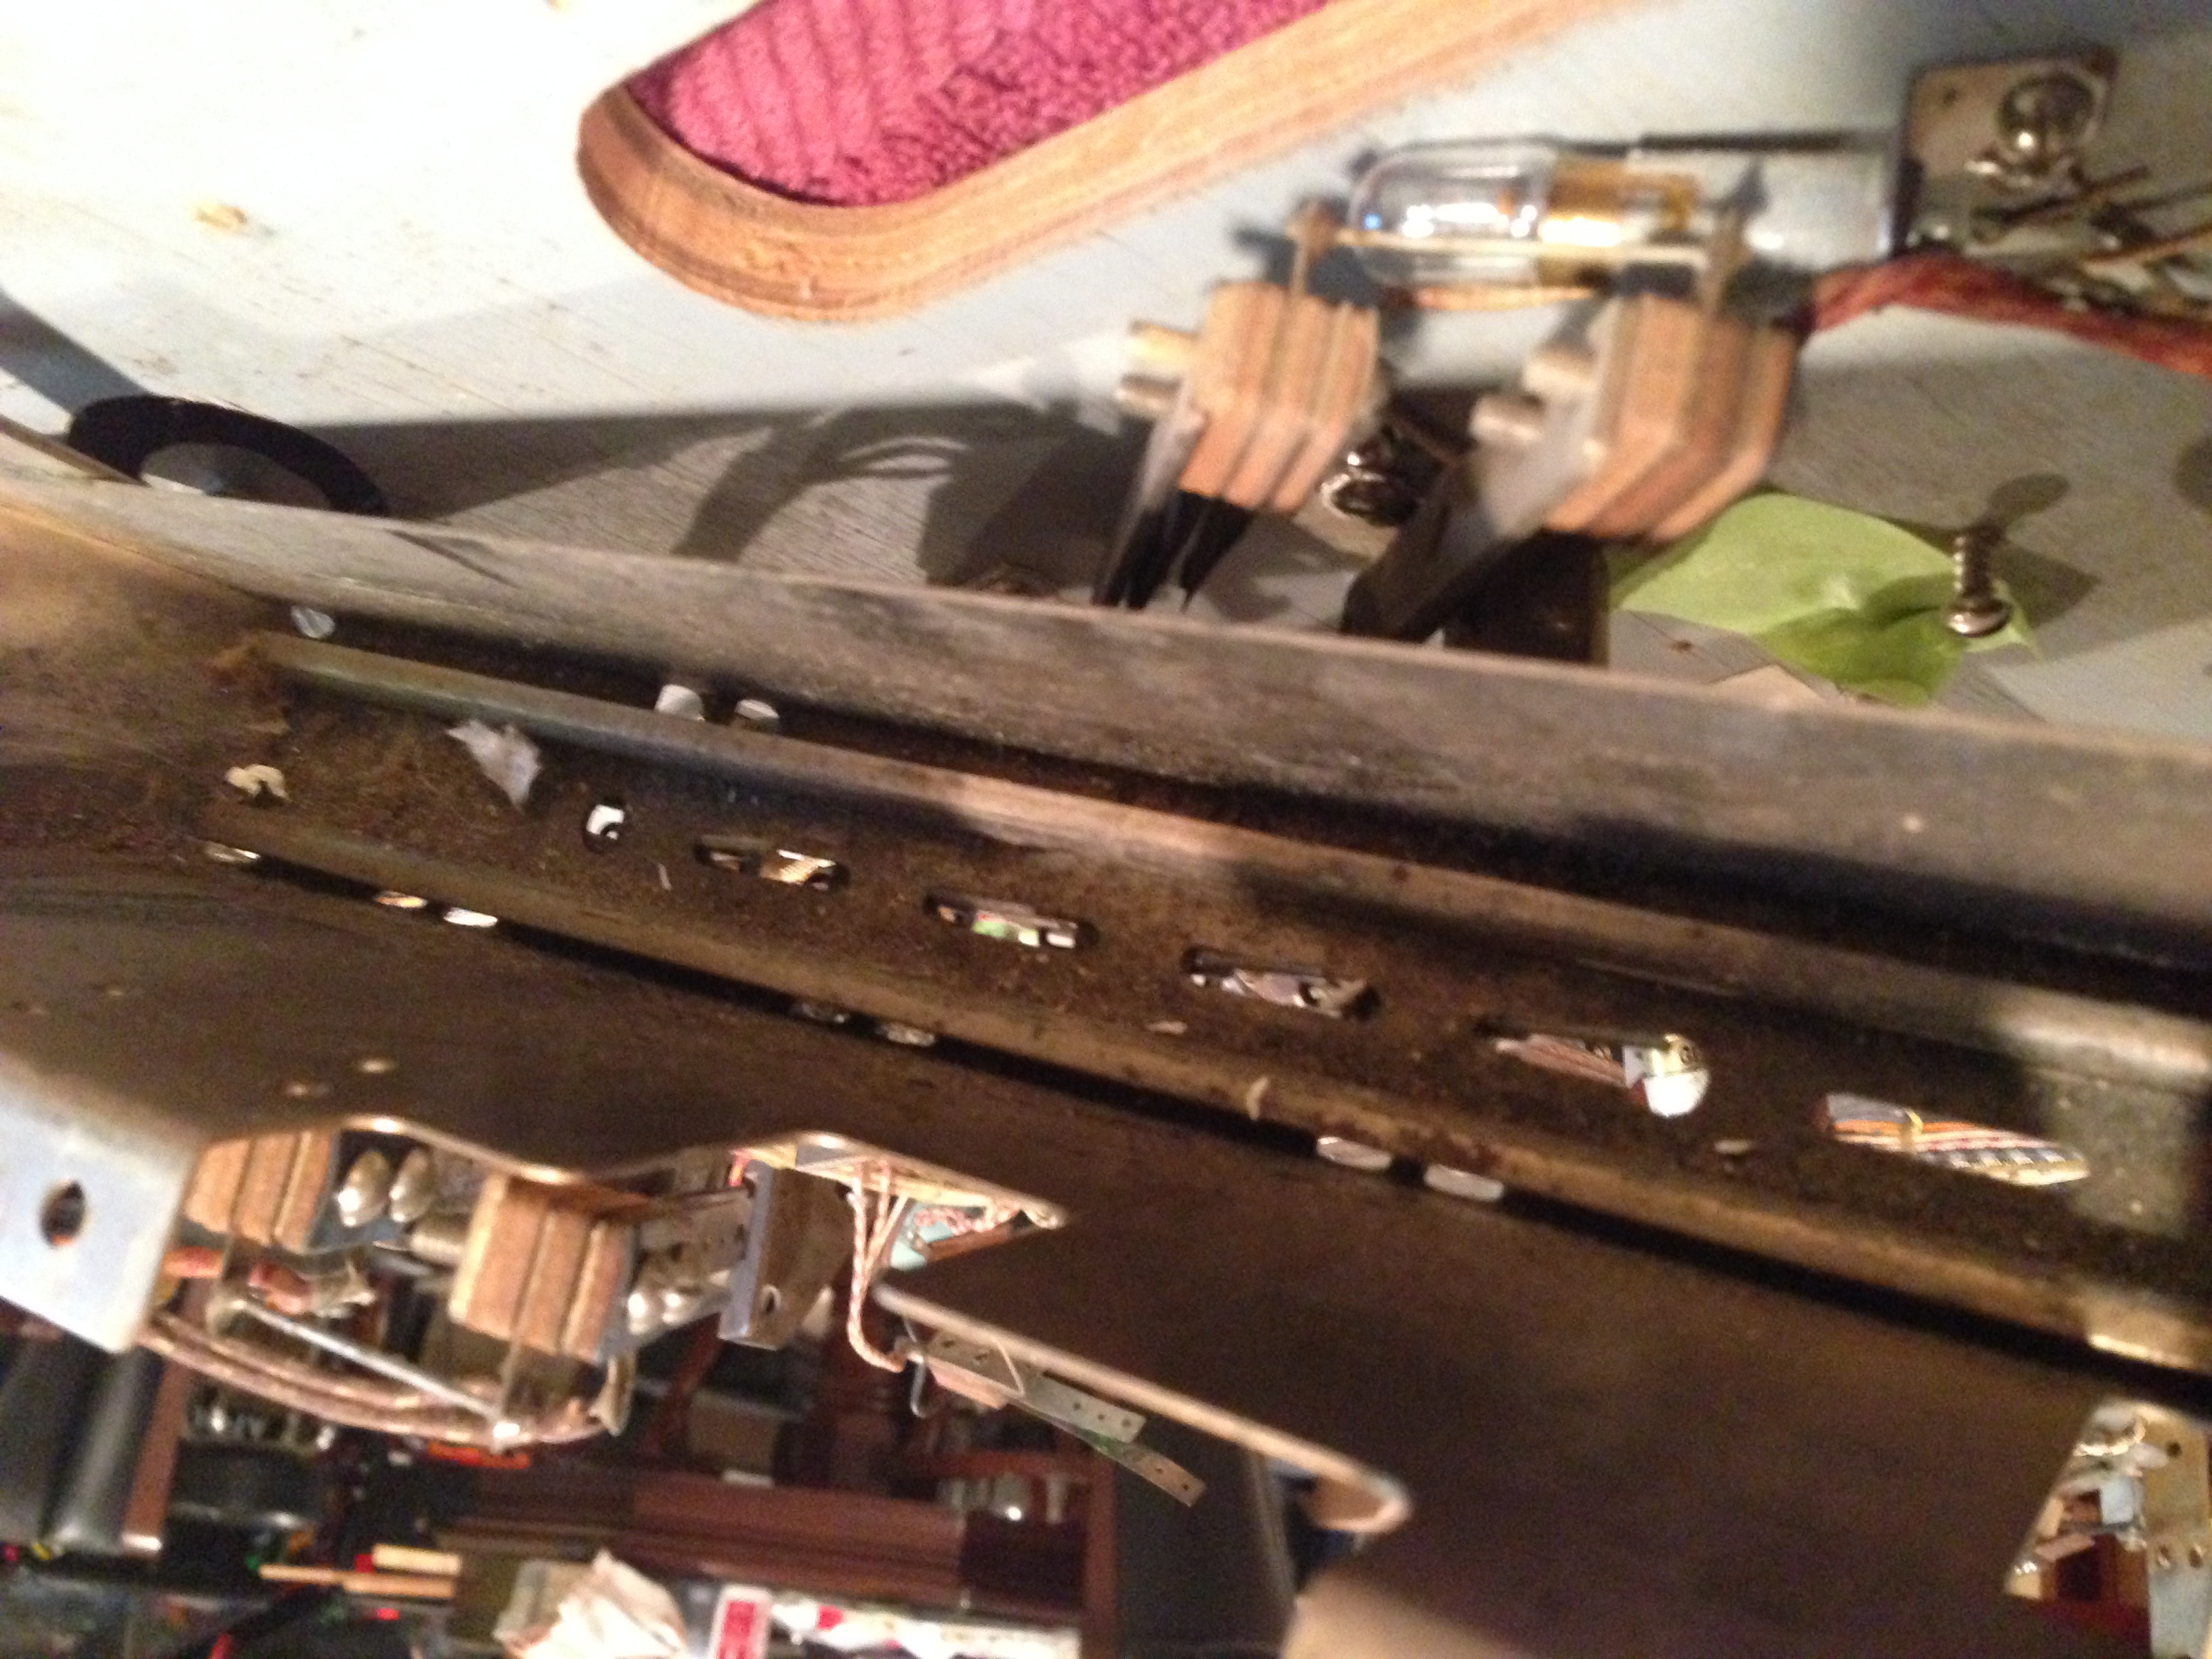
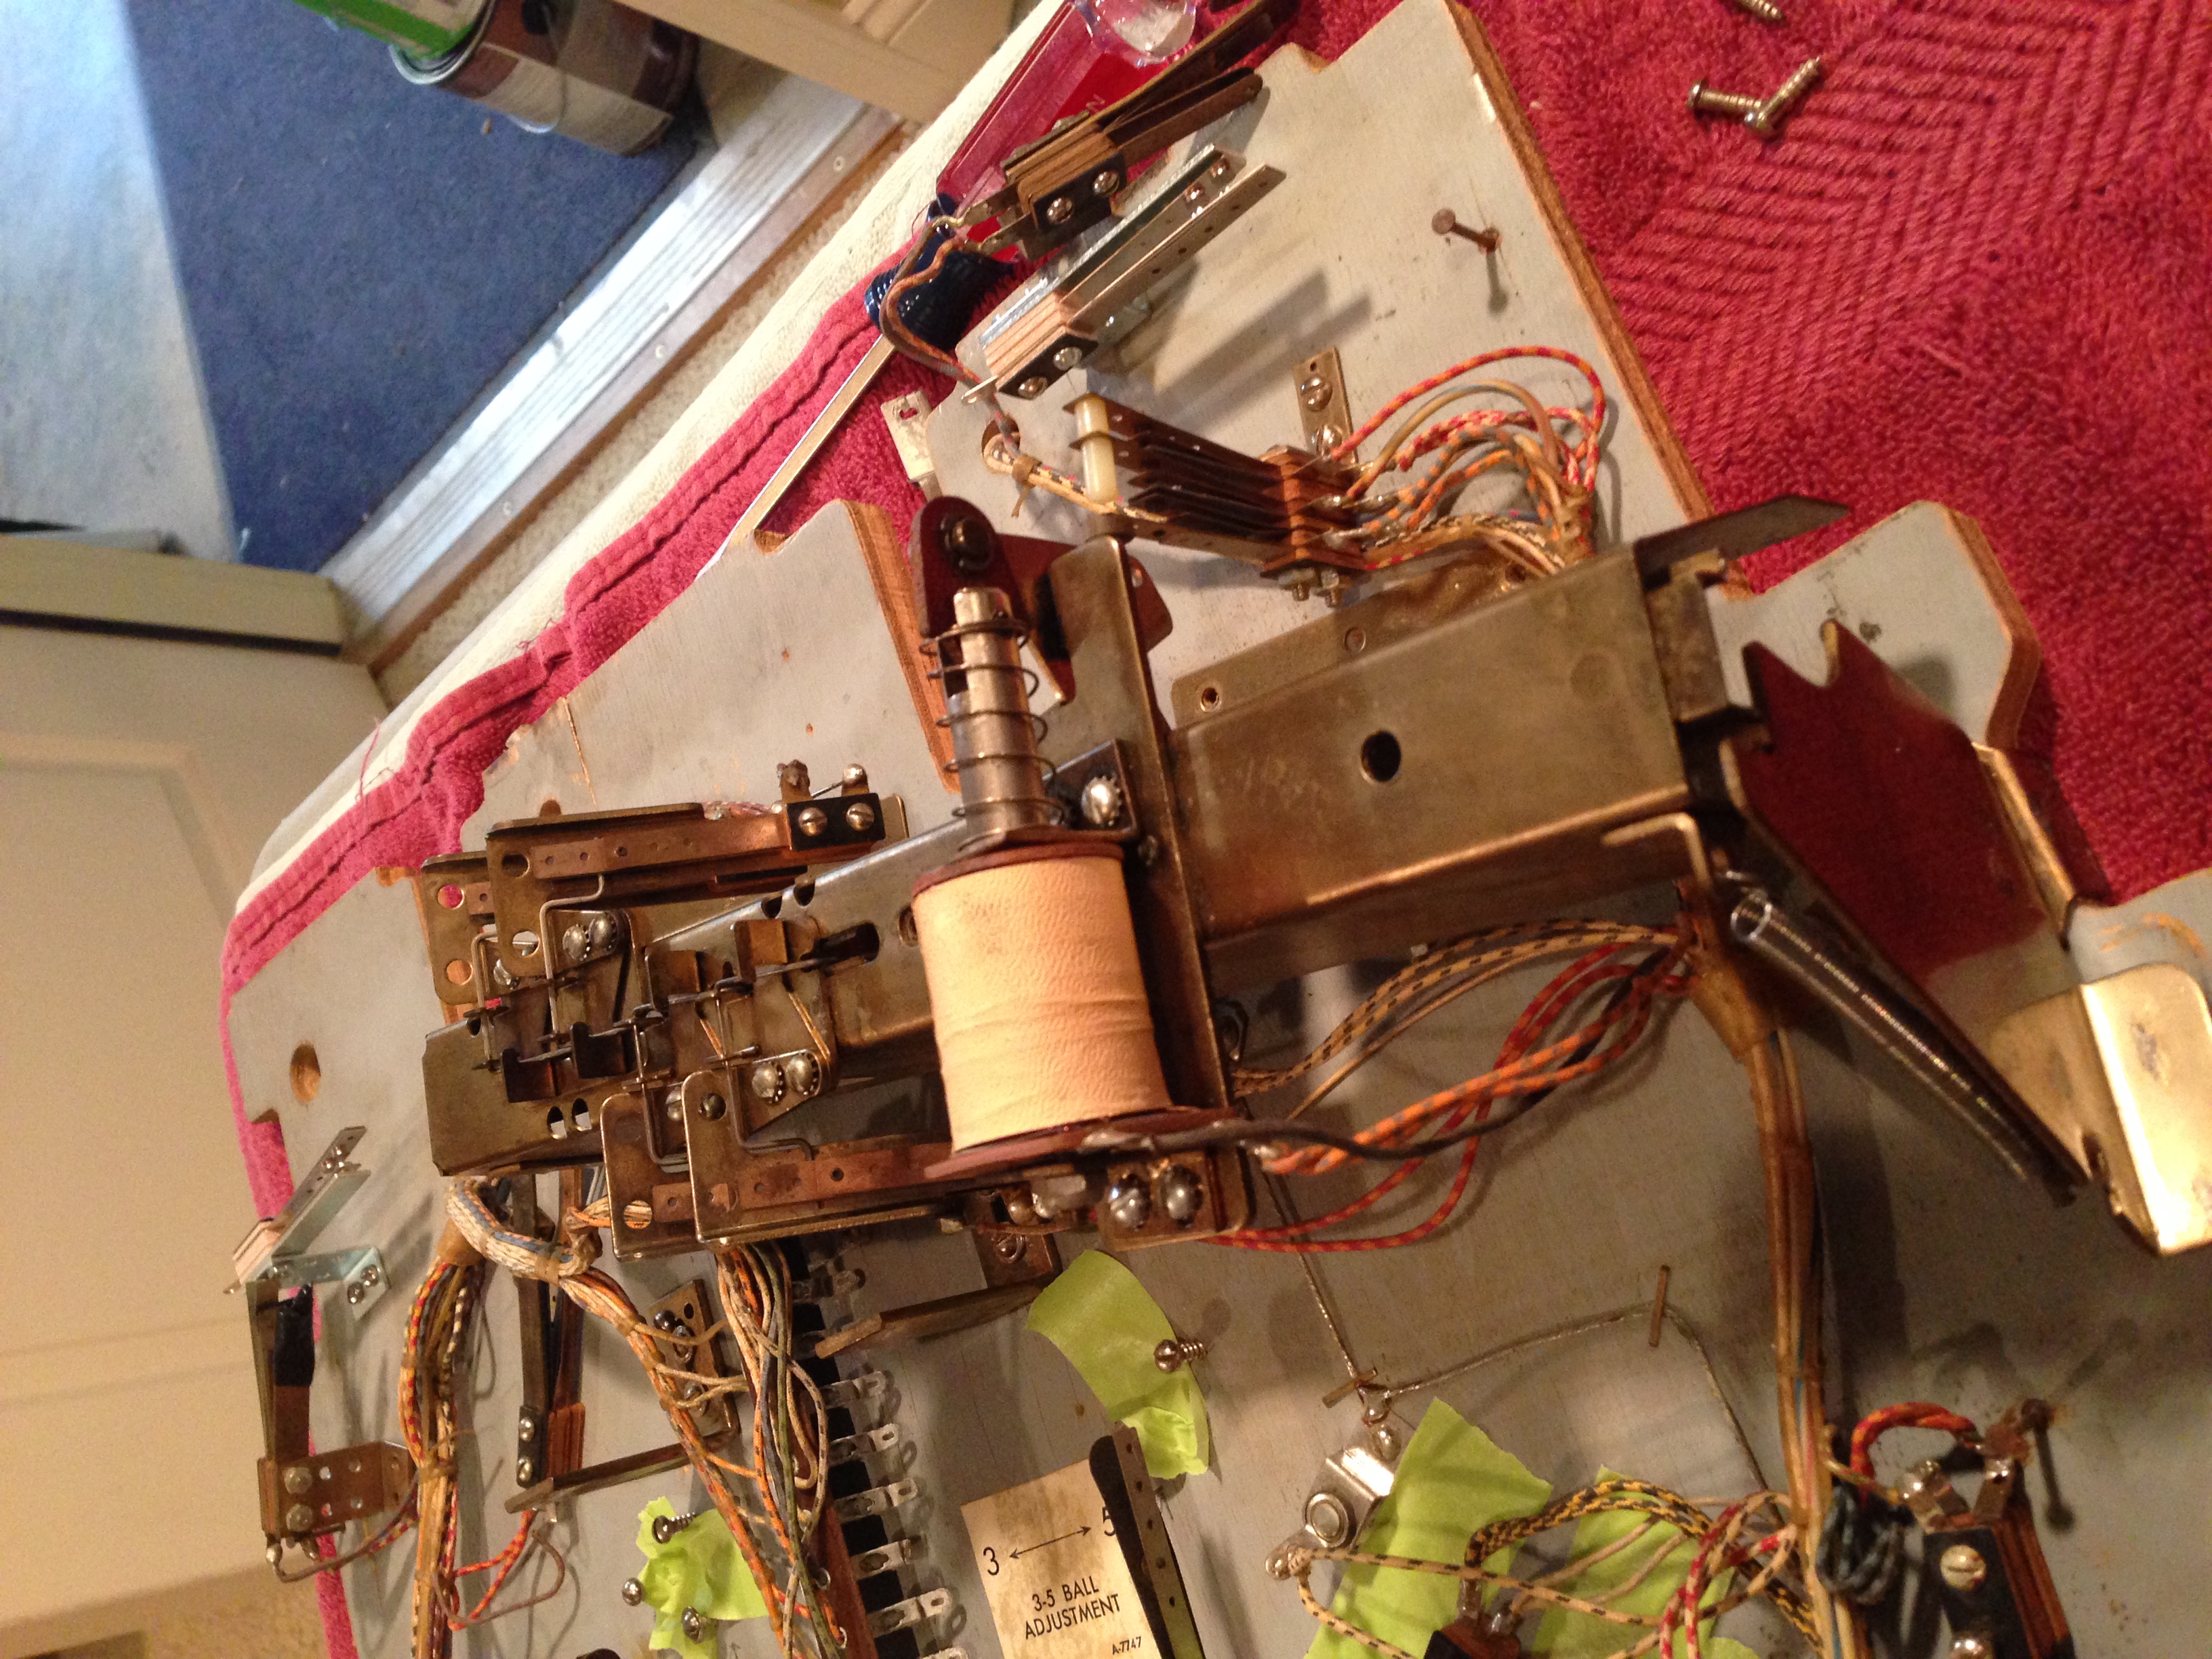
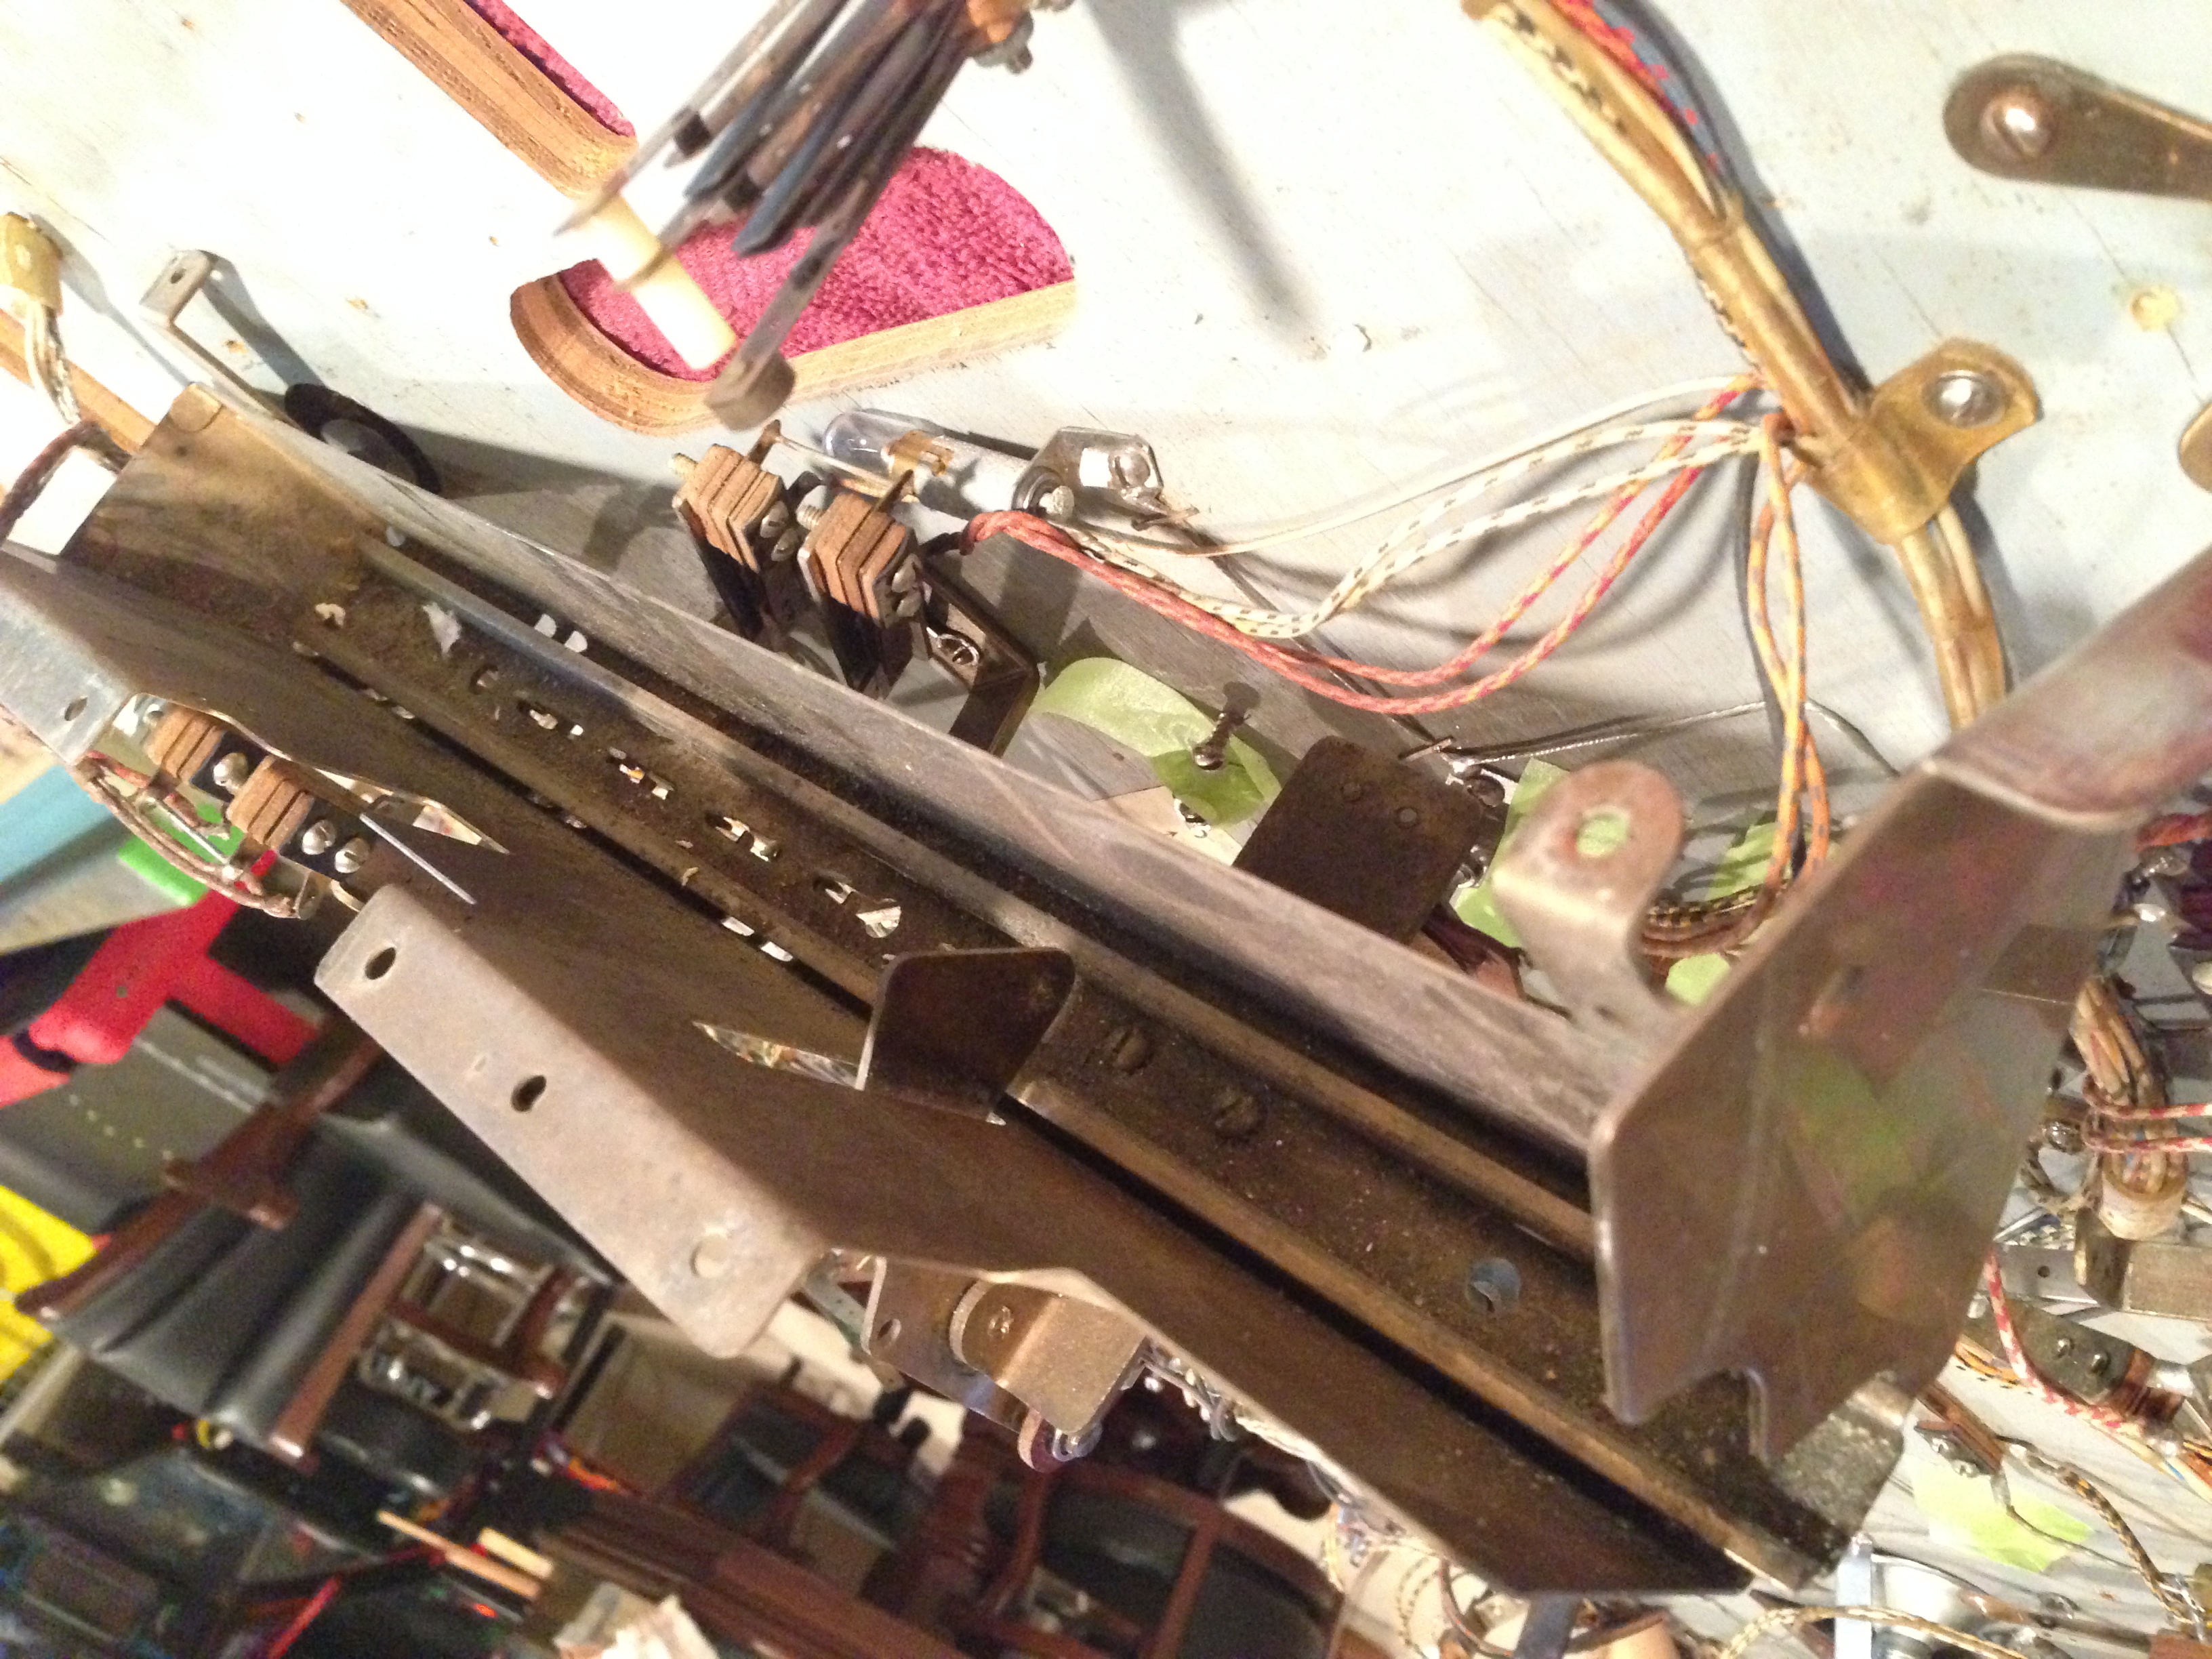
After some major scrubbing with mean grean and a stiff brush, I got most of the grunge off/out of it. I really wanted this to be clean so that when I get done with the game that this isn’t a source of dirt and grease for the balls to drag back up on the playfield.

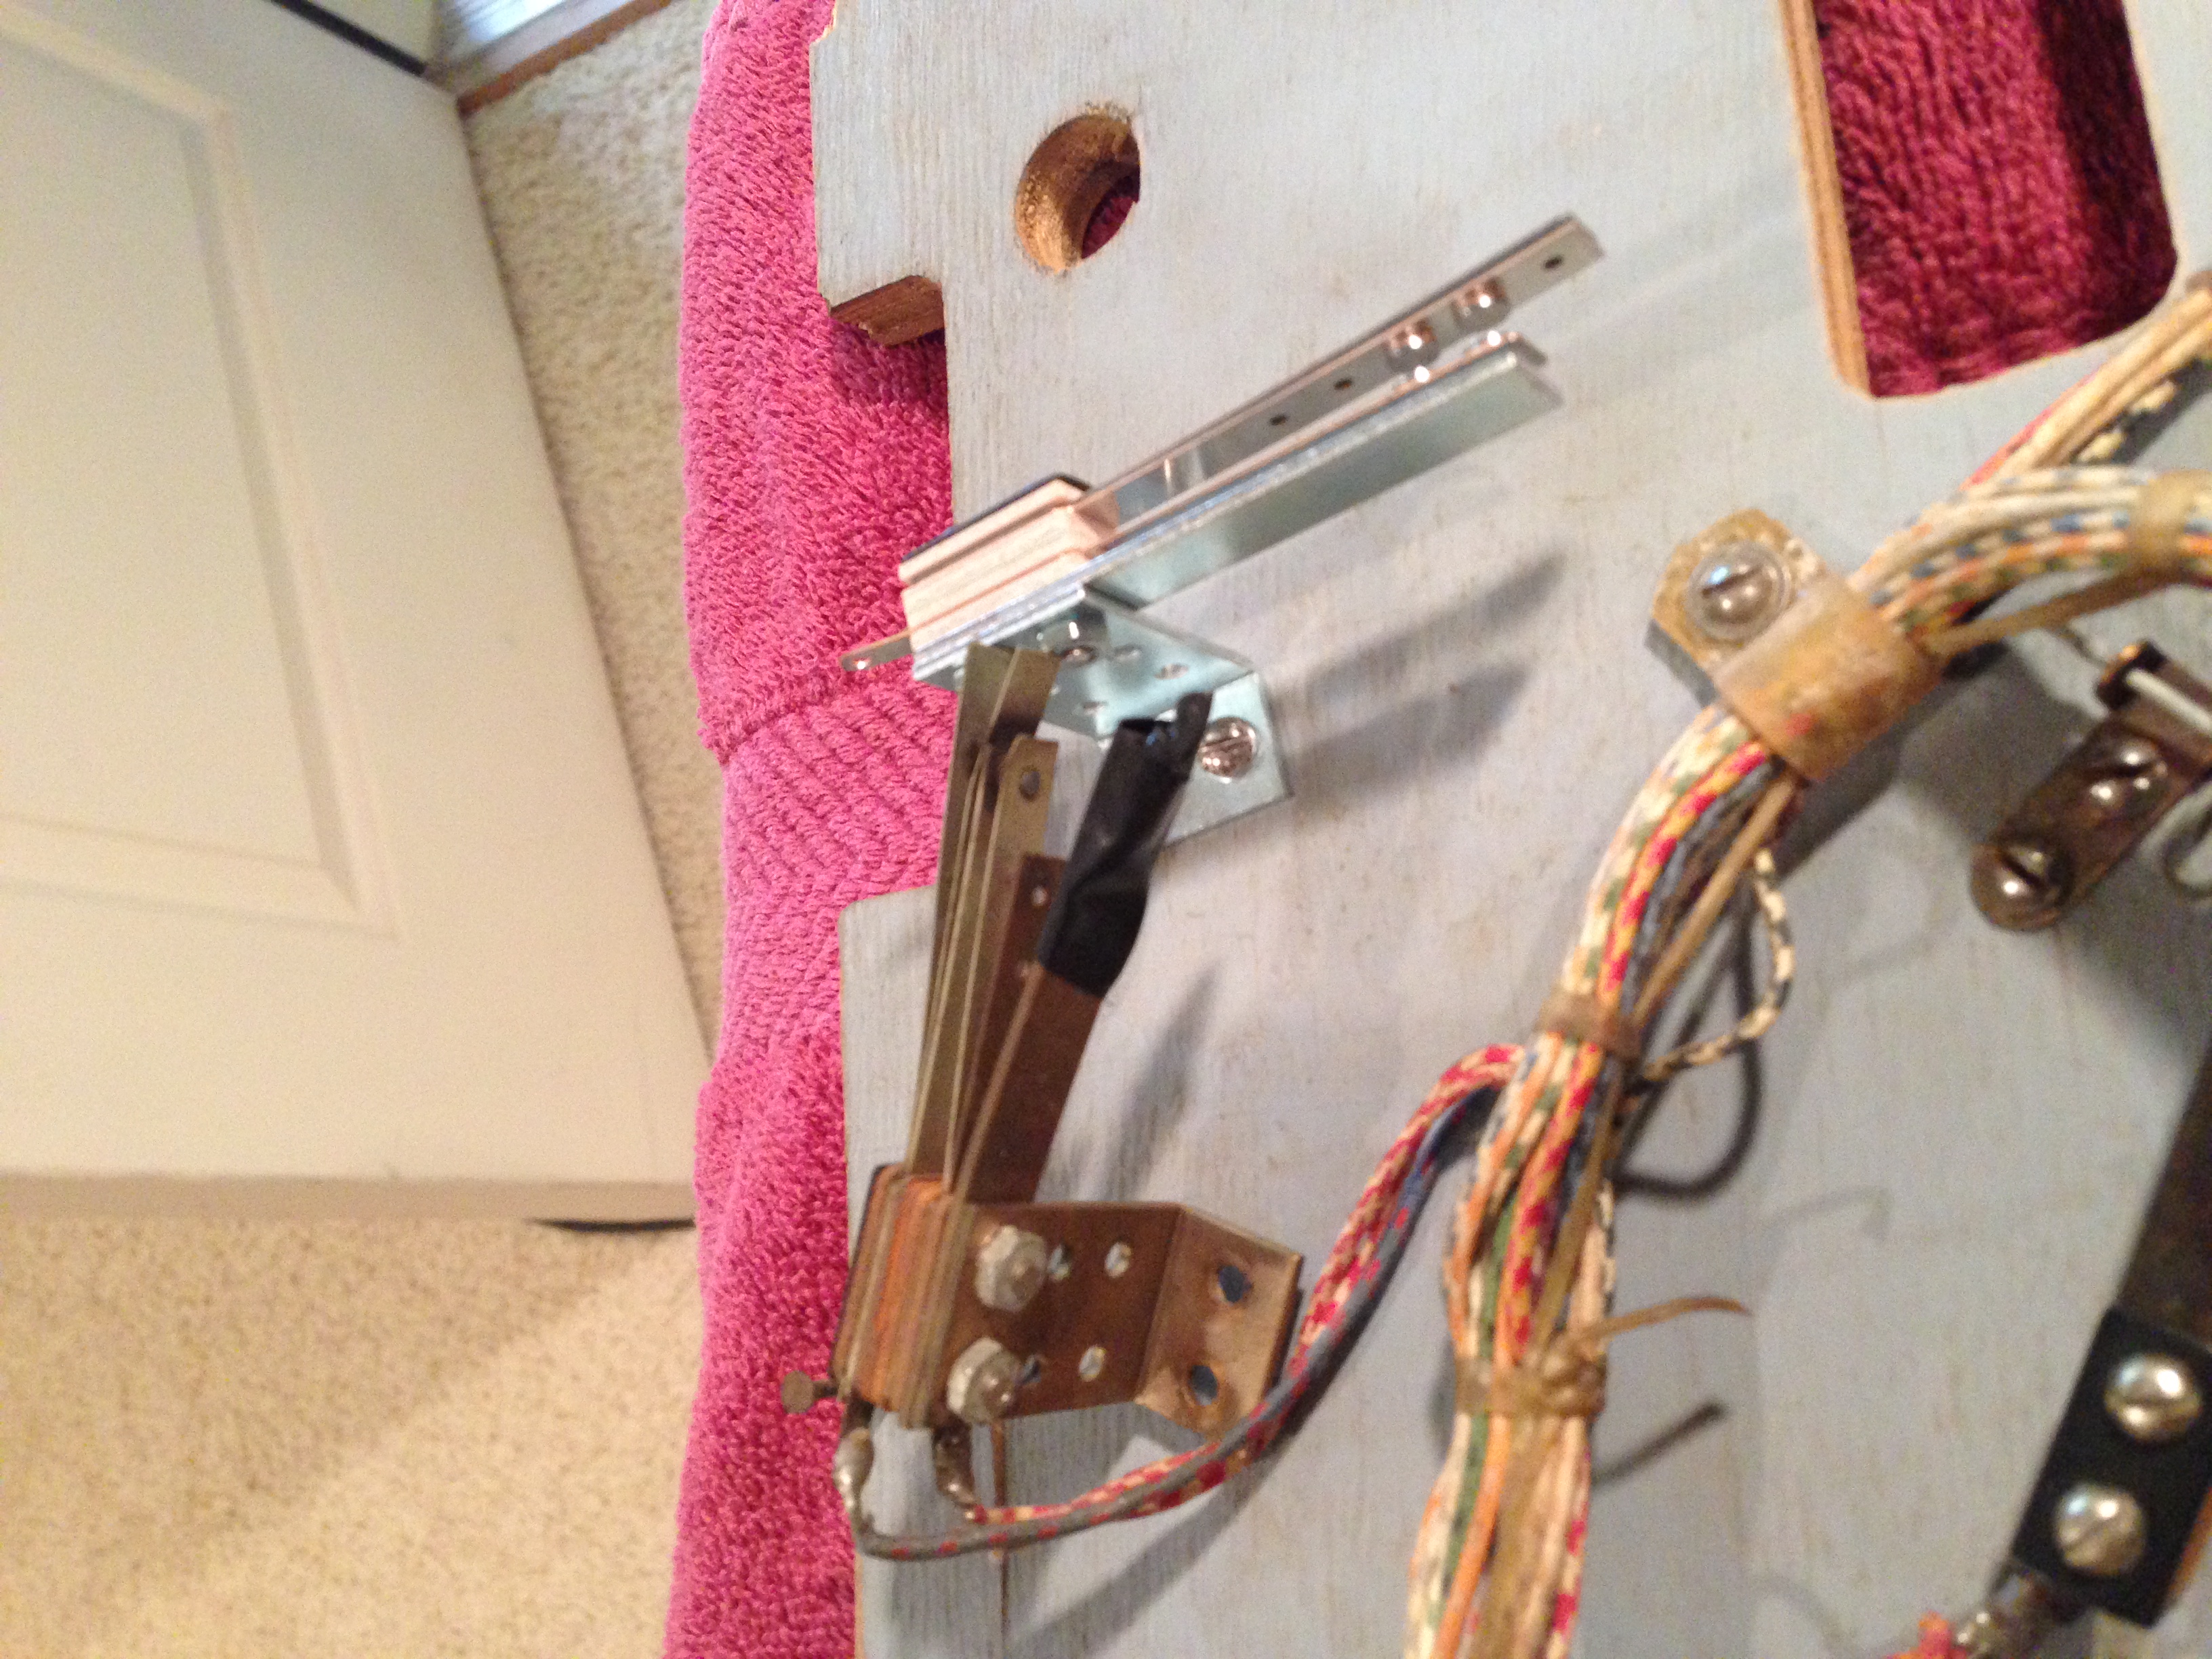
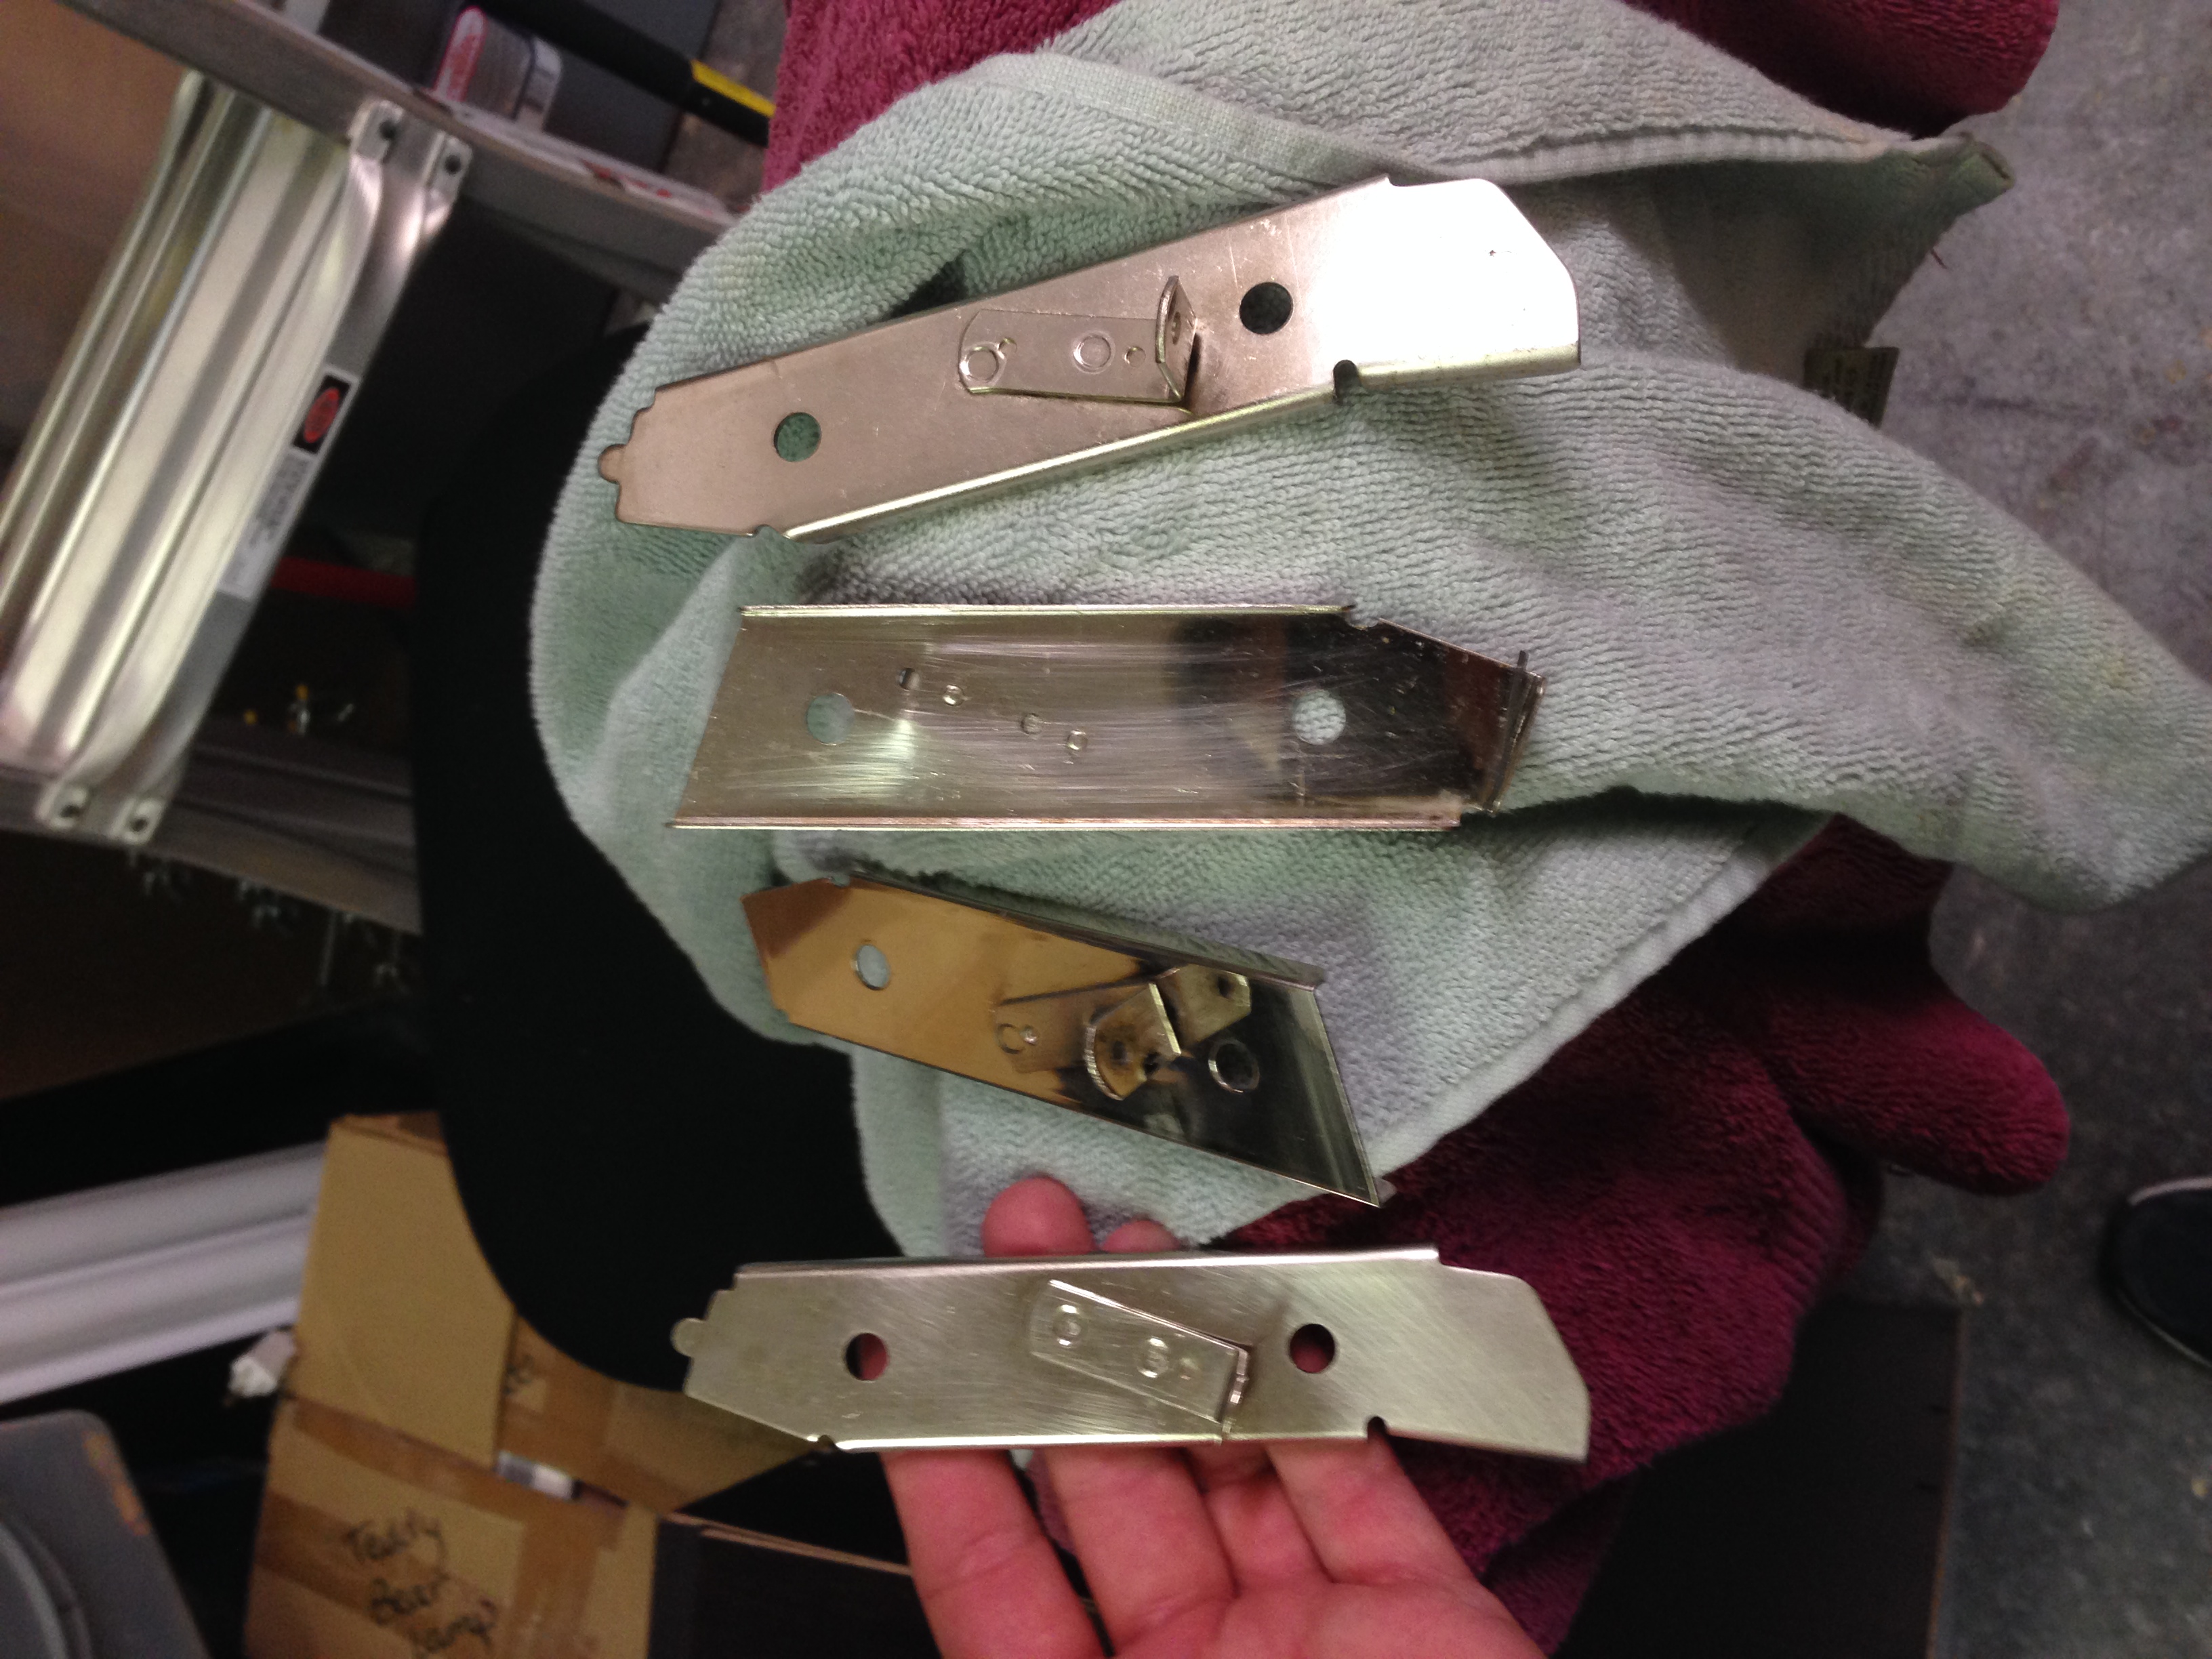
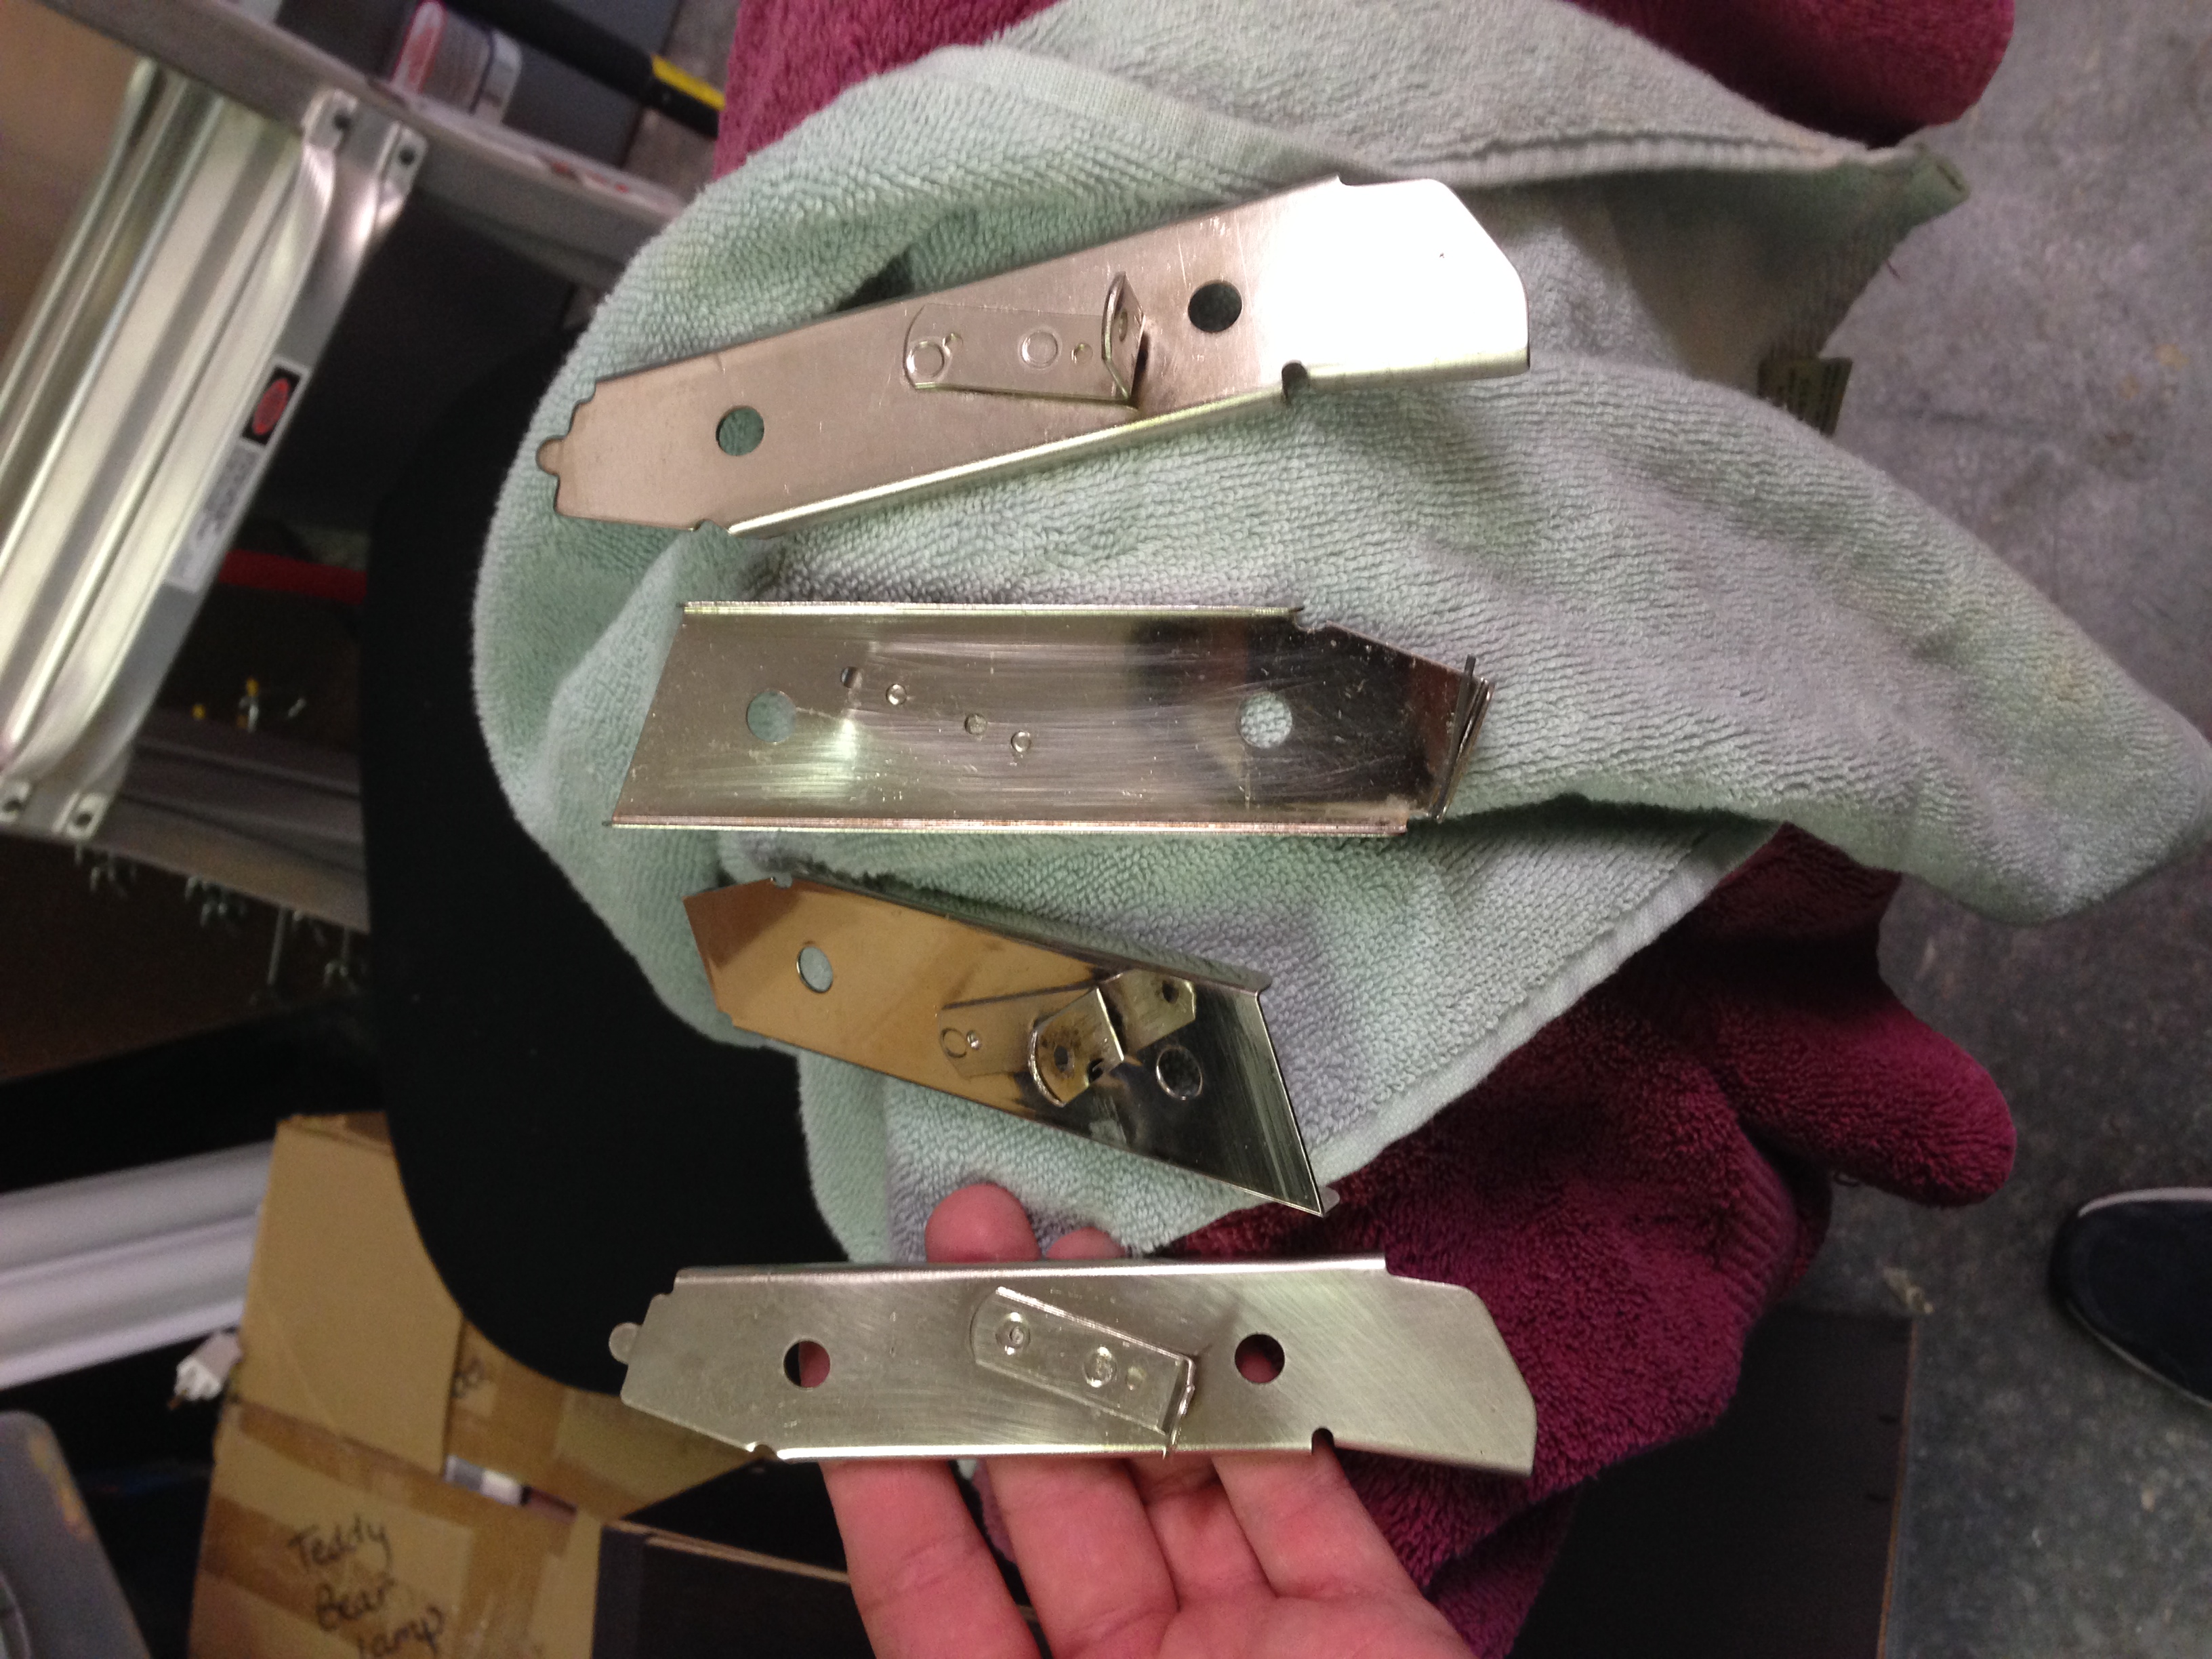
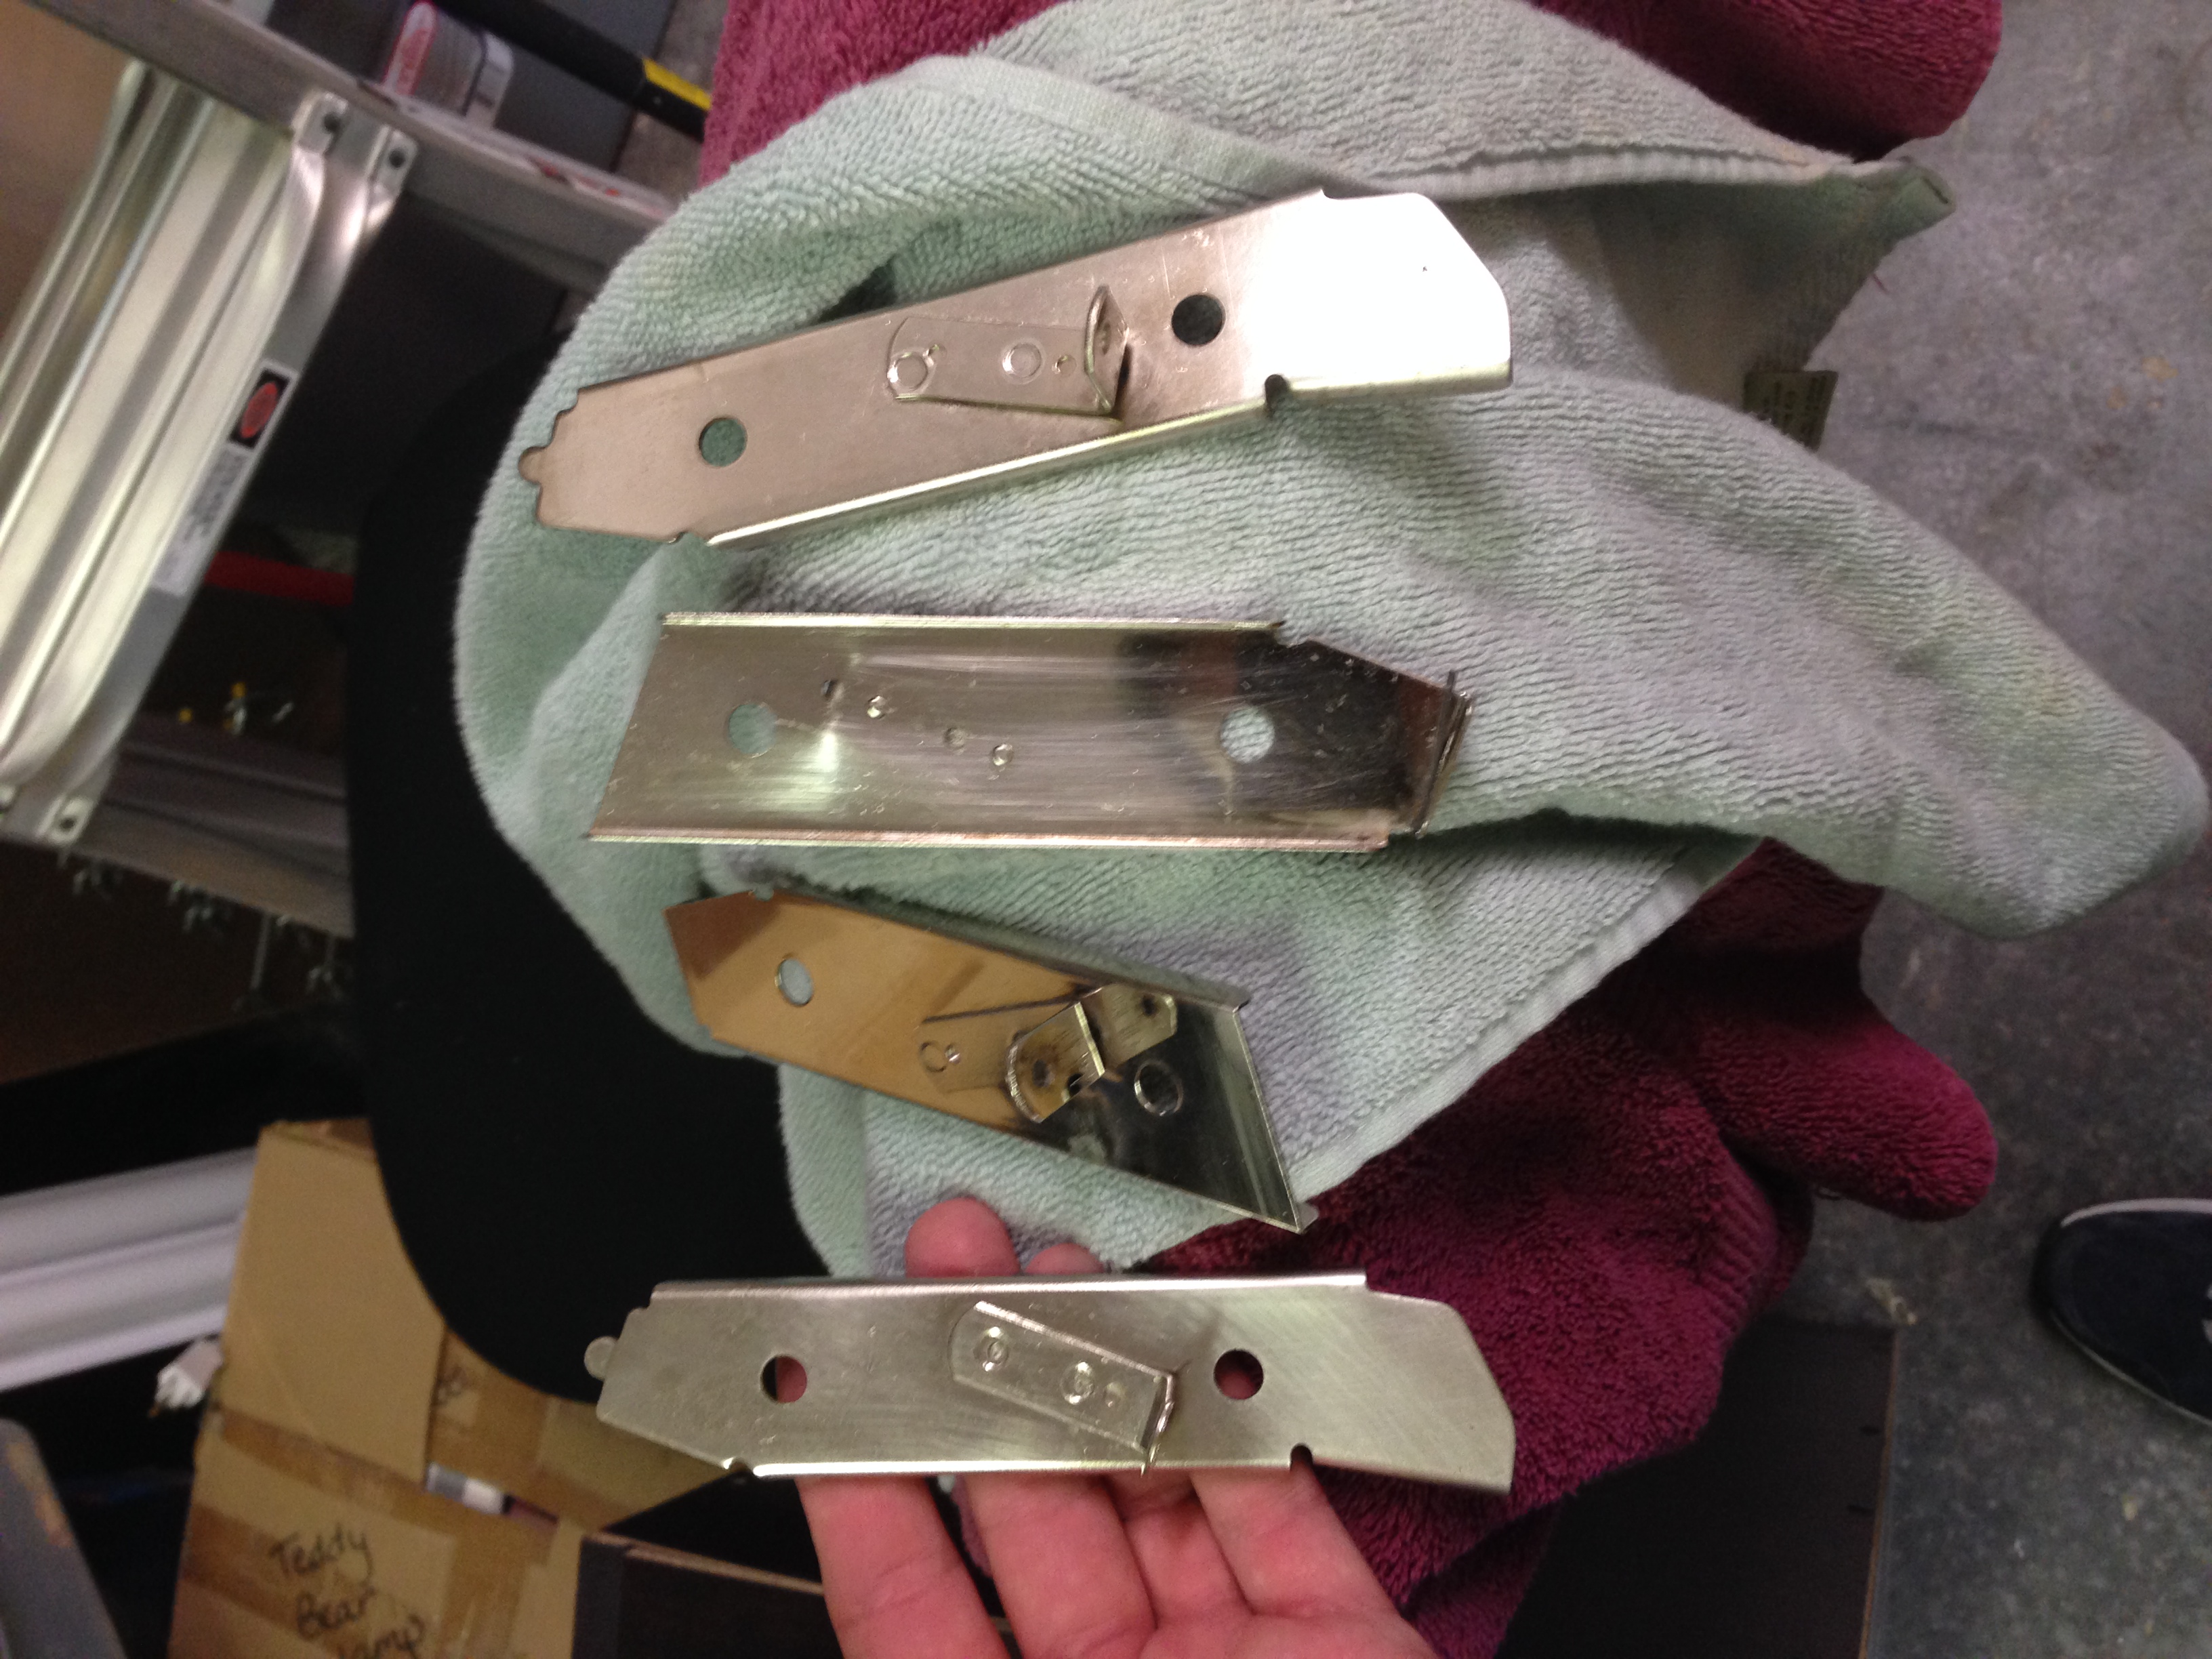
Replacing Flipper Switches
I have never seen such a hacked up, messed up flipper swtich hack. Check these out! These are before after so you can see what they should look like…
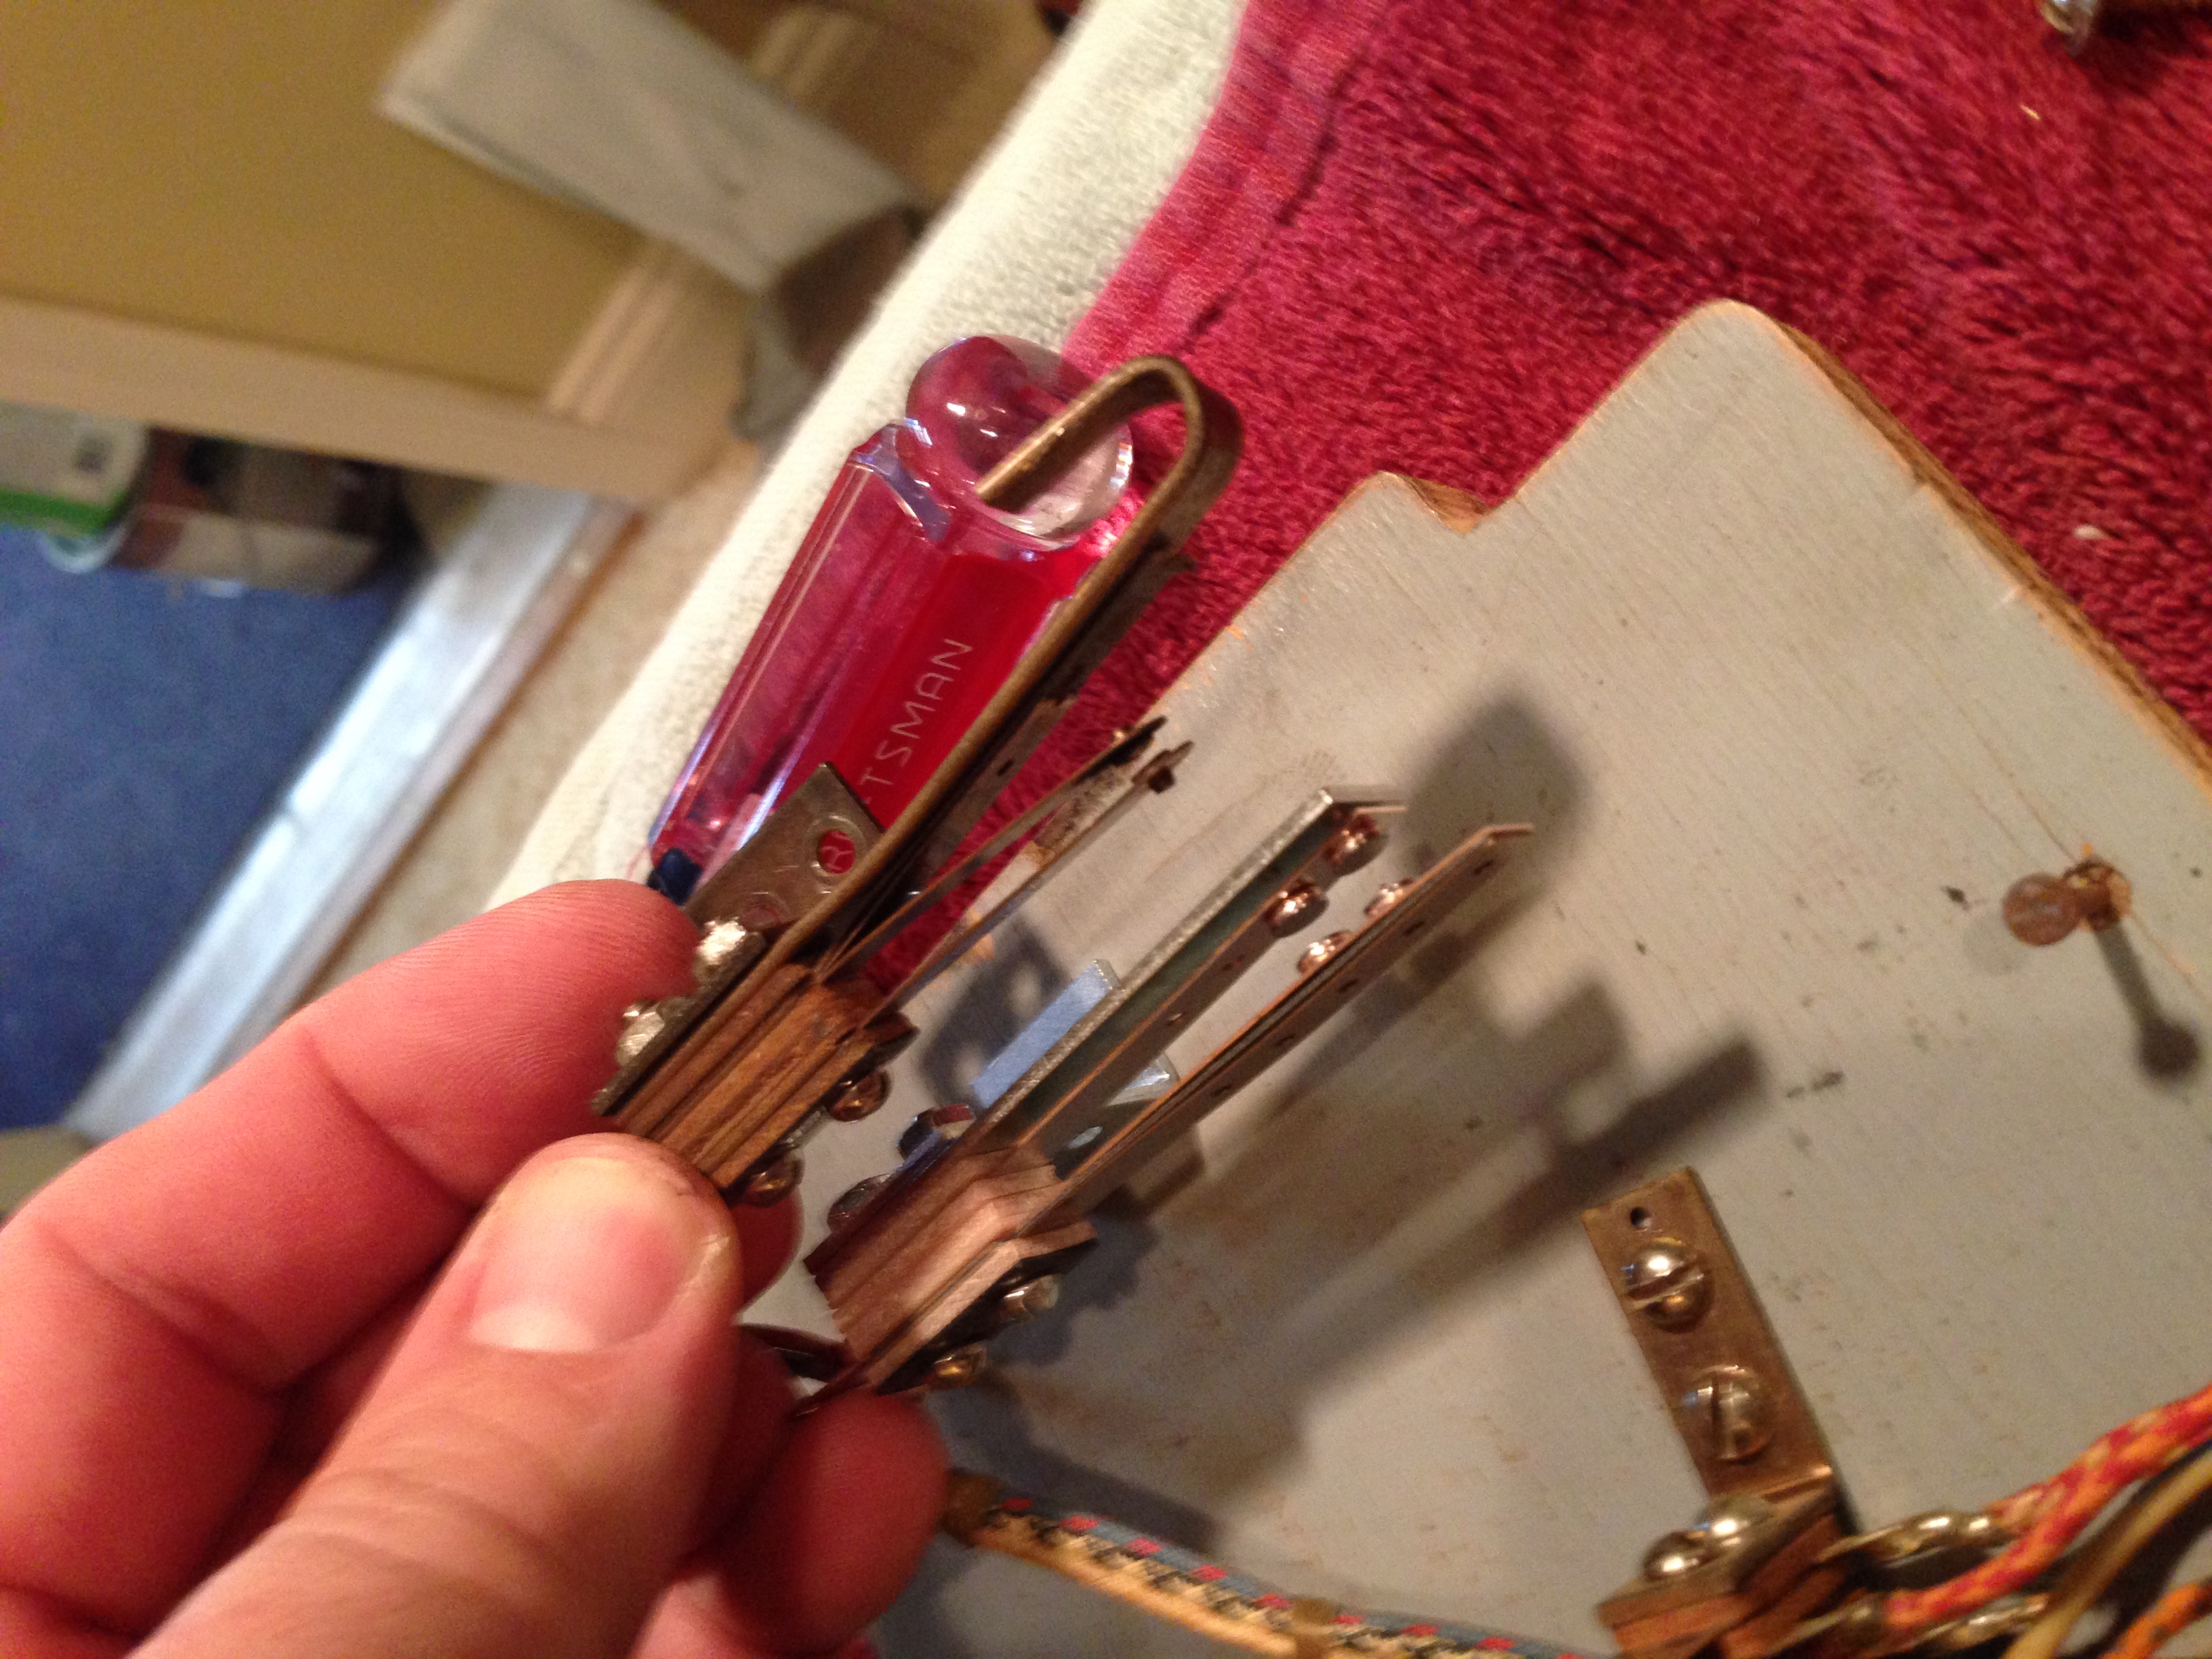
Thanks again to Pinball Resource for having these hard to find parts!
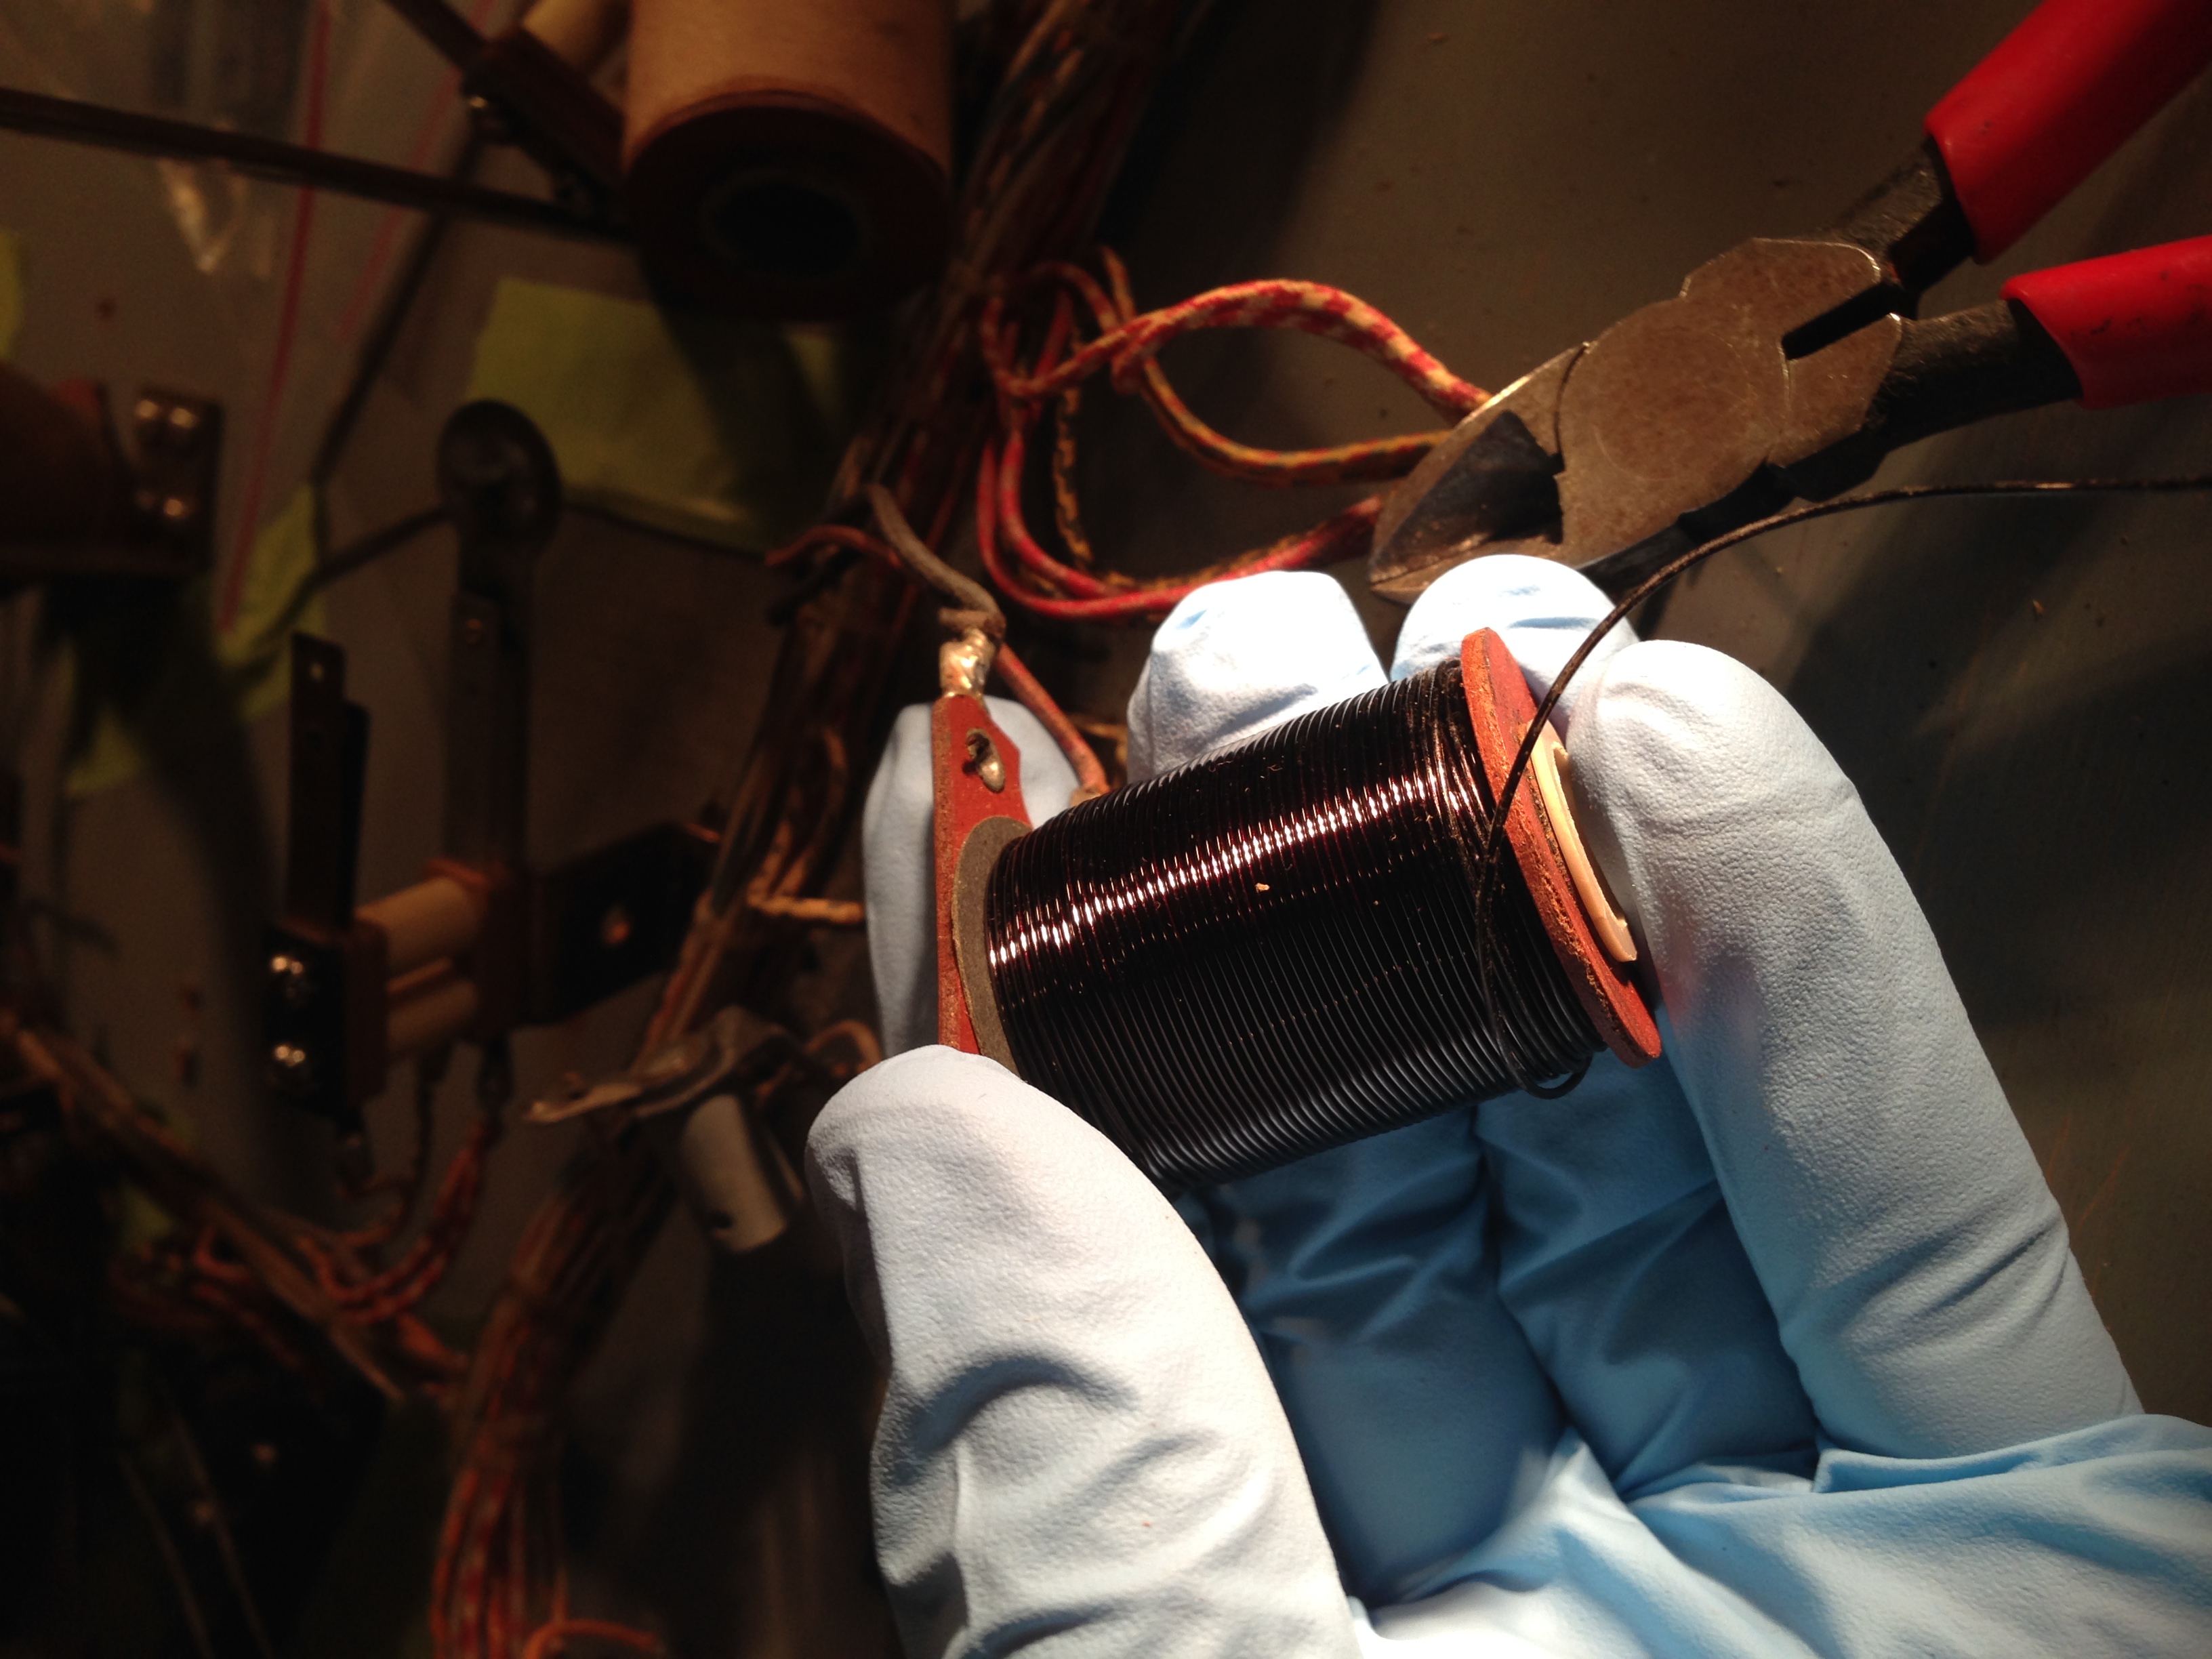
Strengthening Pop Bumpers and Kickers
Something I’m trying on this restoration that I’ve never tried before is something that Clay documents in TOP1. To do this, you take the paper off the outside of the coil, then you cut the outside lead from the winding from the terminal, and then unwind three windings of coil wire. You then cut the wire to length to re-attach to the terminal, and then sand the insulation off the end of the wire, wrap it around the terminal and re-solder it in place. Clay says this adds about 10% strength to the coil and makes the game play faster. Once I’m done, I’ll update with a review of how well this worked. Here’s a picture of me unwinding the wire from the kicker coil.

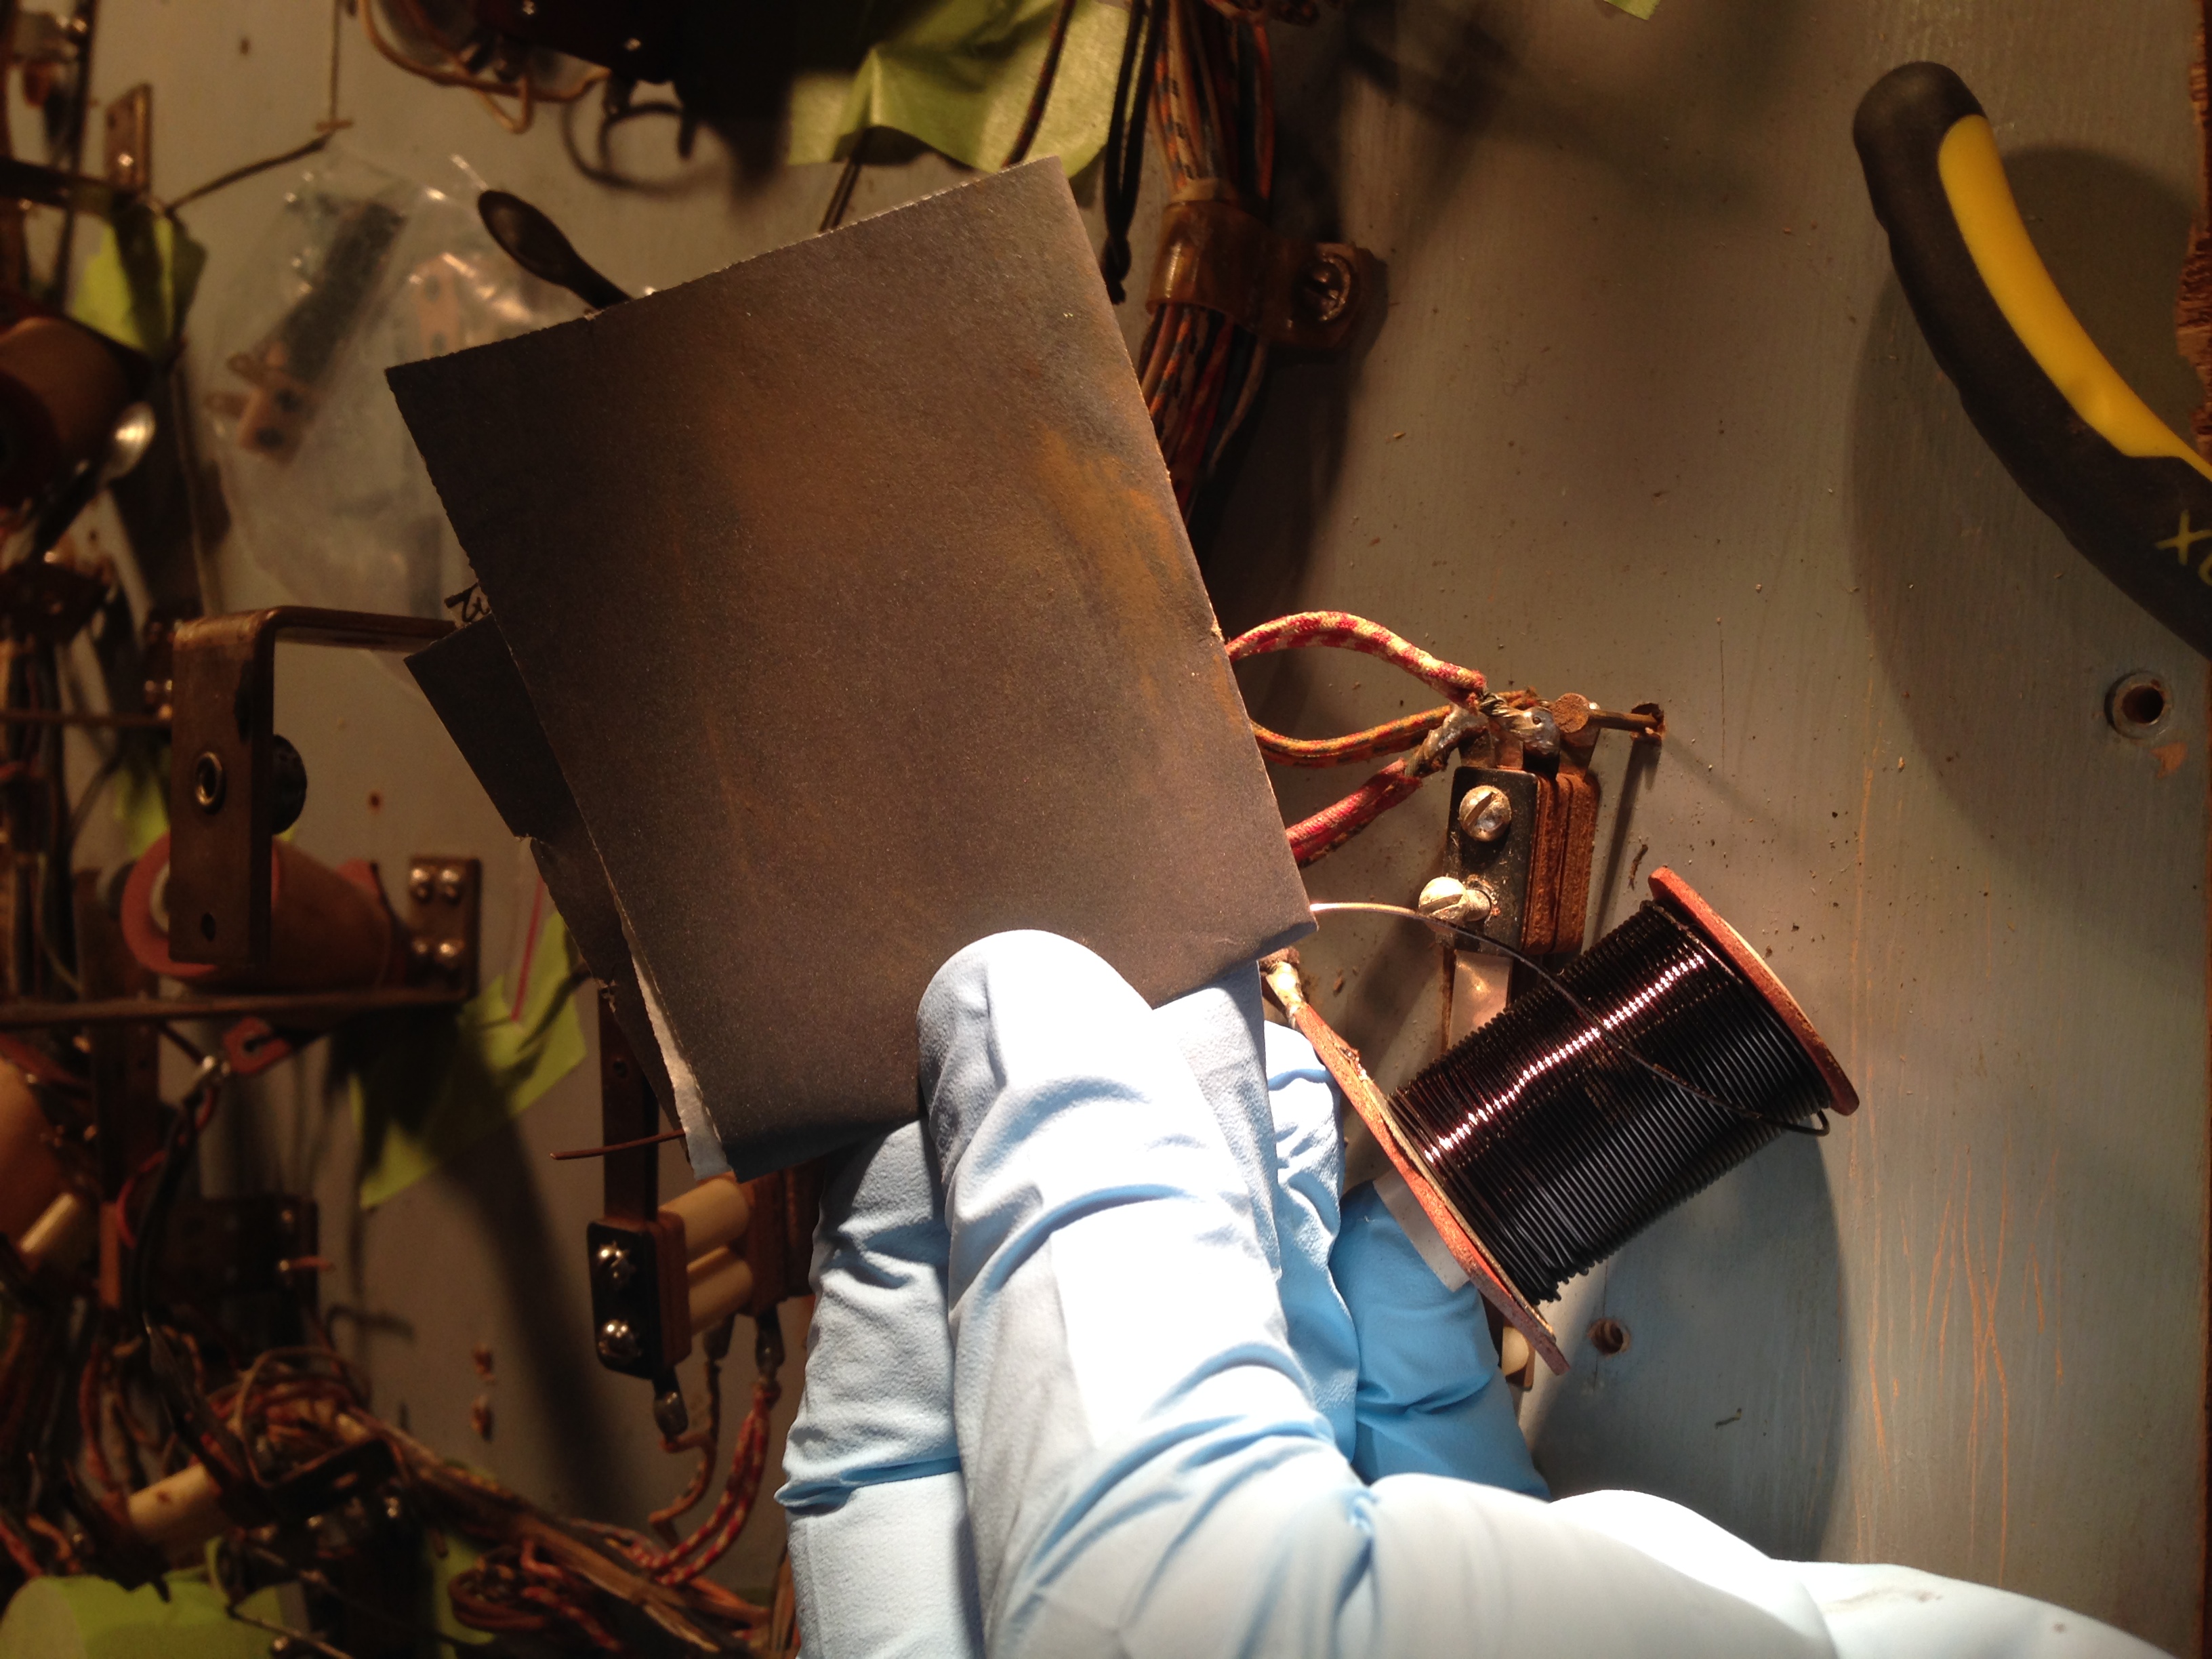
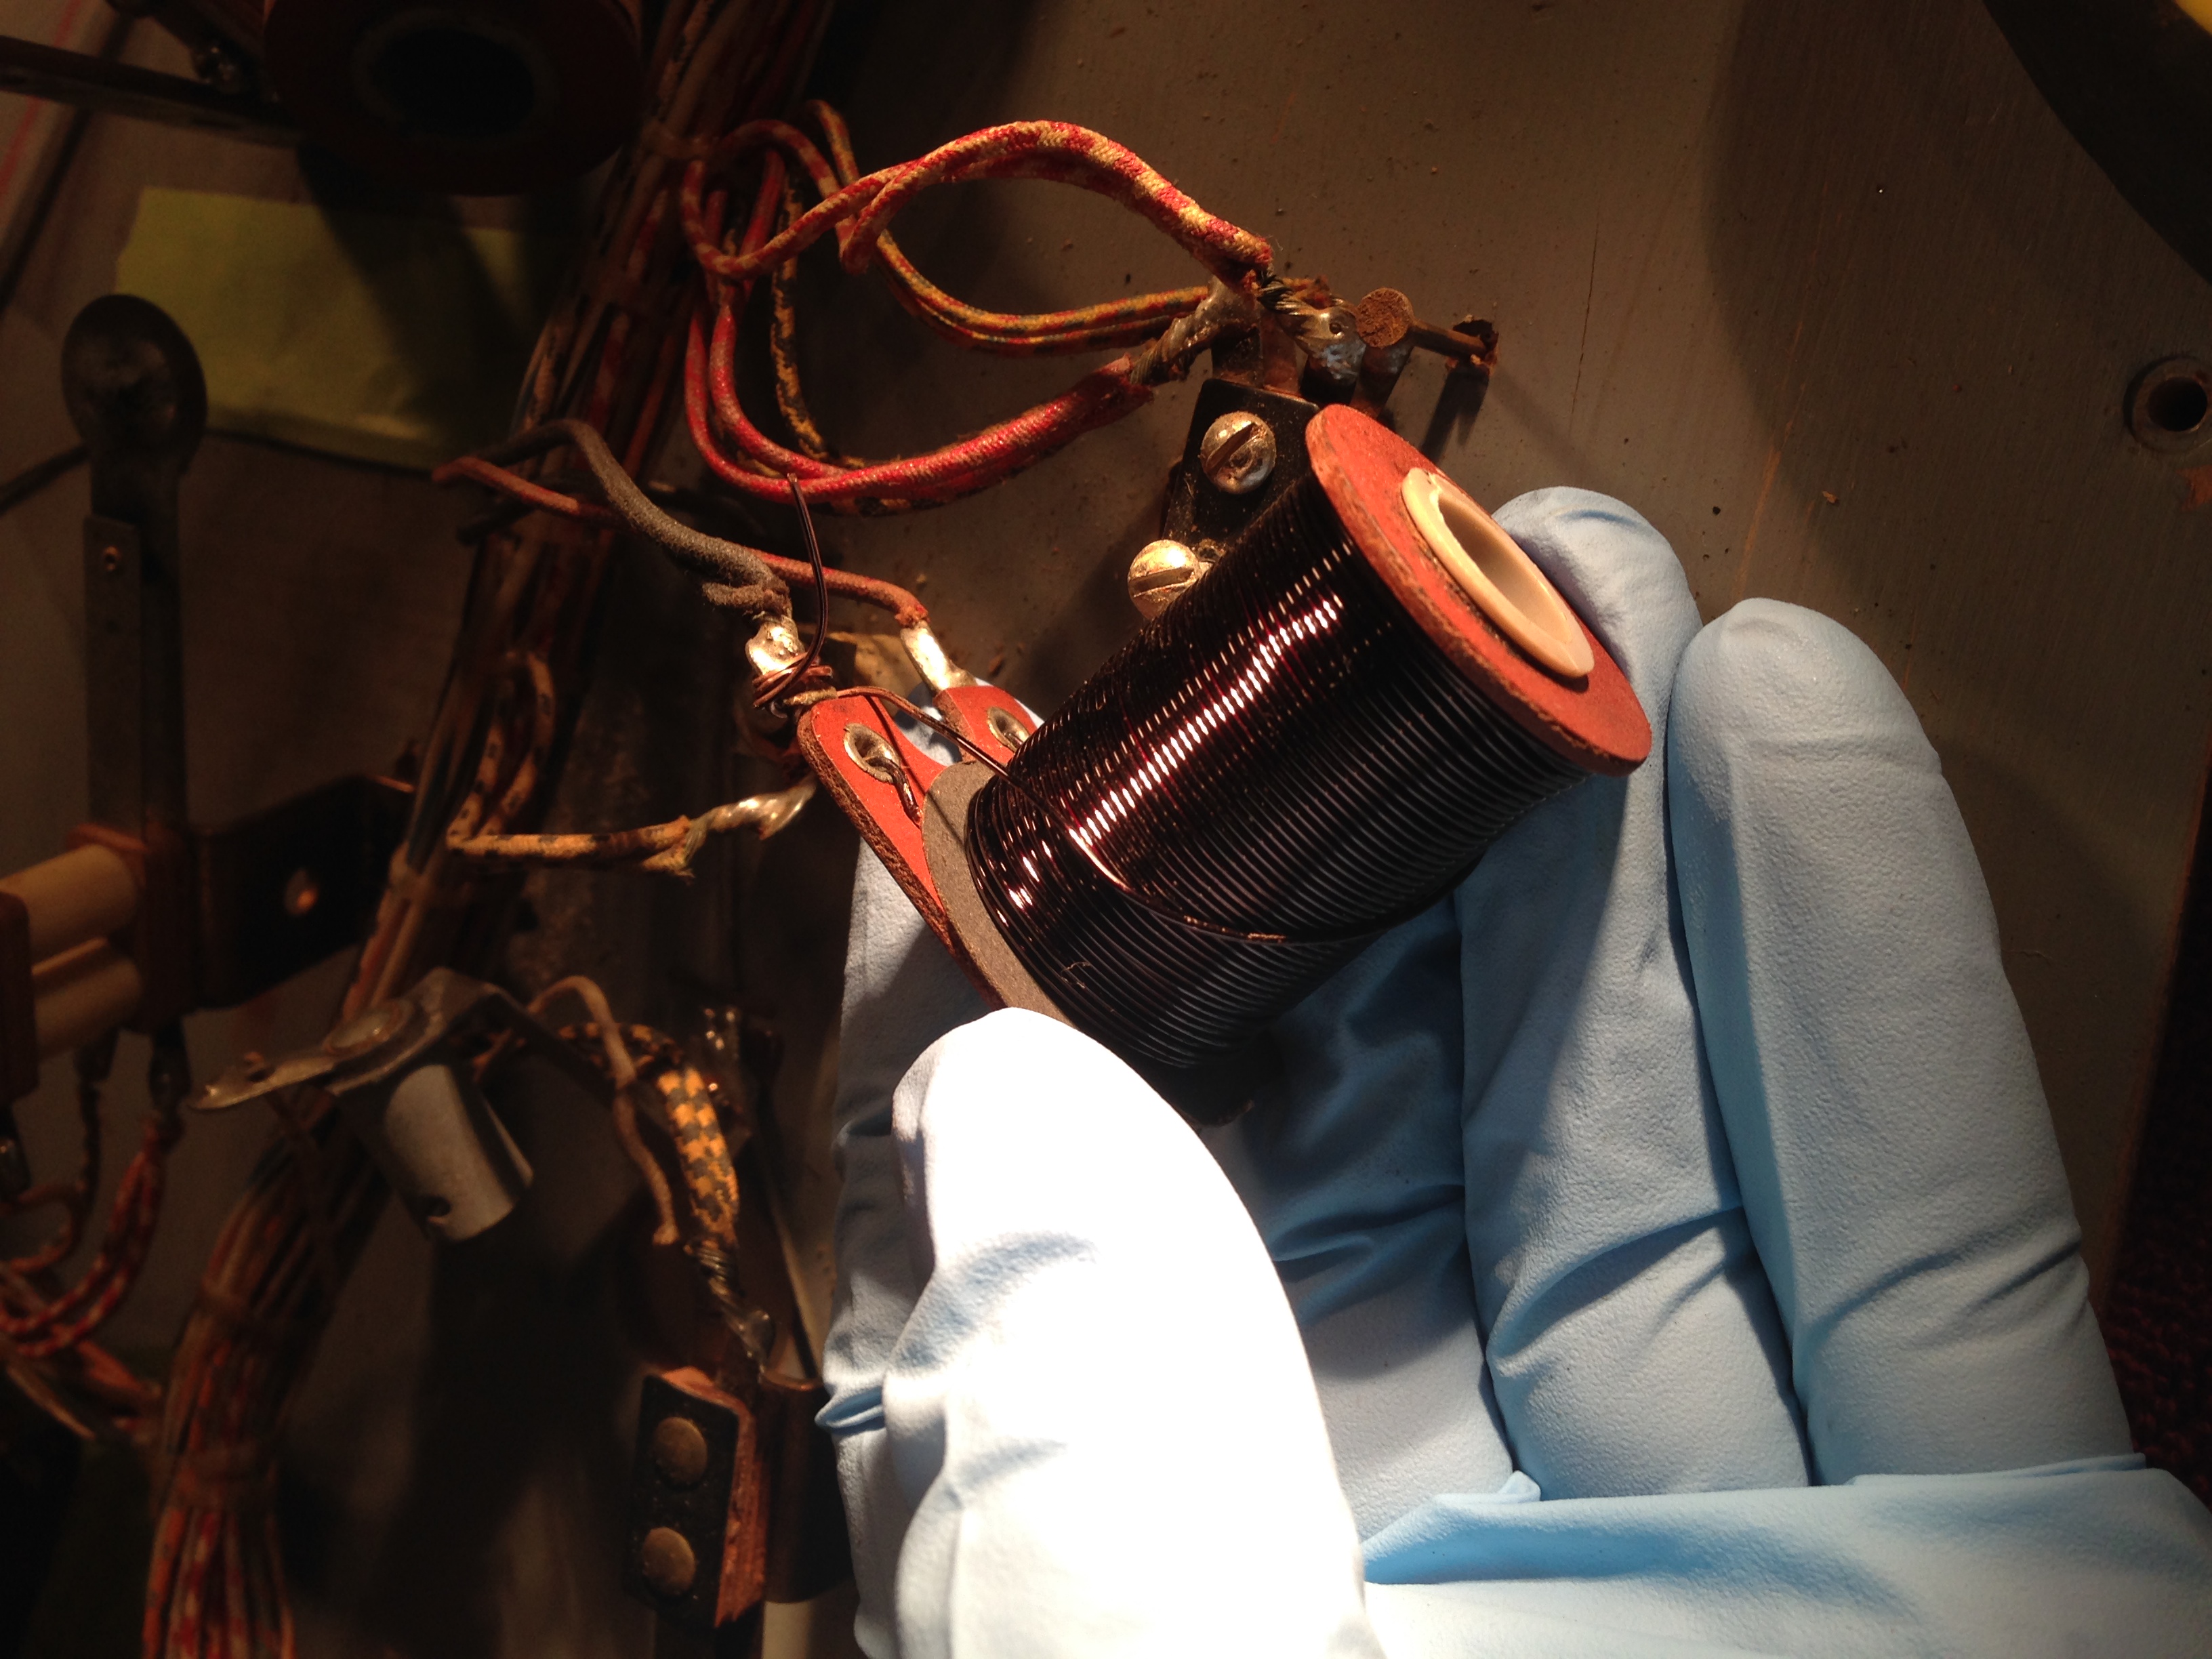
You can see in the above picture that I’ve also replaced the flipper coils with the yellow dot (more powerful) flipper coils from Pinball Resource. This was also something I learned from TOP1. This will give the flippers a little more power along with the modifications described above to the pop bumpers and kickers.
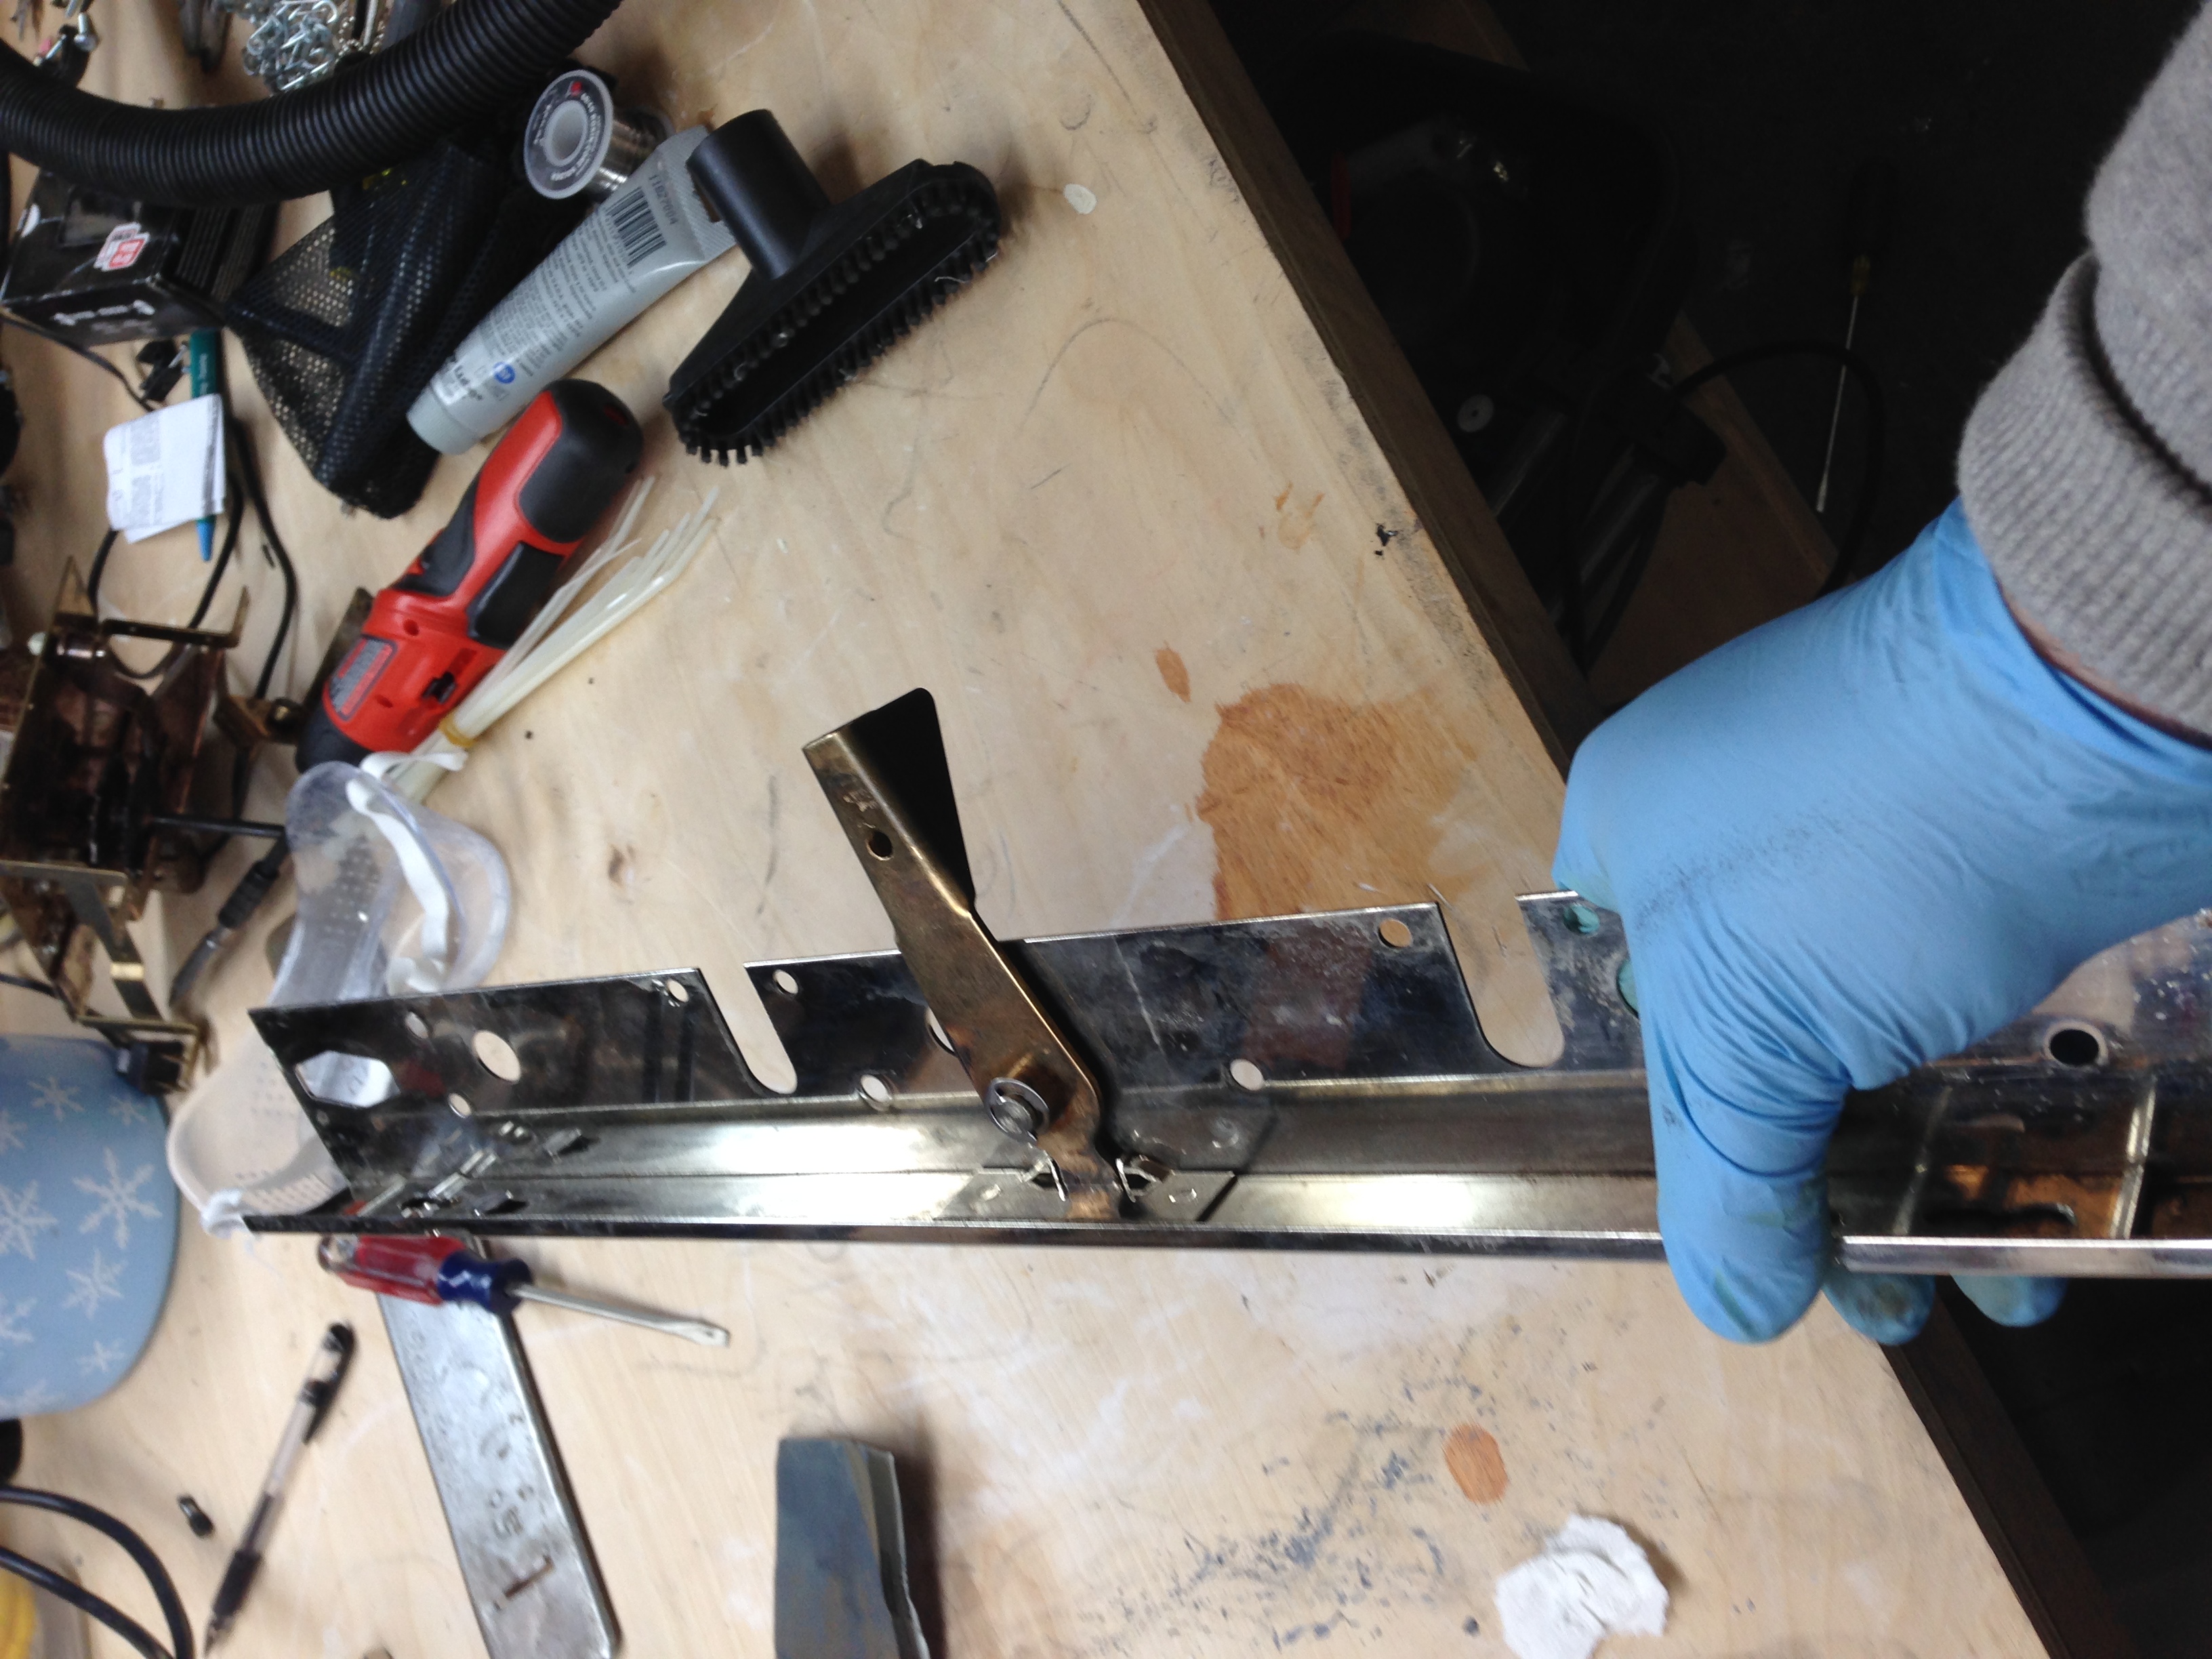
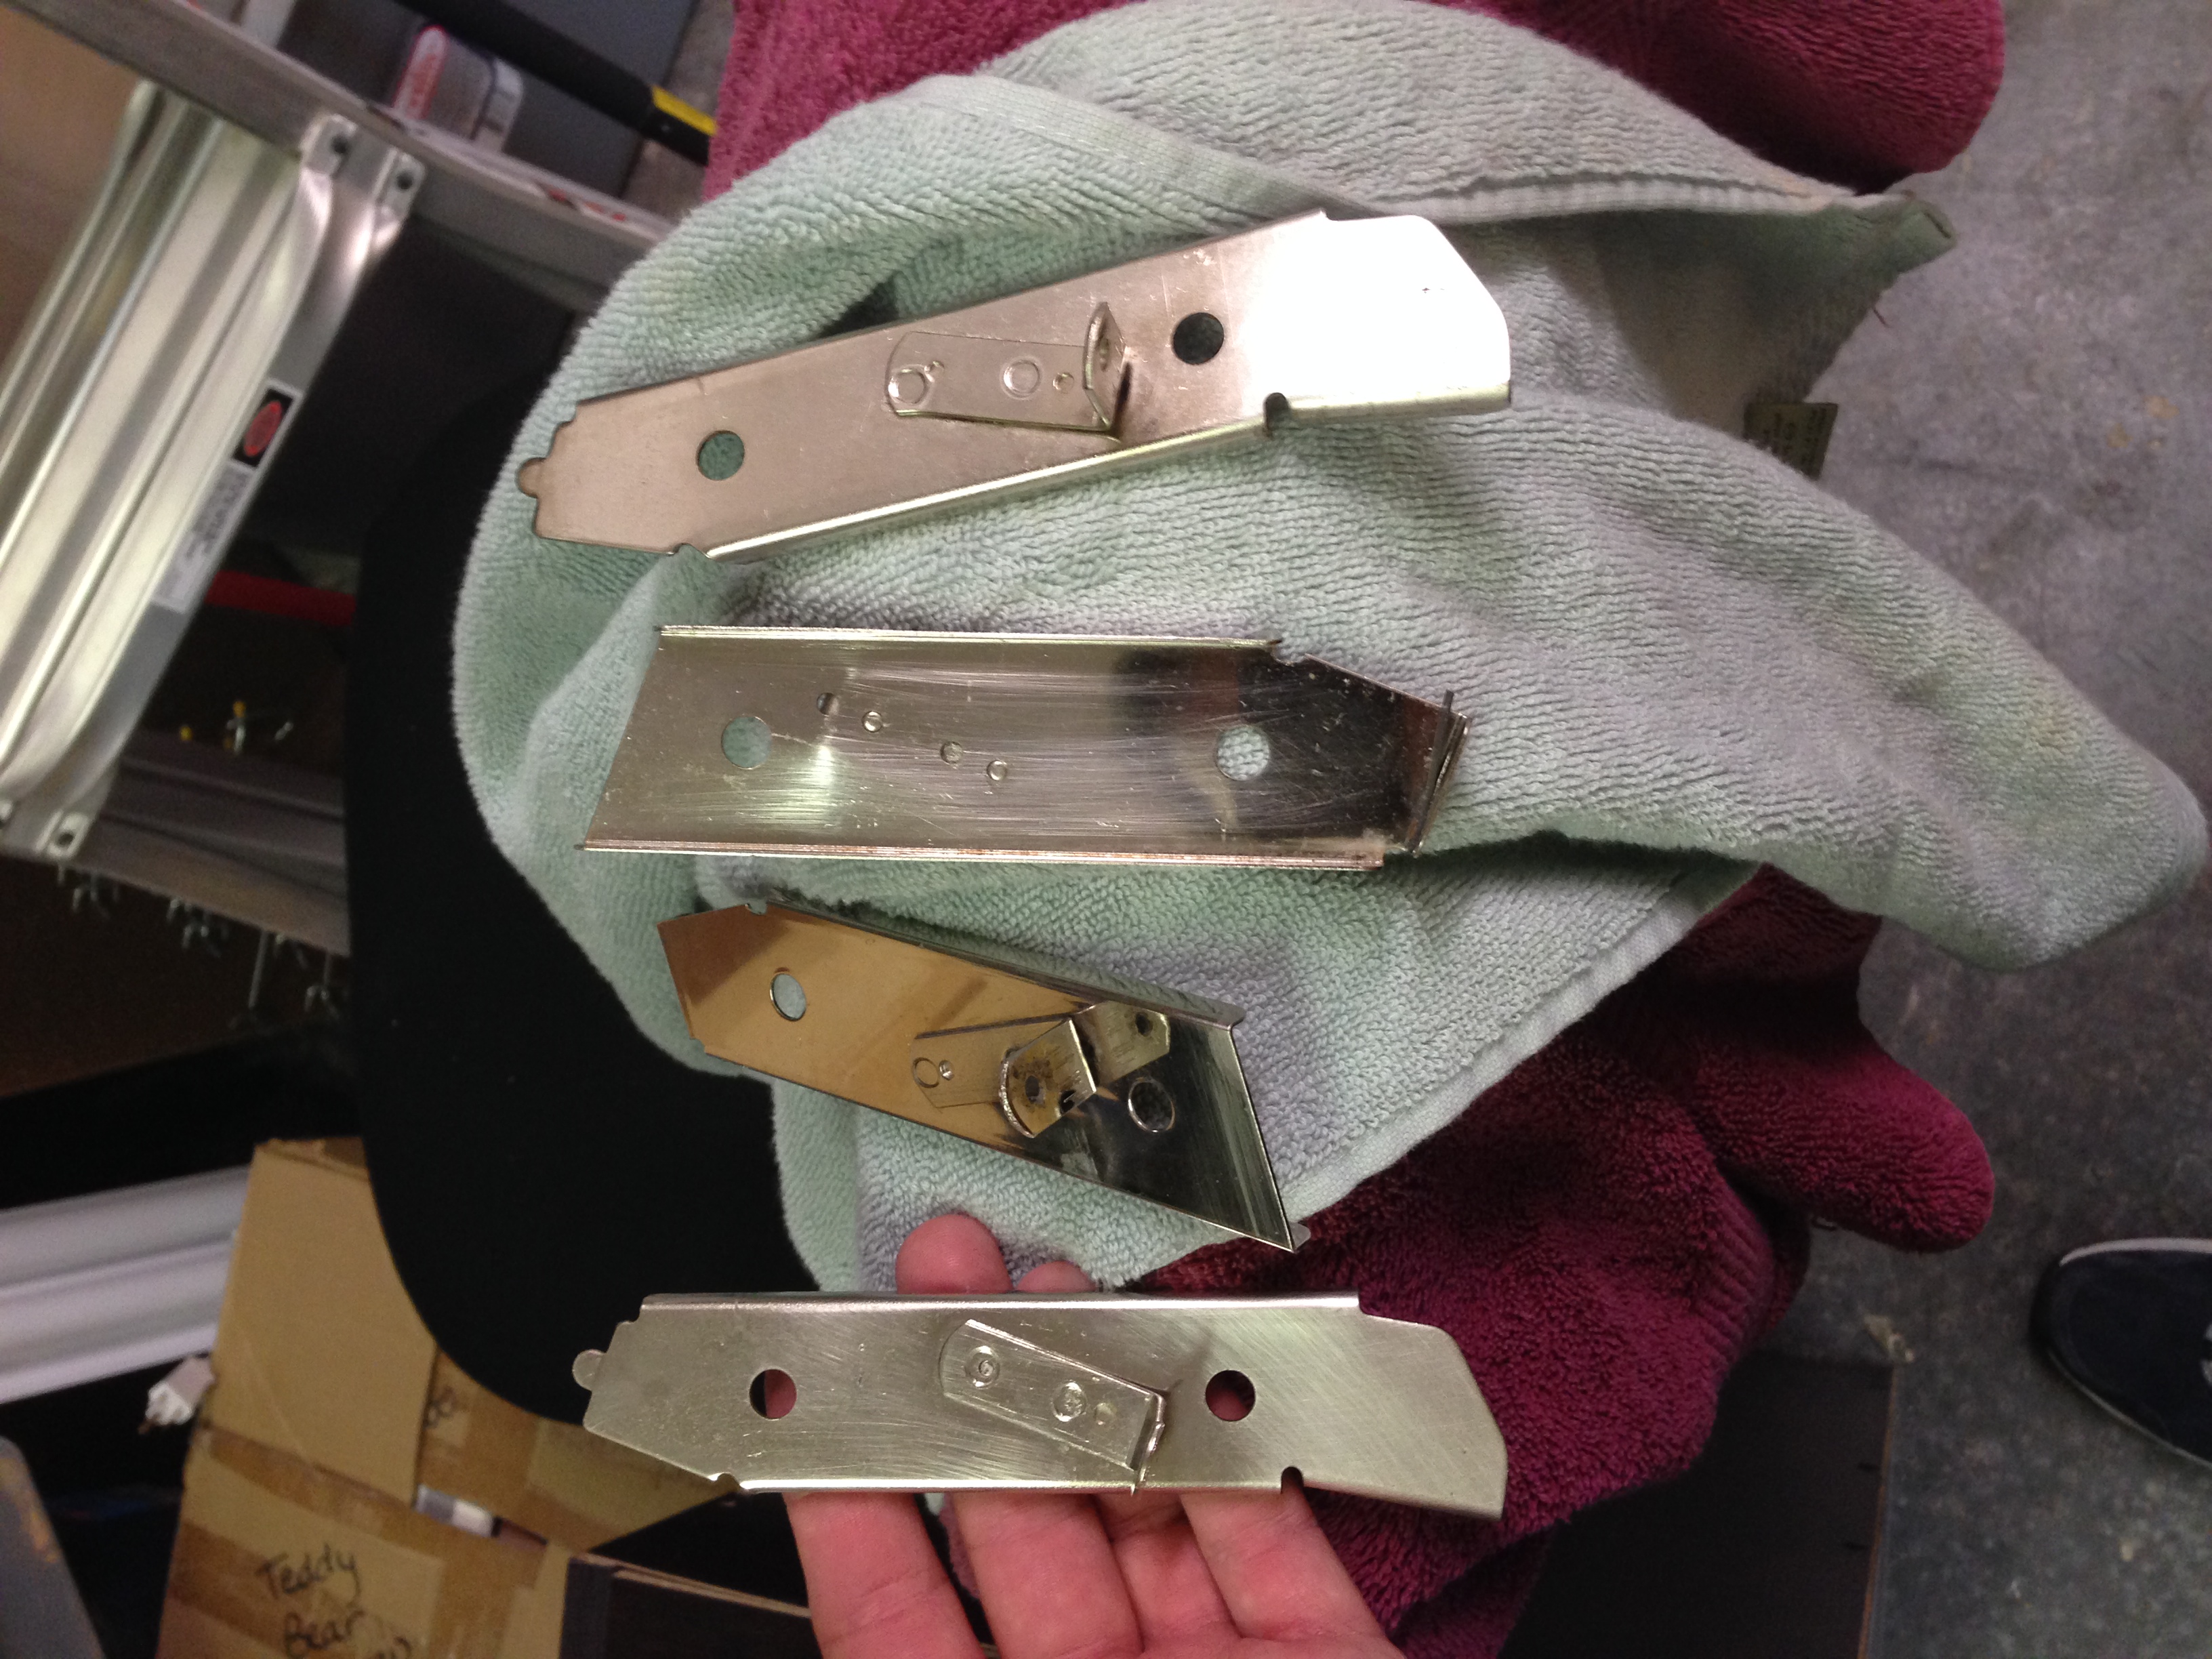
Coin door and coin entrance plate
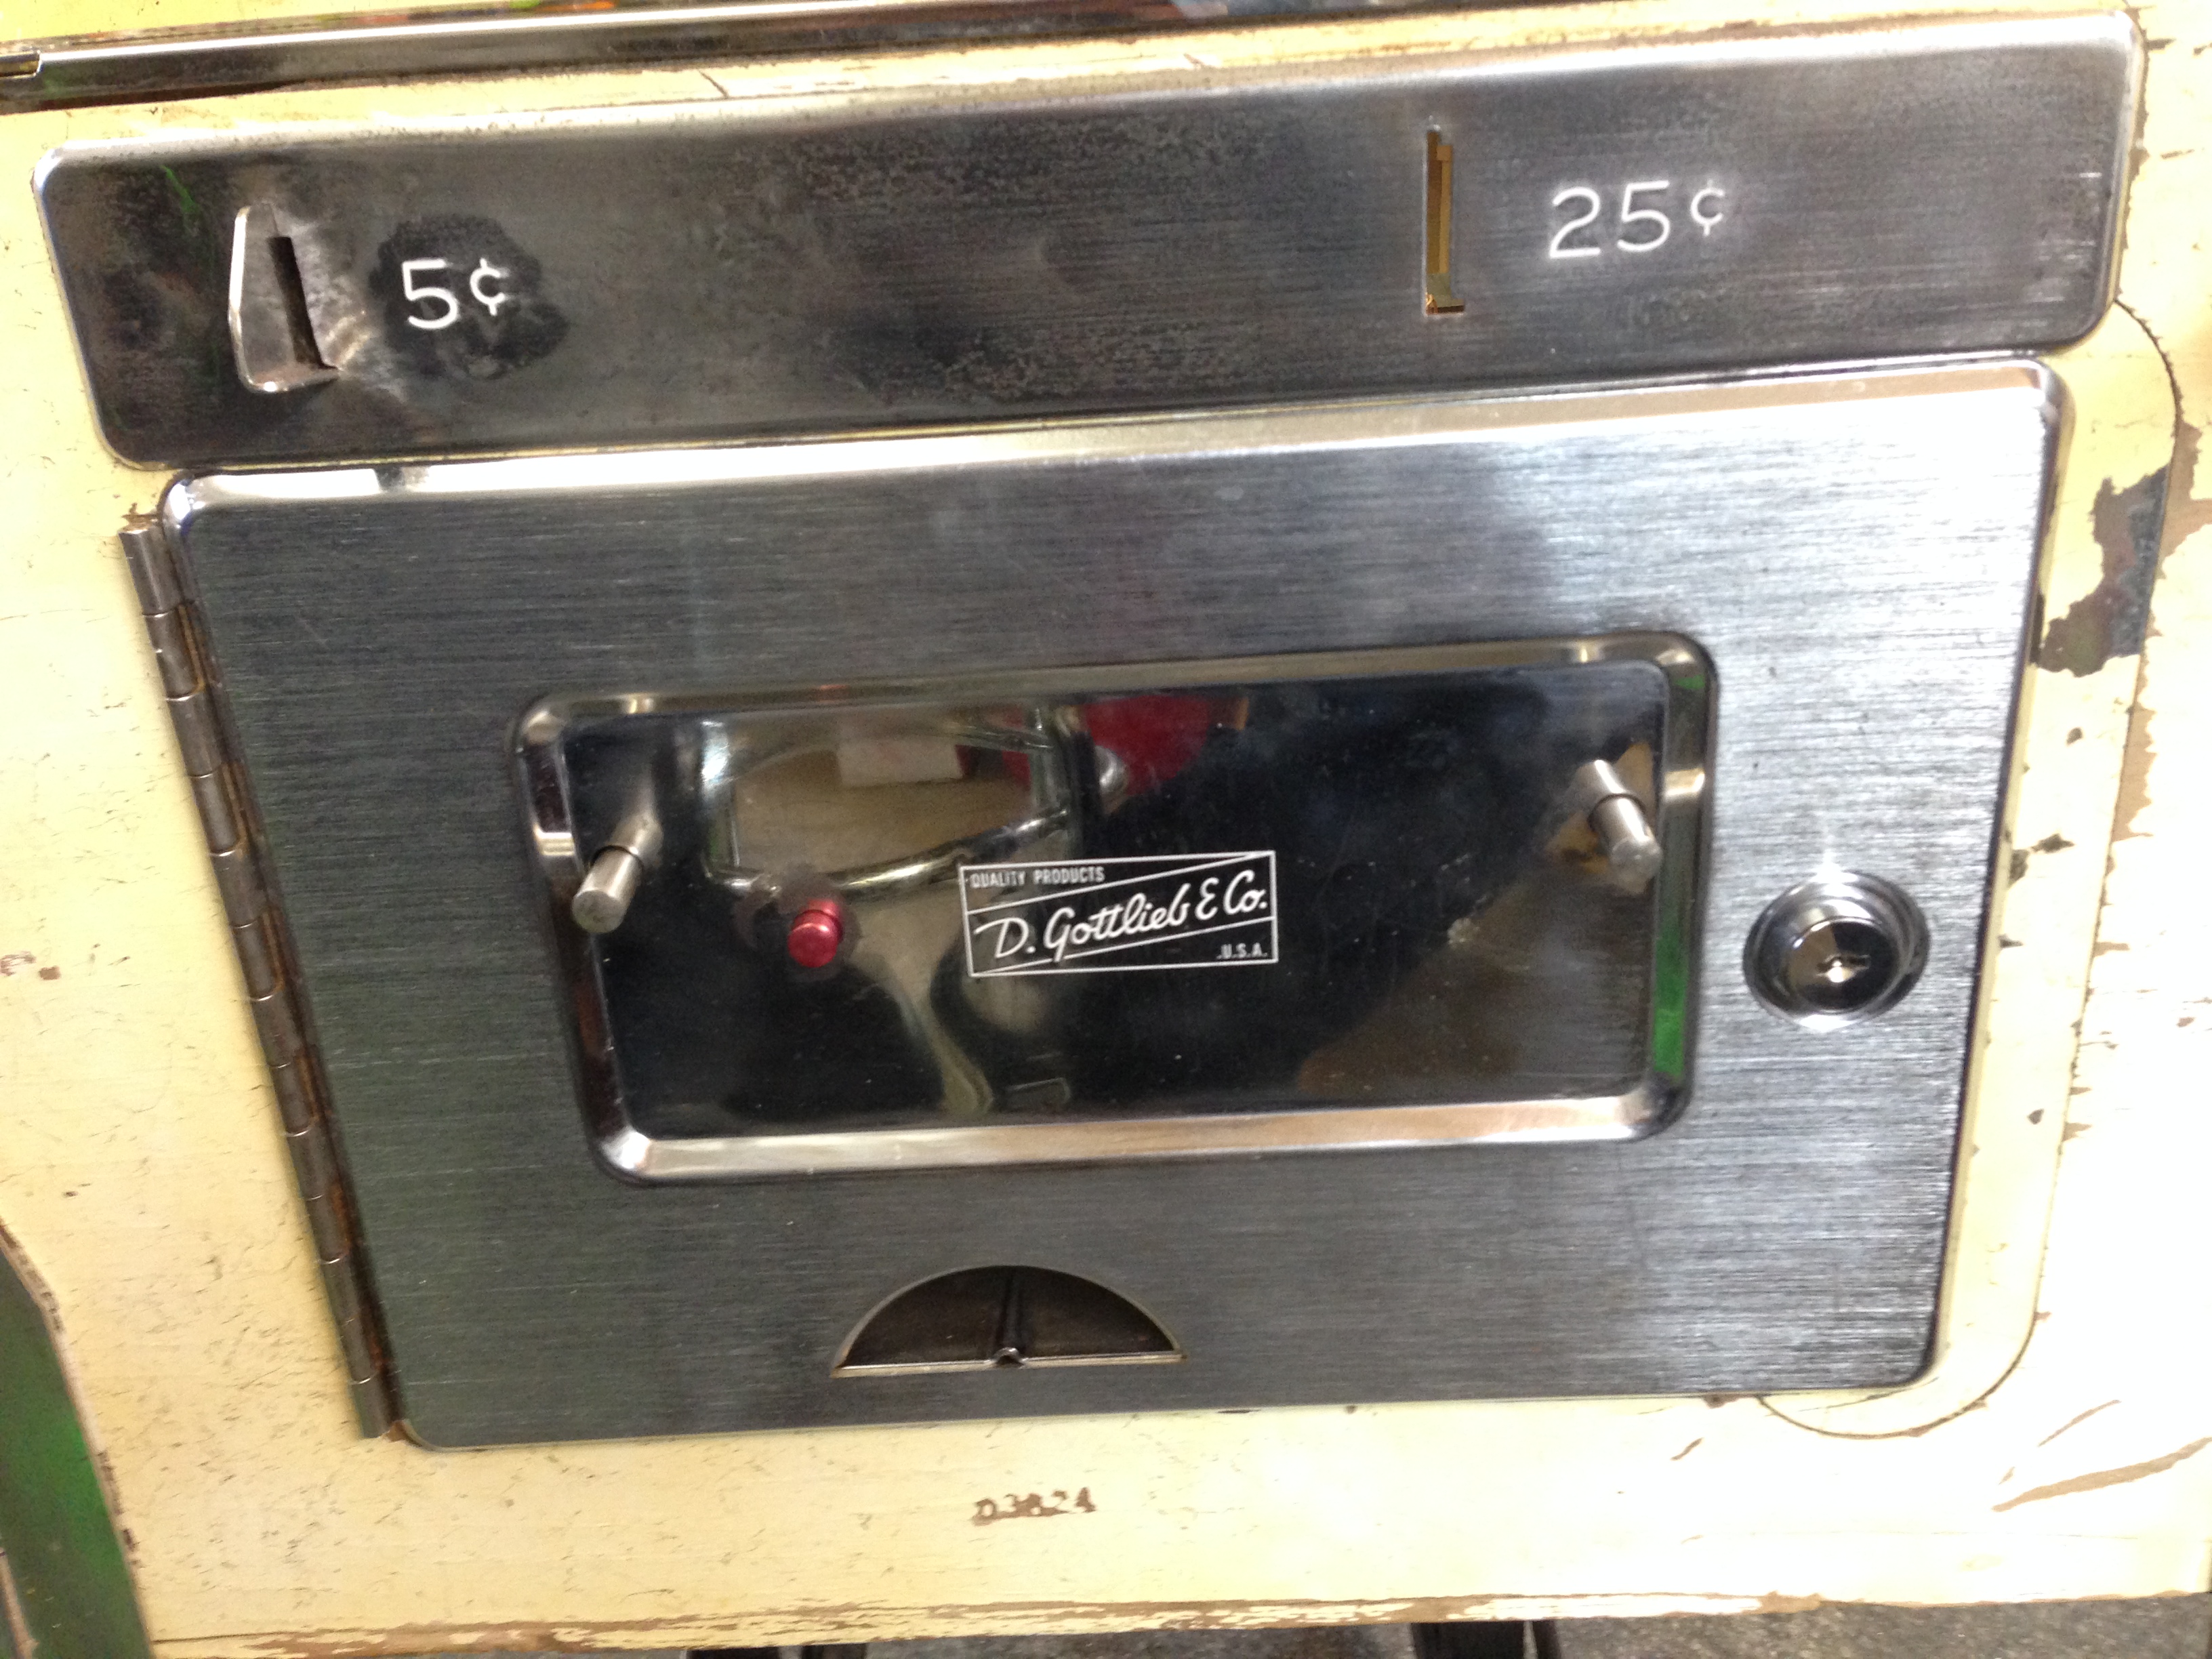
I did my best to un-mangle the 5 cent coin slot. Someone must have really gone to town on this with a screwdriver or something like that because the whole plate is is bent up on that end. The coin trough was missing as well, and I assume it was mangled bad enough that someone just threw it away. Anyway, I hammered it and straightened it as much as I could, then sanded the front with 600 grit sandpaper to take off the rust and other blemishes. It’s not perfect, but it’s much better. I did the same with the coin door, as well as buffing with a polishing wheel and white rouge. It shined up nicely, and the spots where there was rust polished up real nice. I put a new red button in from PBR, and also went over the 5 cent, 25 cent, and logo indentations with a white paint stick. I think it’s a vast improvement.
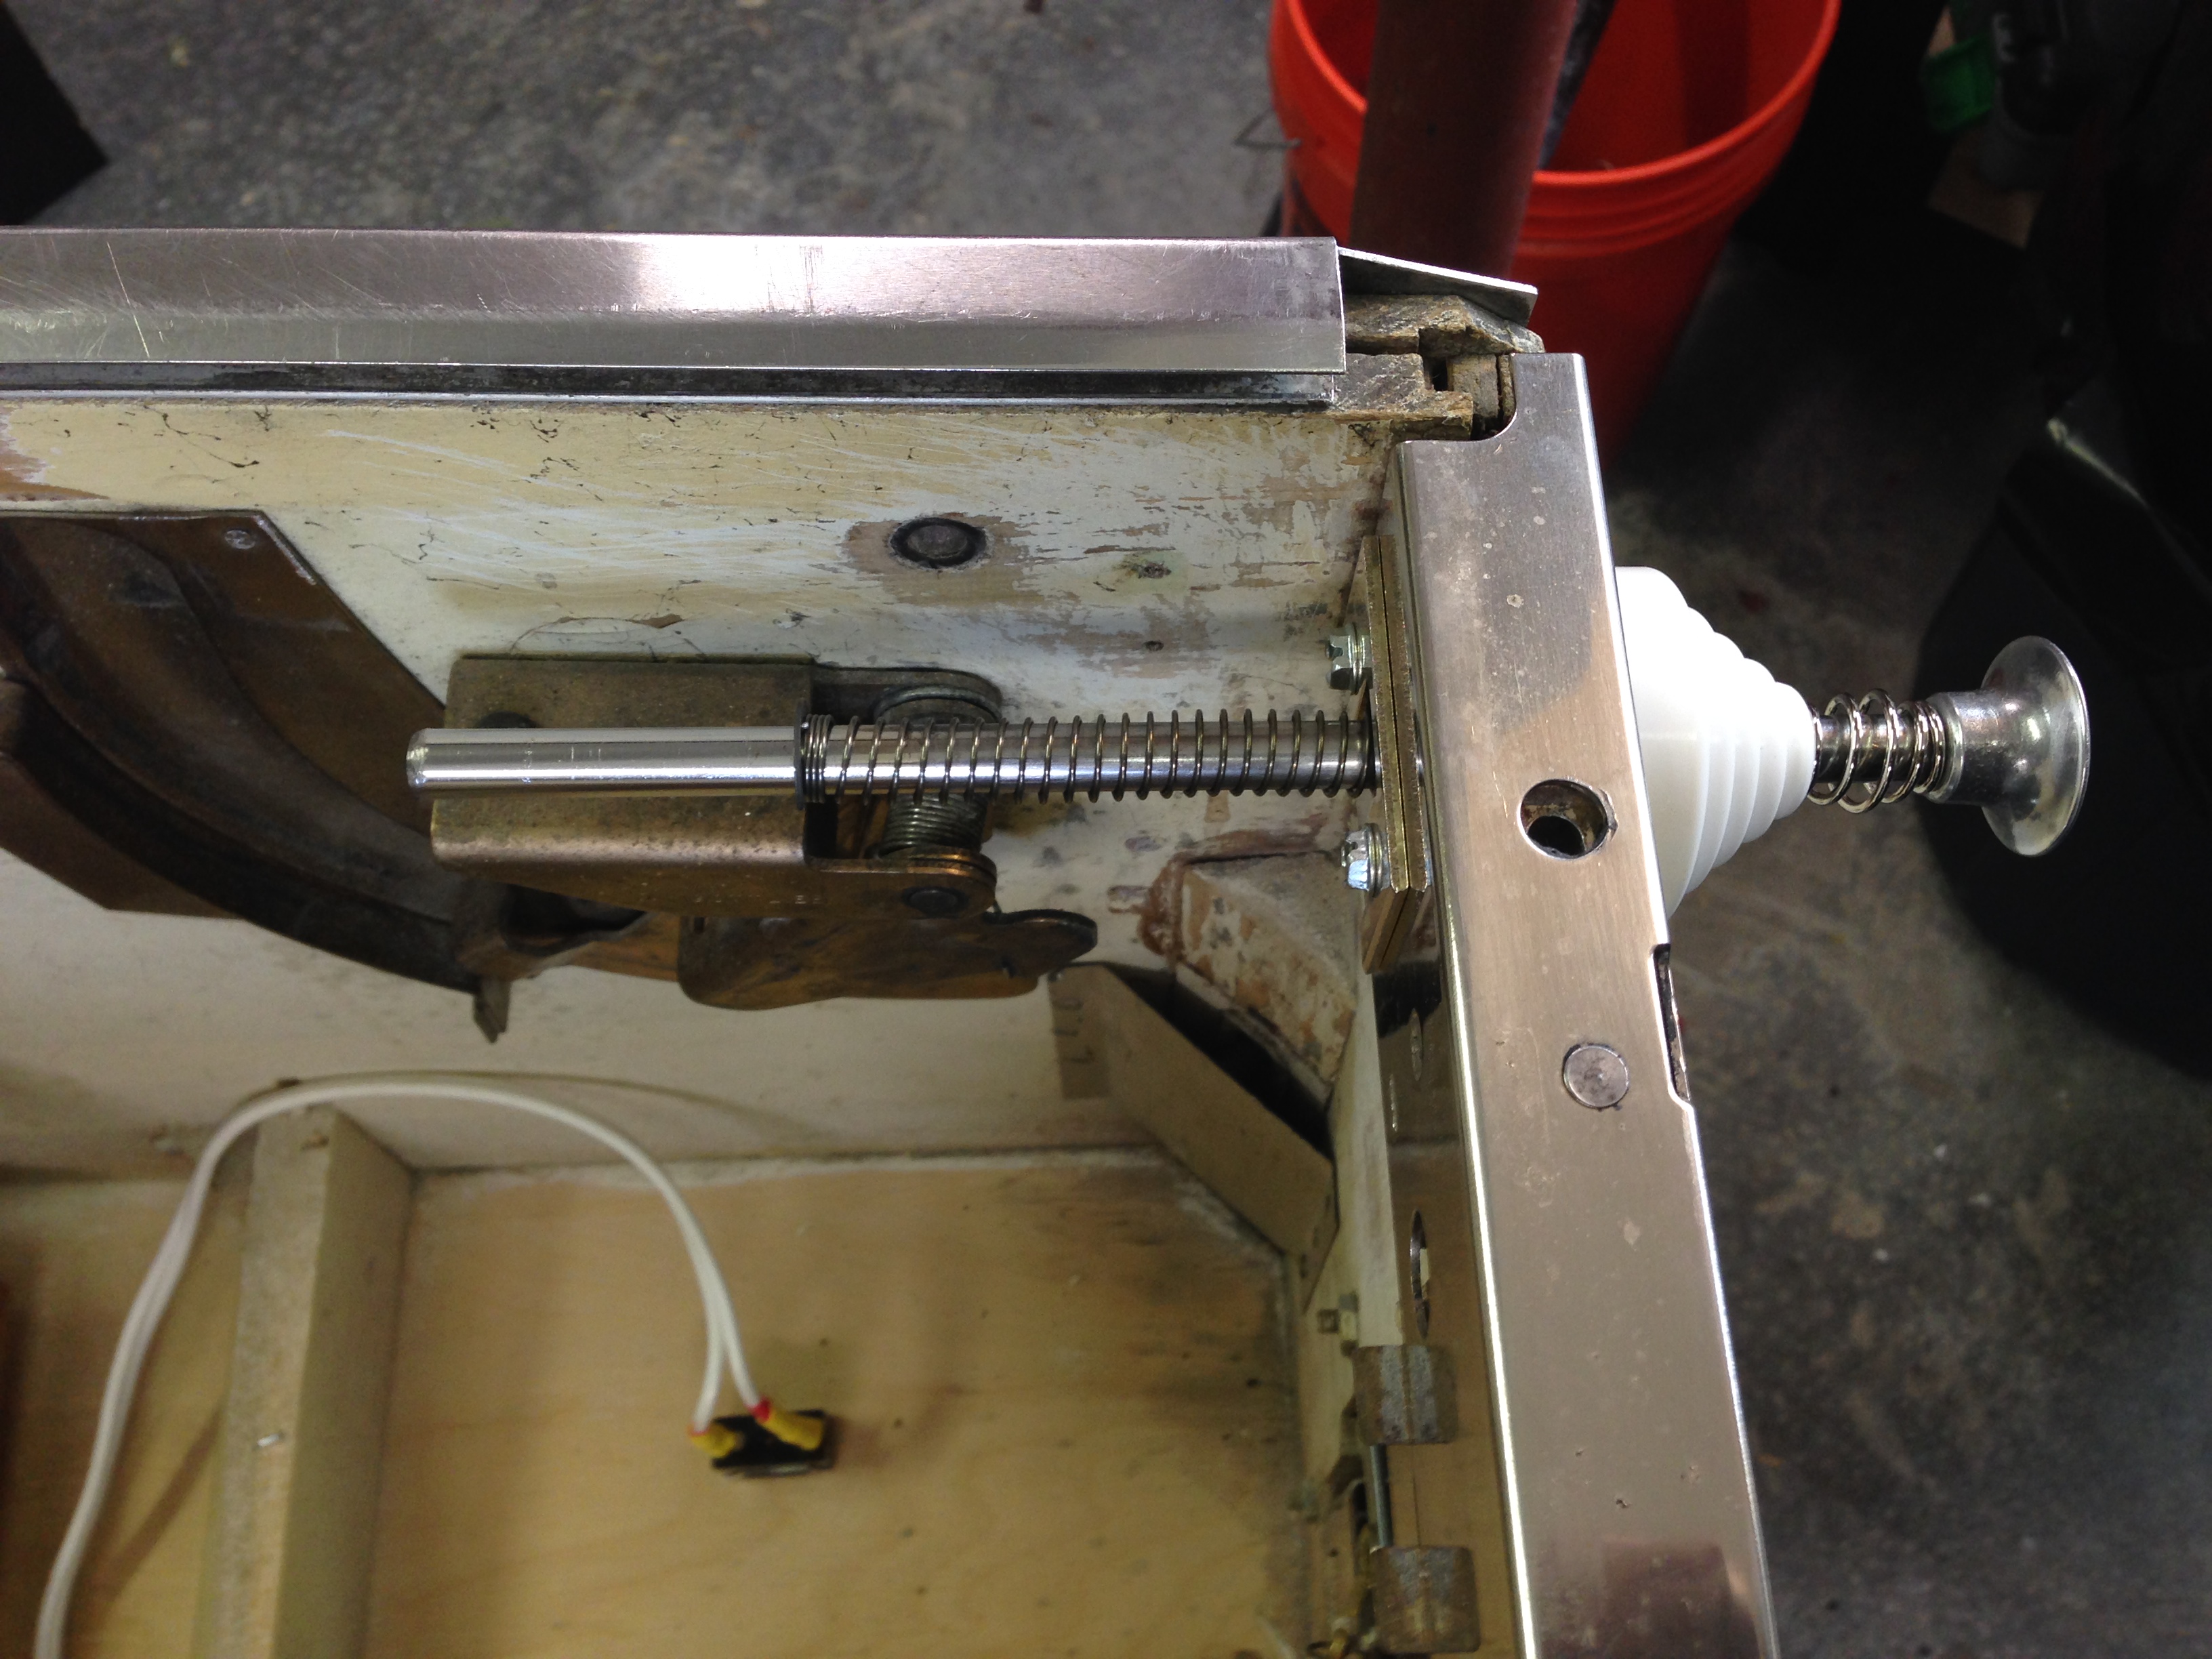
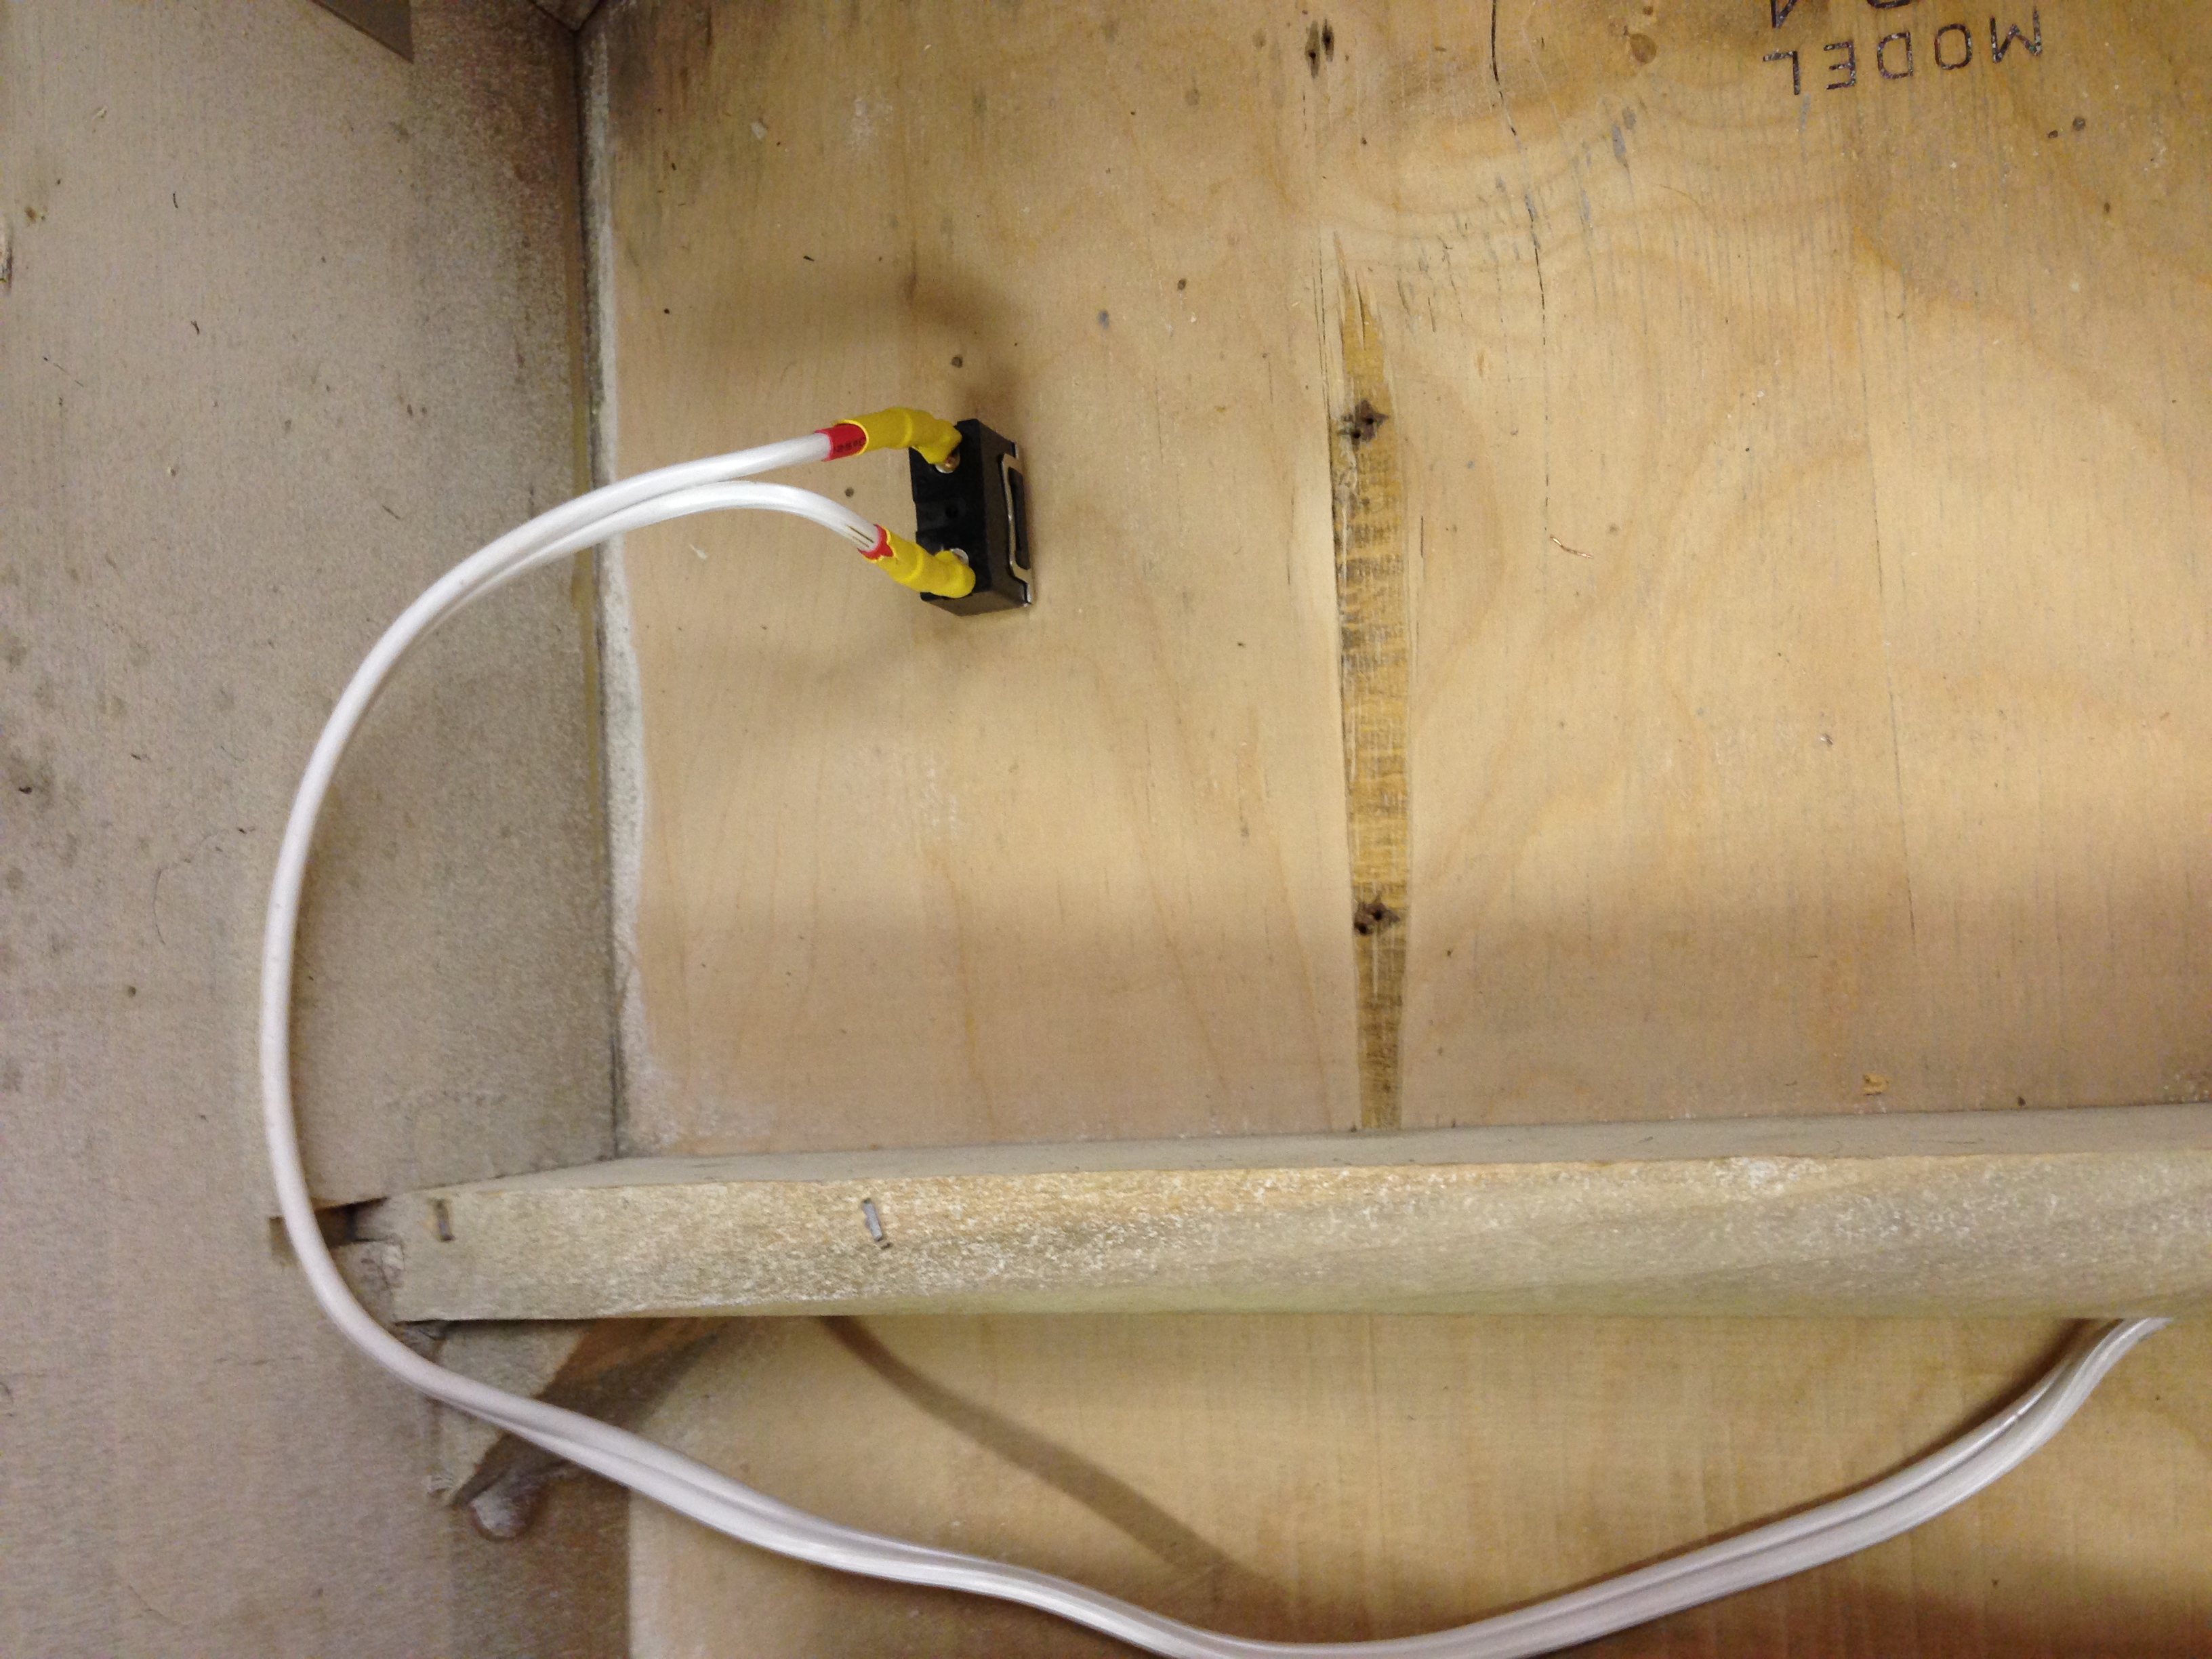
Modern Power Switch
I mentioned the new “modern” power switch above. Here’s a shot of where it is mounted into the cabinet bottom, just like other more modern machines.
Clear Coating the Playfield
I finally worked up the courage to attempt clear coating the playfield with automotive 2 part clearcoat. I read up thoroughly on techniques, and watched some instructional youtube videos to make sure I knew as much as I could before I started. Clay’s guides on clear coating are excellent, and here’s a link to the youtube videos I found that were also helpful – PinDude Video.
I had prepped the playfield as described – removed all items from the top of the playfield, dropped all switches, and then taped the holes through the playfield with painters tape from the underside of the playfield (so the clearcoat wouldn’t shoot down through the holes onto the parts on the underside of the playfield.
I cleaned the playfield, and then did some touchup. Here are some examples of the limited touchup that was required.
After that, I wiped down the playfield thoroughly with mean green, then novus 2, then naptha. I had some wear in the shooter lane where the ball had worn through the lacquer, so I sanded this as smooth as possible. Then I sanded the playfield lightly with 600 grit sandpaper. Then I cleaned with naptha again.
Here’s the playfield prepped and ready for clear.
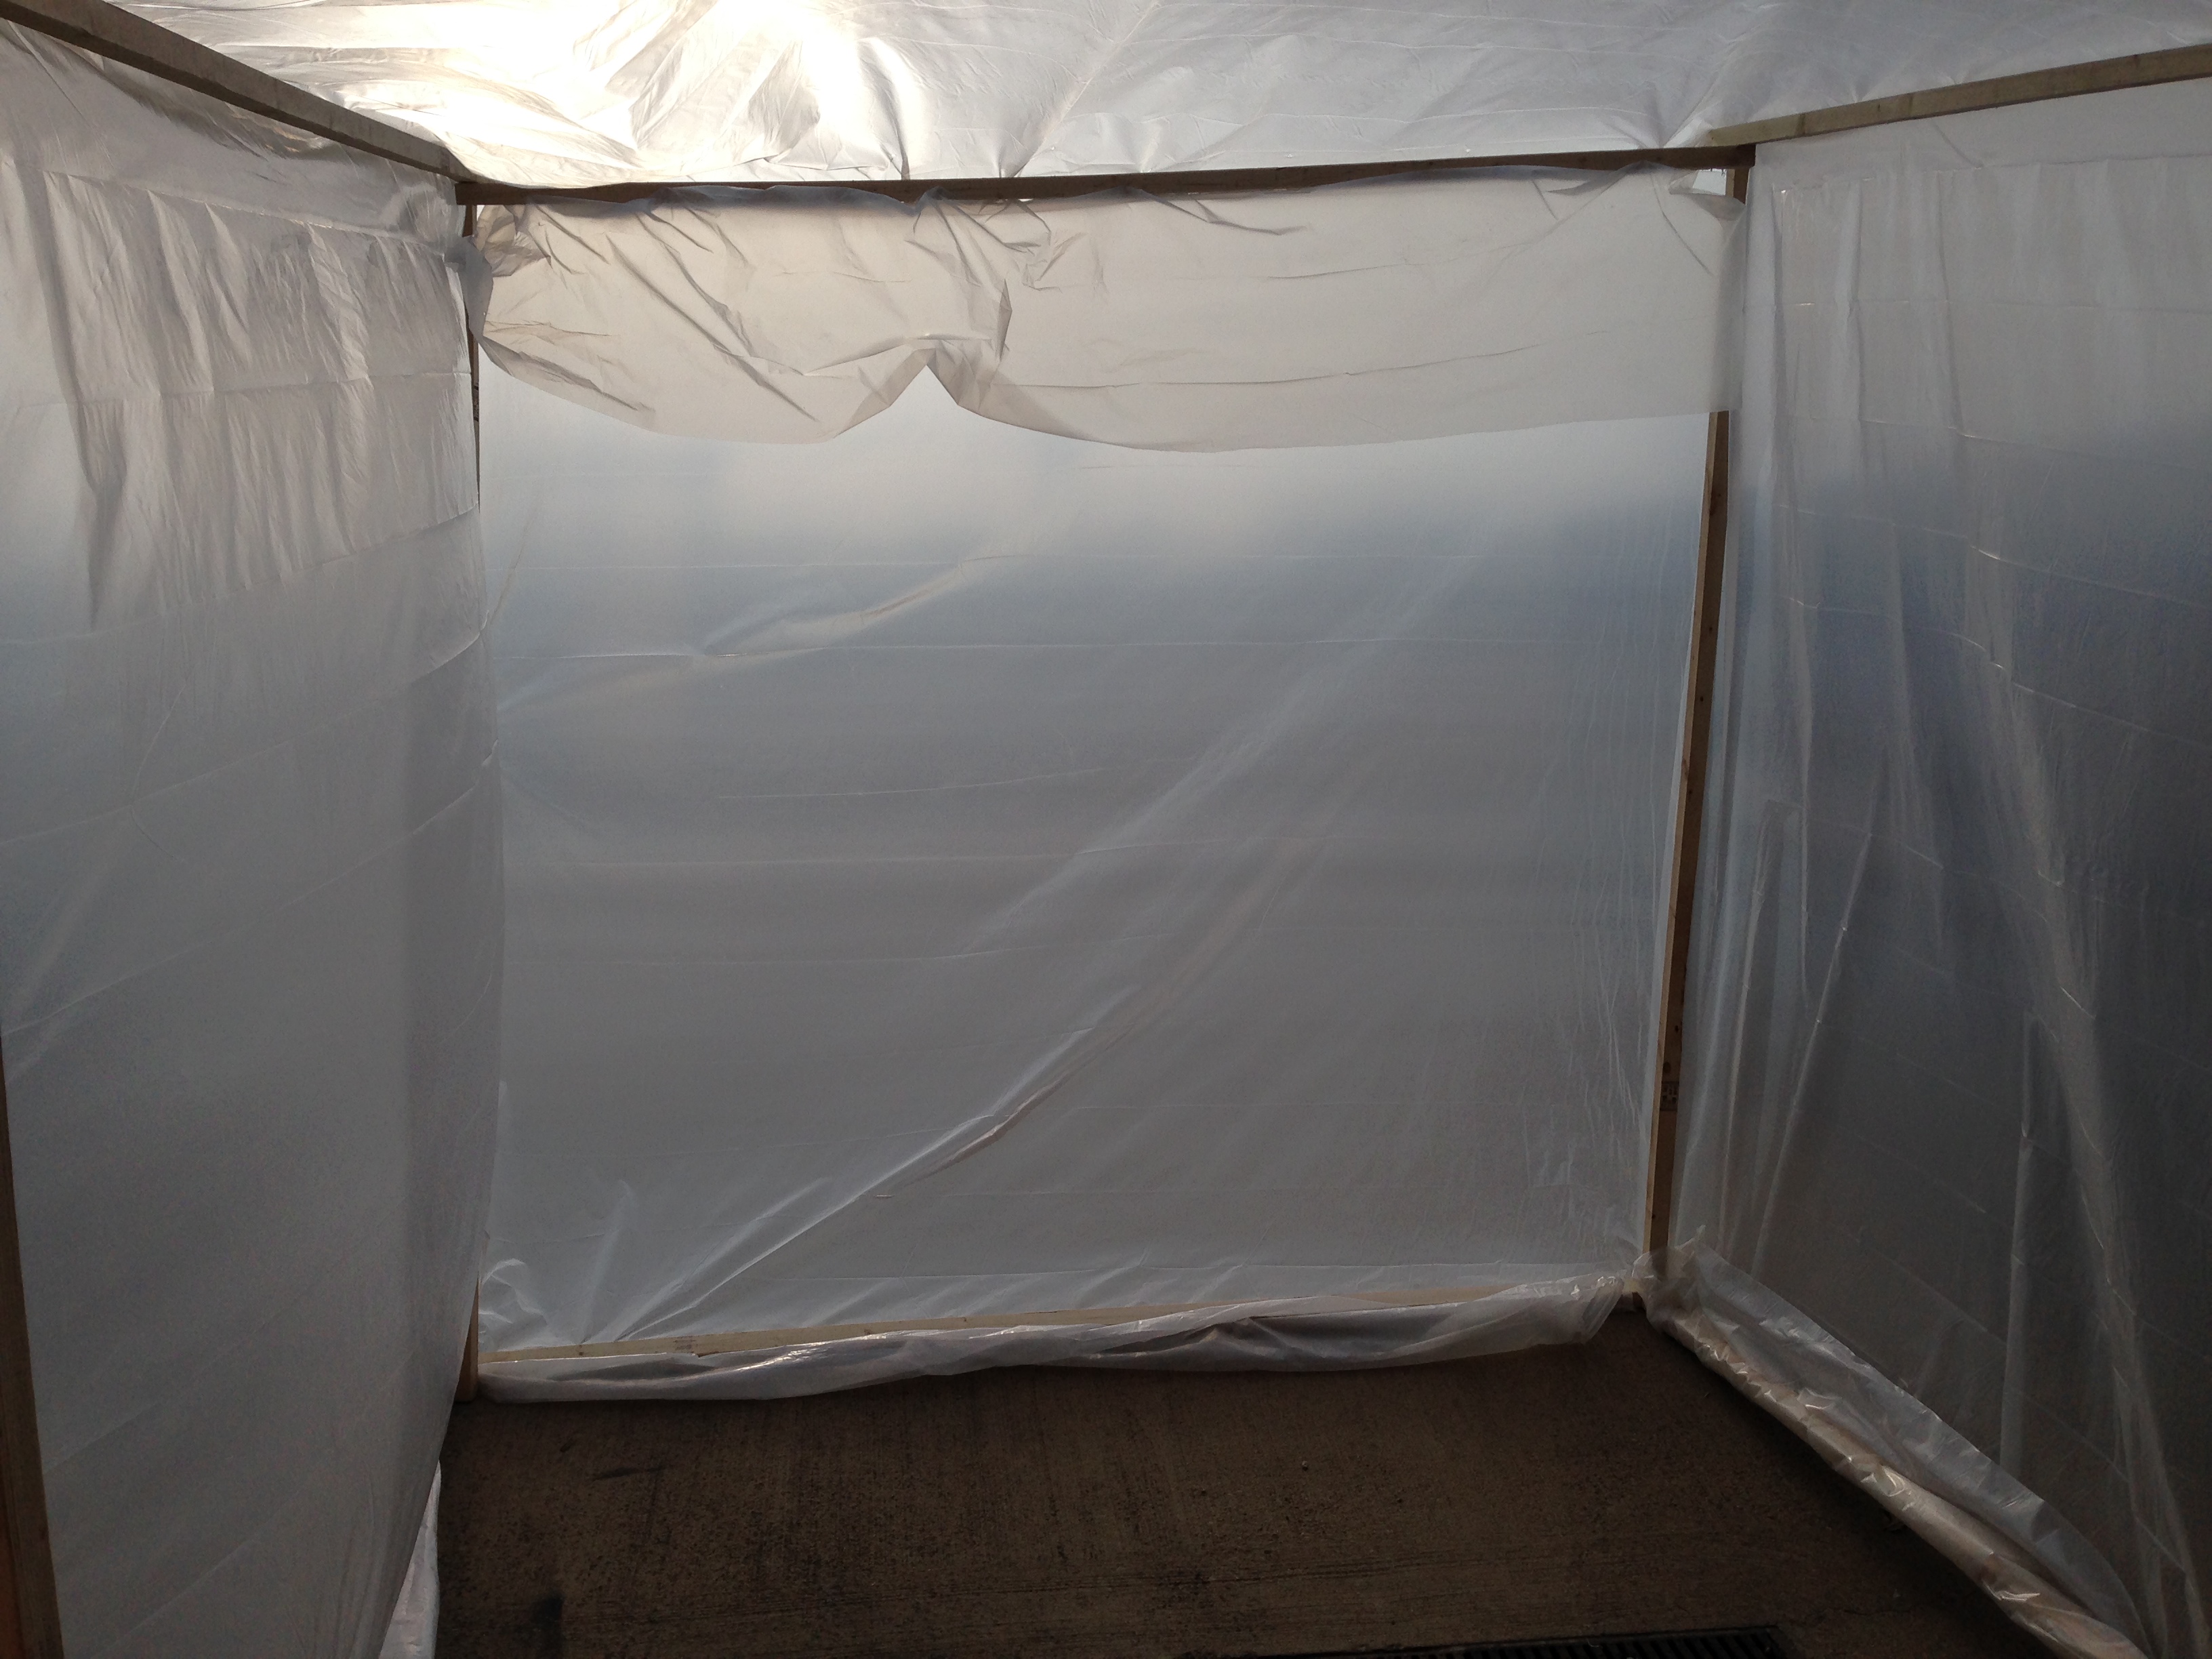
I had this bright idea that I would build a “paint booth” out of some spare 1x1s, 1x3s, and some plastic drop cloth I had. The idea was that I would paint outside, but in this paint booth. That way I could control the temperature, keep the wind and dust etc. out. It was a great idea for a while. I built this contraption on Saturday, getting ready to paint on Sunday.

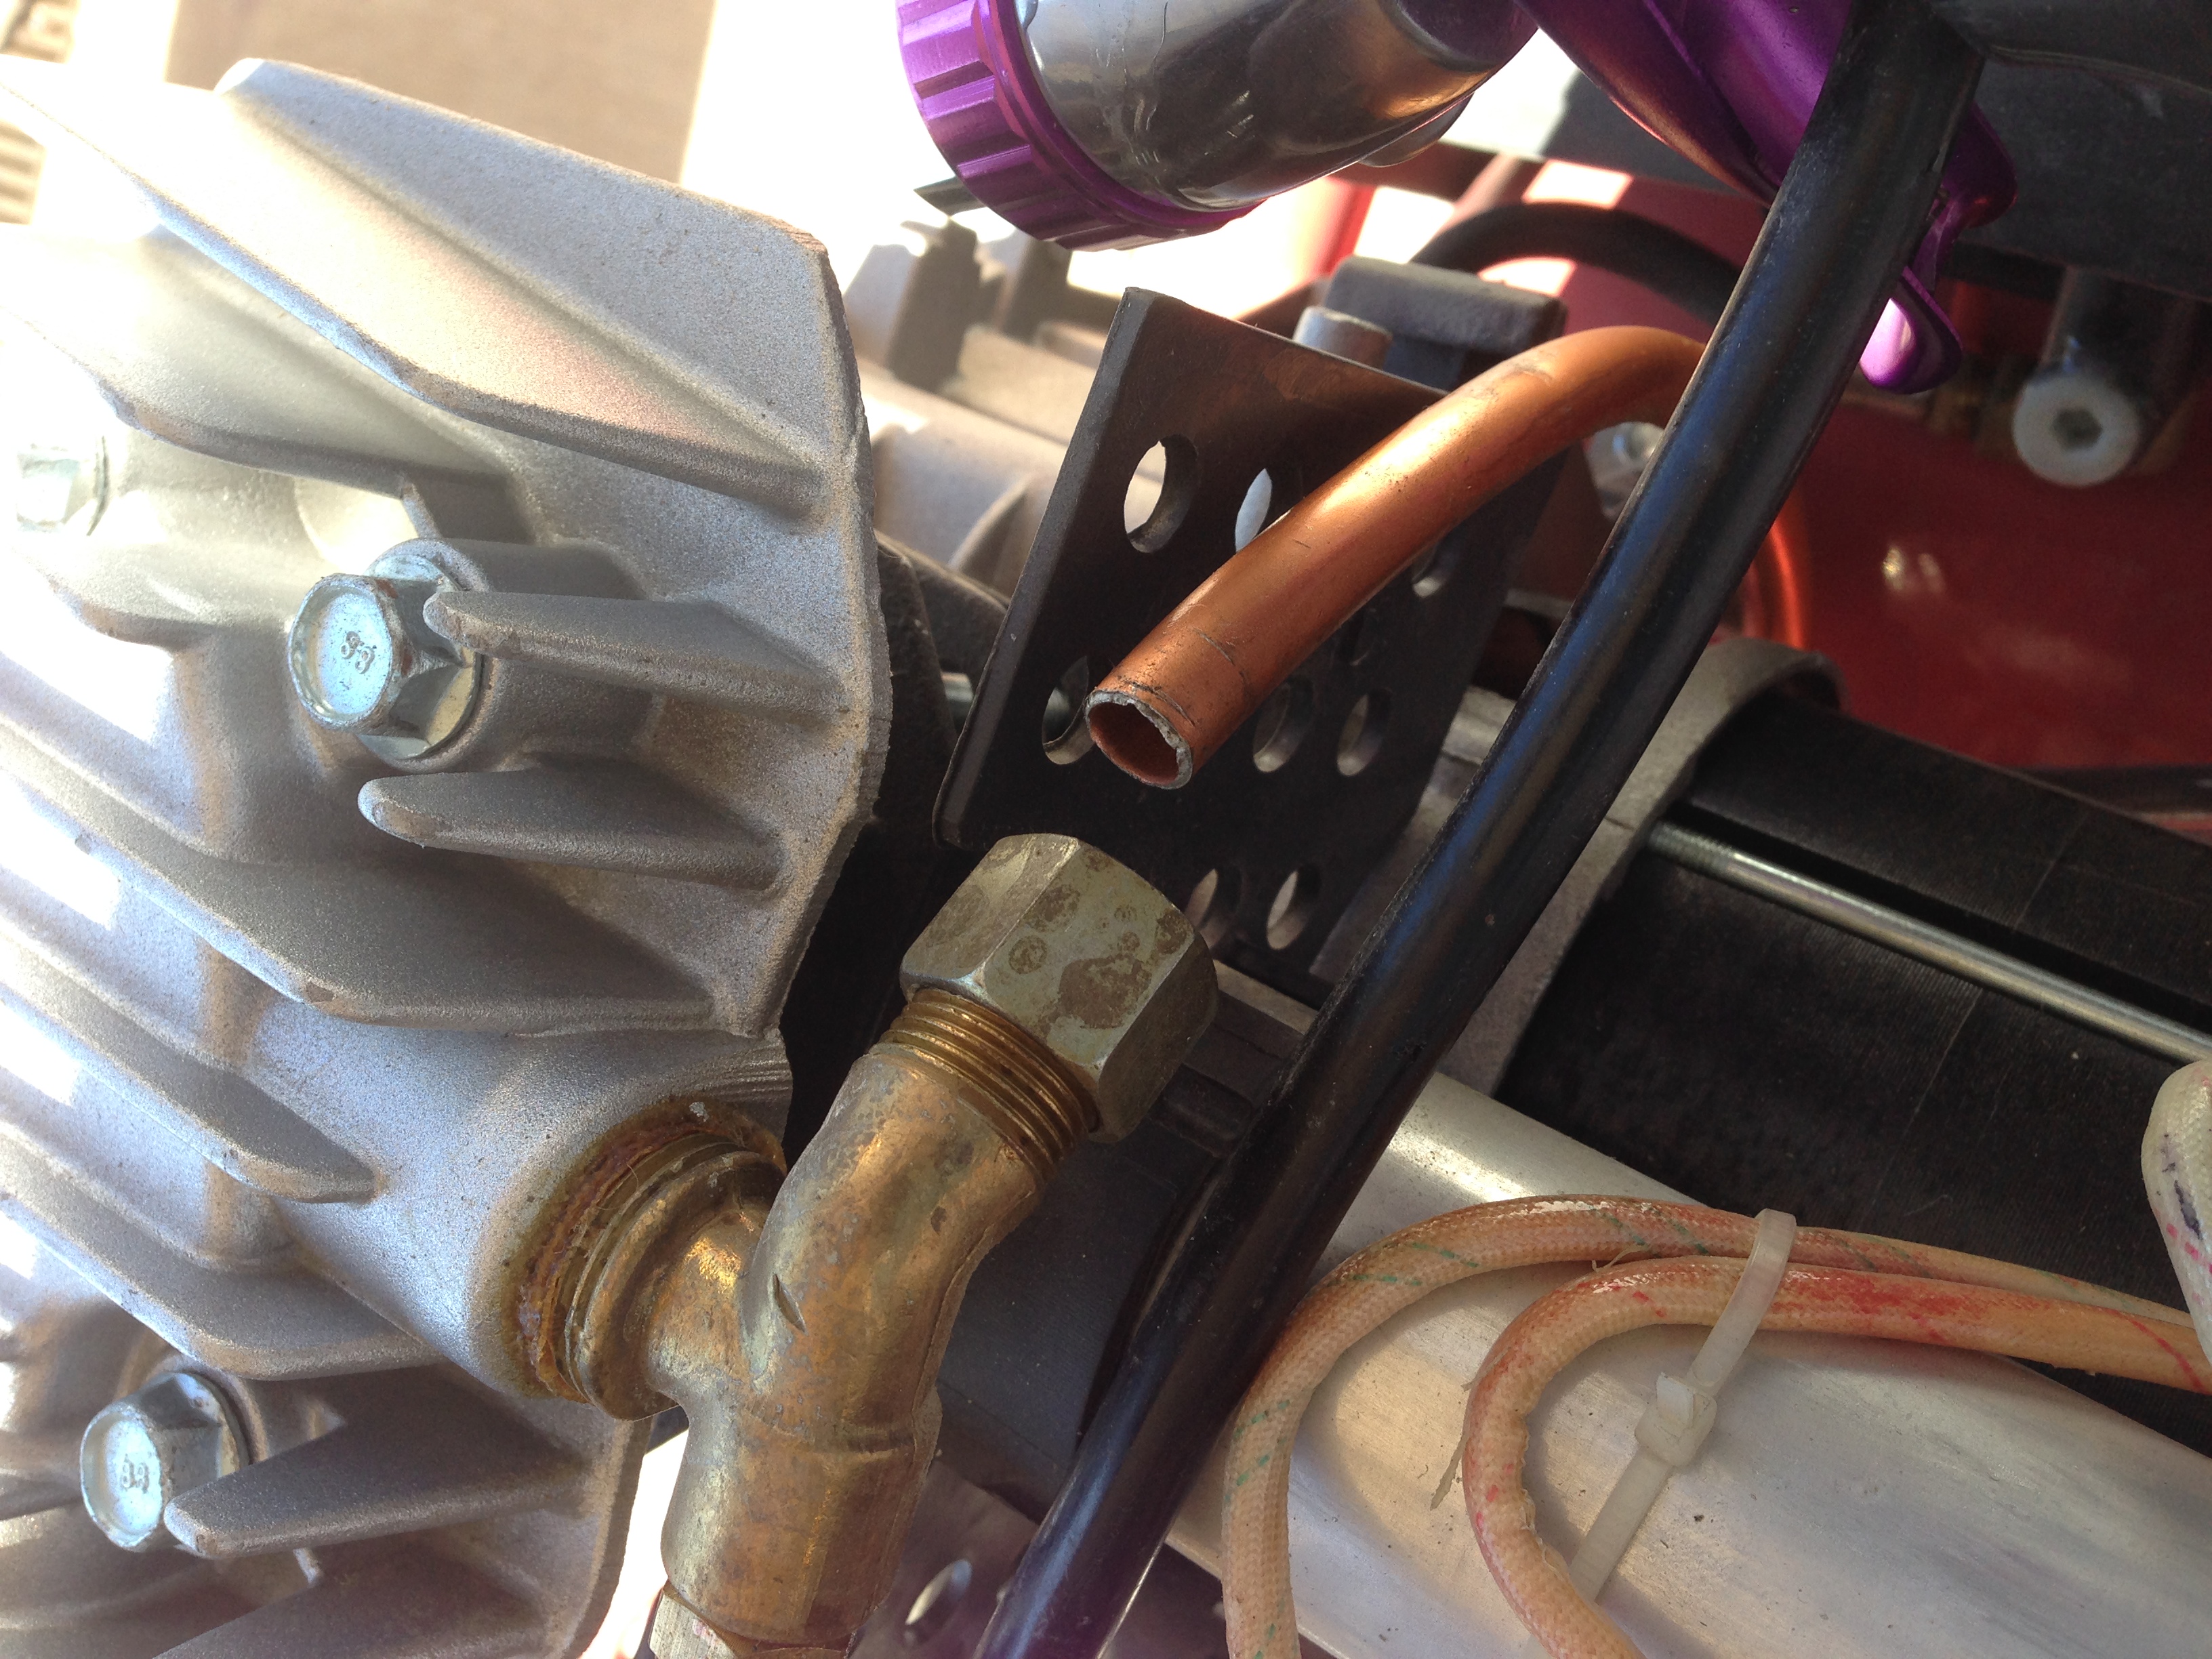
Things were all great until Sunday when I was getting ready to paint. First, everything was set up and ready to go, I had the heater going, warming up the enclosure, and the compressor was charging up, when my air compressor literally blew out a pipe!
I had to deal with that, and since I wanted a new compressor anyway, I went and got one, and when I got back, got the new compressor set up and ready to go, we got a huge gust of wind (I guess this is Kansas anyway), which literally tore my enclosure apart. The really sad part of this is, had my compressor not blown, I would have been done by the time the gust of wind hit. And after the gust, it calmed down, and warmed up to 70 degrees for most of the rest of the day, in reality I didn’t even need the enclosure… oh well.
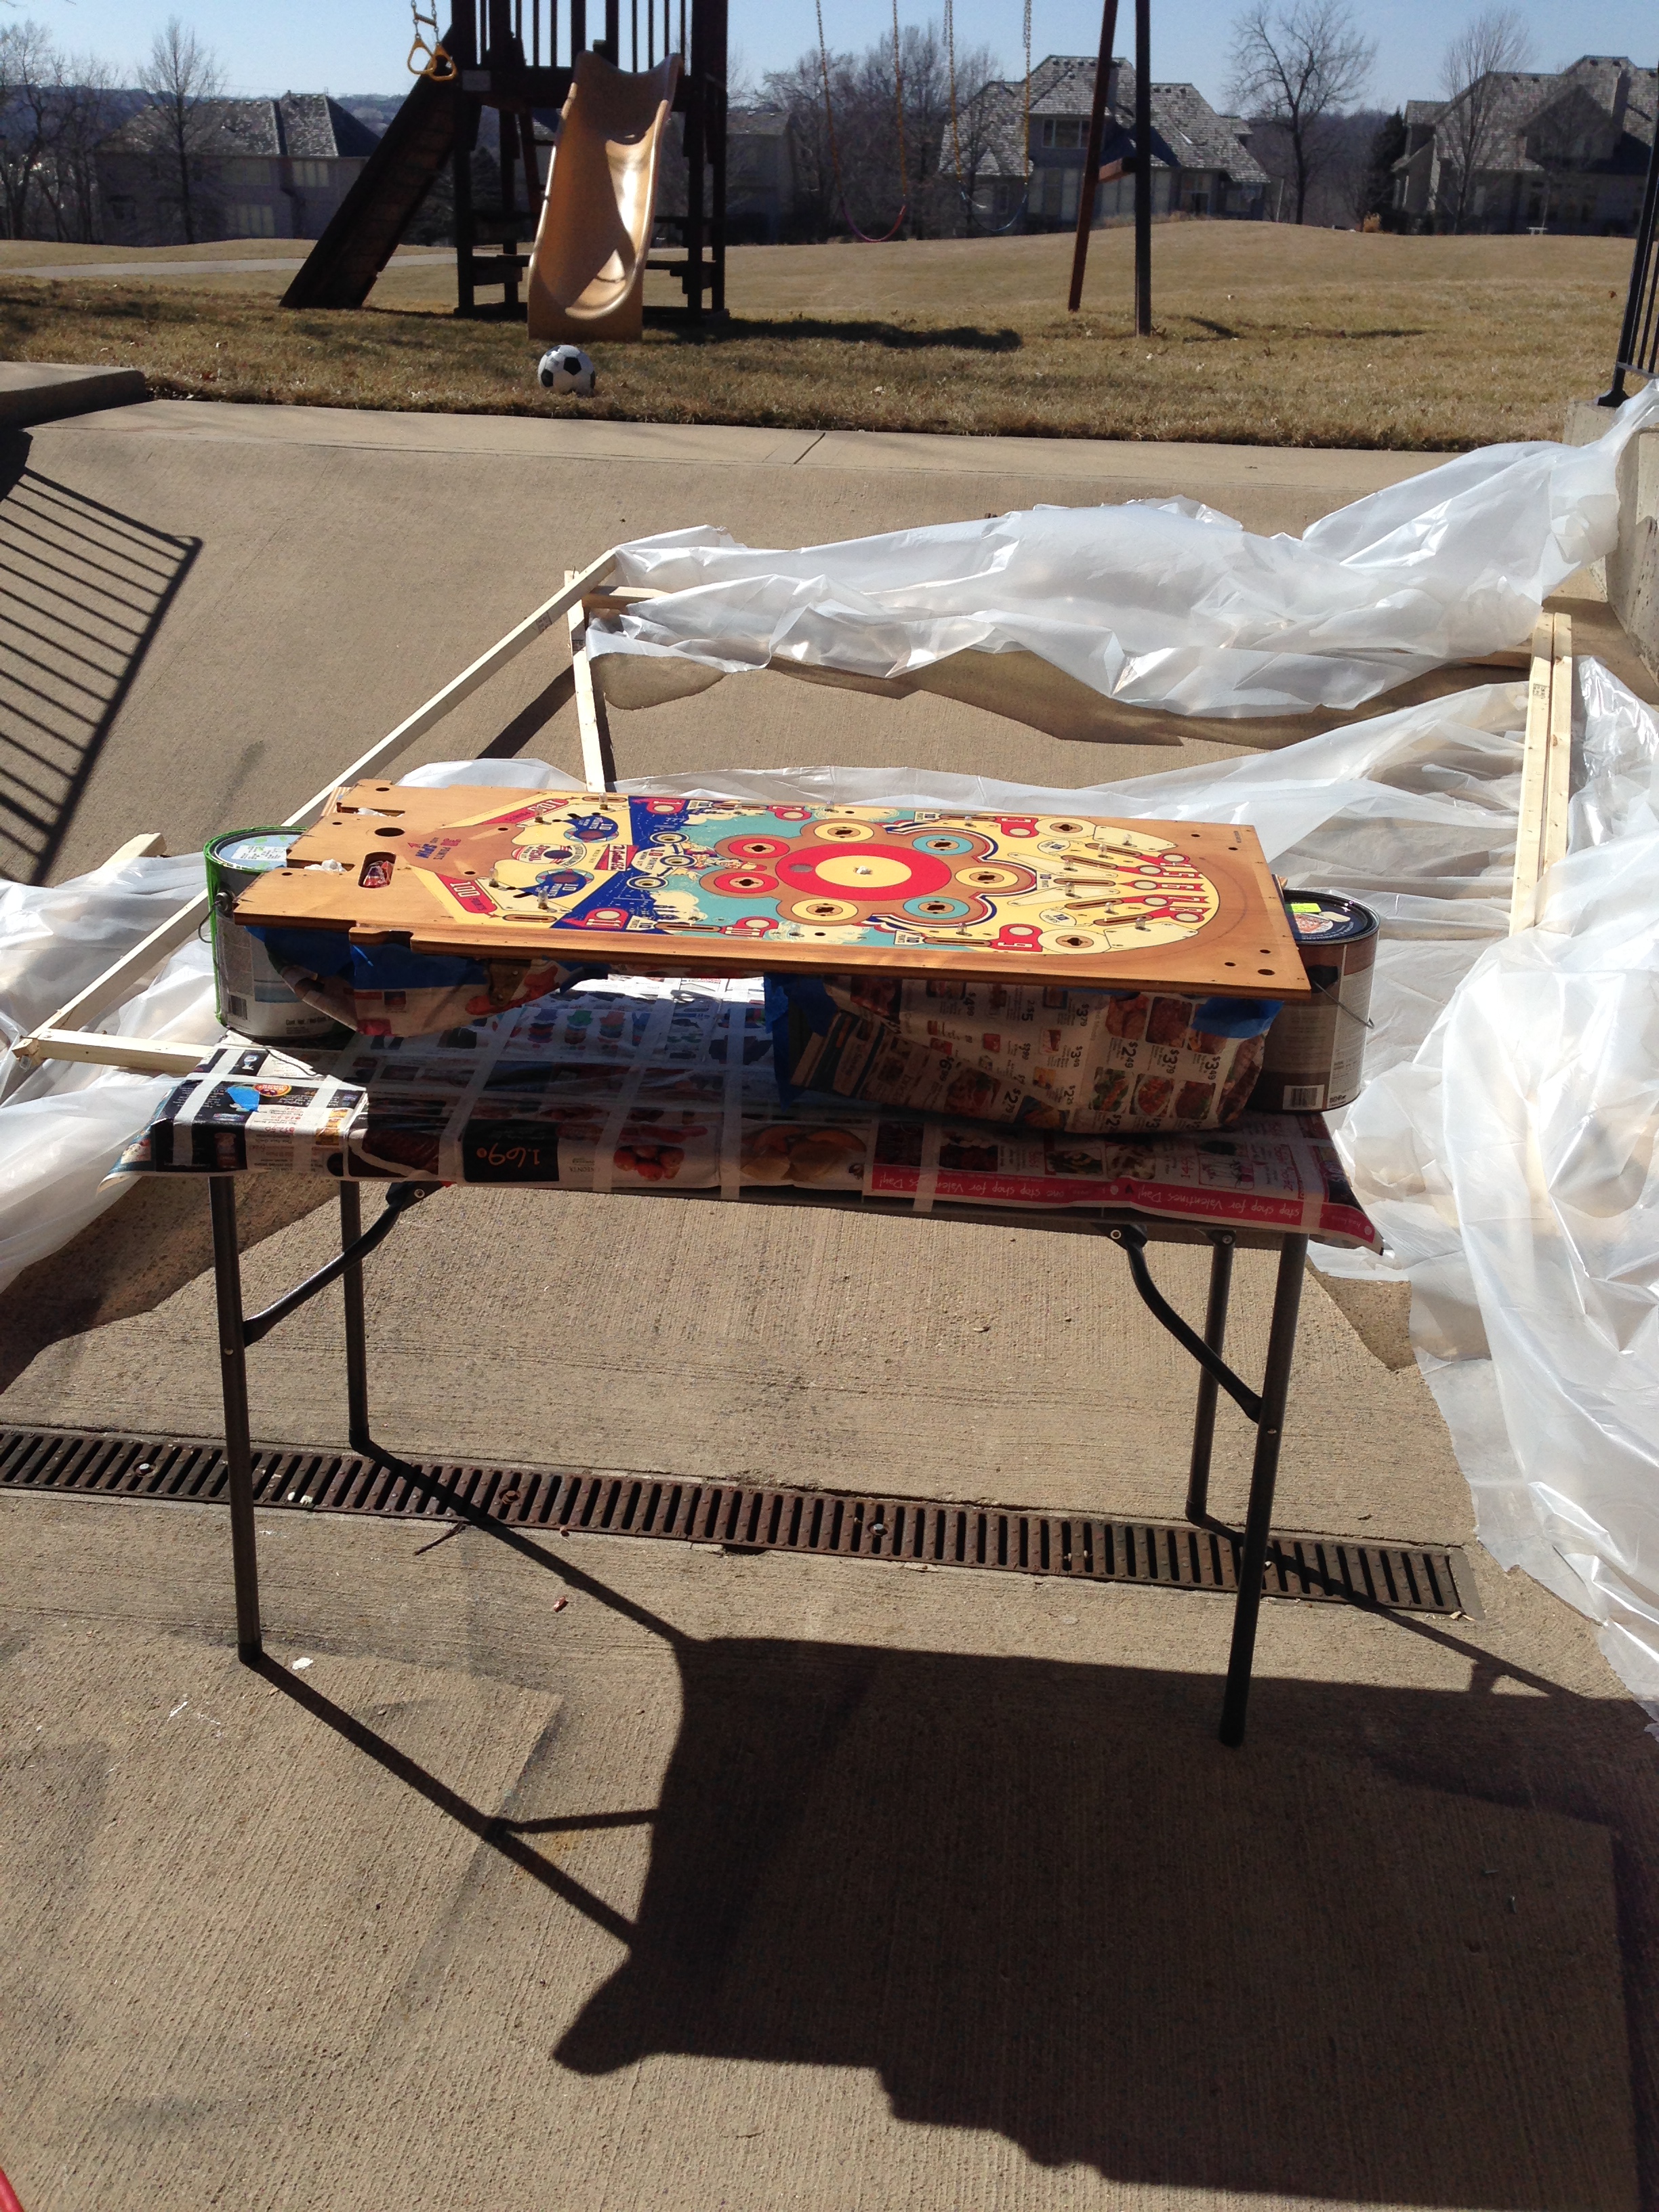
I got the playfield moved out to the driveway and leveled. Then I suited up in my protective gear.
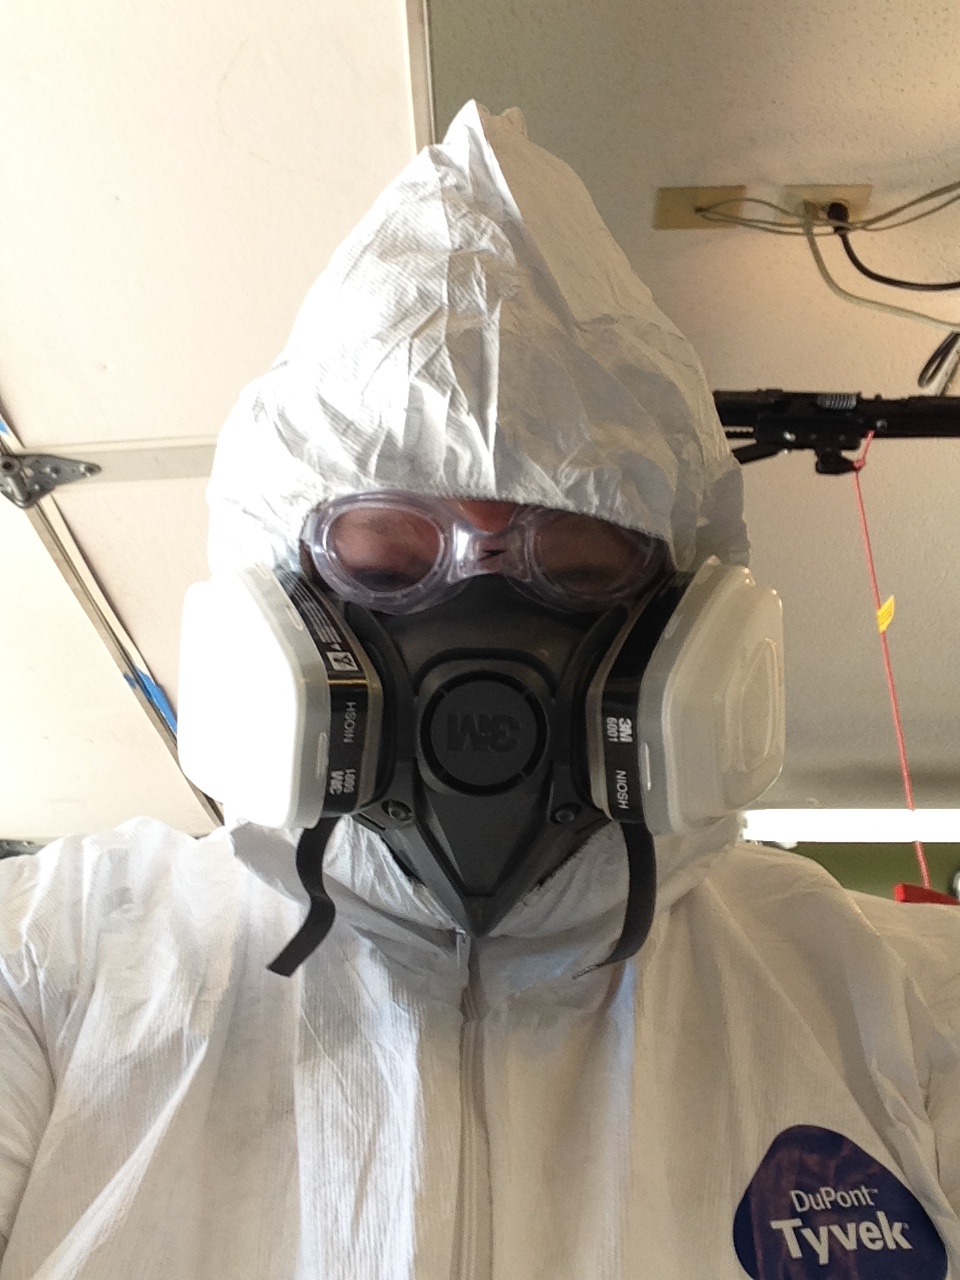
(yes, I’m an idiot… that mask is on upside down)
And started spraying the playfield…


Above is coat 1, and then coat 2.
Finished pictures:

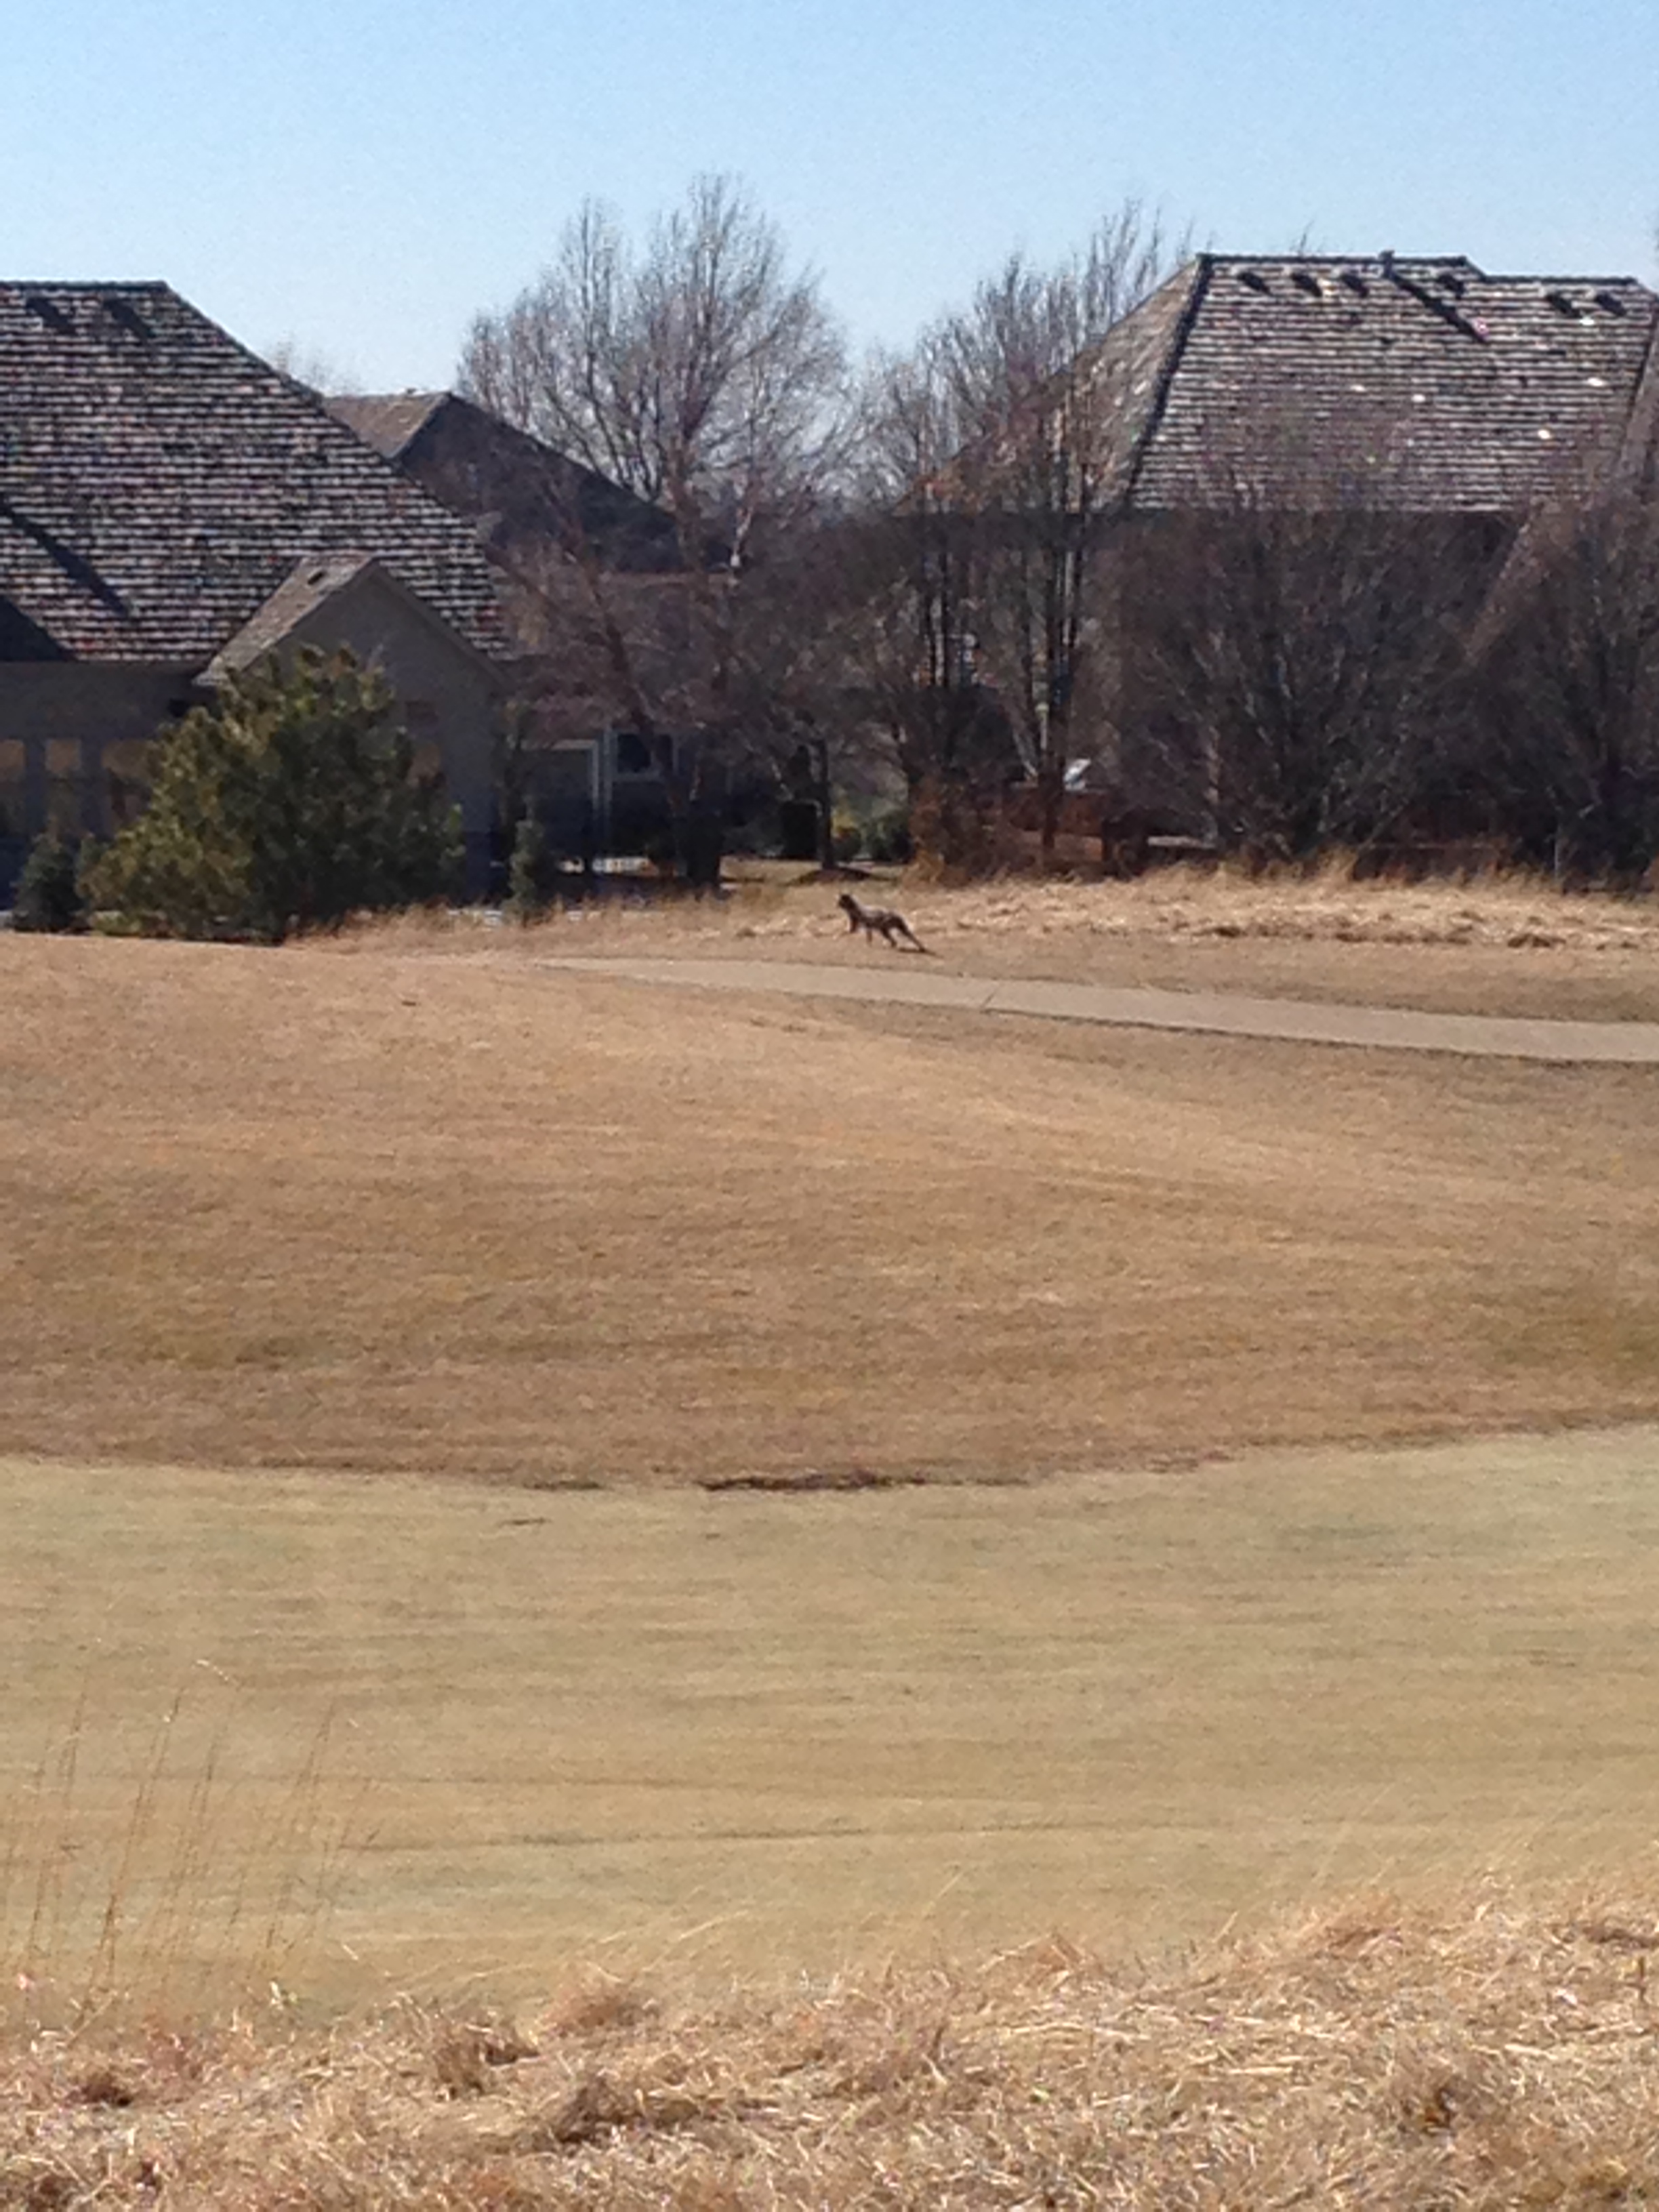
A coyote walked right through my backyard while I was painting. It took me so long to get my phone and take a picture that he was already across the fairway by the time I got a picture!
New Coin Chute
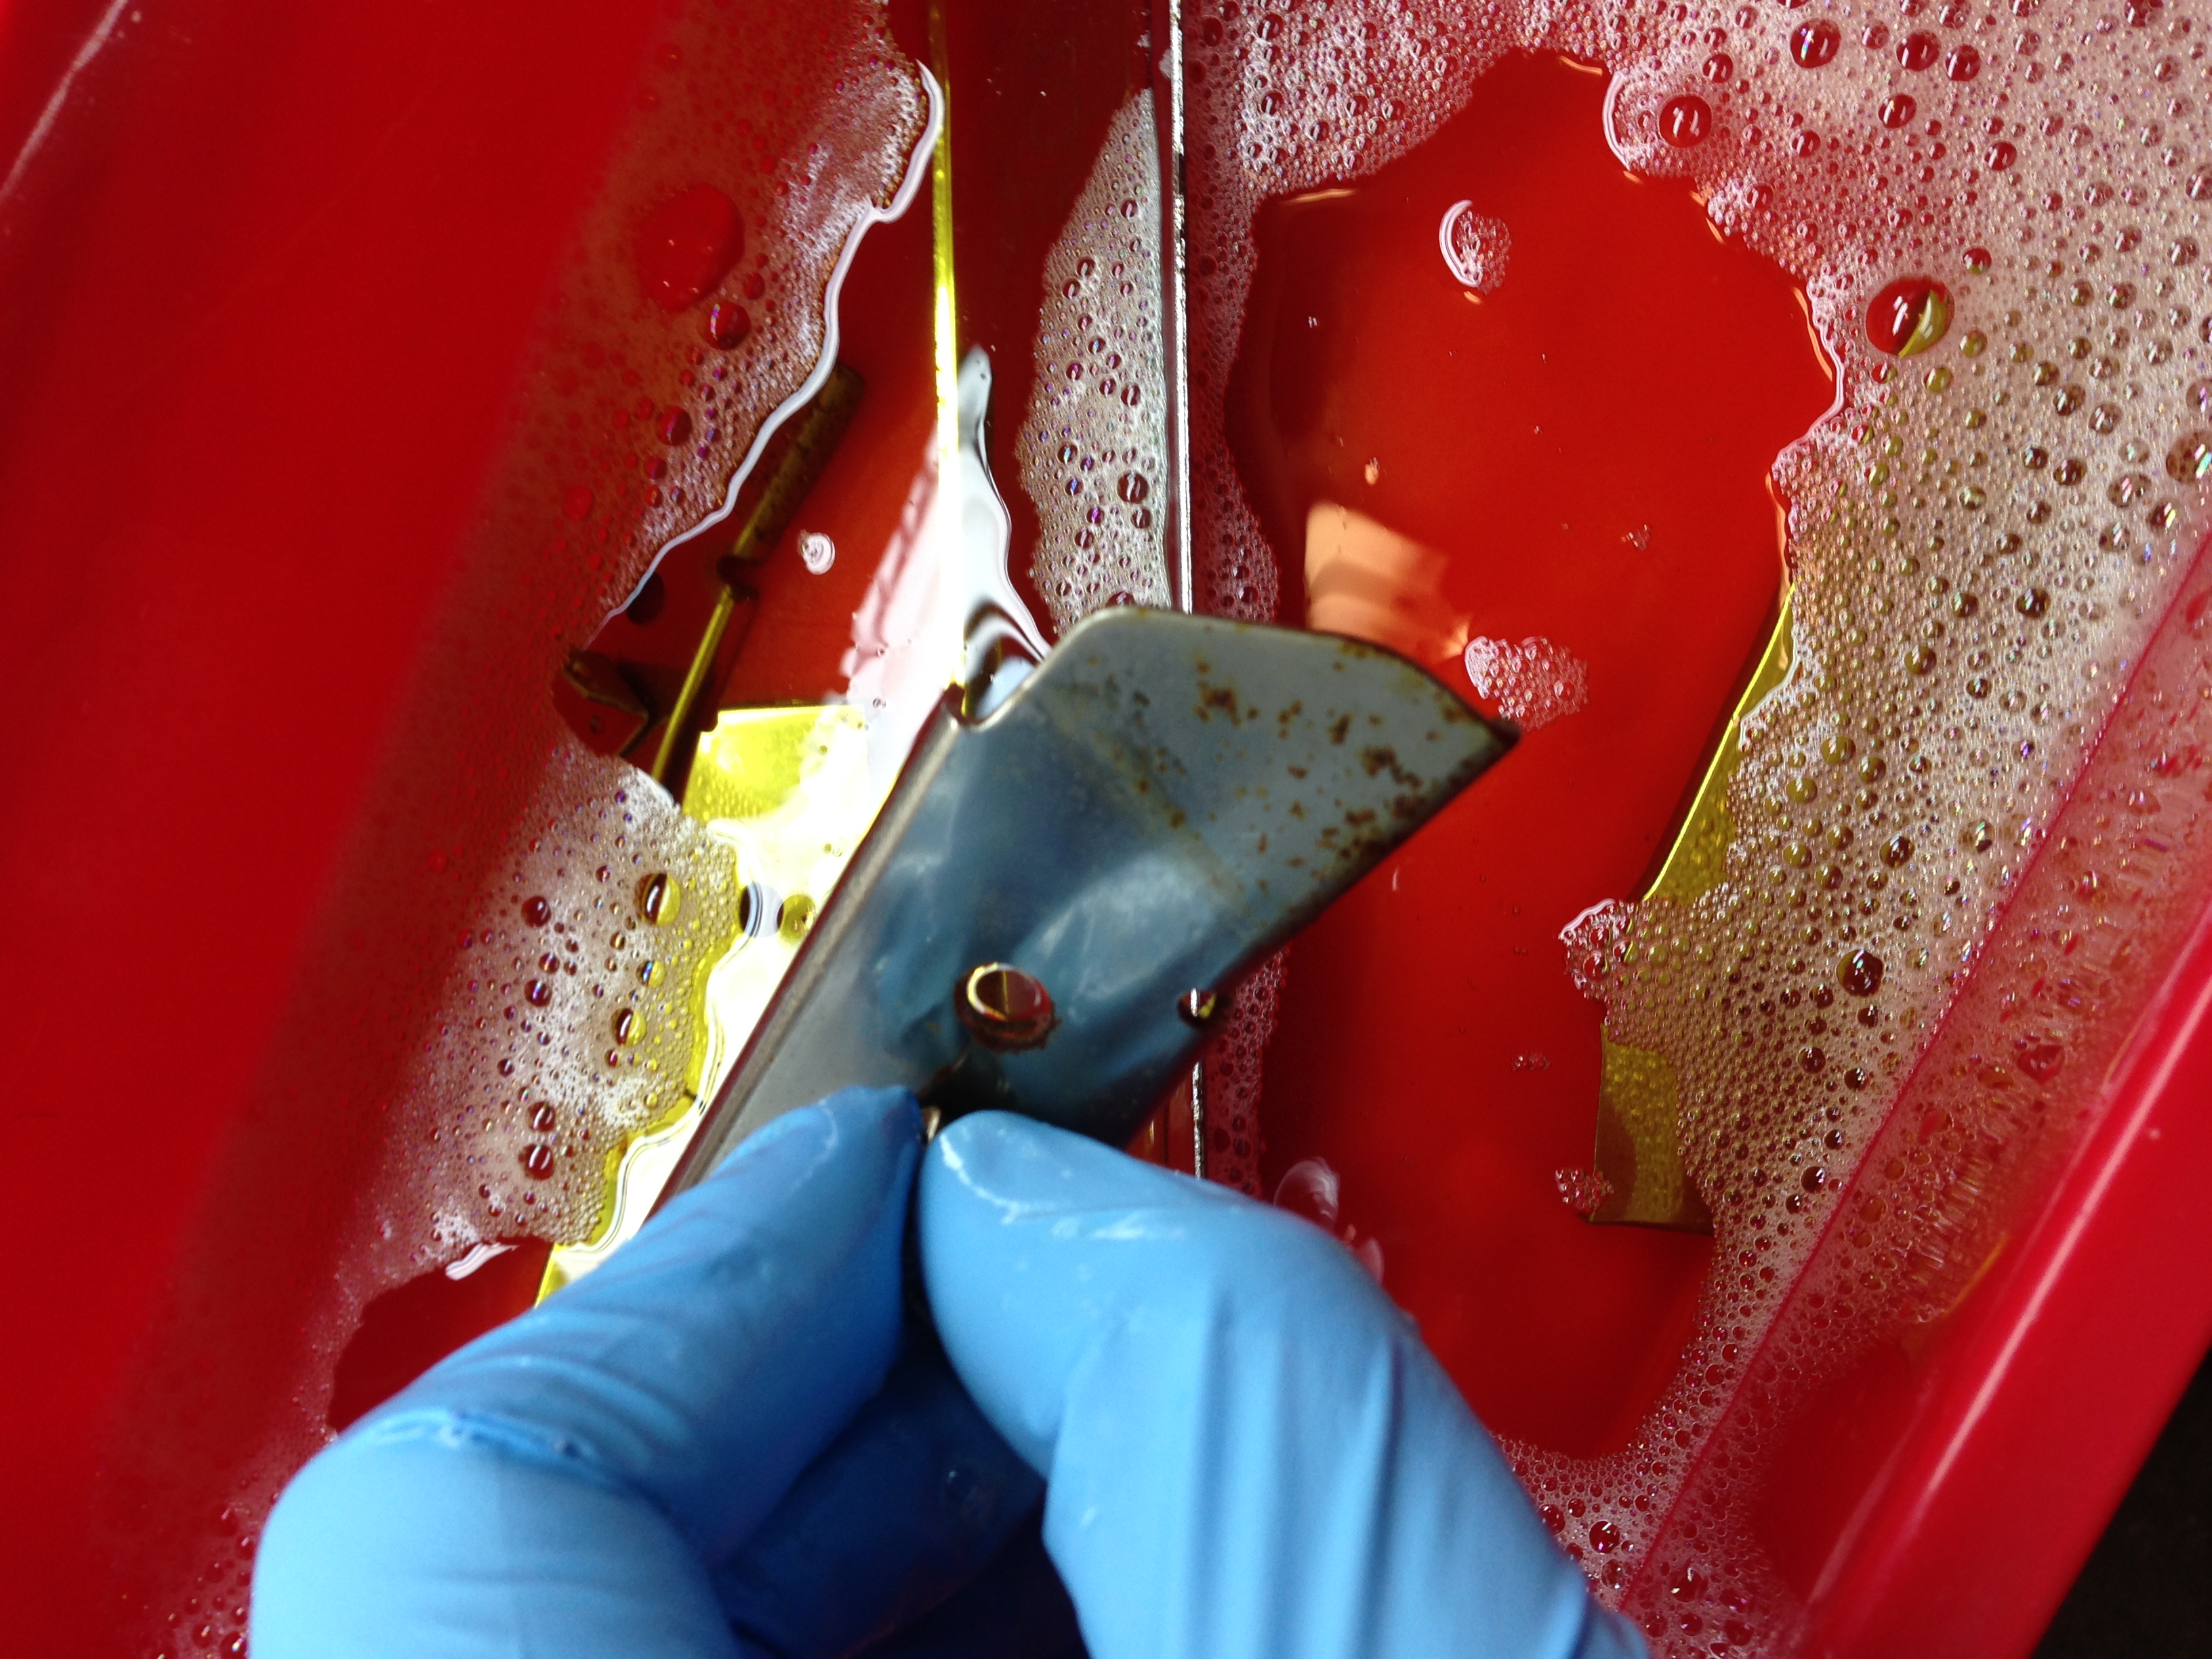
While I was clear-coating, I was also cleaning up a new coin entry plate and coin chute I got from a friend. The parts were in pretty good shape, but had some surface rust. I tried some Evaporust to see how it would do on these parts. It sounded too good to be true, so I had to see if it really worked. Amazingly, it did really work on these stainless steel parts. Here’s some before and after shots.
Before
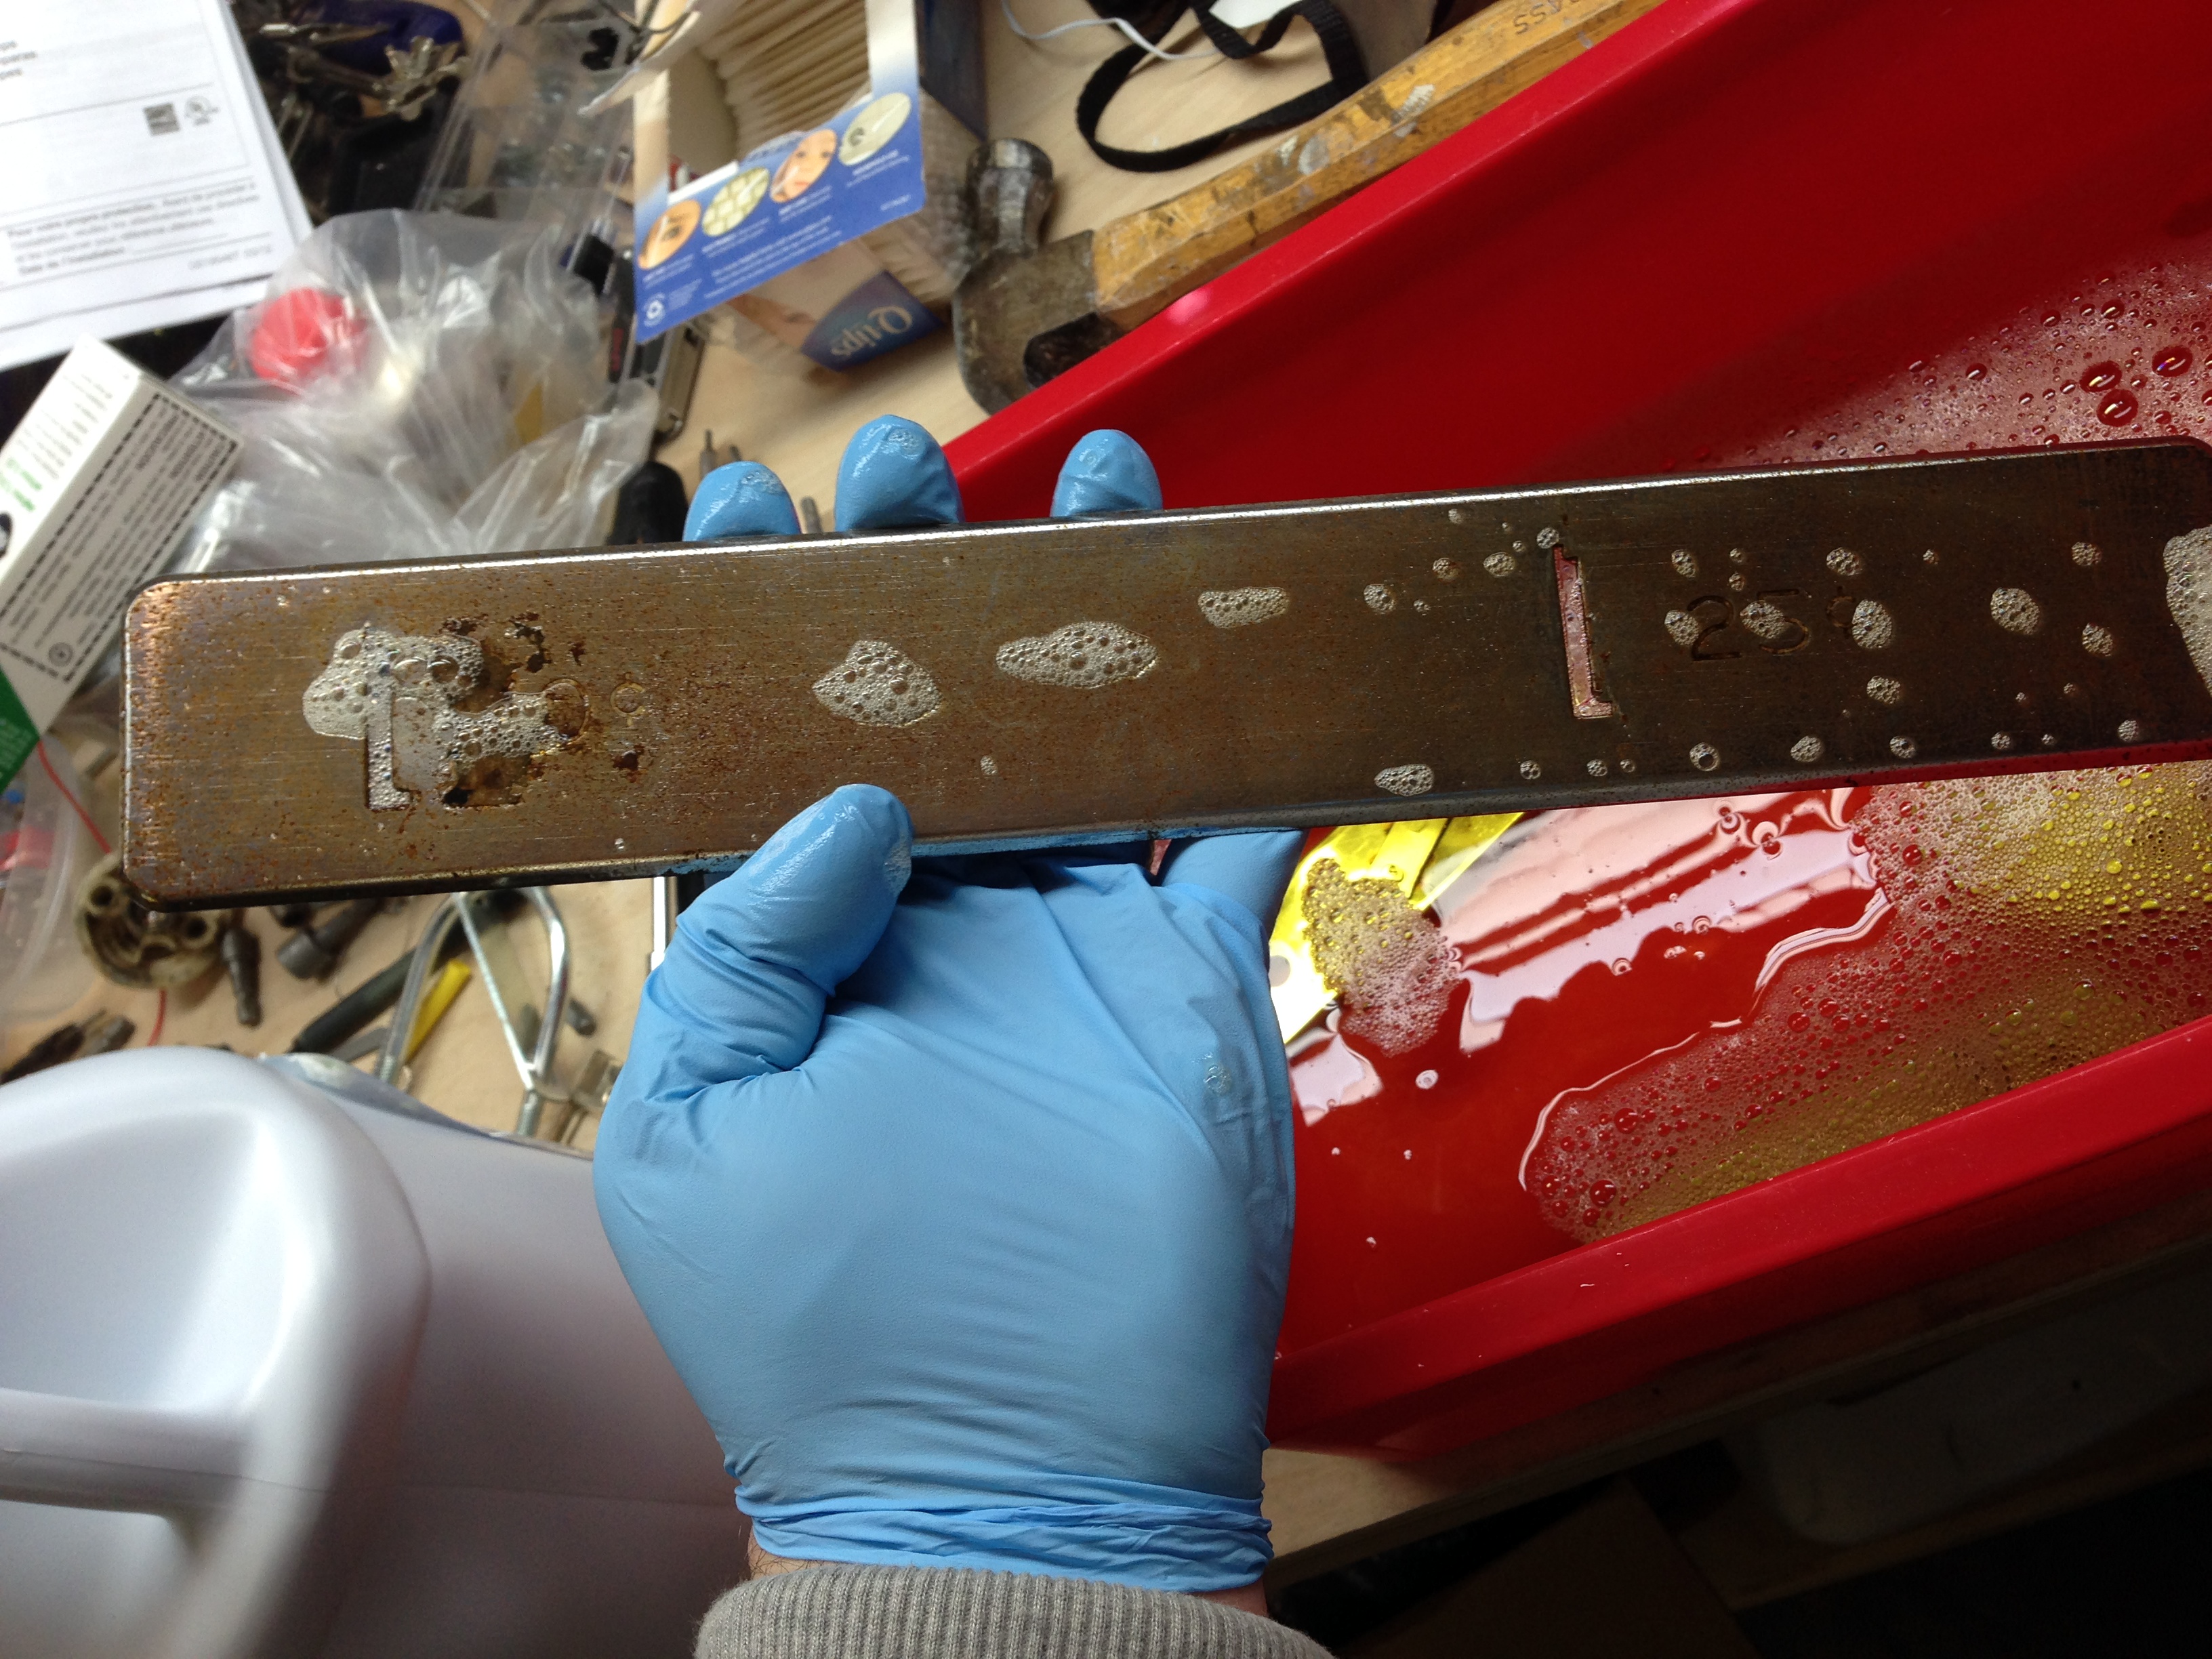
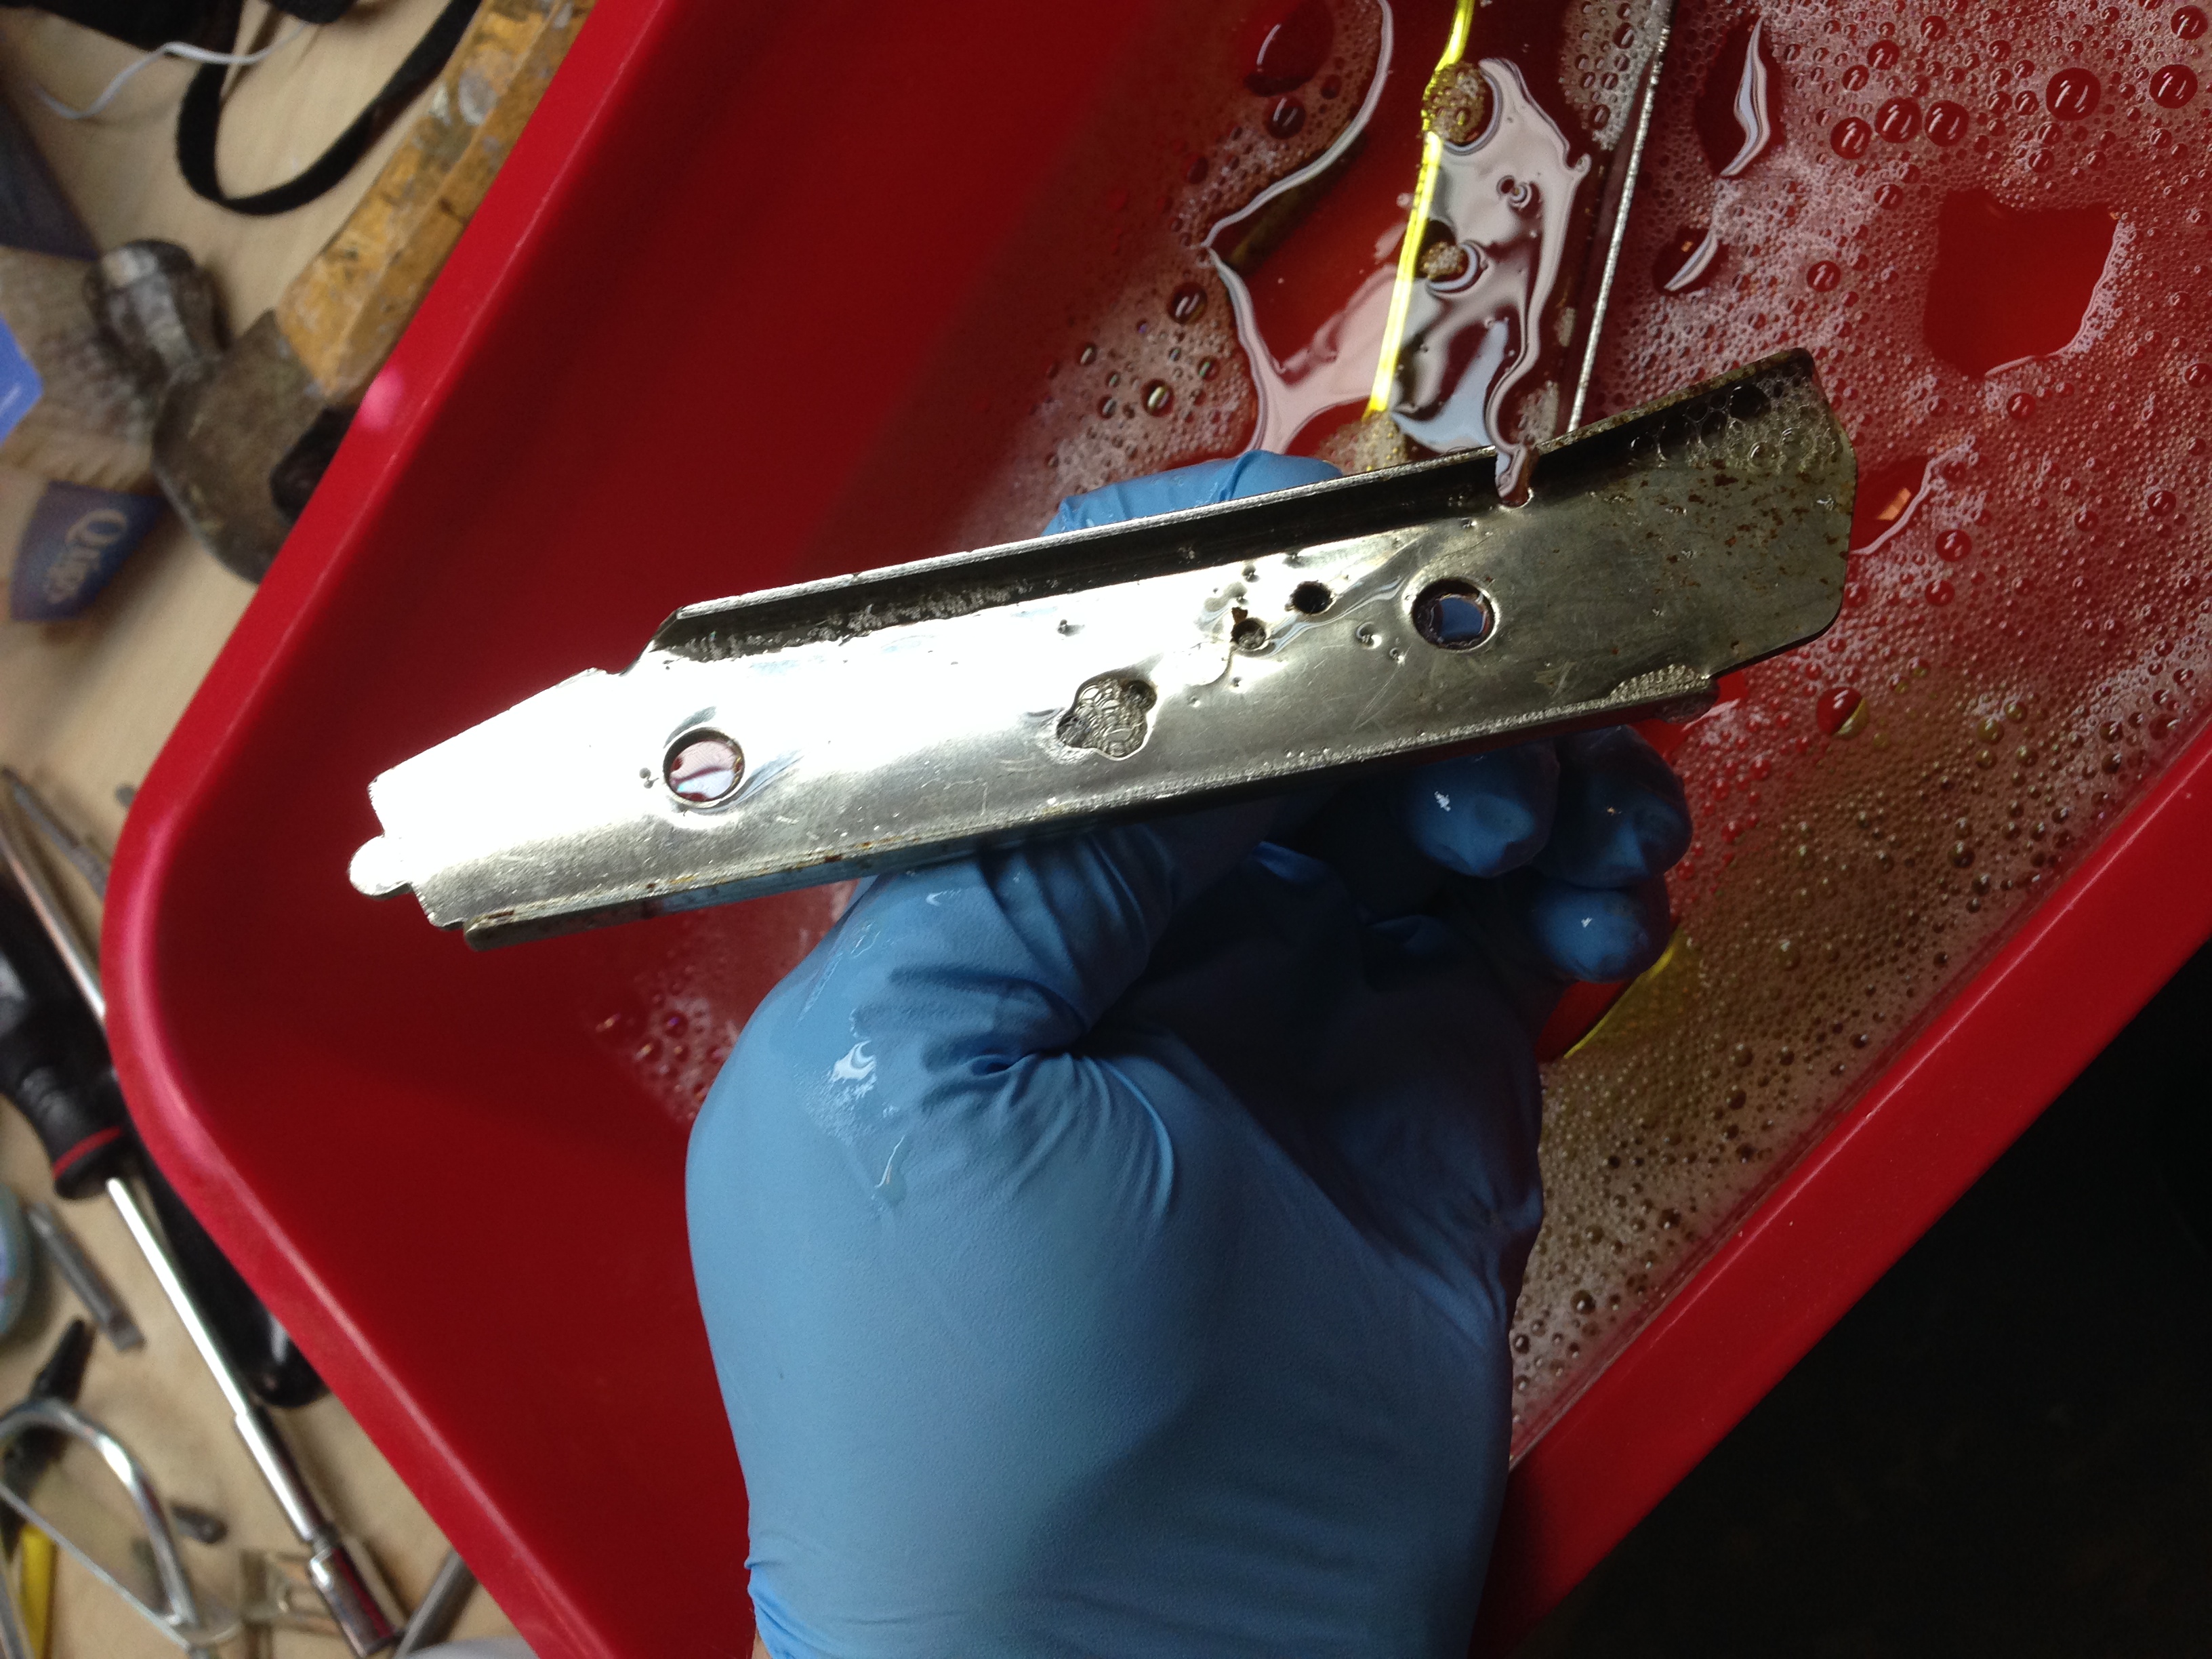
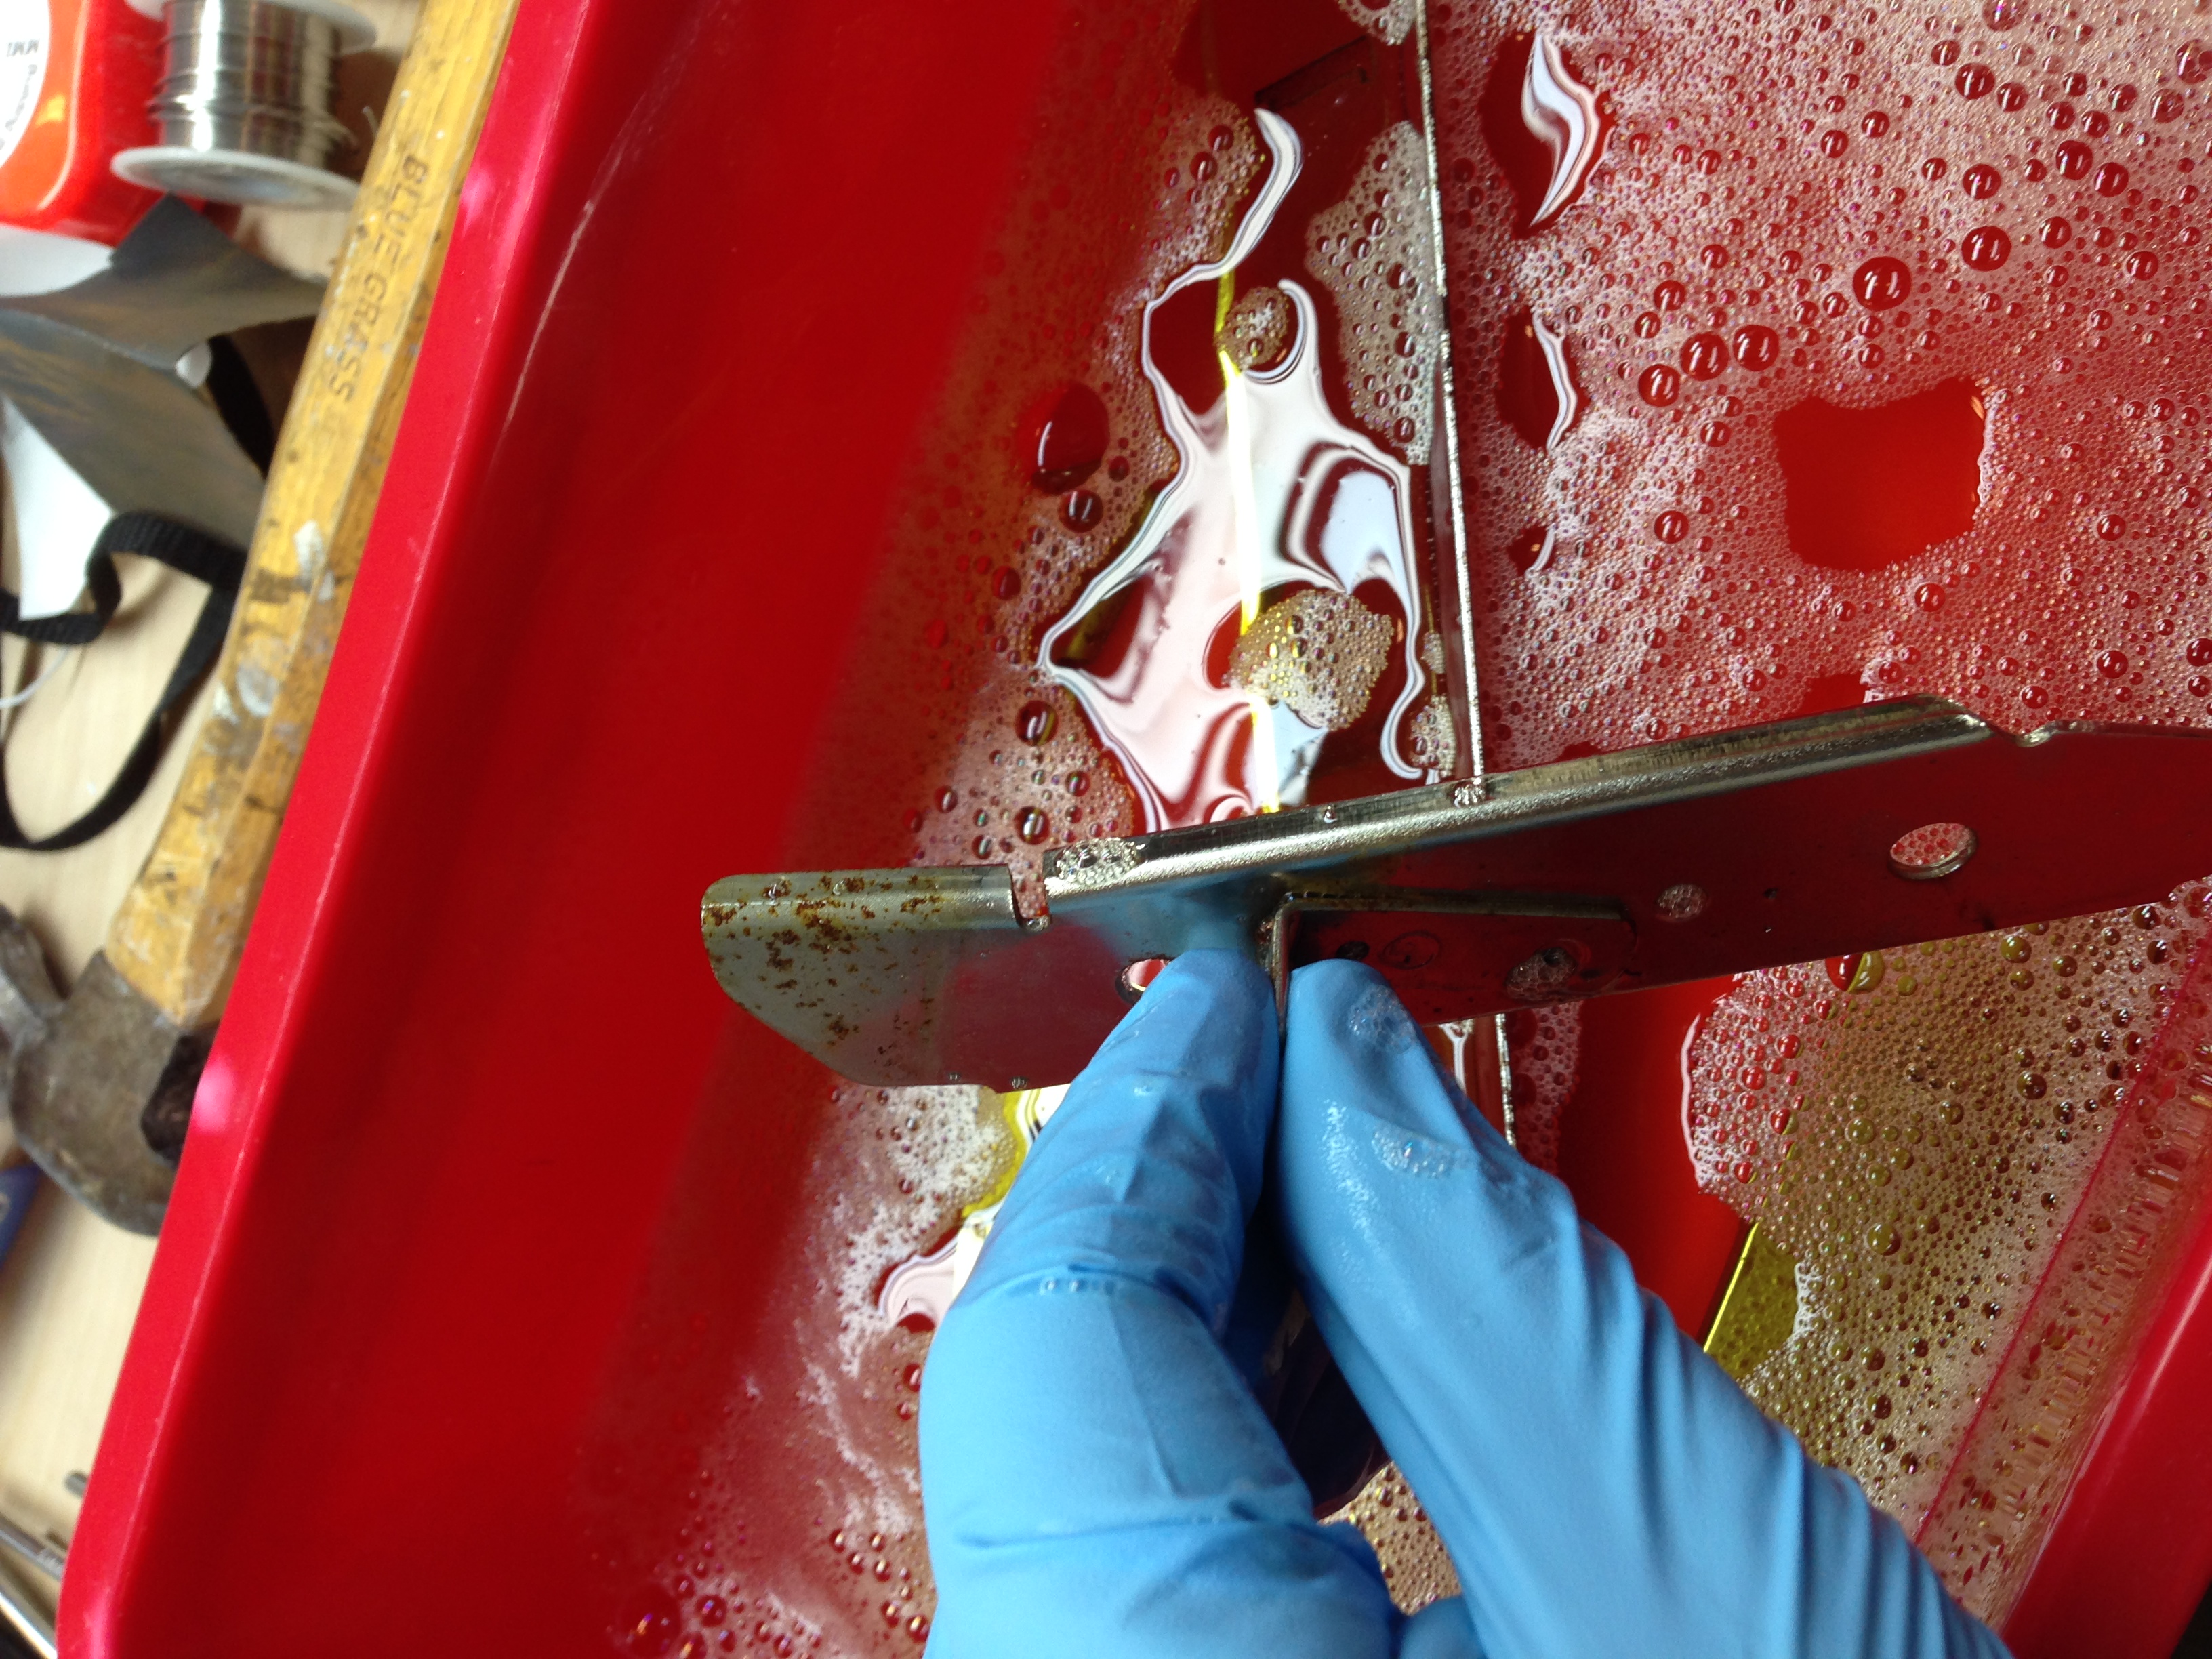
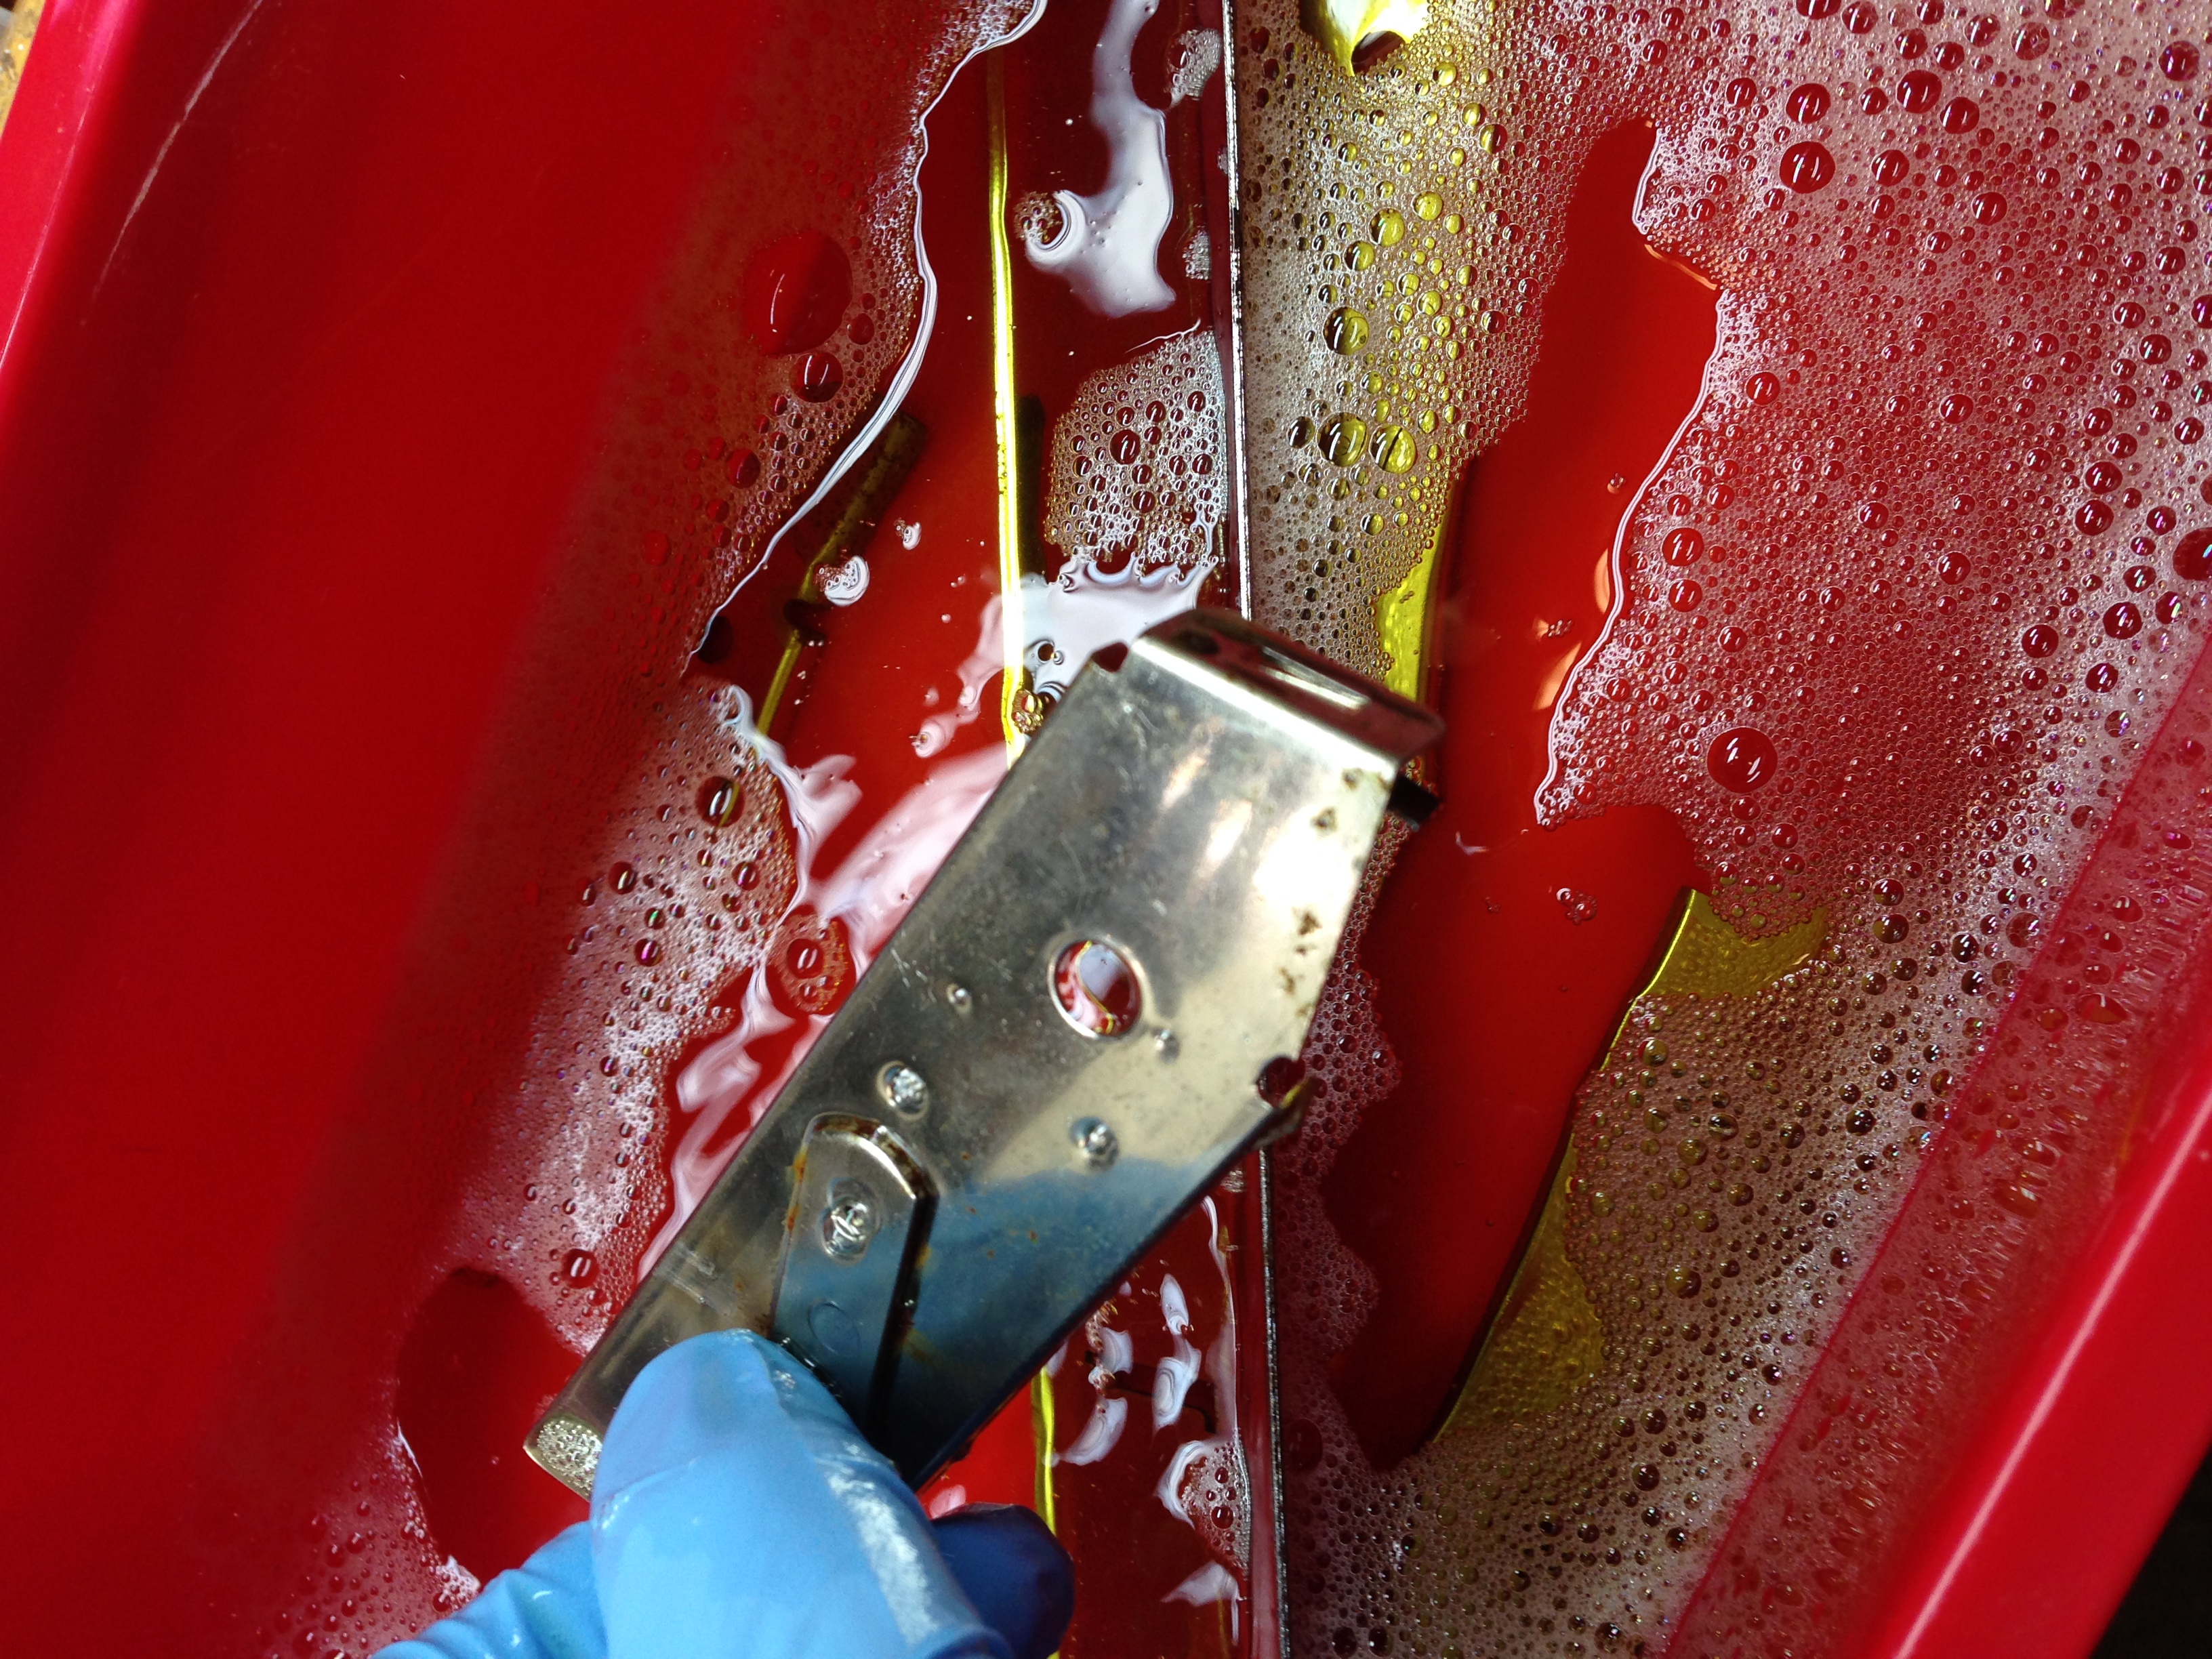
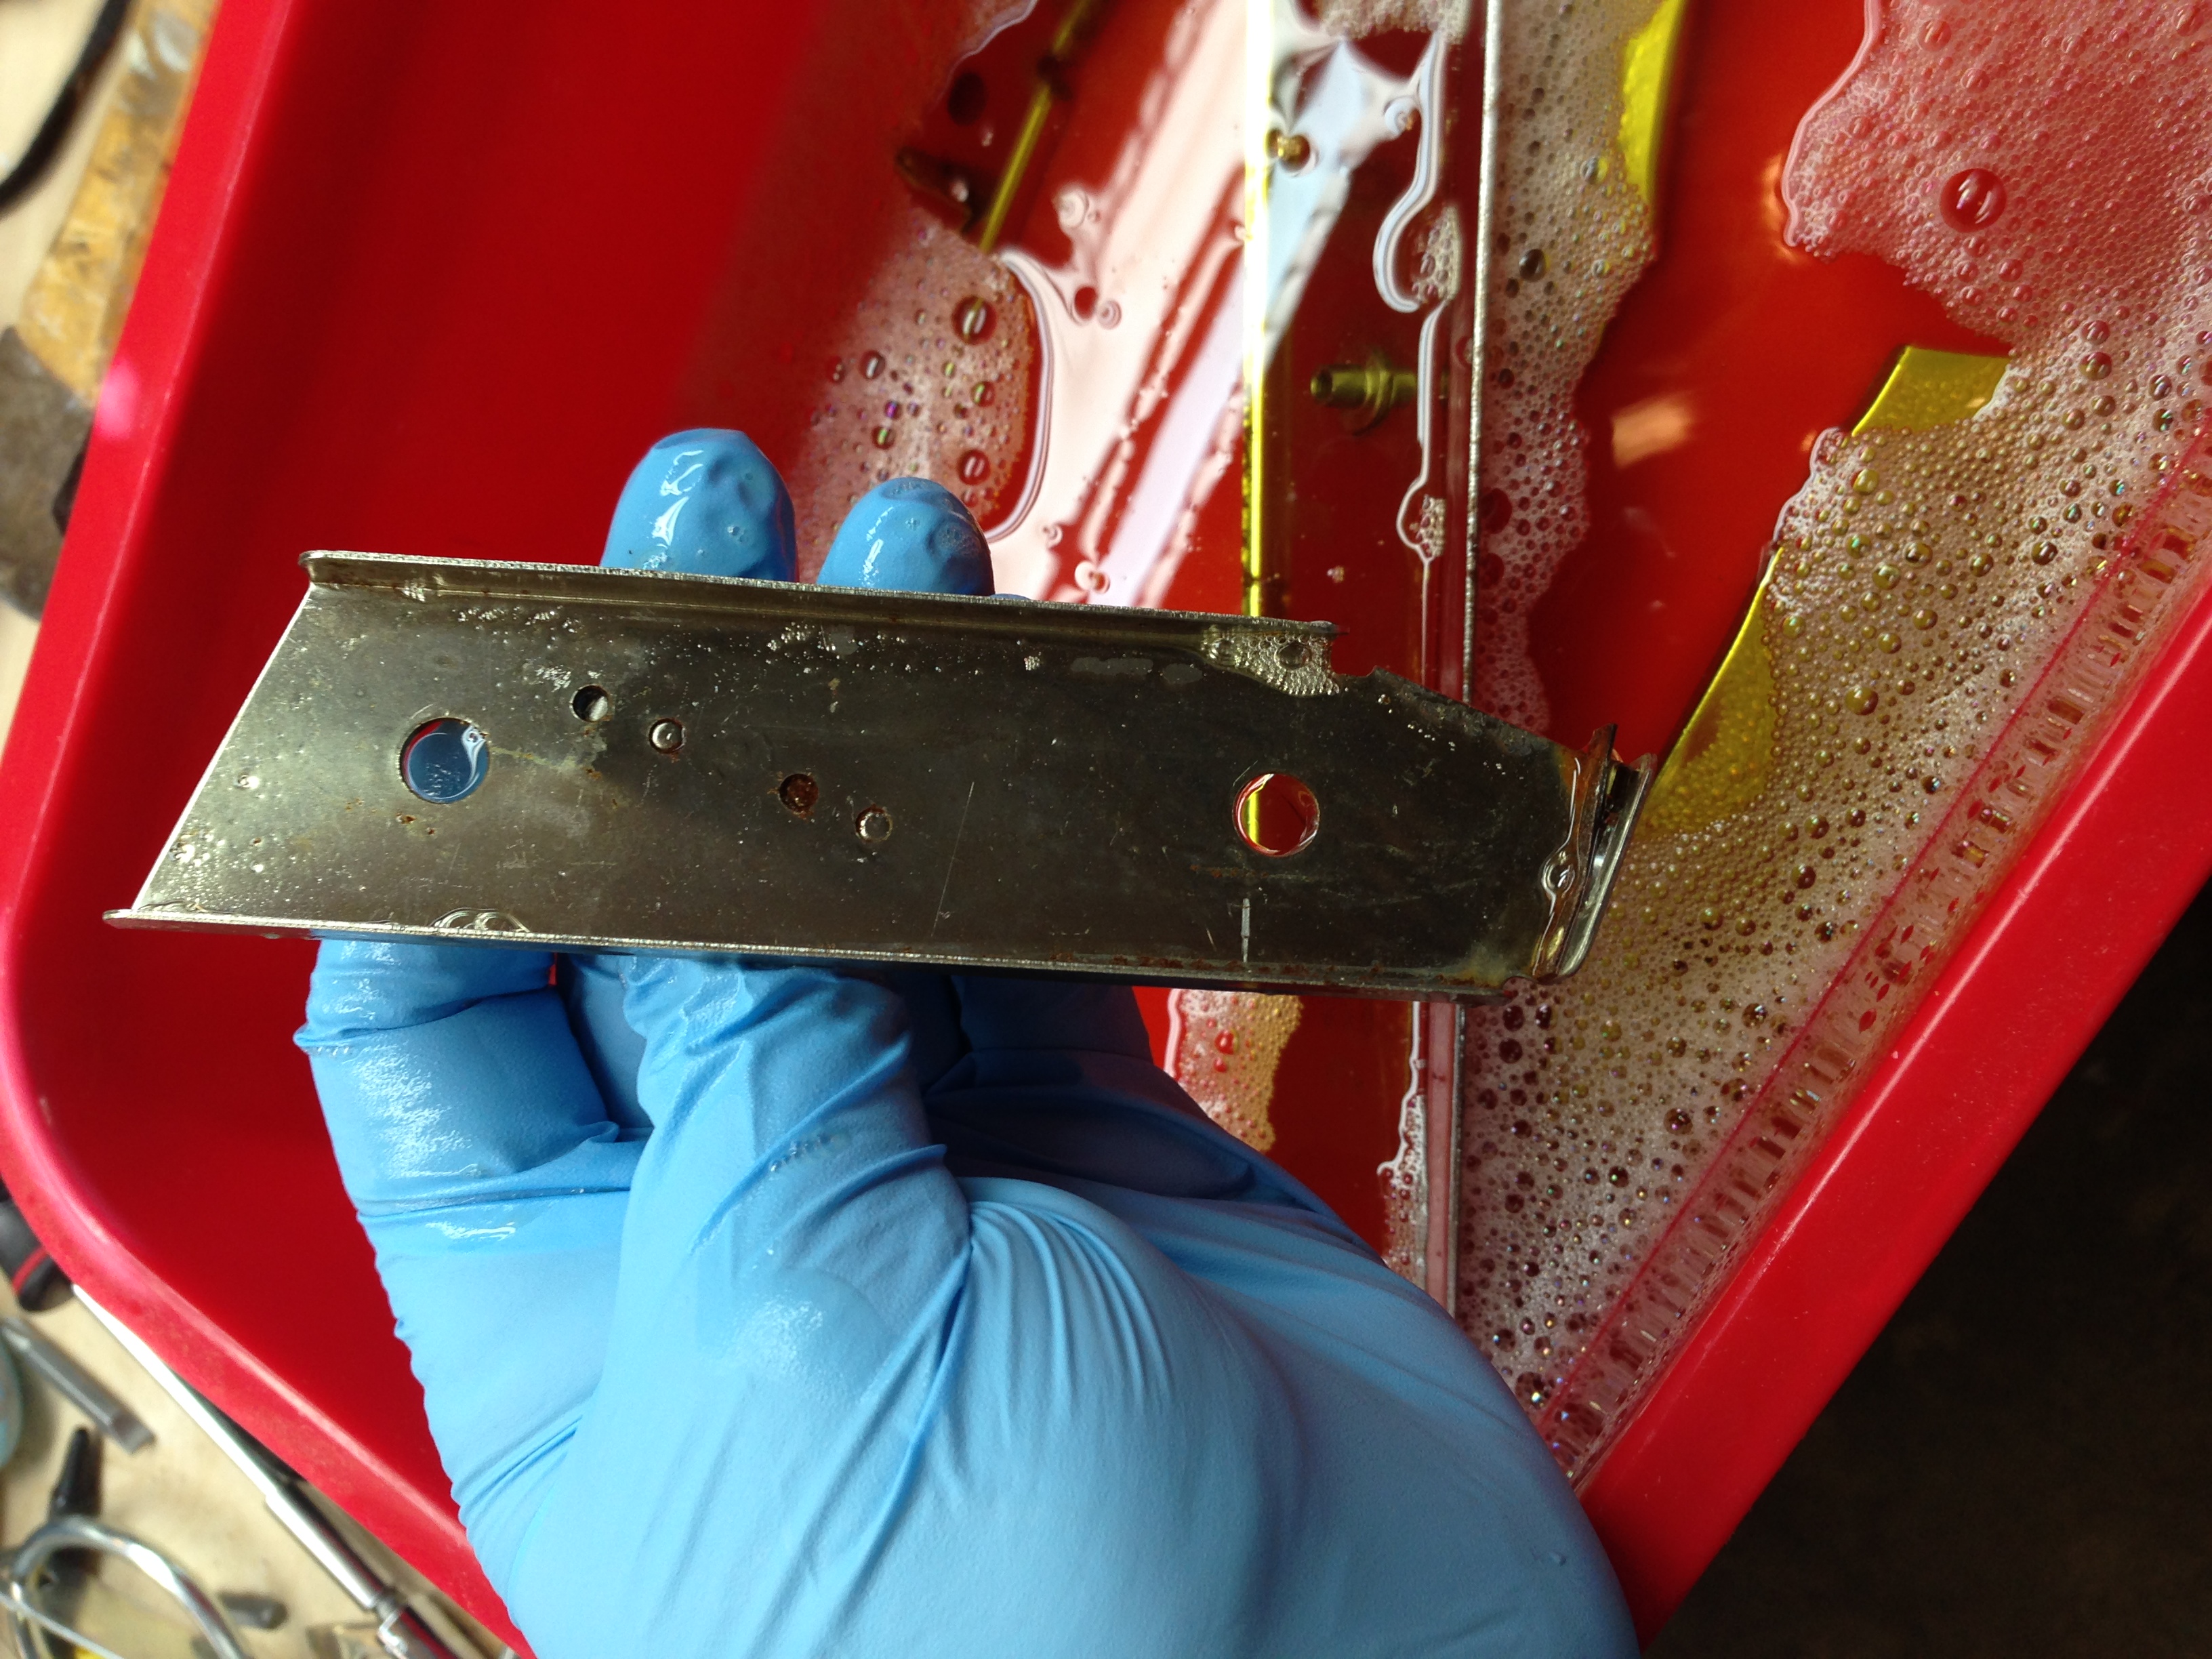
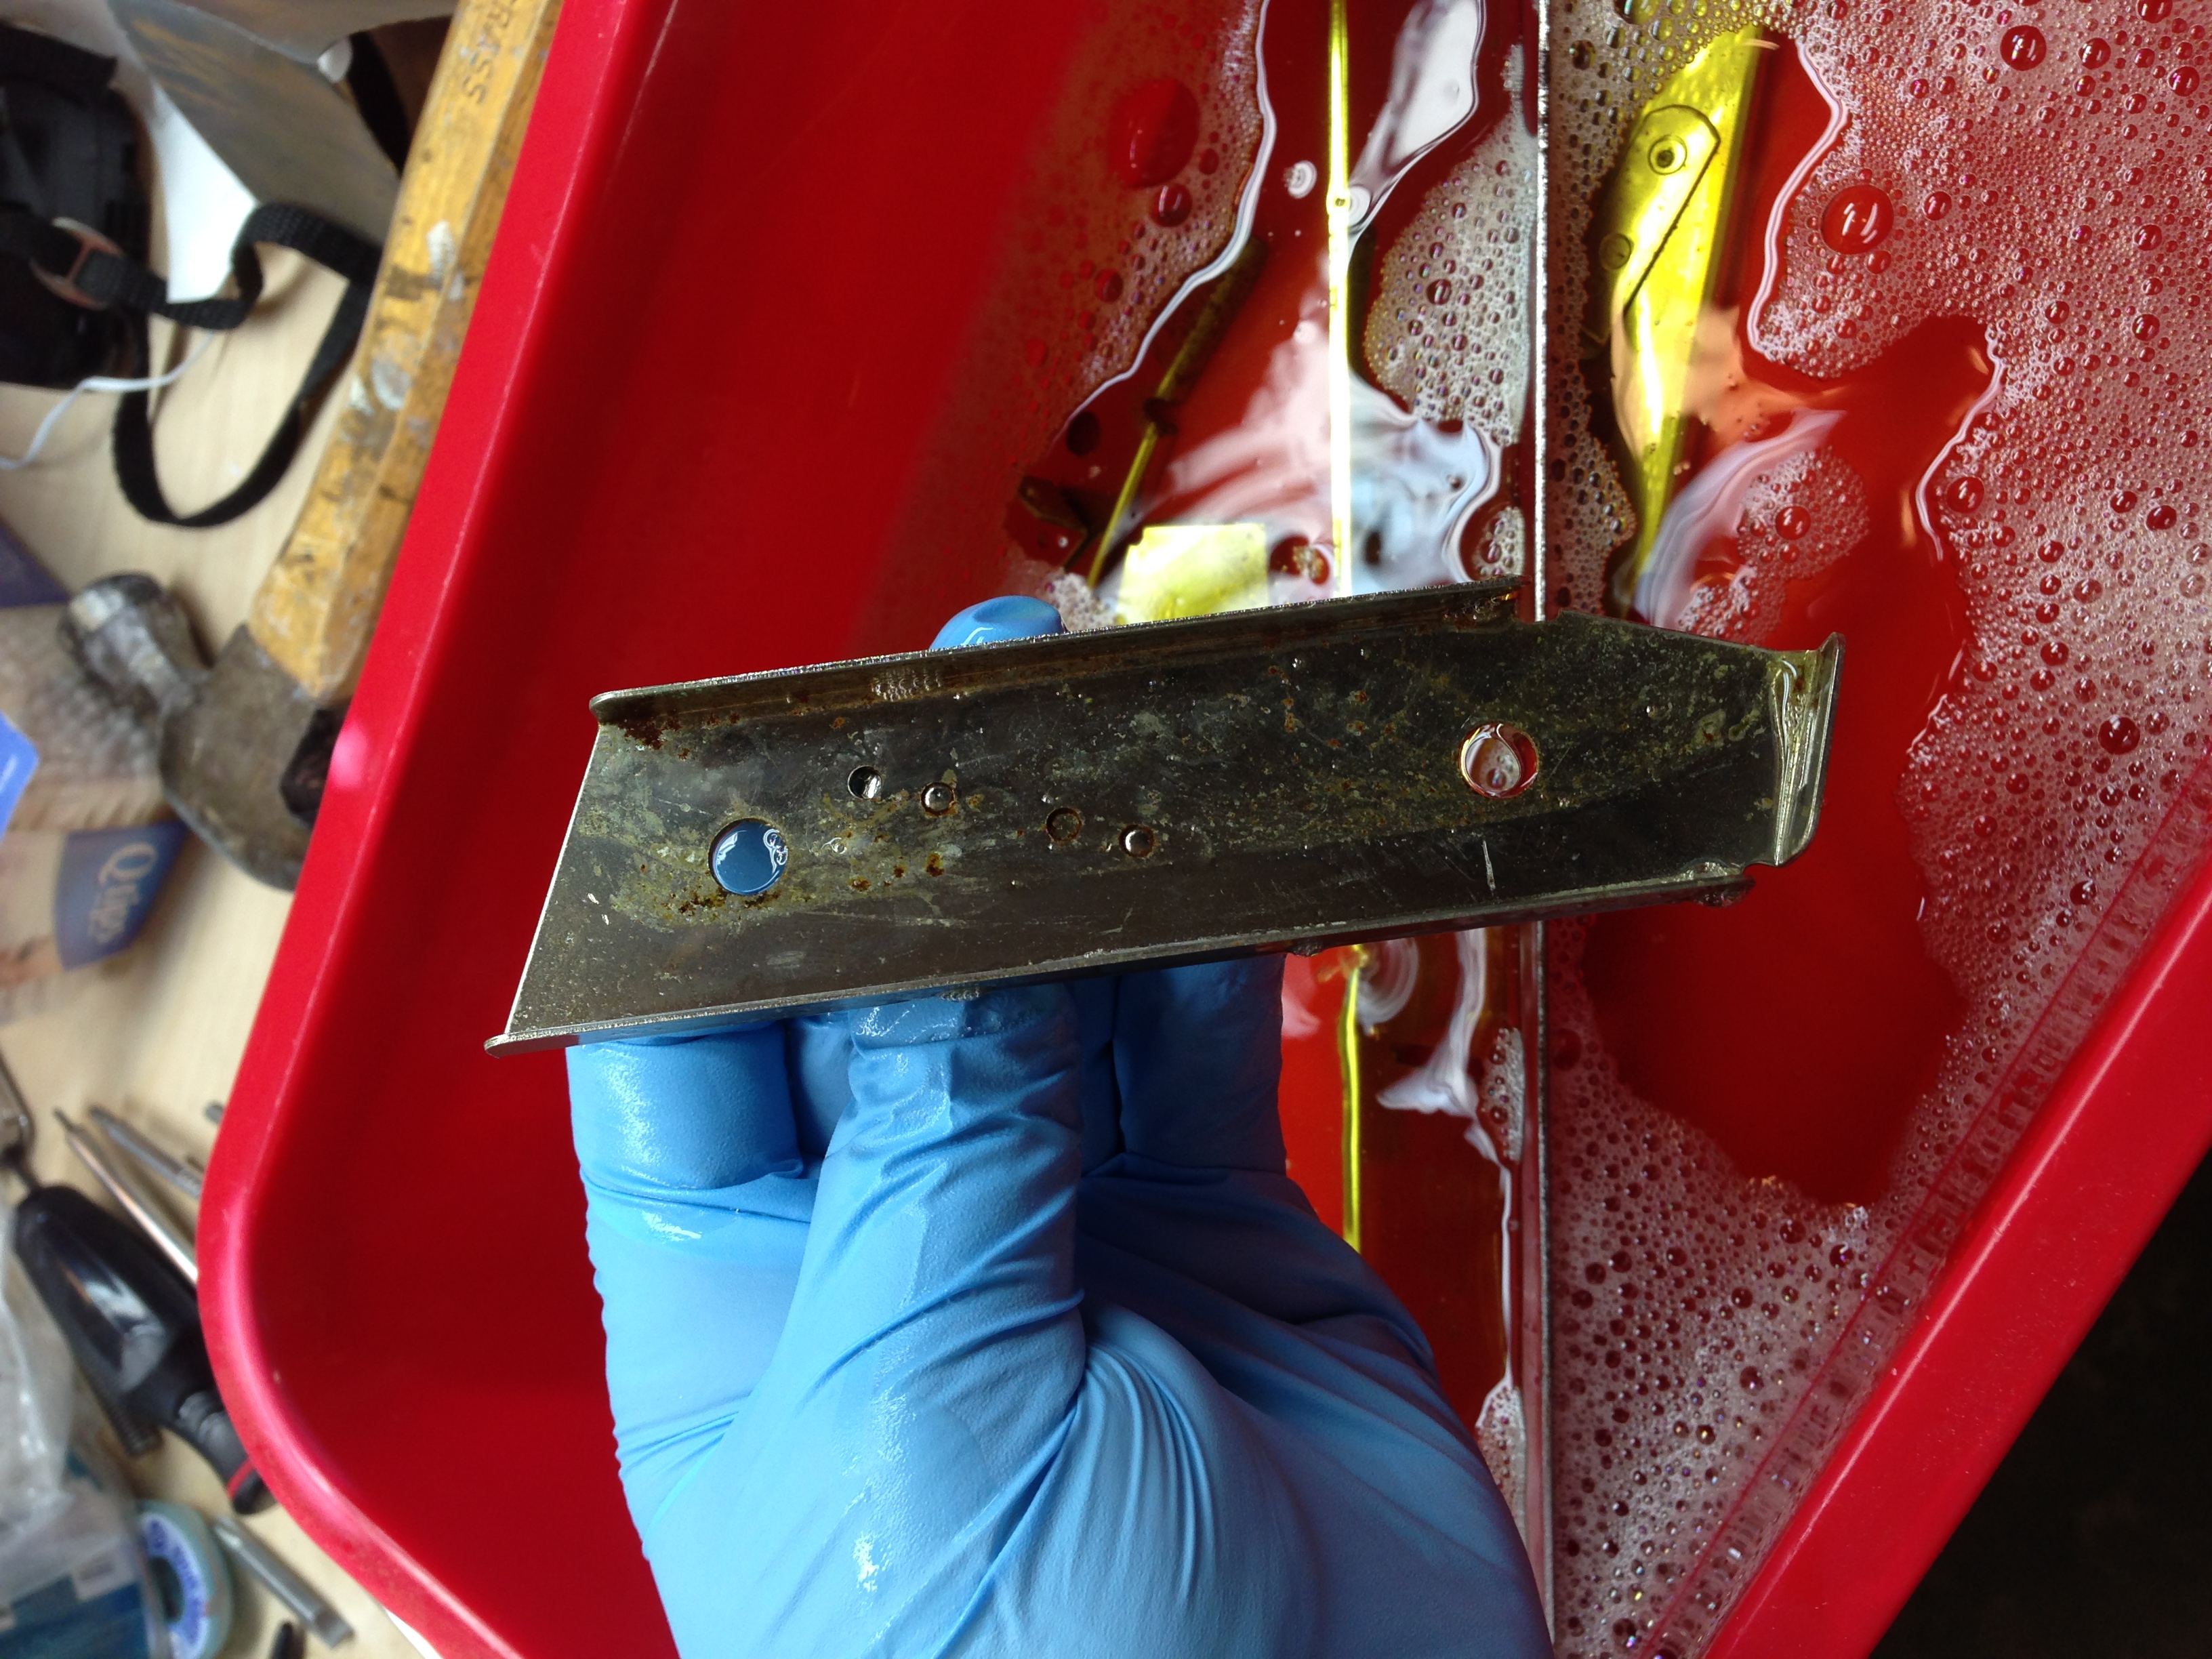
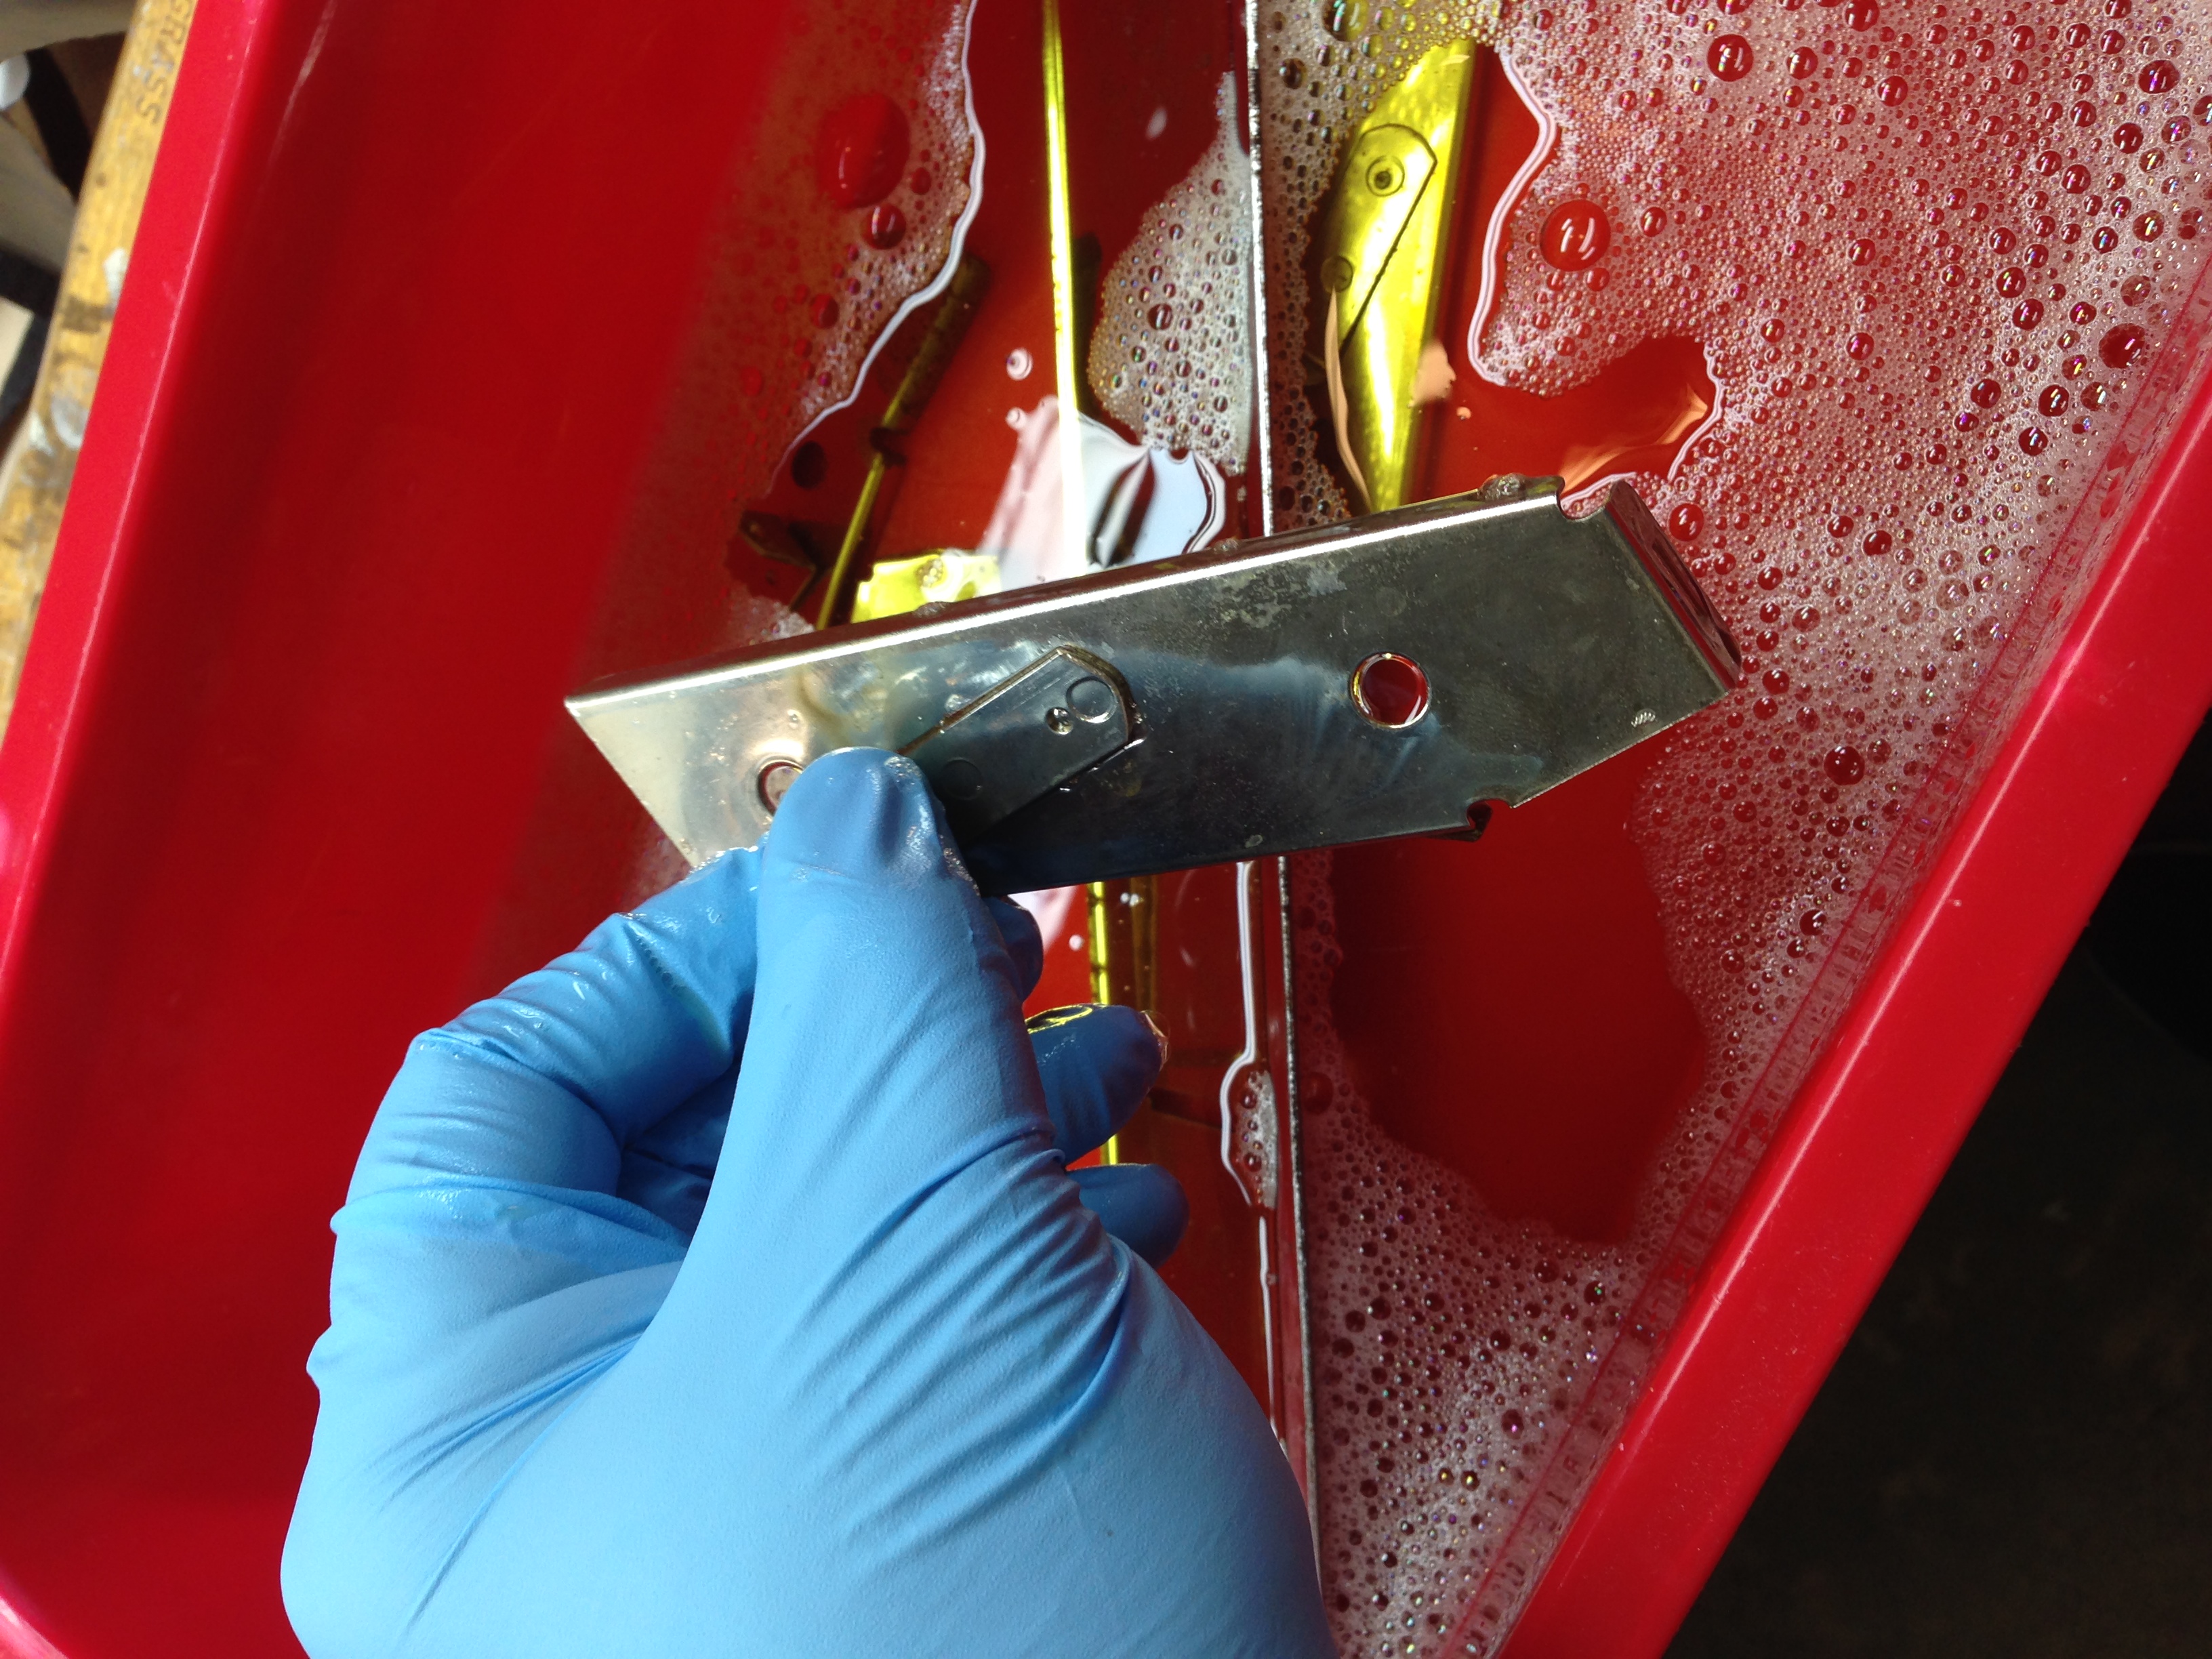
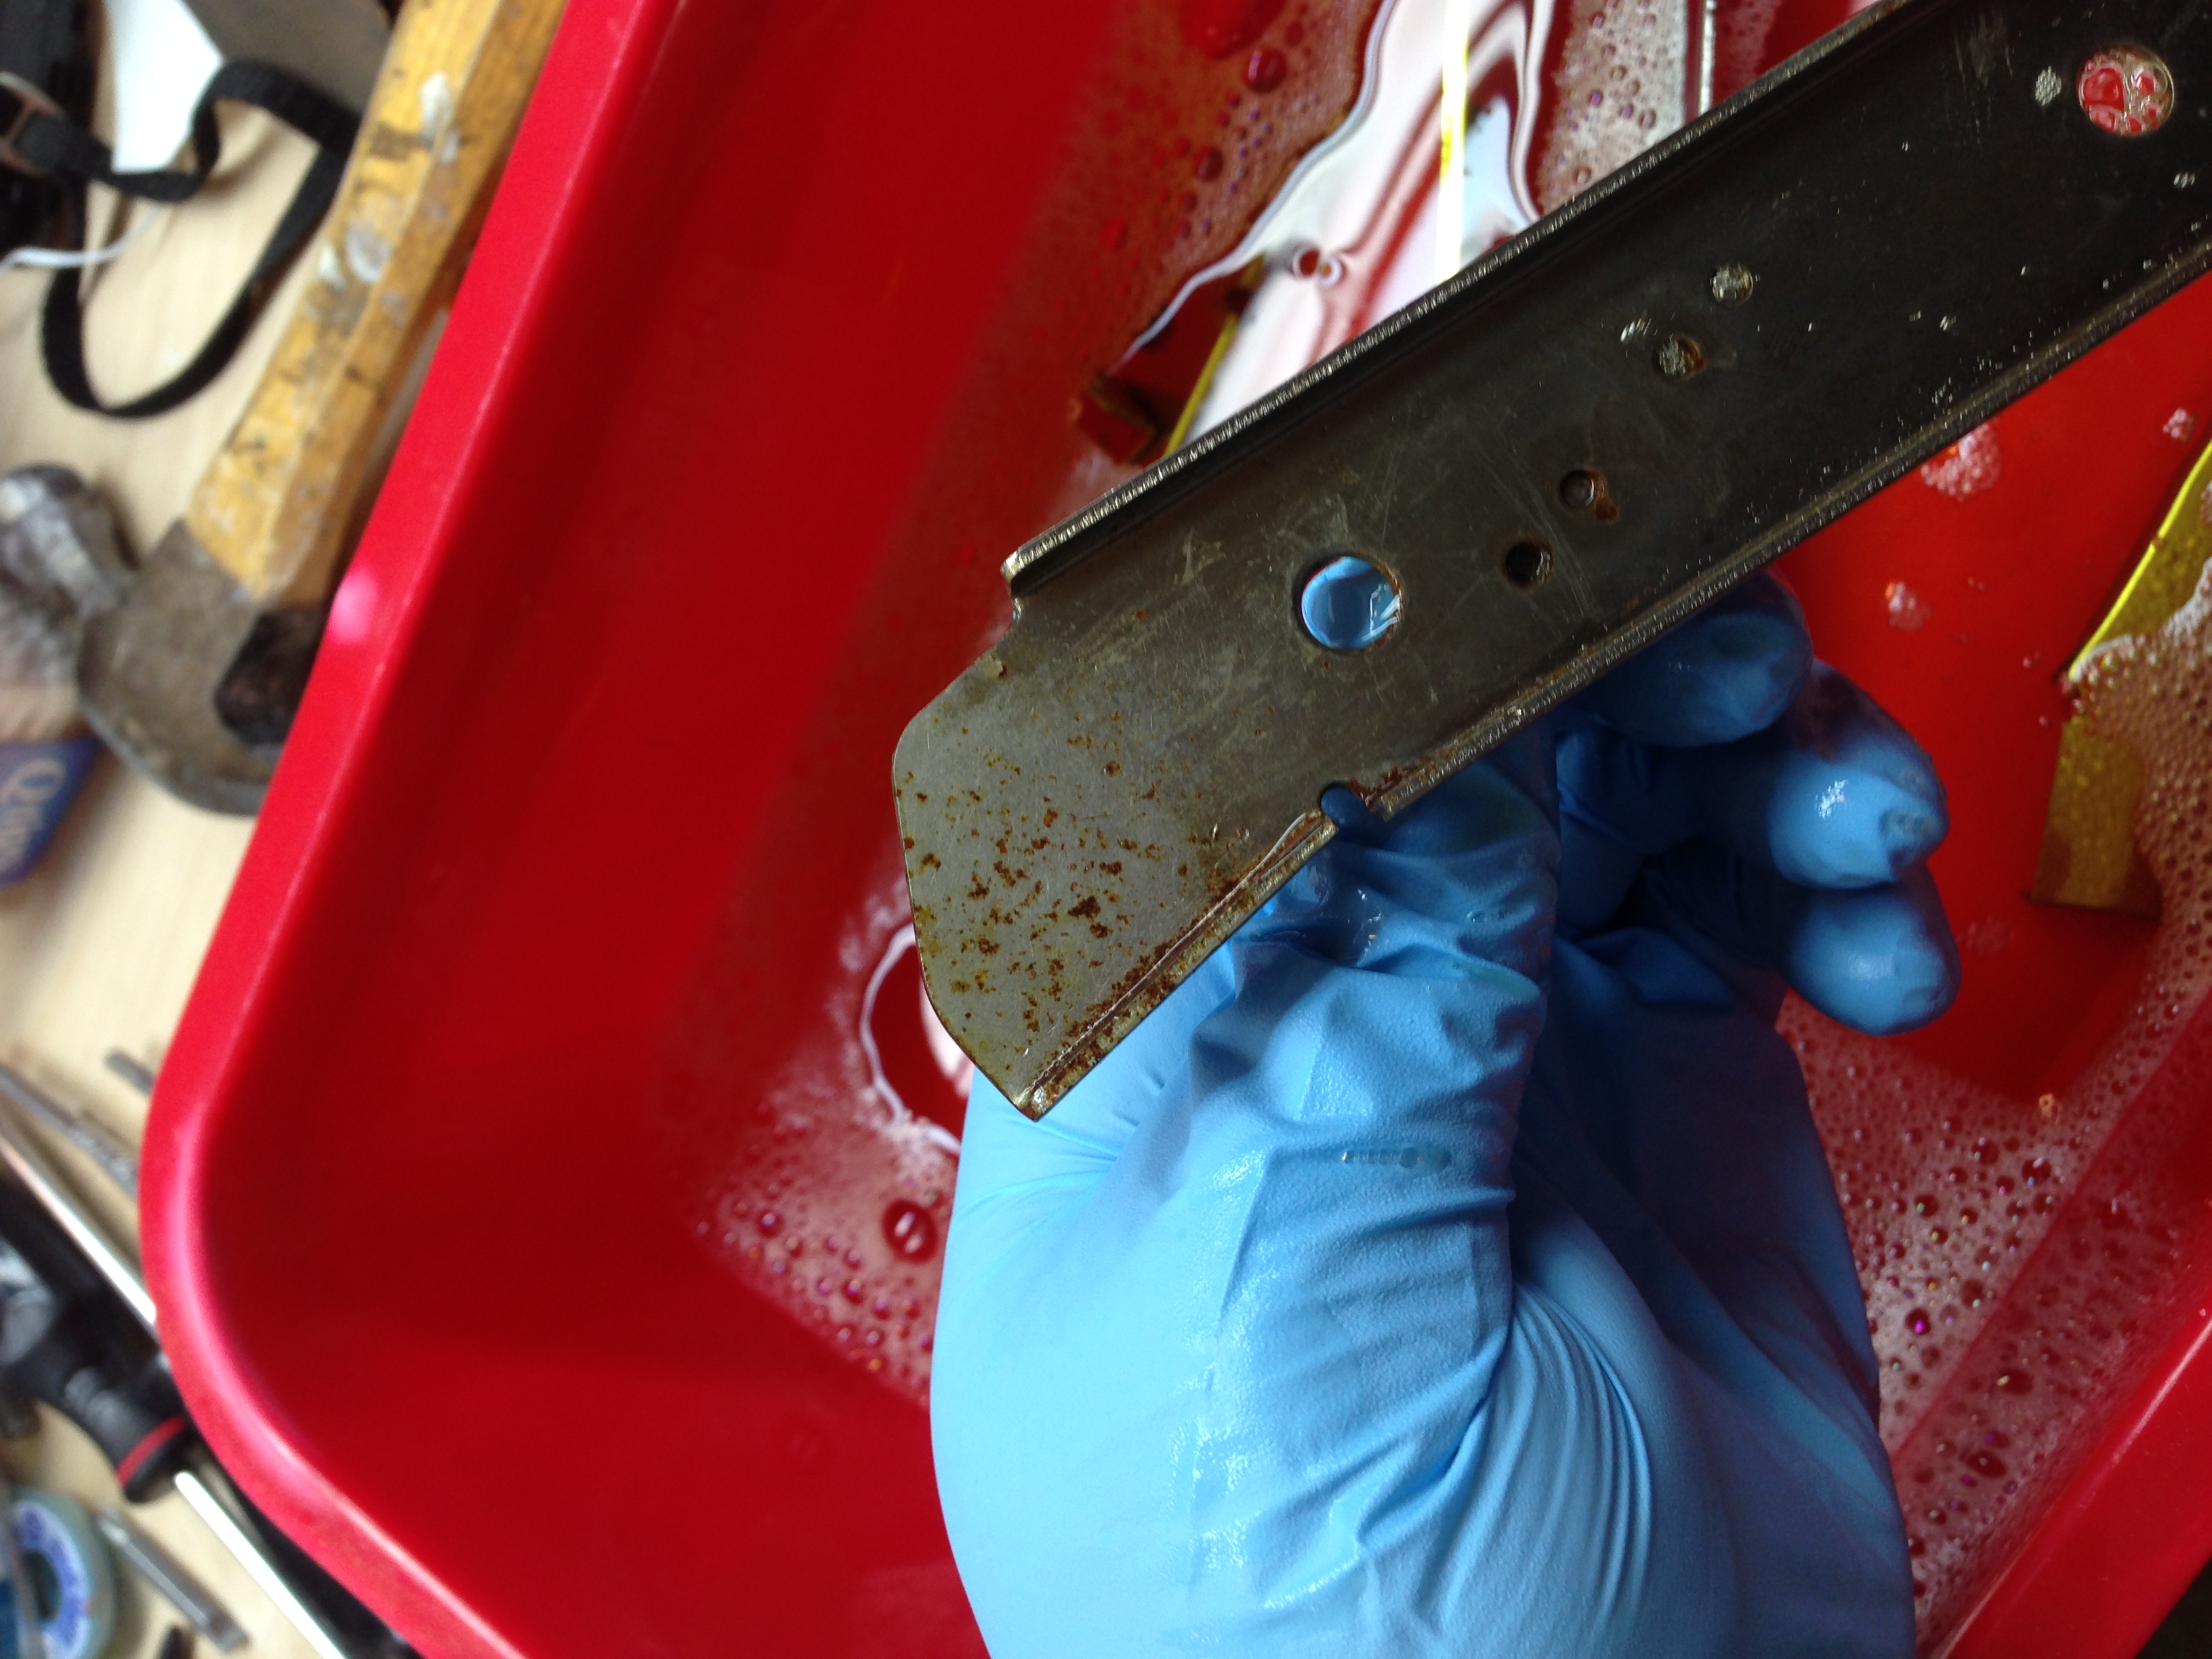
After
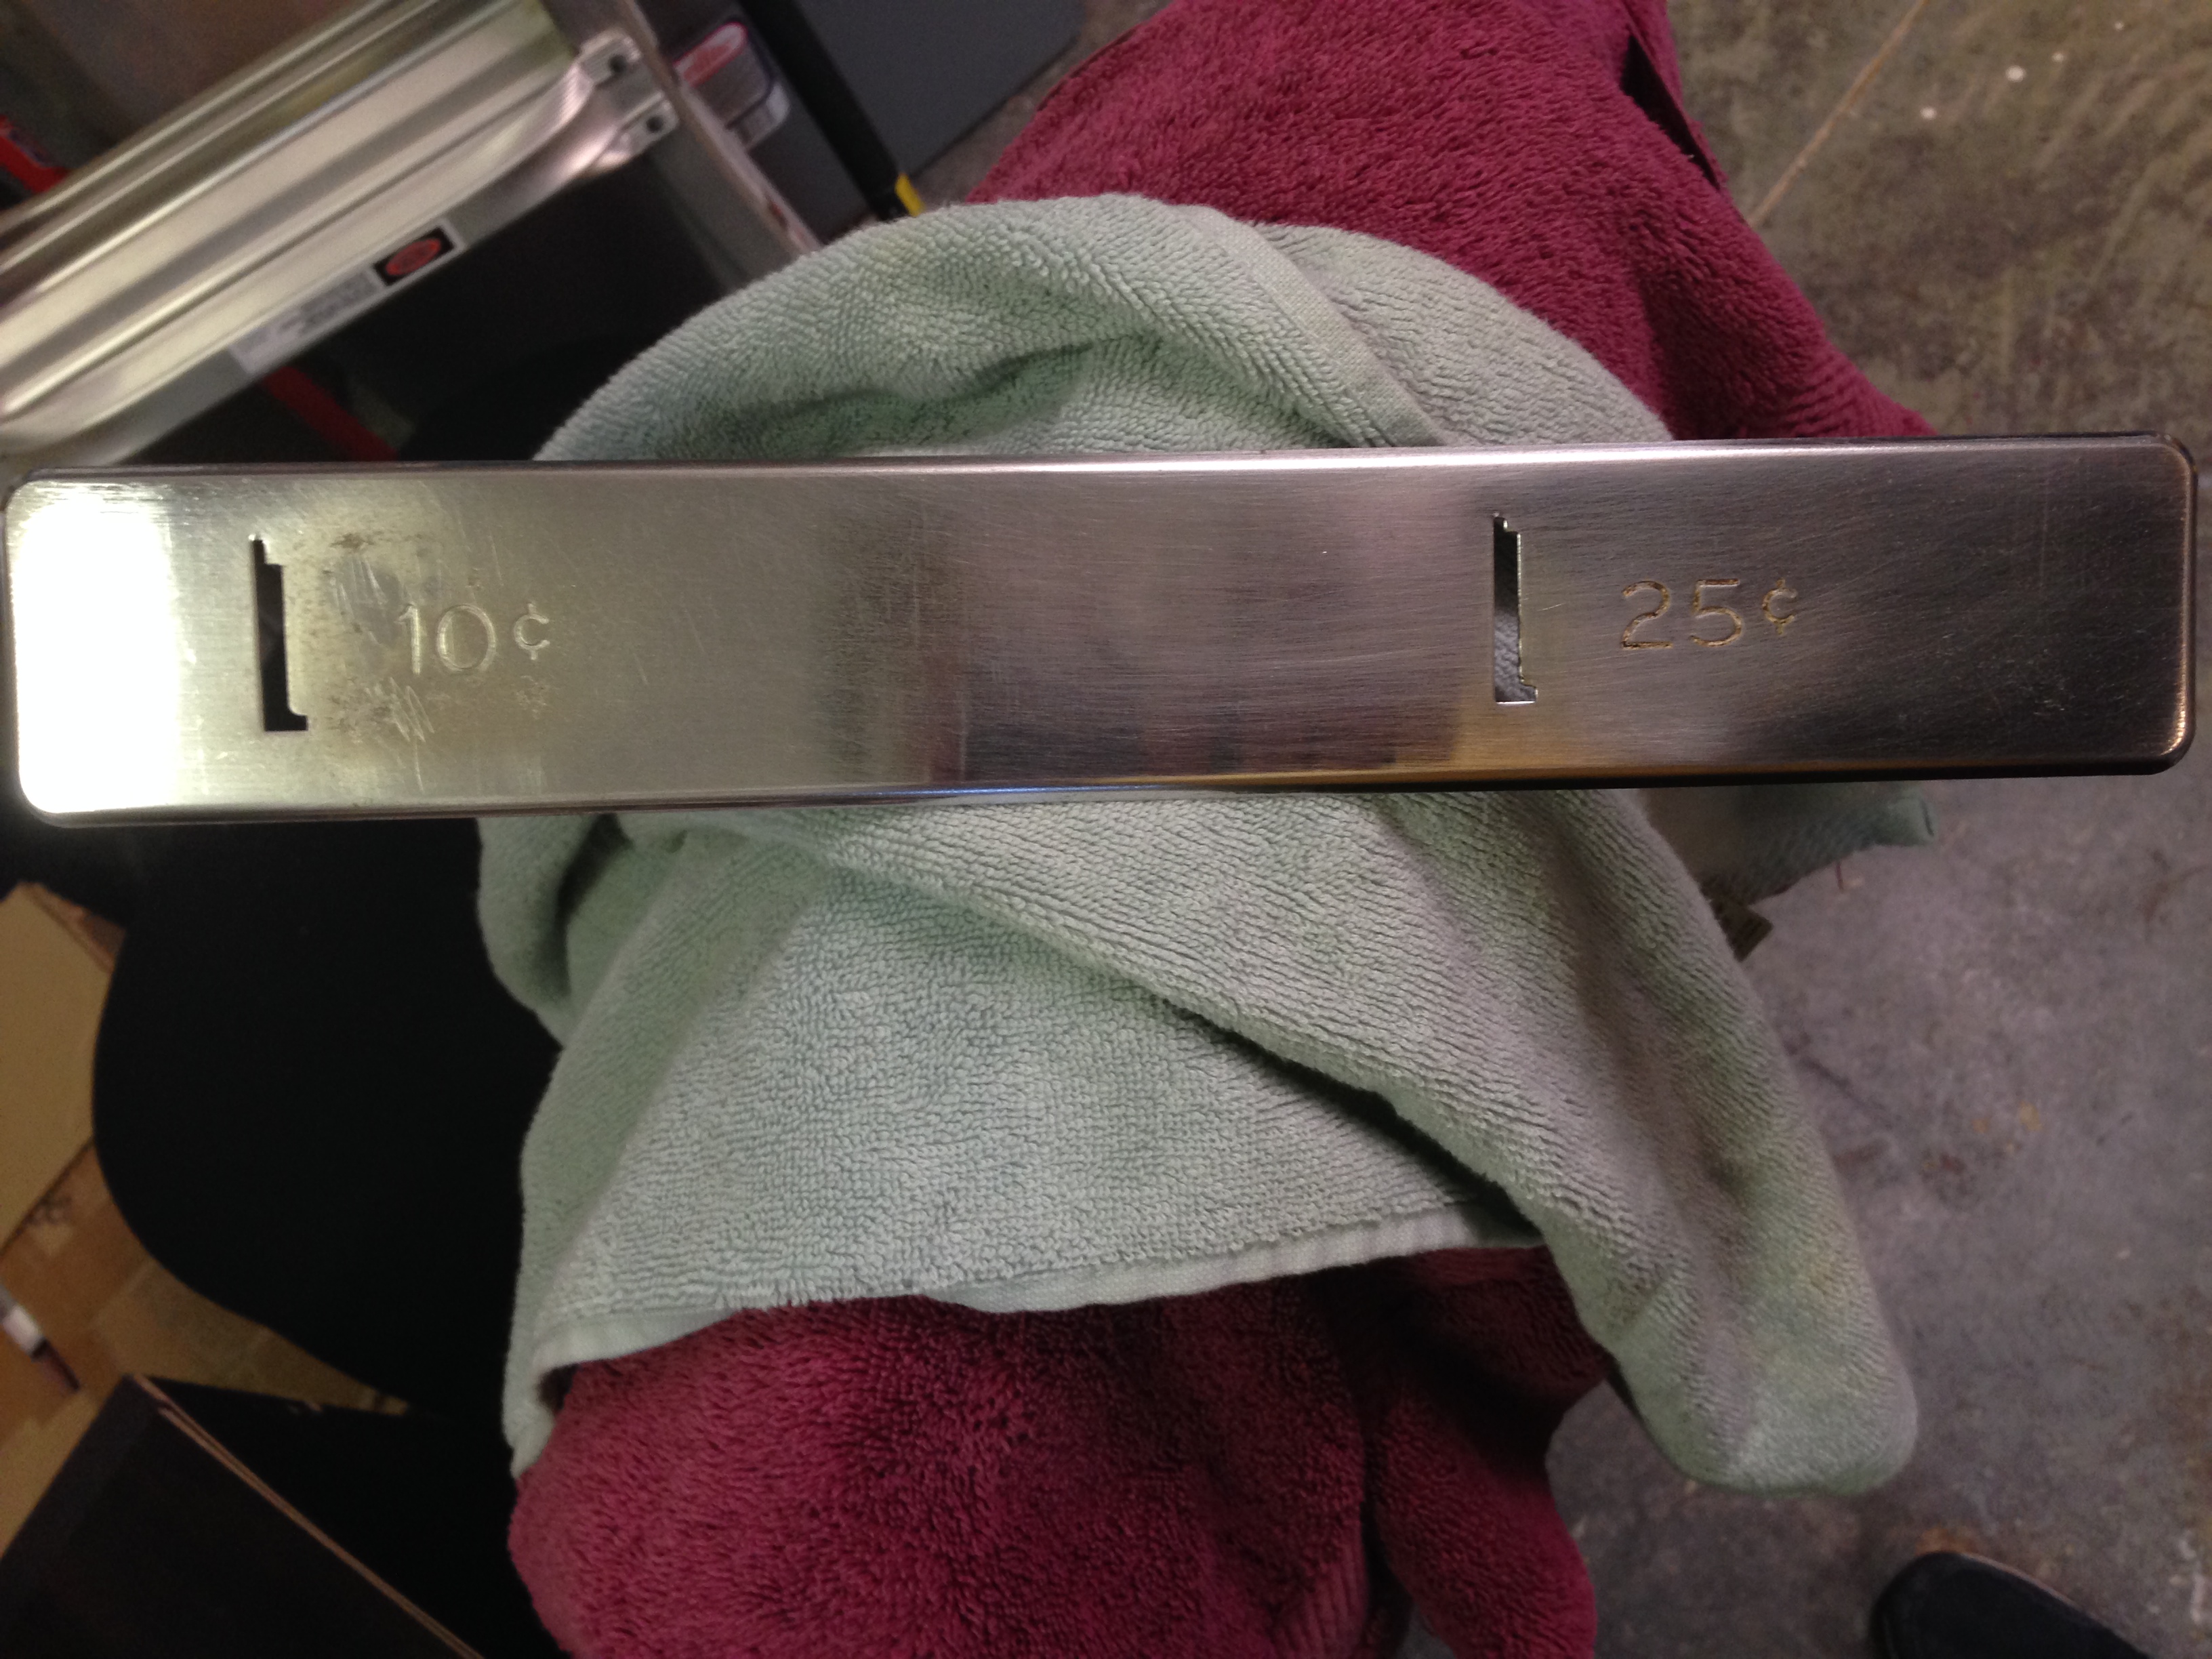
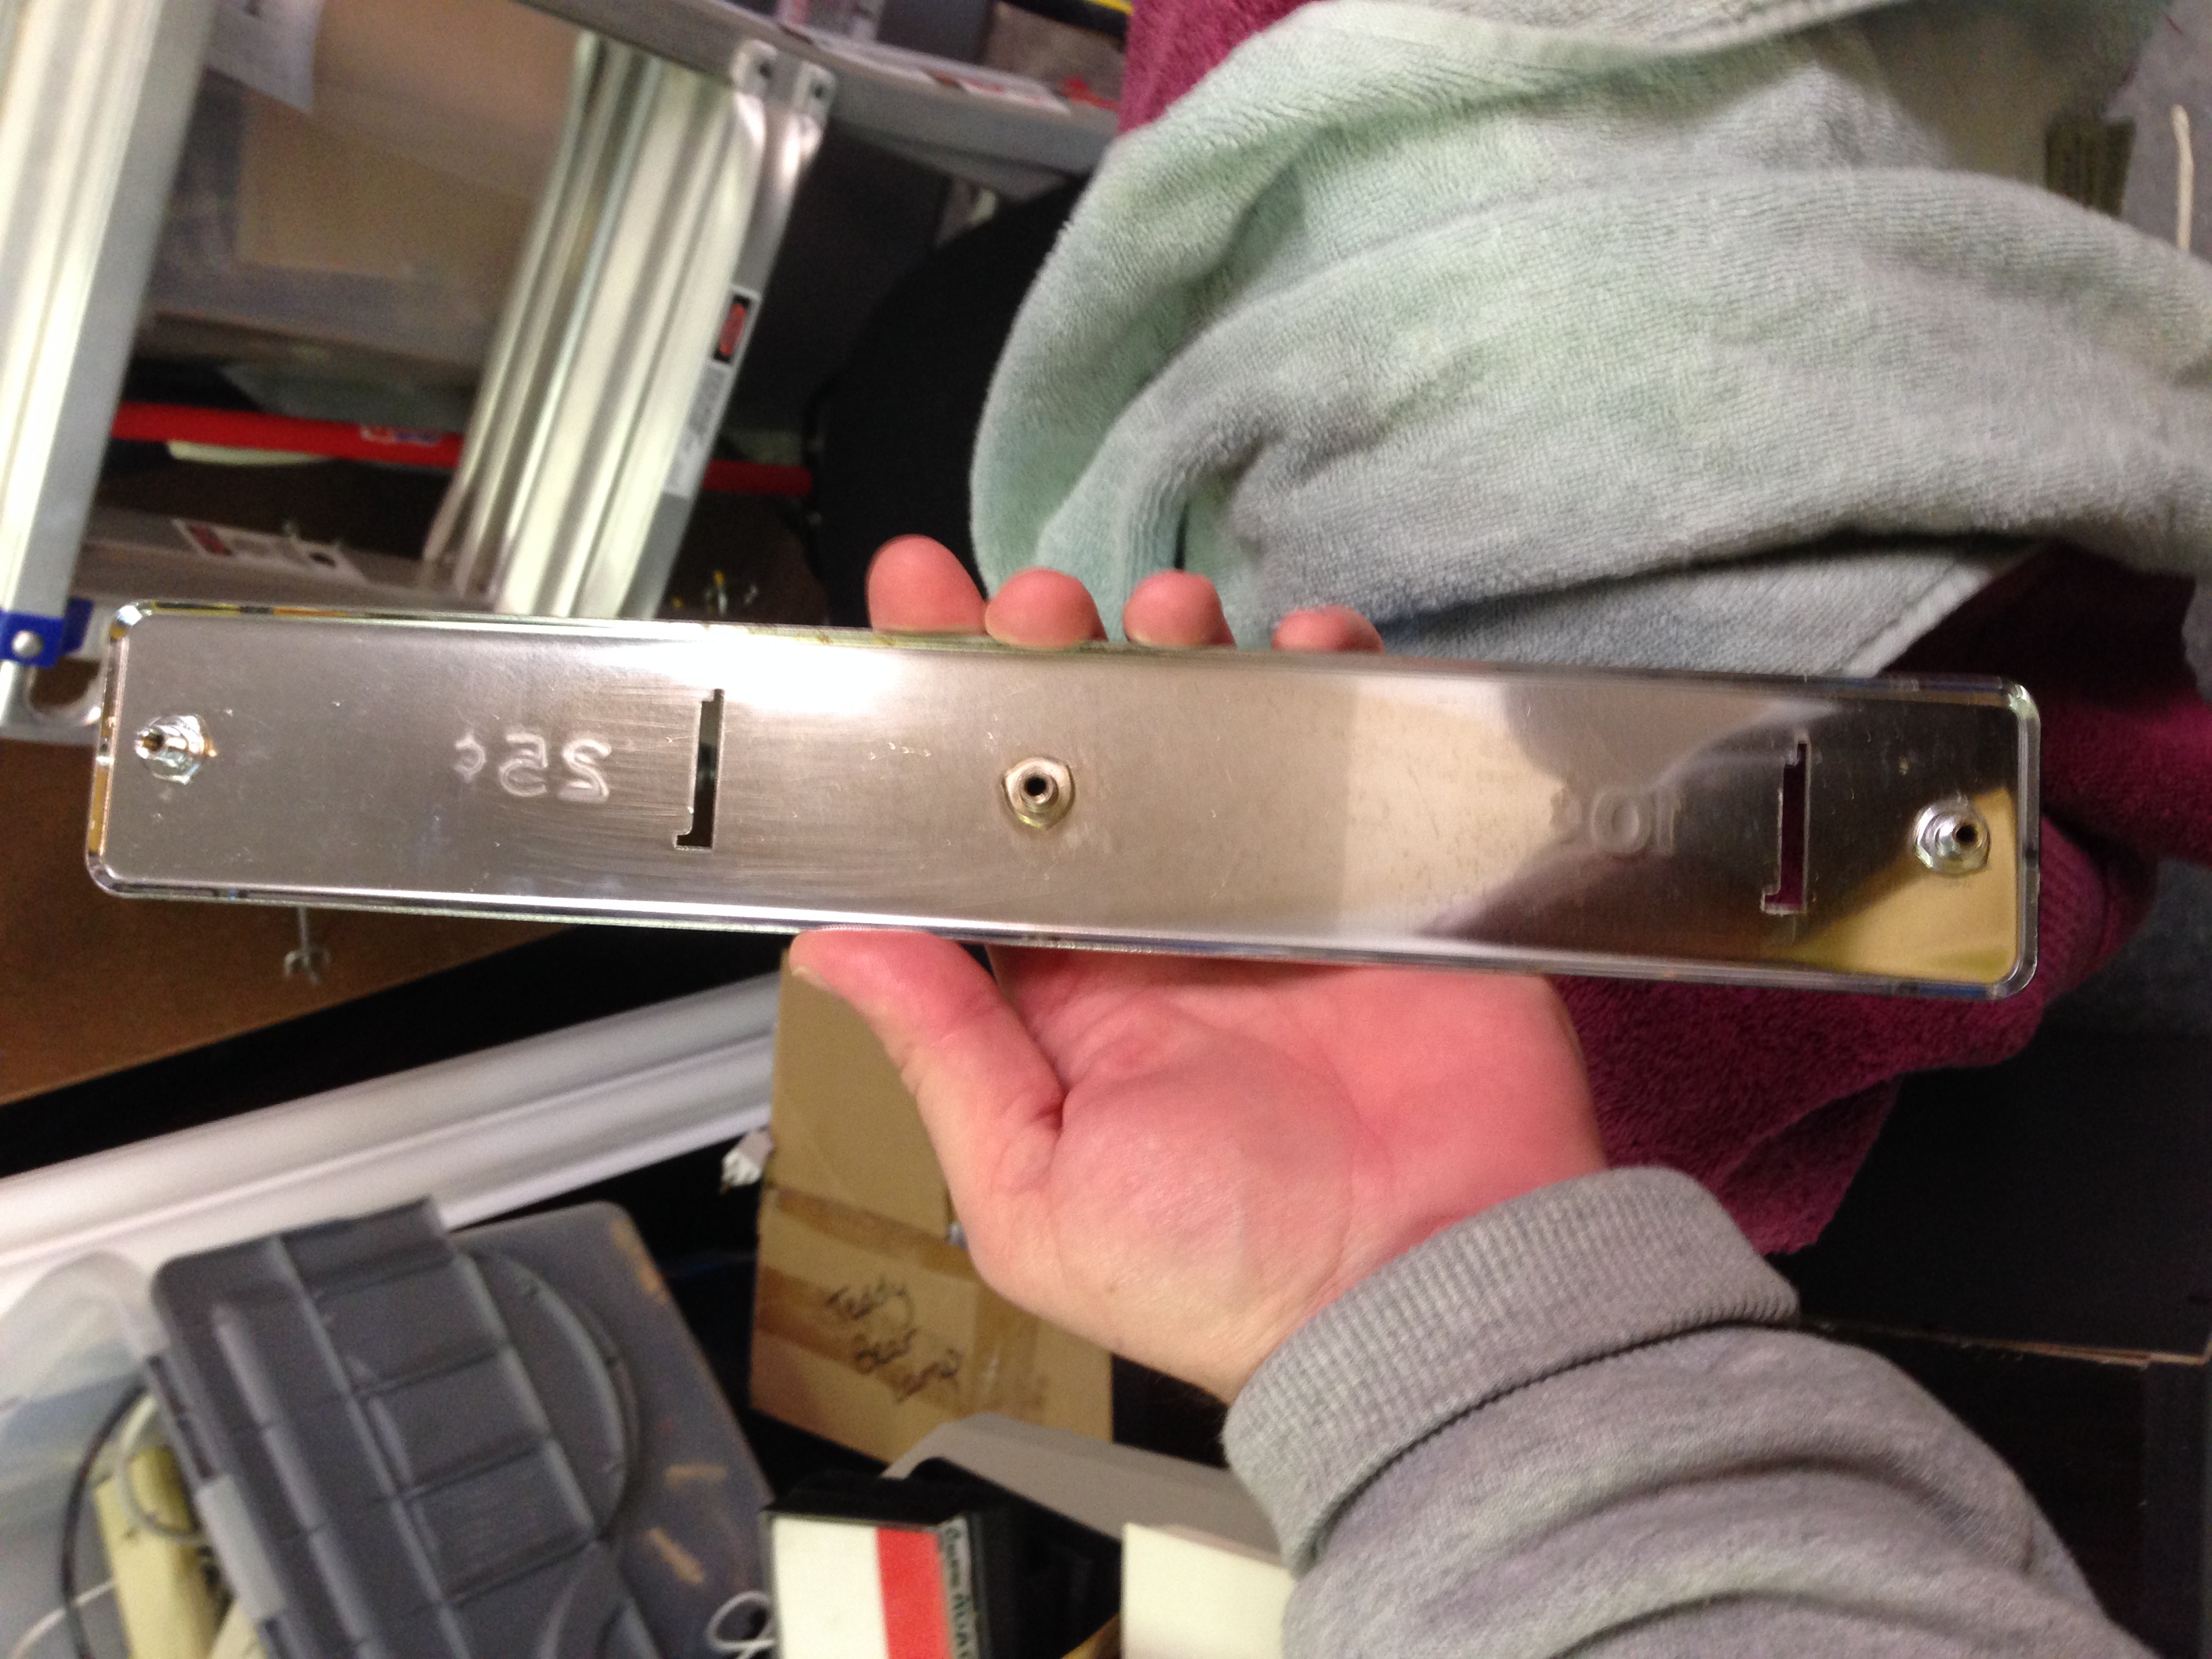
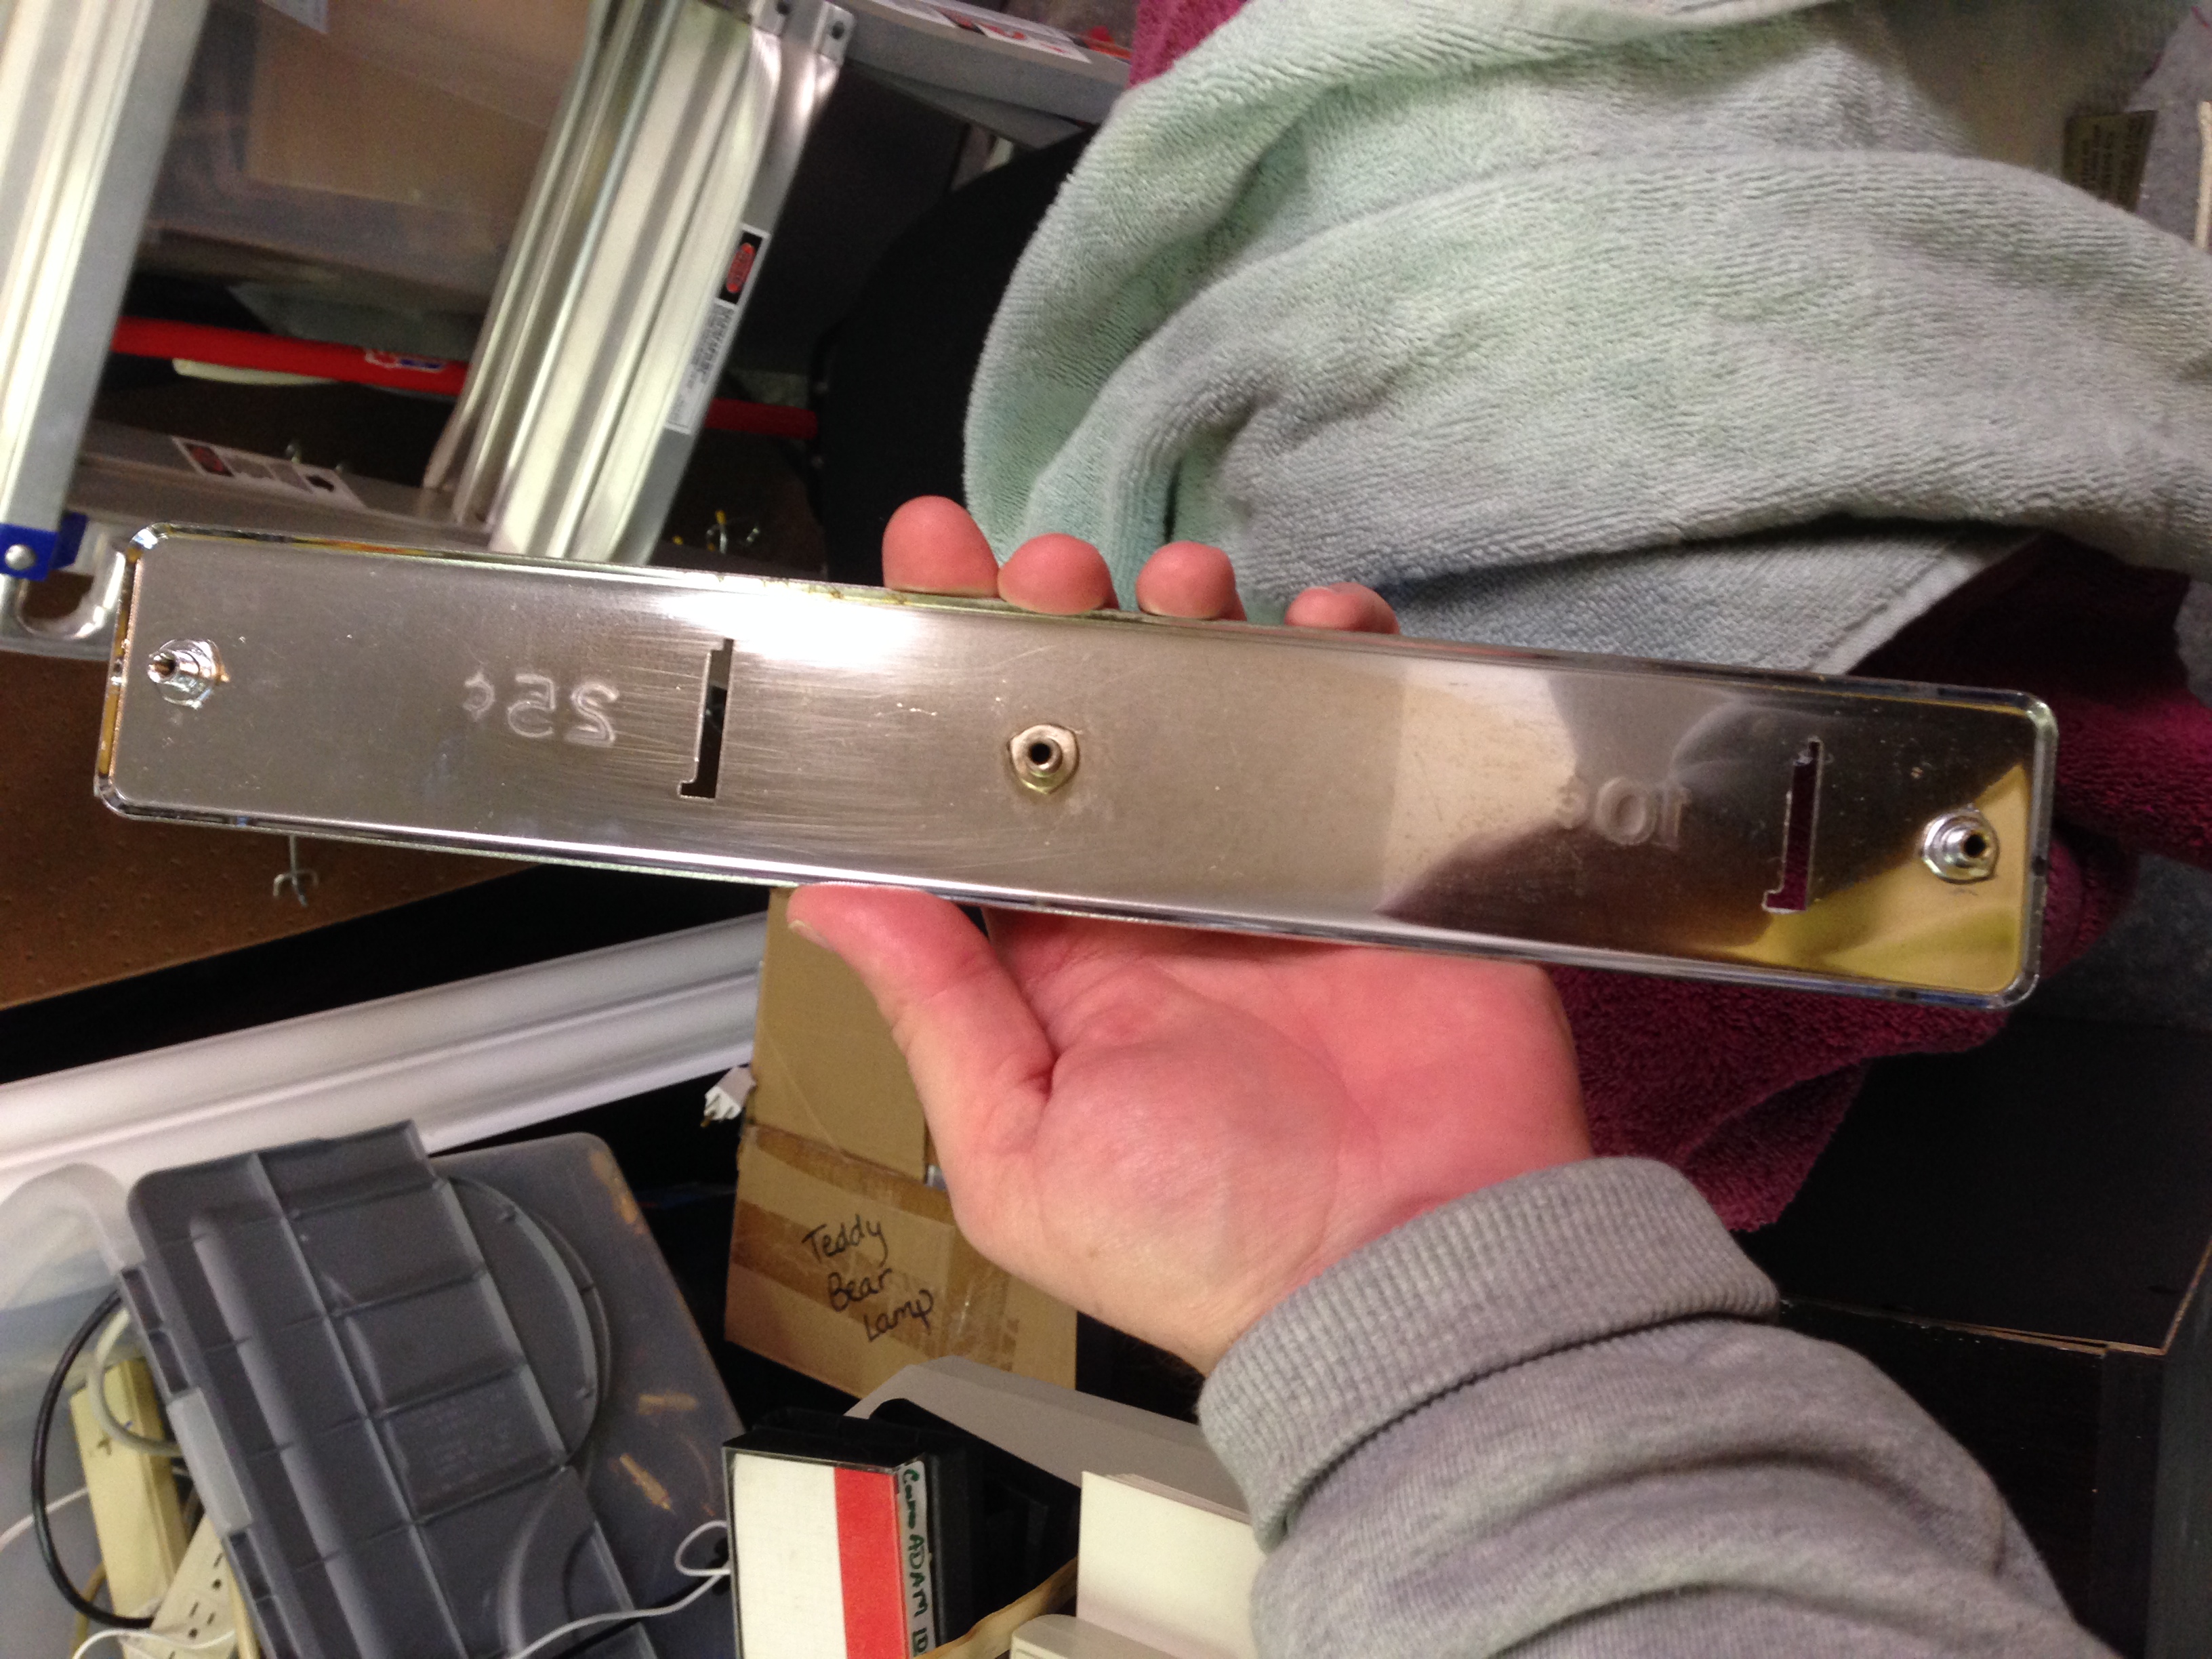

After a little polishing, these parts will look almost new. This stuff is totally non-toxic. Amazing.
Time for Reassembly
The clear coating is done. I did 2 coats, and let it dry for 3 days. It set up really well. It’s not perfect, but I’m pretty pleased. I decided not to wet sand and spray a third coat. I’m sure some folks would disagree with this decision. There are some spots where I had a small bubble come out (or something like that), but you really can’t tell from more than 1 foot away. I considered doing some serious buffing, but I’m more worried about screwing it up. I tried rolling a ball around on the playfield and it is smooth and really improved, so I’m going to leave it as it is, and just wax it well before I’m done. I guess we’ll see how good or bad that decision is/was over the course of the next year.
I bought a playfield rotisserie off ebay from JABETC TOOLS. It was considerably cheaper than on their website. I am using it for the reassembly process. So far I like it. The 2″ C clamps they supply are not the best, but for the price I cannot complain.
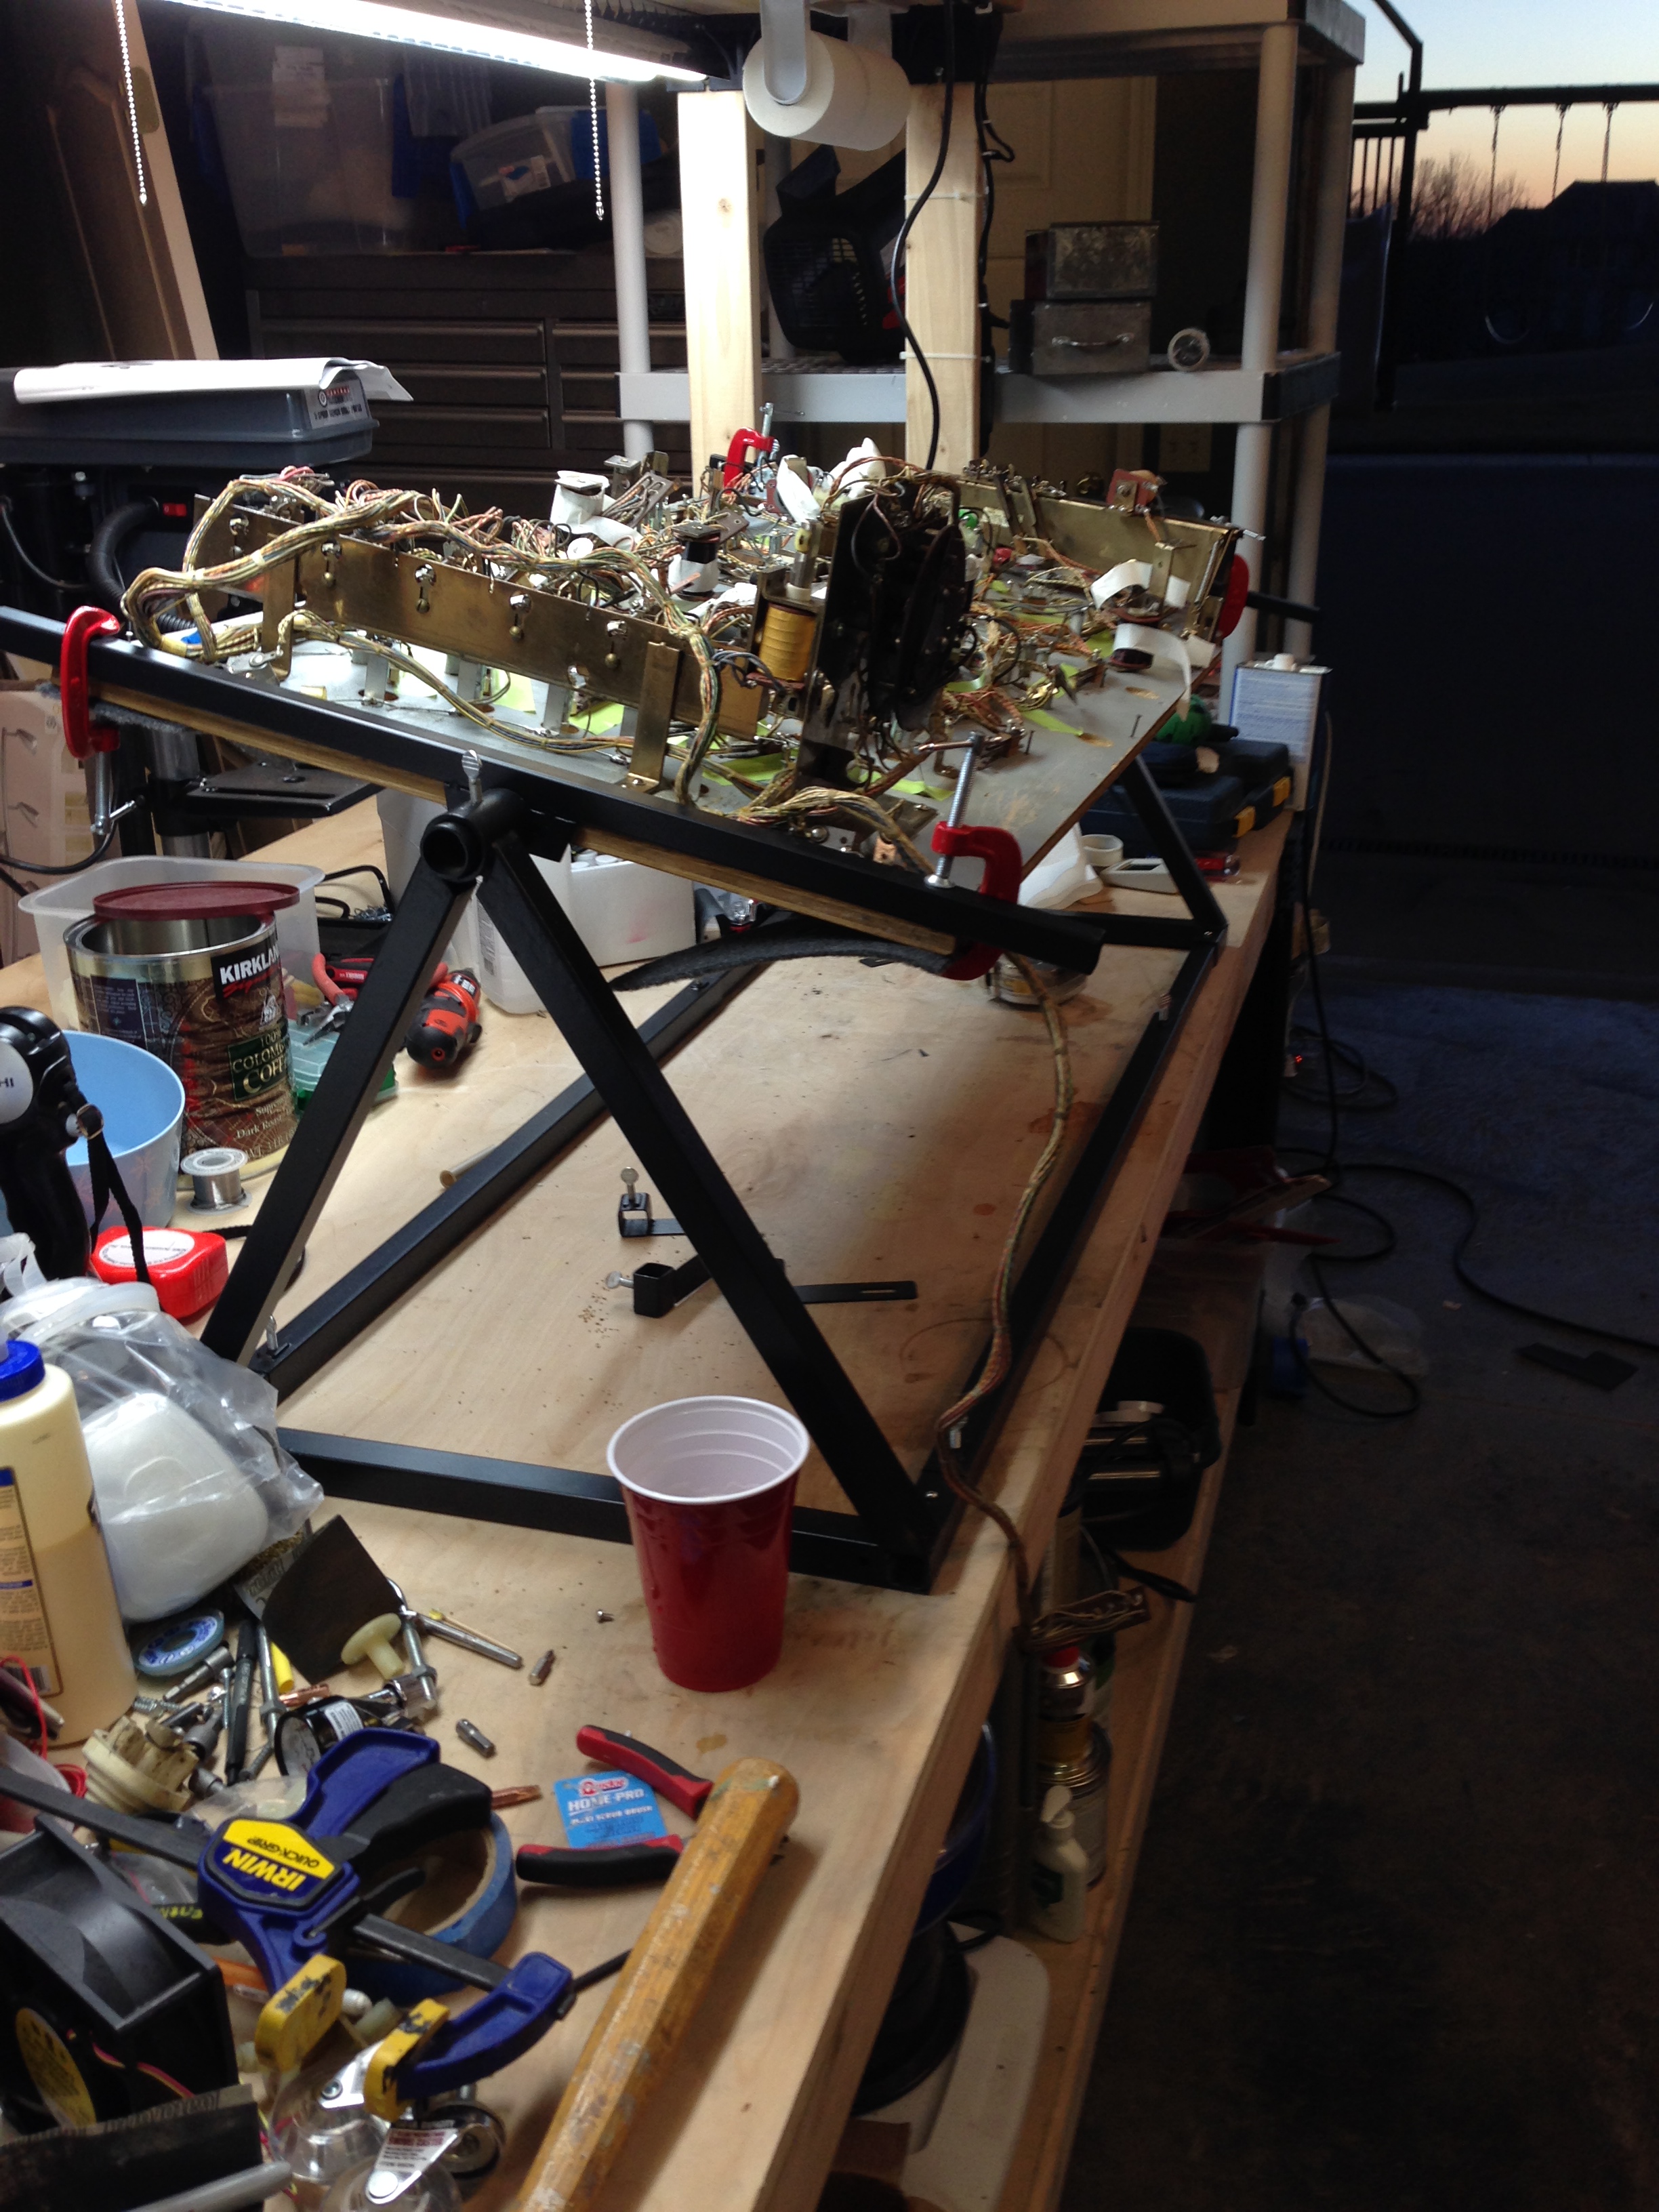
Wow, what a difference. Here’s some pictures during re-assembly.
I’ve got the machine back inside now, and have been able to play it a fair bit. There were a couple of problems that I didn’t detect before I started restoration, that I had to address to make it more playable/authentic. The W (extra chute relay) was not working (adjusted) correctly, so the coin drops were not working, for either the 5 cent or 10 cent chutes. Also, the credit mechanism wasn’t set to free play correctly, which had disabled the special feature when you get all the ferris wheel cars light. Also the sequence relays needed to be adjusted quite a bit to make the lighted pop bumpers spin the roto unit correctly.
After all that work, the machine was working almost flawlessly. I noticed one more issue. The left and right kicking rubbers had switches that were so worn out that even after extensive cleaning, straightening, and adjusting, were not making proper contact. Either they would be weak, or over sensitive, or they would spark and vibrate. So I replaced all 4 switches, which made a world of difference.
One thing that caught me up when I went to put the playfield glass back on the machine. The roto unit rotating plastic was too high, and would catch on the playfield glass at certain locations. This affected its ability to rotate freely, so I had to re-adjust the parts of the roto unit to lower it a bit.
Repro Backglass
I received the repaired backglass from bgresto.com. It looks great. Here’s some pictures of the machine with the new backglass installed.
Wind? In Kansas? Ha! You must live on the Kansas side of KC. I live in Leawood. I’ve got nine GTB ’57-’59 woodrails plus a Kings and Queens. Had all the PFs done by HSA and am presently reassembling.
They must be beautiful! I love the older gottliebs. I’m in western Lenexa.
Thank you so much for posting those photos of the spinning stepper unit – it saved me a lot of time working out where the springs and arms should go when I had to dismantle mine due to a damaged spring.
I really enjoyed reading the rest of your restoration details too – you did a lovely job on it
So glad they could be of help and thanks for the kind words! The world fair is such a great machine. I hope you have a lot of fun with yours.
Pete
Hi great job! I have a world fair, it seems under powered. Like it could use more pop! Its a great pin, i went to the ‘64 worlds fair, so to me its a keeper. Let me know what you think about the power issue. Thanks, pete
I agree with the power comment. I think I did the Clay Harrell trick of unwinding some windings from some of the coils to increase their power. Plus, clear coating and waxing improved the speed of play as well.