I have noticed some of the older machines (from the 30’s) and really admired the design and engineering of them. I also thought the play of these older machines would be a nice compliment to my gameroom.
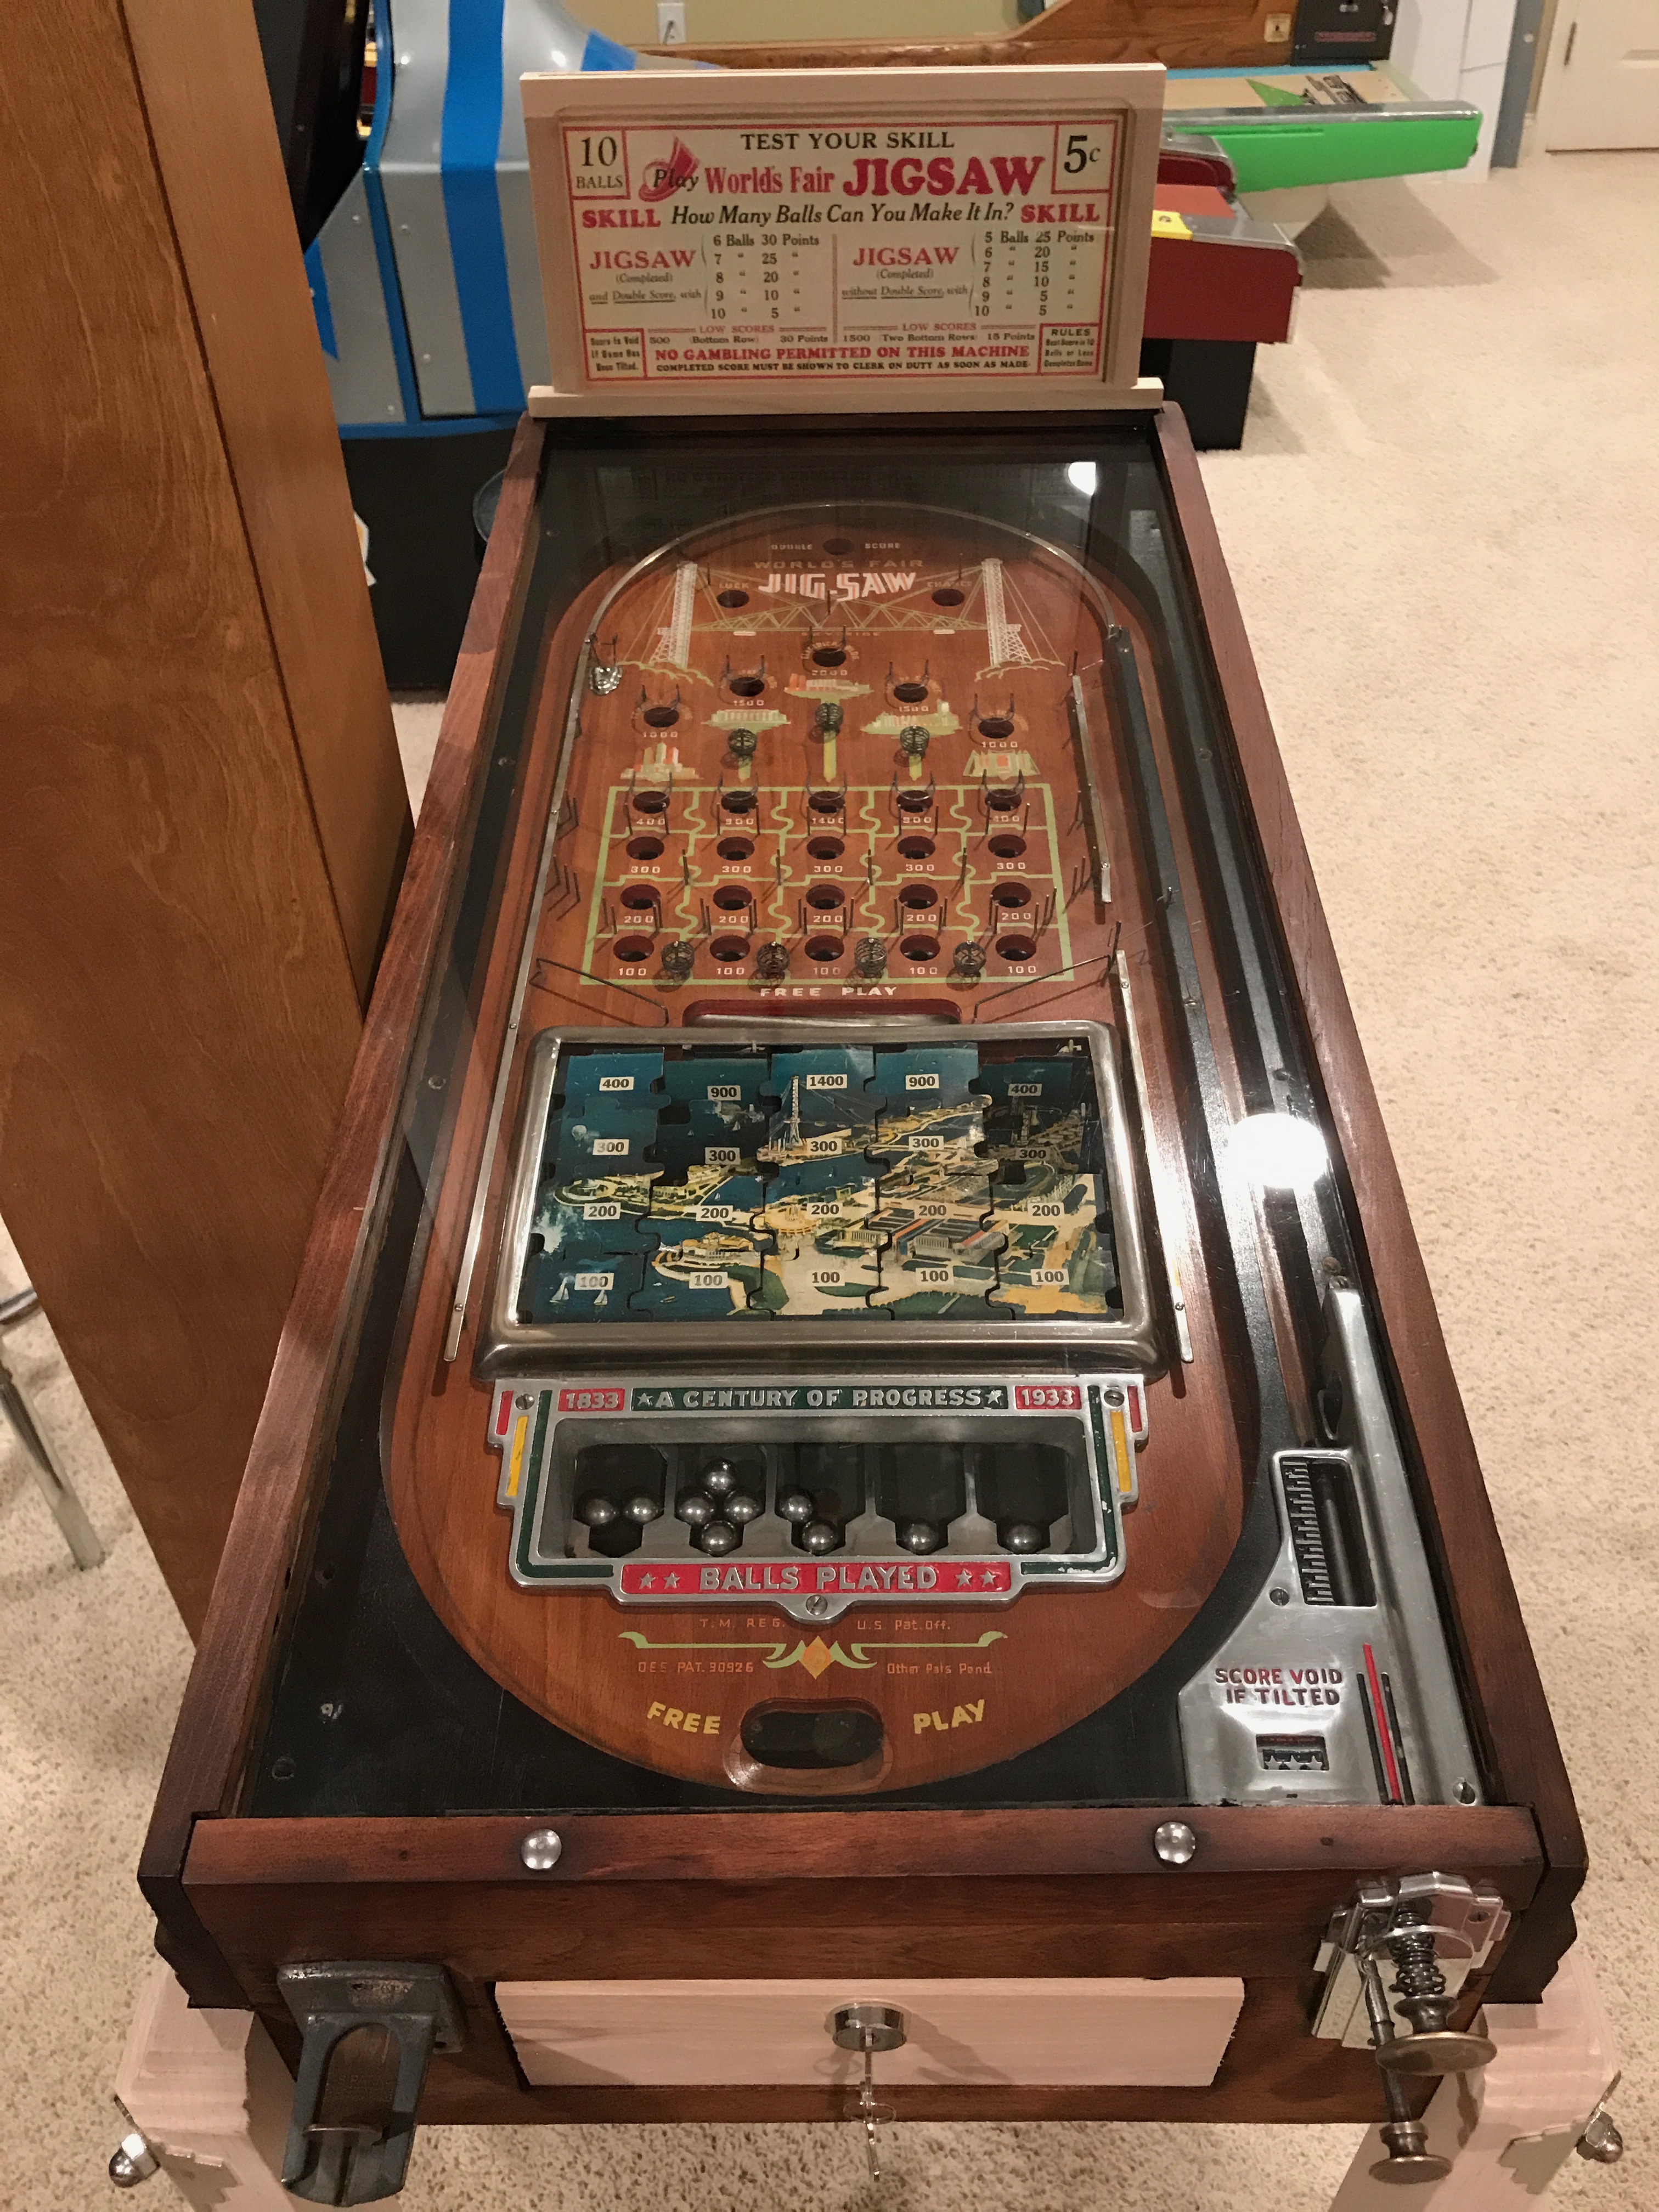
One of the machines that really caught my attention was the 1933 Rockola World’s Fair Jig-Saw machine. This machine was made to commemorate the 1933 Chicago World’s Fair.
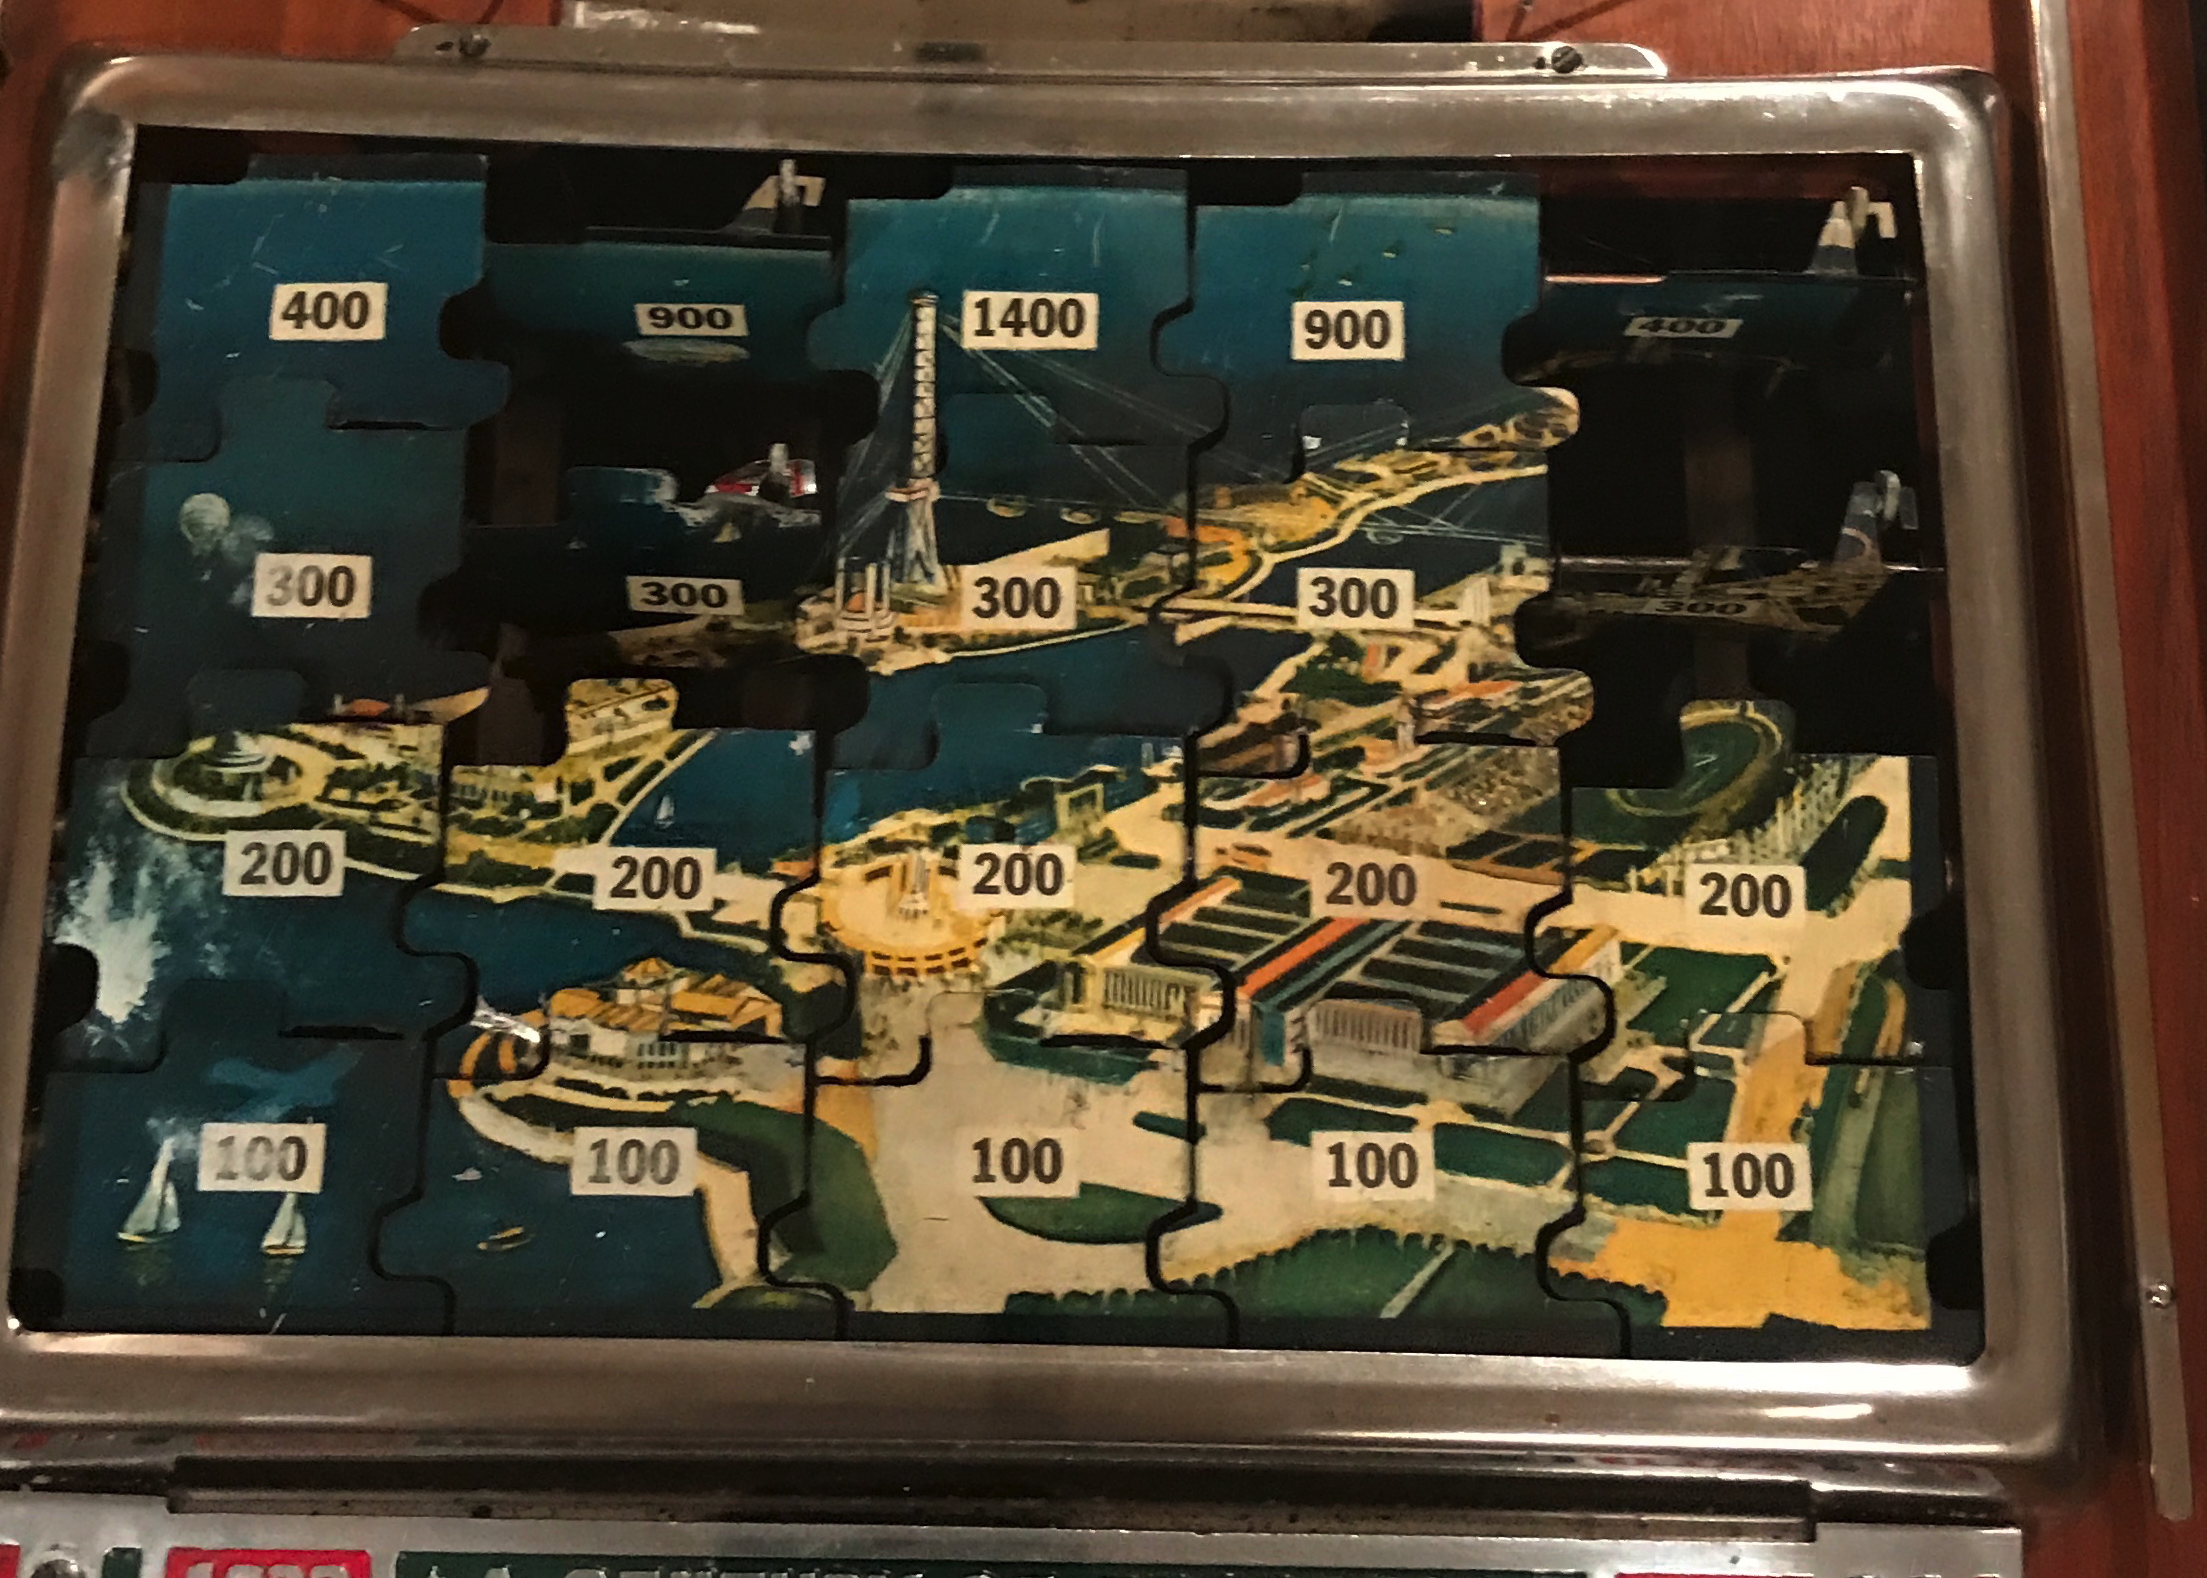
 This is a panorama photo of the Chicago World’s Fair waterfront location.
![]()
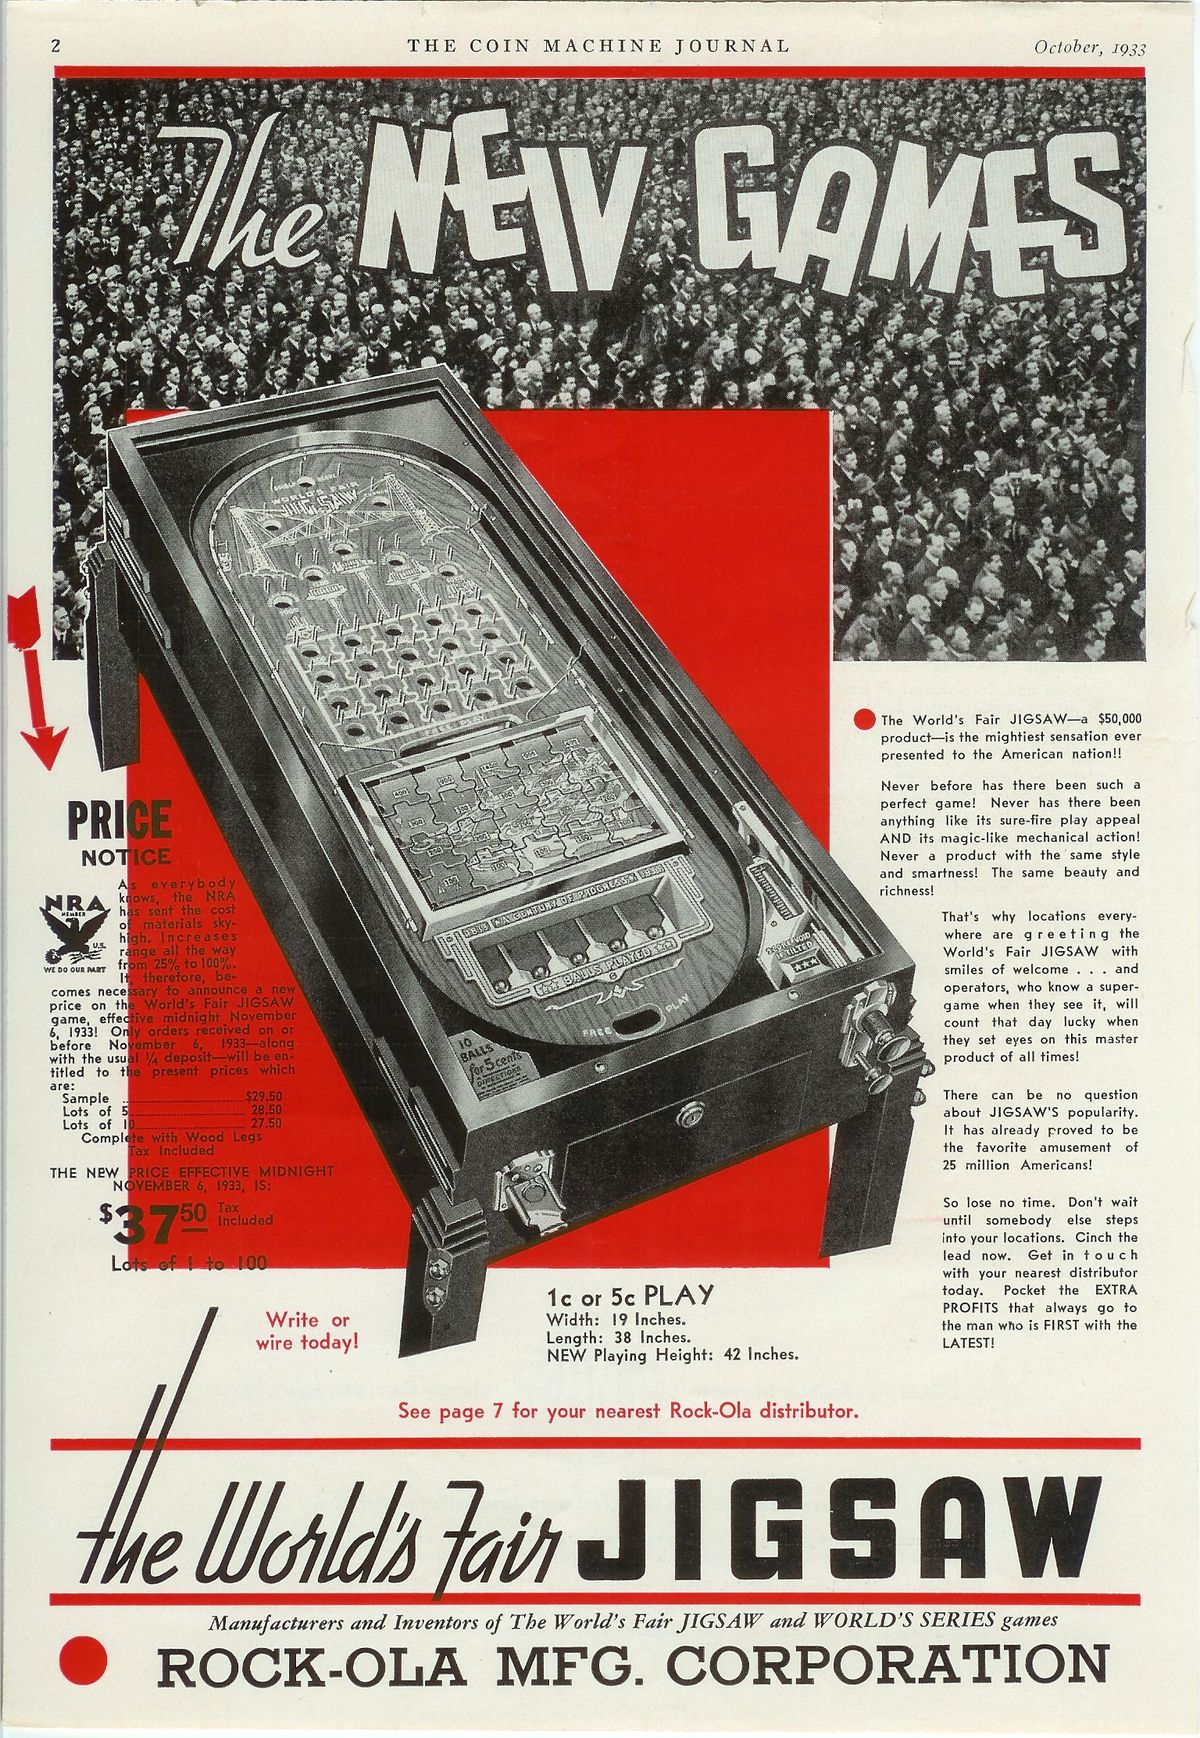
World’s Fair Jigsaw Flyer
If you’d like to read about pre-war pinball’s, Clay Harrell has a great article here.
If you’d like to read about the history of the company that made this machine, Rockola, the “Made in Chicago Museum” as a great article here.
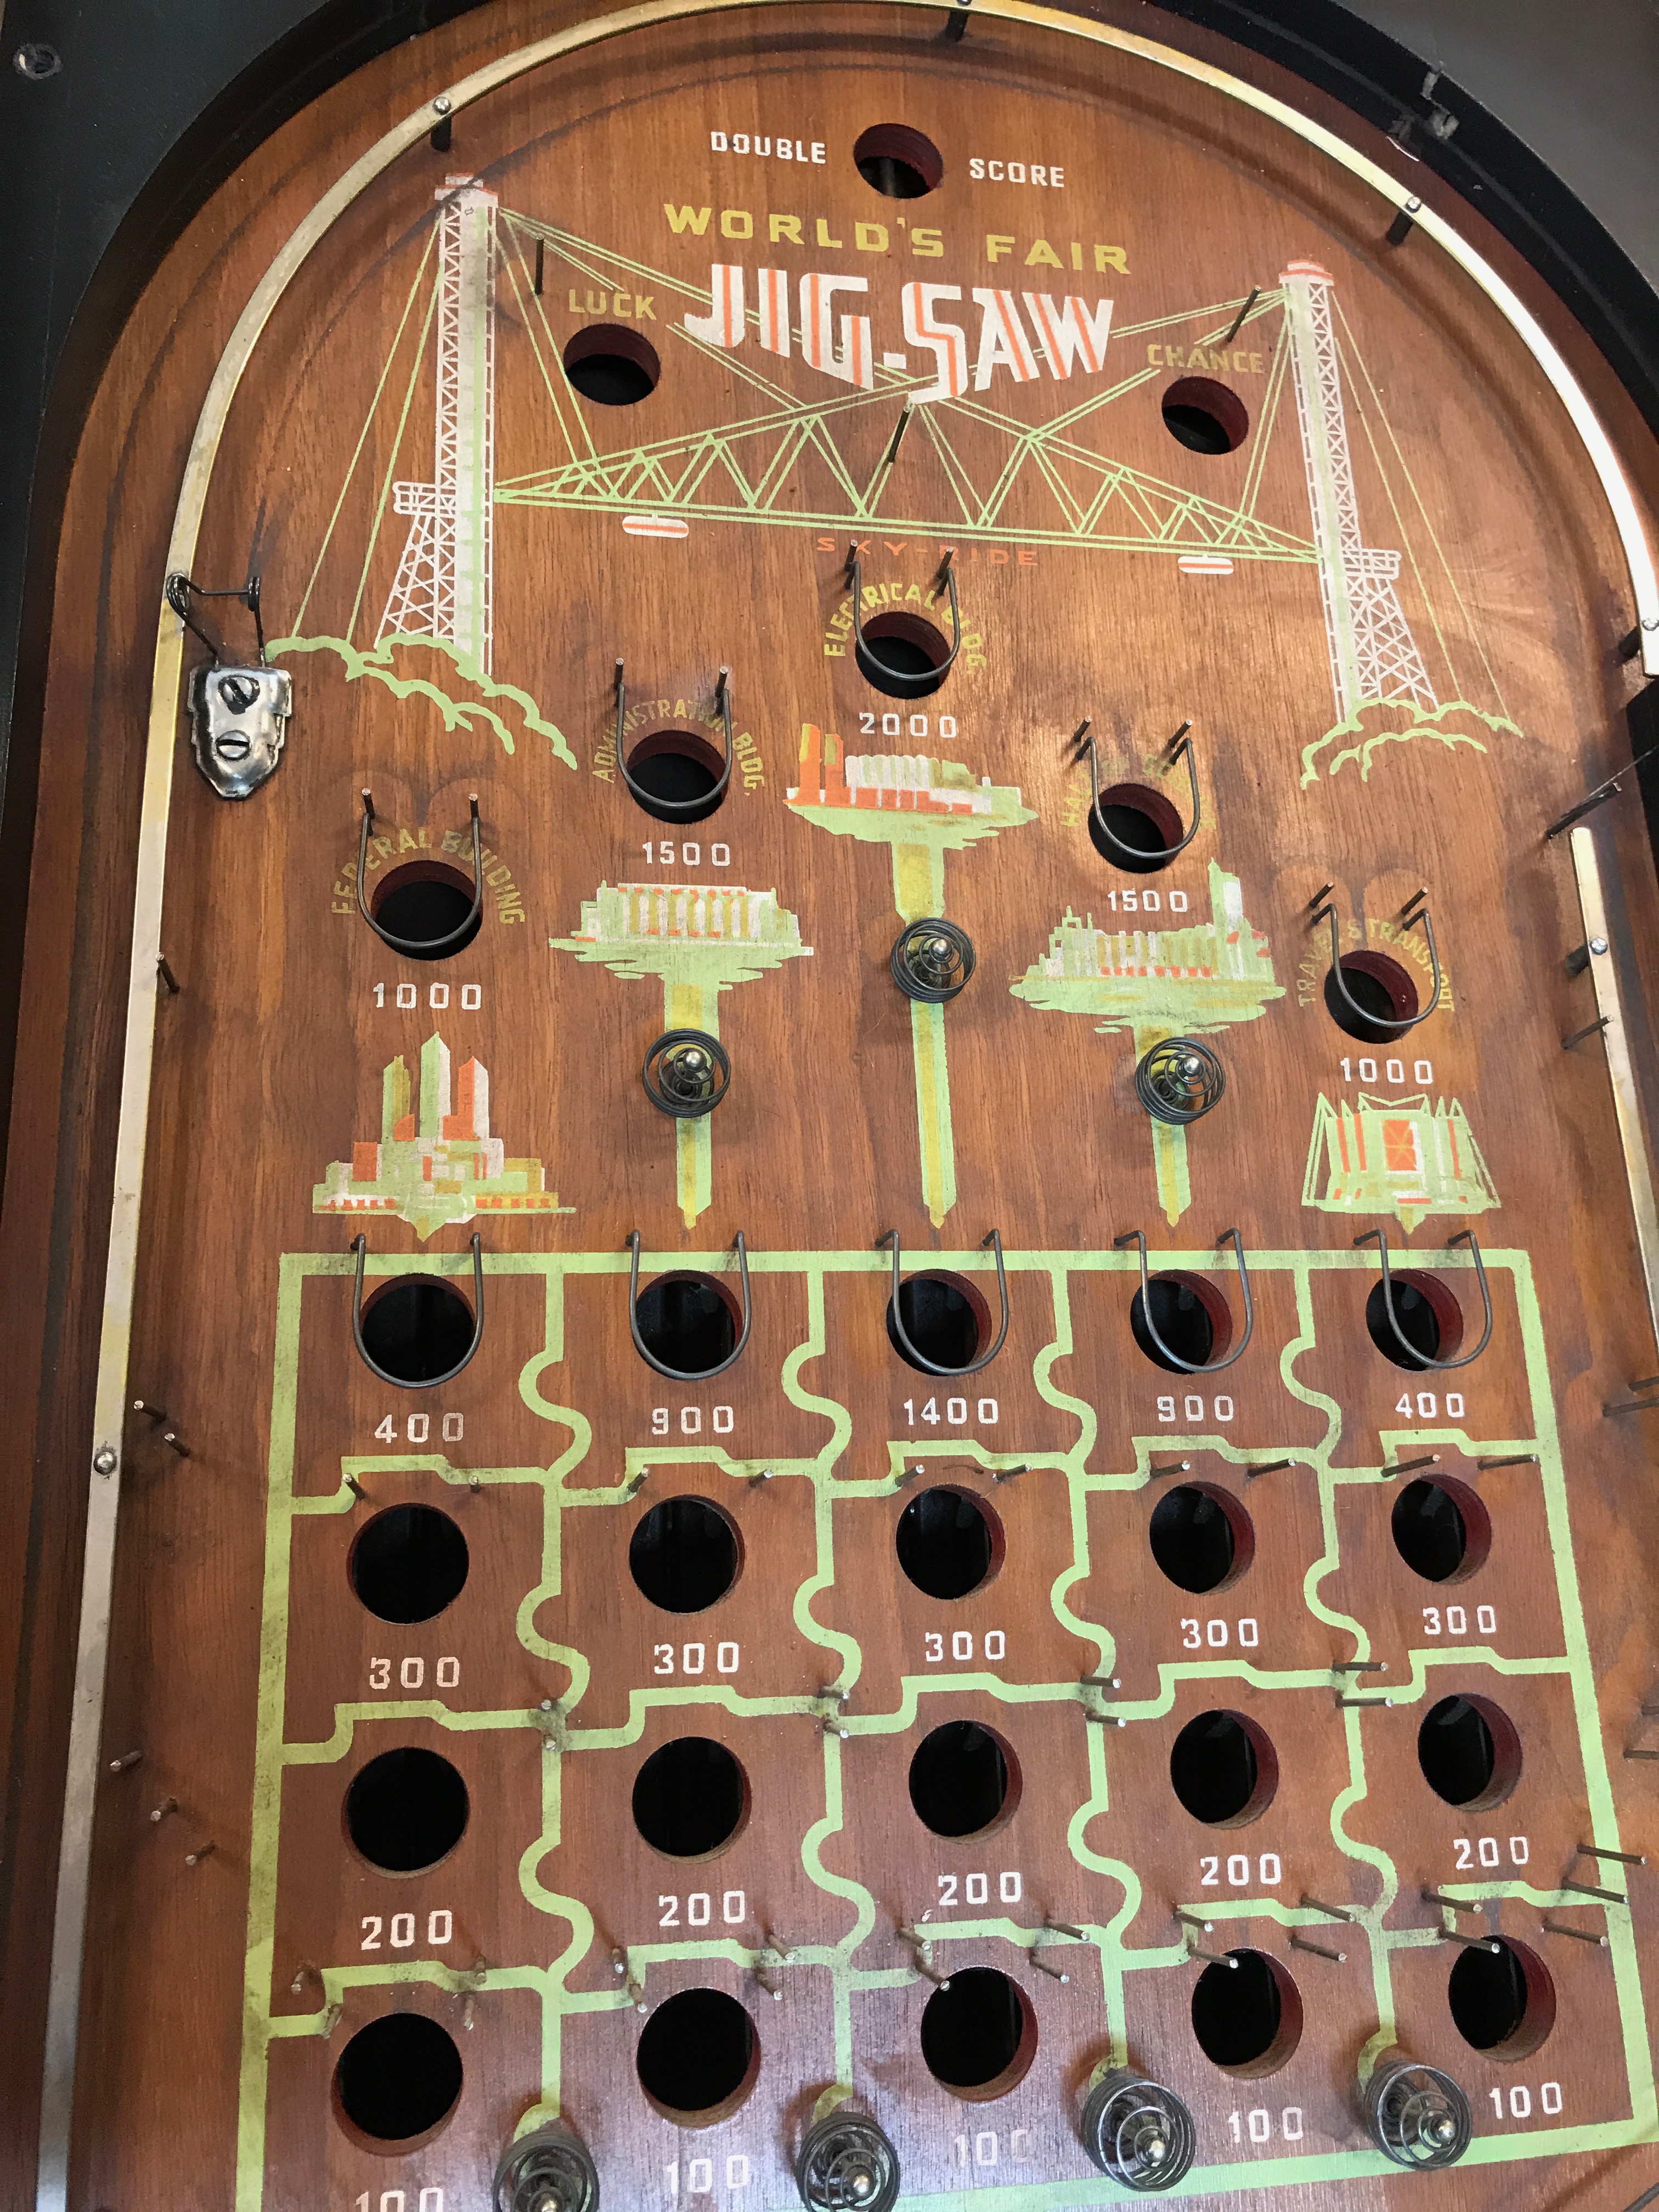
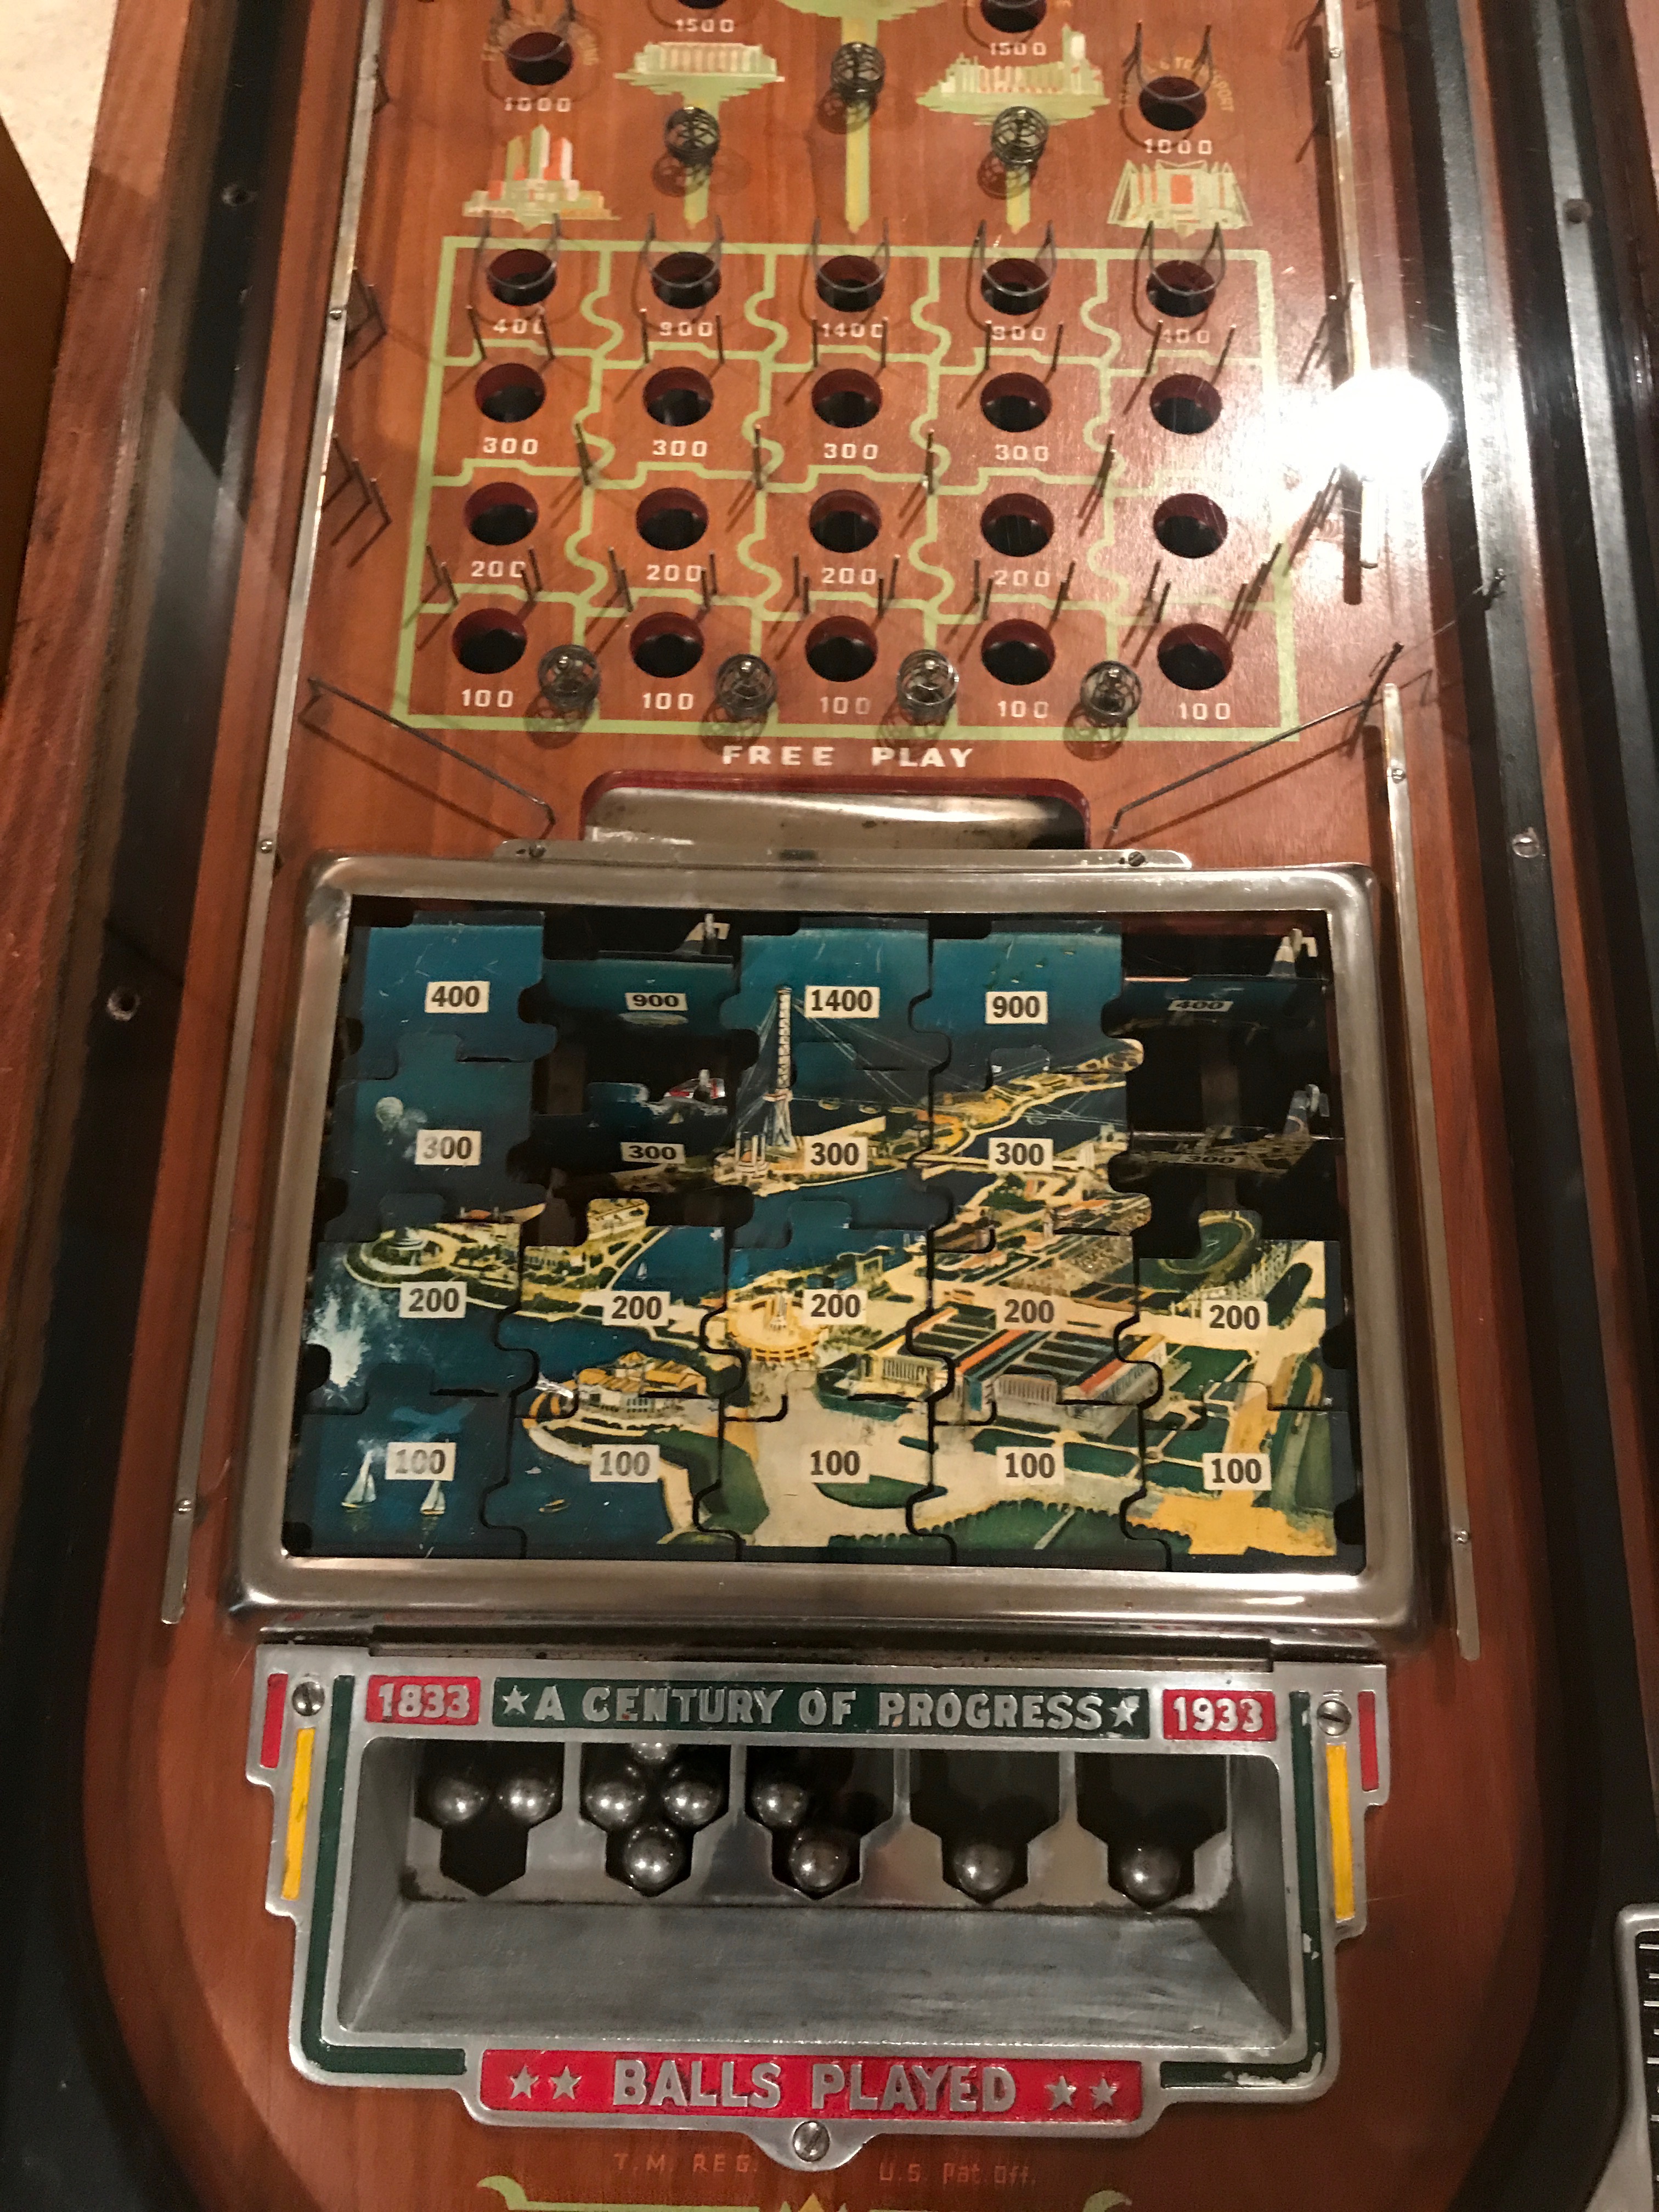
The machine has a jigsaw puzzle on the playfield, and as you shoot the balls you attempt to “put the puzzle together”.
There’s some good reference information about differences in the production run of these machines on ZNET’s page on the pinball owners site.
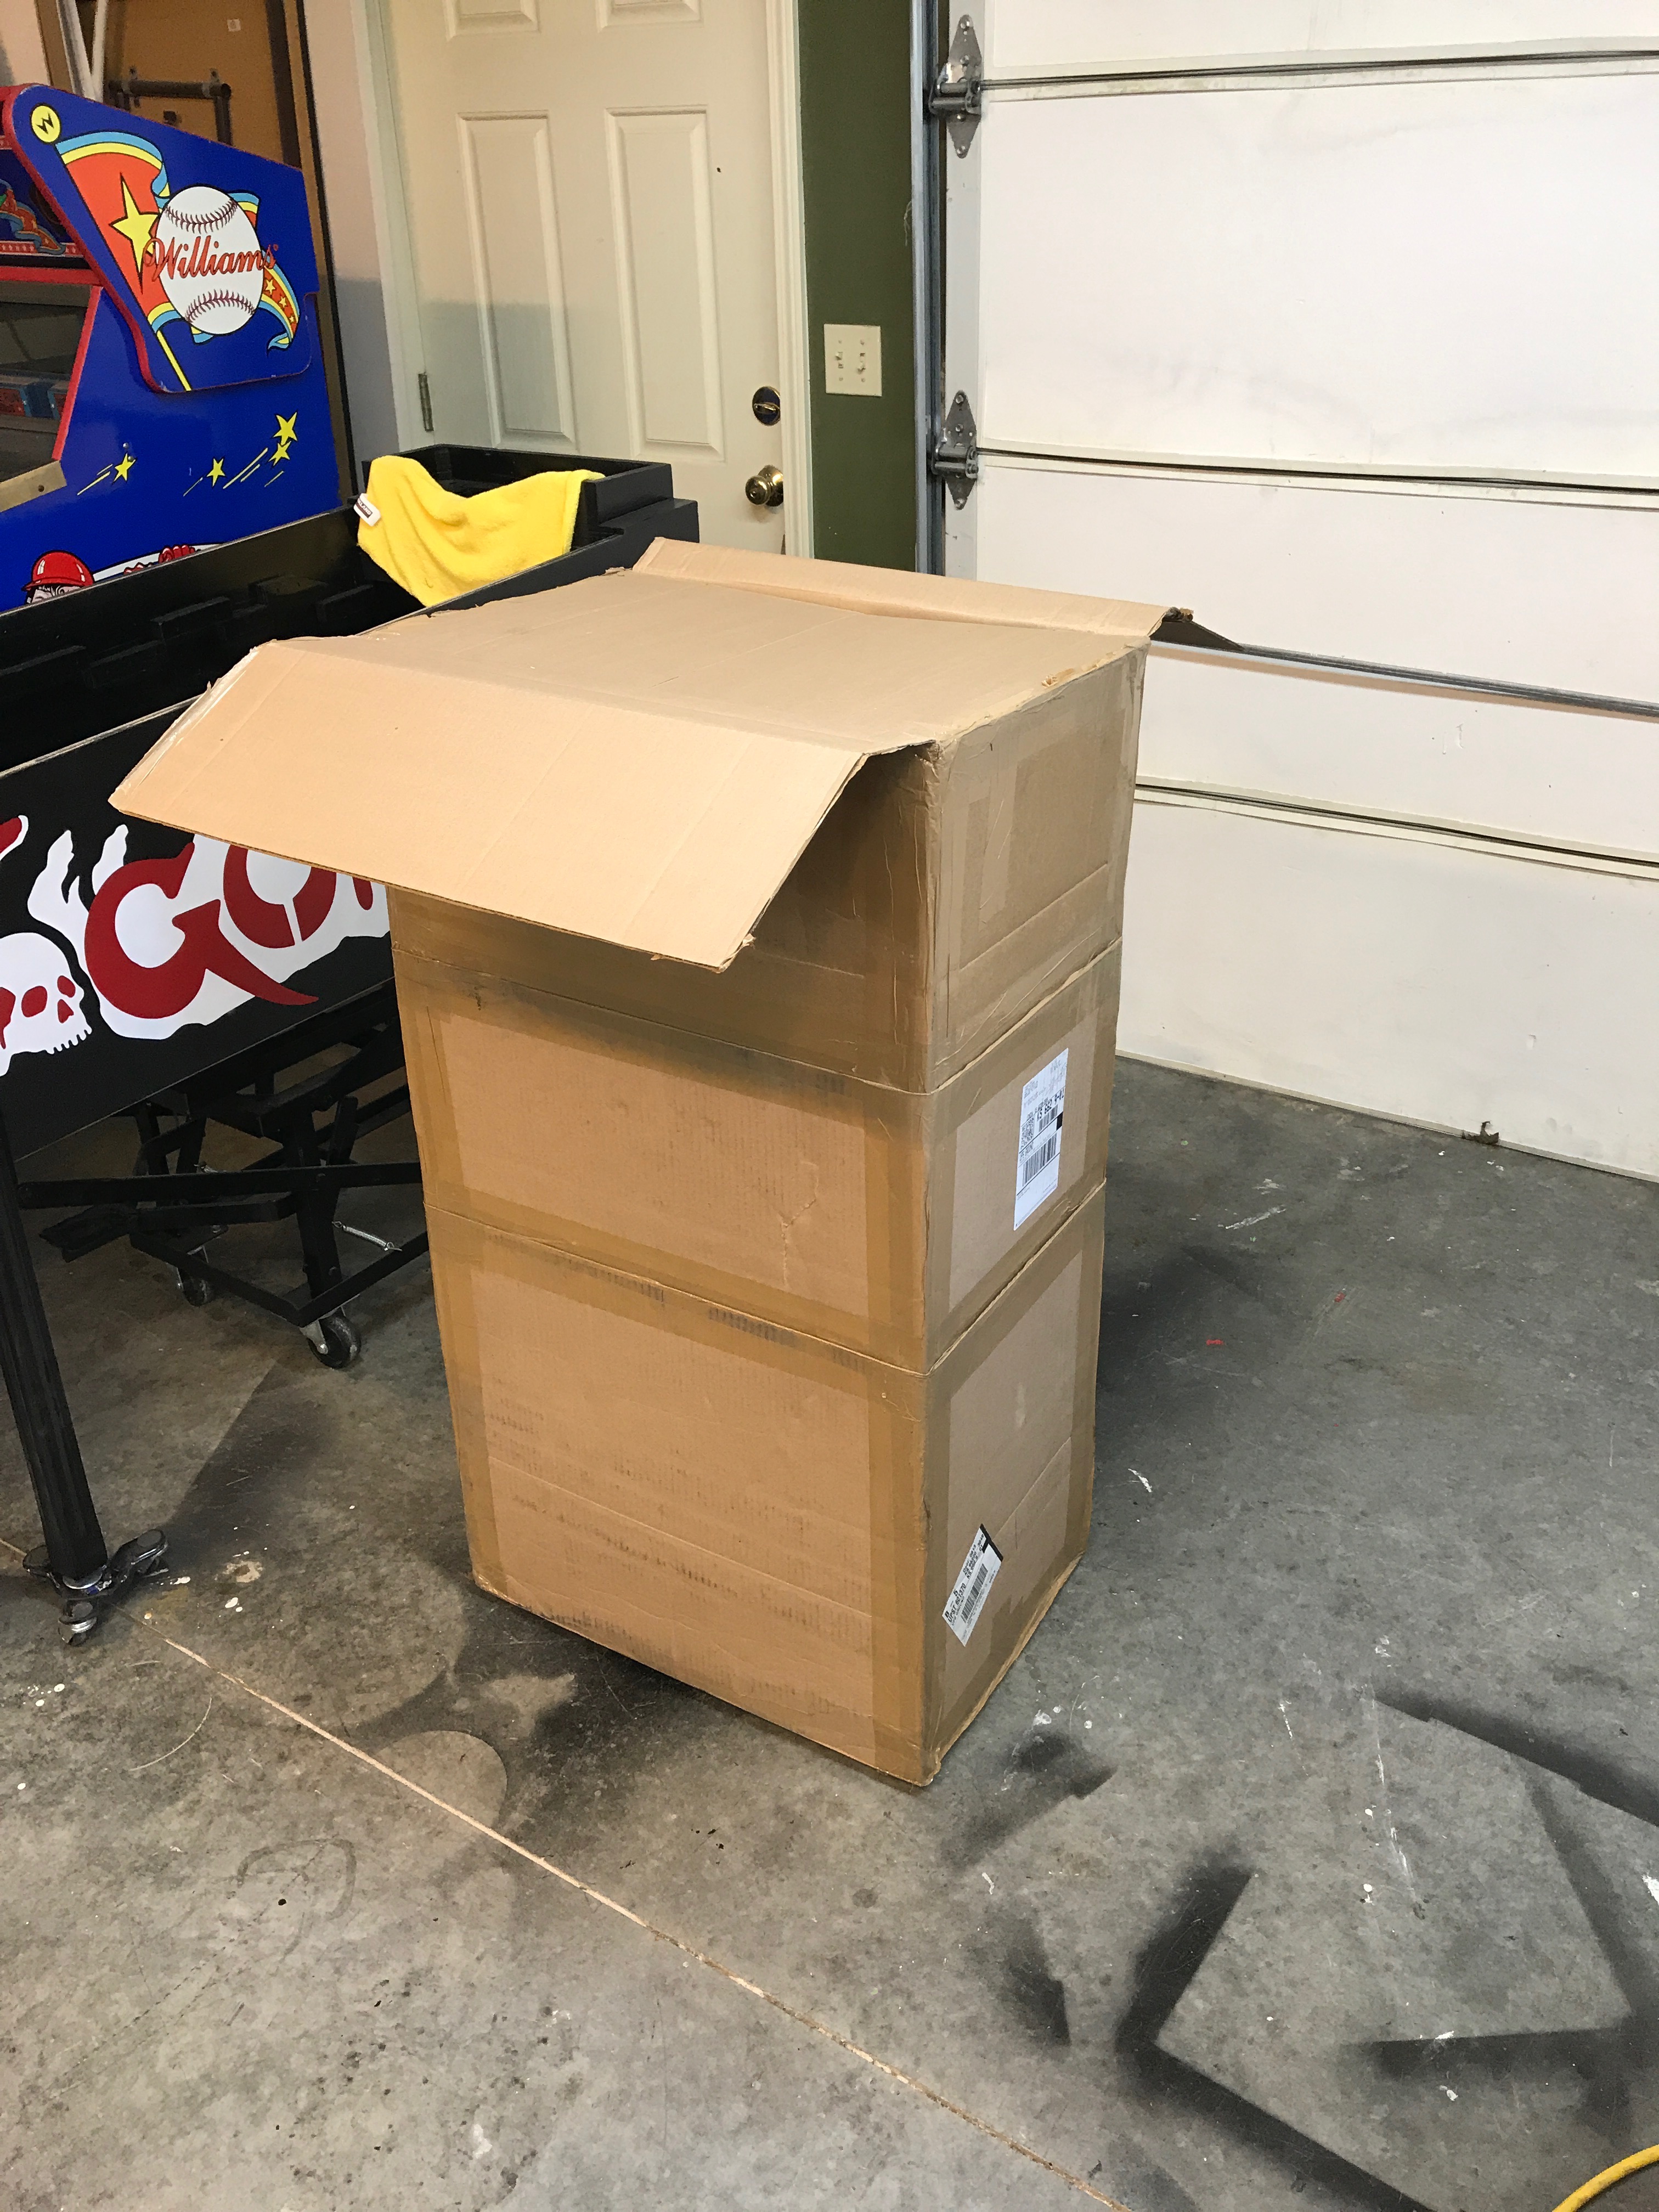
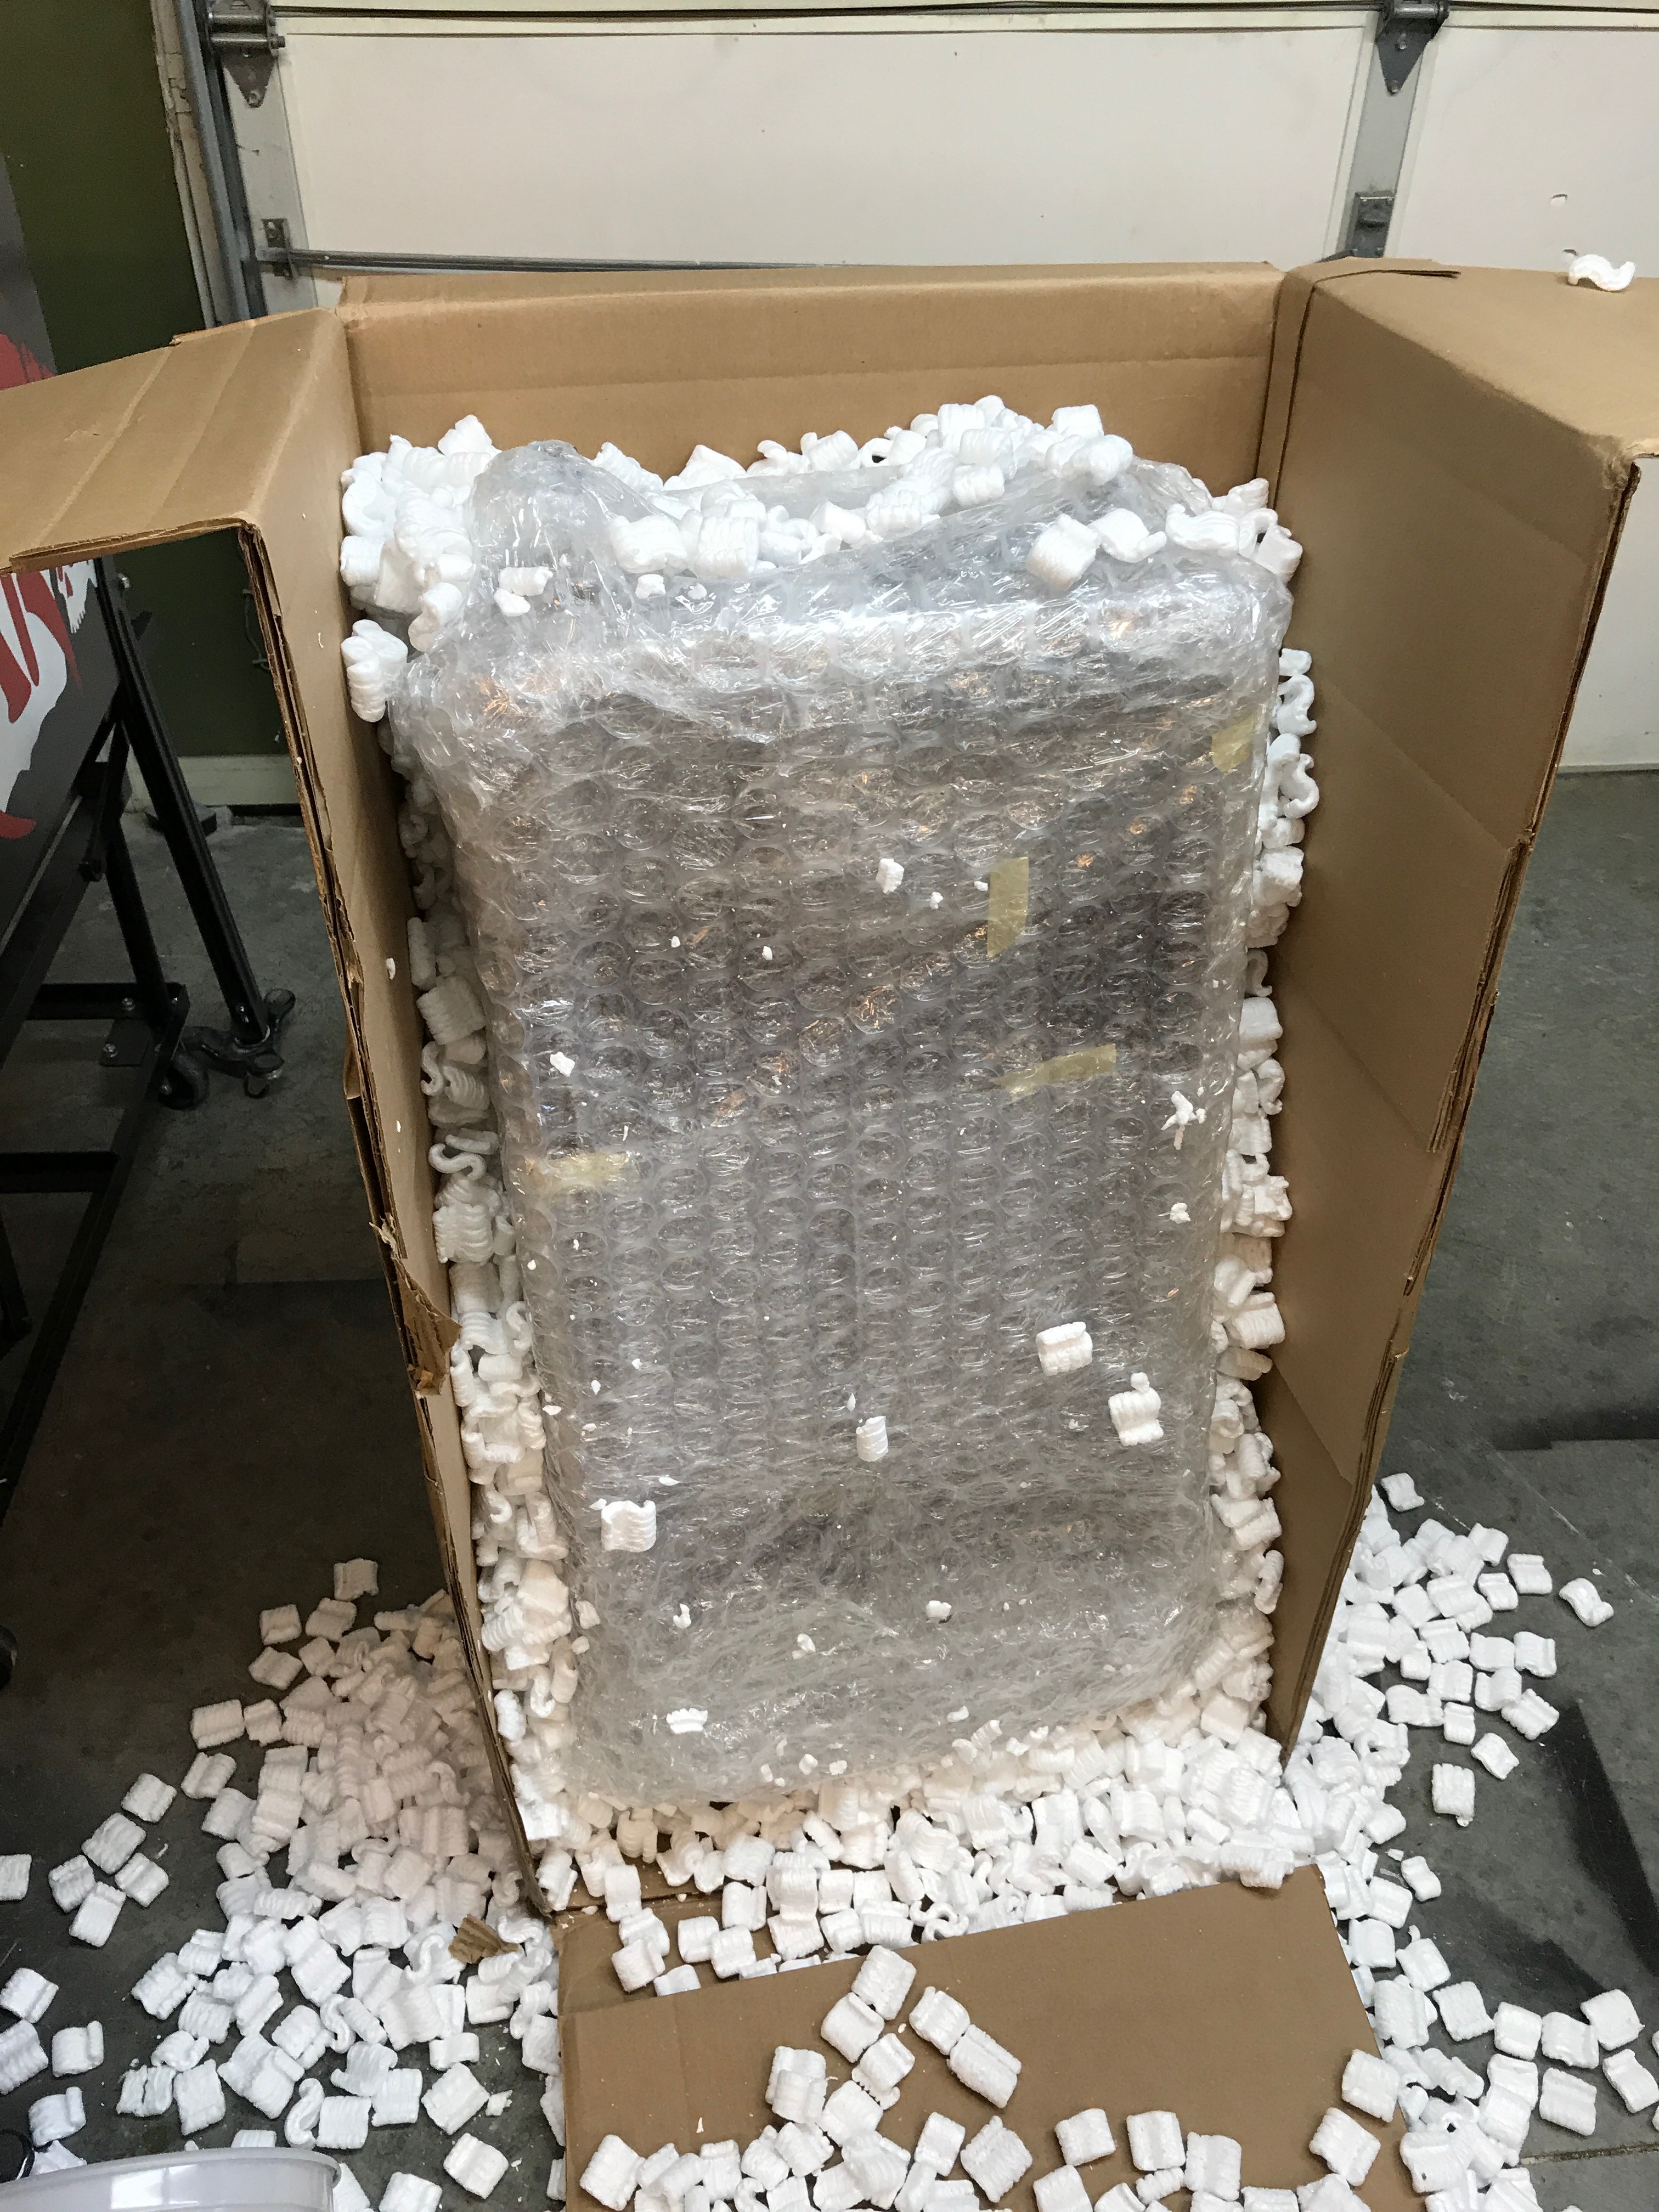
The machine came in fairly decent shape (for a machine made in 1933). There was one broken puzzle piece, and 4 missing brass rods (that I learned as absolutely essential to the way the game works). Here’s some picture as the machine arrived.
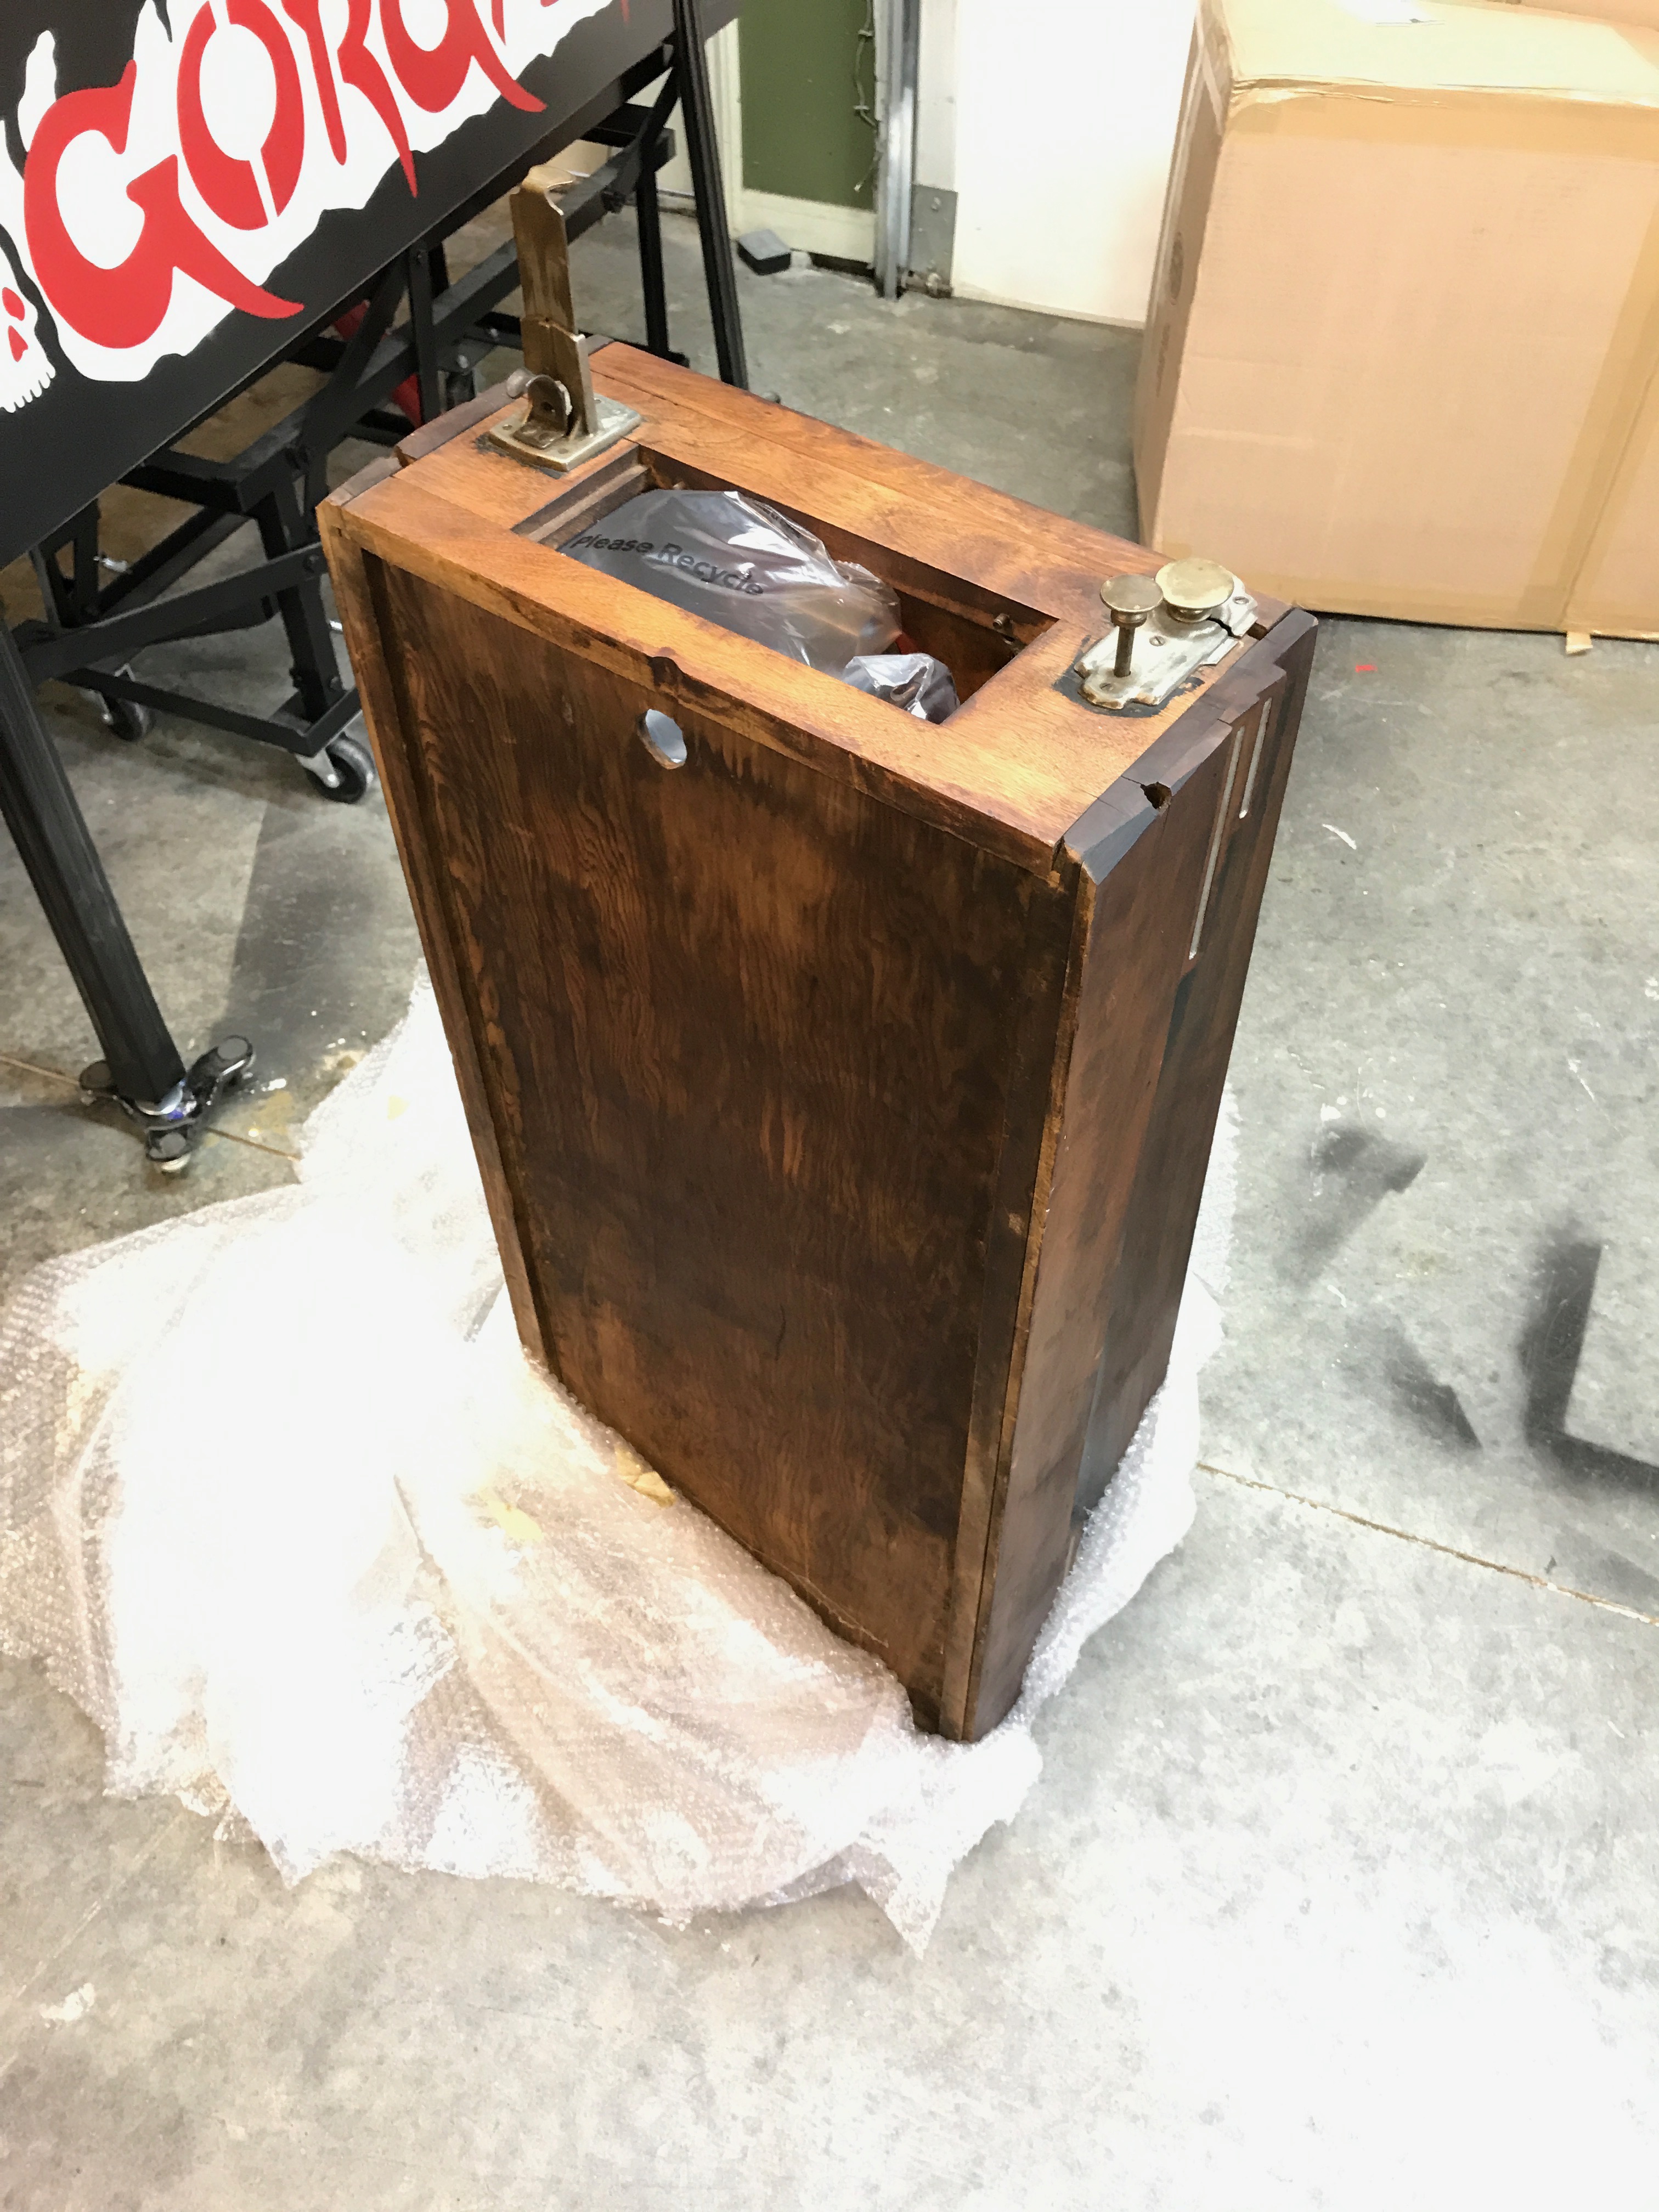
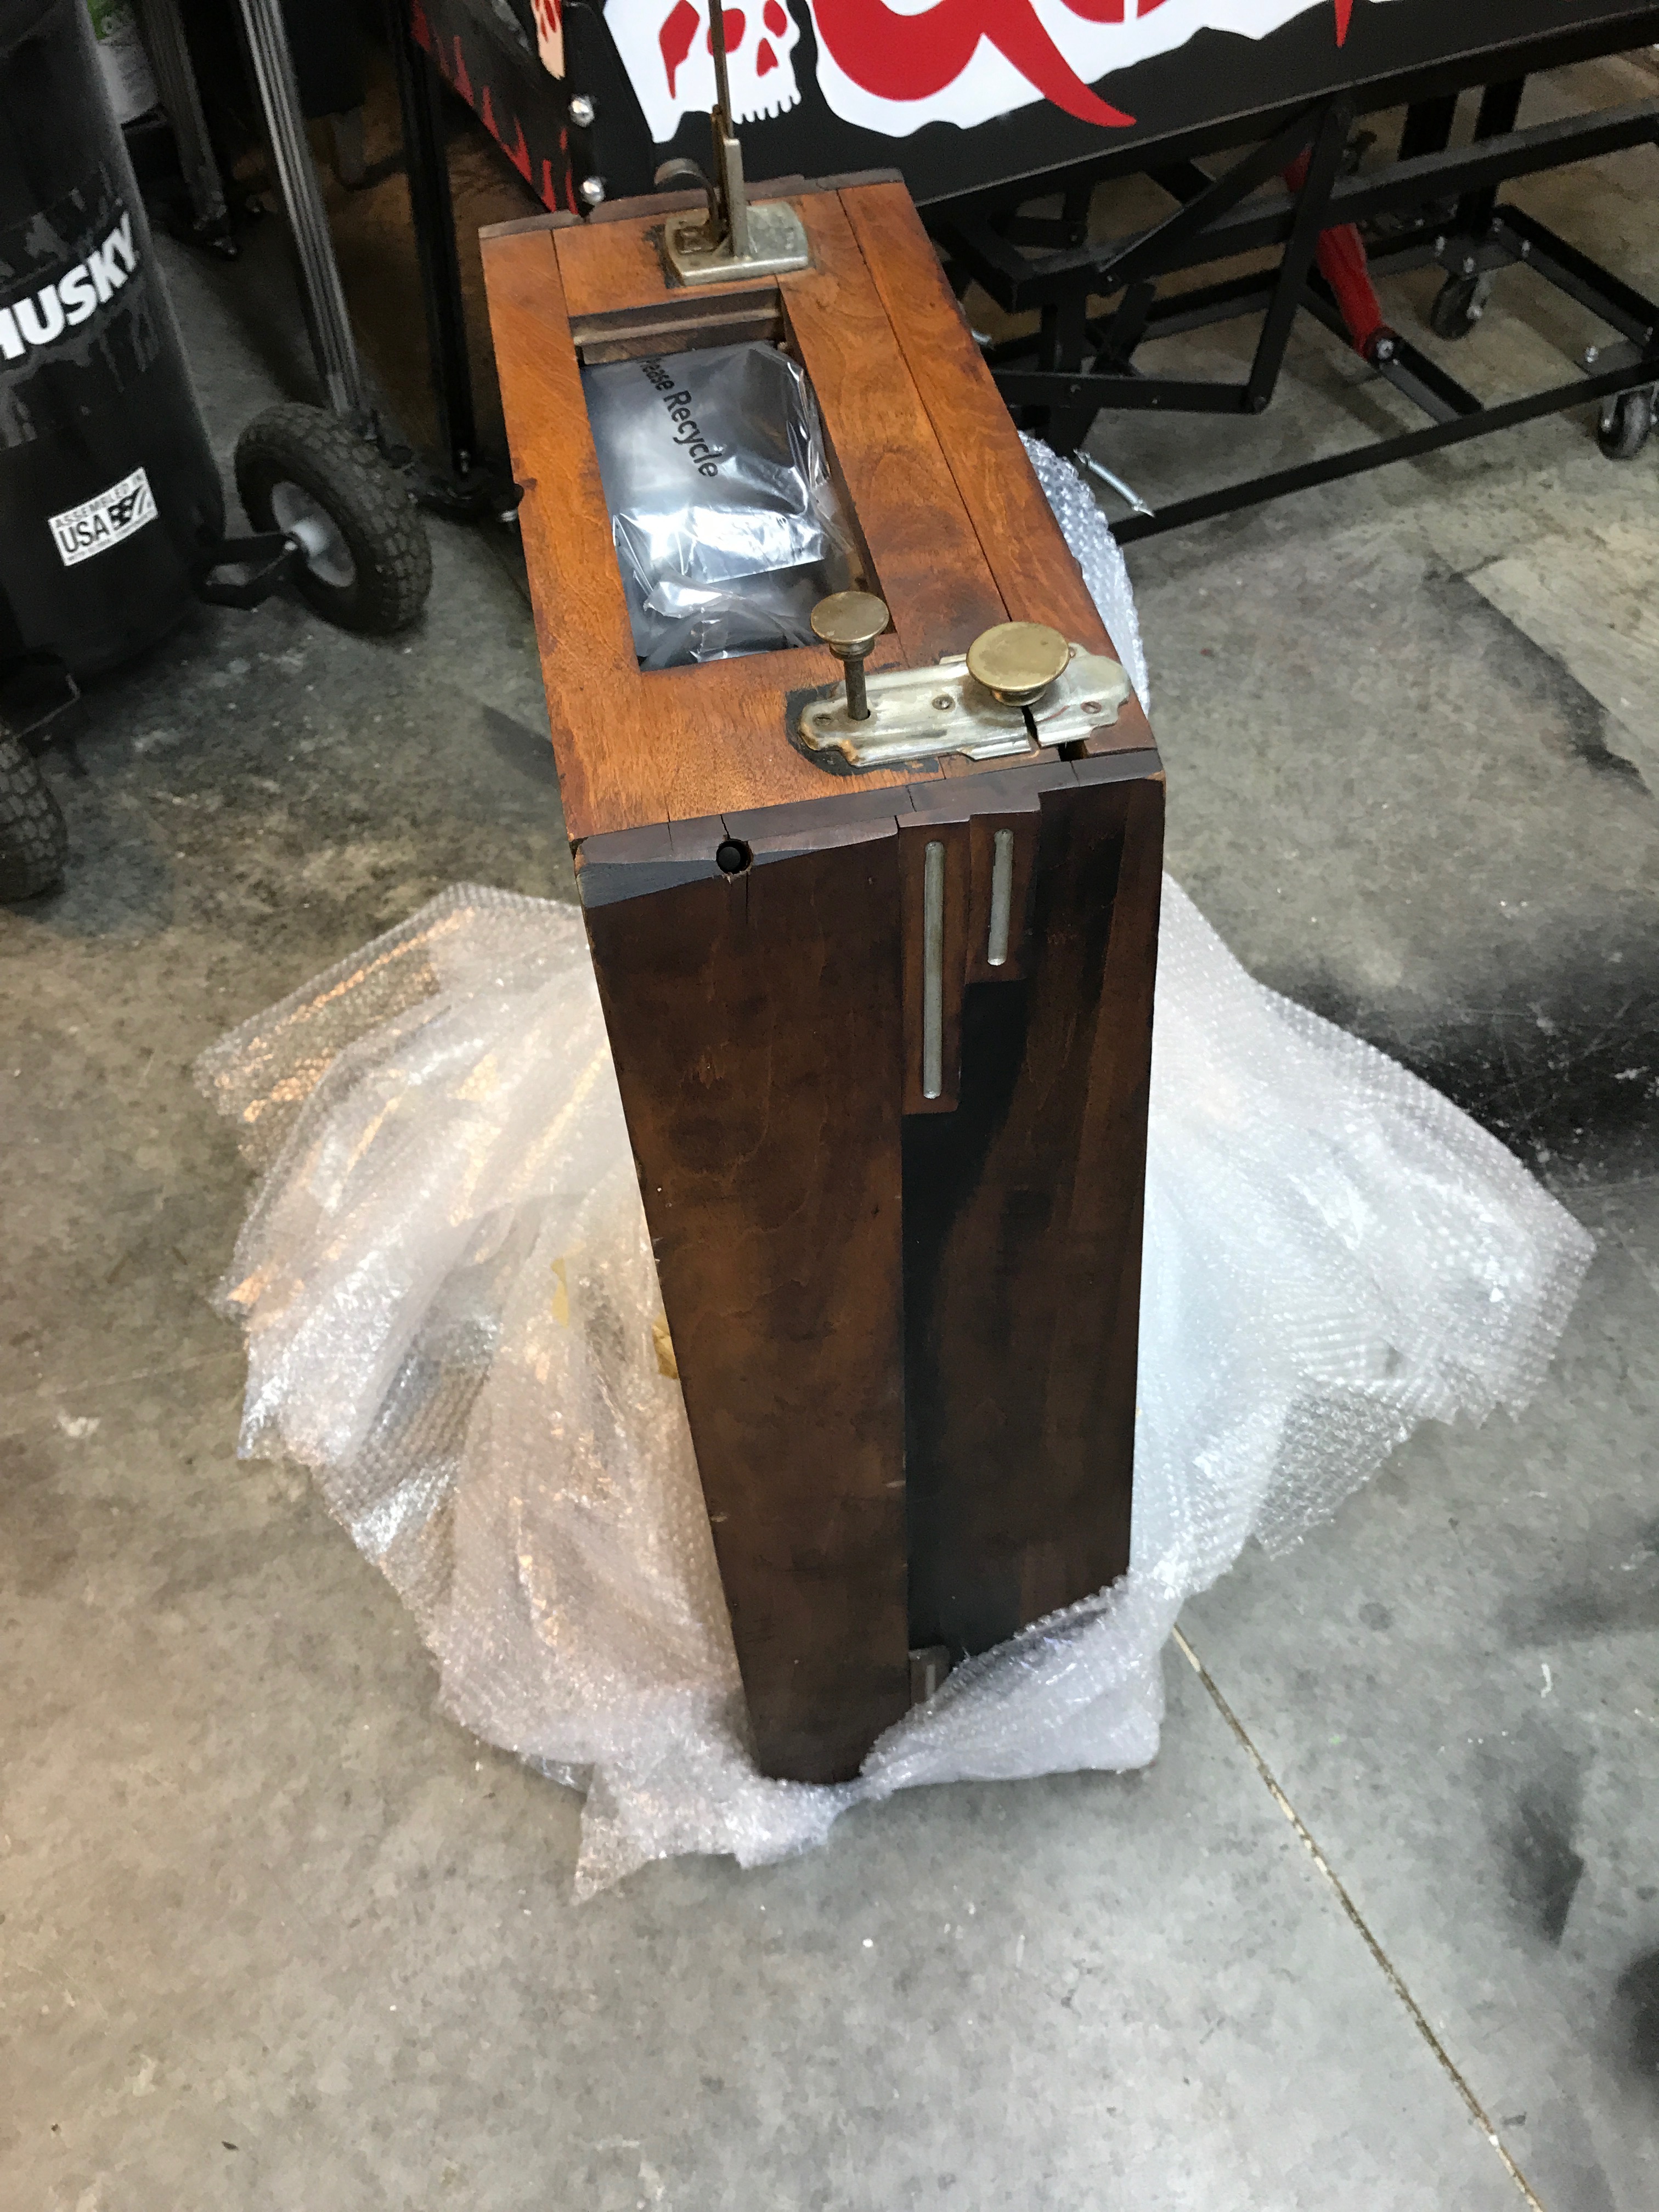
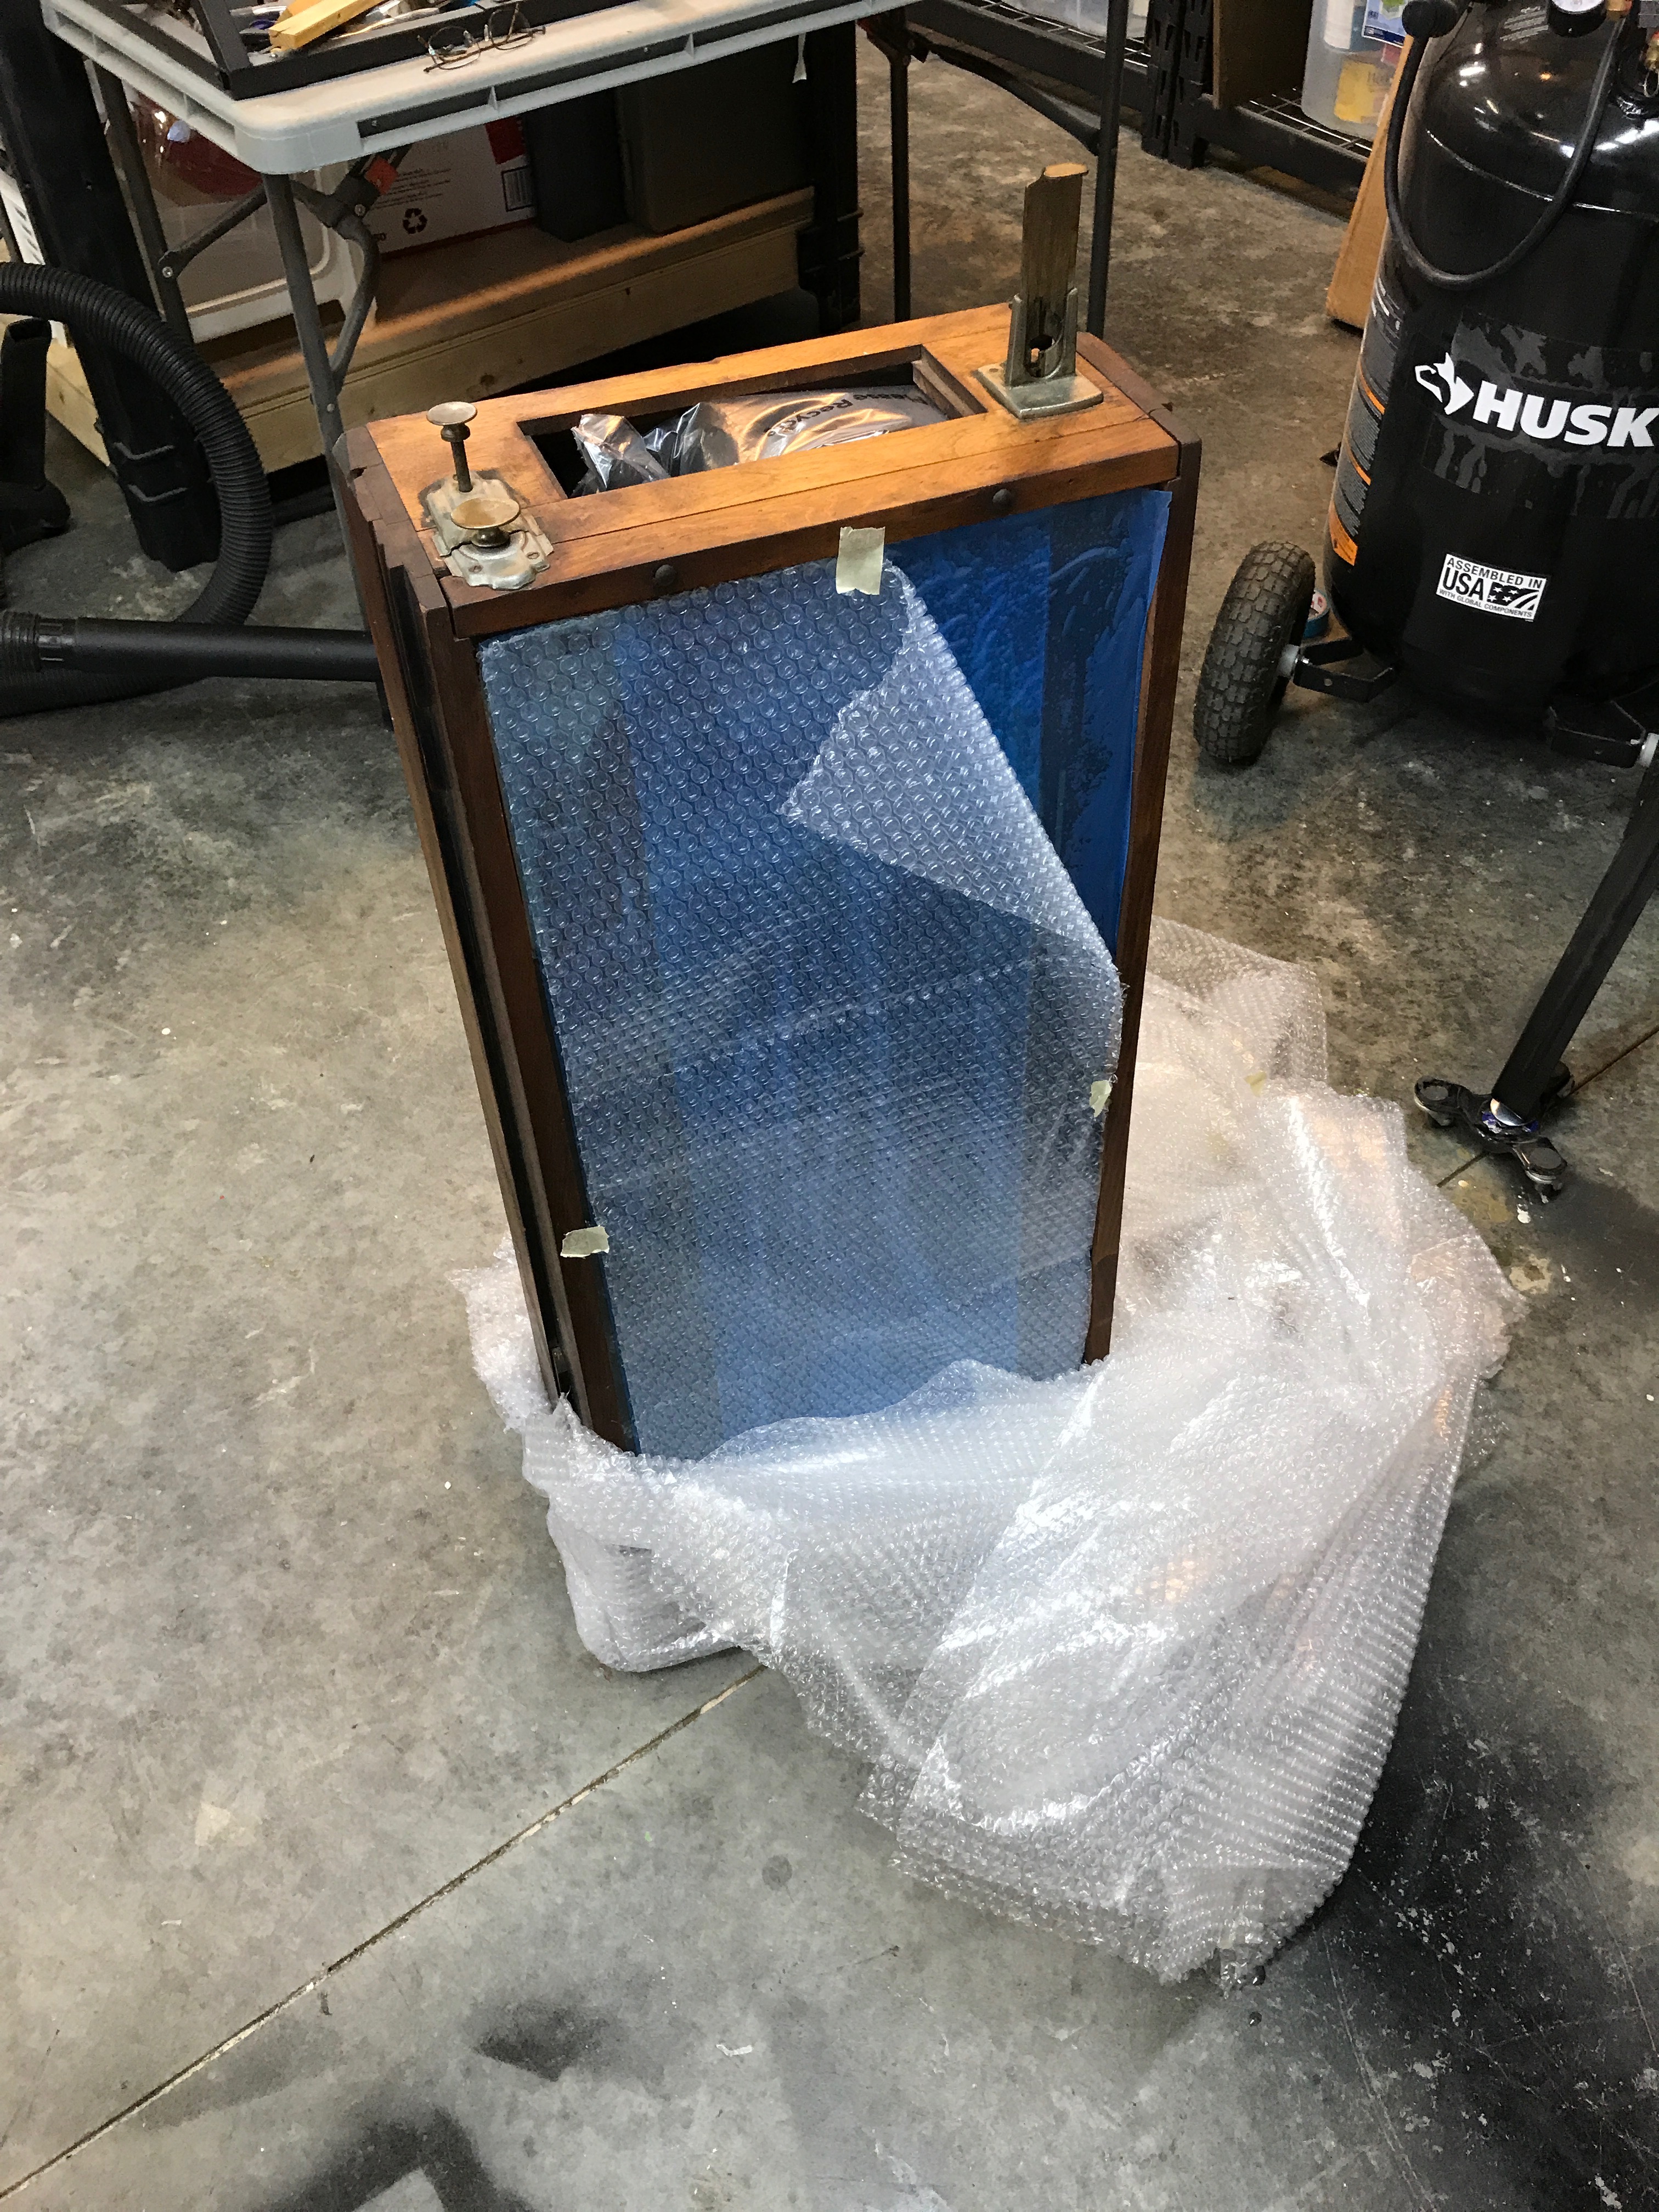
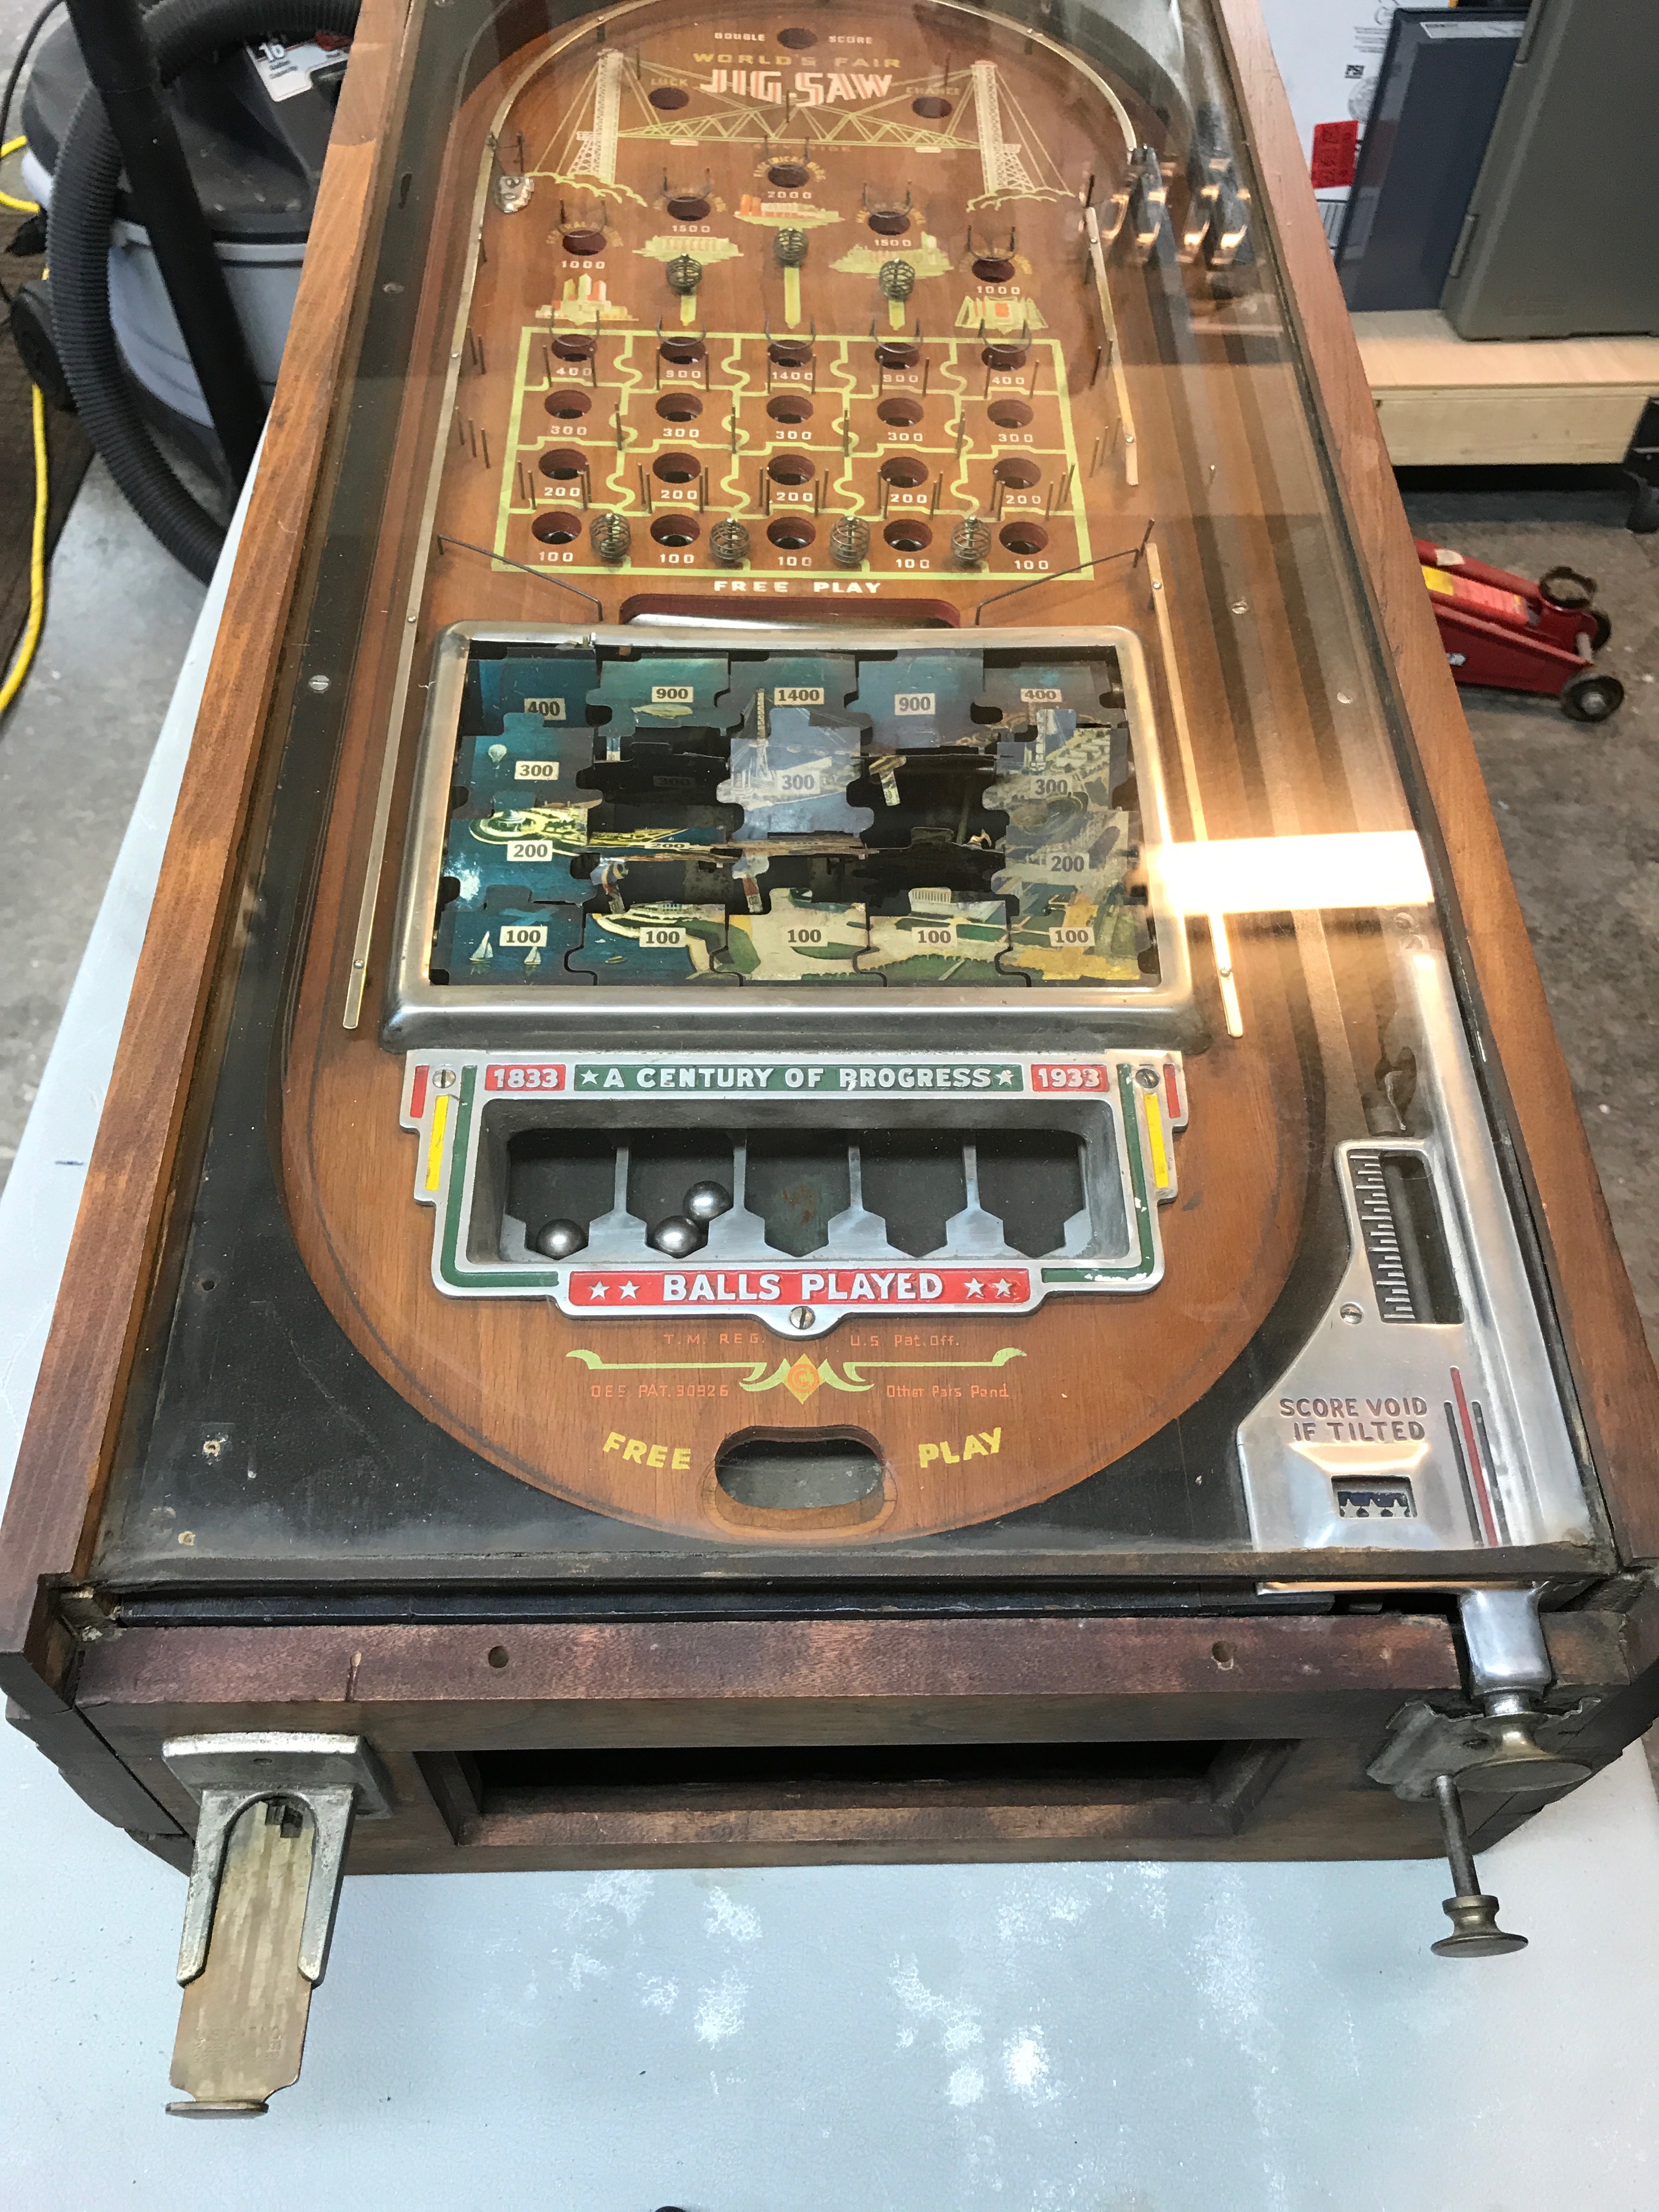
The machine was in fairly decent shape for the age. Of course it was dirty, but the paint on the playfield was in surprisingly good shape.
Initial Assessment:
- Cabinet is splitting at the corners
- Cabinet has been re-stained and is not the original color
- Wood chips missing from right rear
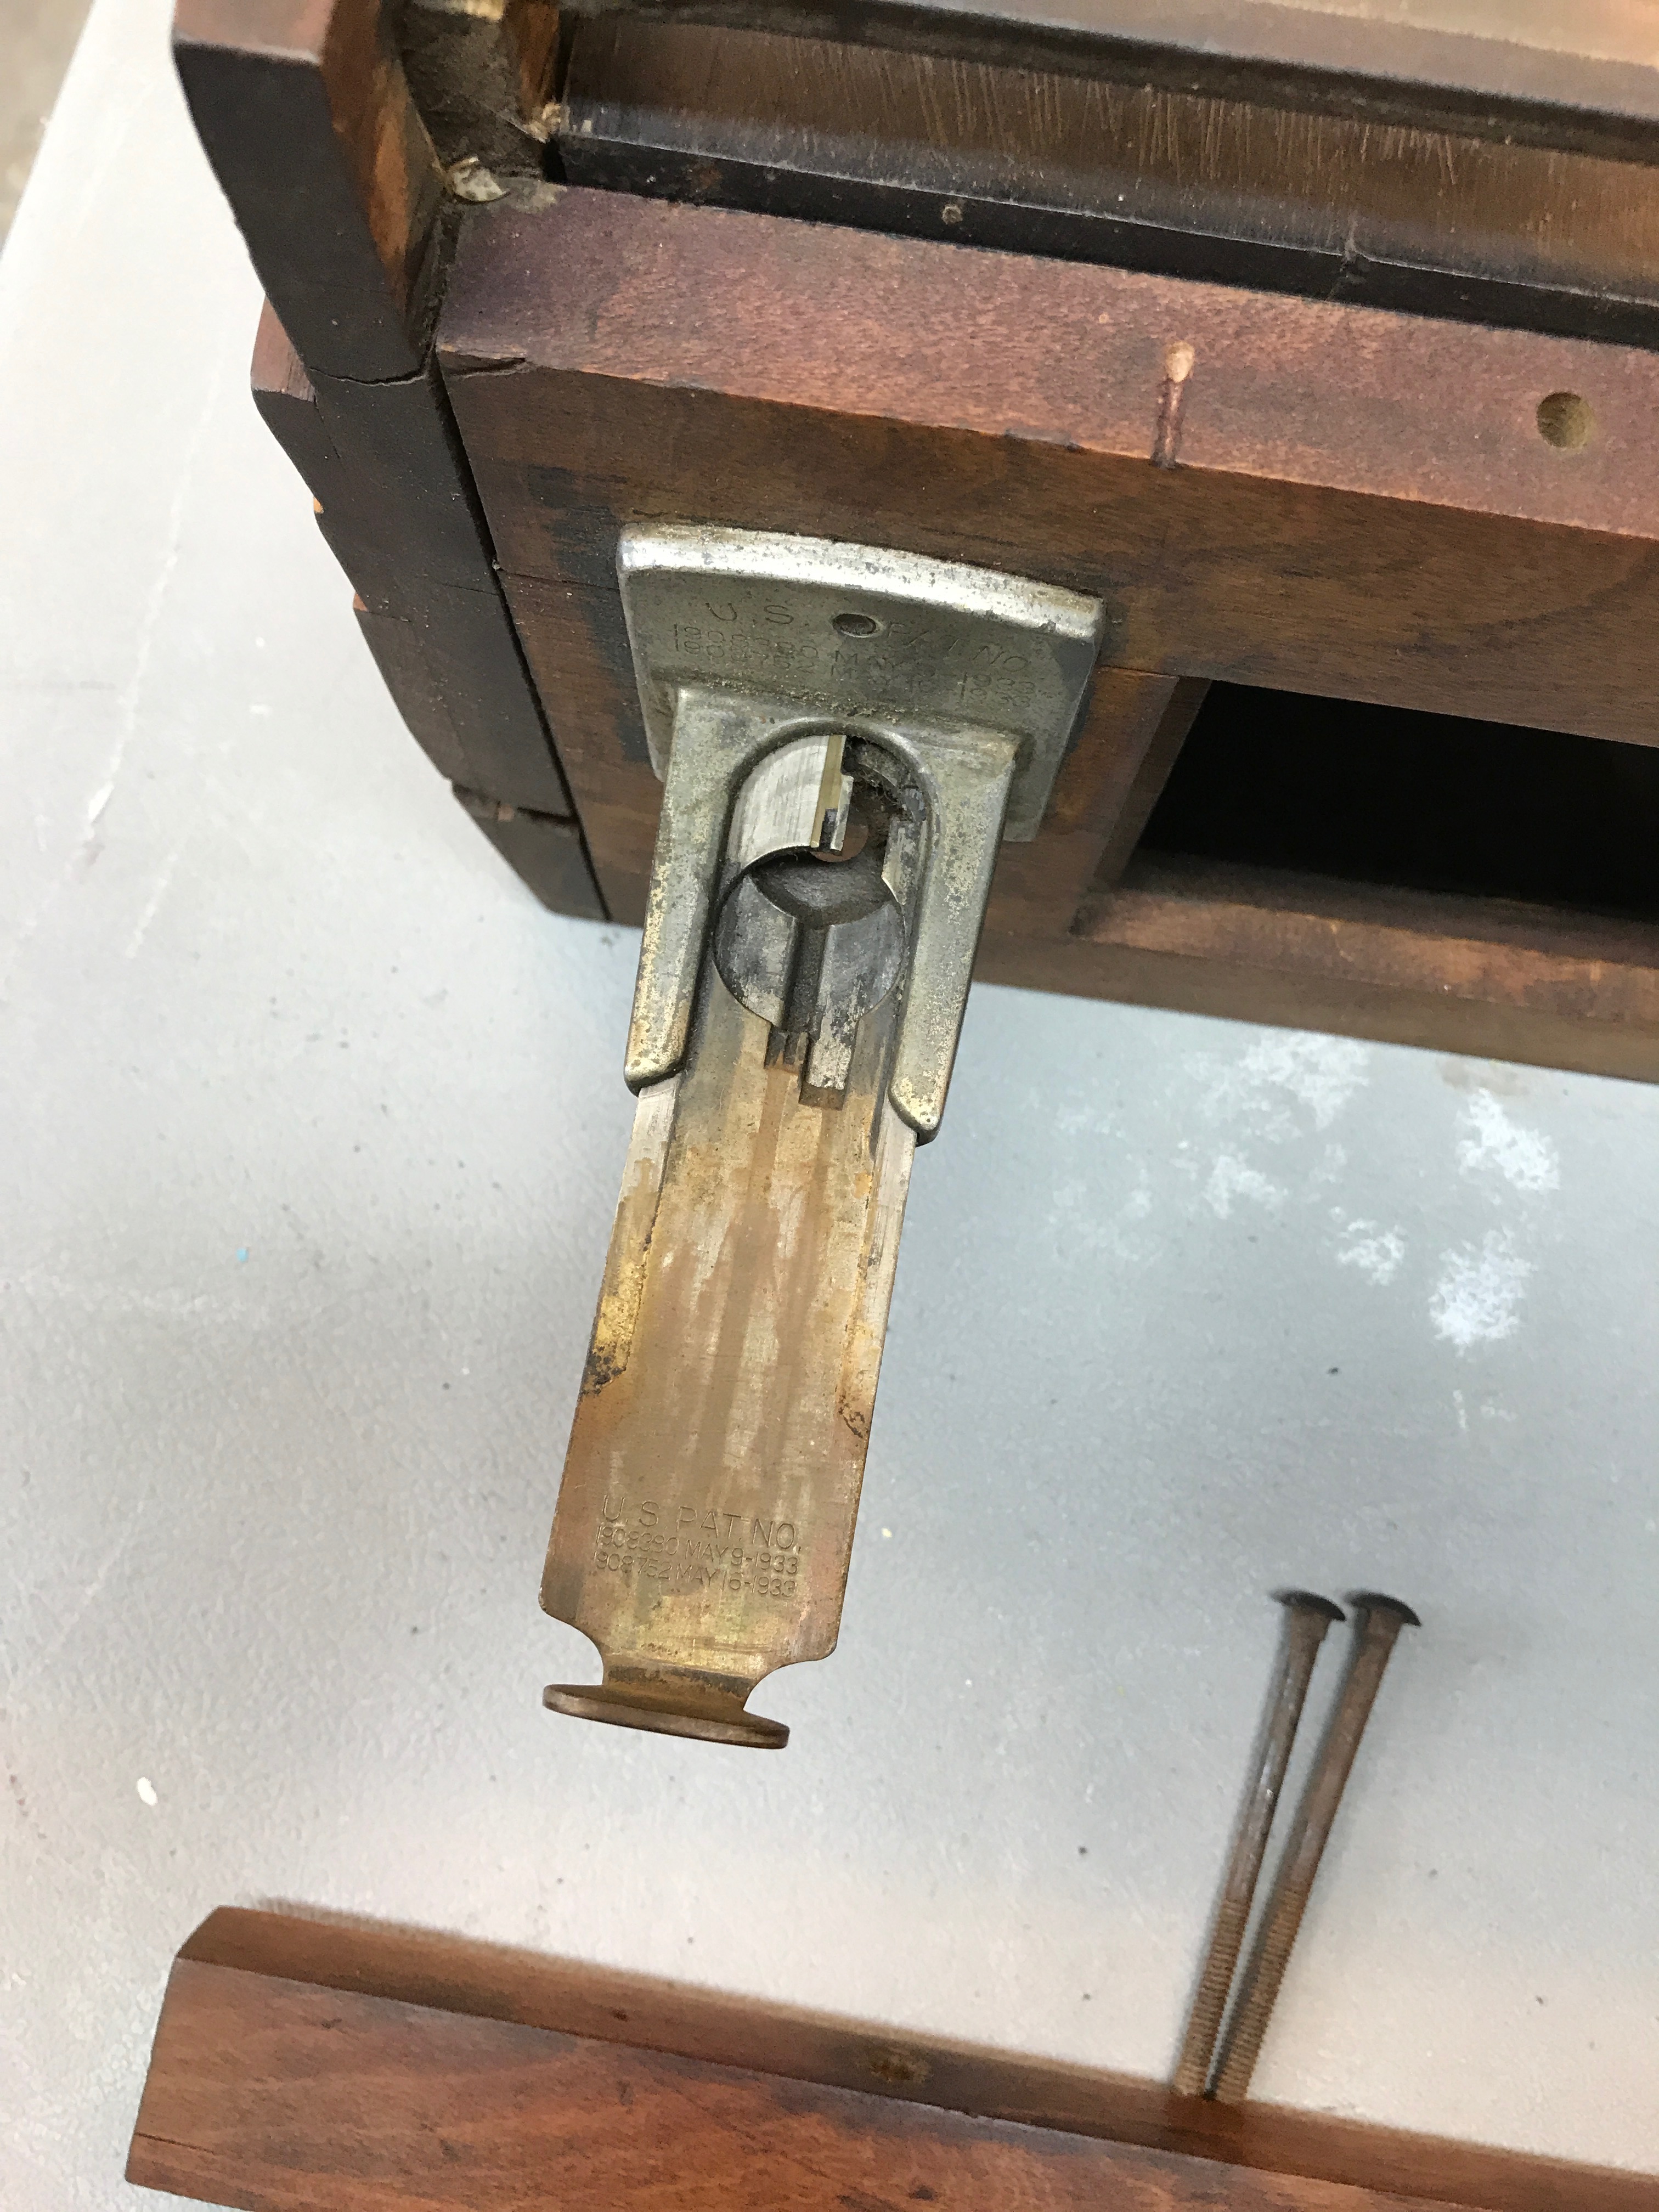
- Legs and leg bolts missing
- Instruction card and holder missing
- 4 brass rods for puzzle pieces missing
- One puzzle piece missing tab (broken off) to attach brass rod
- Coin mechanism isn’t working
- Ball lift mechanism not working
- Playfield and overall machine very dirty and stinky
- Metal parts need polishing
Luckily there are some reproduction parts being made. Buckwerx has a great website, and is making some reproduction parts for these old games. I purchased replacement legs, instruction cards, instruction card holder, replacement stickers, leg bolts and leg bolt plates, a spring set for the puzzle pieces, replacement shooter guard, shooter tip, new coin door, and new balls.
Puzzle Mechanism Repair
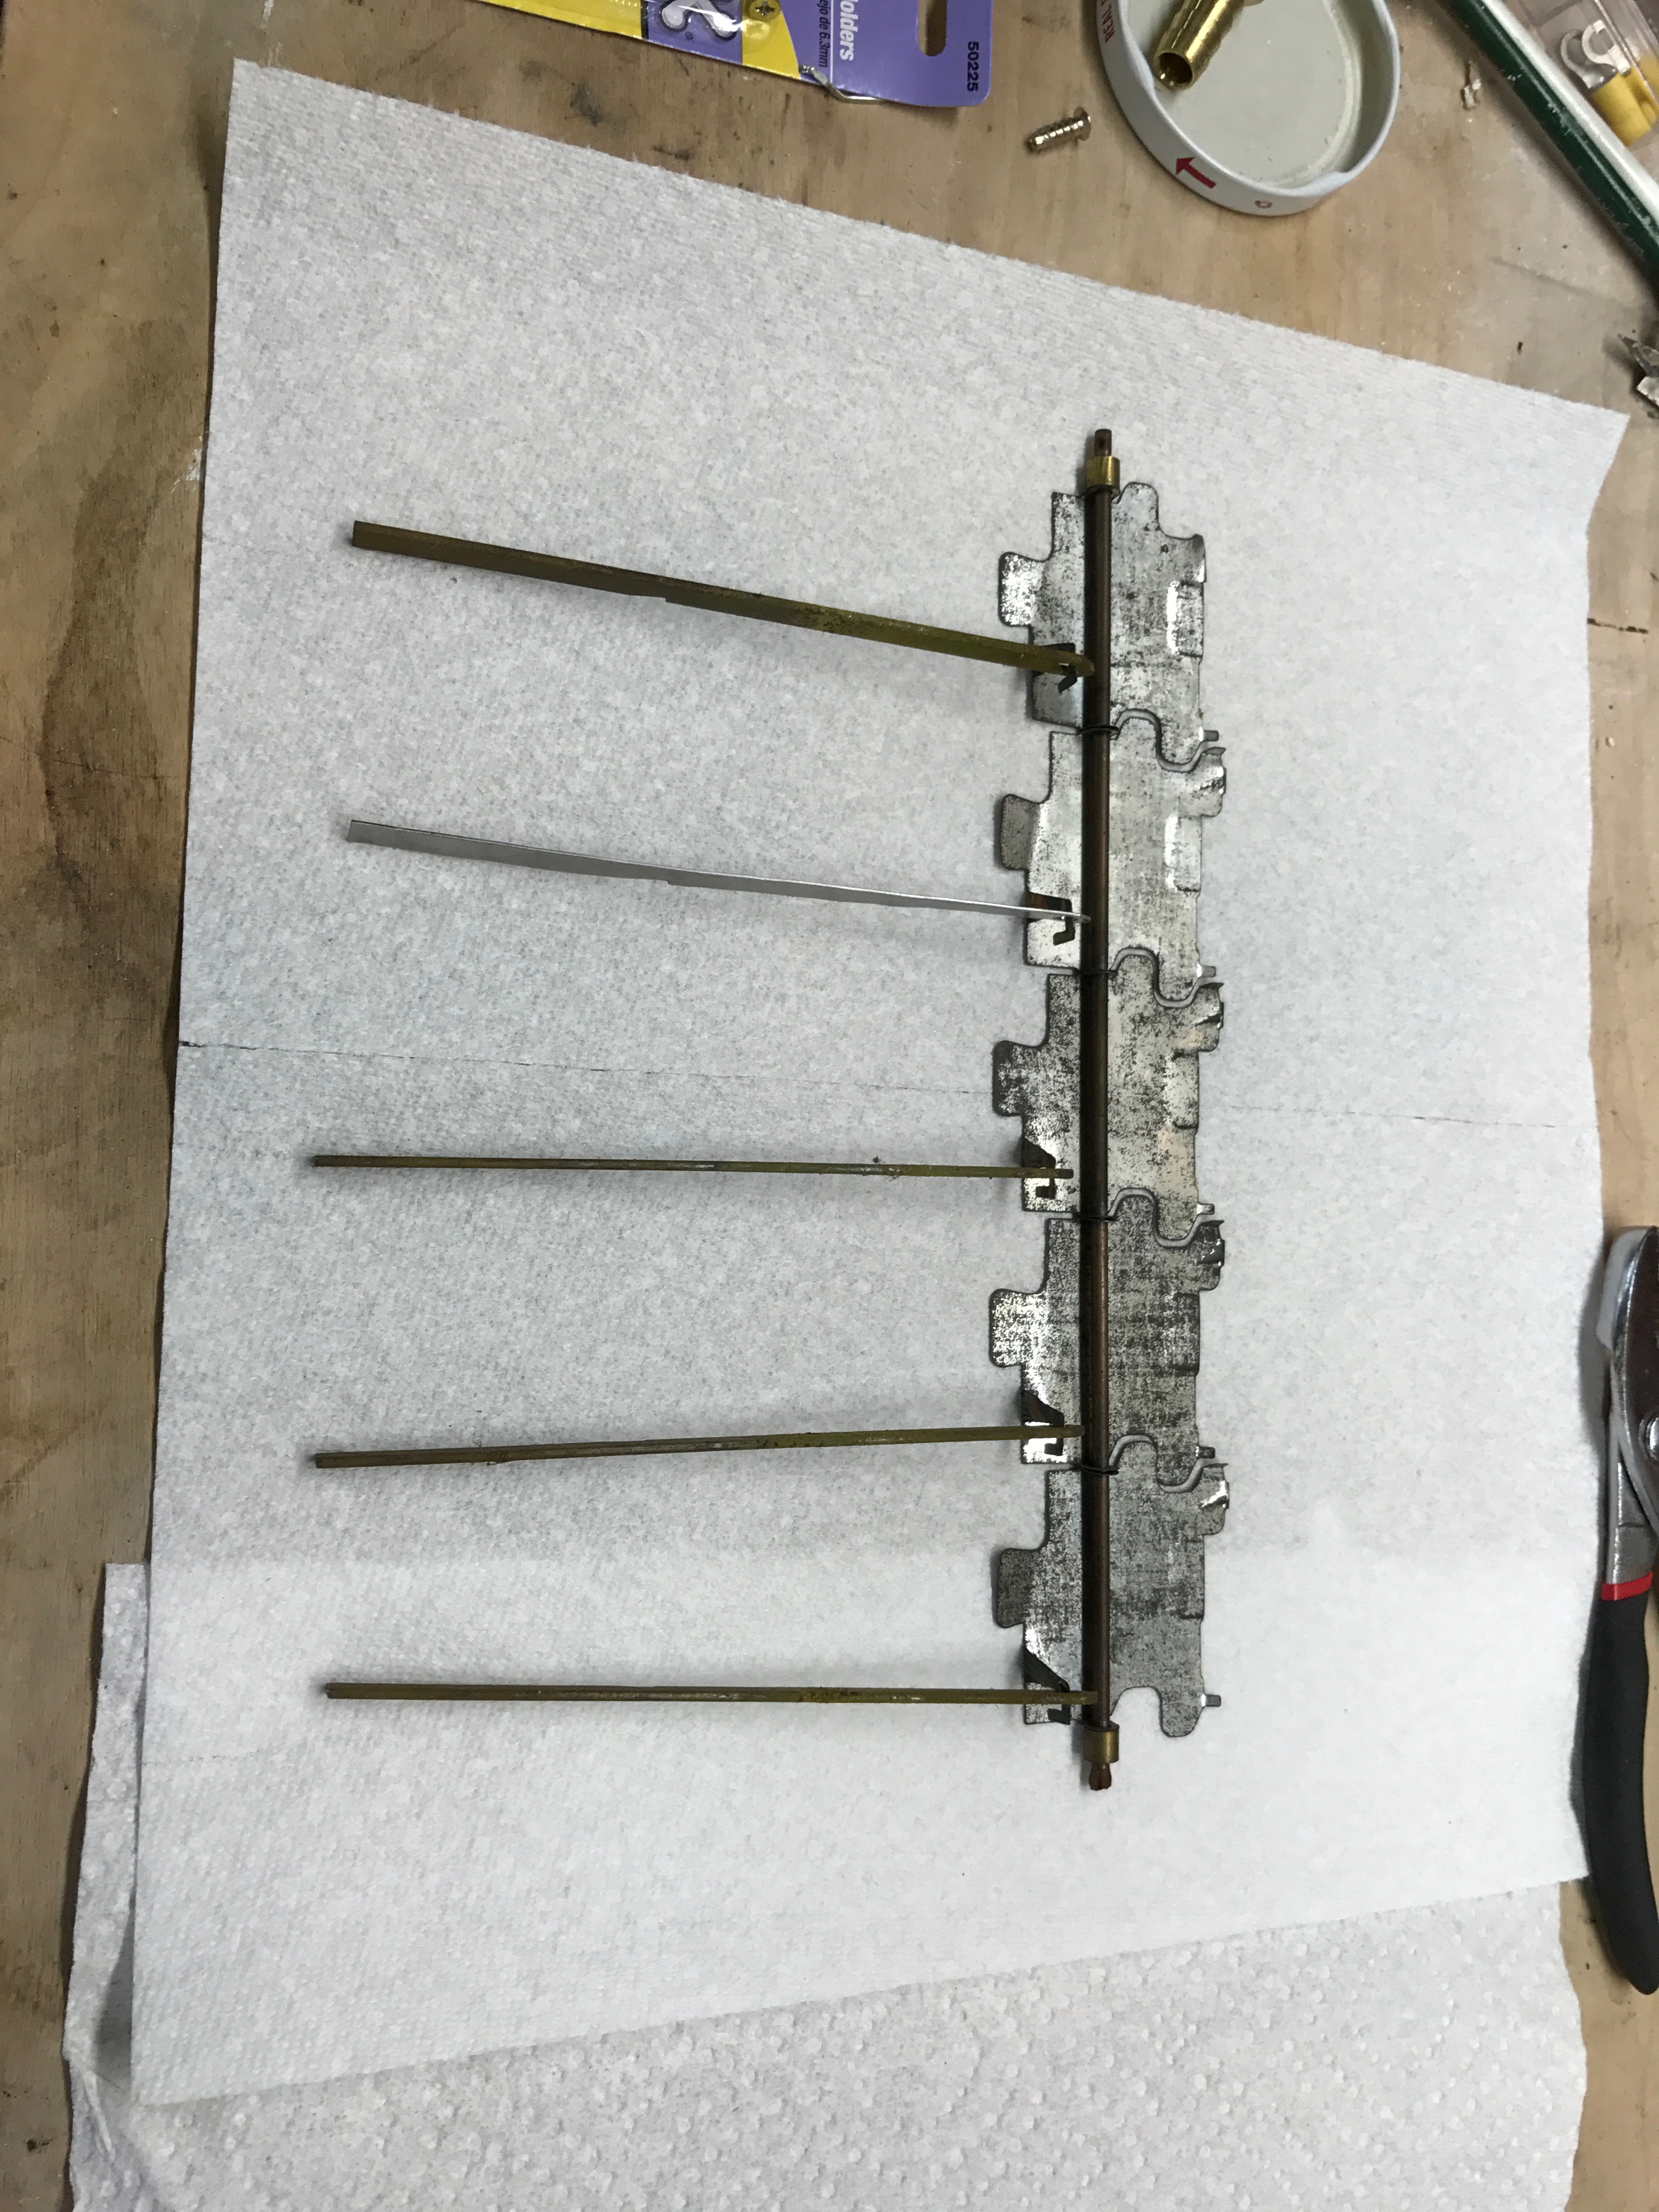
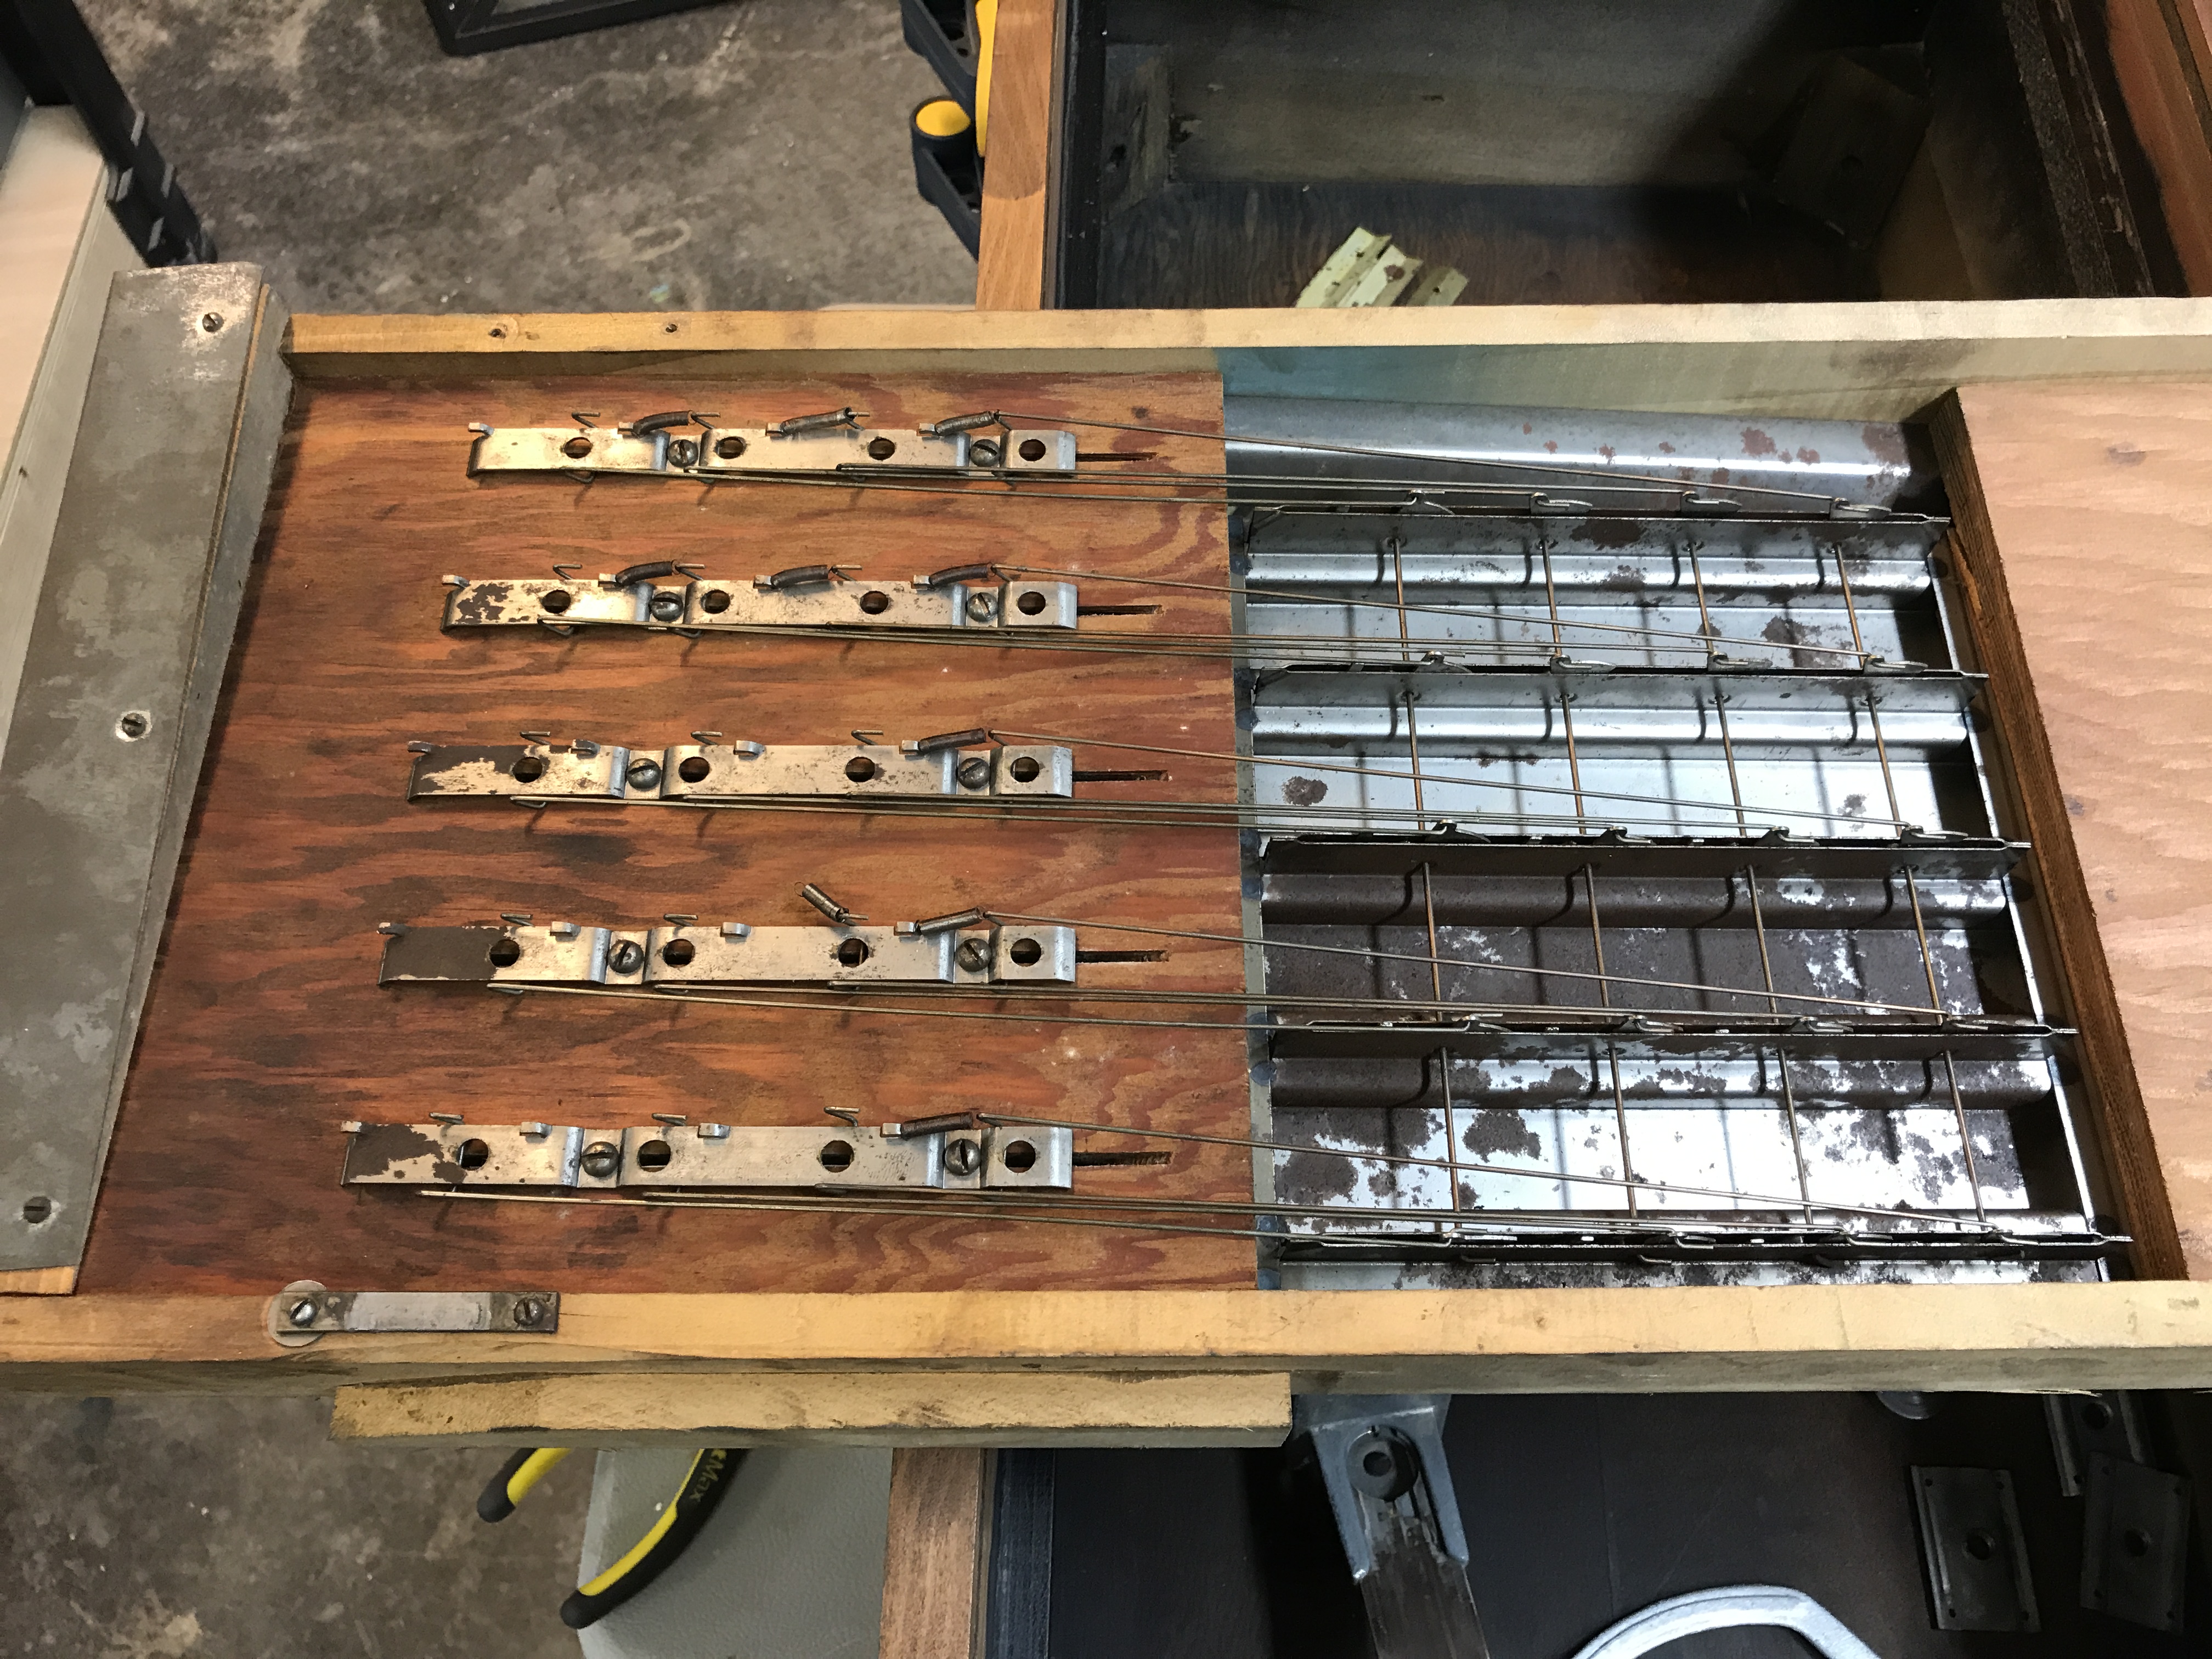
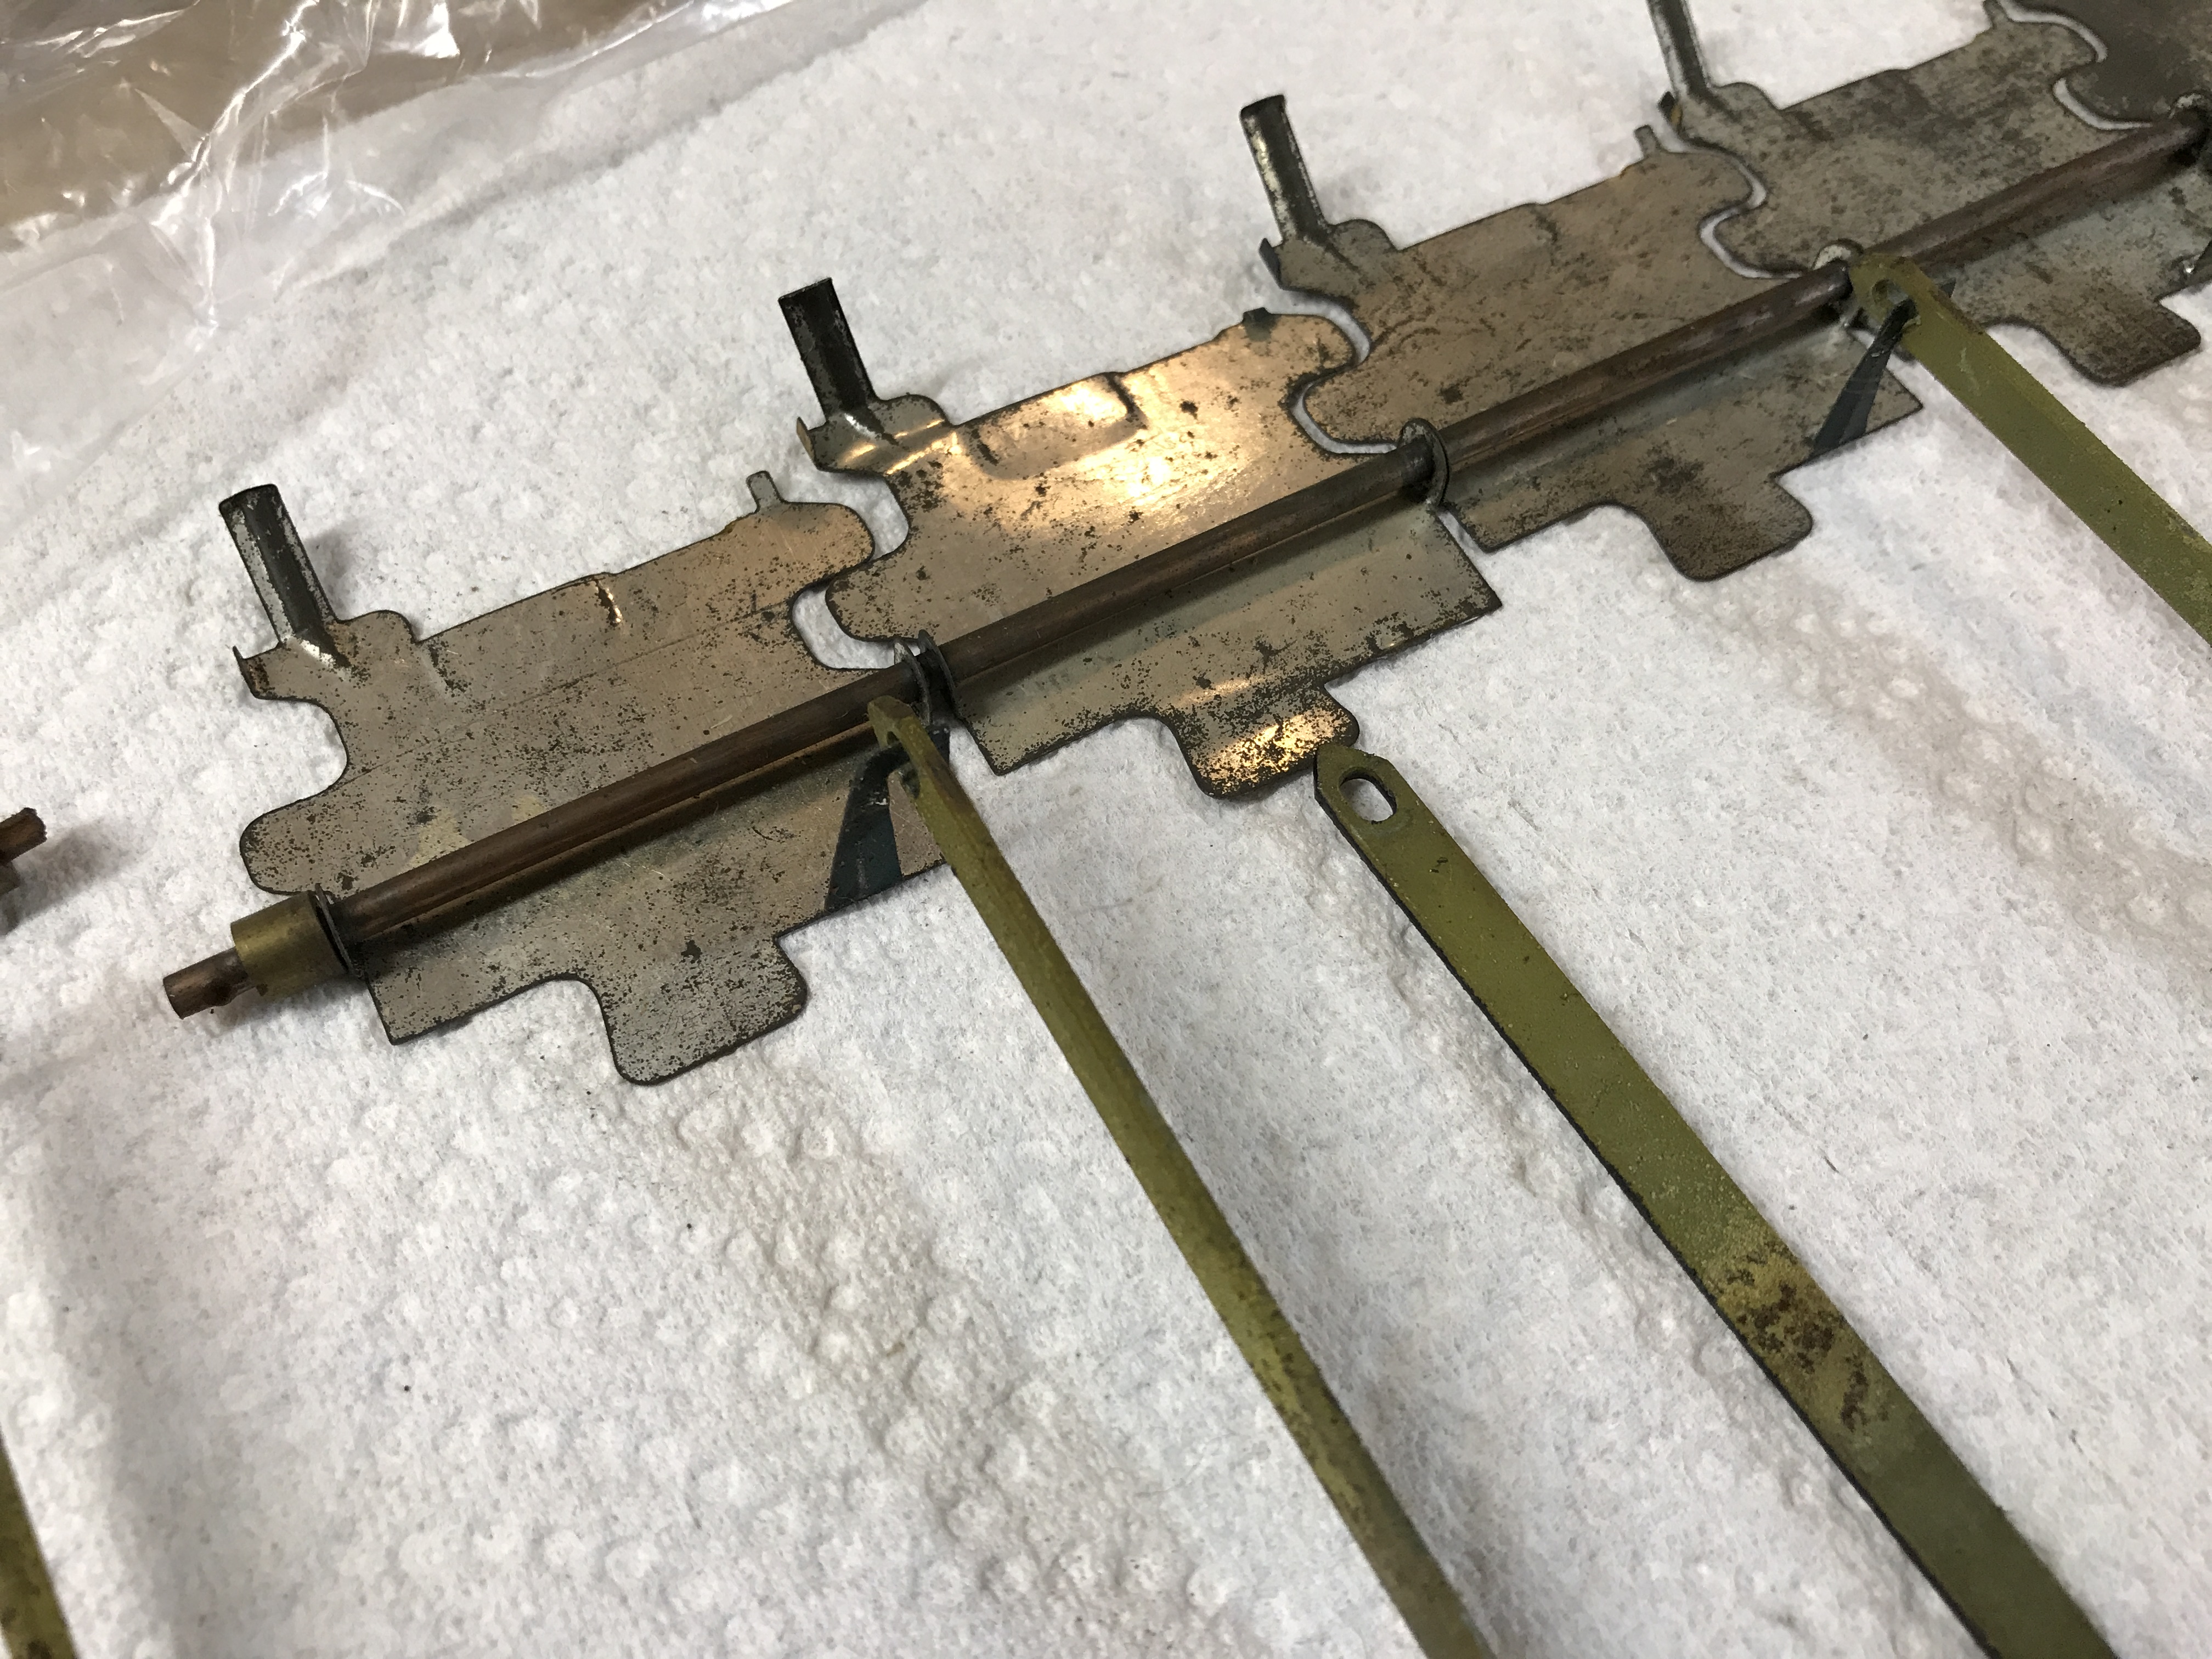
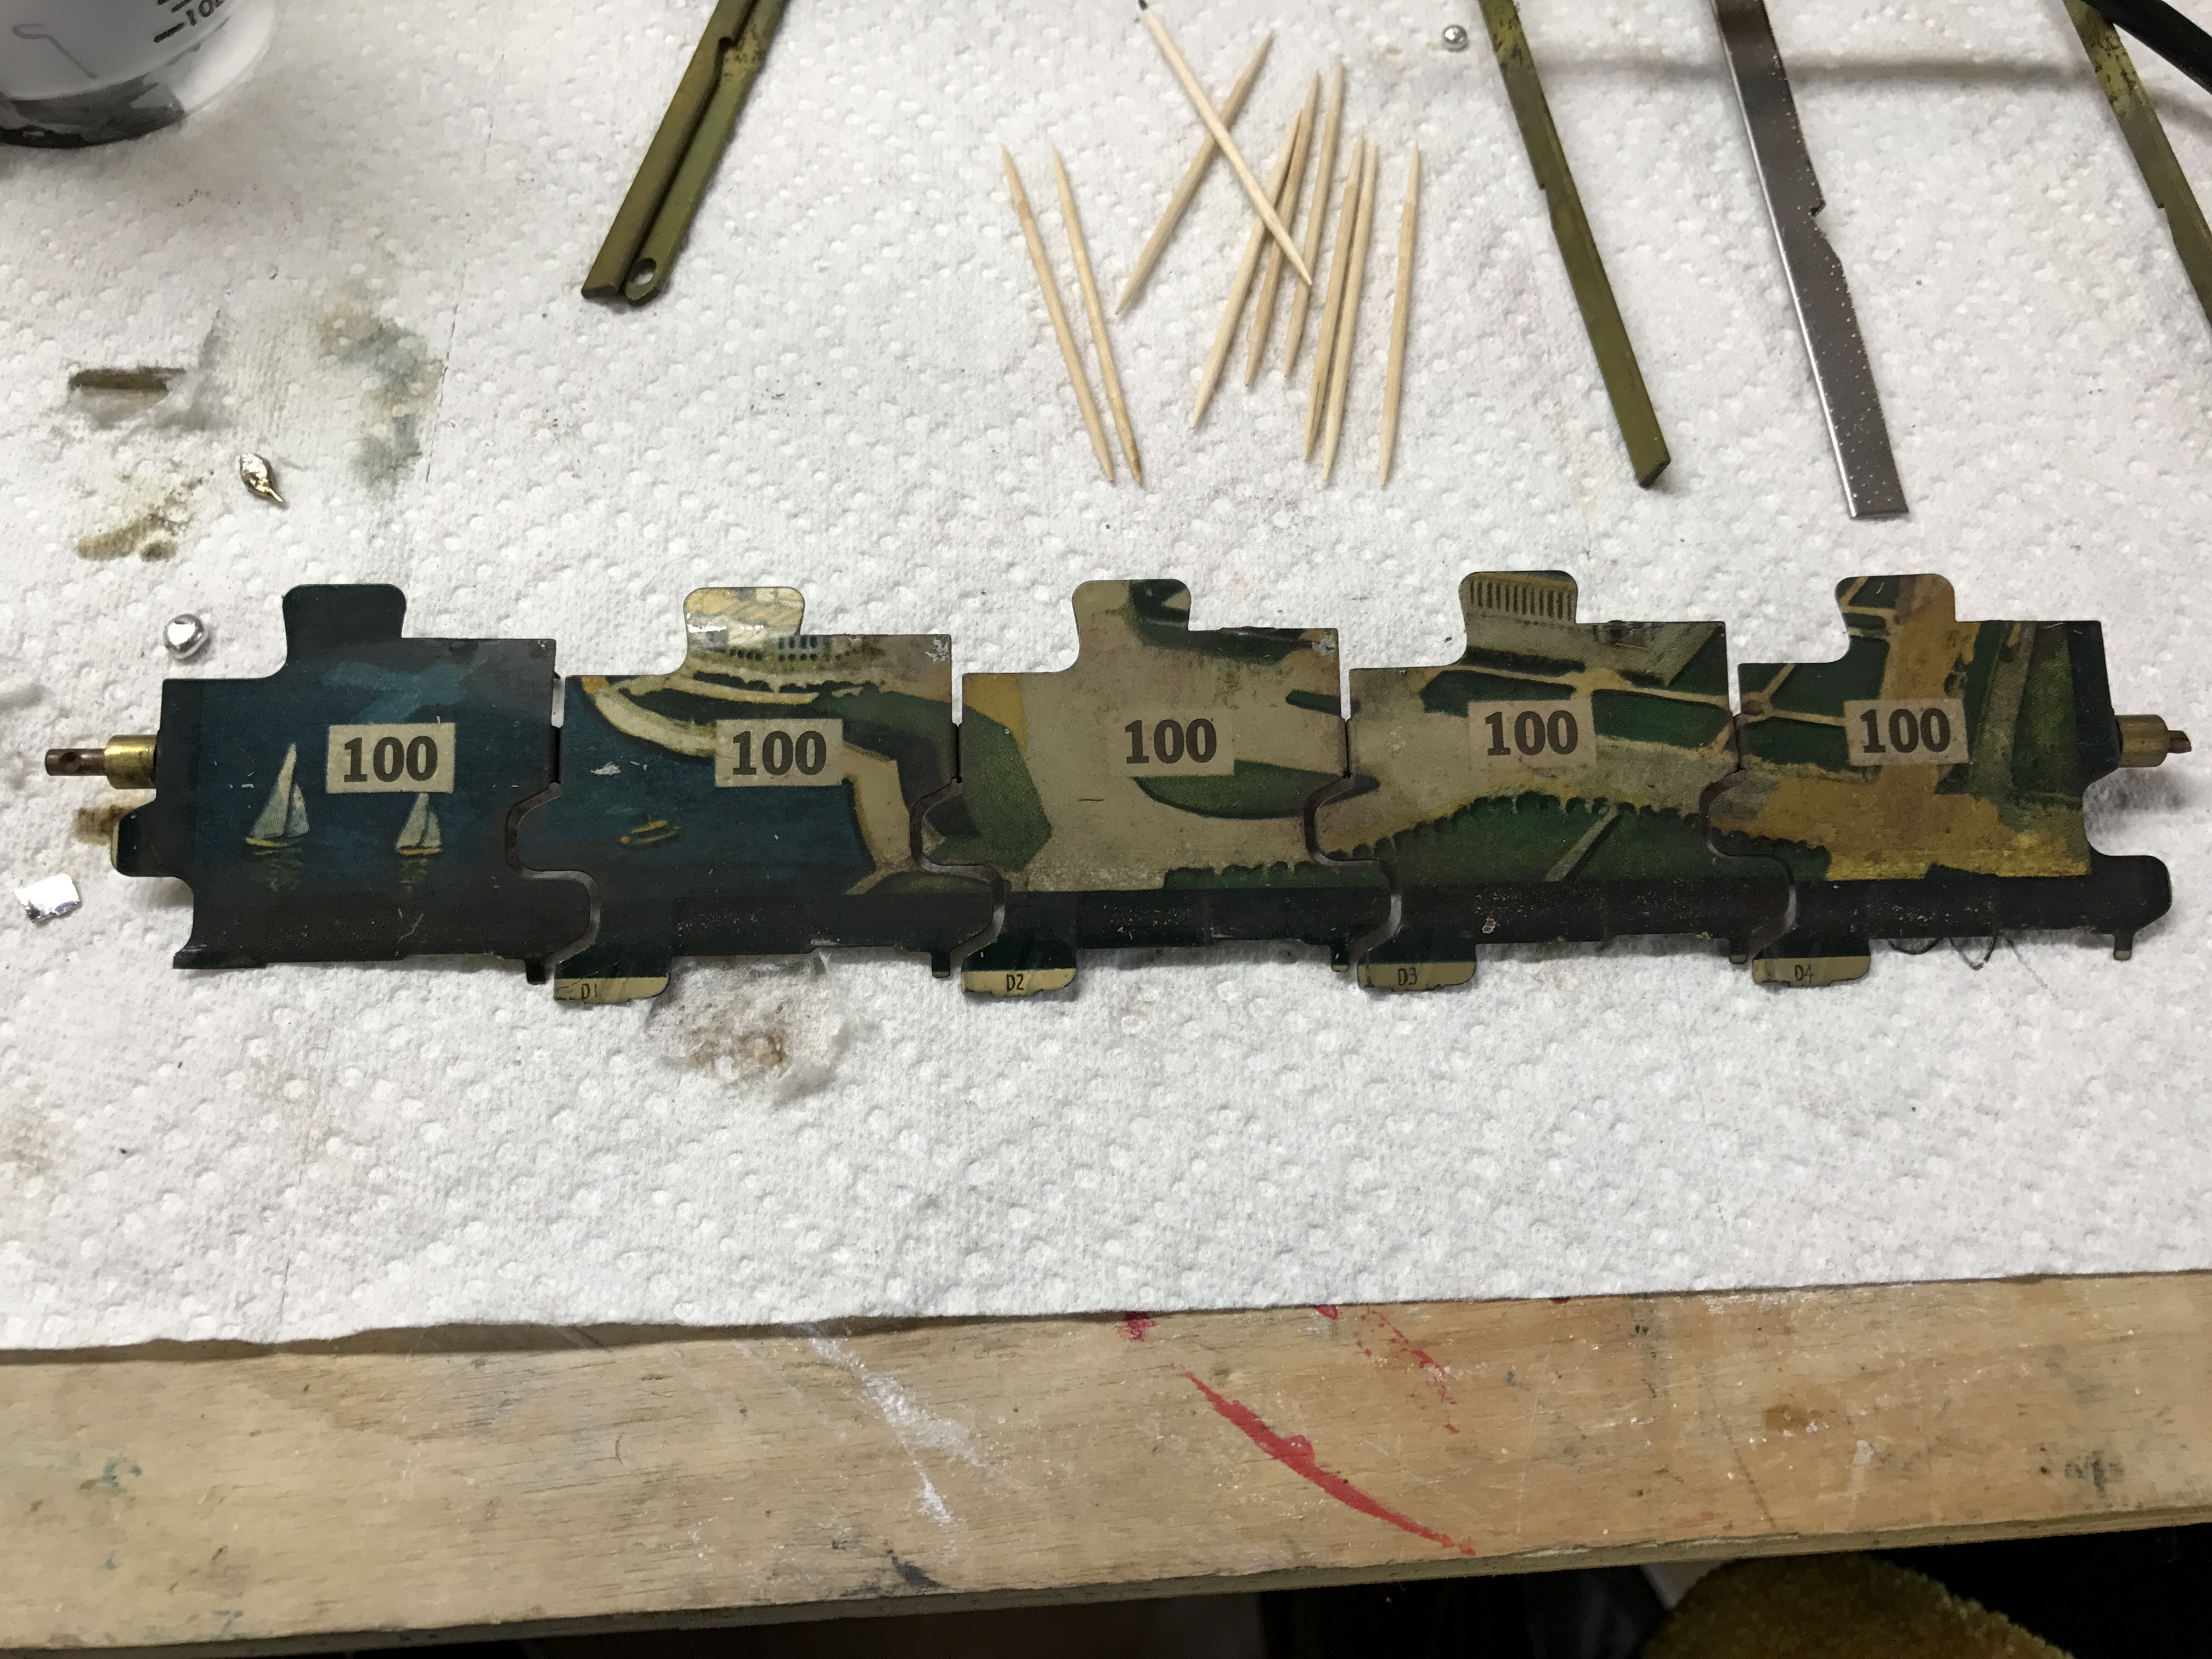
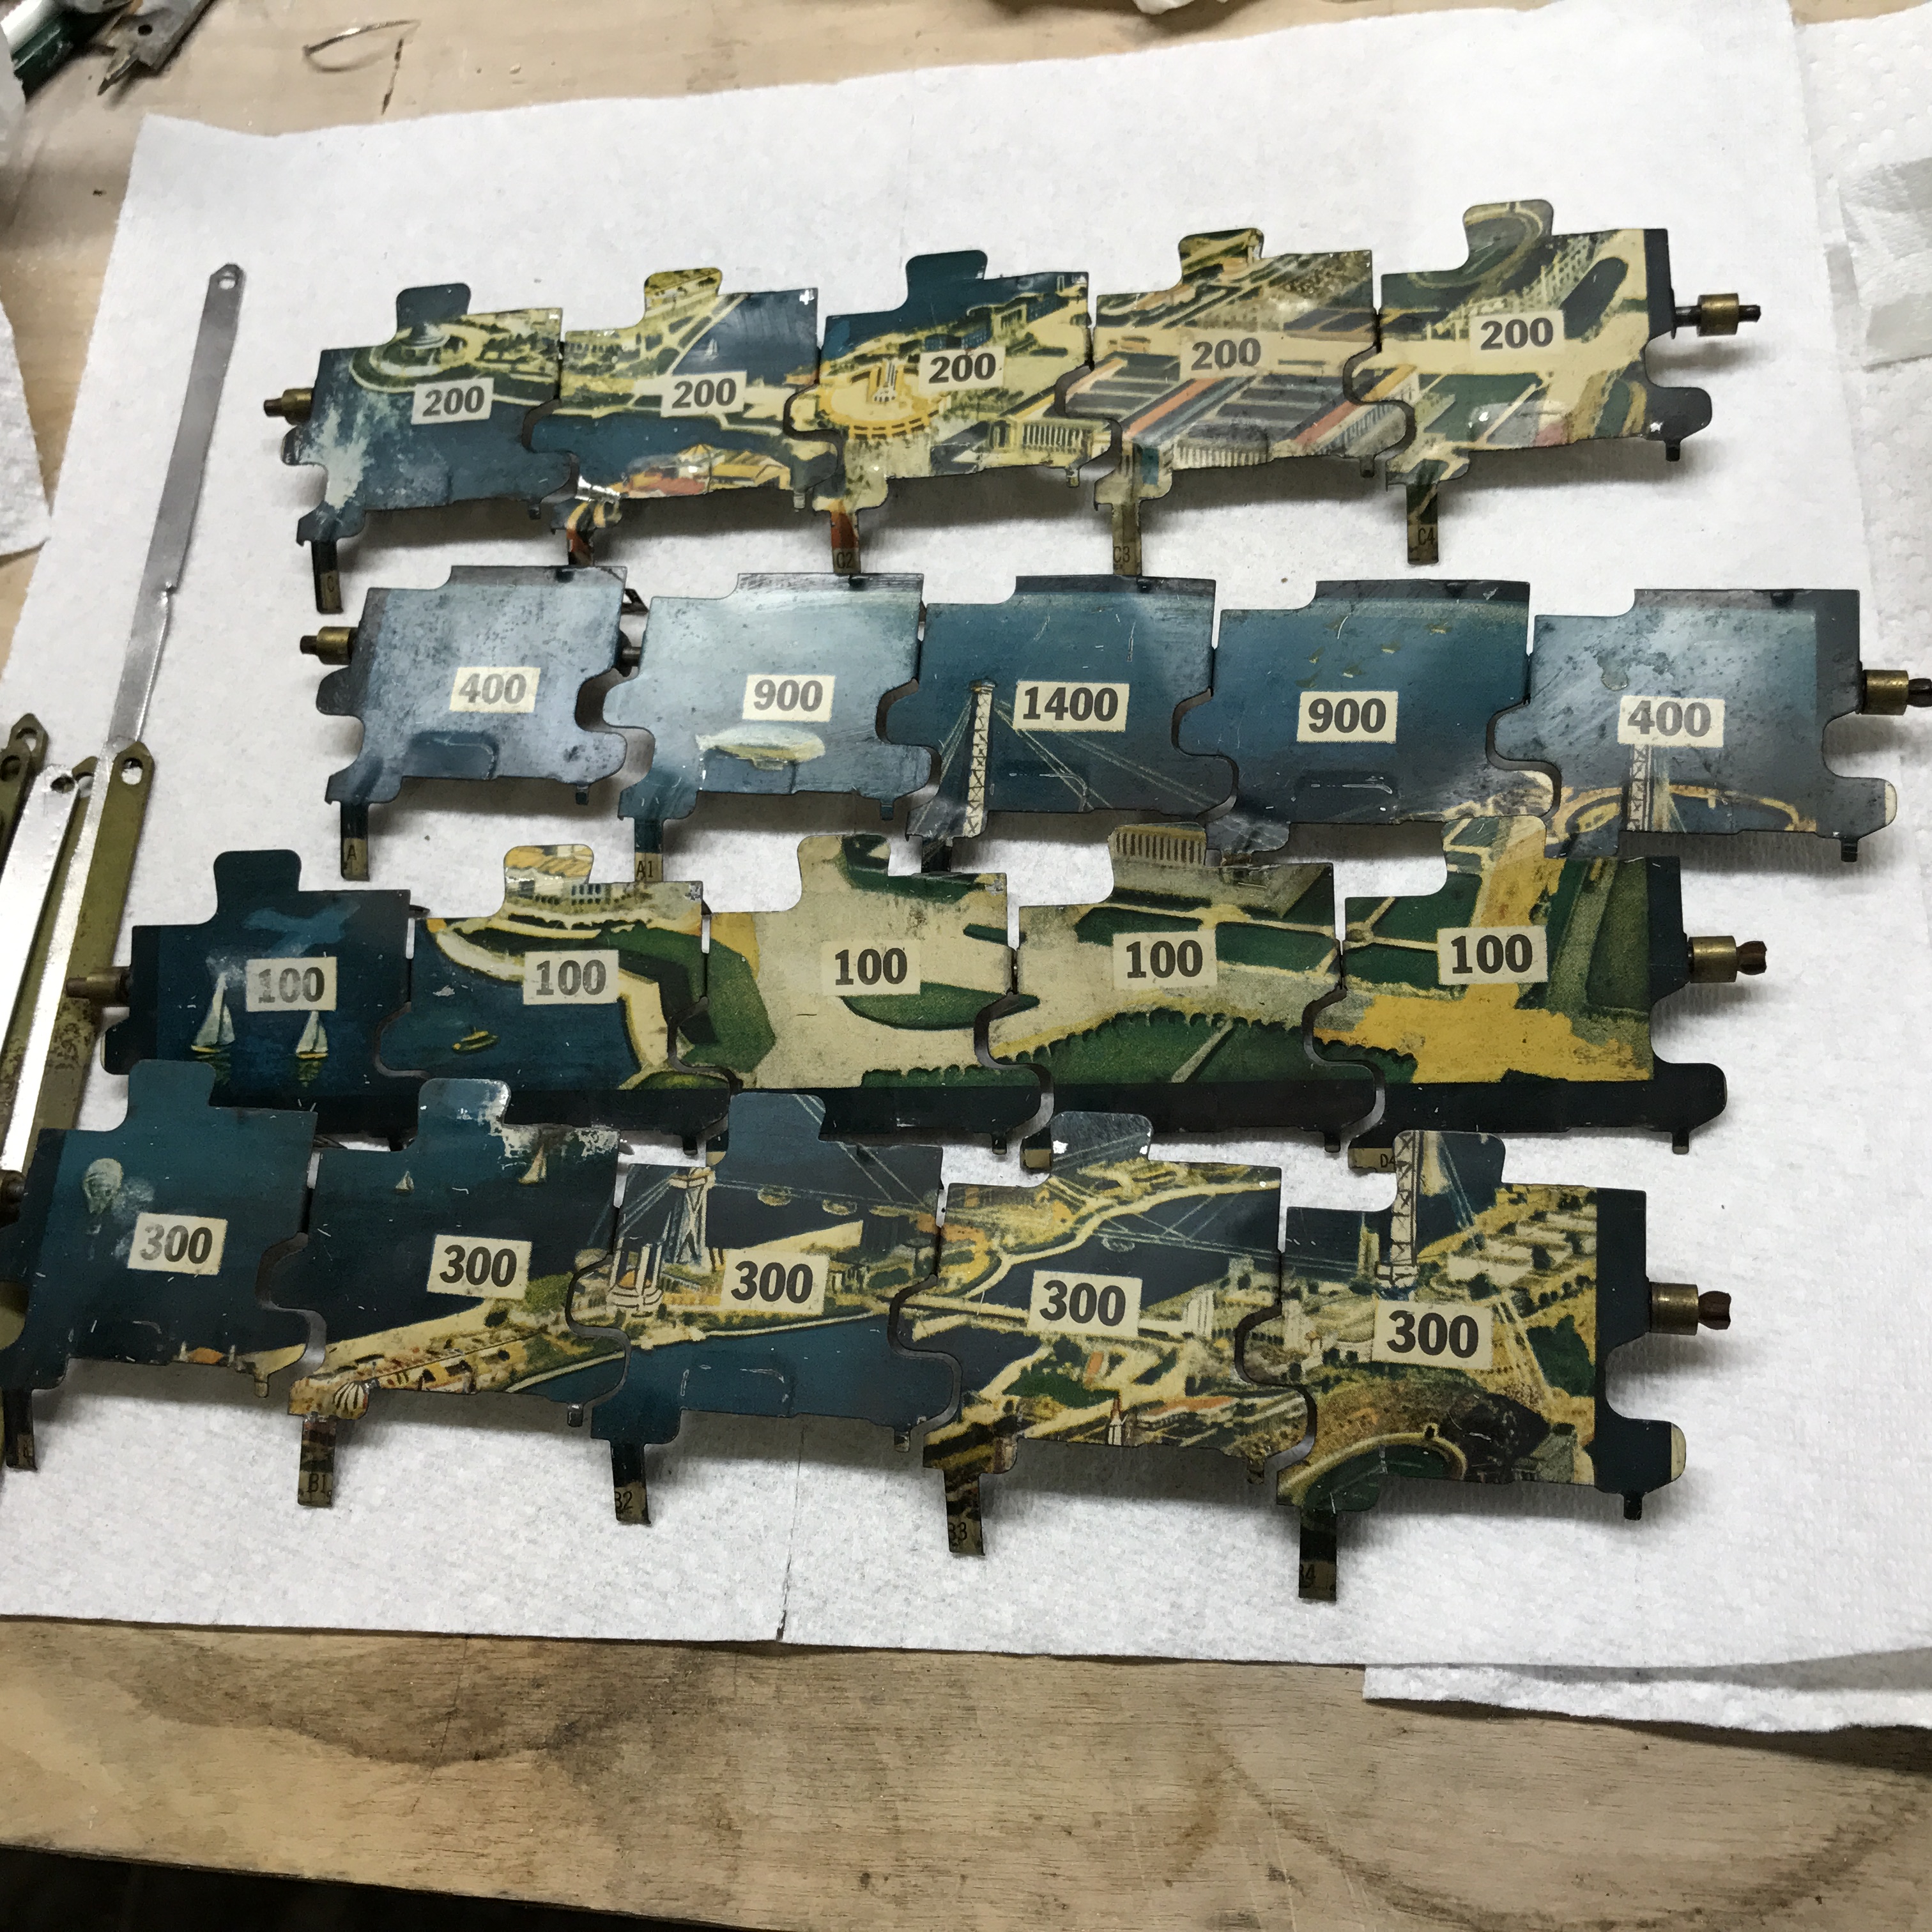
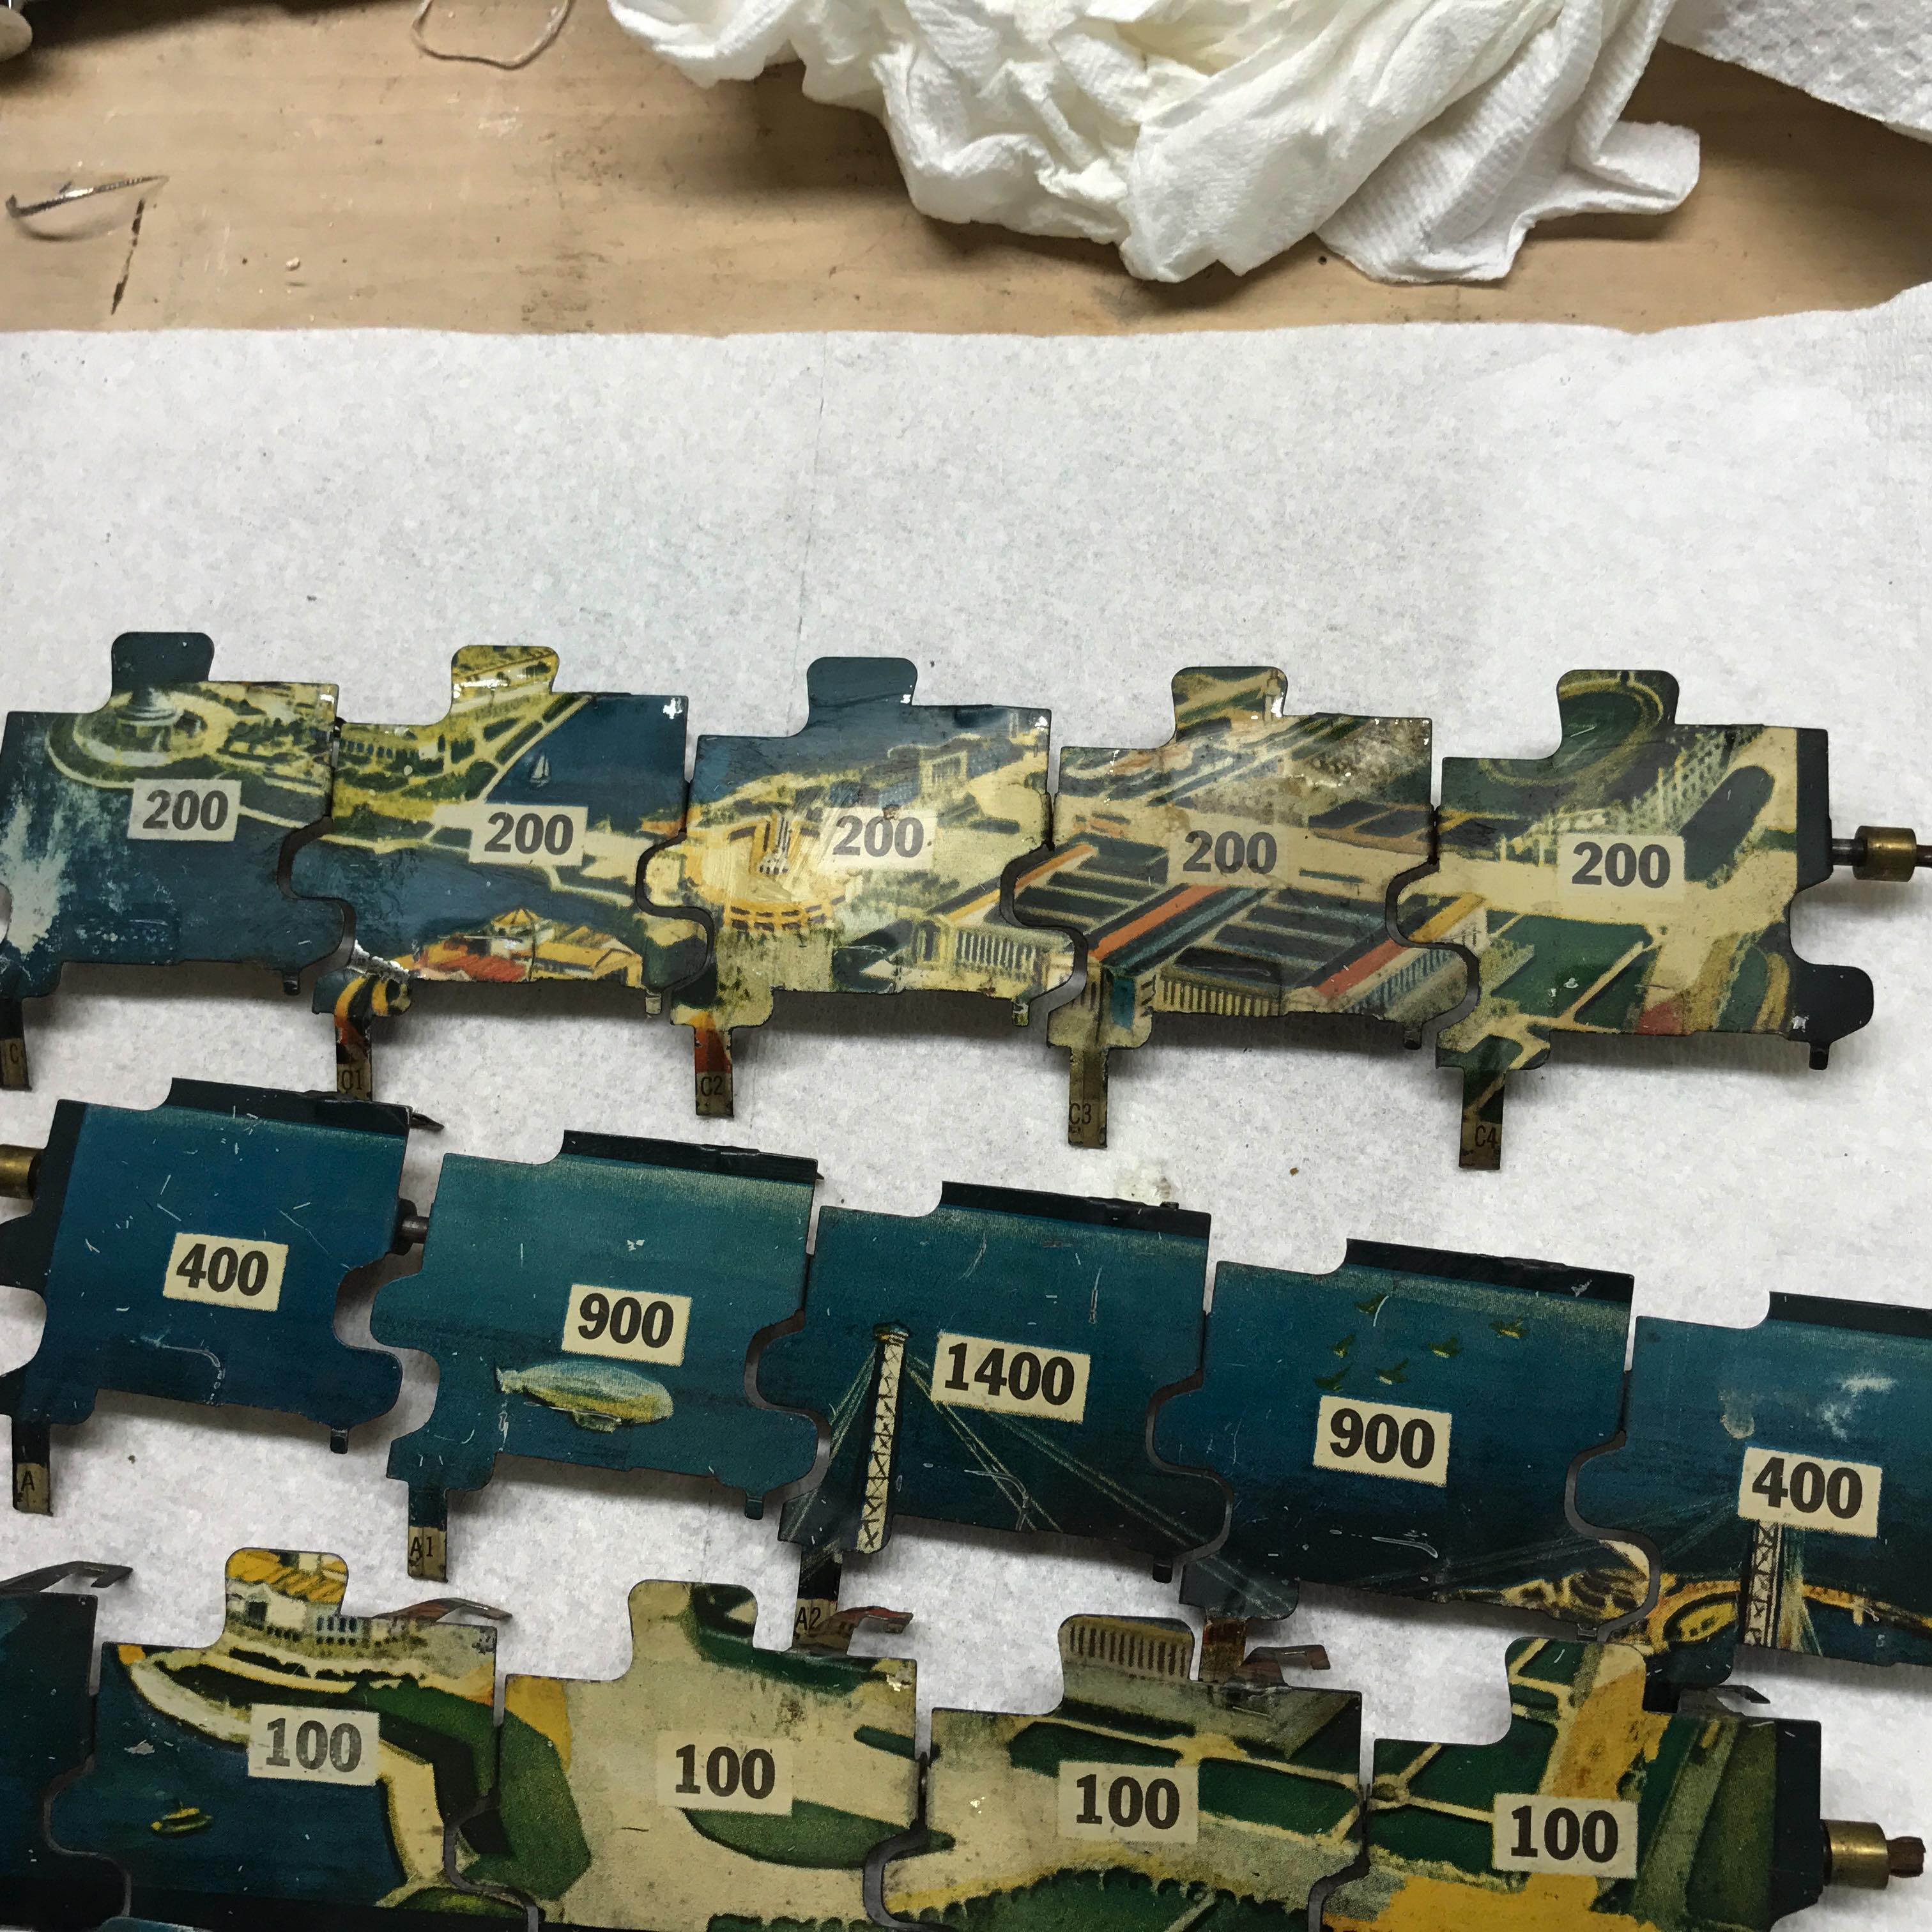
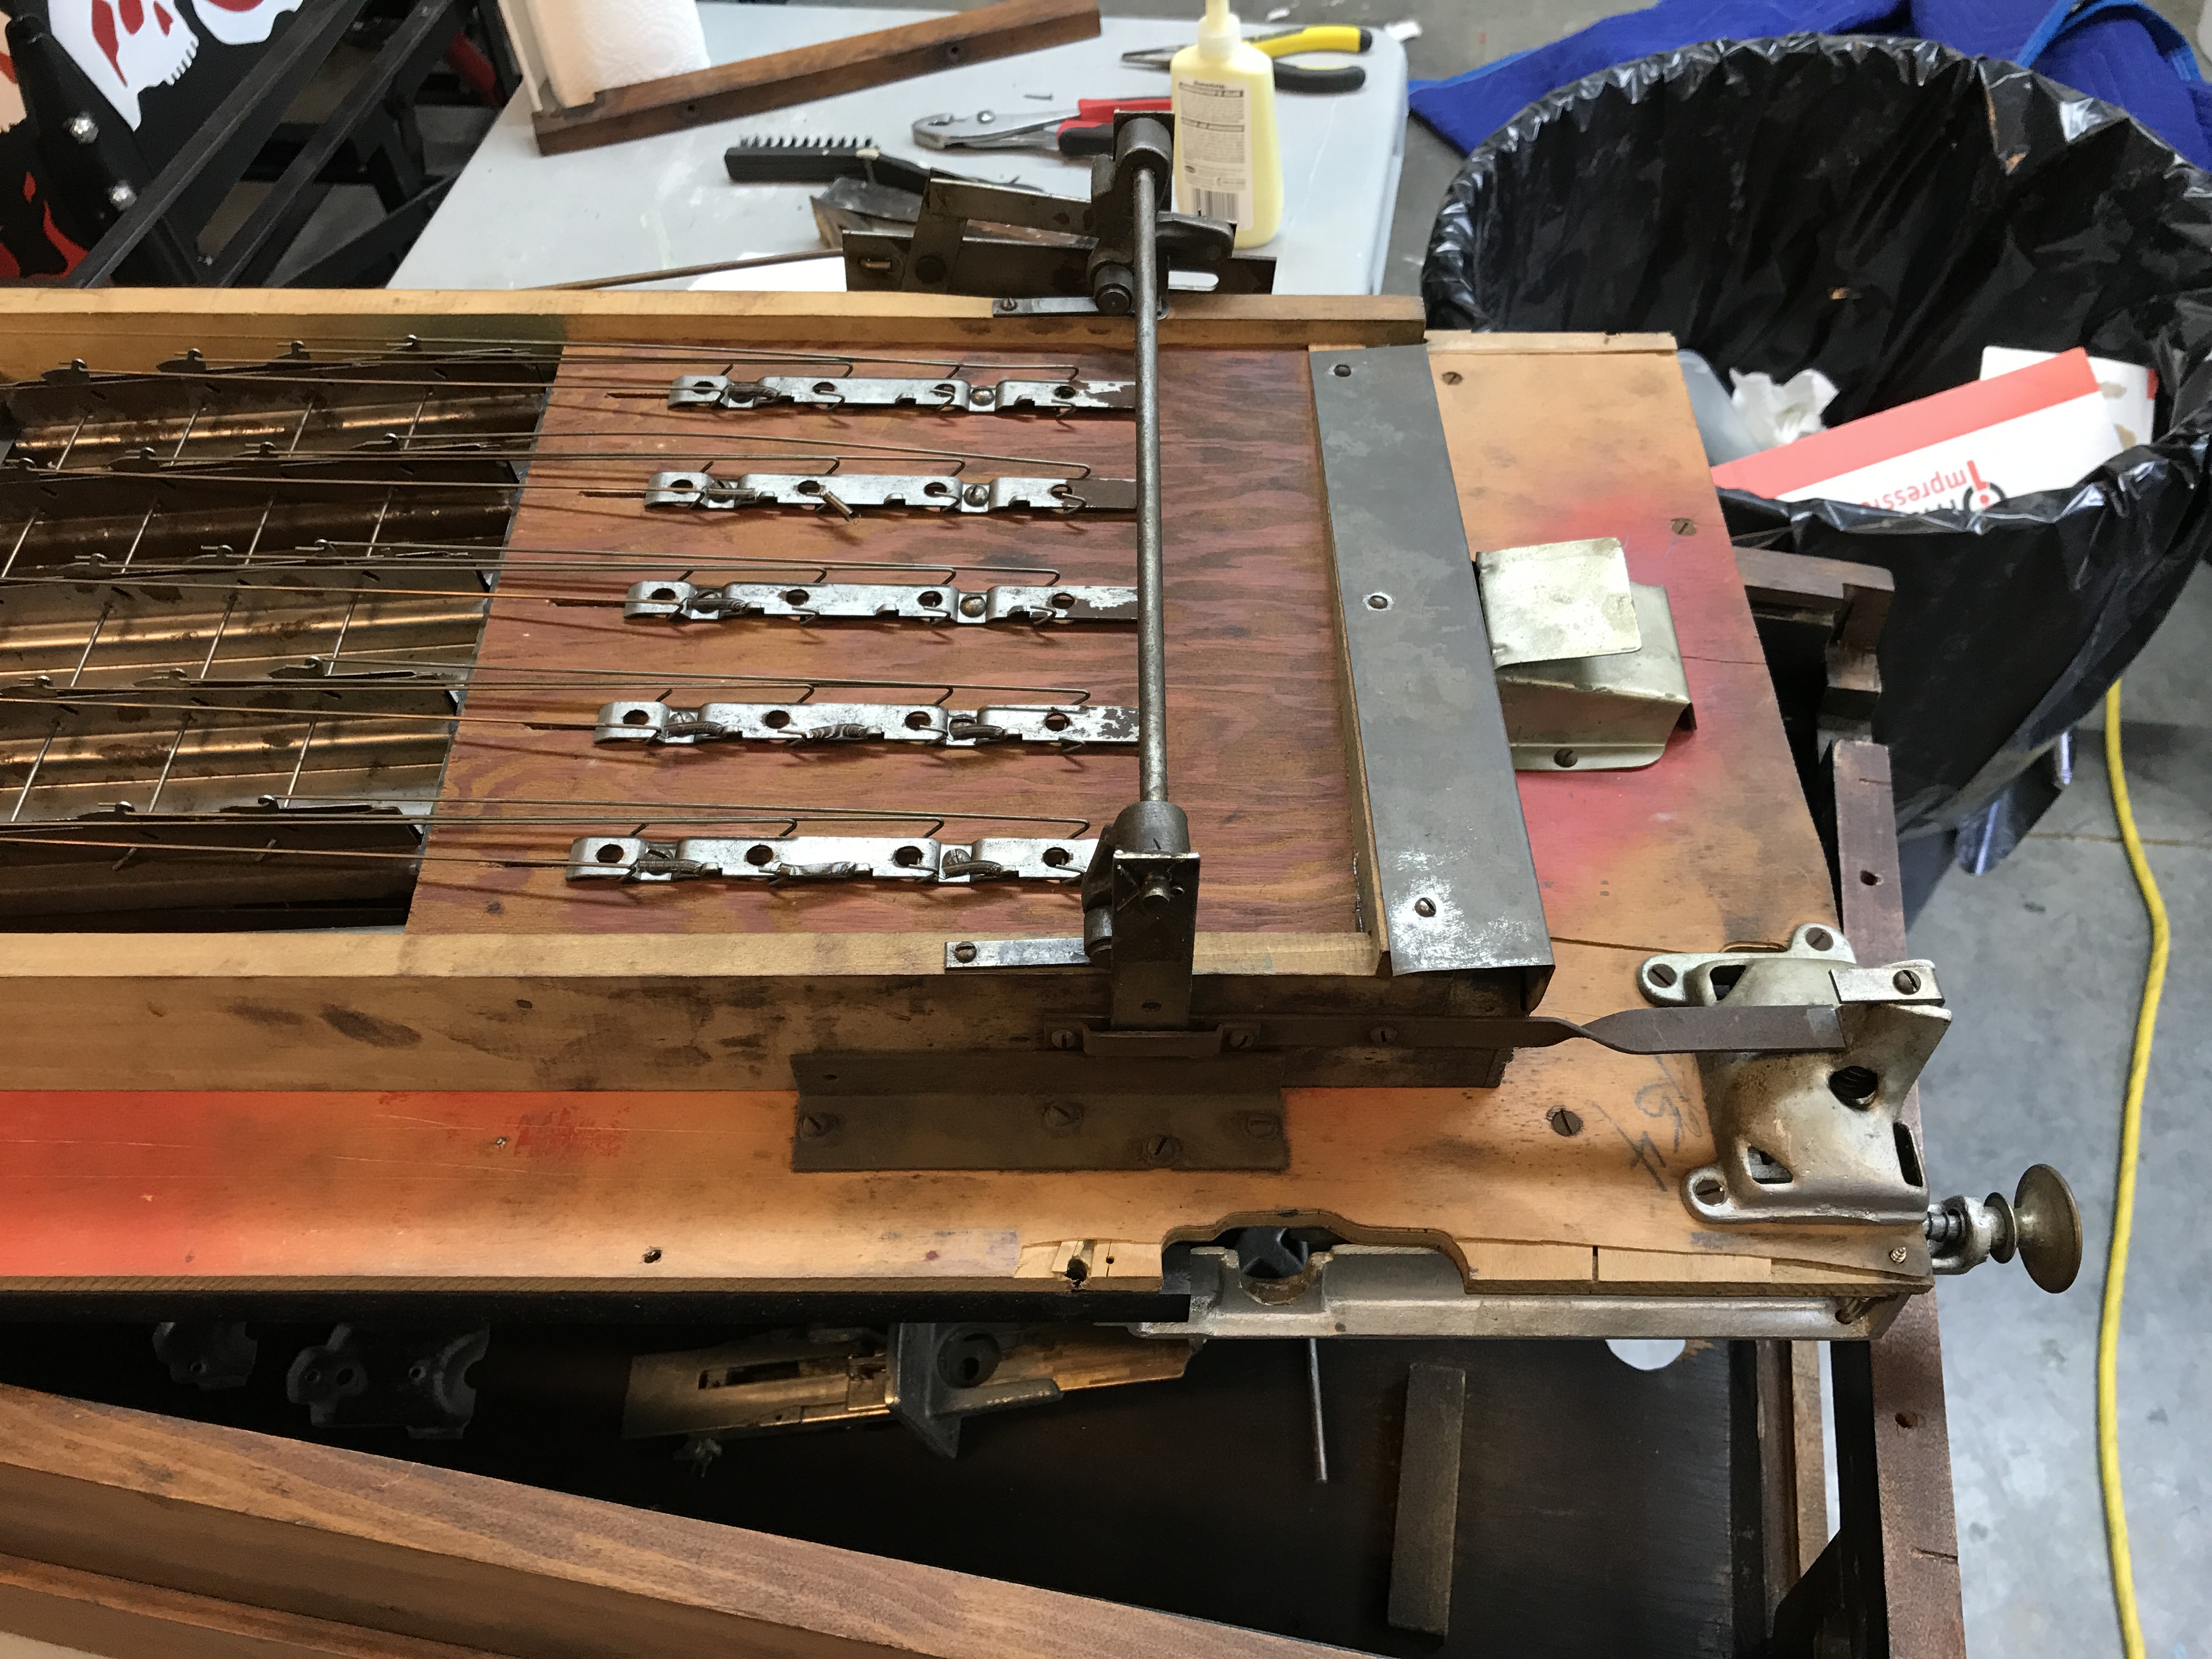
The machine was missing 4 brass rods which are attached to the puzzle pieces, and are what pull the pieces flat when tripped by the ball running under the puzzle. Below is a picture of one row of the puzzle, 5 puzzle pieces laying face down, with a brass rod that they pivot on, and the five brass rods that run down through a mechanism under the playfield that is tripped when the ball runs under the puzzle pieces.
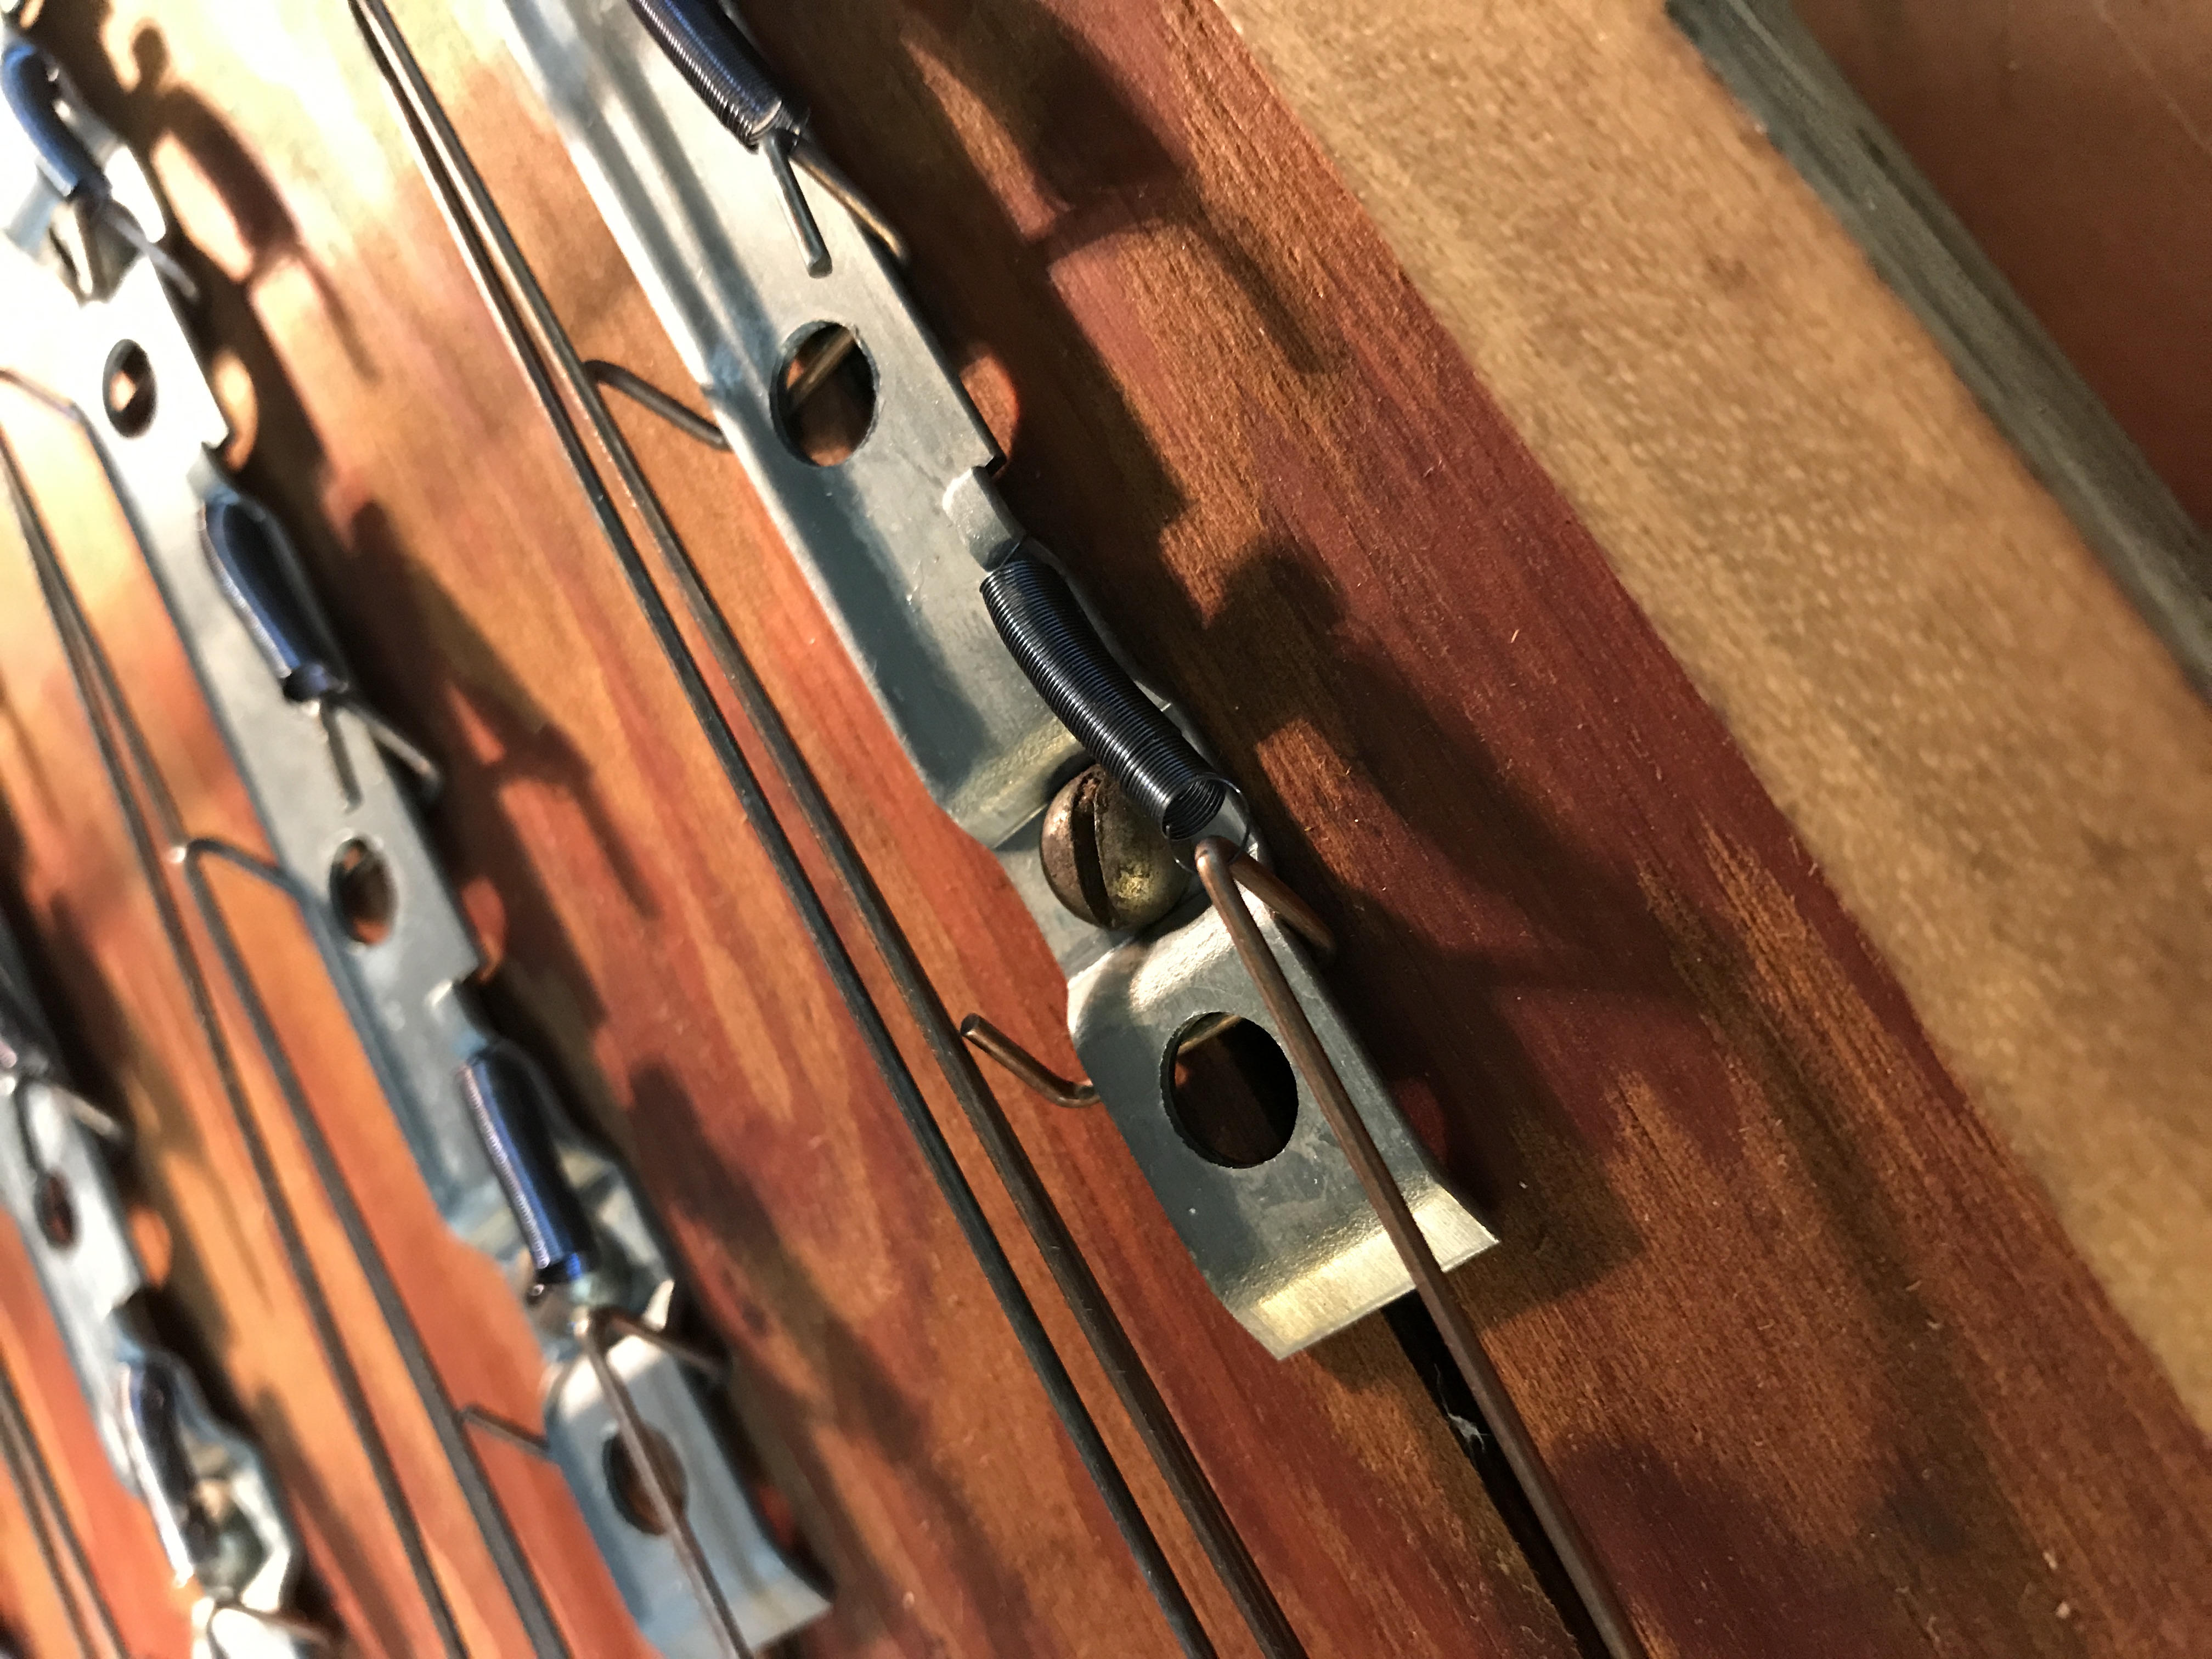
In the below picture, you can see one of the rods is steel – I had attempted to recreate these rods with steel, but the weight was wrong, and it was hard to make them perfectly the right dimensions (since I don’t have good steel working equipmentment).

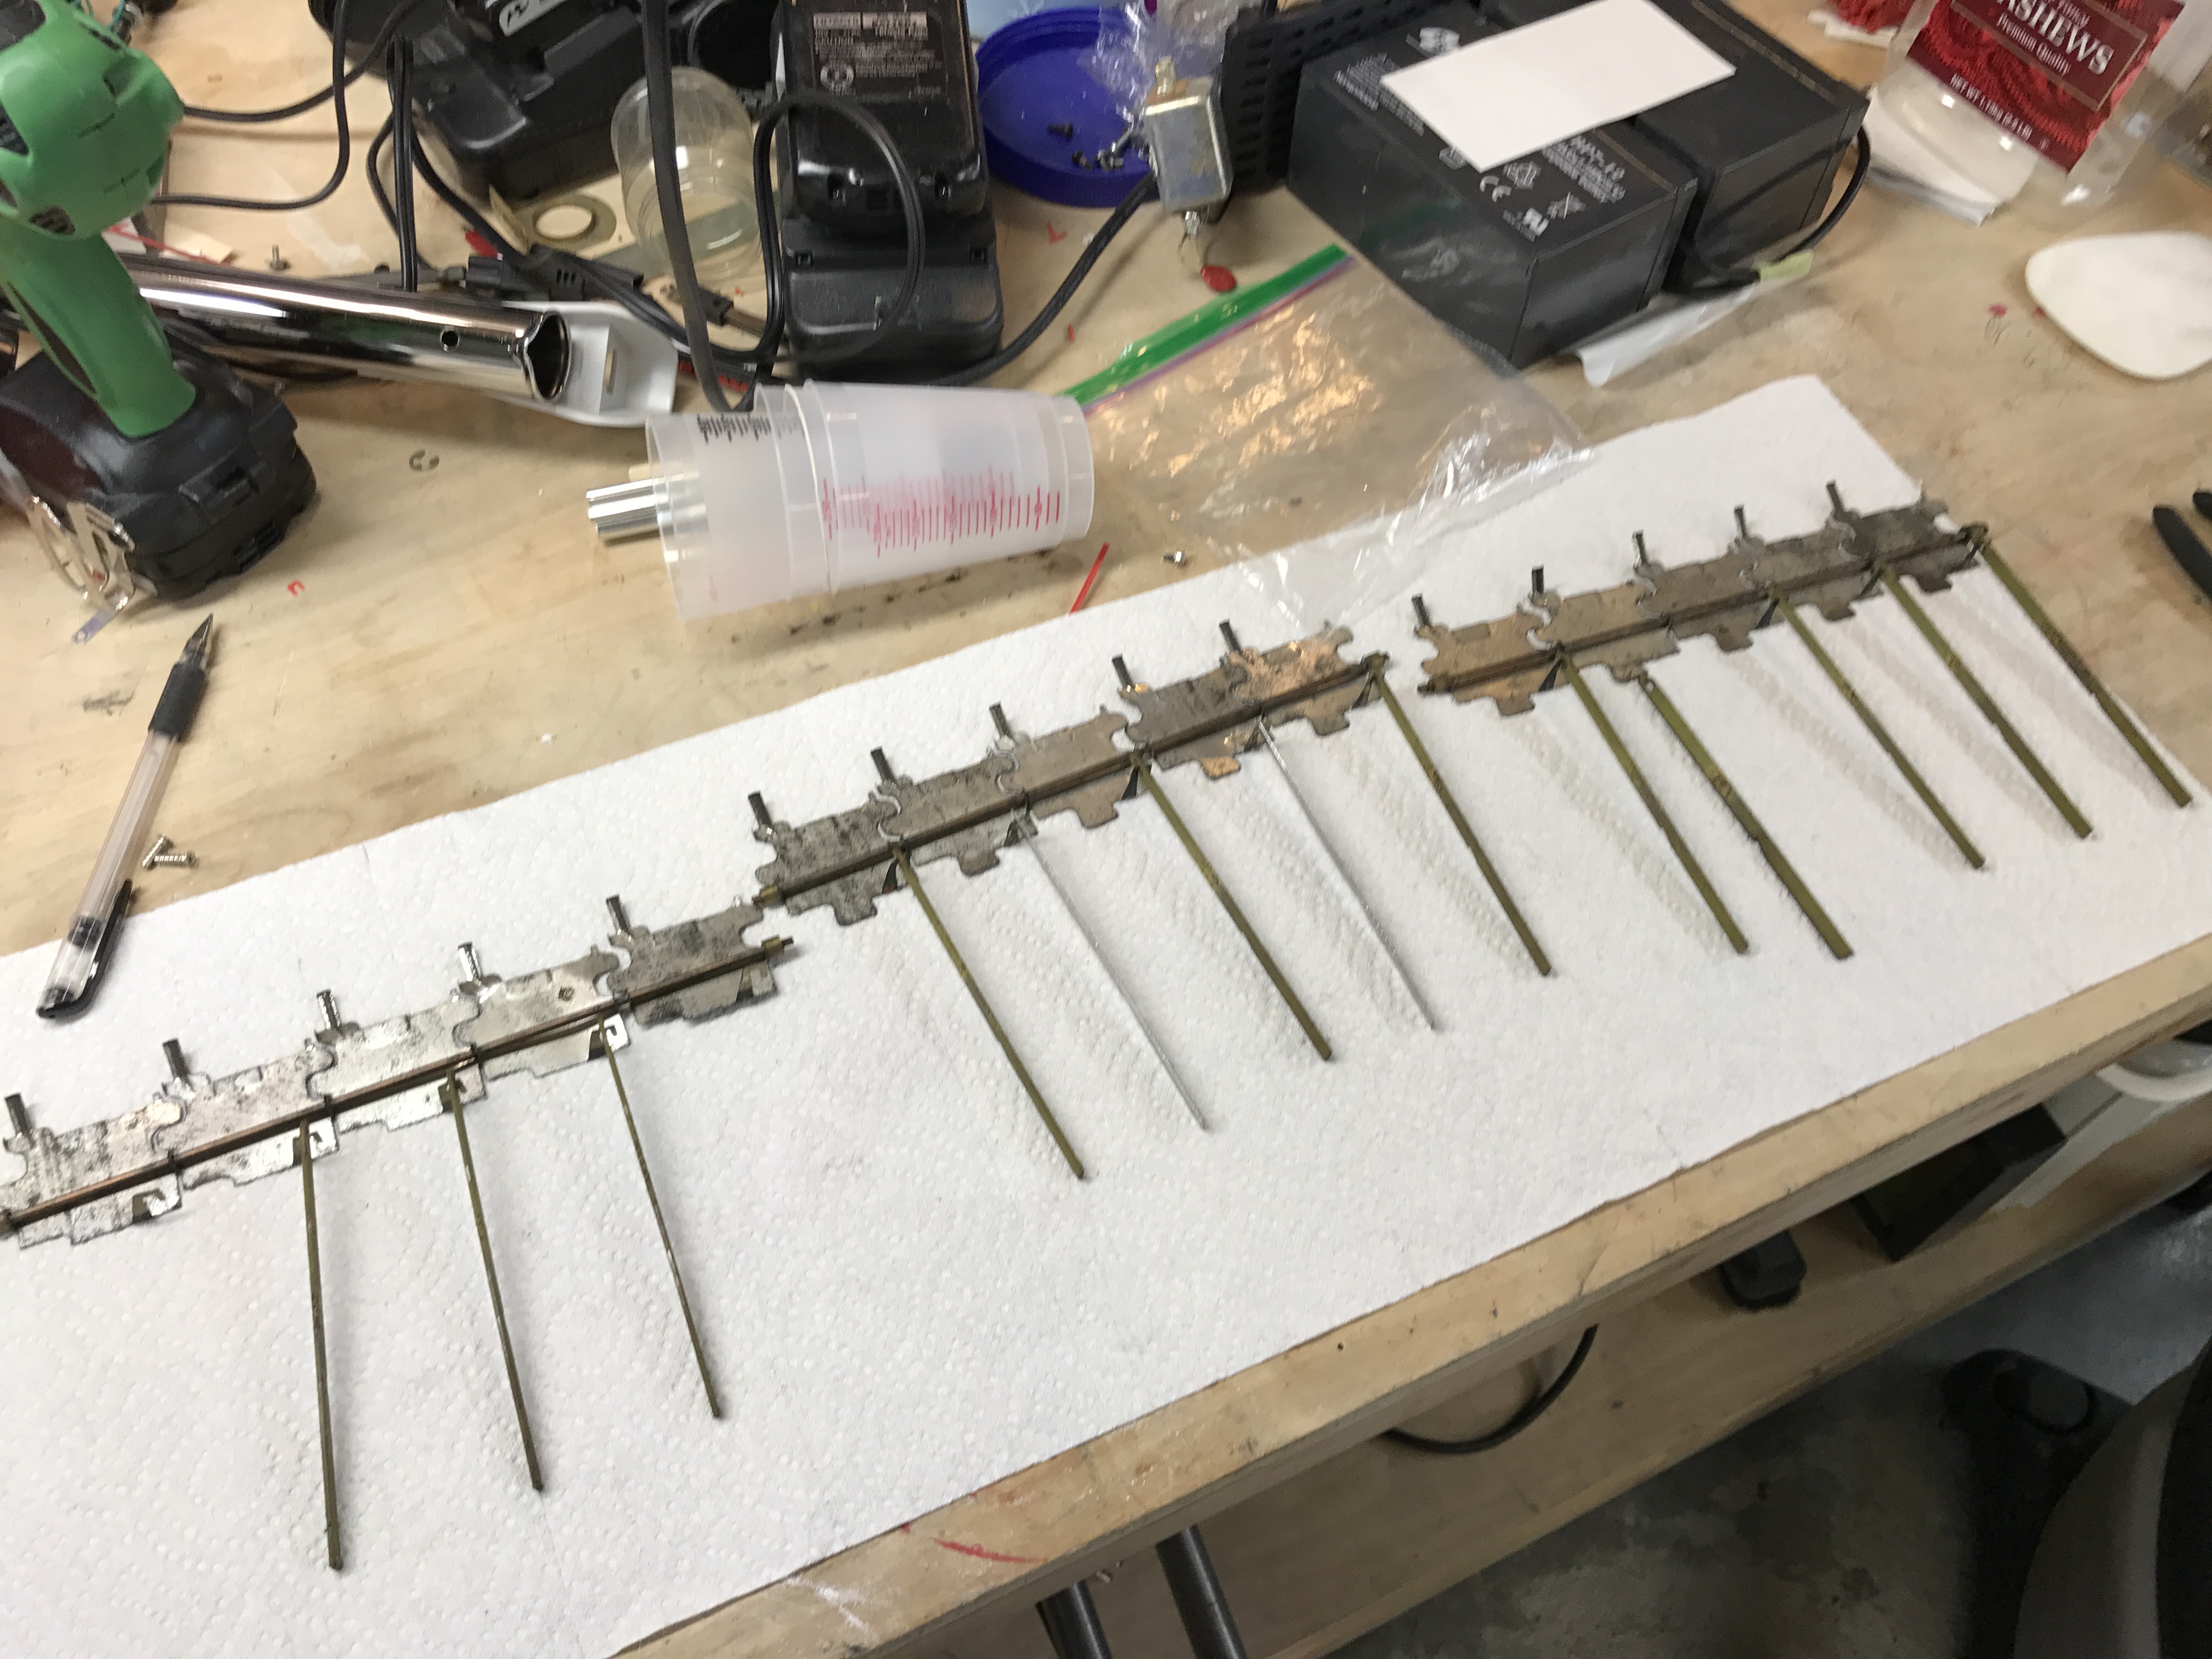
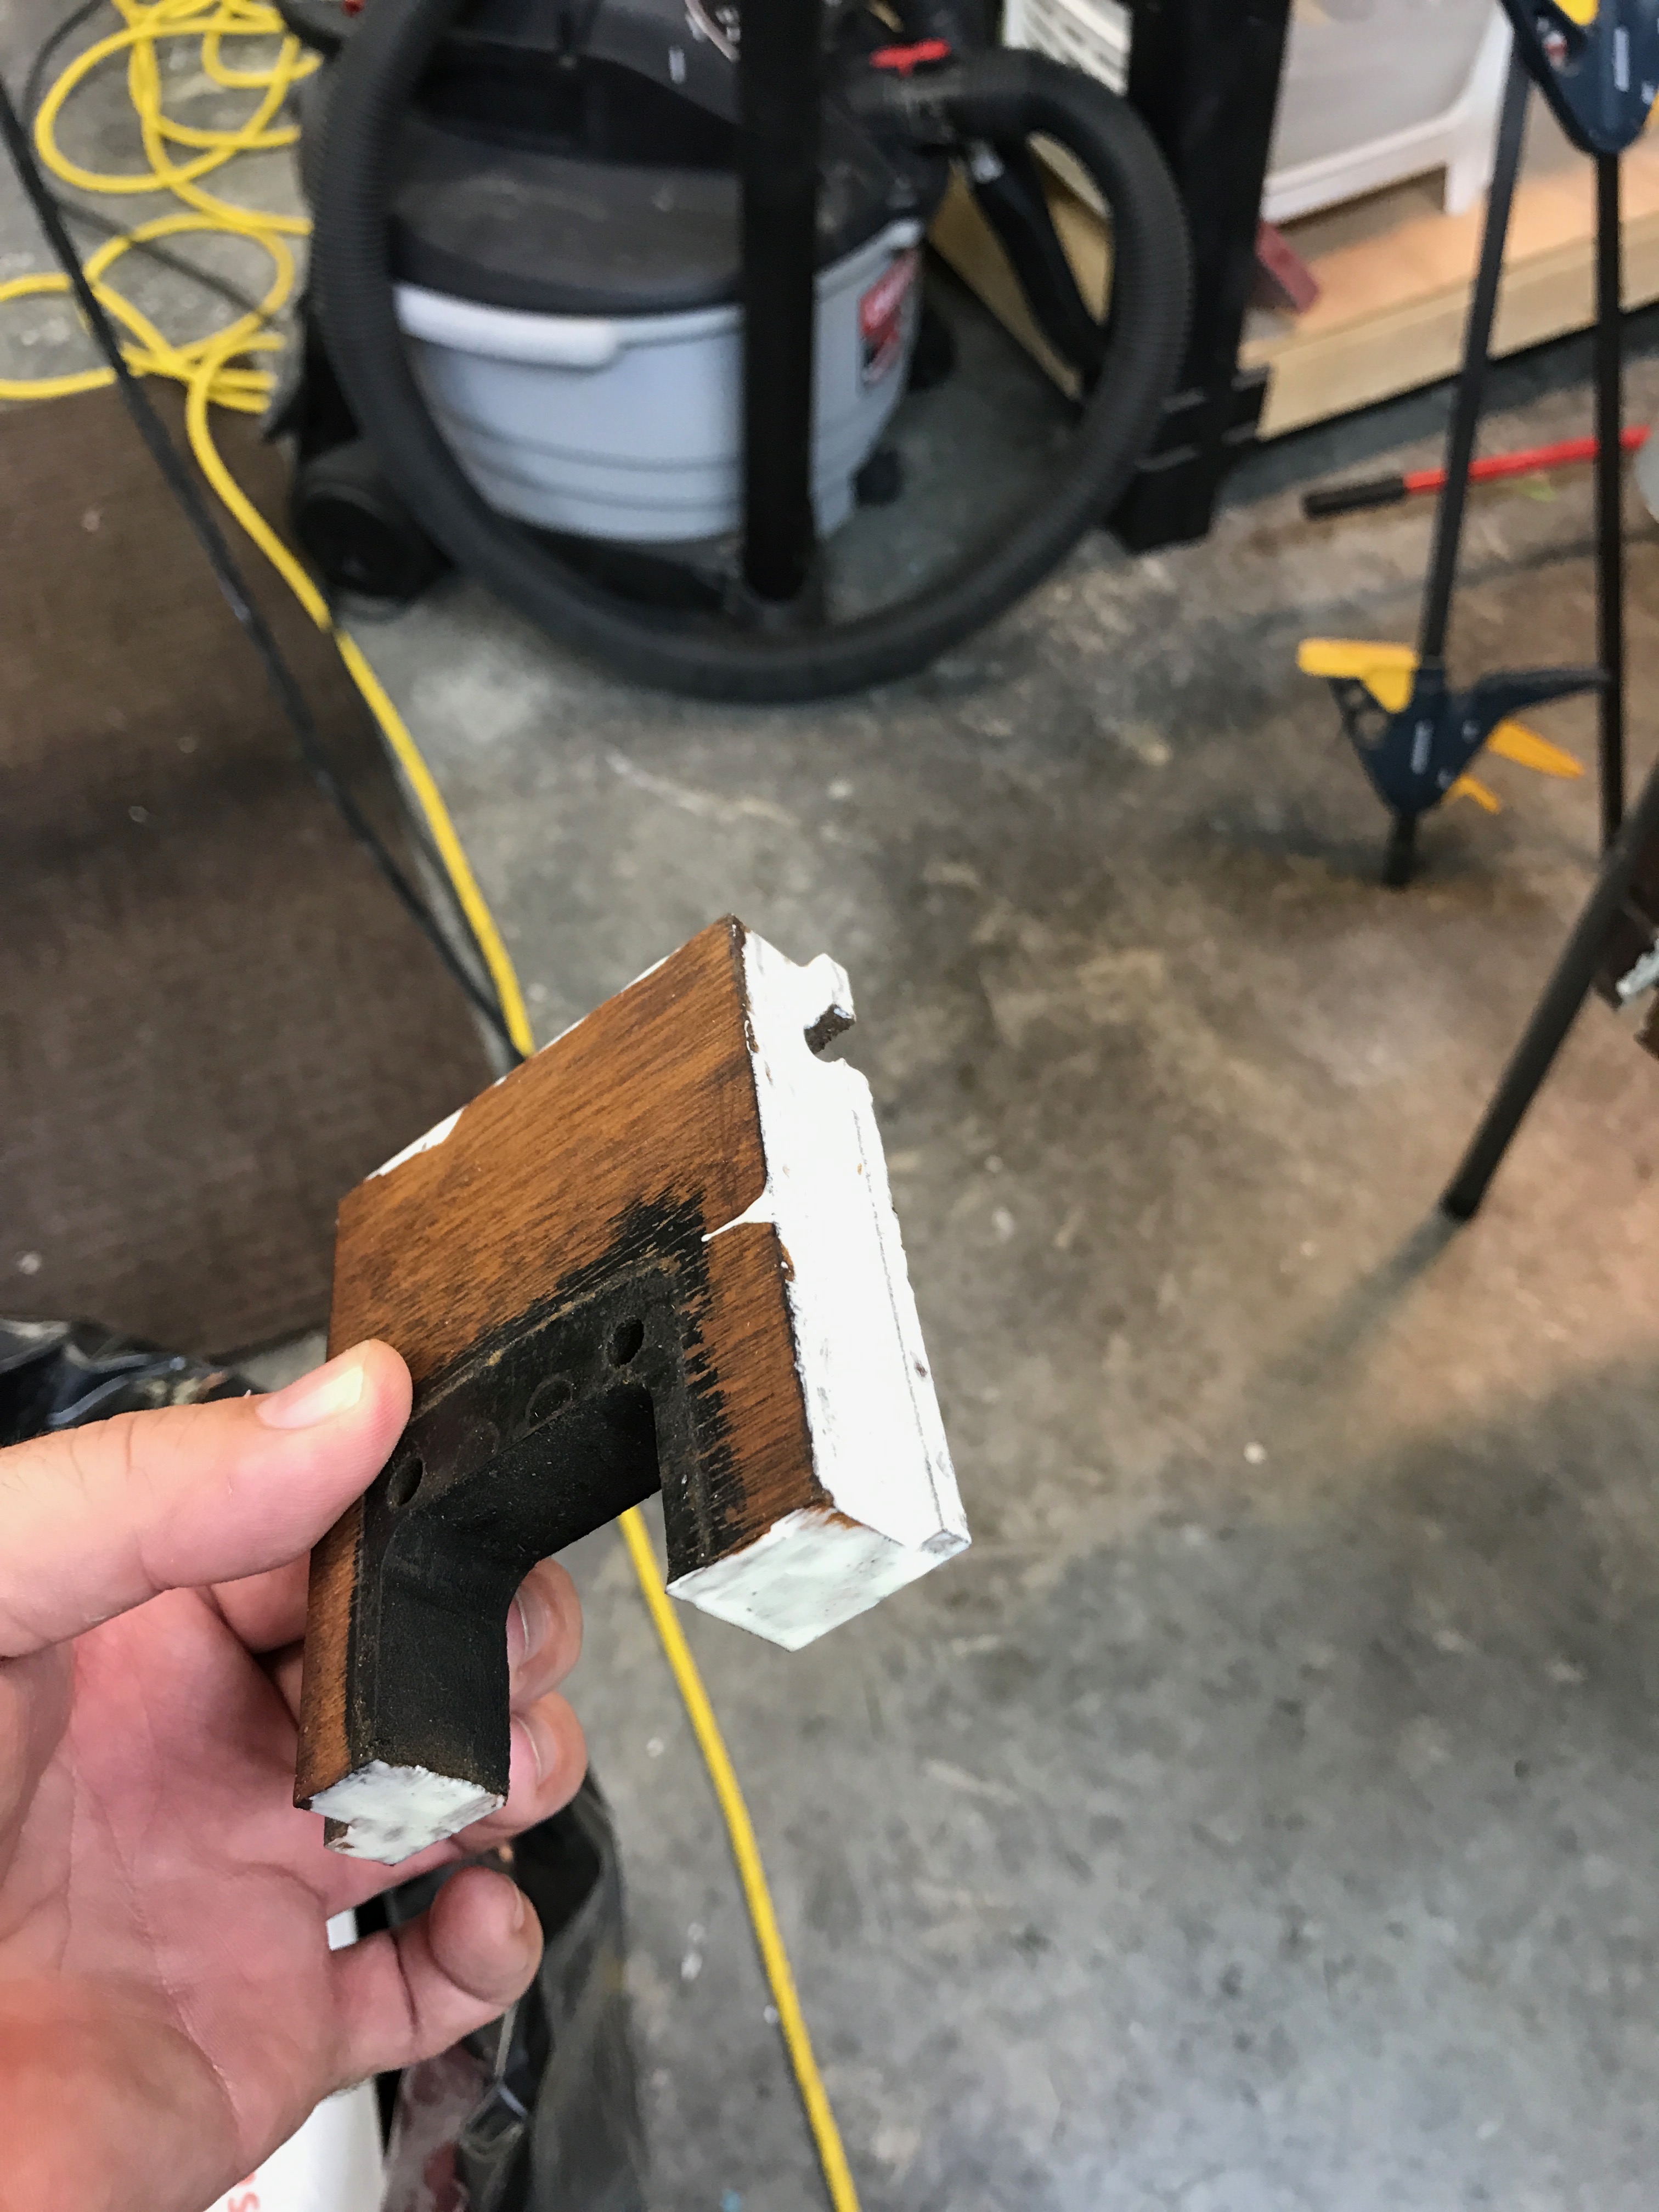
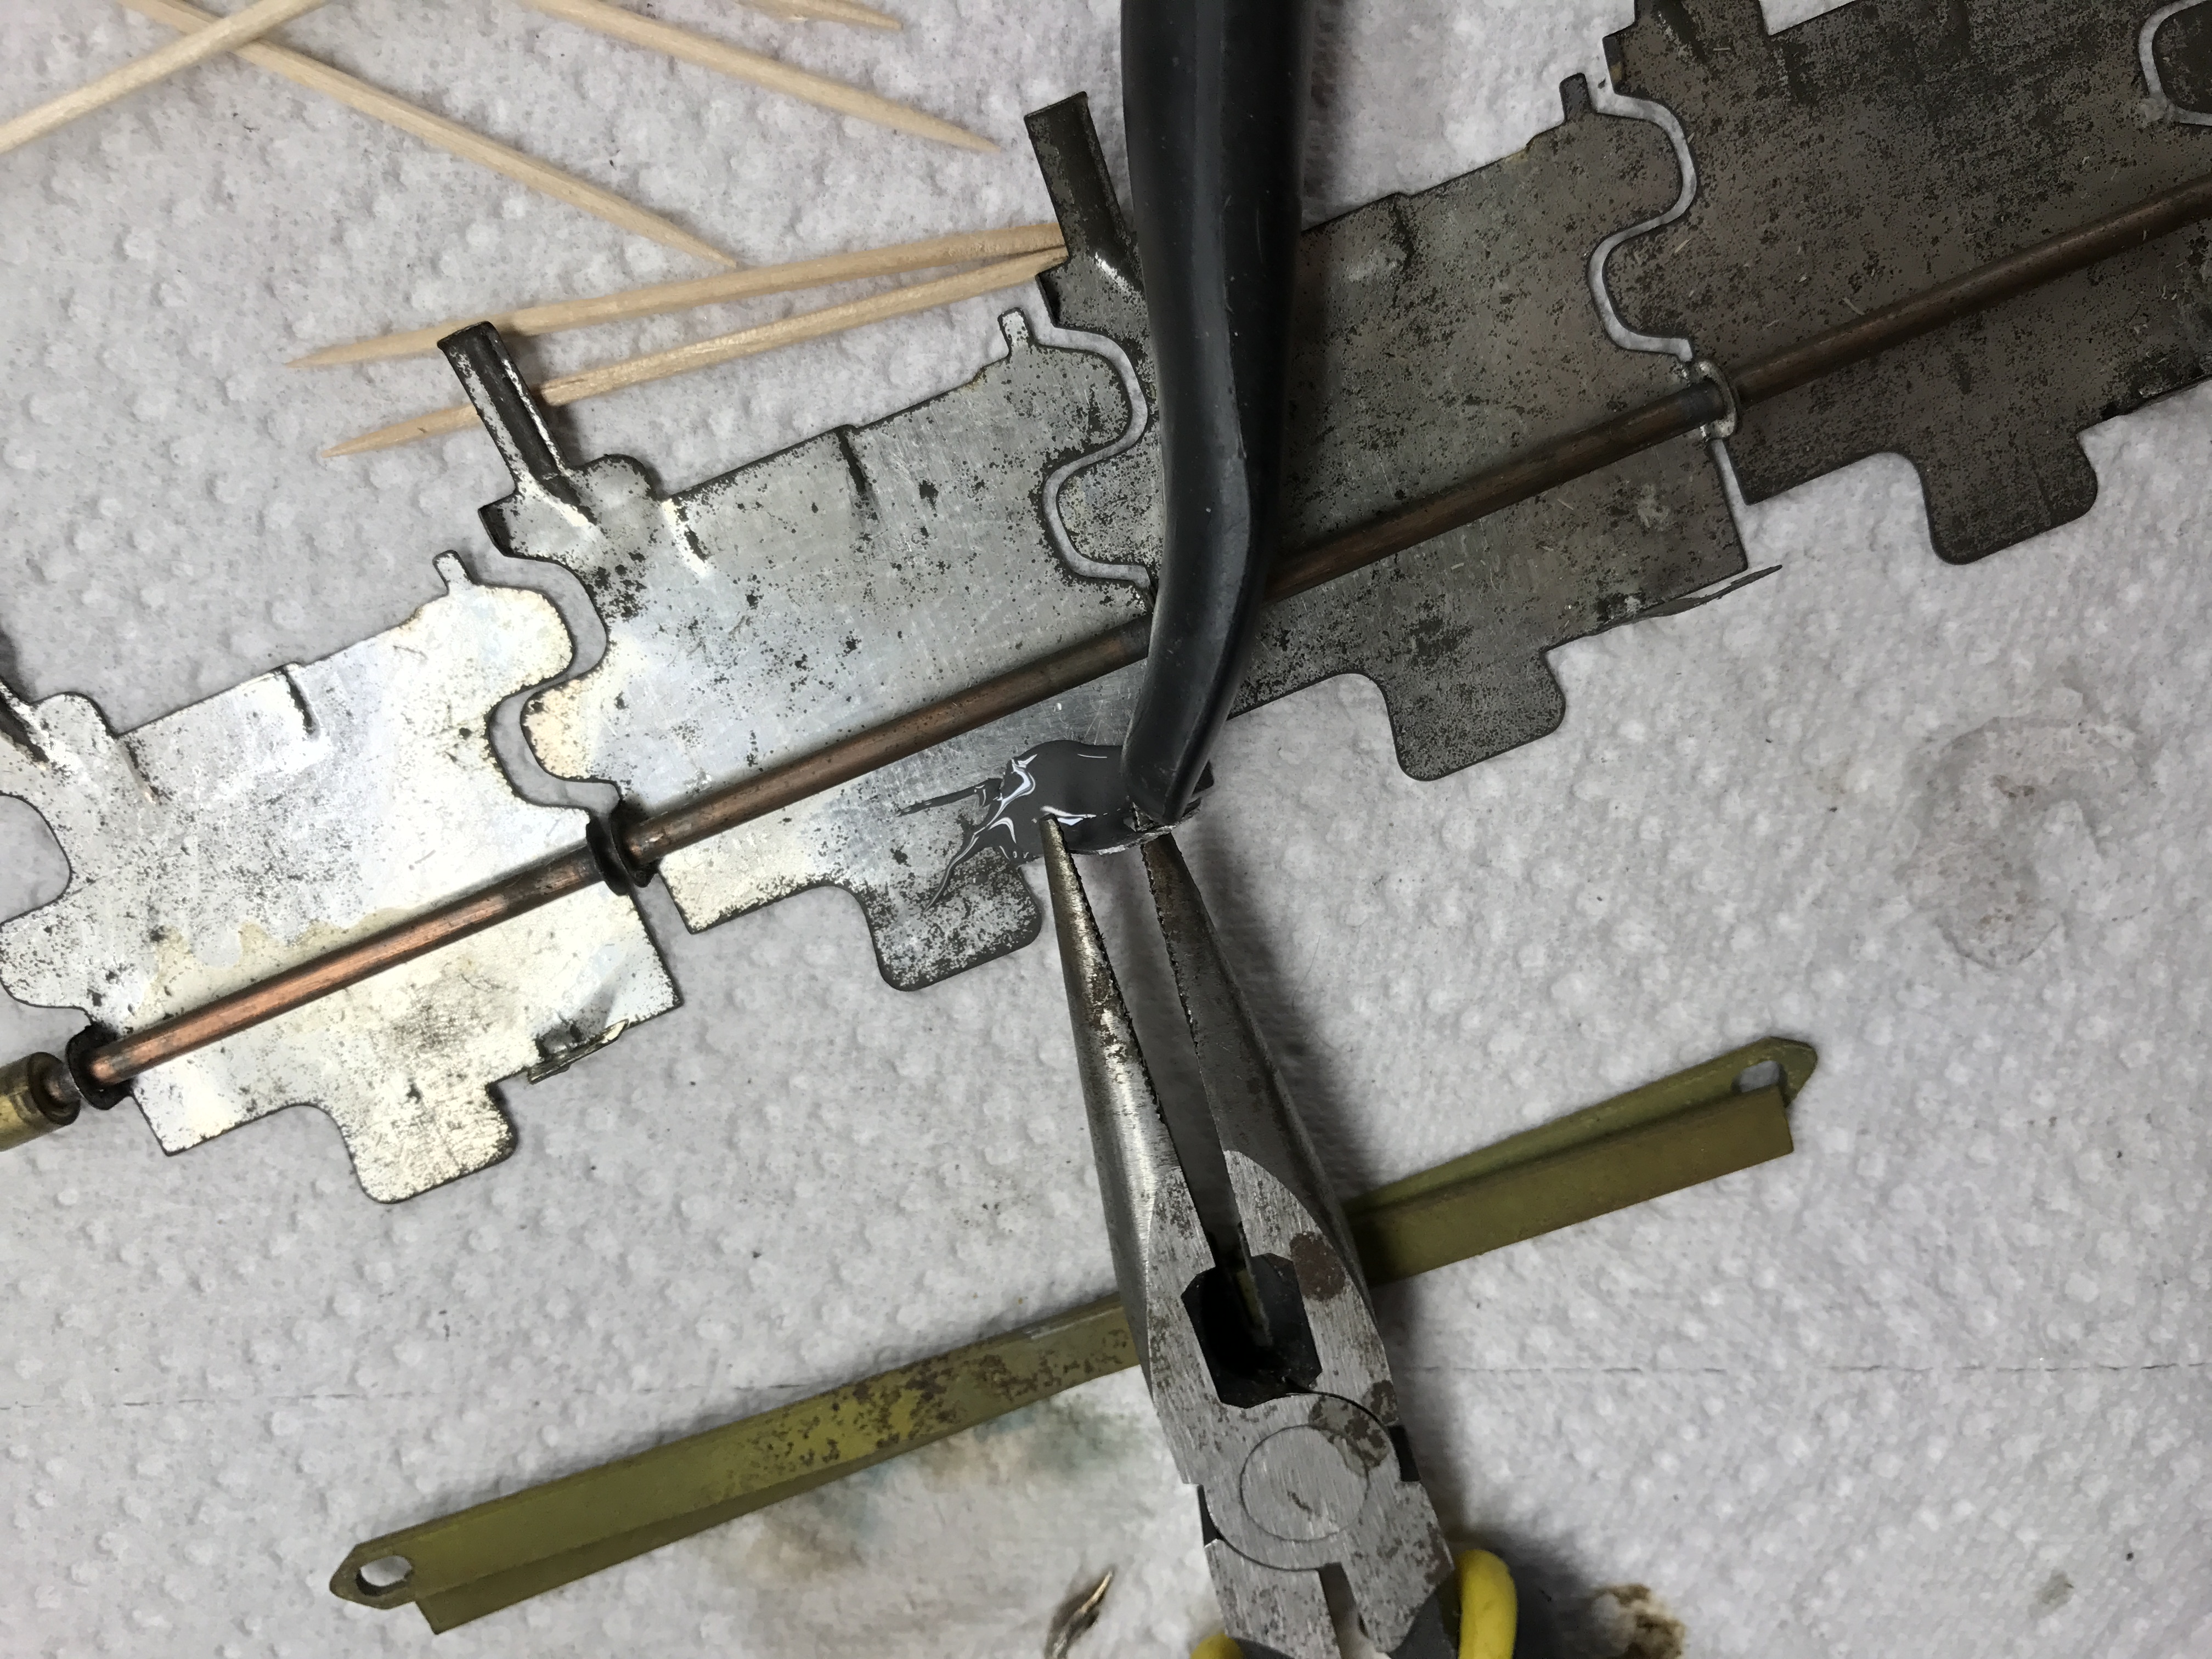
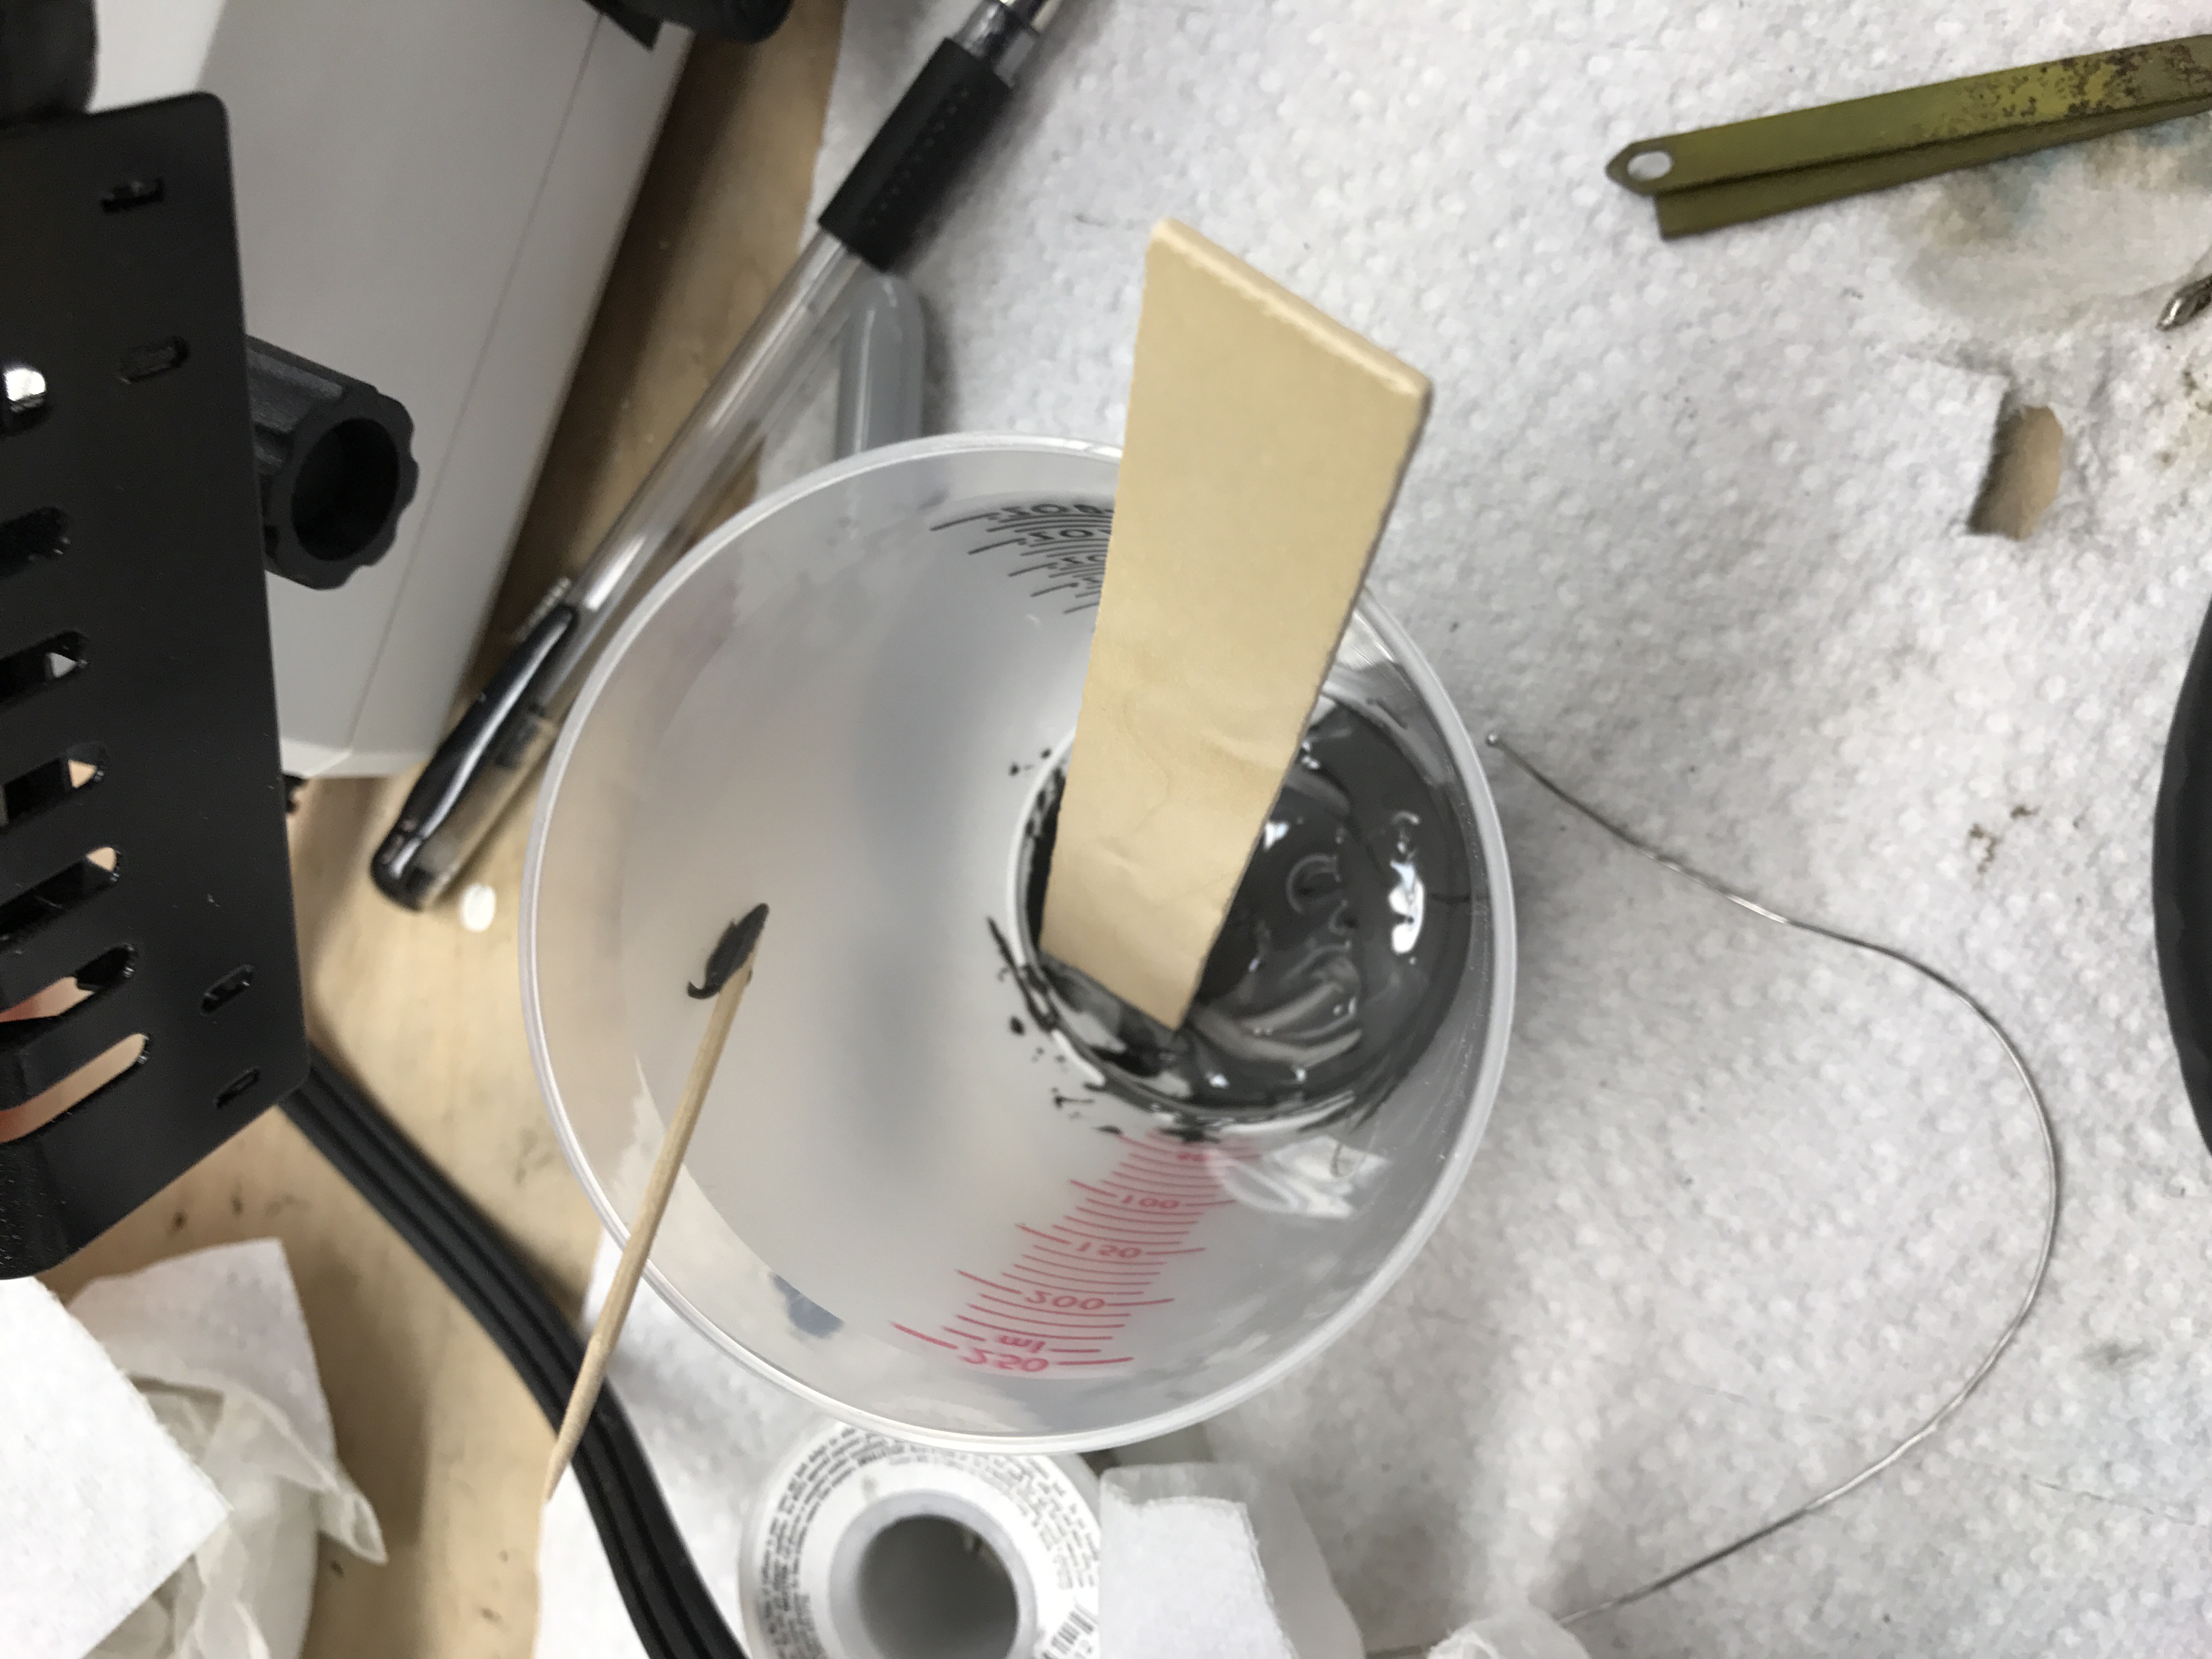
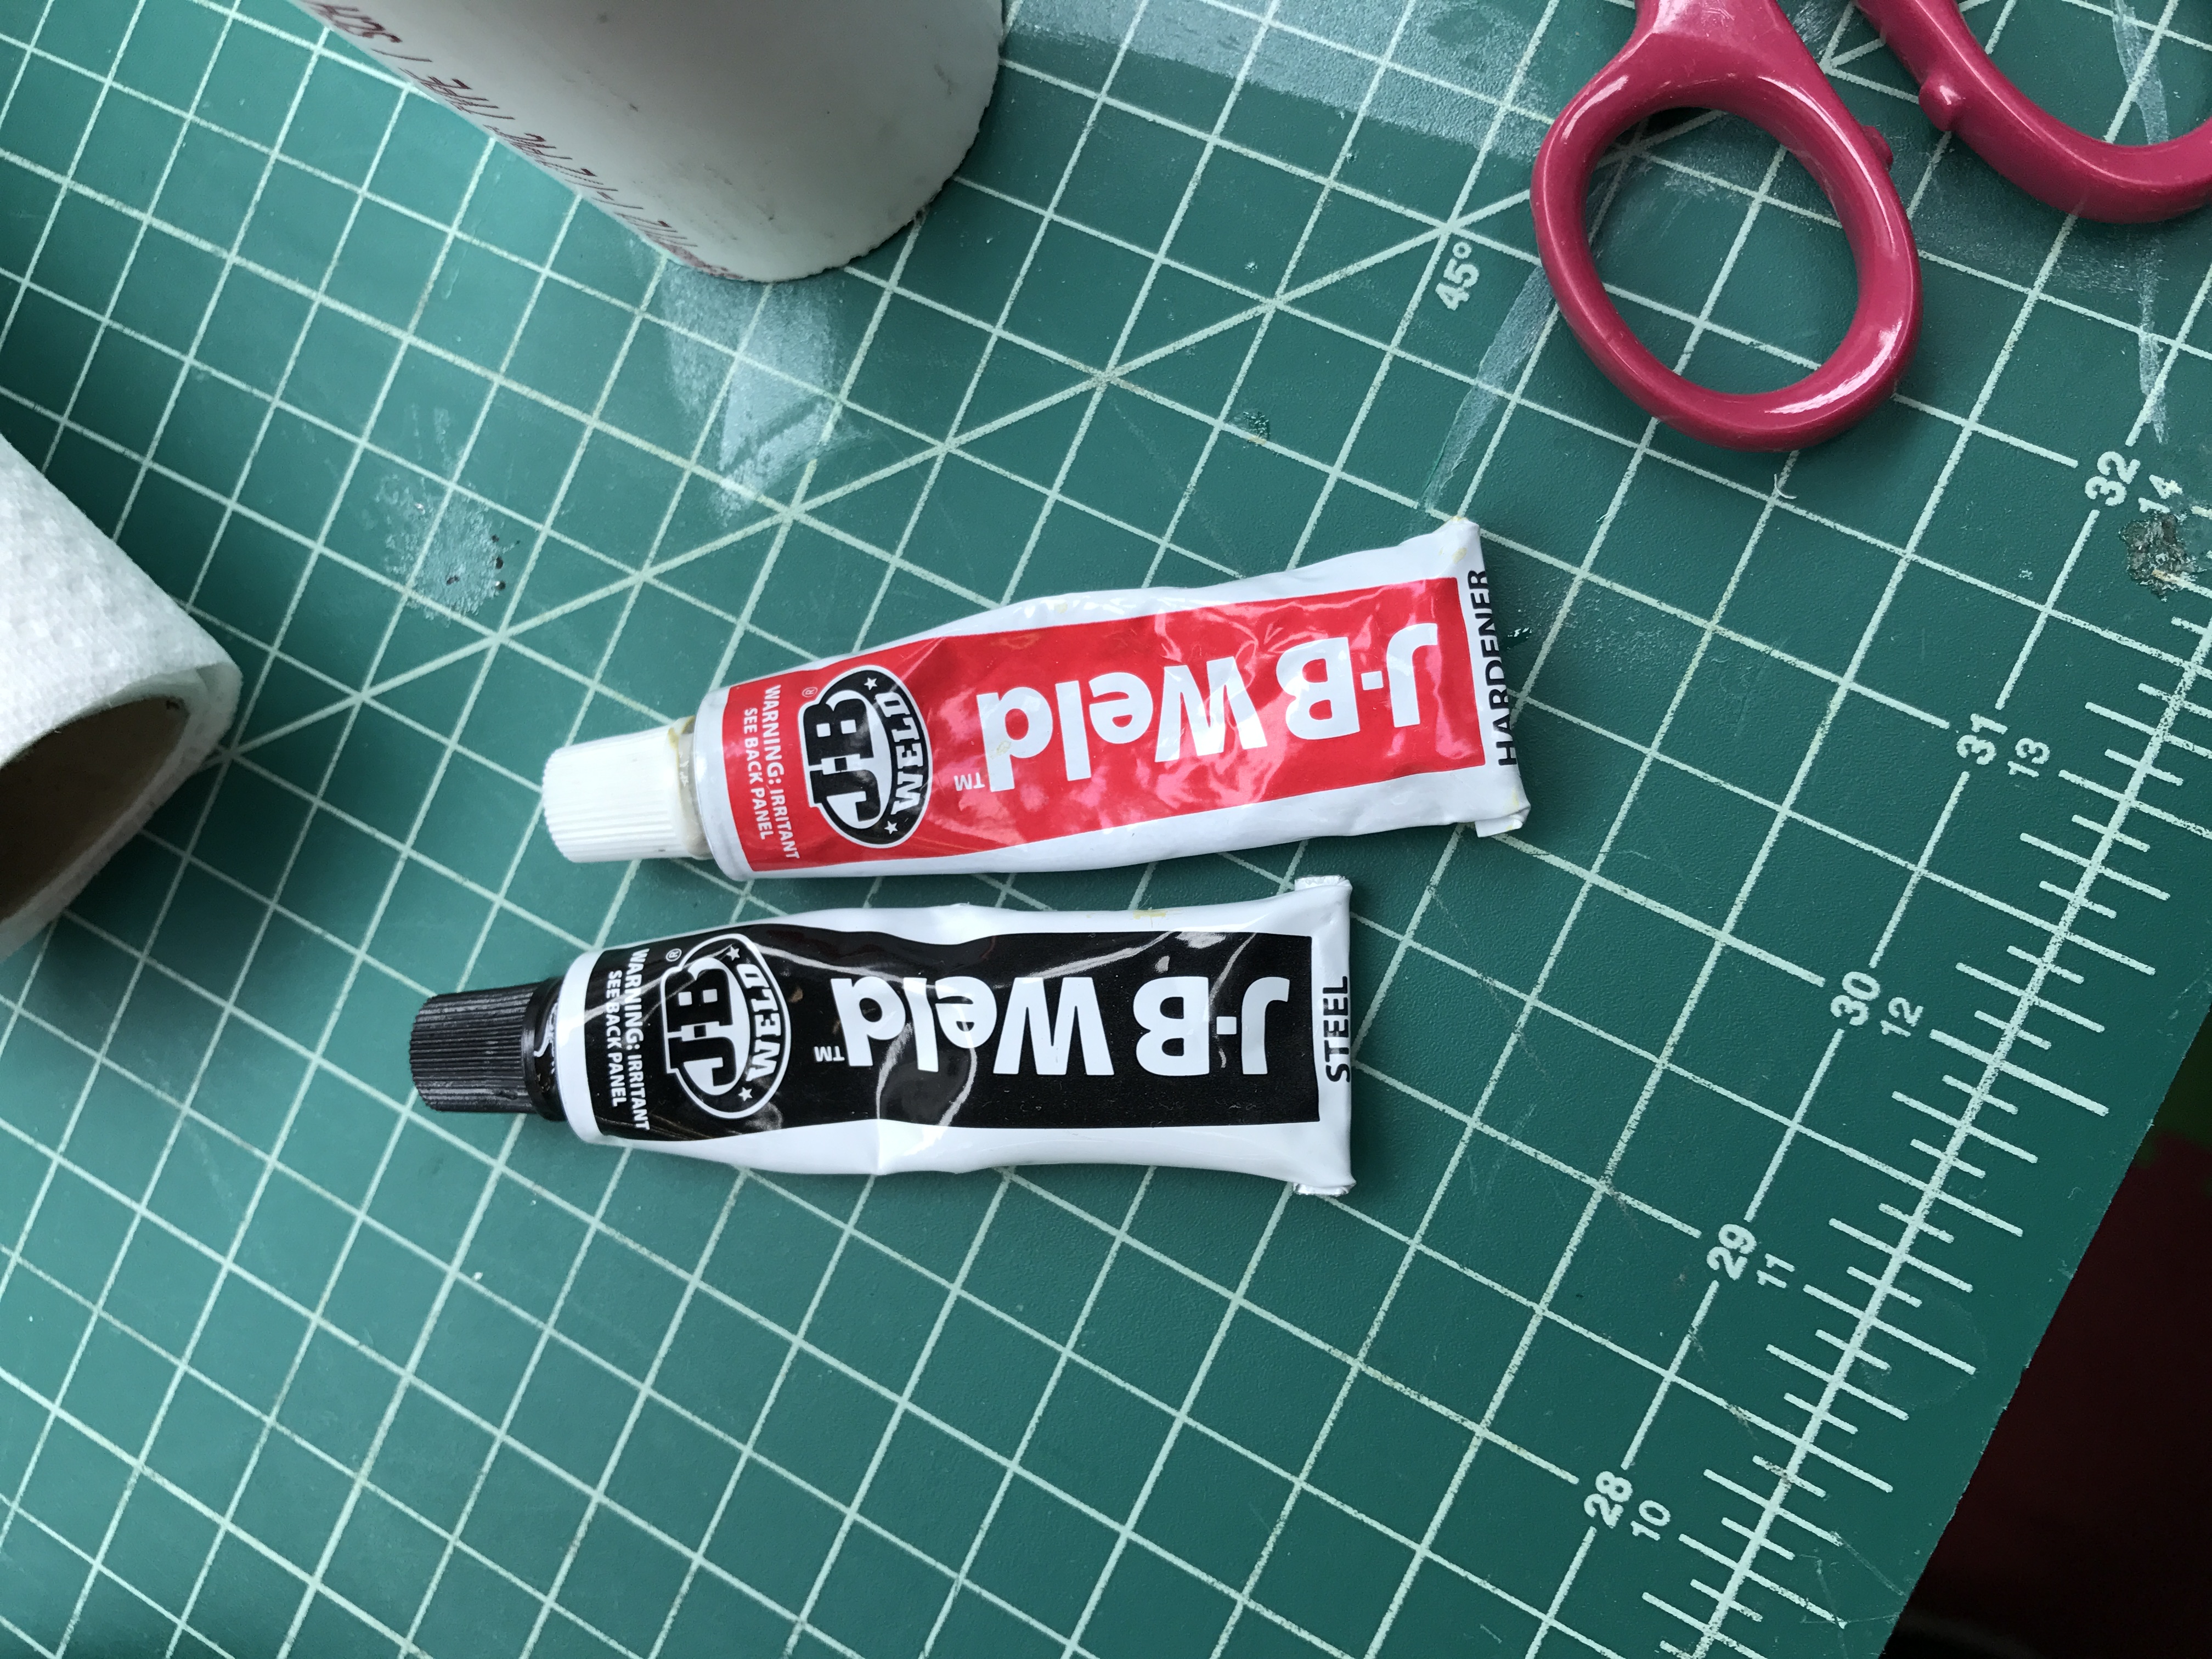
In addition to the mechanism, the puzzle pieces were bent, the tabs that the brass rods attached to were bent (one was broken off), and they were very, very dirty. I very carefully bent the pieces back to straight, and cut a new tab to replace the missing one, and used JB Weld to attach it (I tried soldering it at first, but could not get the solder to stick to whatever metal these are made from).
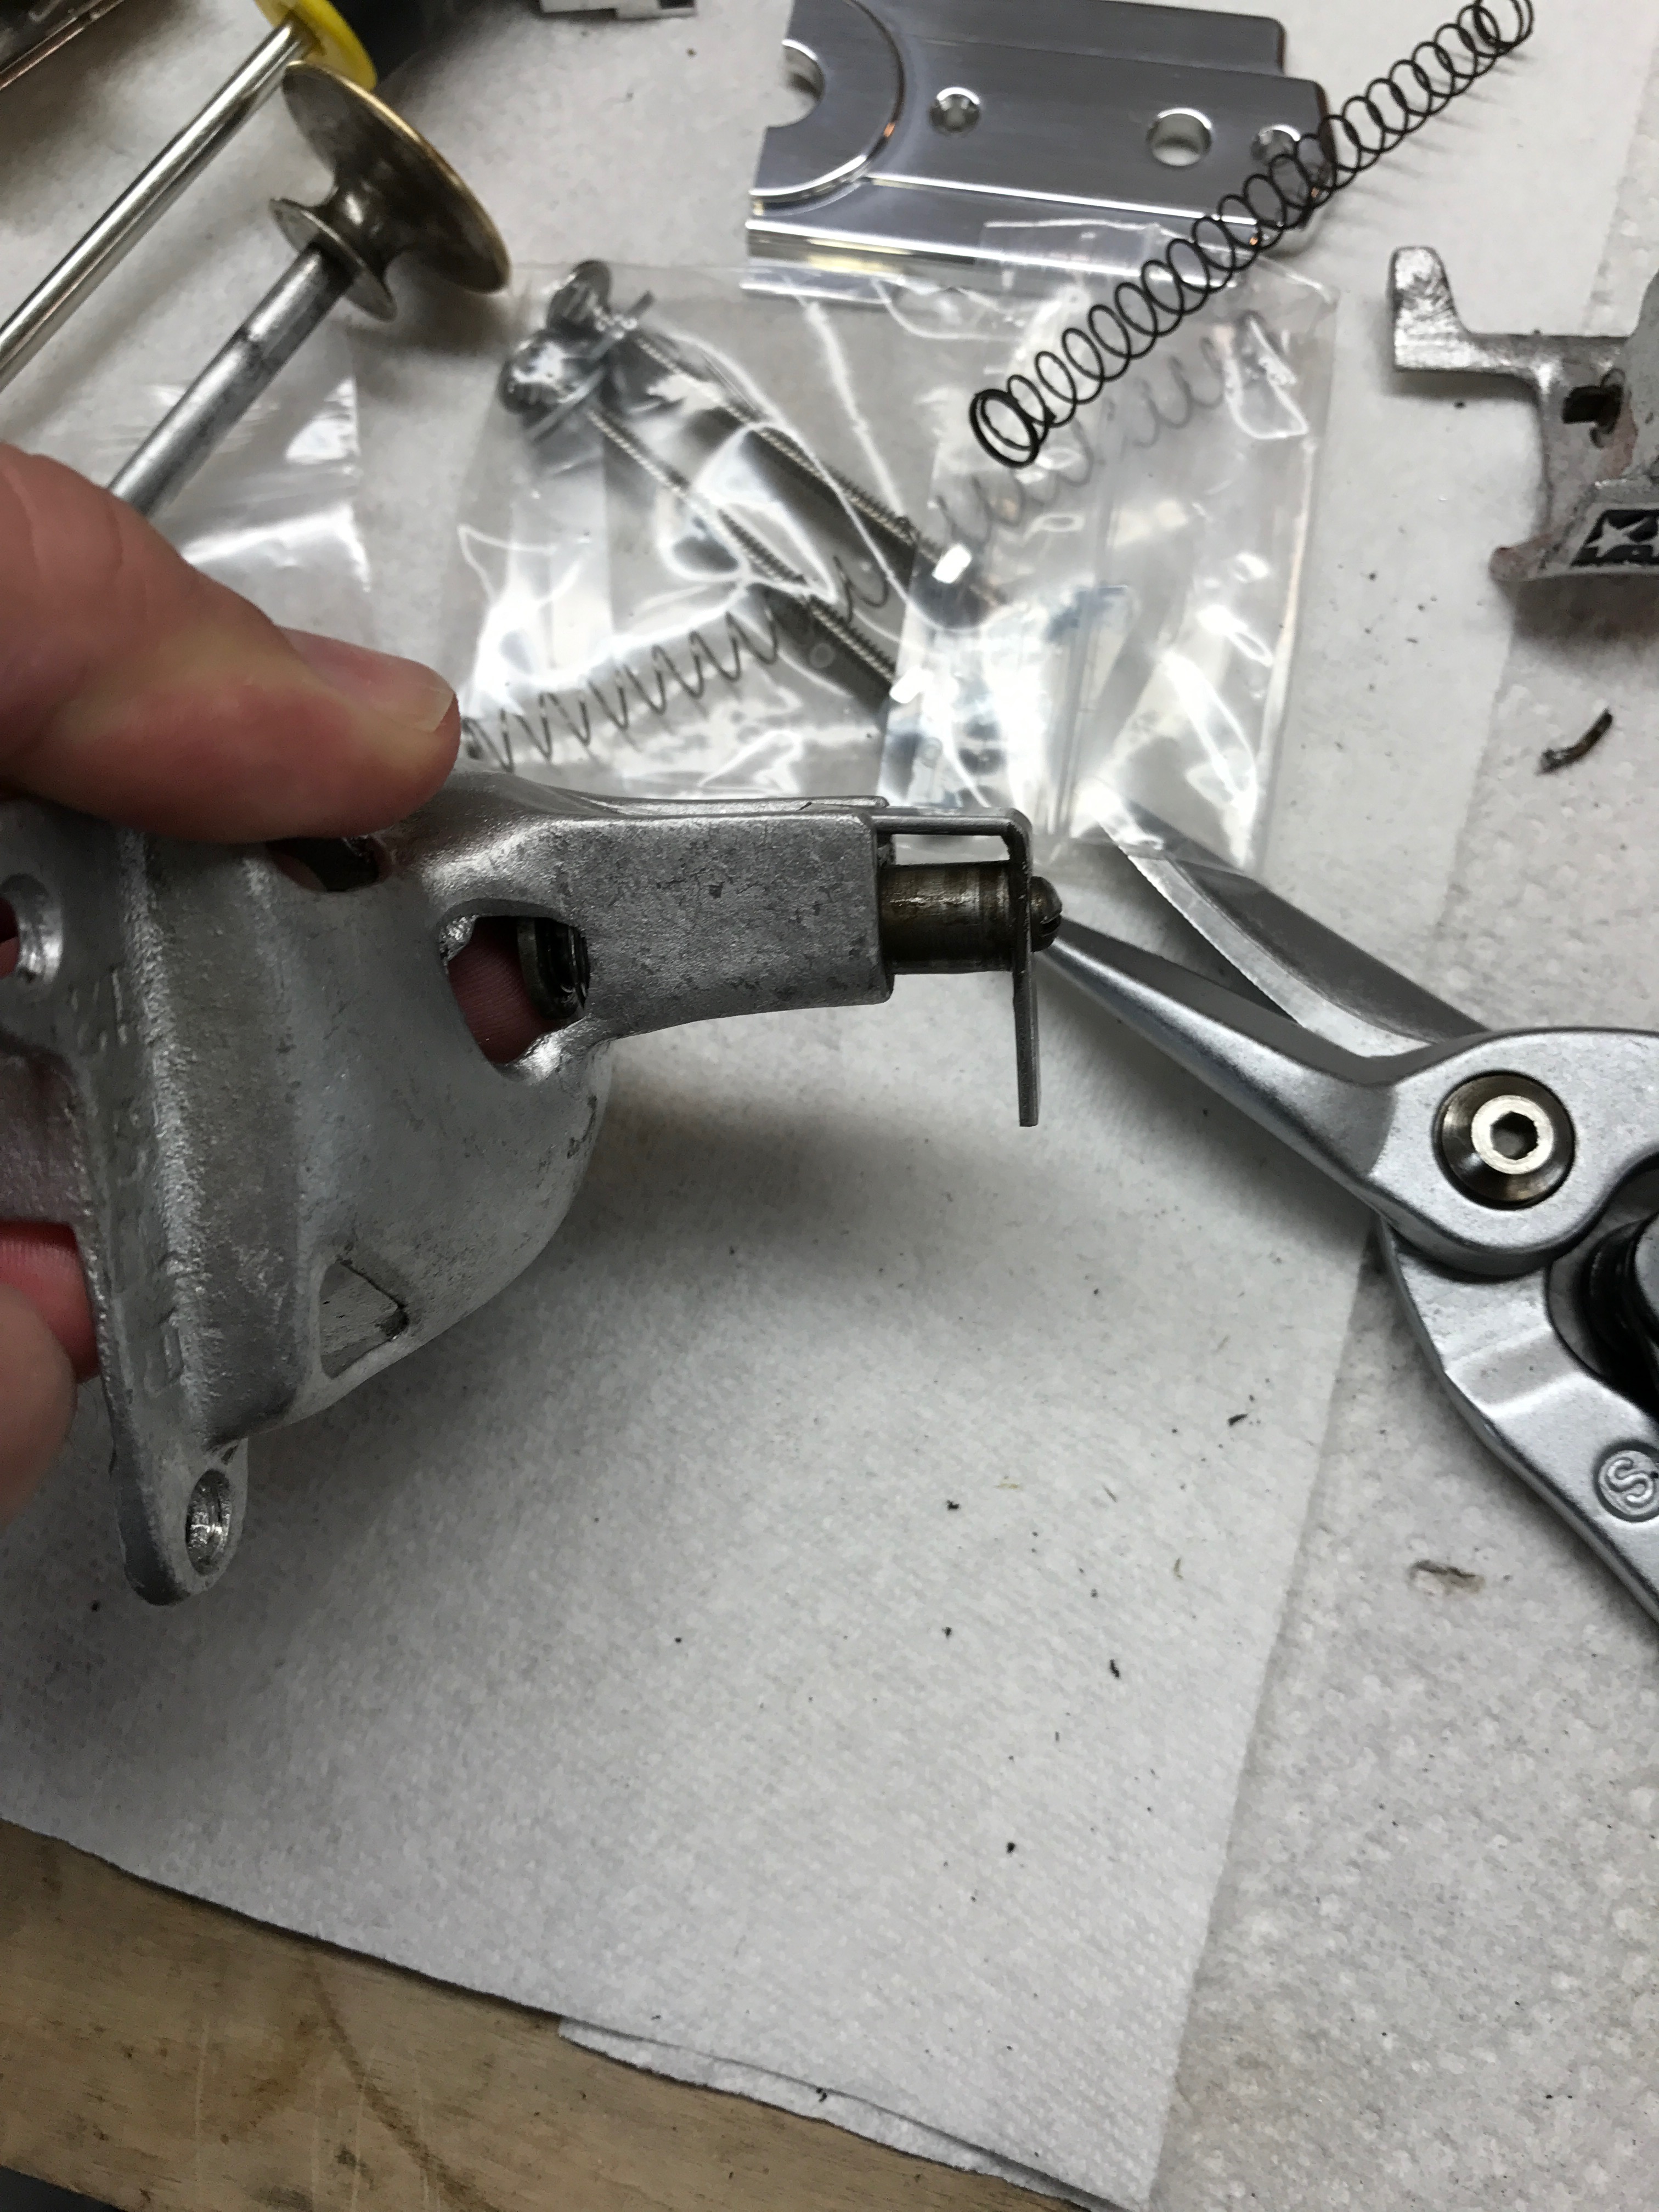
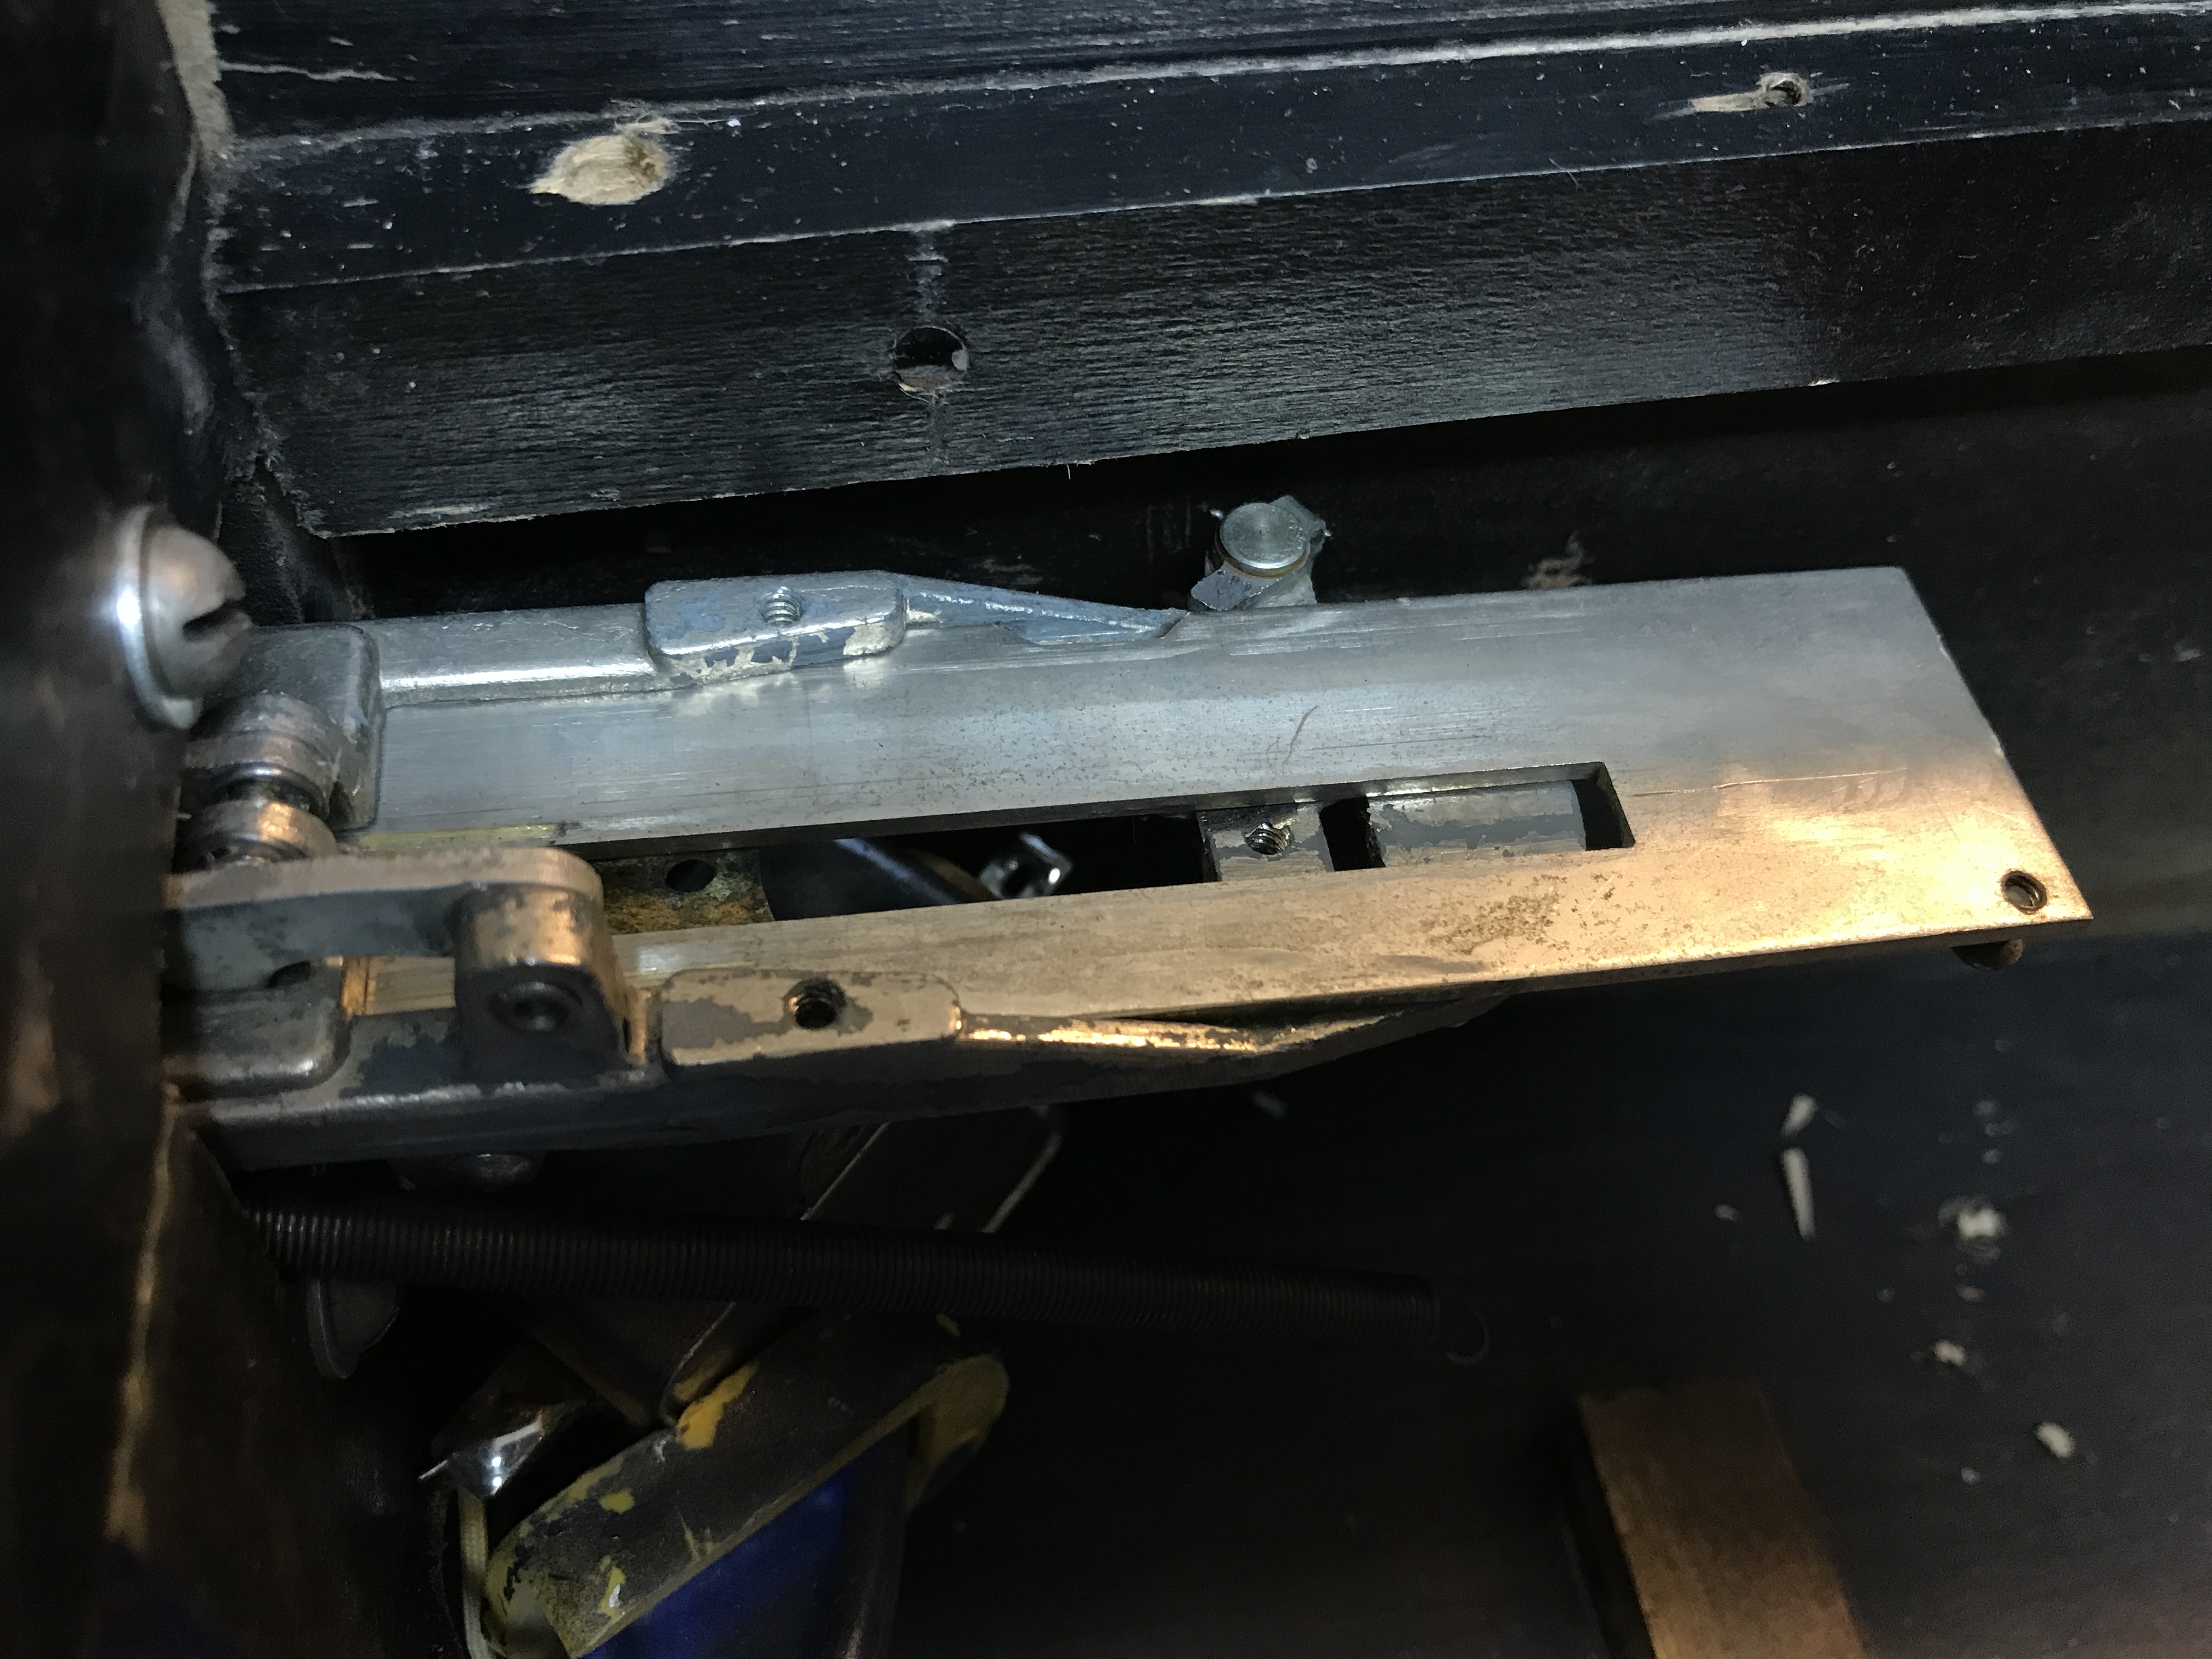
These rods have a notch cut out on one side about 3/4 of the way down that catch on a metal plate (see picture below) when the machine is reset. In the below picture, a brass rod goes through each of the holes below.
The below picture is the underside of the above picture, you can see the wires running from each hole to an area to the right which is under the puzzle. As the balls drop through the holes on the playfield, they run across little metal pivots which push these wires to release the brass rods, which in turn pull the puzzle piece flat.
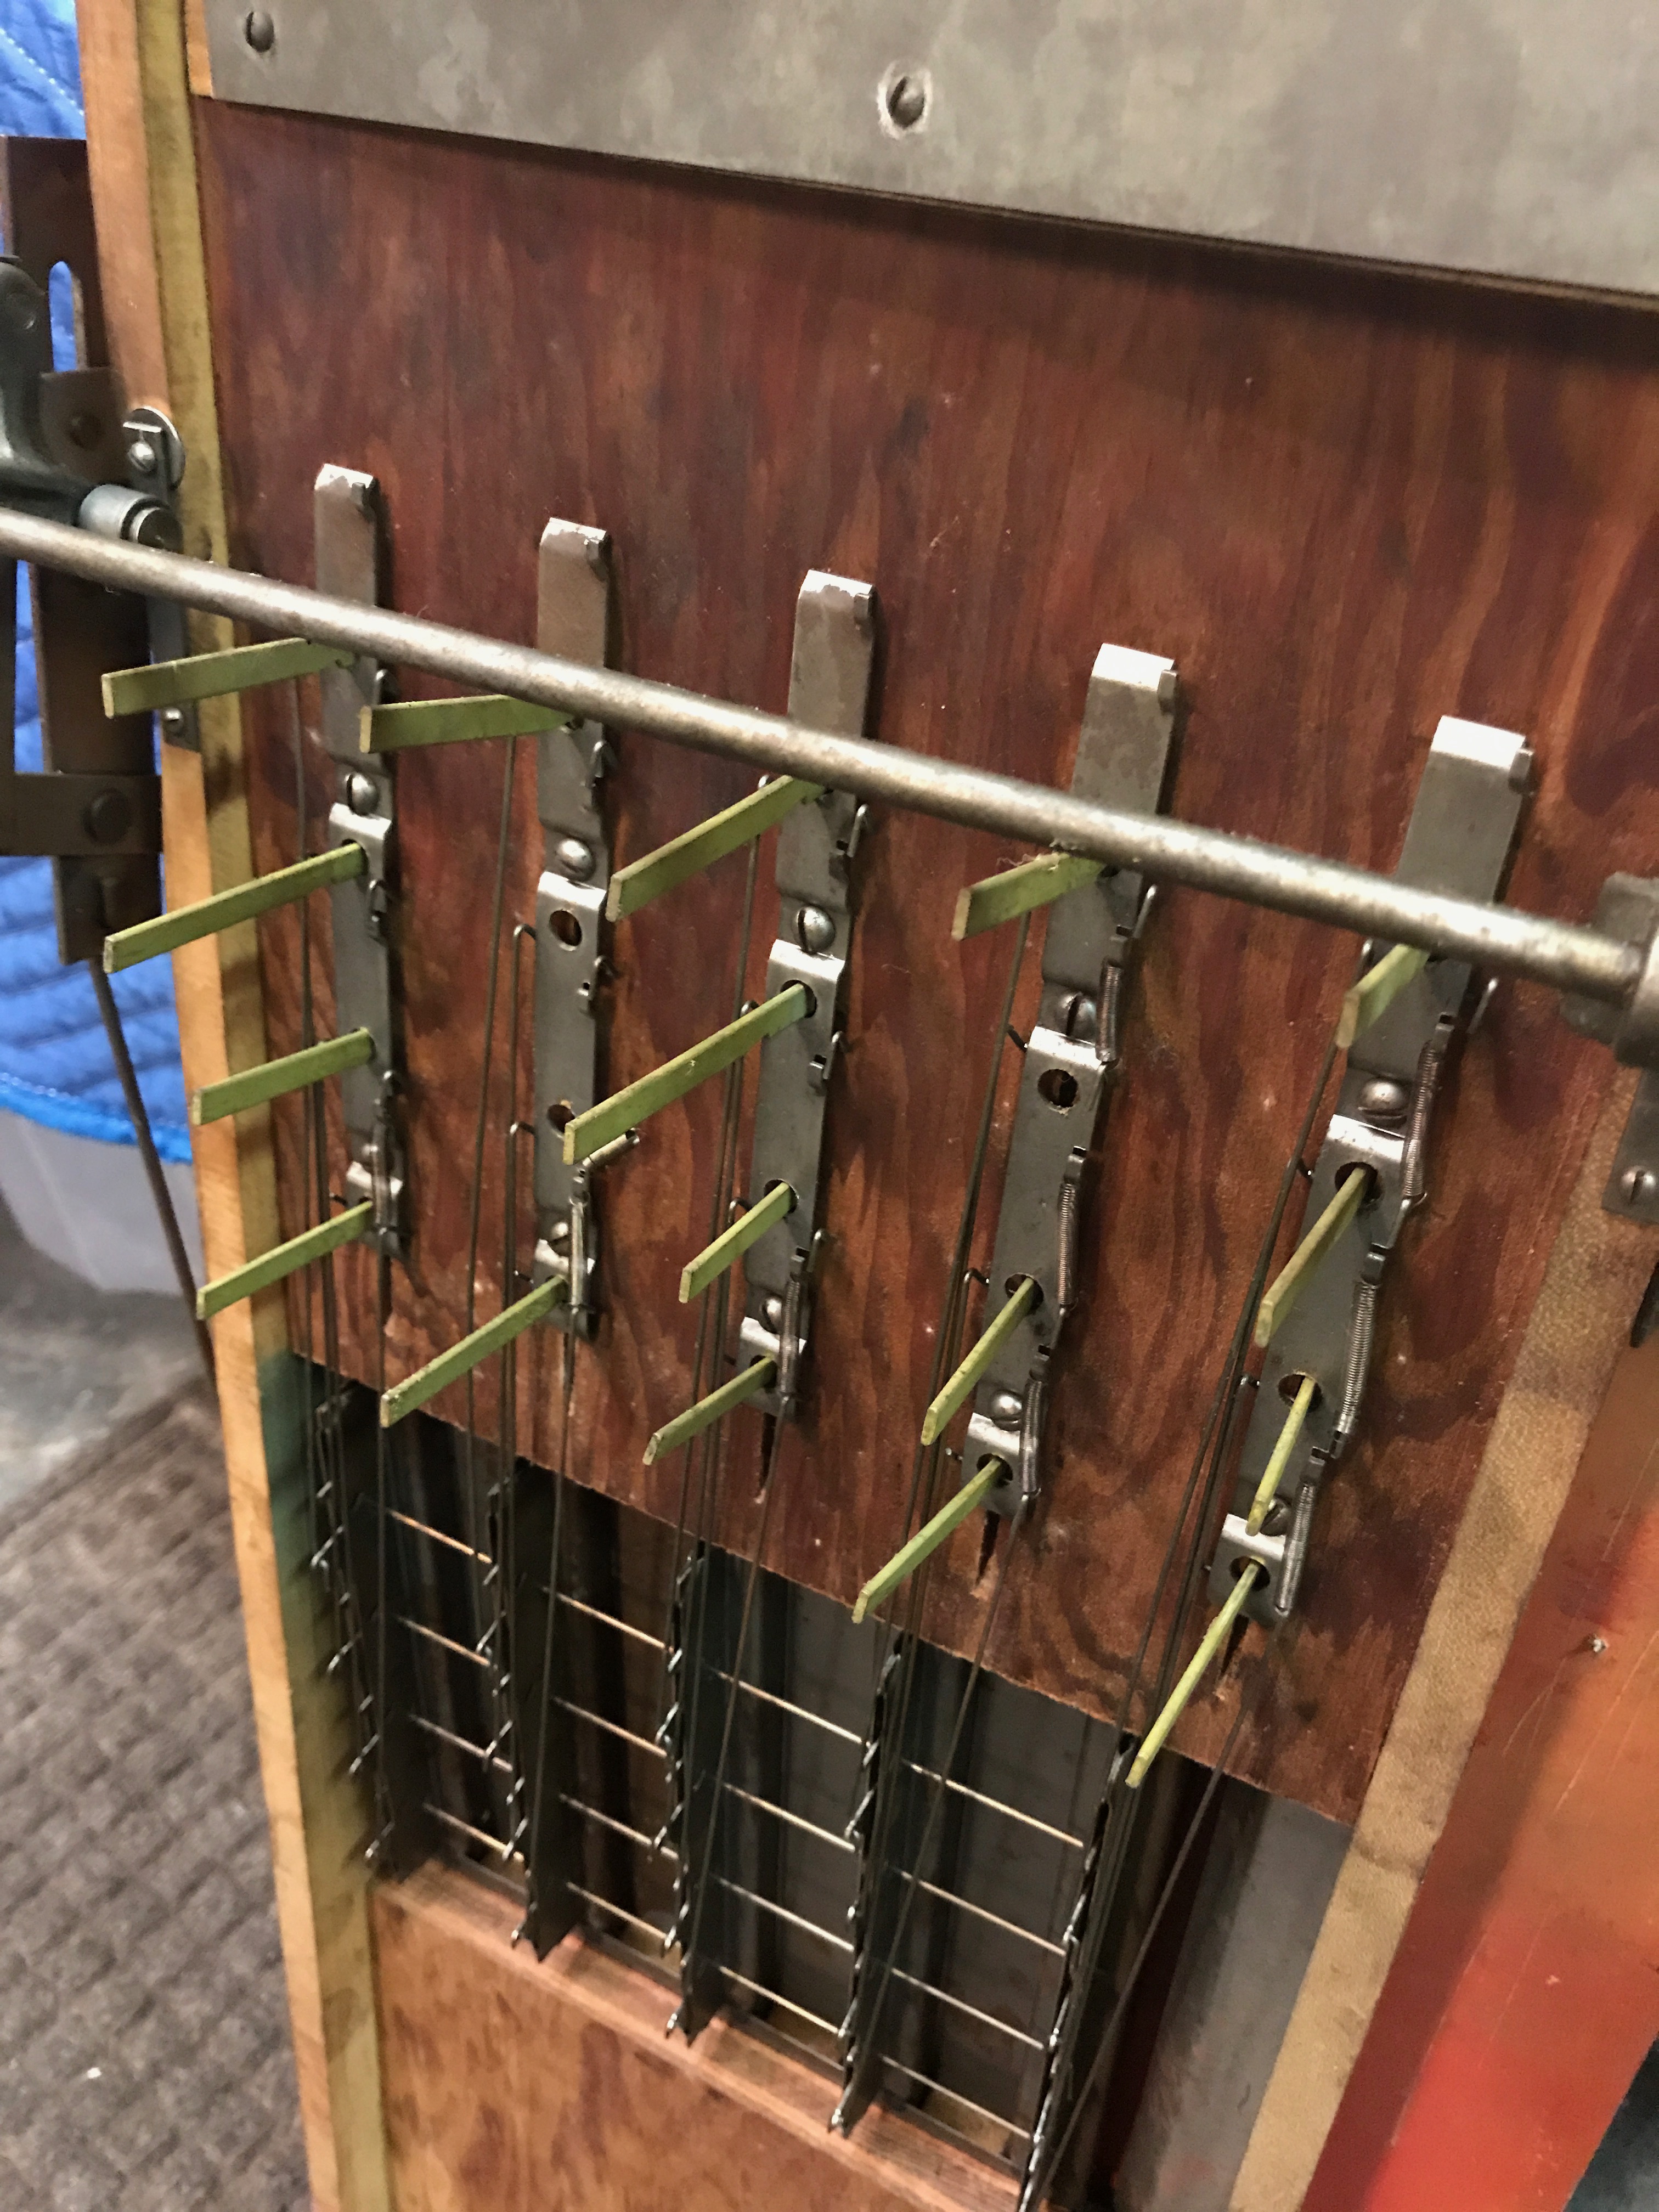
Close-up showing the mechanism the brass rod goes through, the wire mechanism the brass rod catches on, and the spring which holds the brass rod on the wire until the ball trips it.
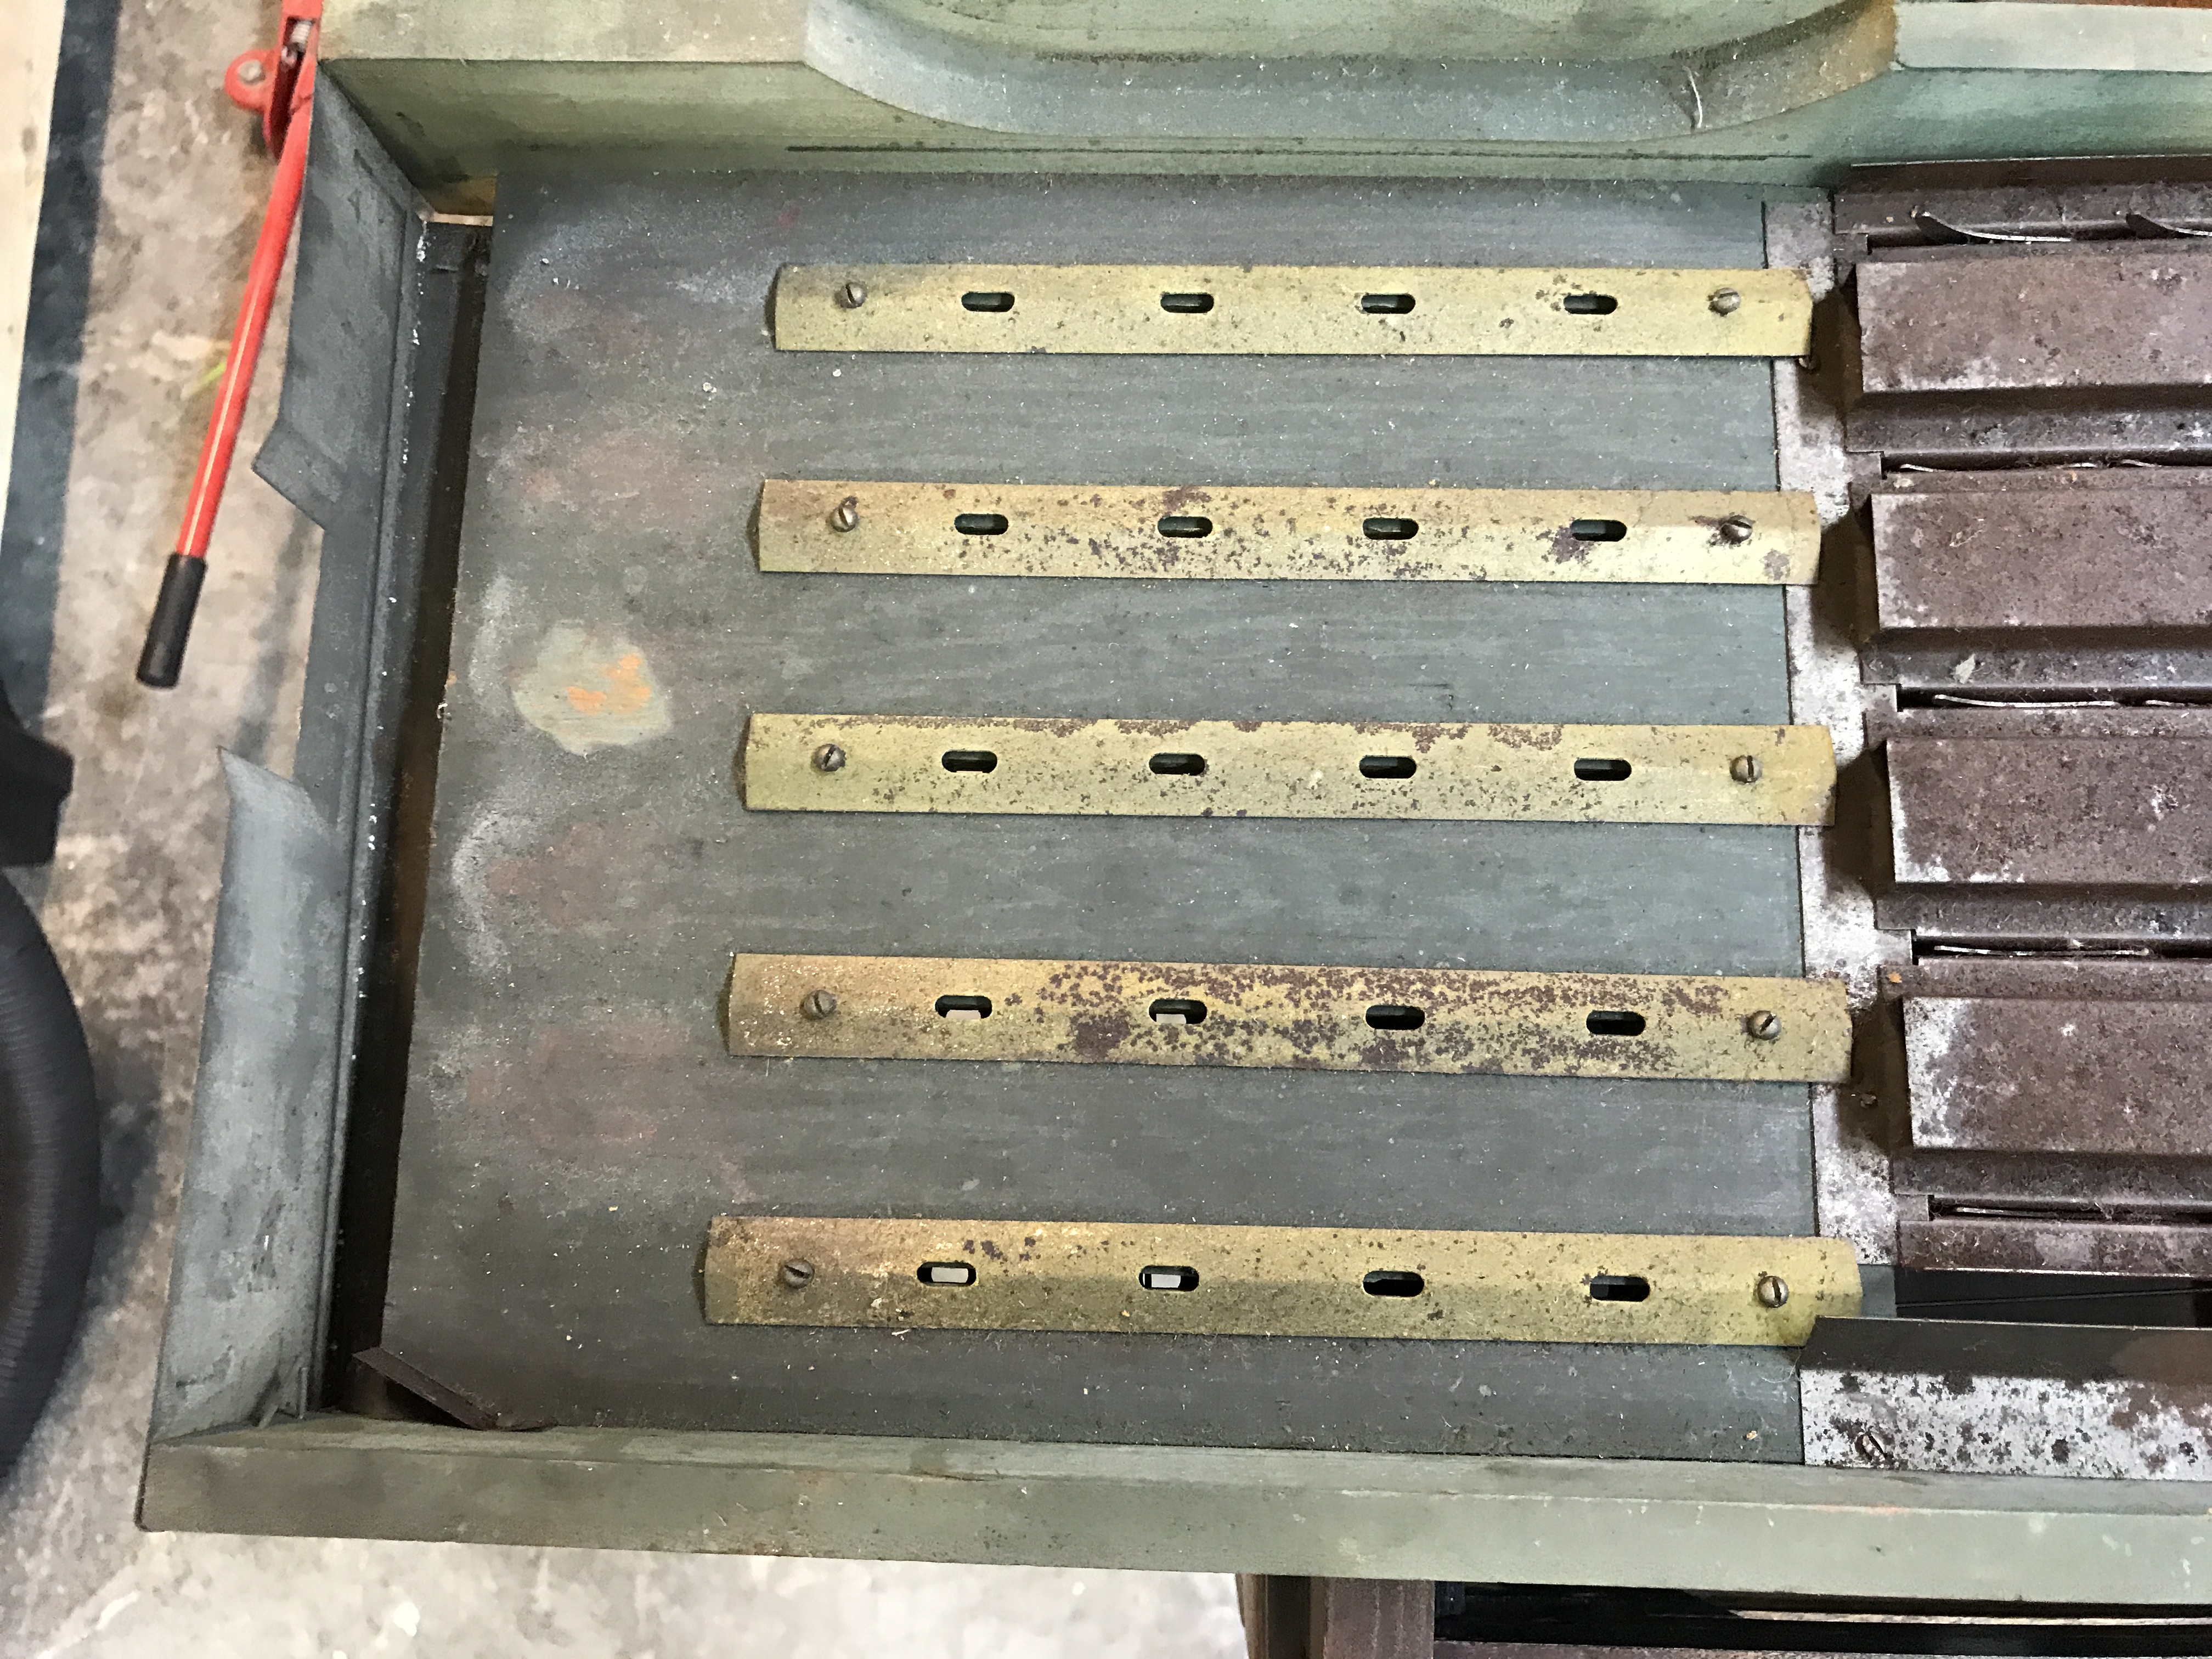
The below picture is the “under playfield”. The right hand side is under the ball holes in the upper playfield. The left hand side is under the puzzle, and the brass plates with the small holes in them are under the puzzle, and the holes are for the brass rods that attach to the puzzle pieces. The rusty middle section is the part the balls roll across to trip the puzzle pieces as they drop through the holes from the playfield, and down the pin board, and and into one of the channels.

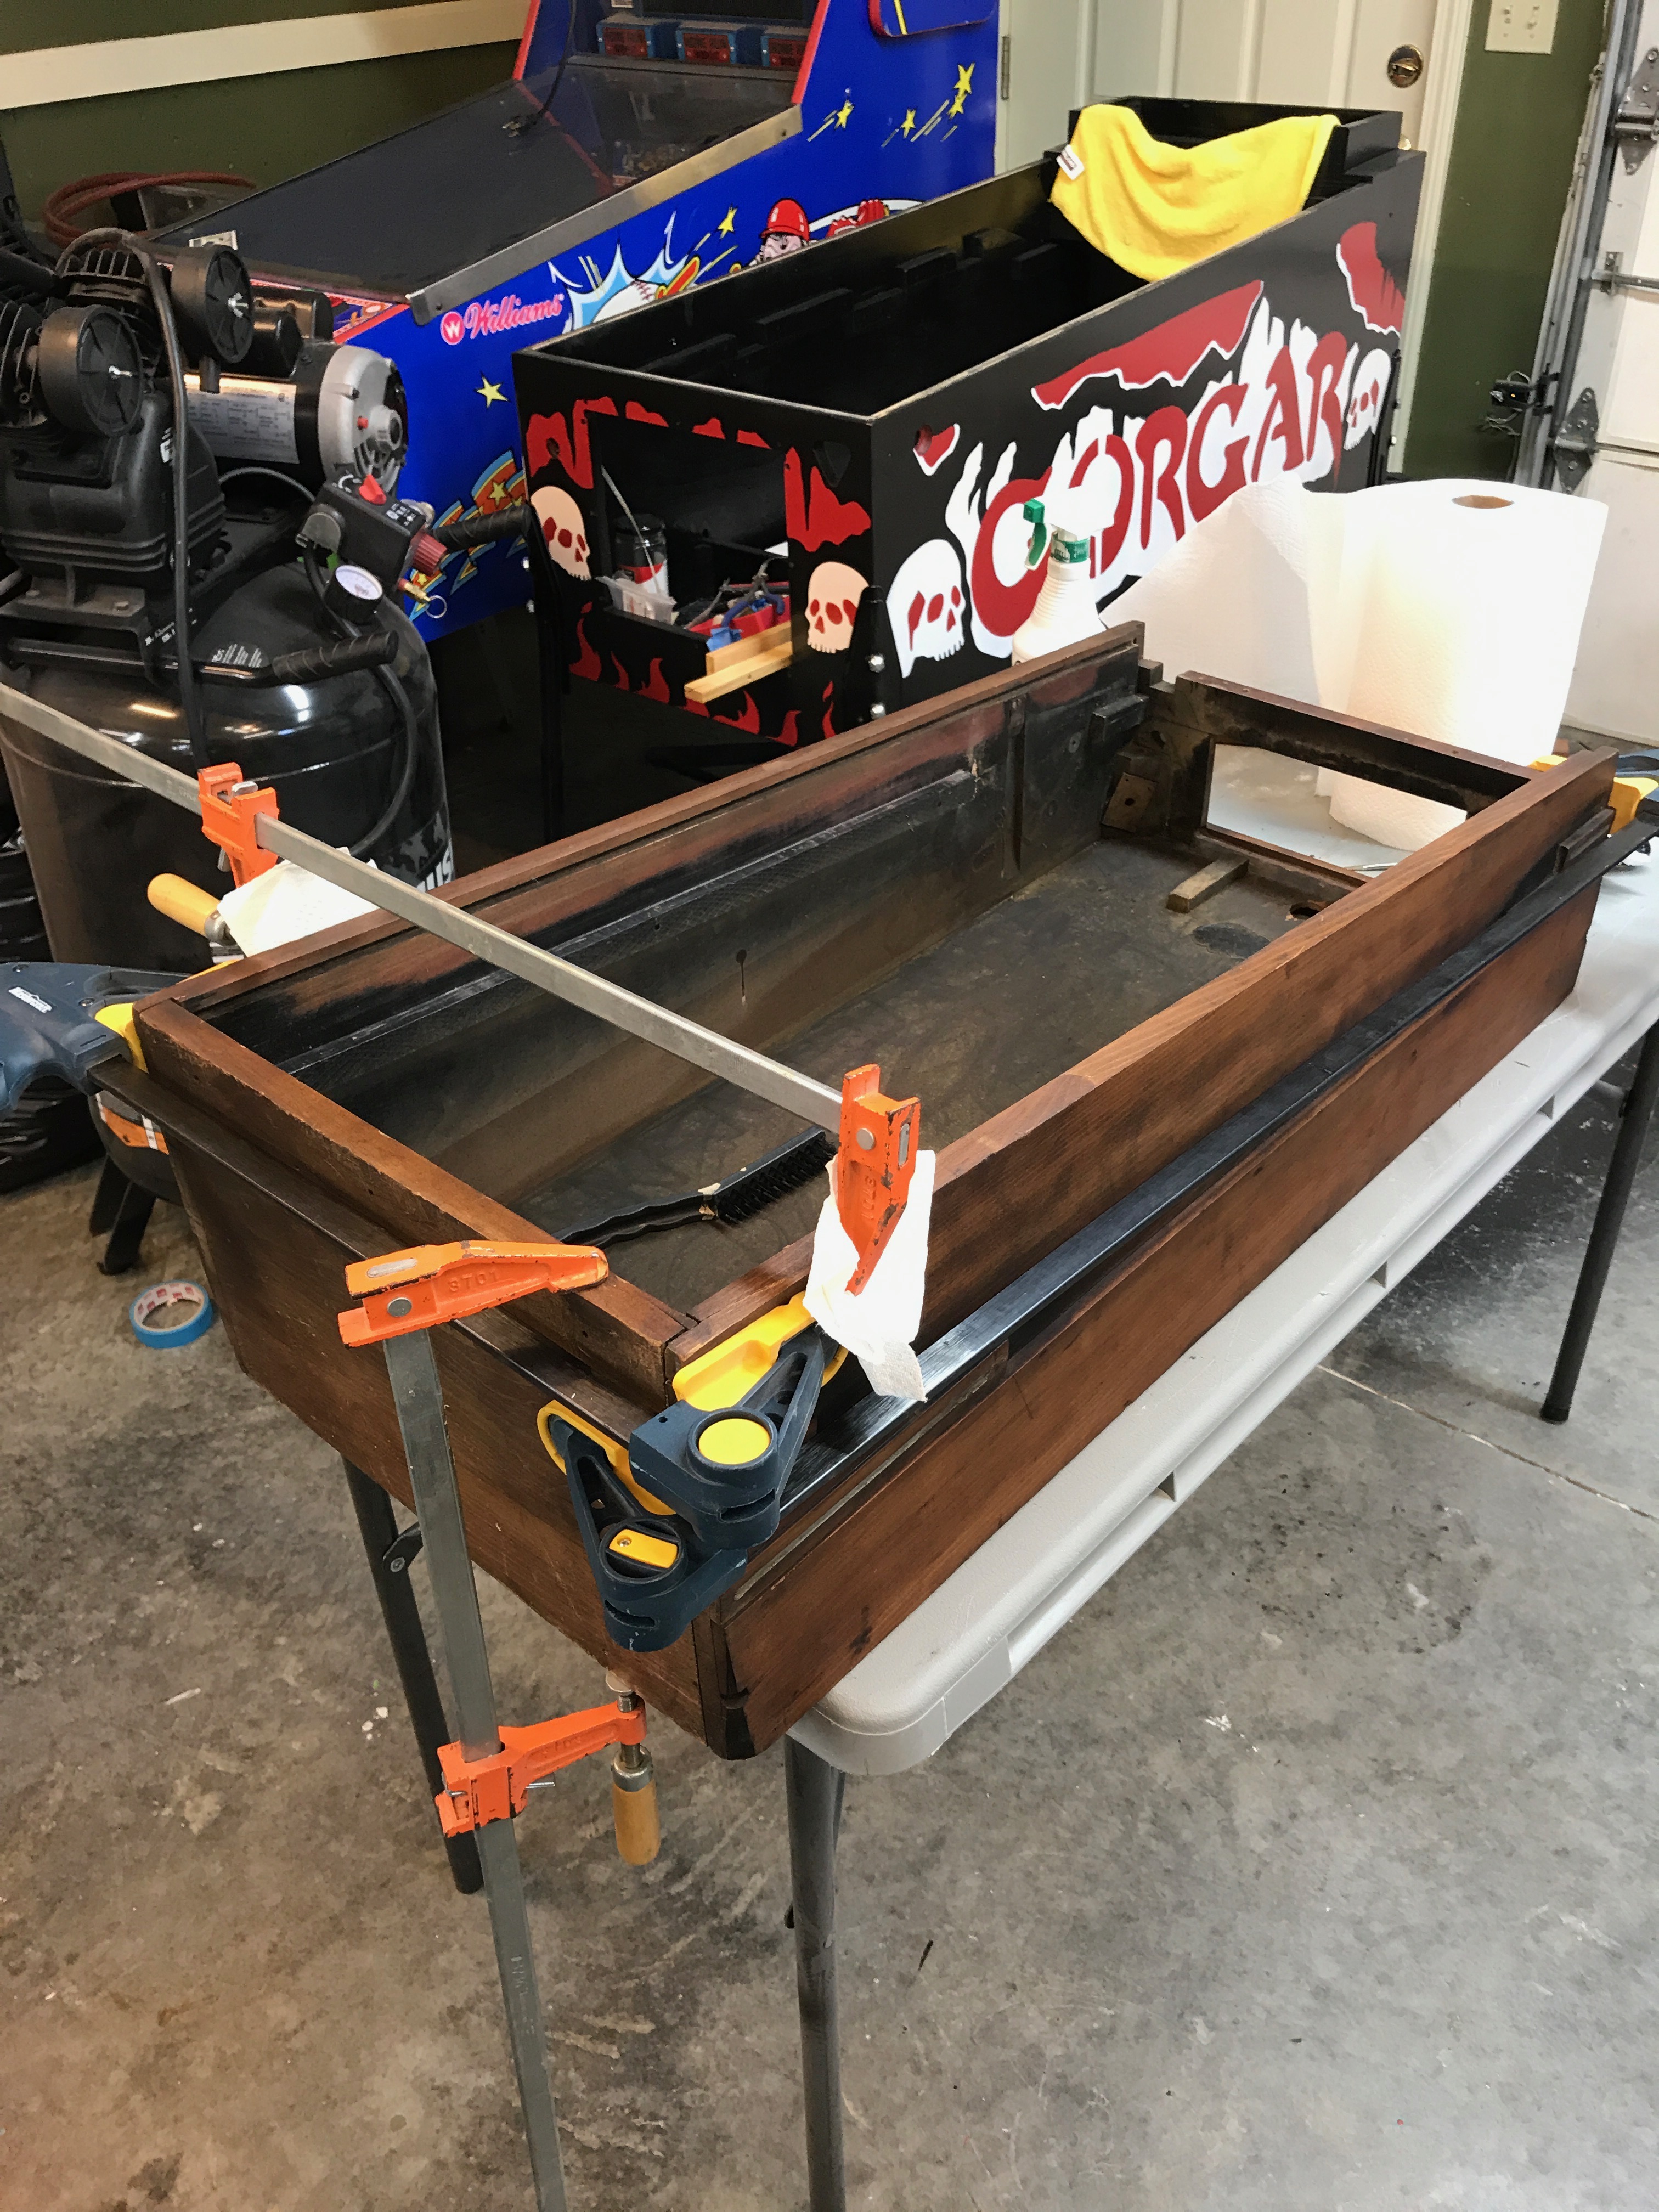
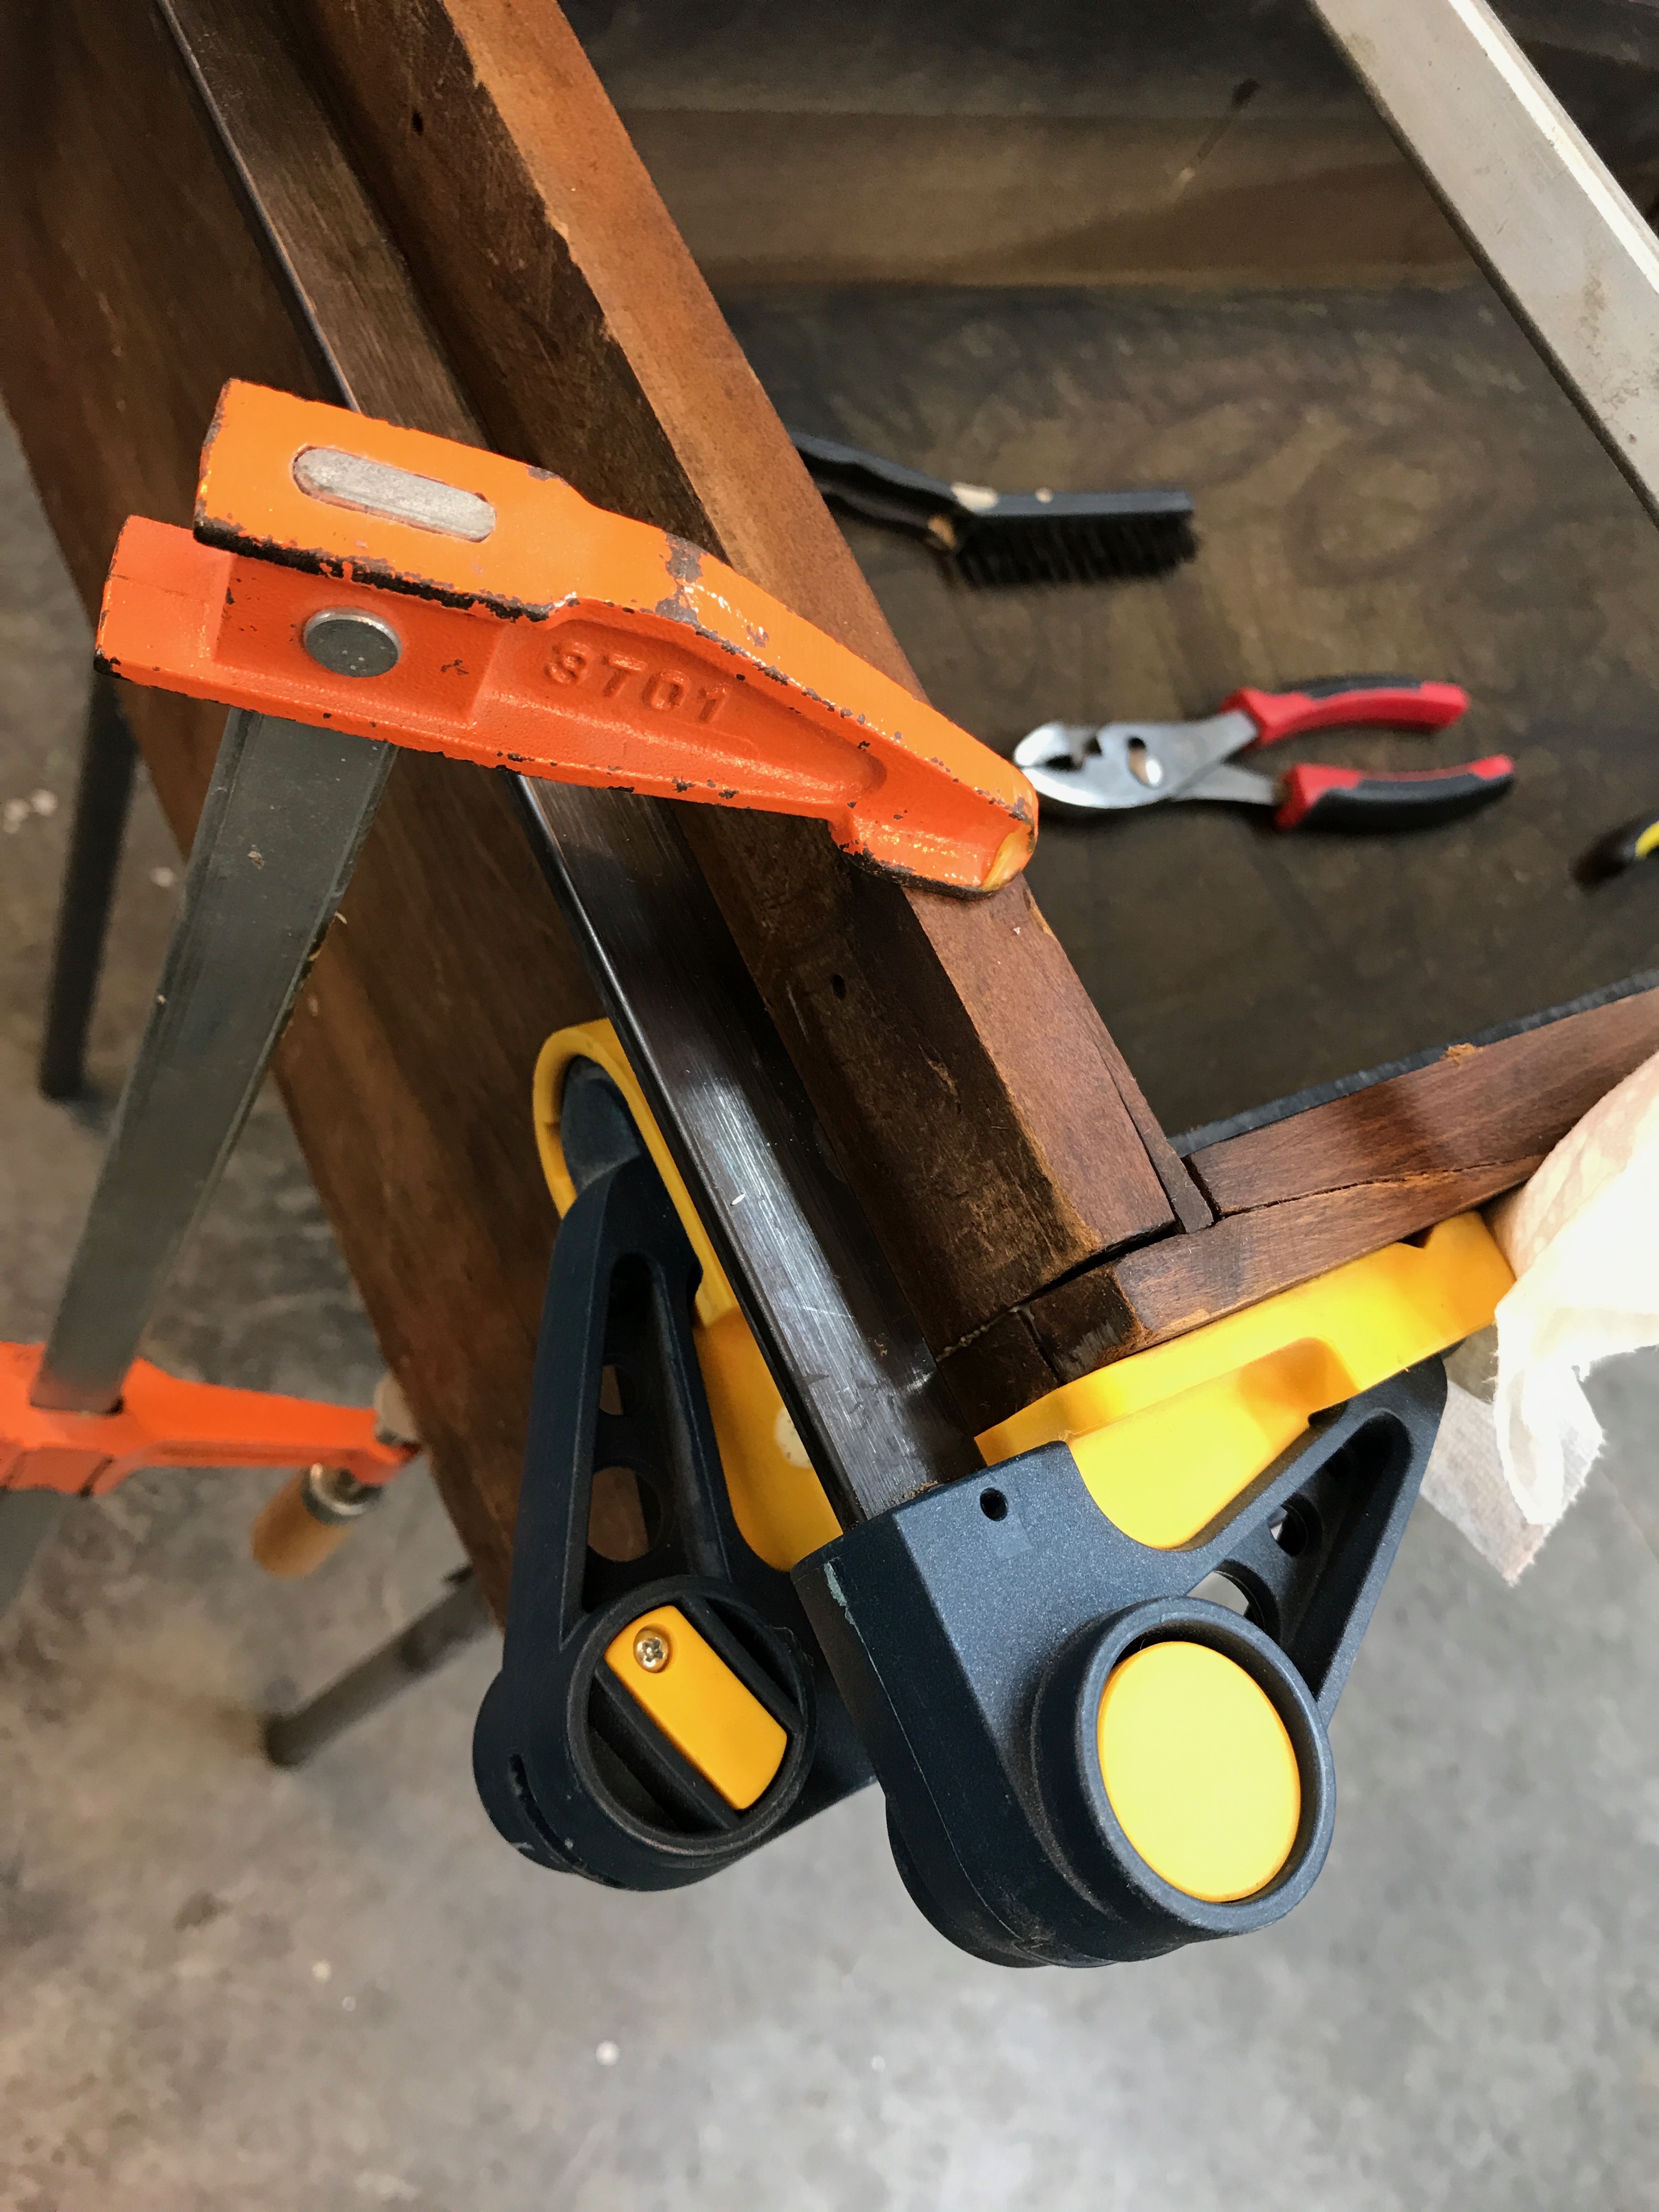
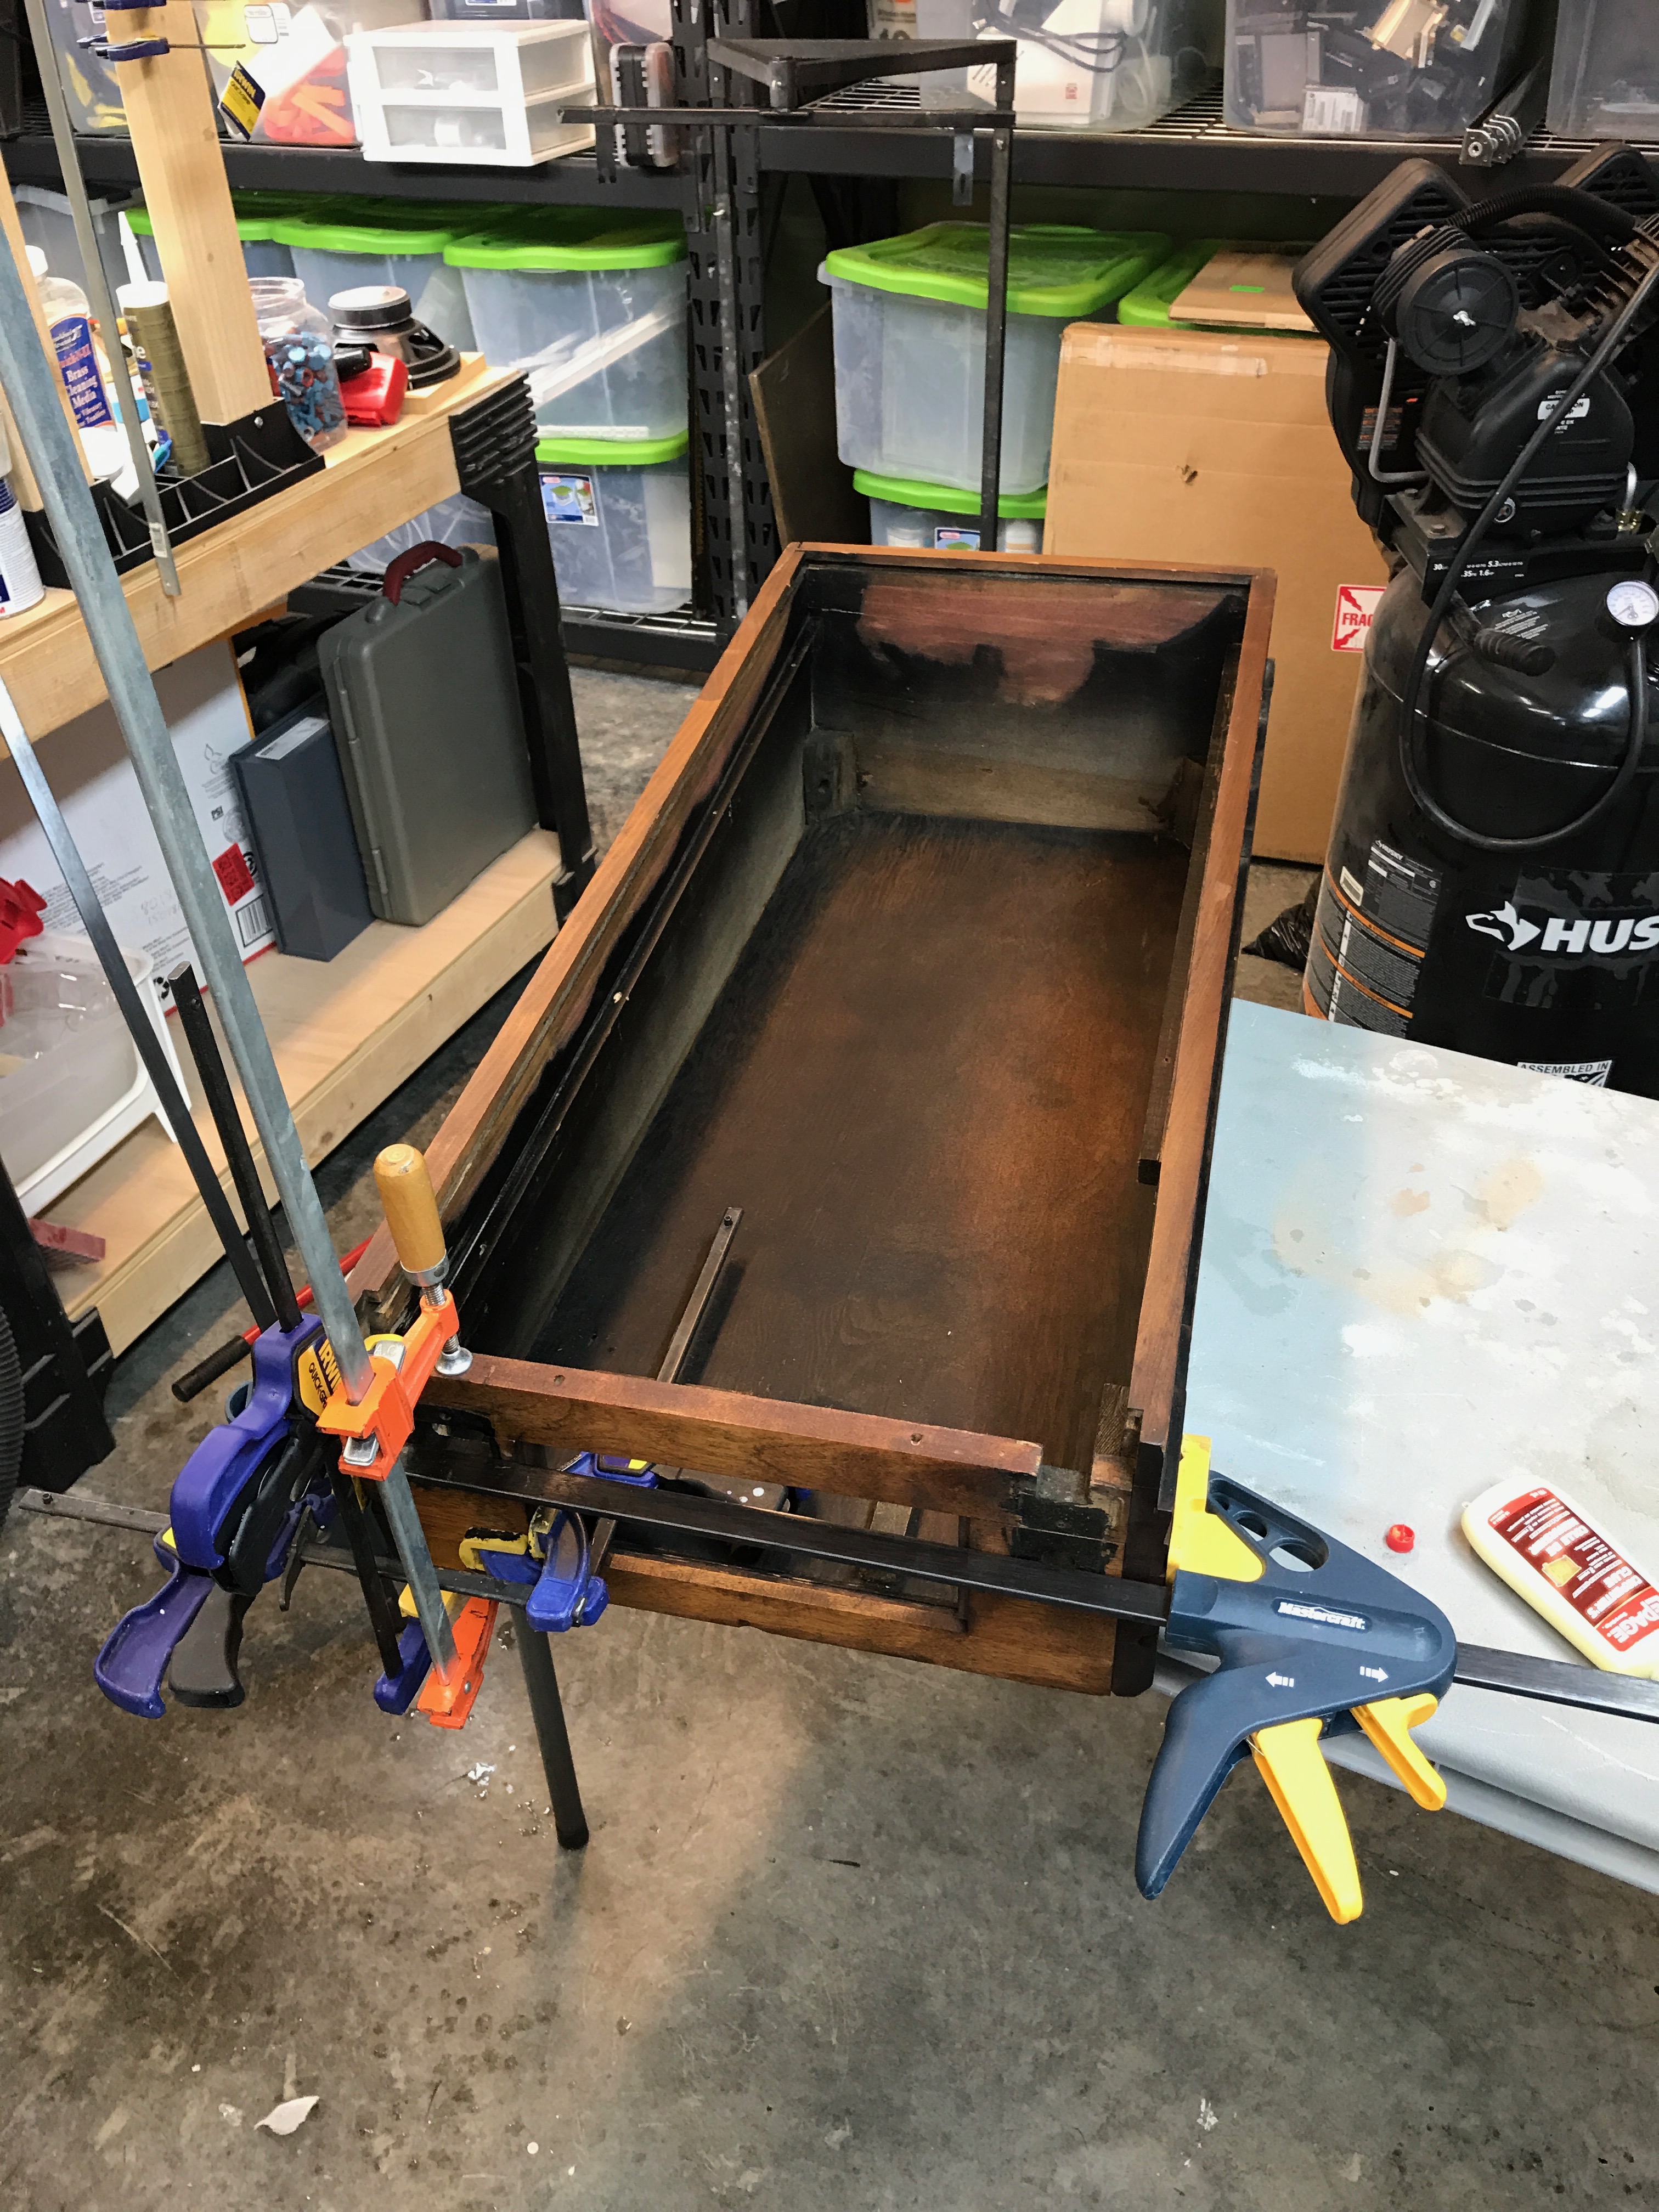
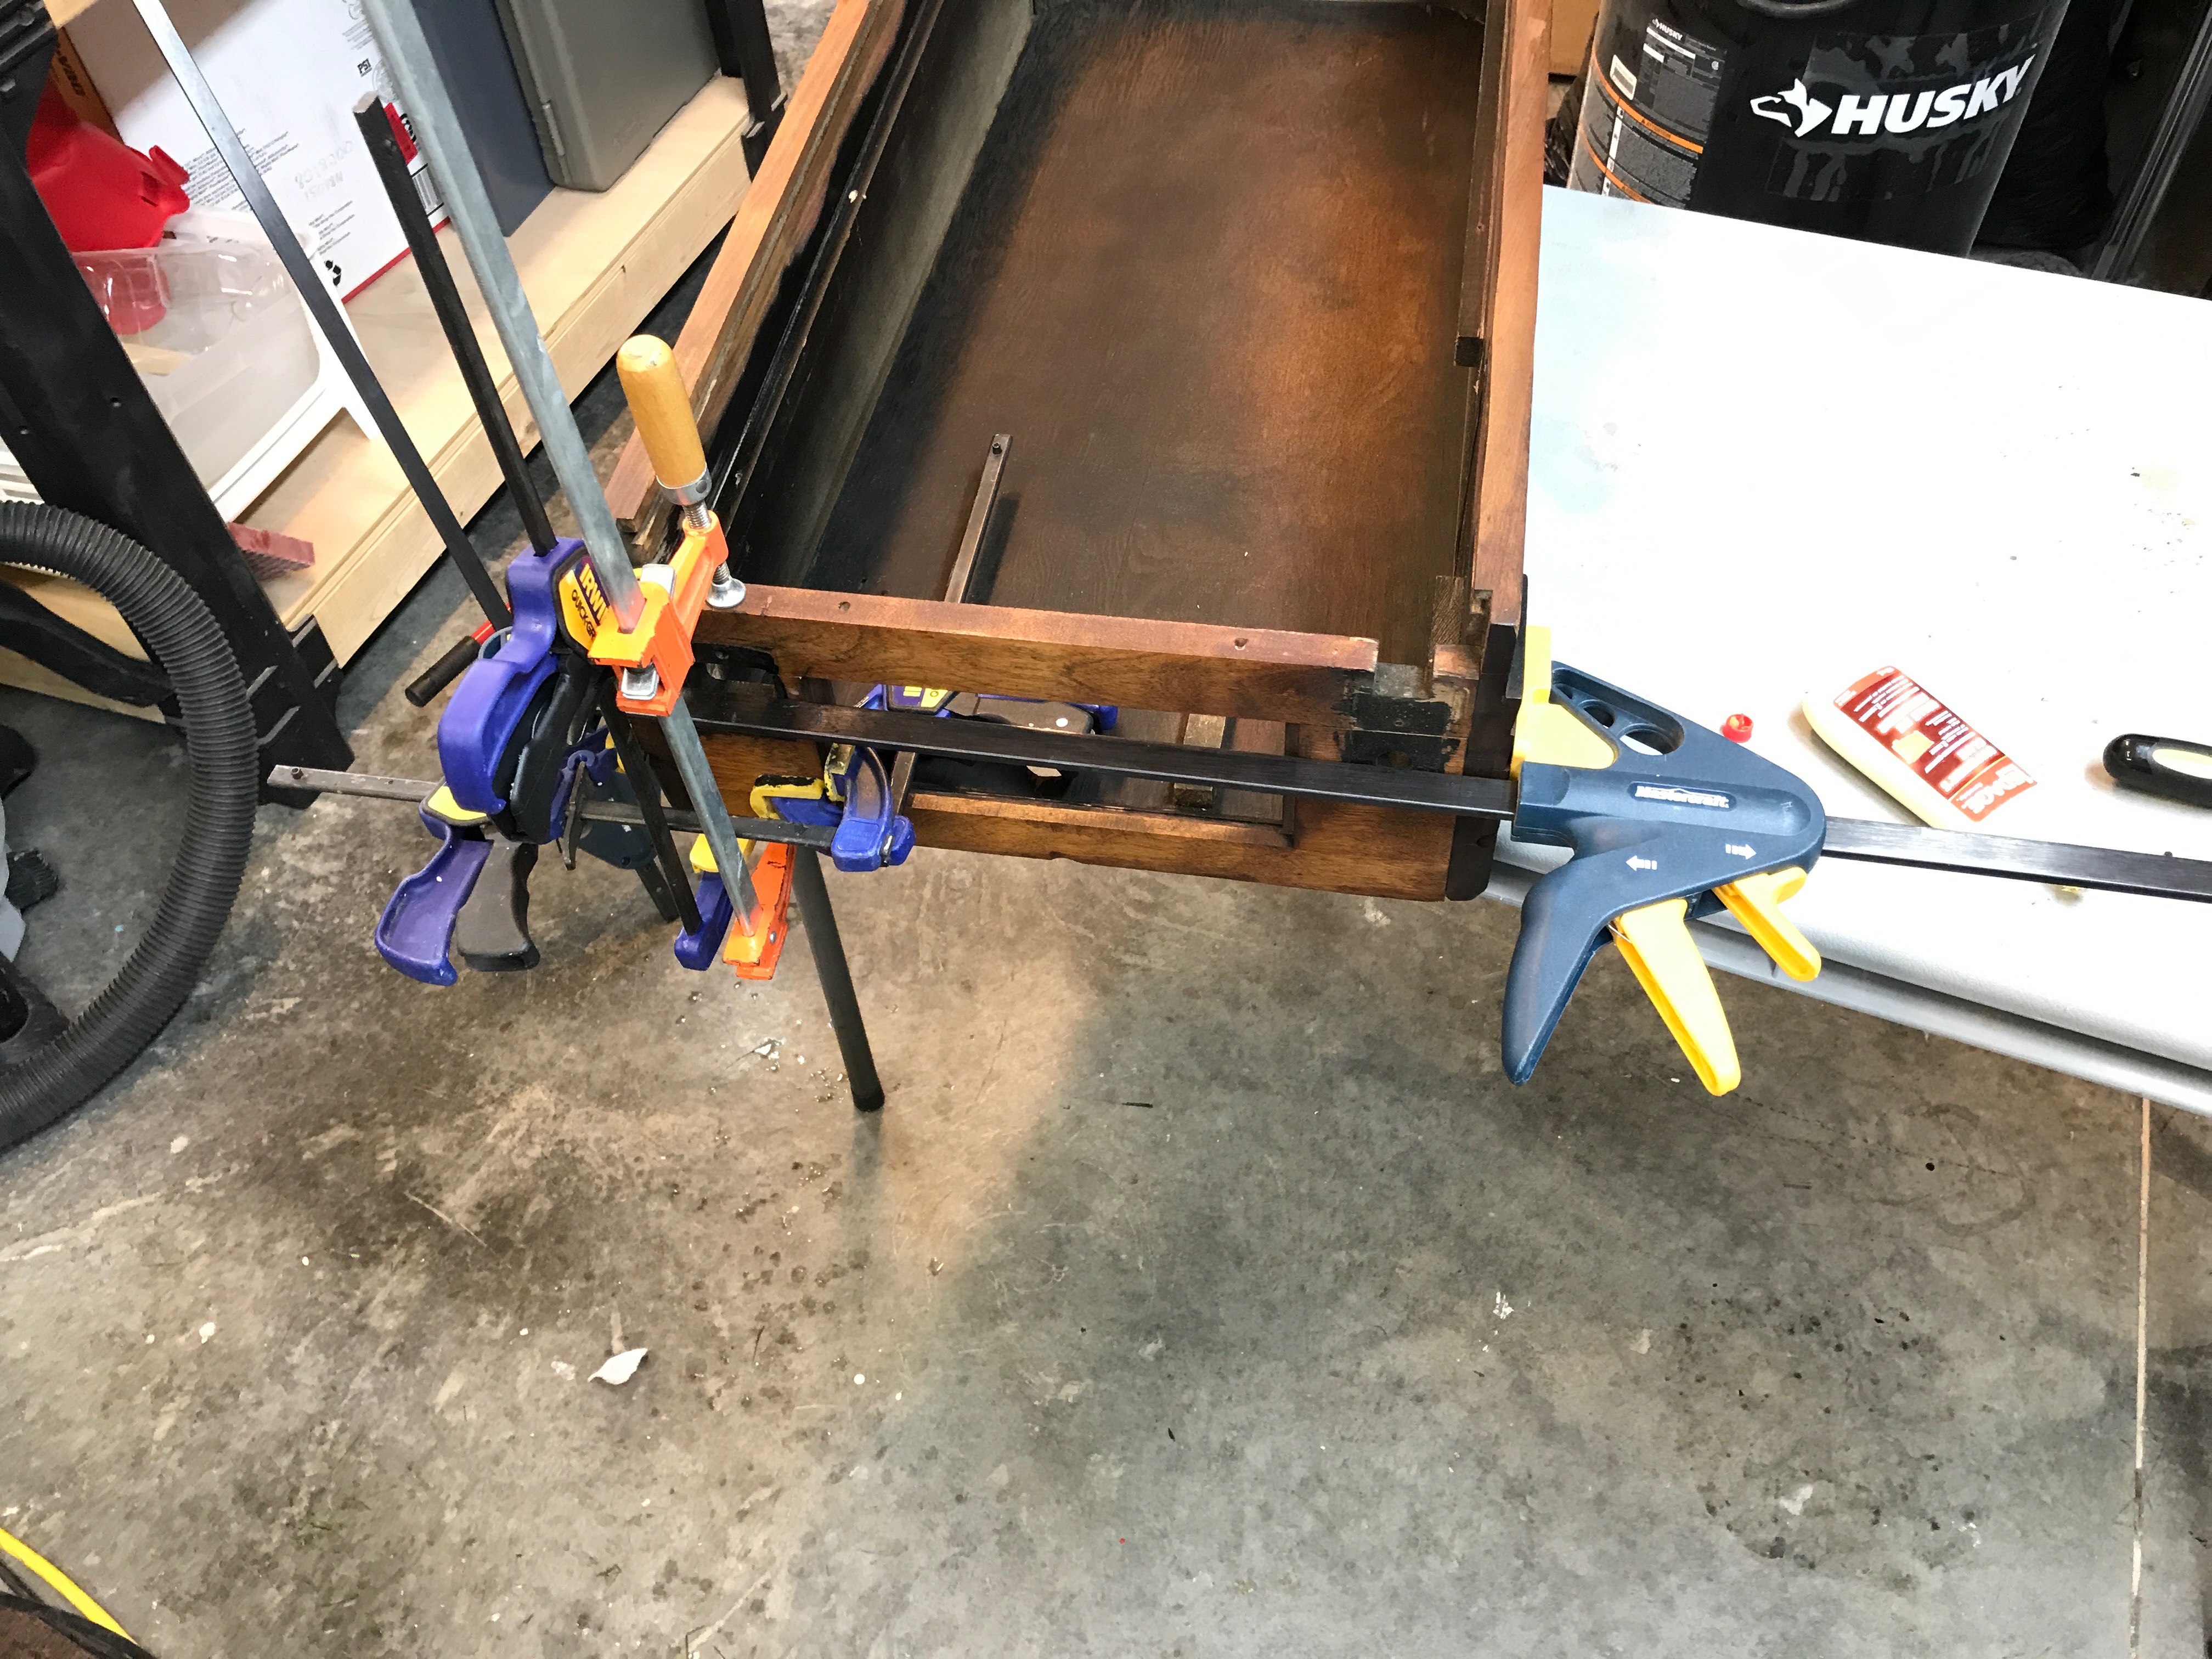
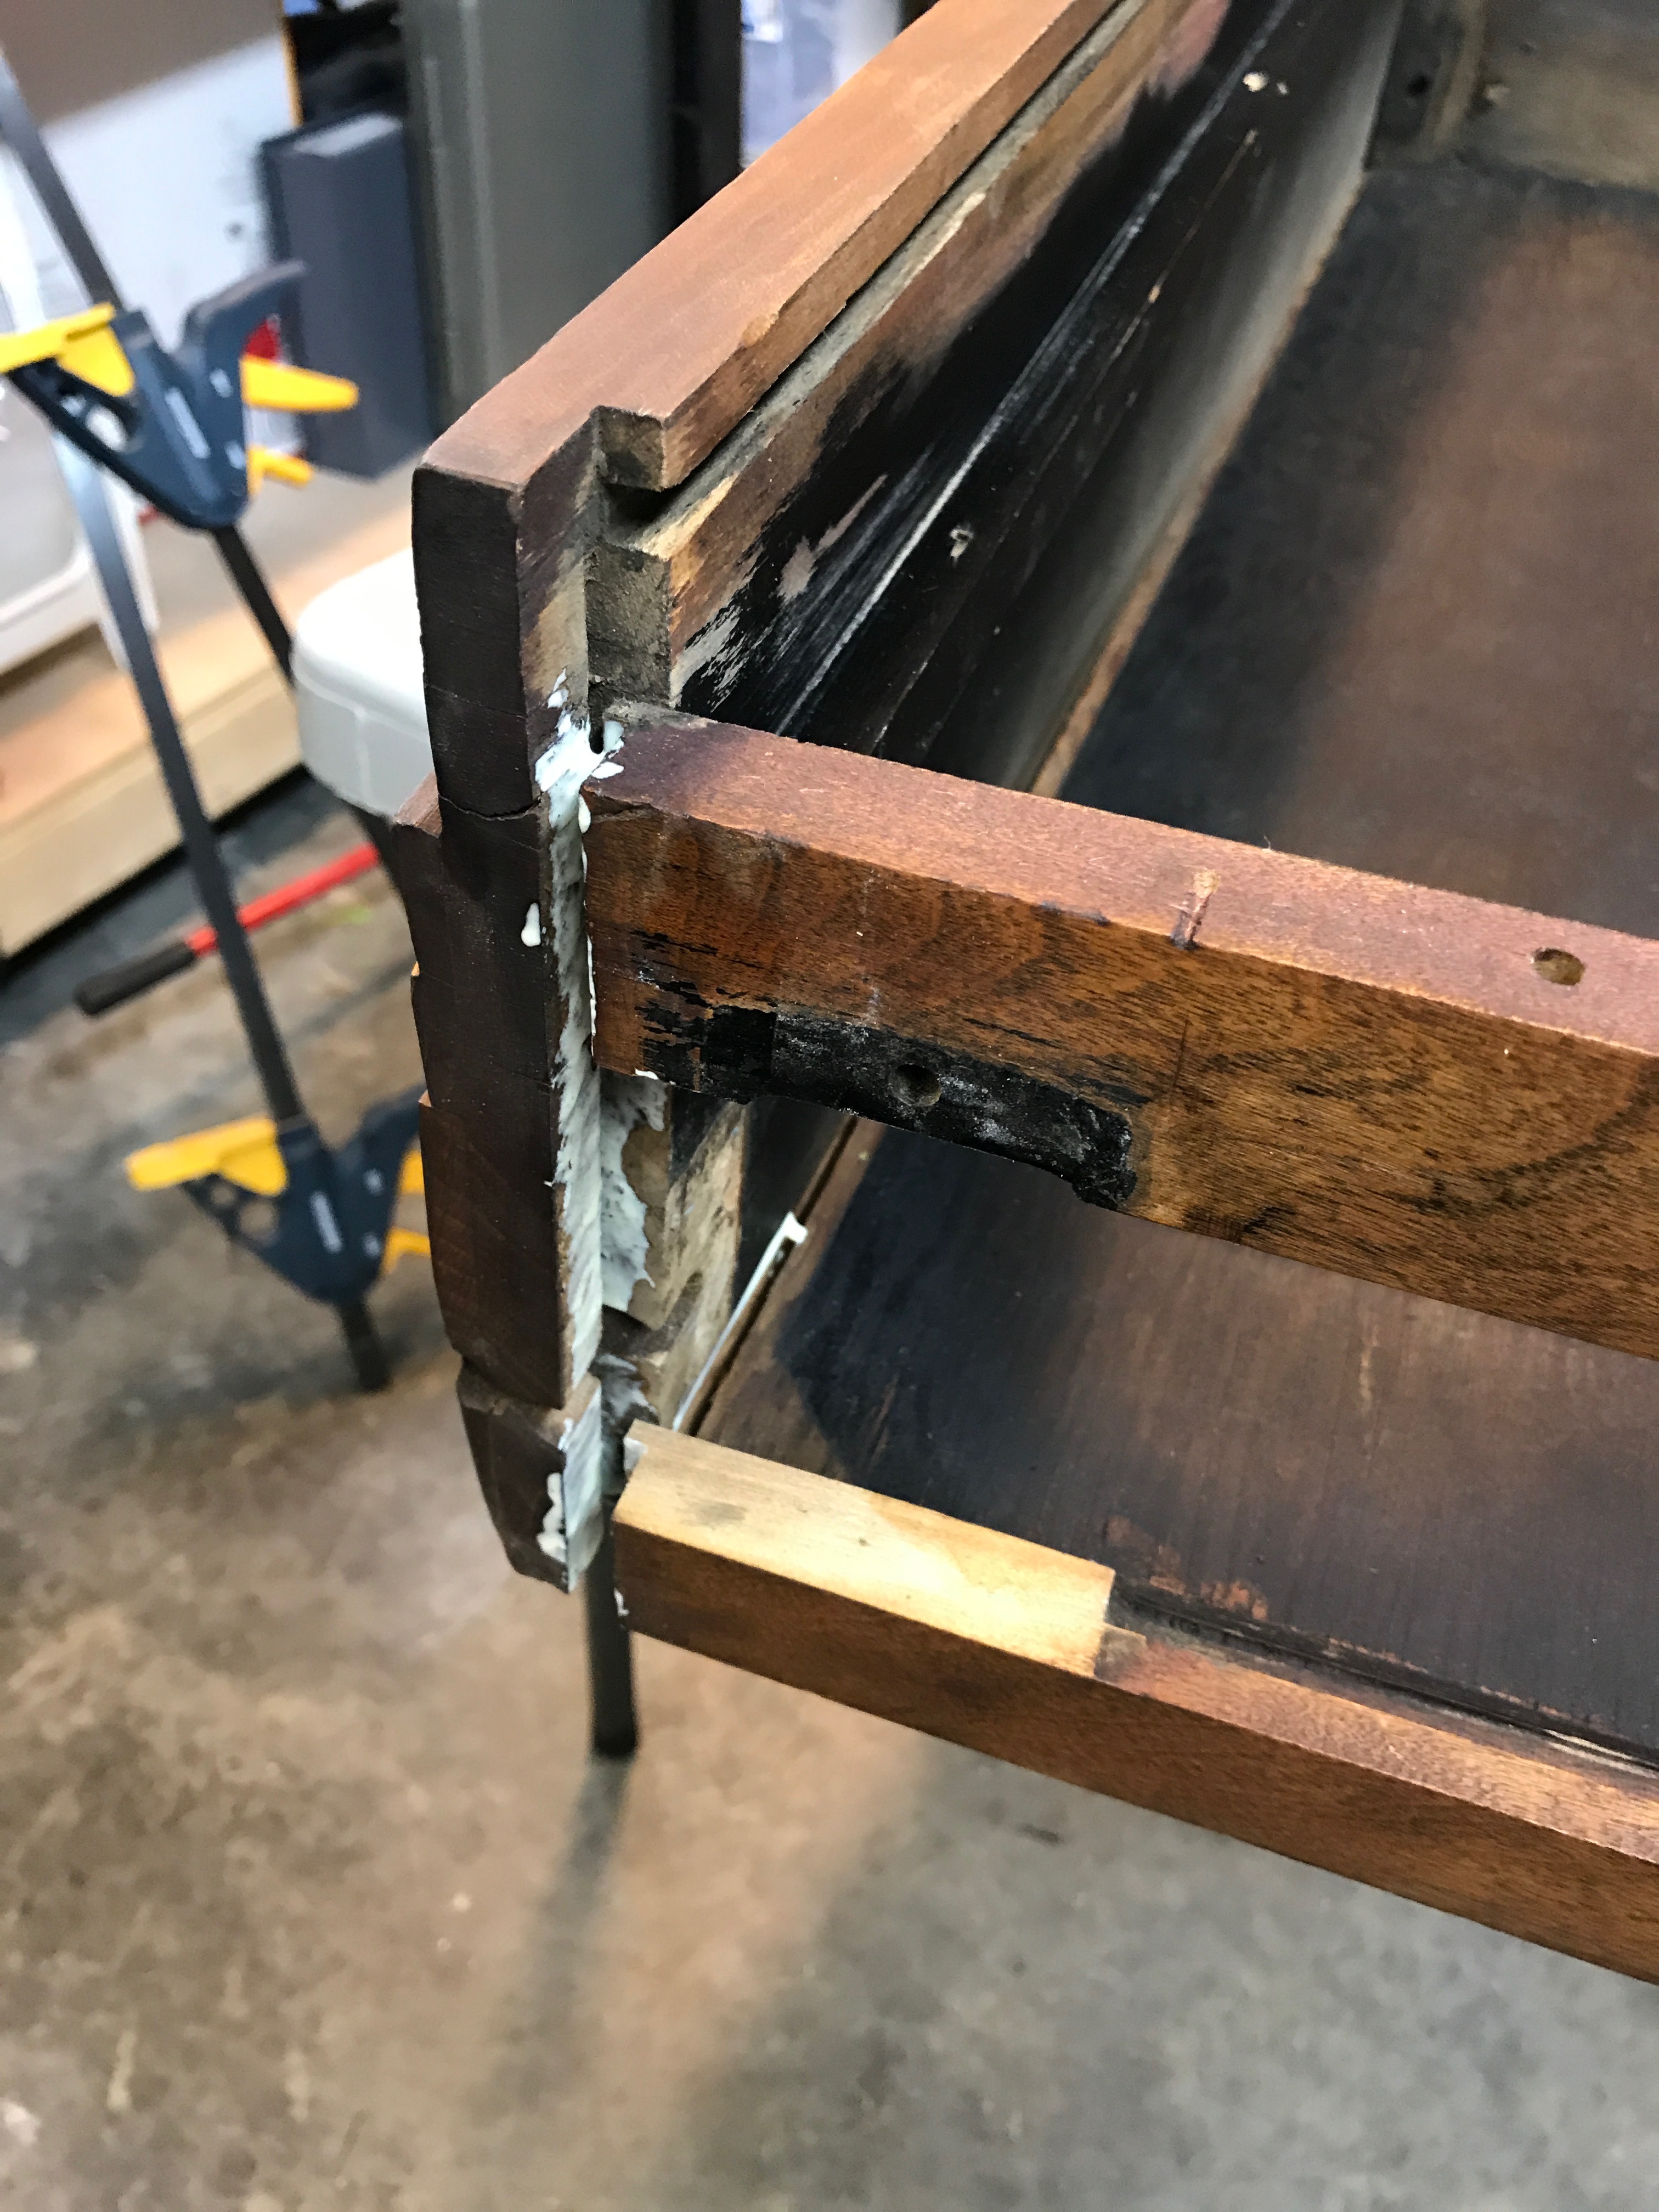
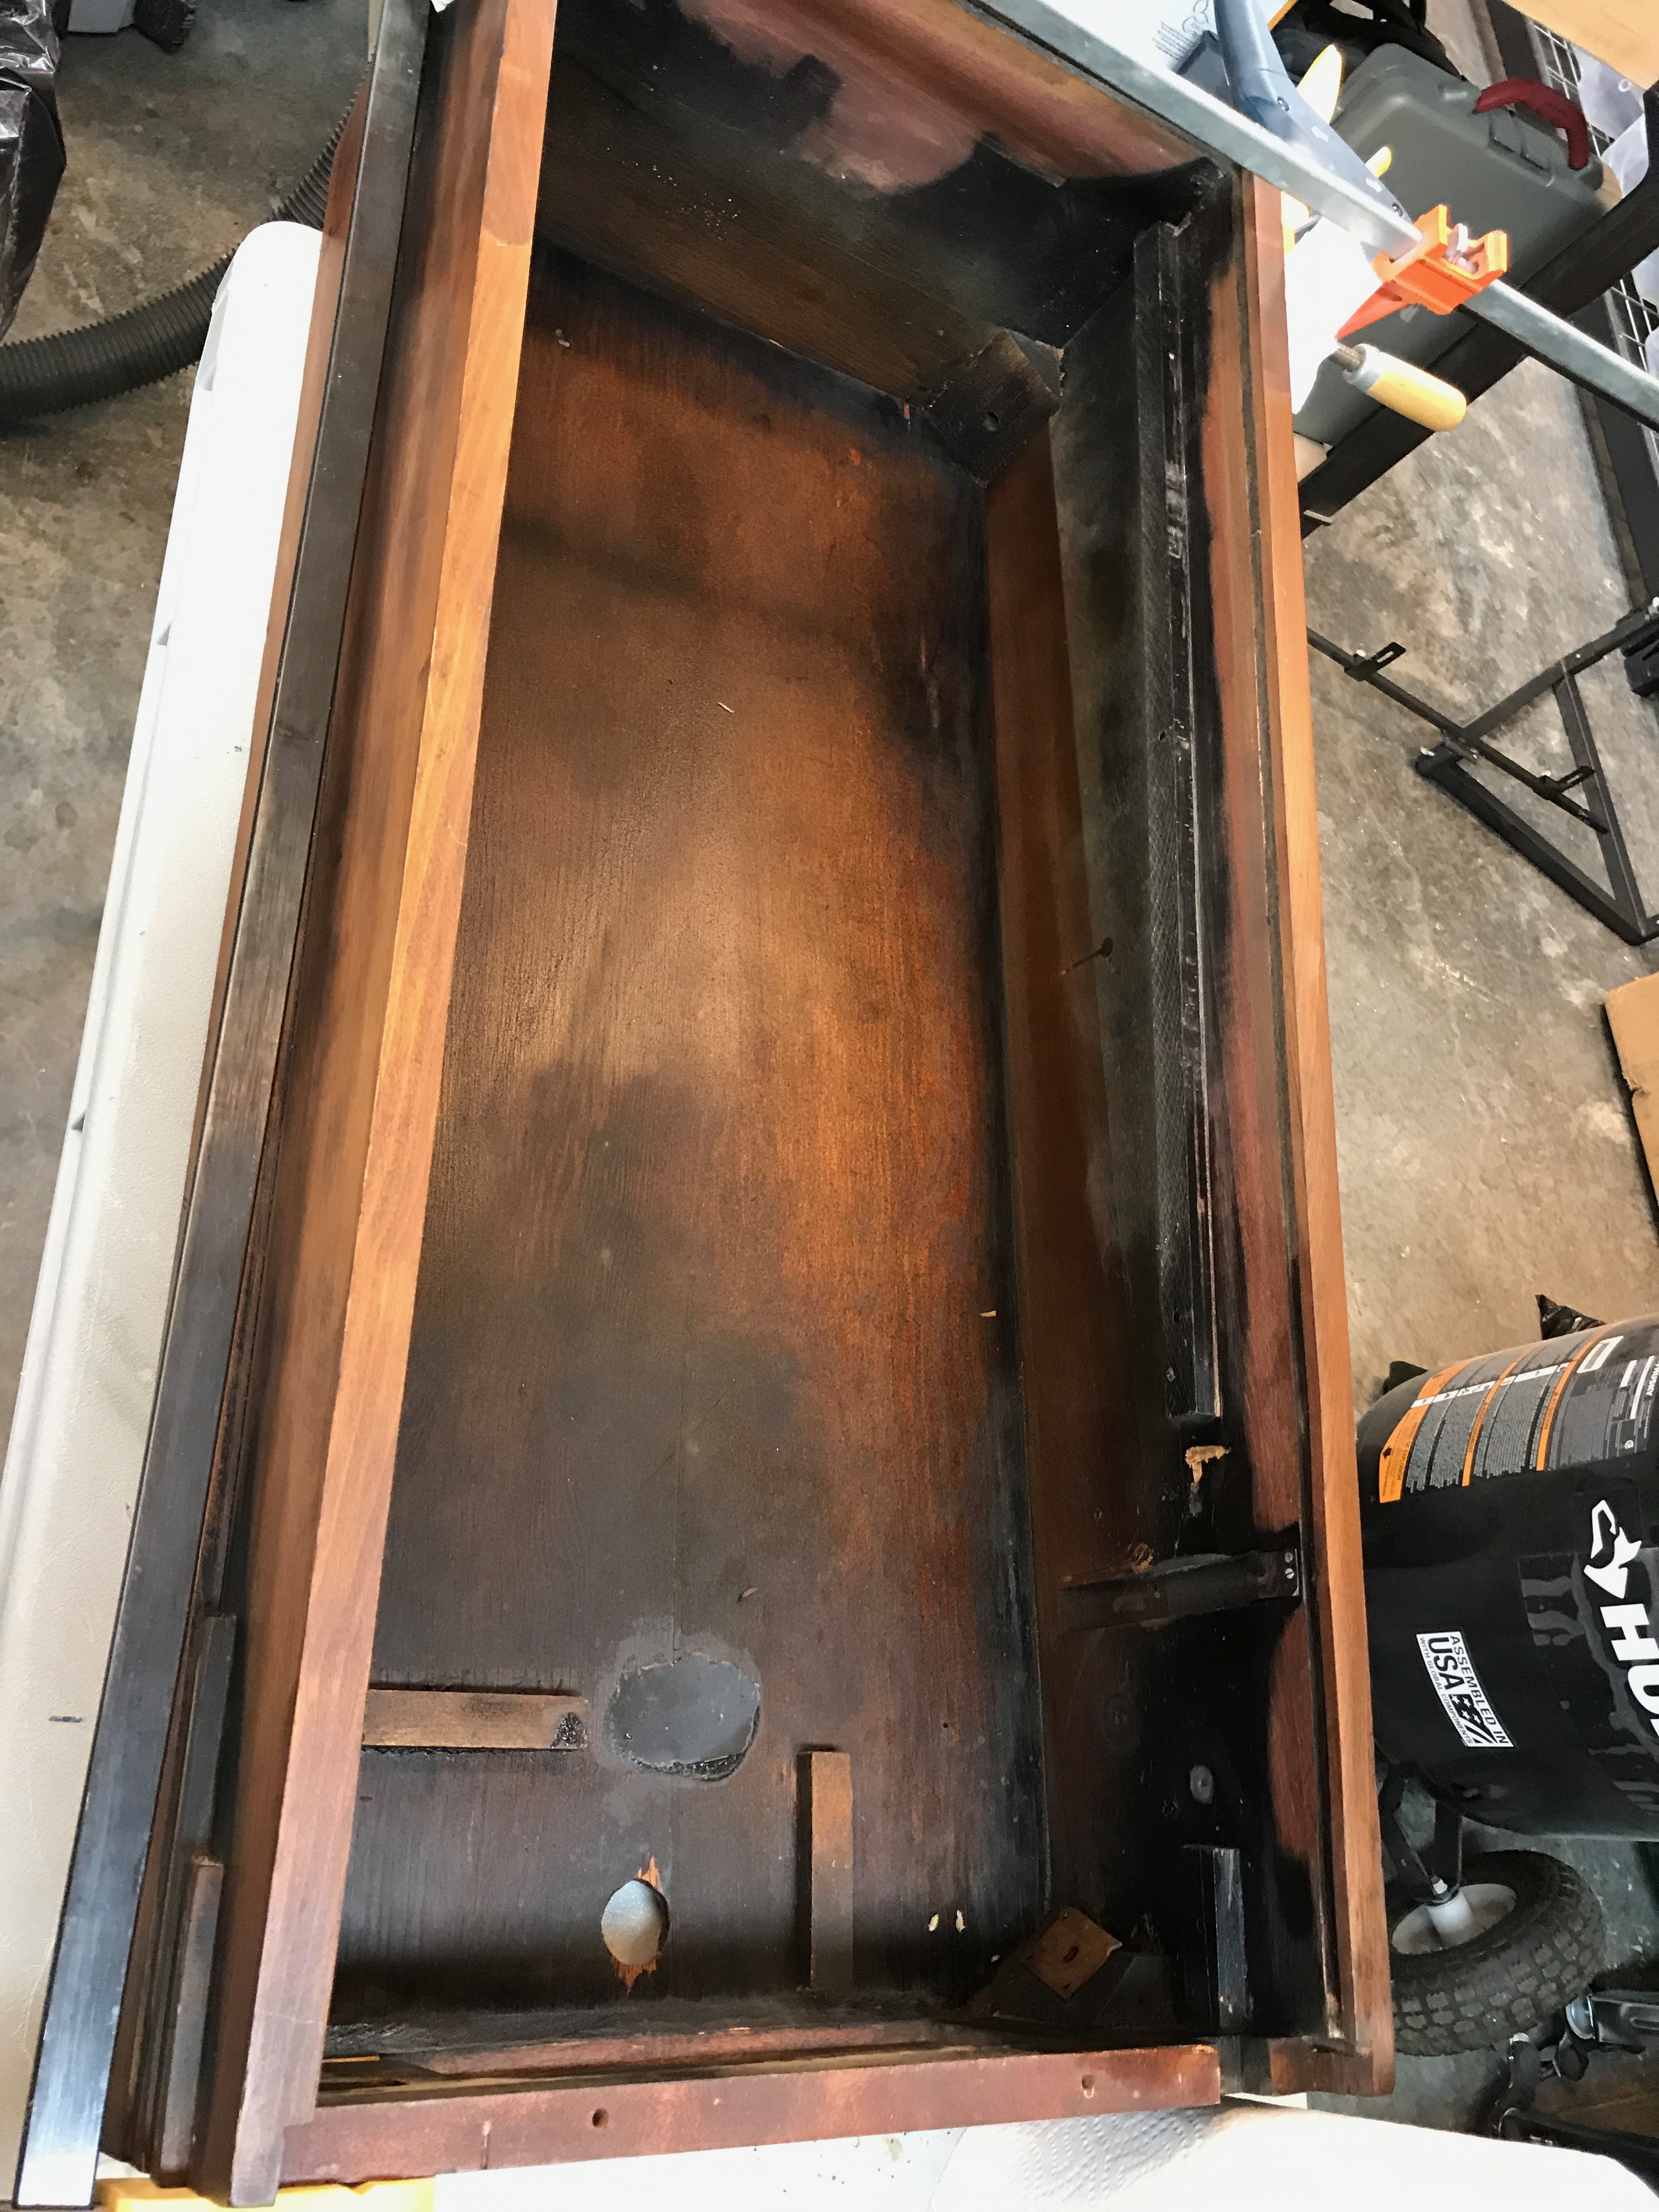
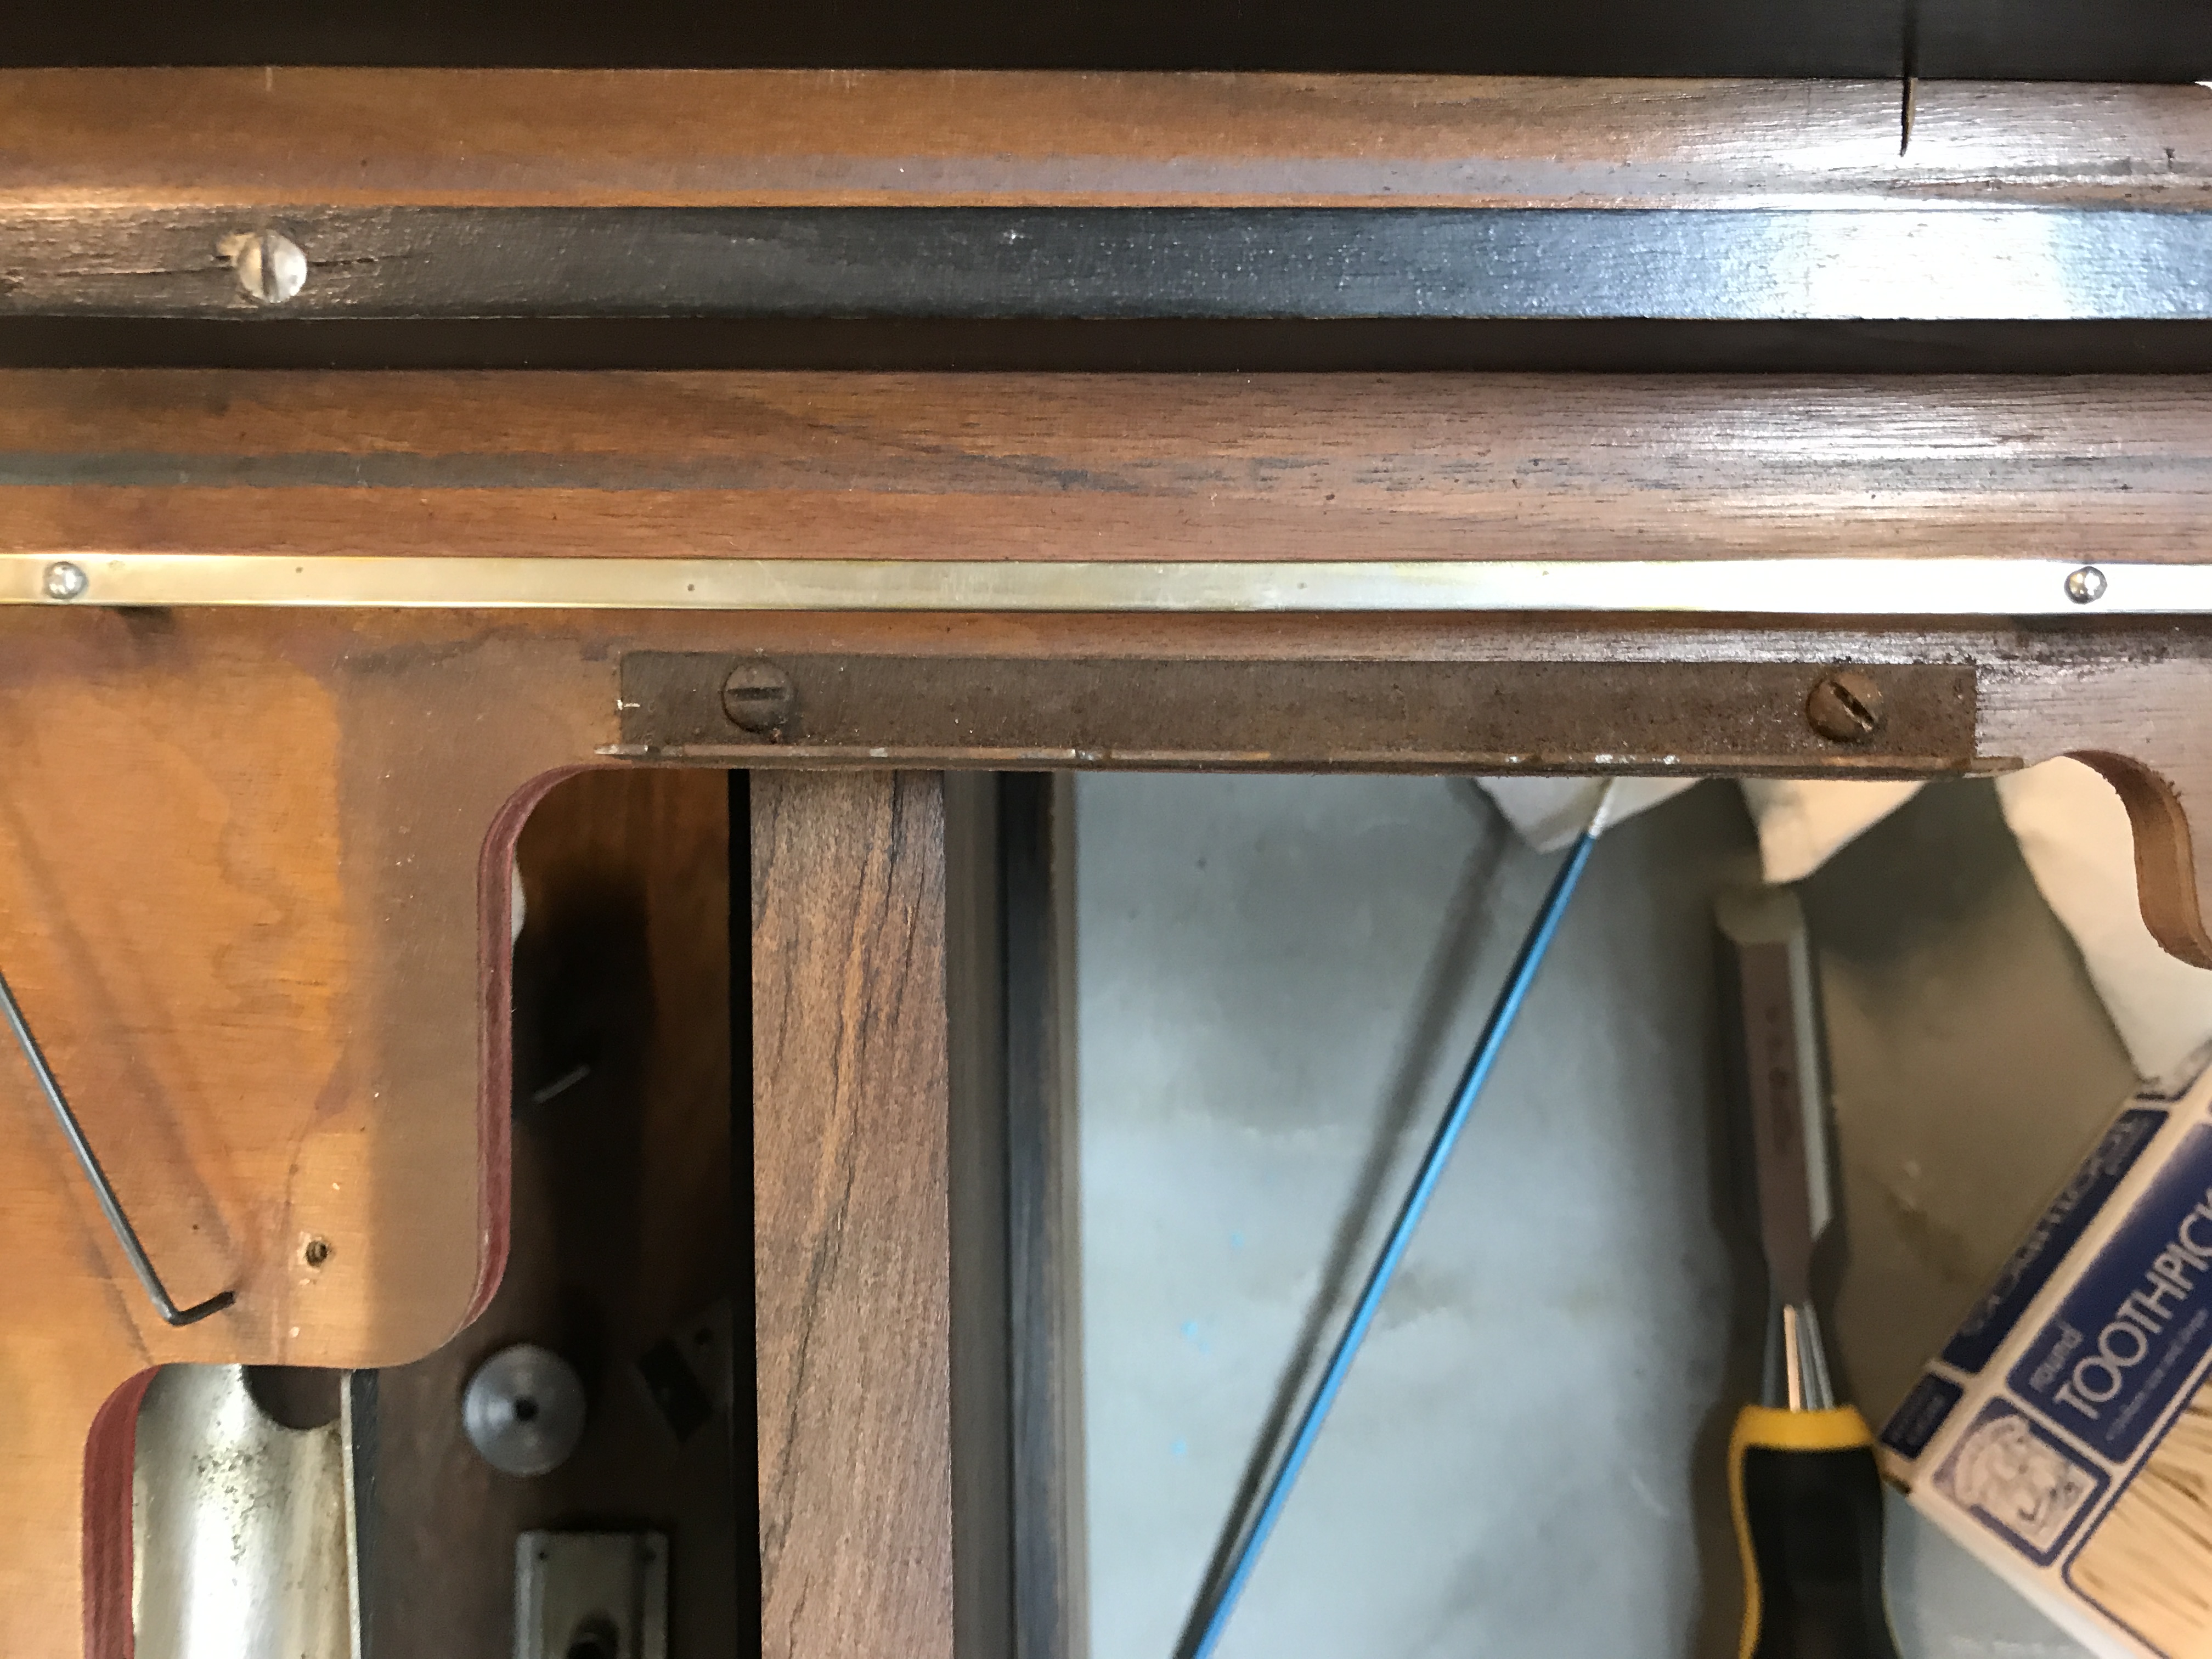
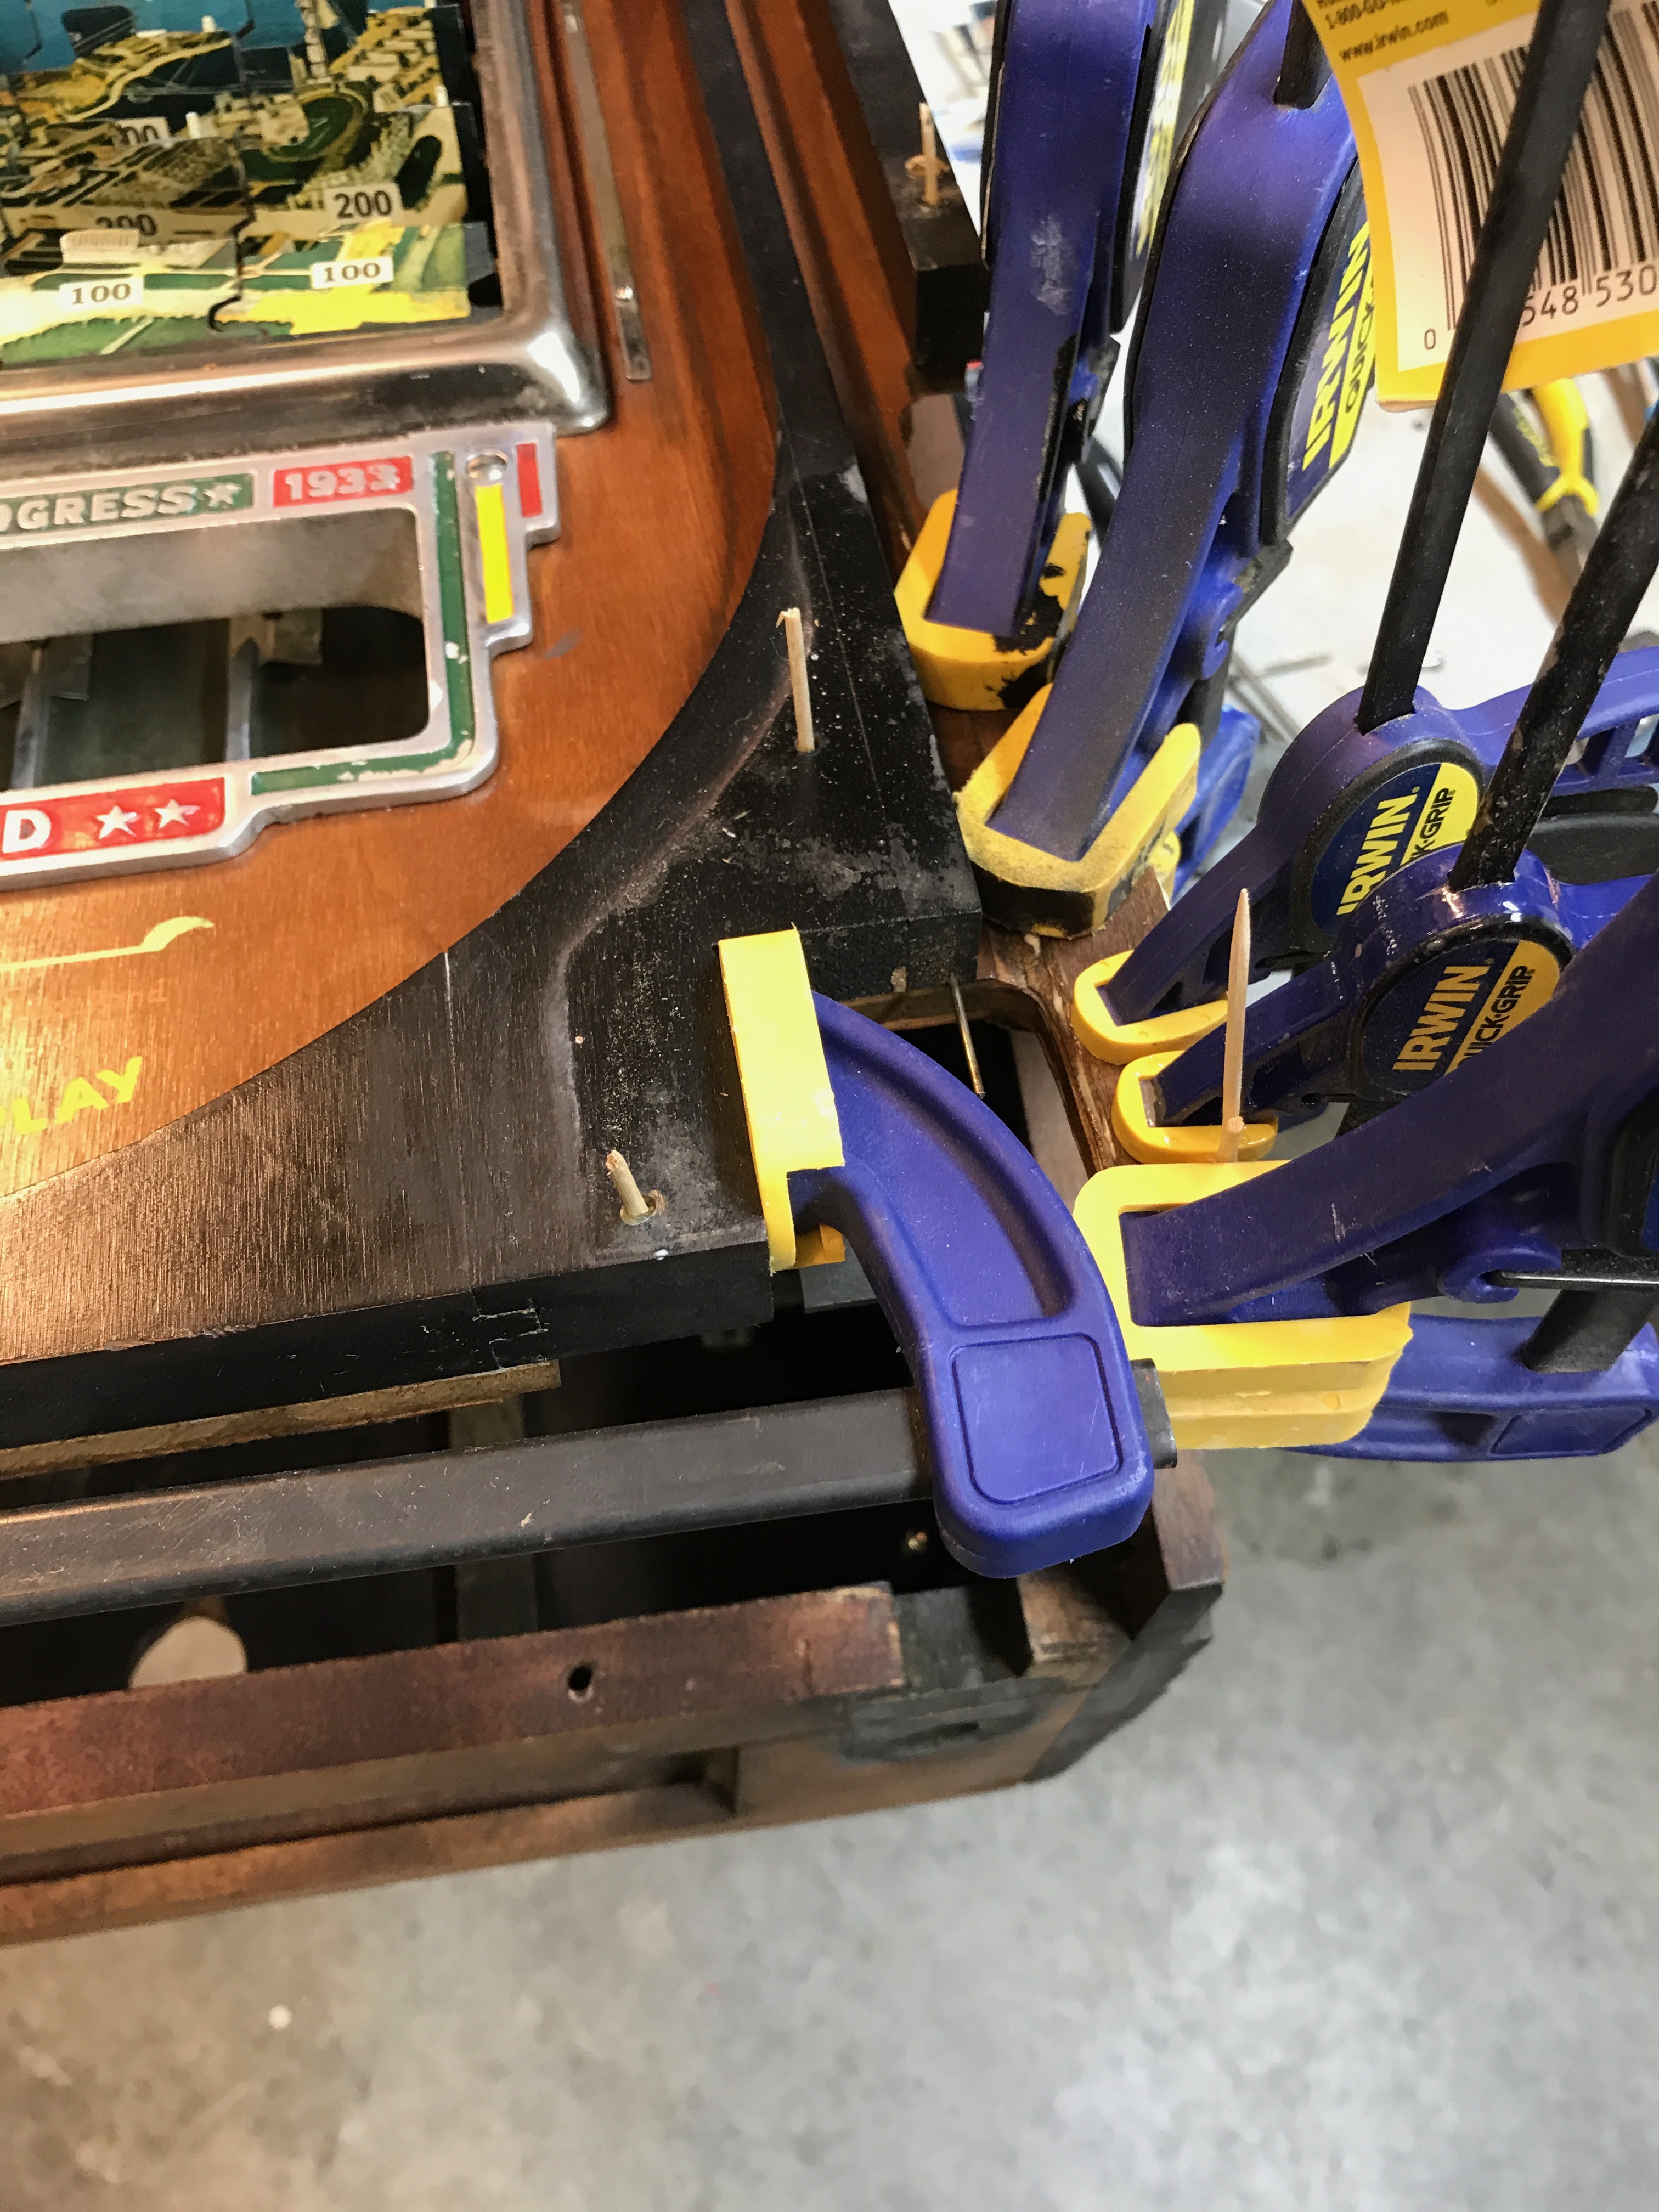
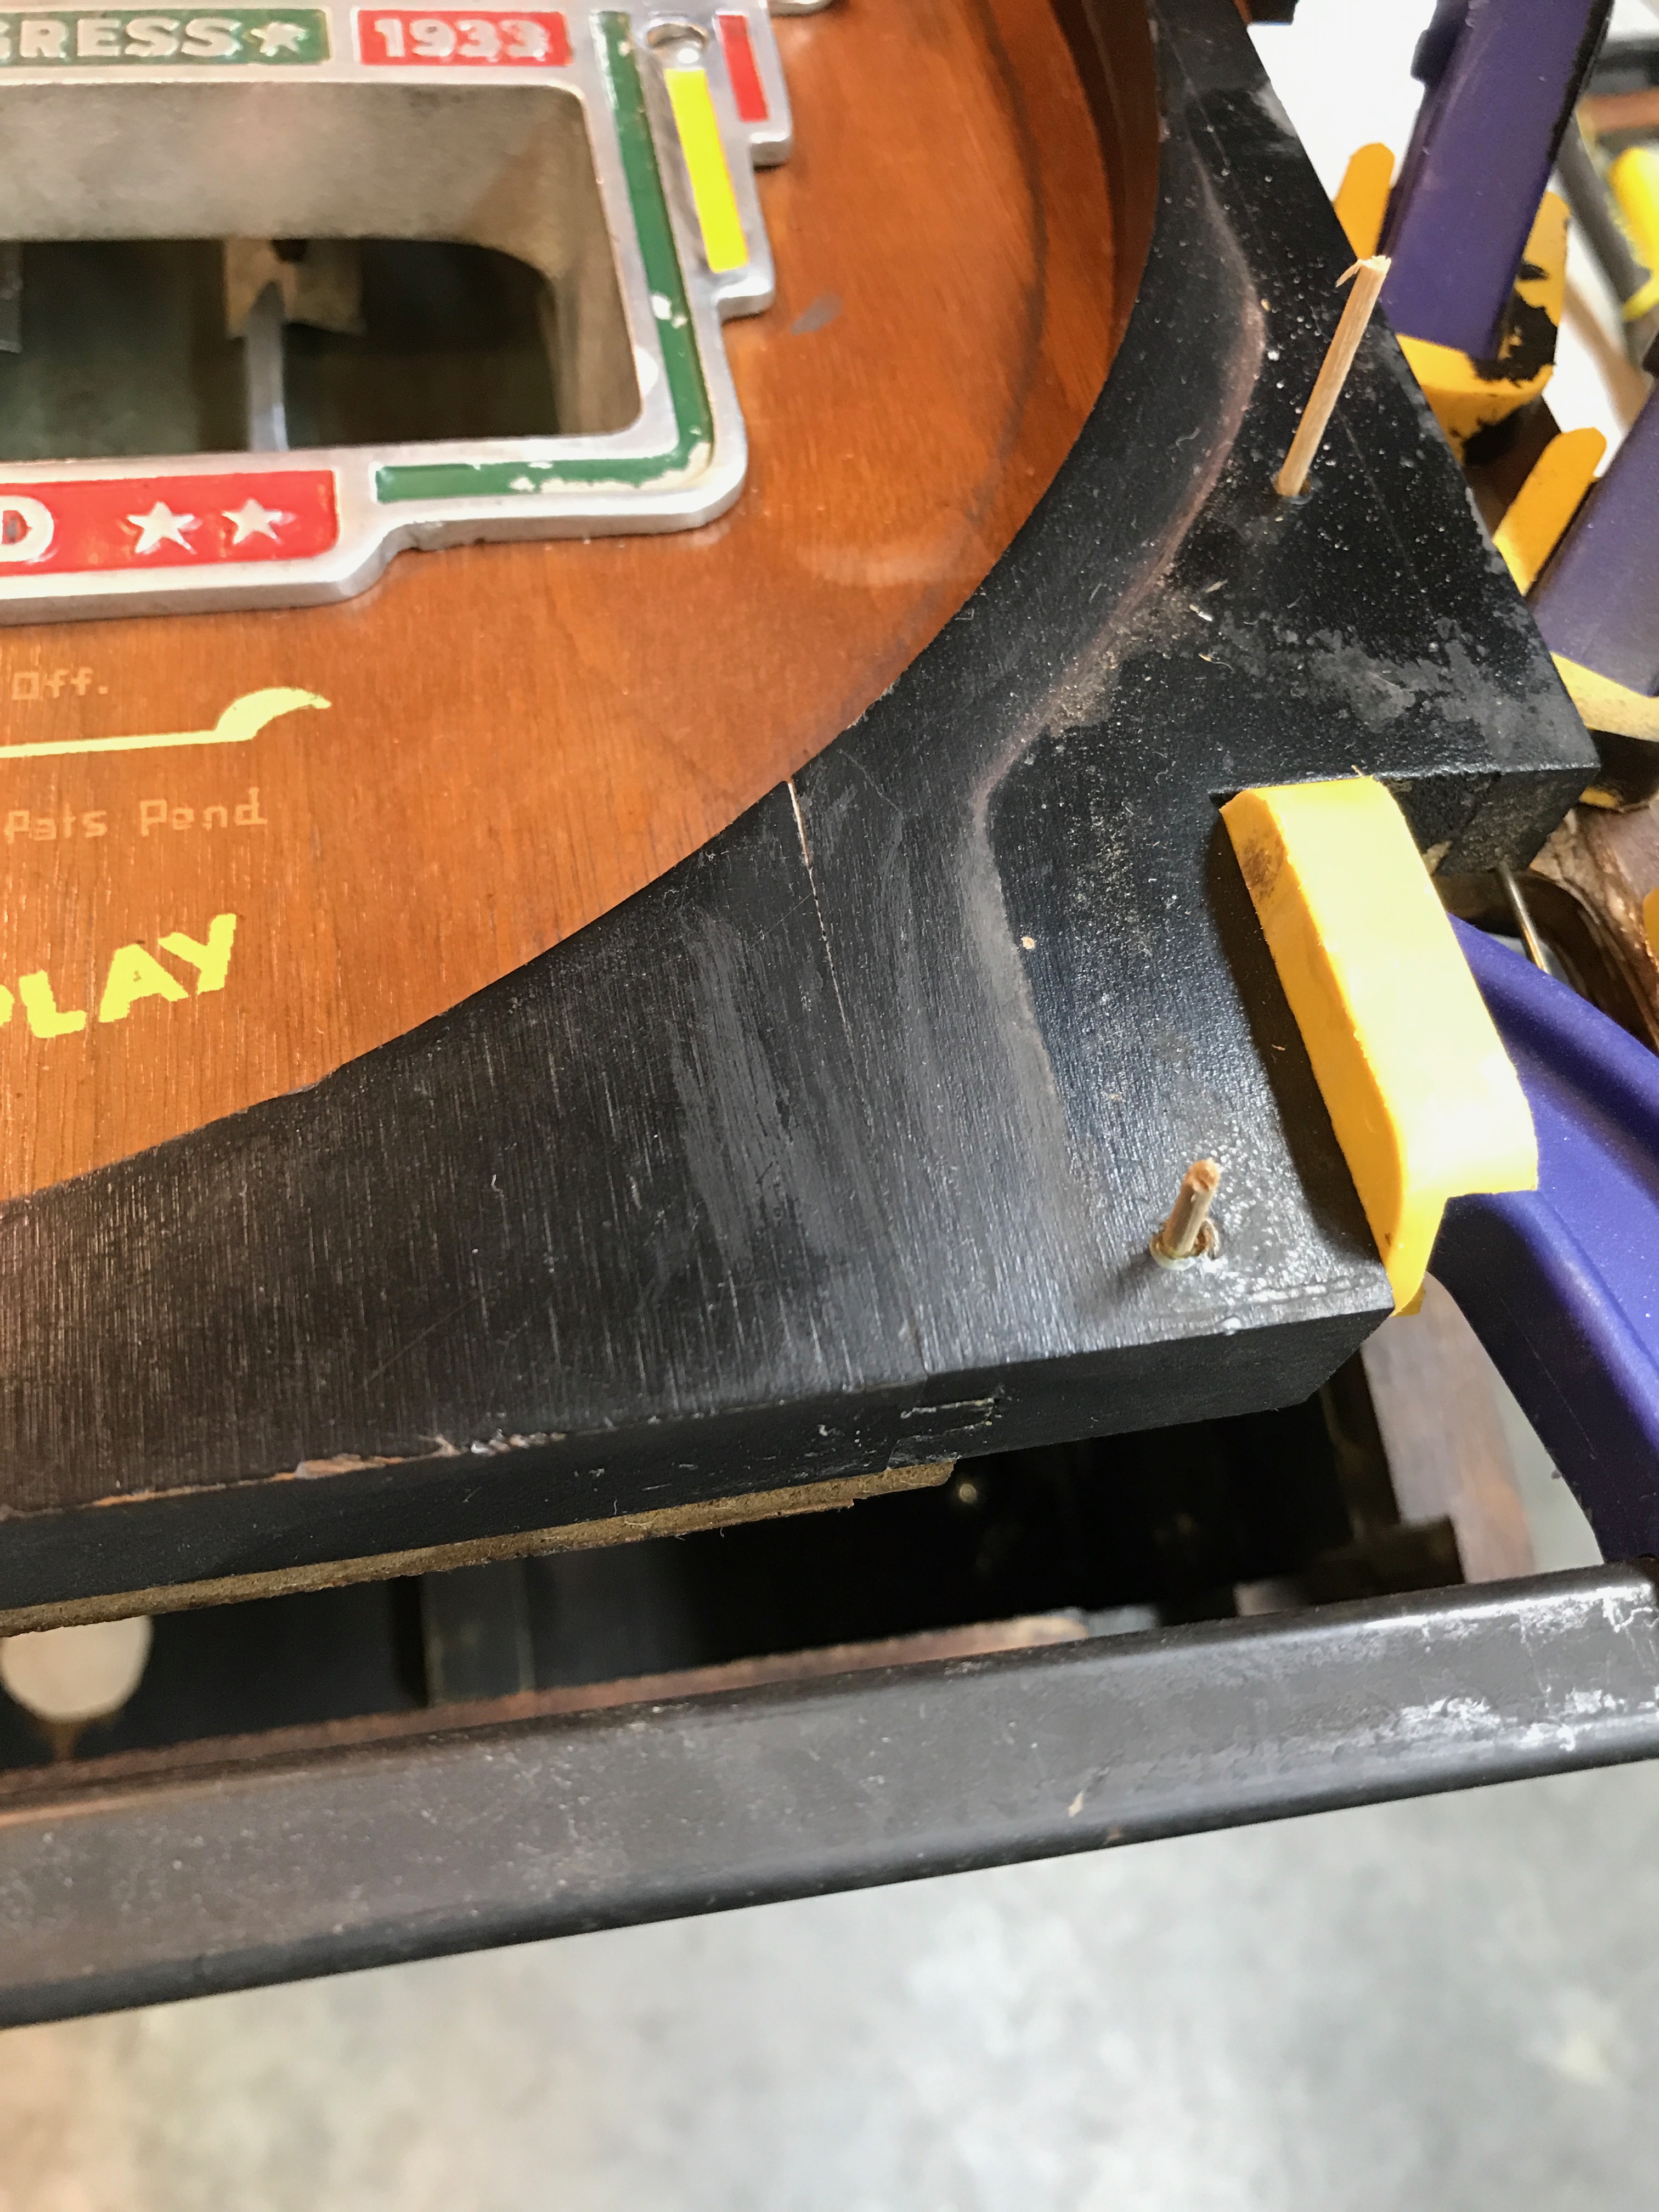
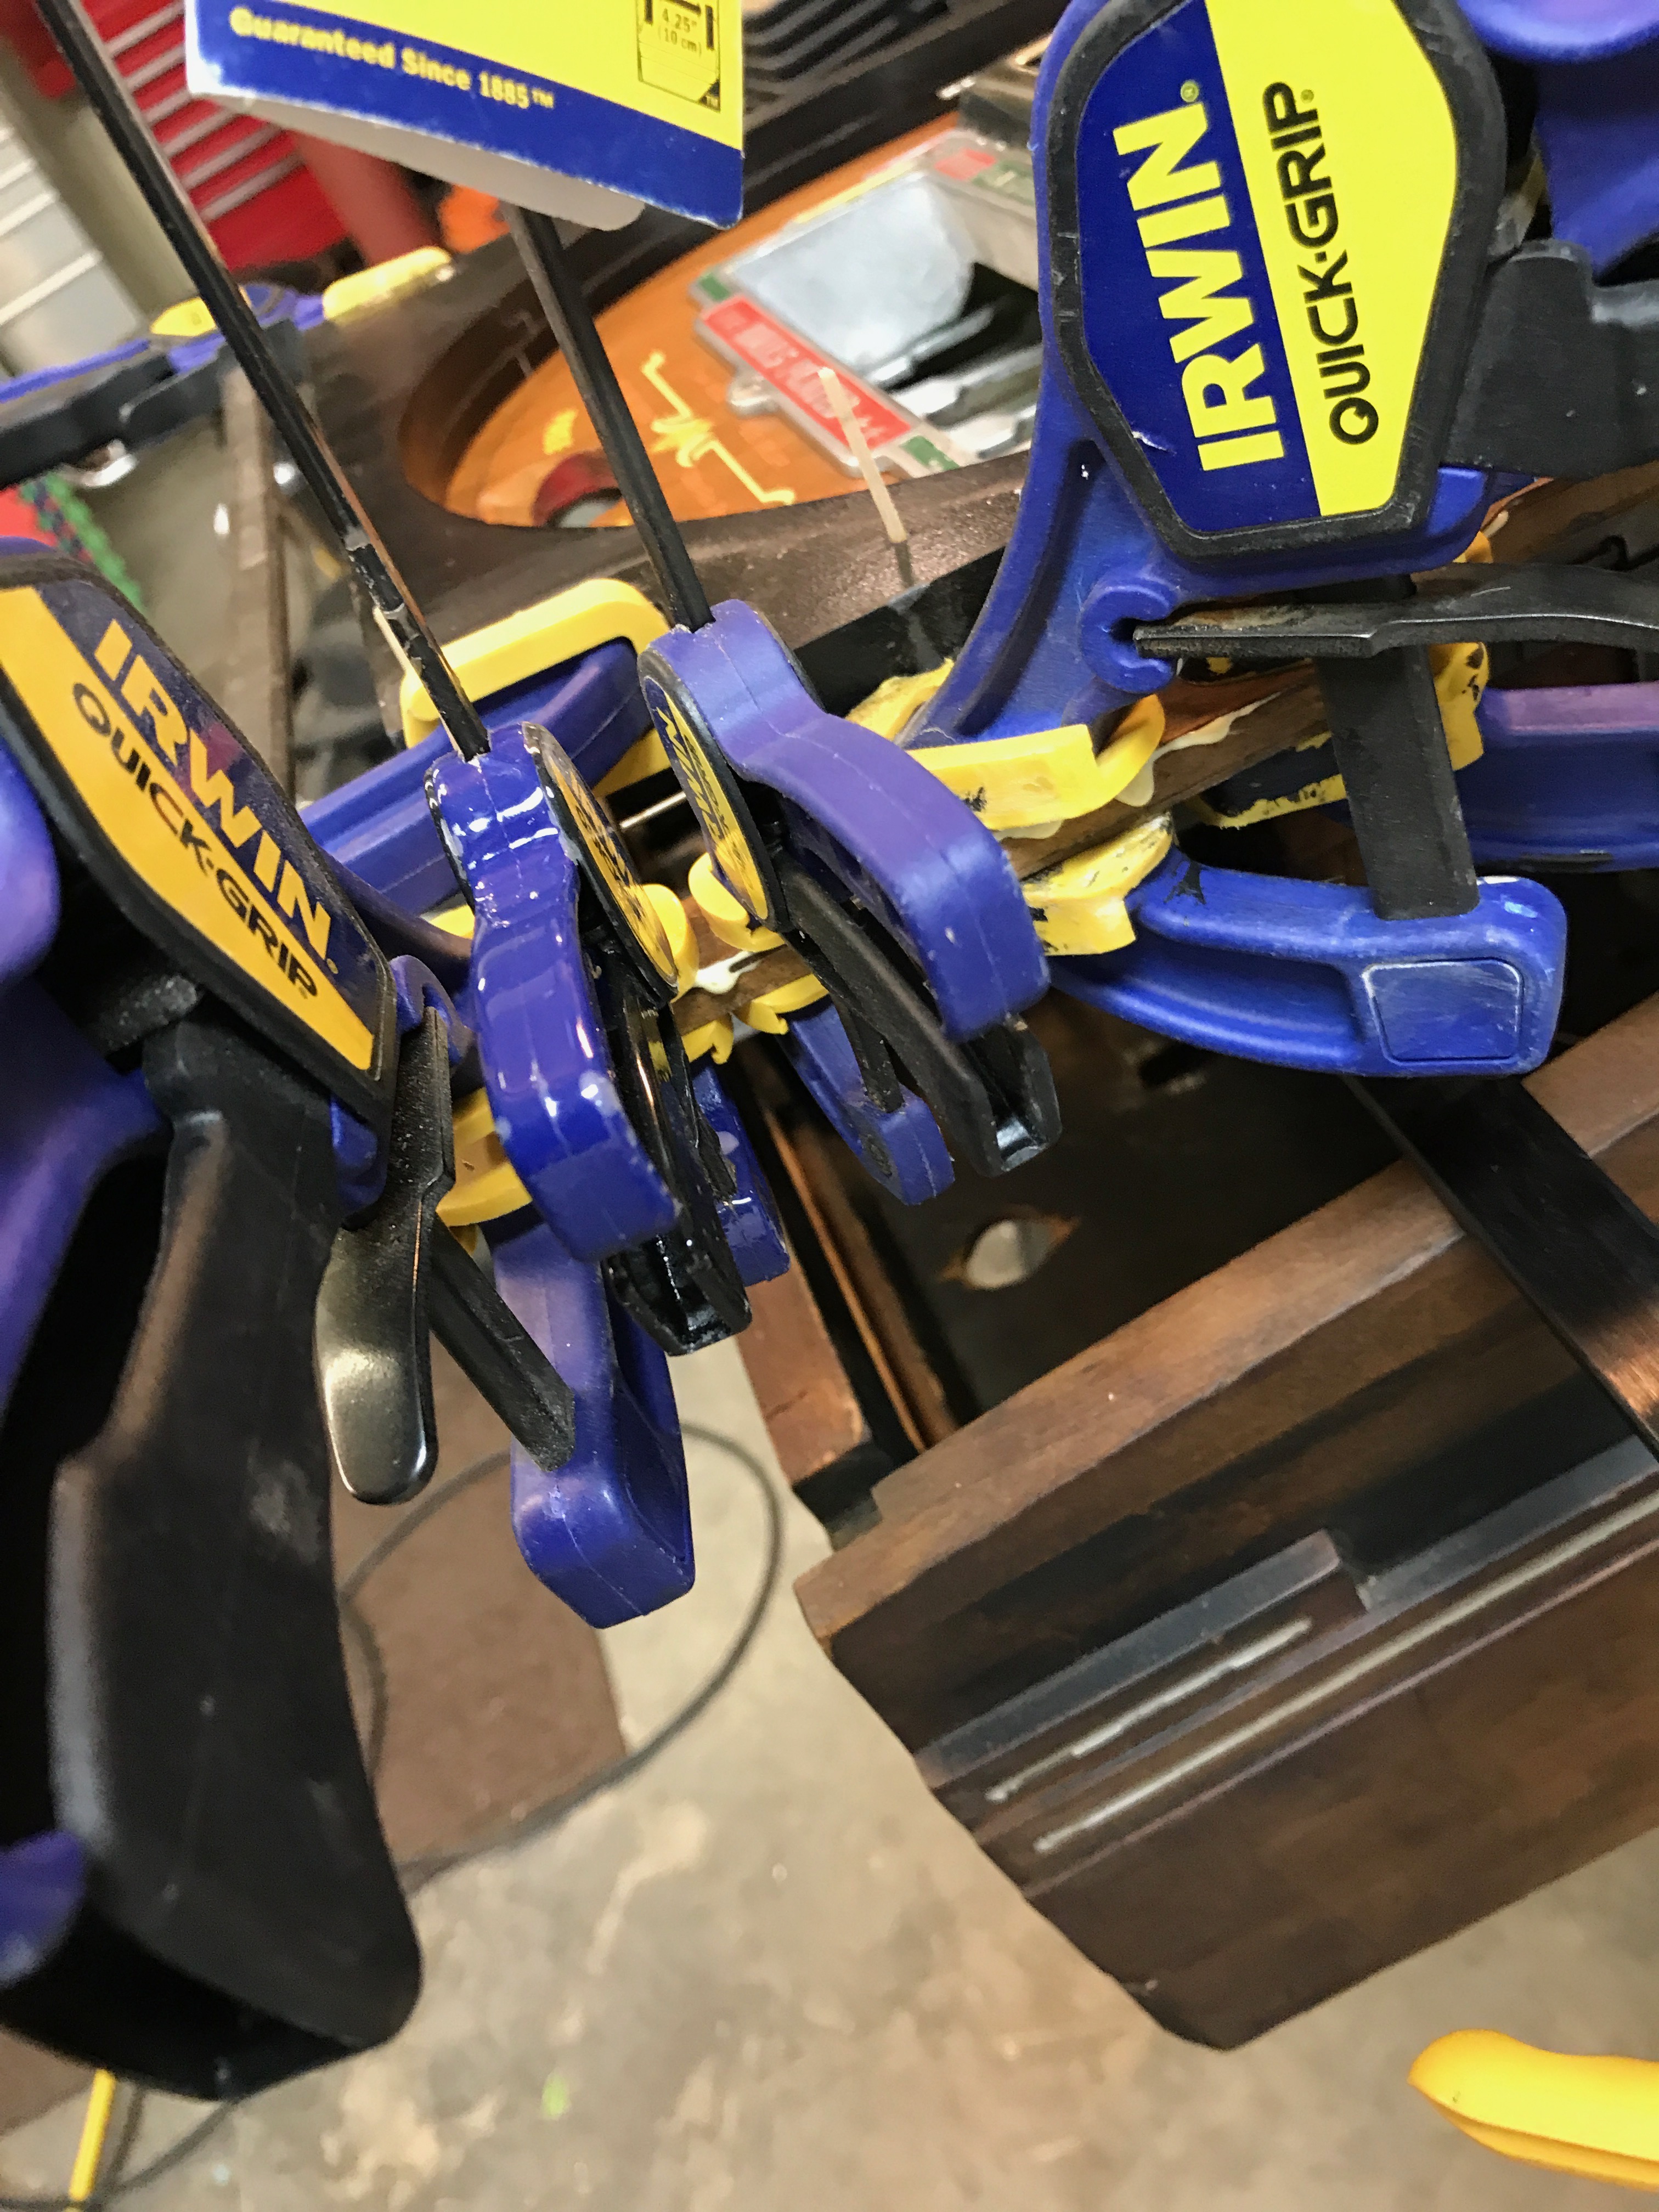
Repairing the cabinet
Some of the cabinet joints needed to be repaired. In order to get them repaired and really solid, I cleaned them out, sanded the insides, and glued and clamped them.
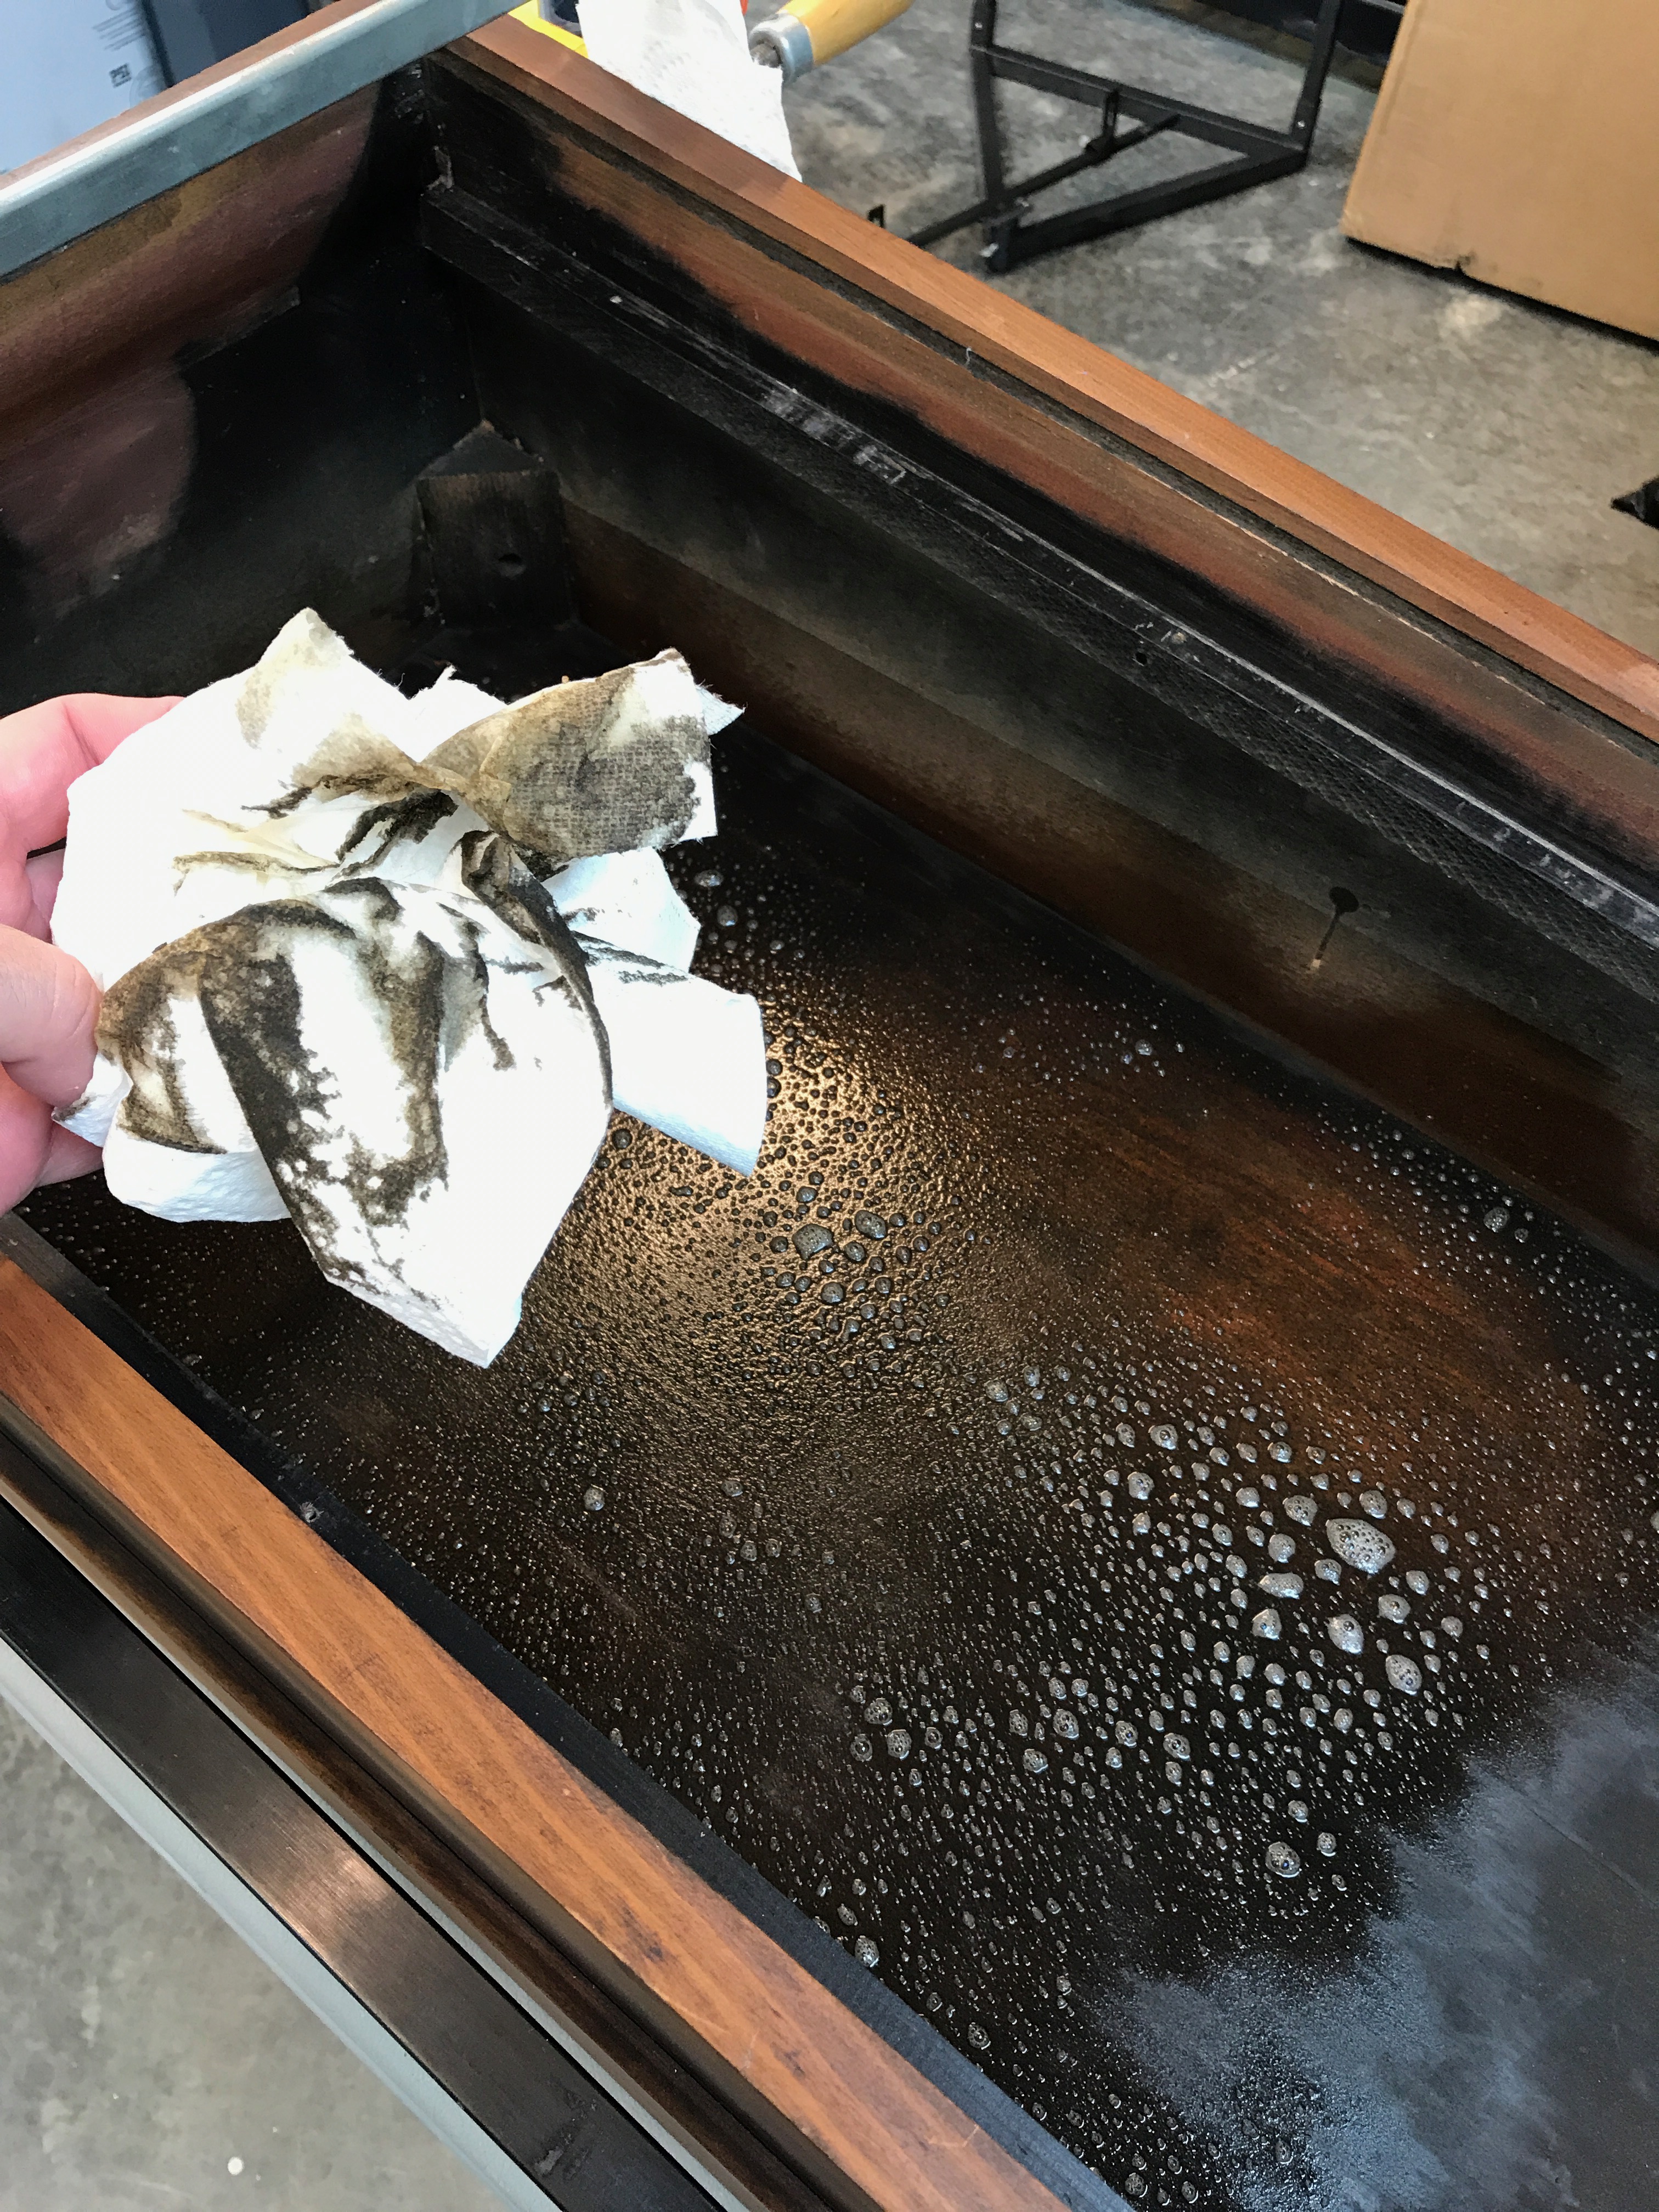
Cleaning the cabinet
Mean Green works great for all the old accumulated dirt, cigarette residue, and other crap that builds up on these machines over the years.
Repairing the puzzle piece tab
Cleaning the puzzle pieces
I used Novus 2 to clean the puzzle pieces. I had to be very careful not to take the paint off or bend the thin metal they are made from.
For the most part this went ok, but I did find there was a spot on one piece where I realized too late that the paint was coming off.
I’d really like the paint to be brighter and look cleaner, but I had to stop because if I did any more cleaning I believe the paint would really start coming off. I had to keep telling myself this machine is 85 years old, the fact that these pieces look as good as they do is amazing.
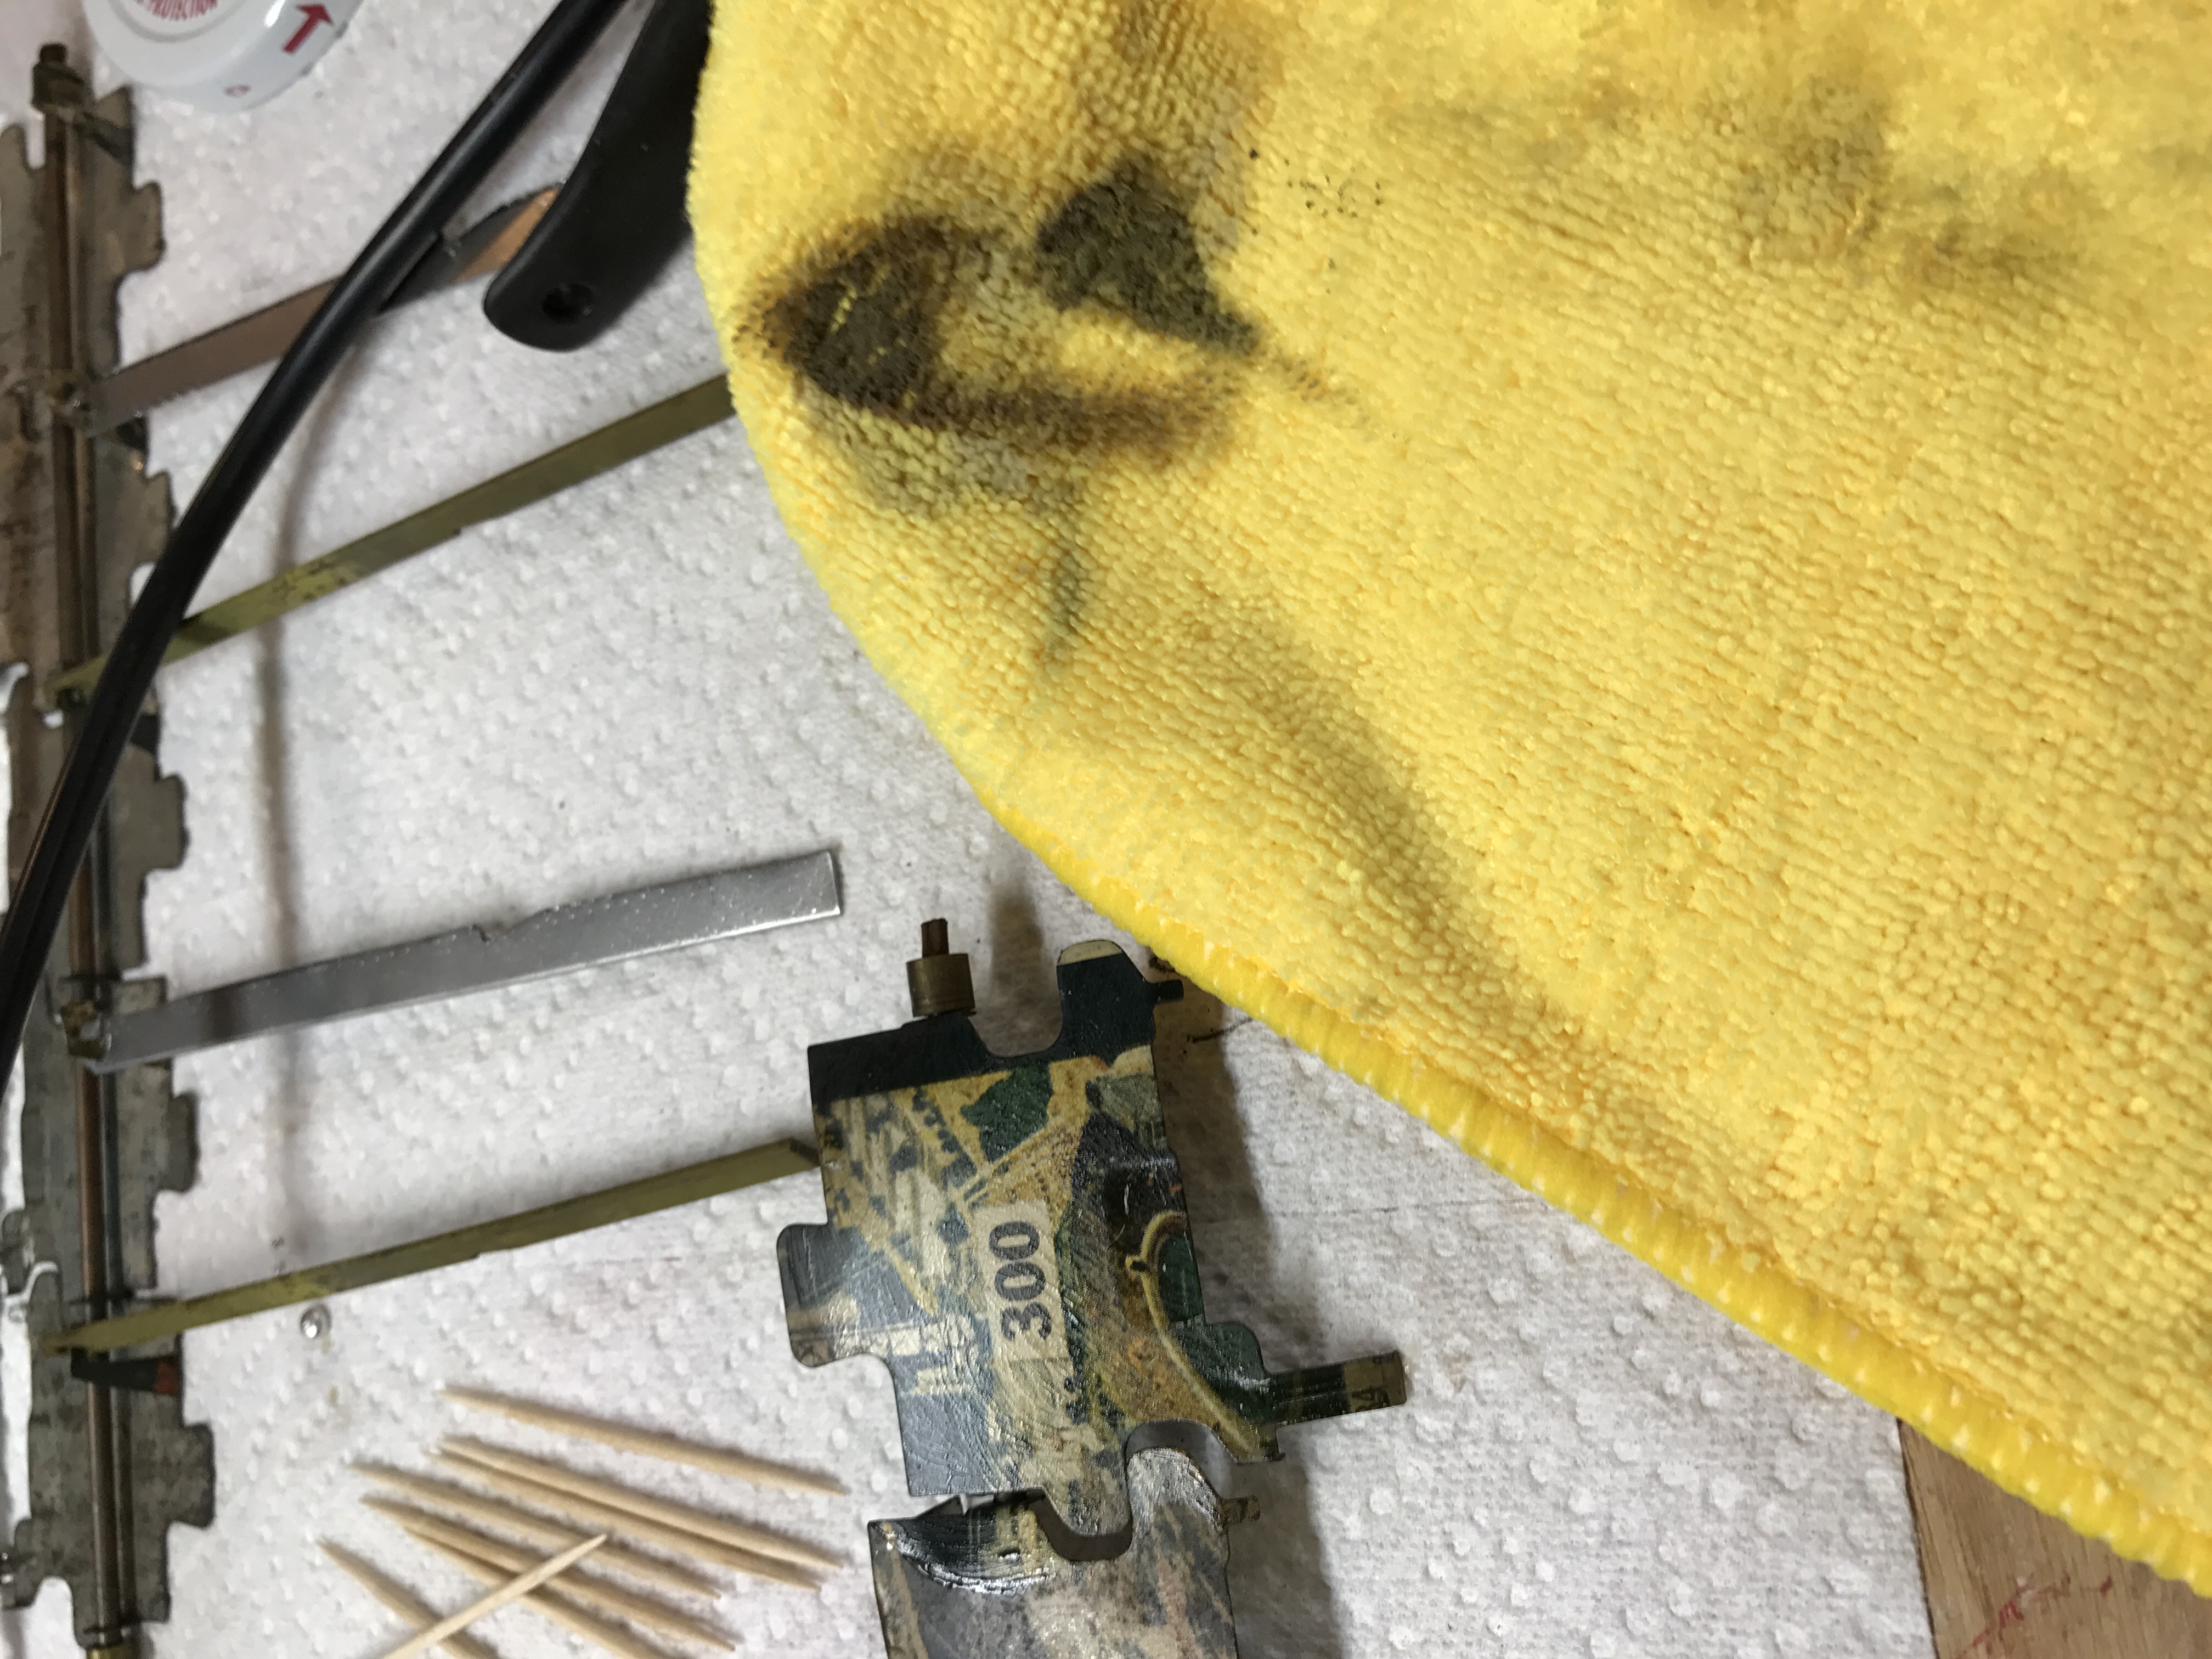
Look at the dirt that came off the front of the puzzle pieces.
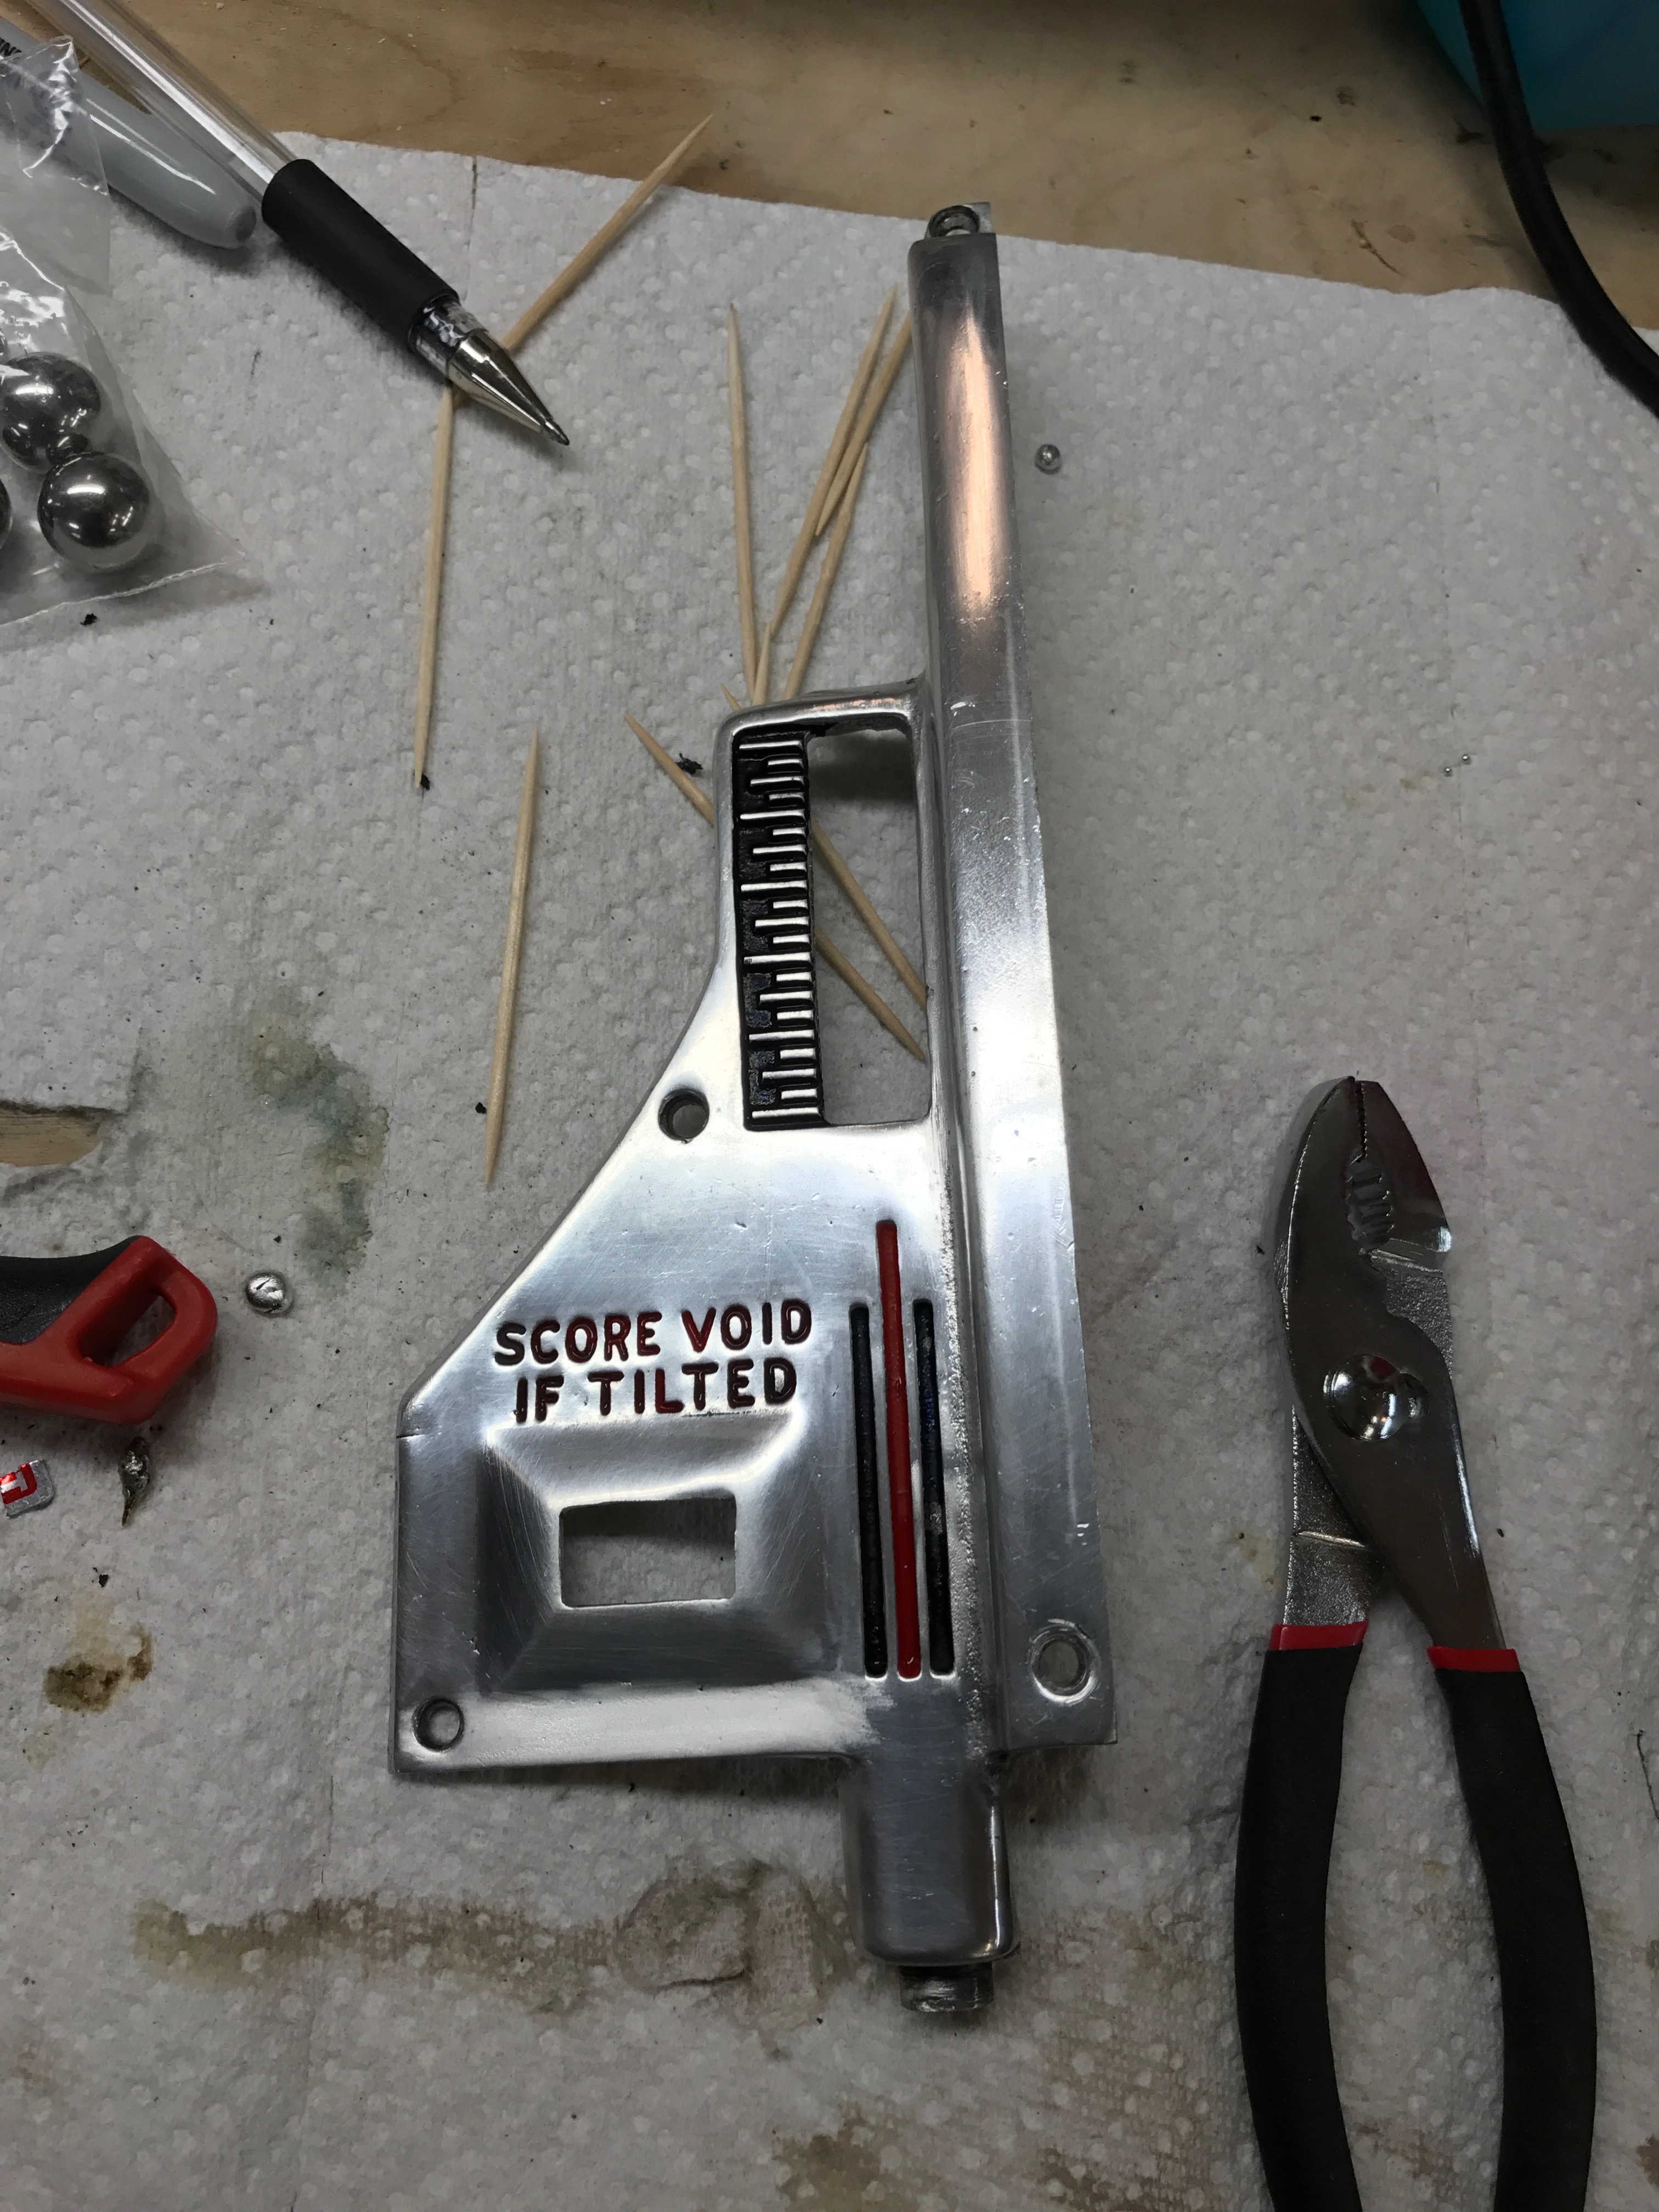
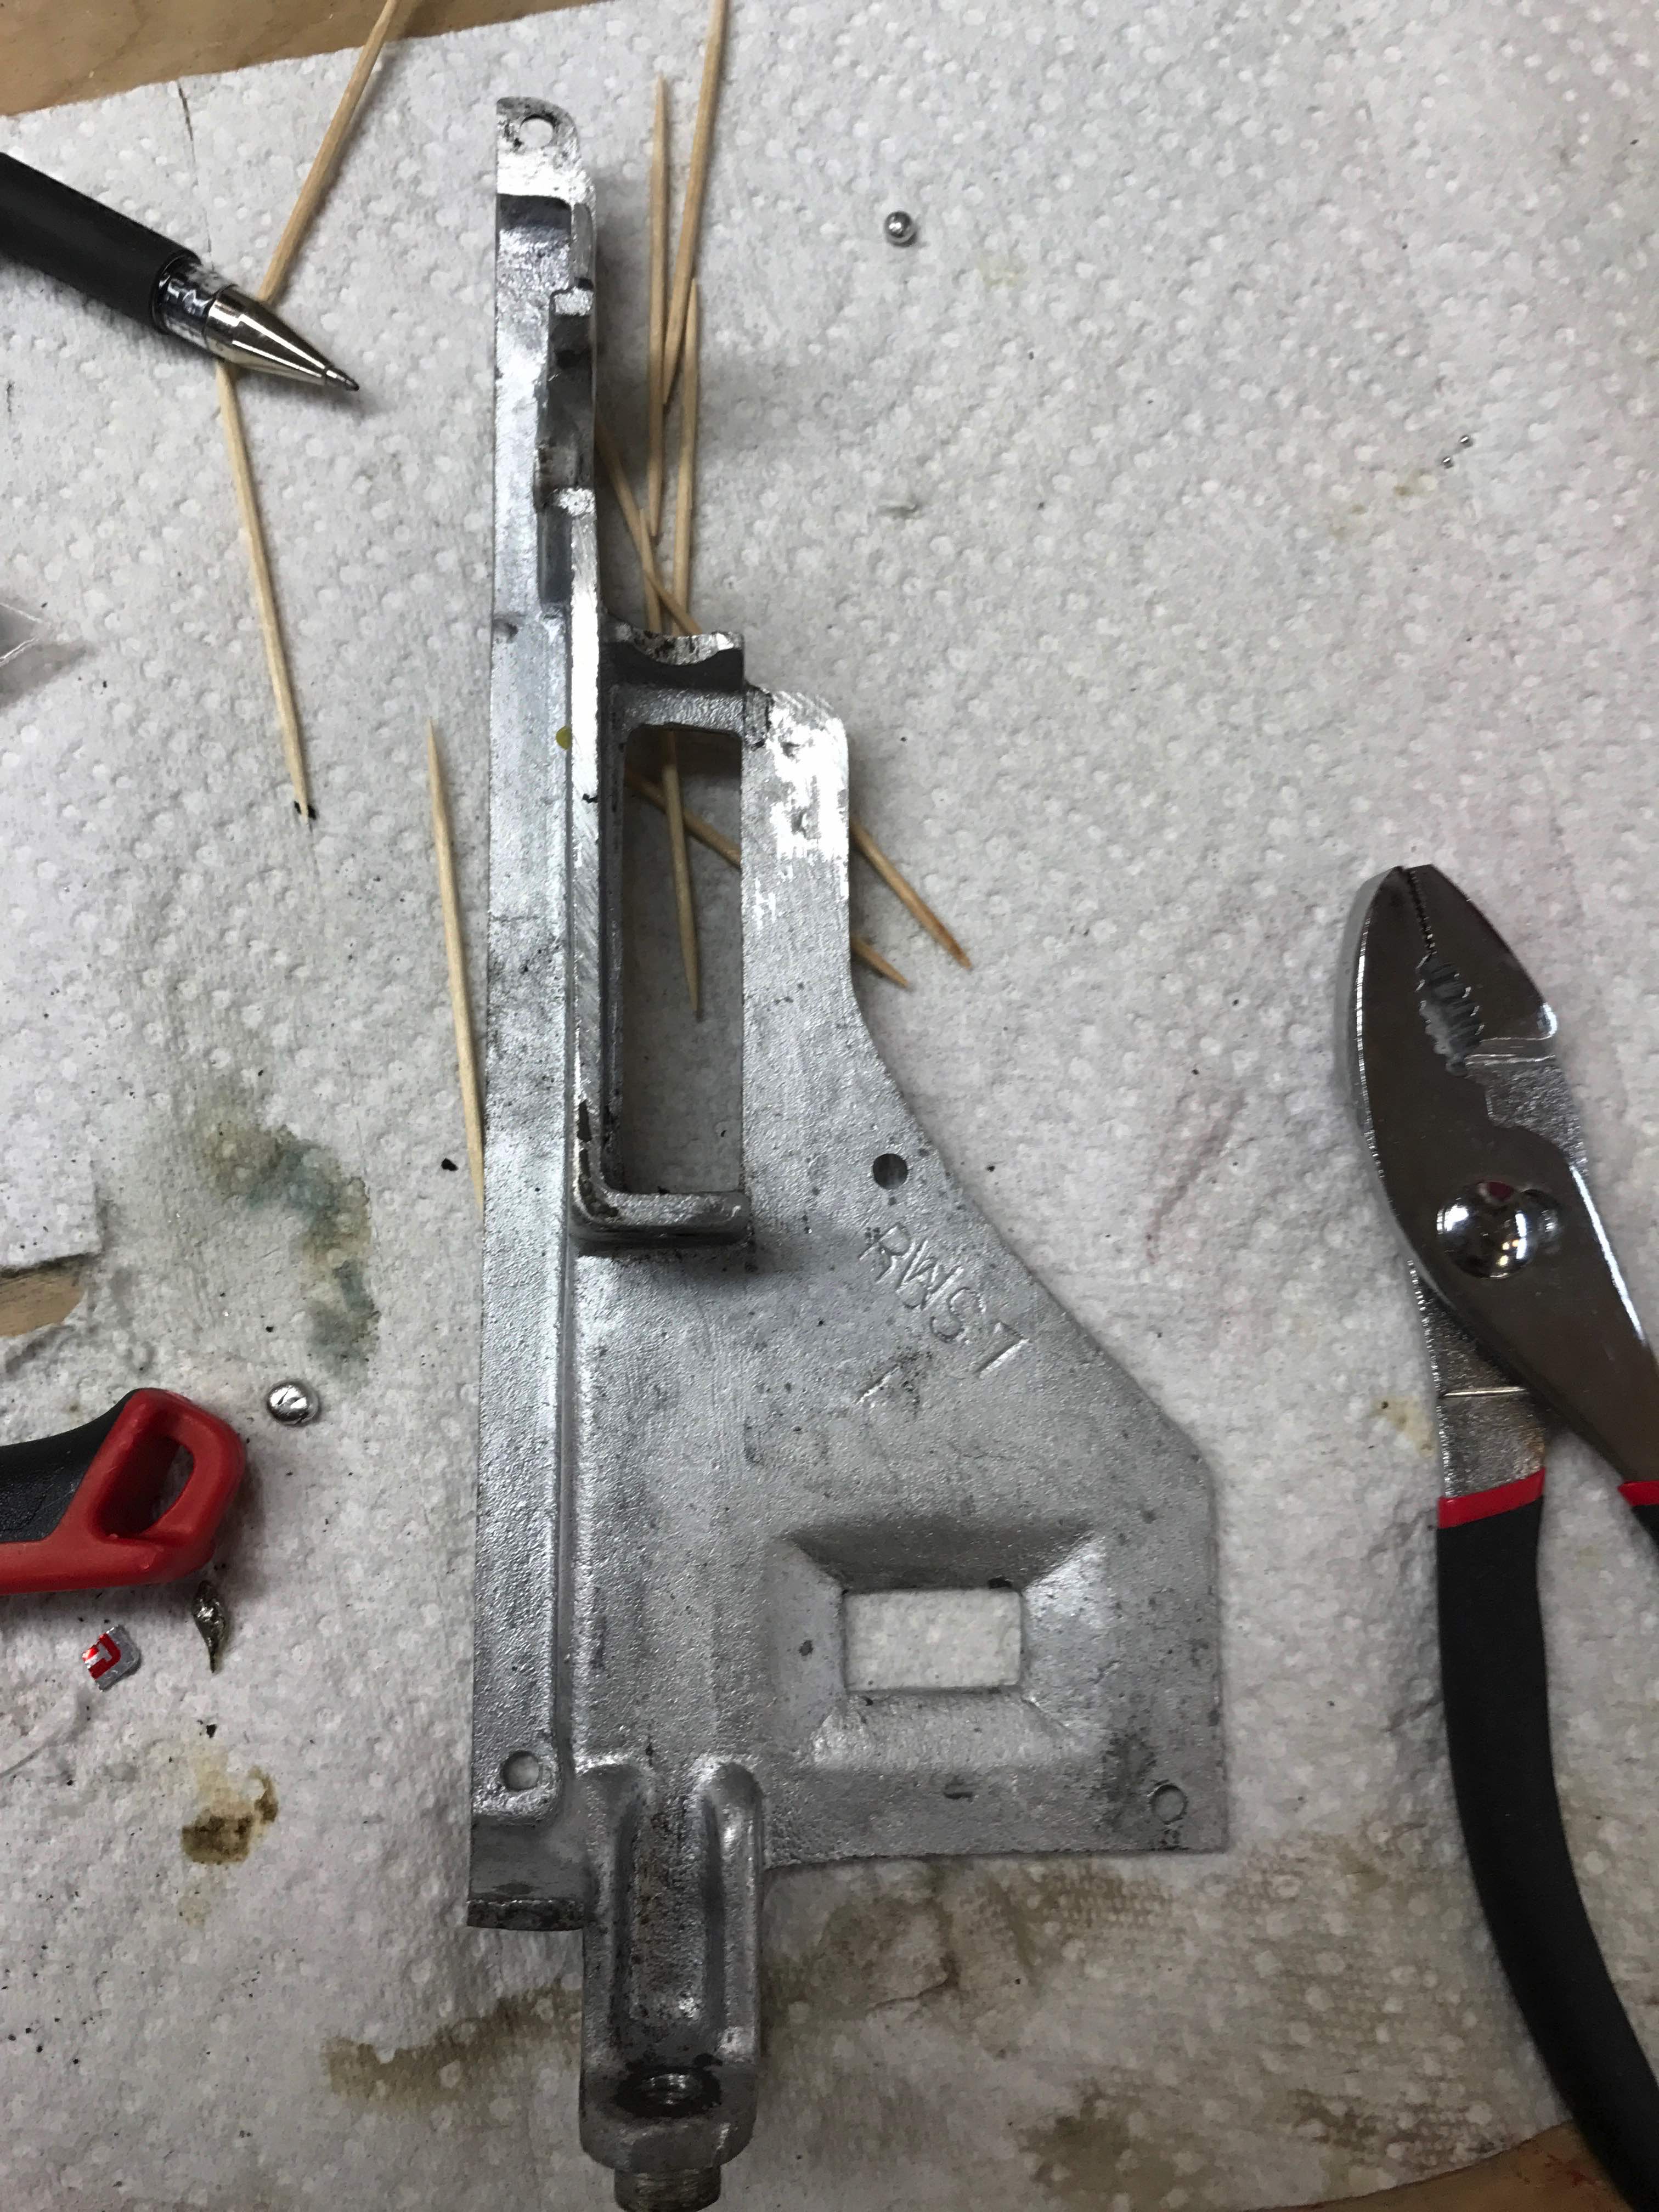
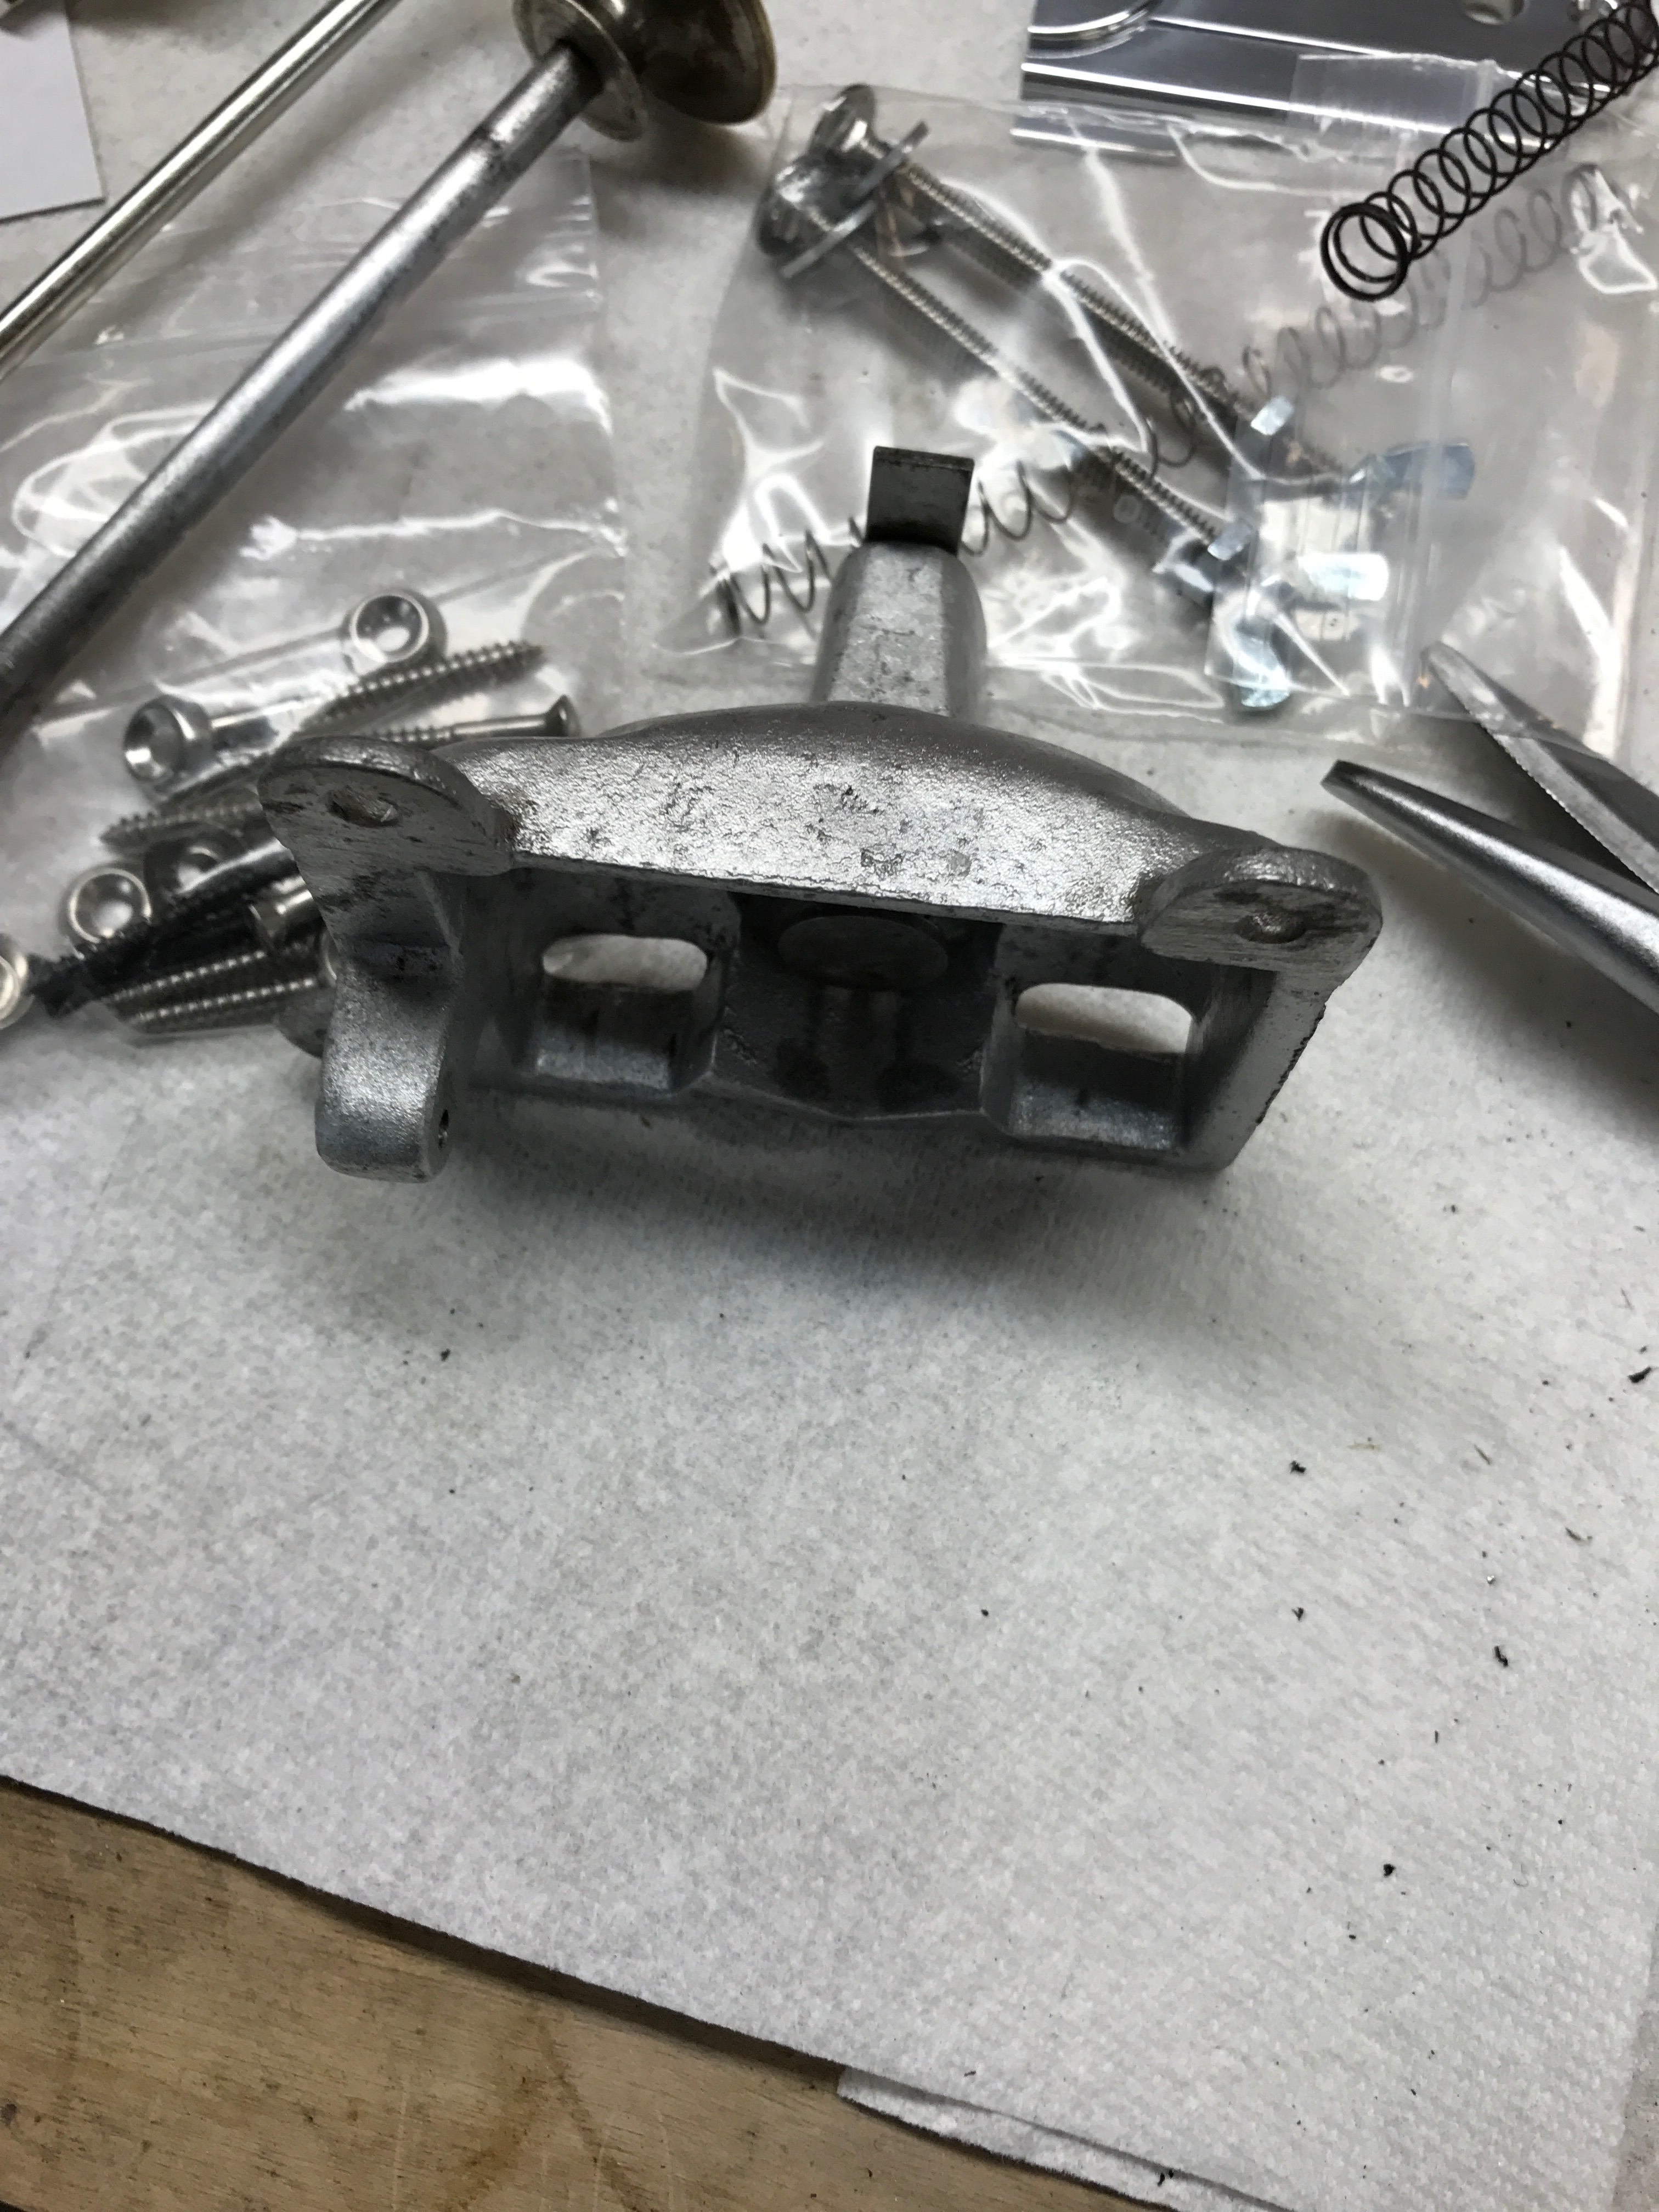
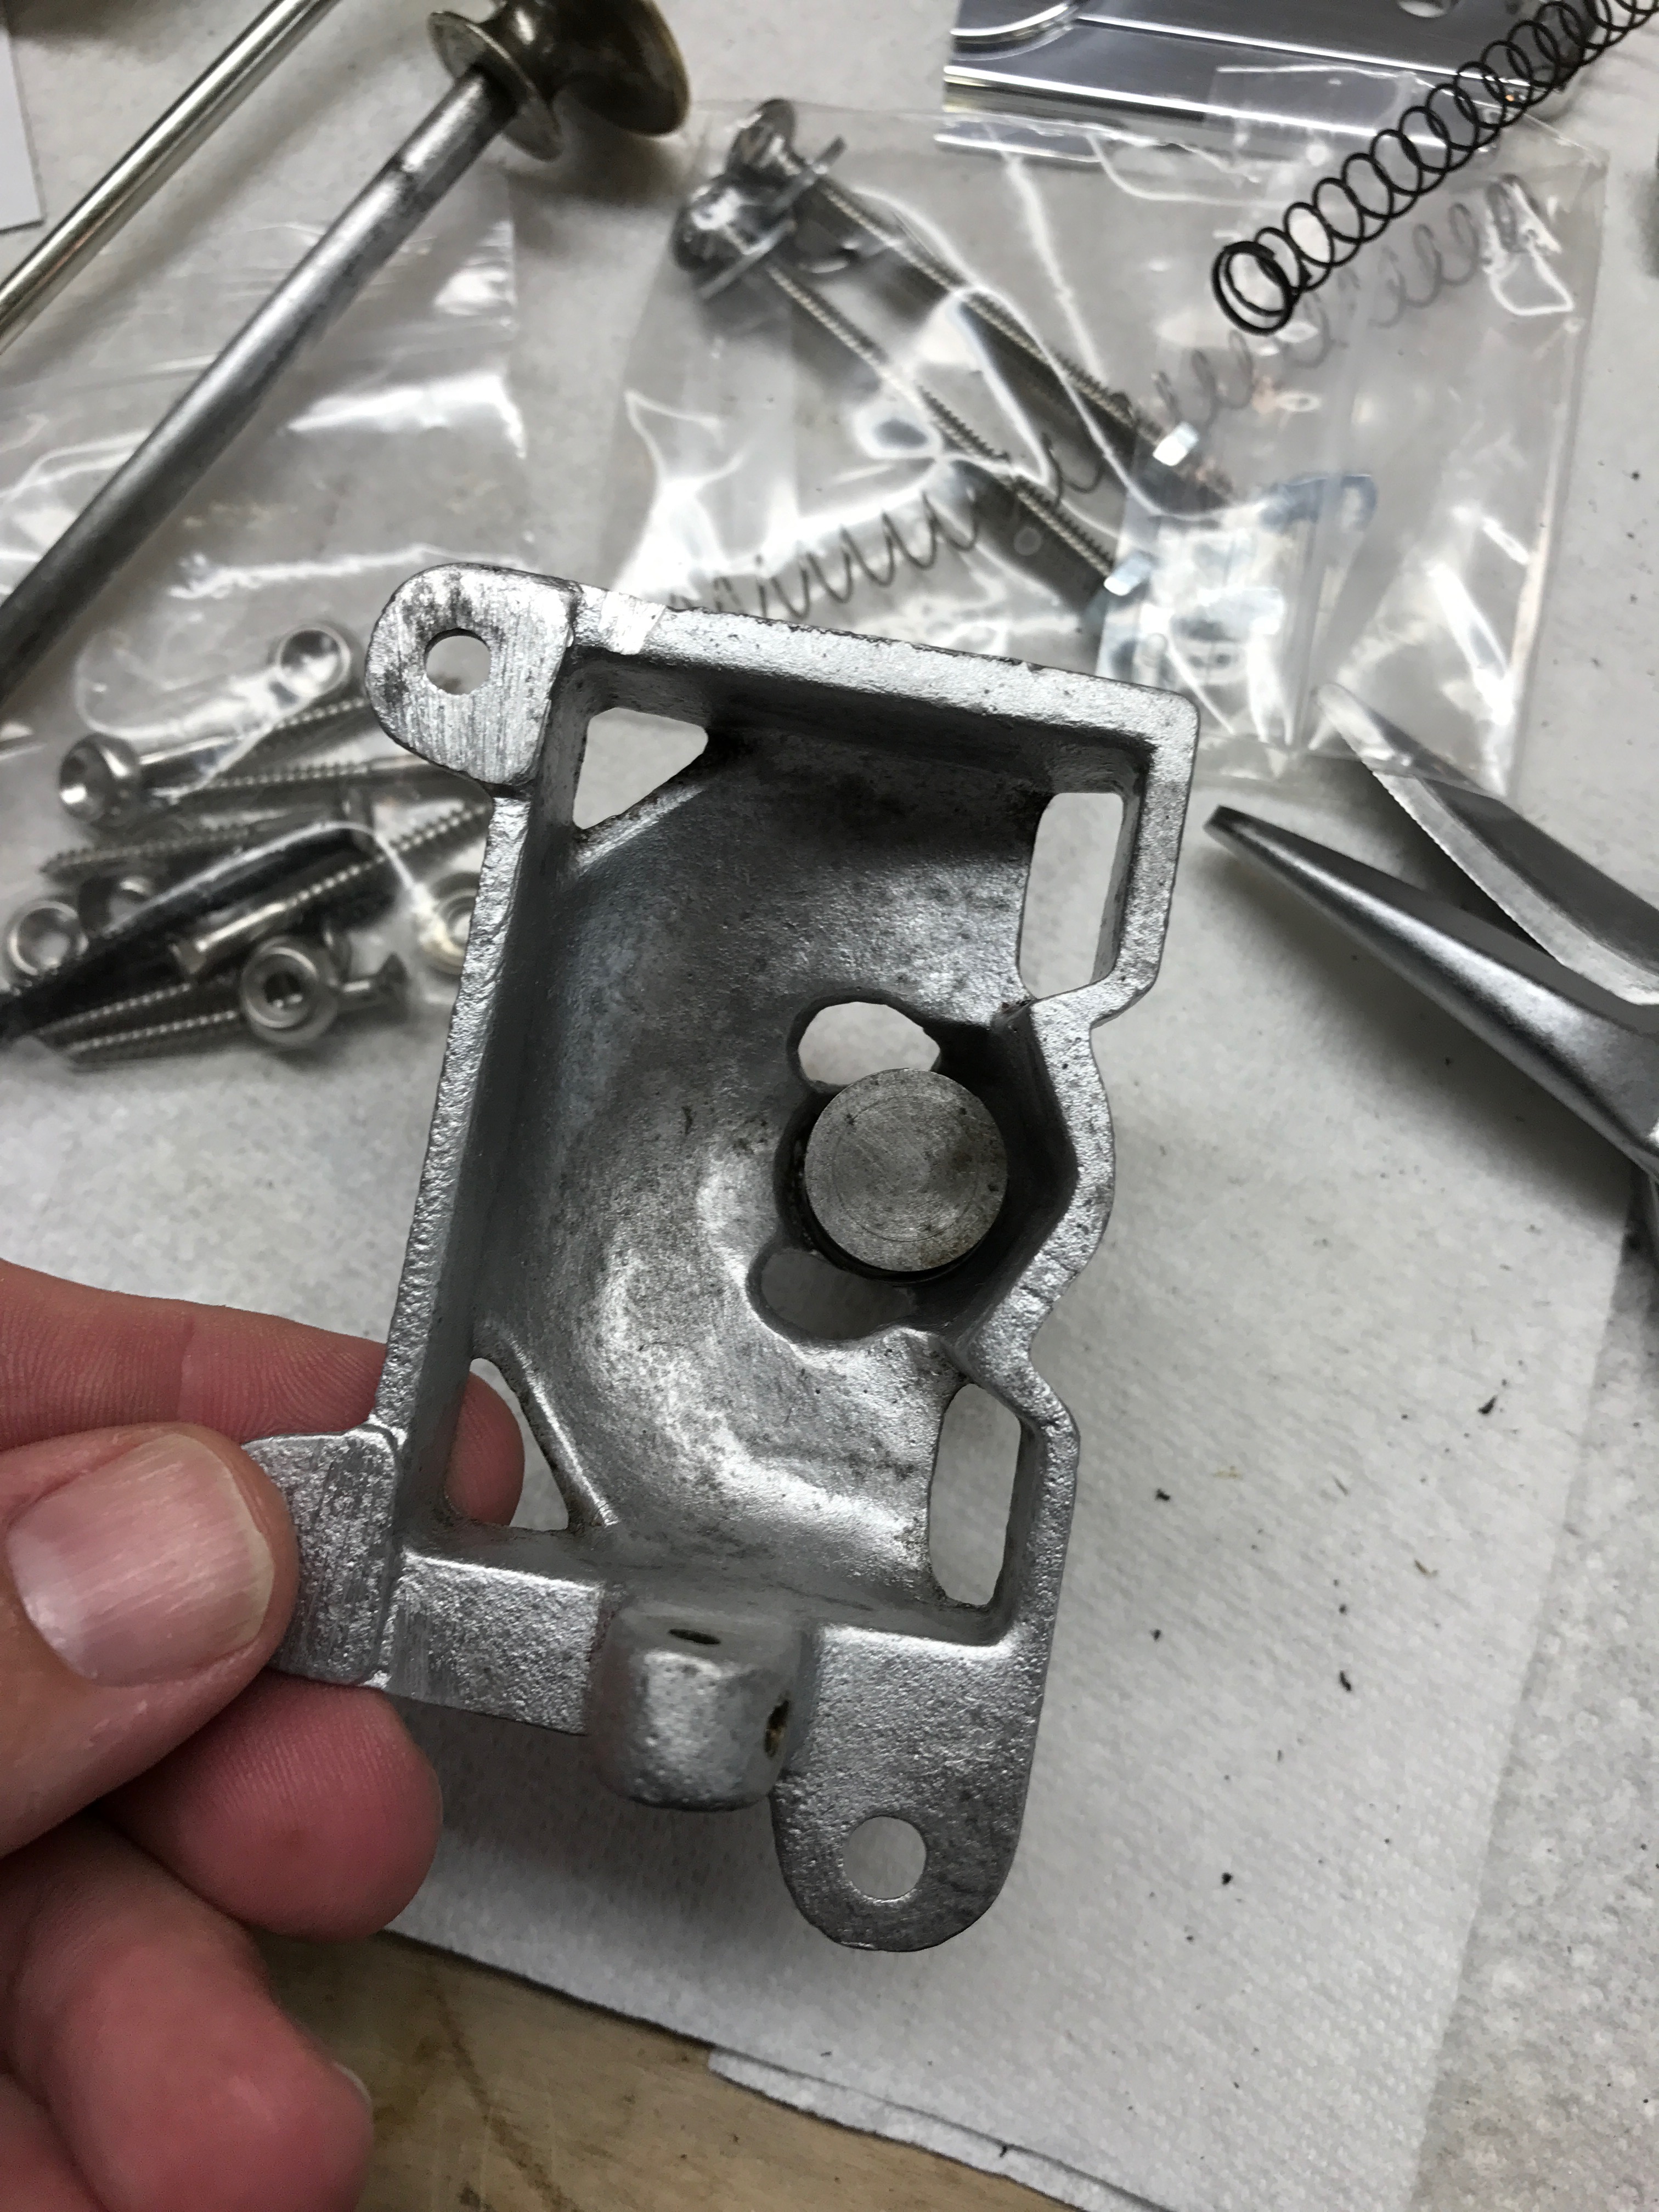
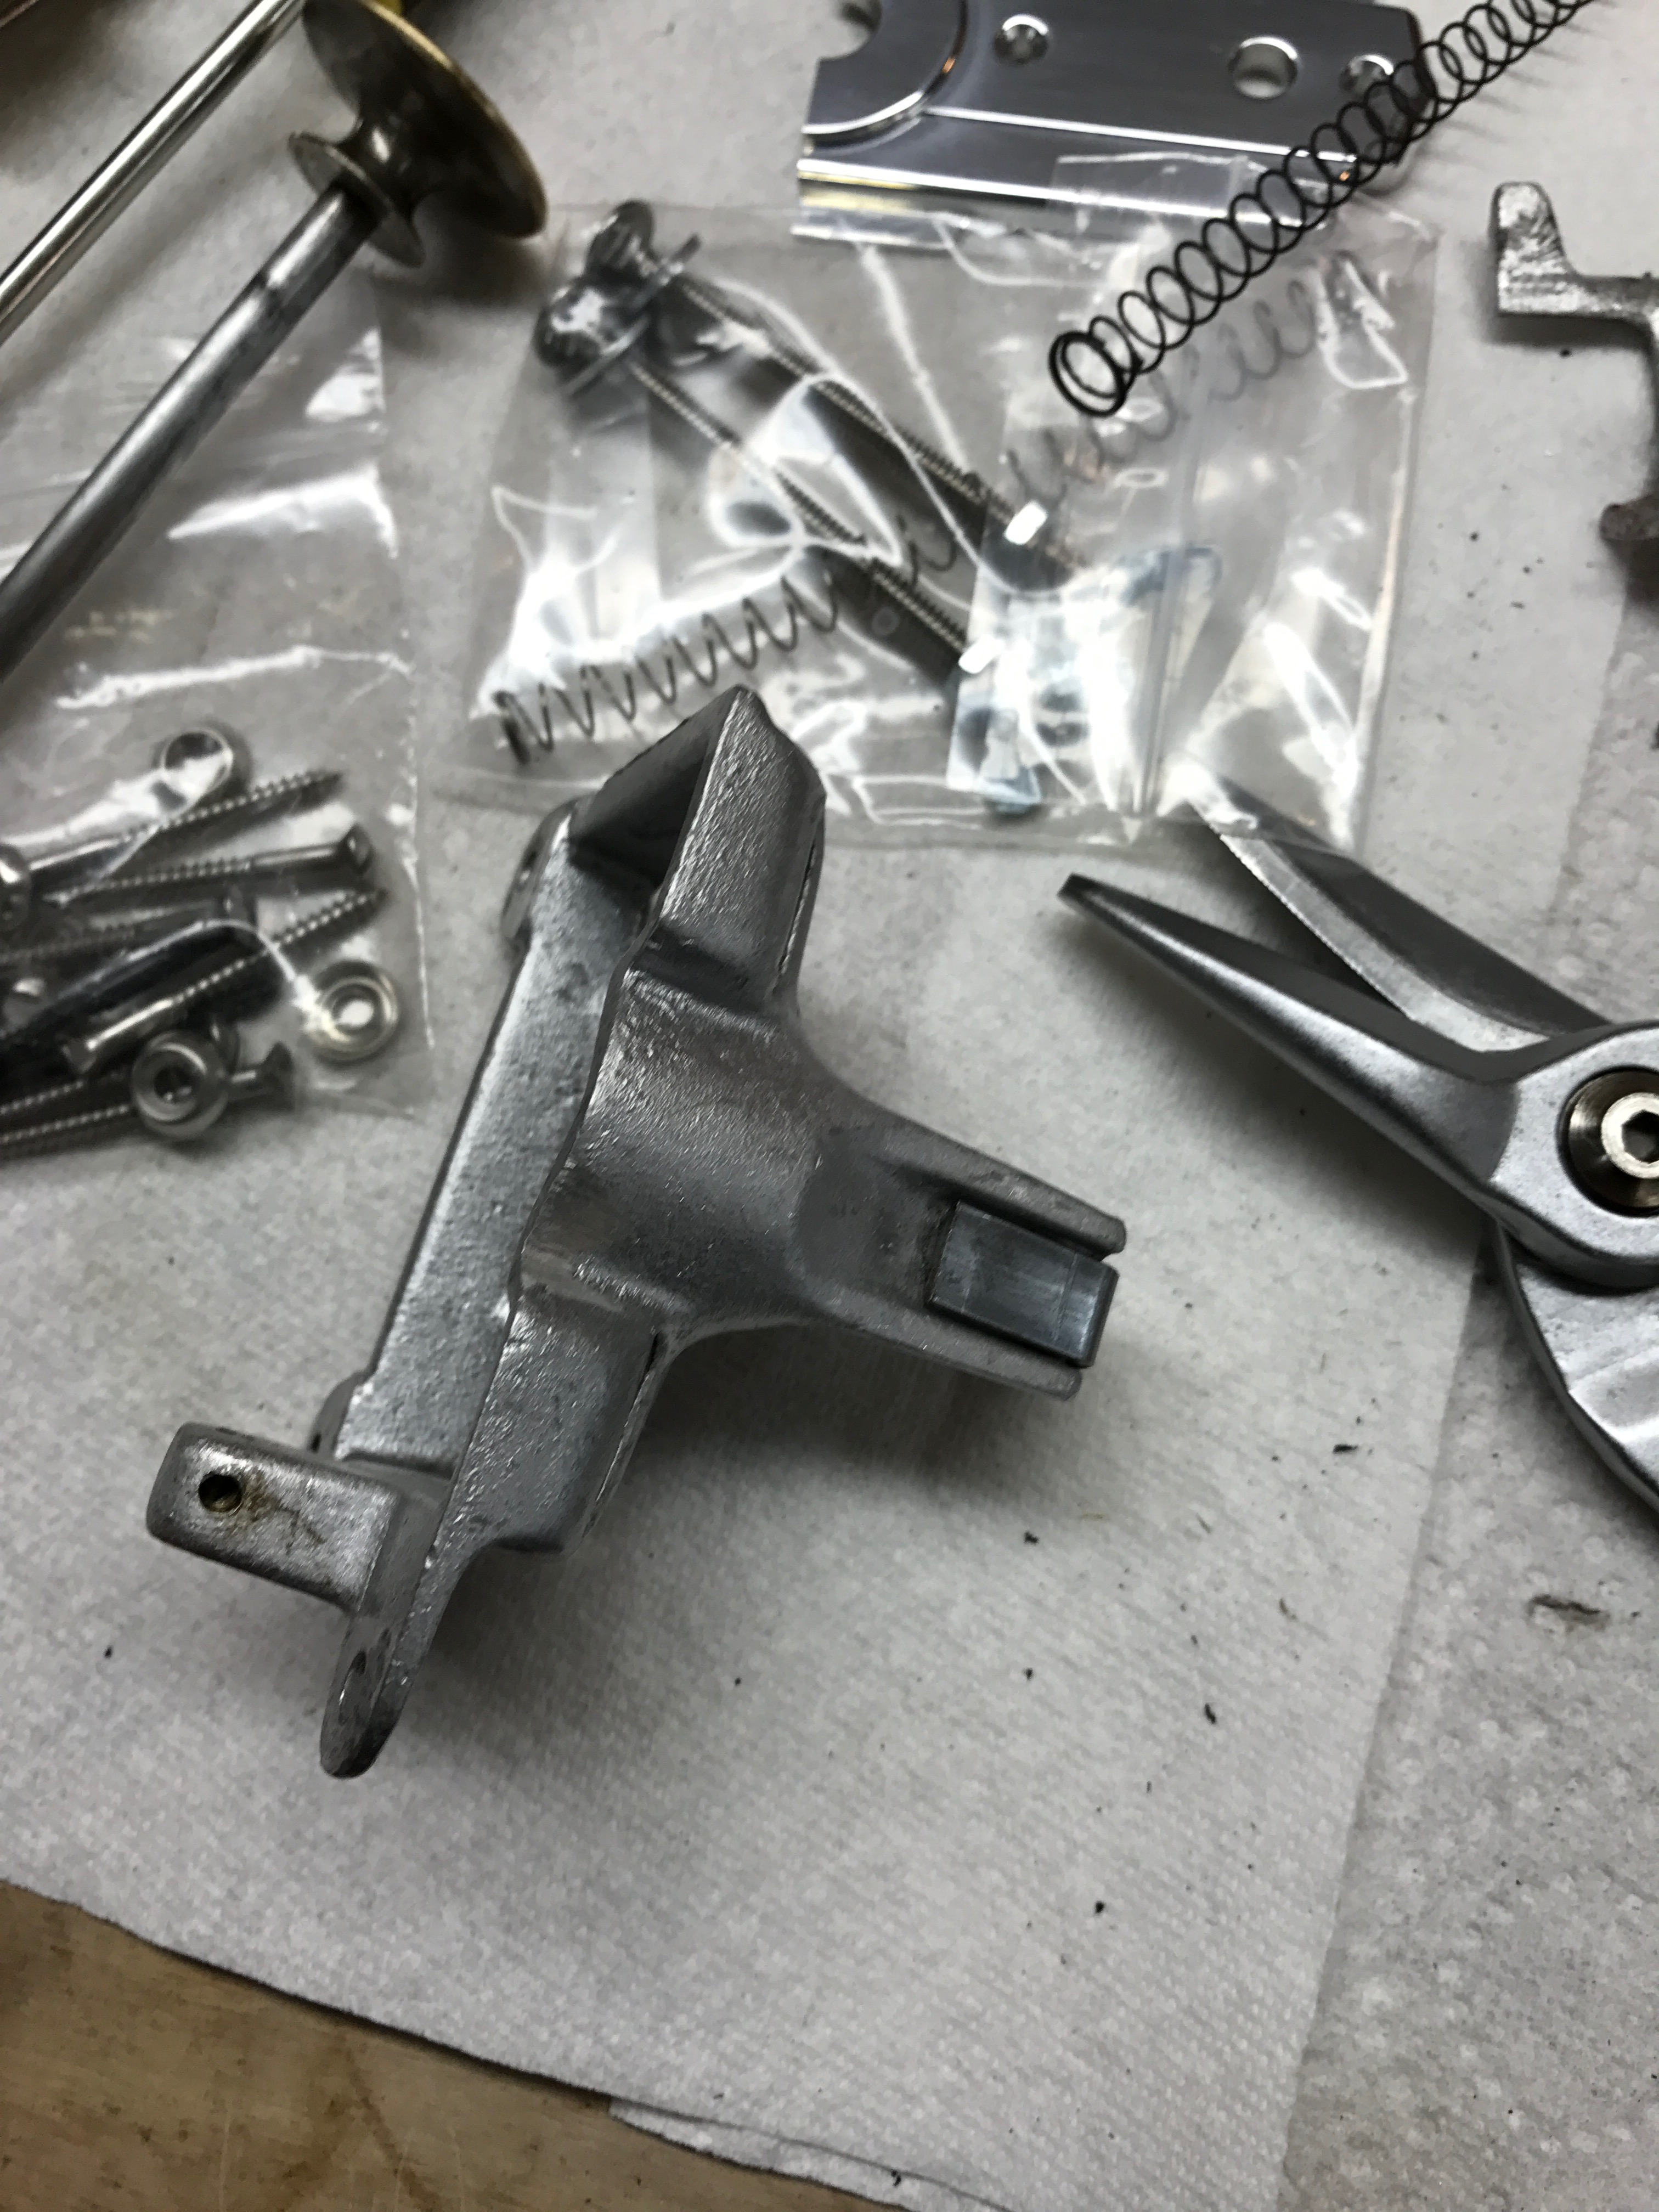
Cast Parts
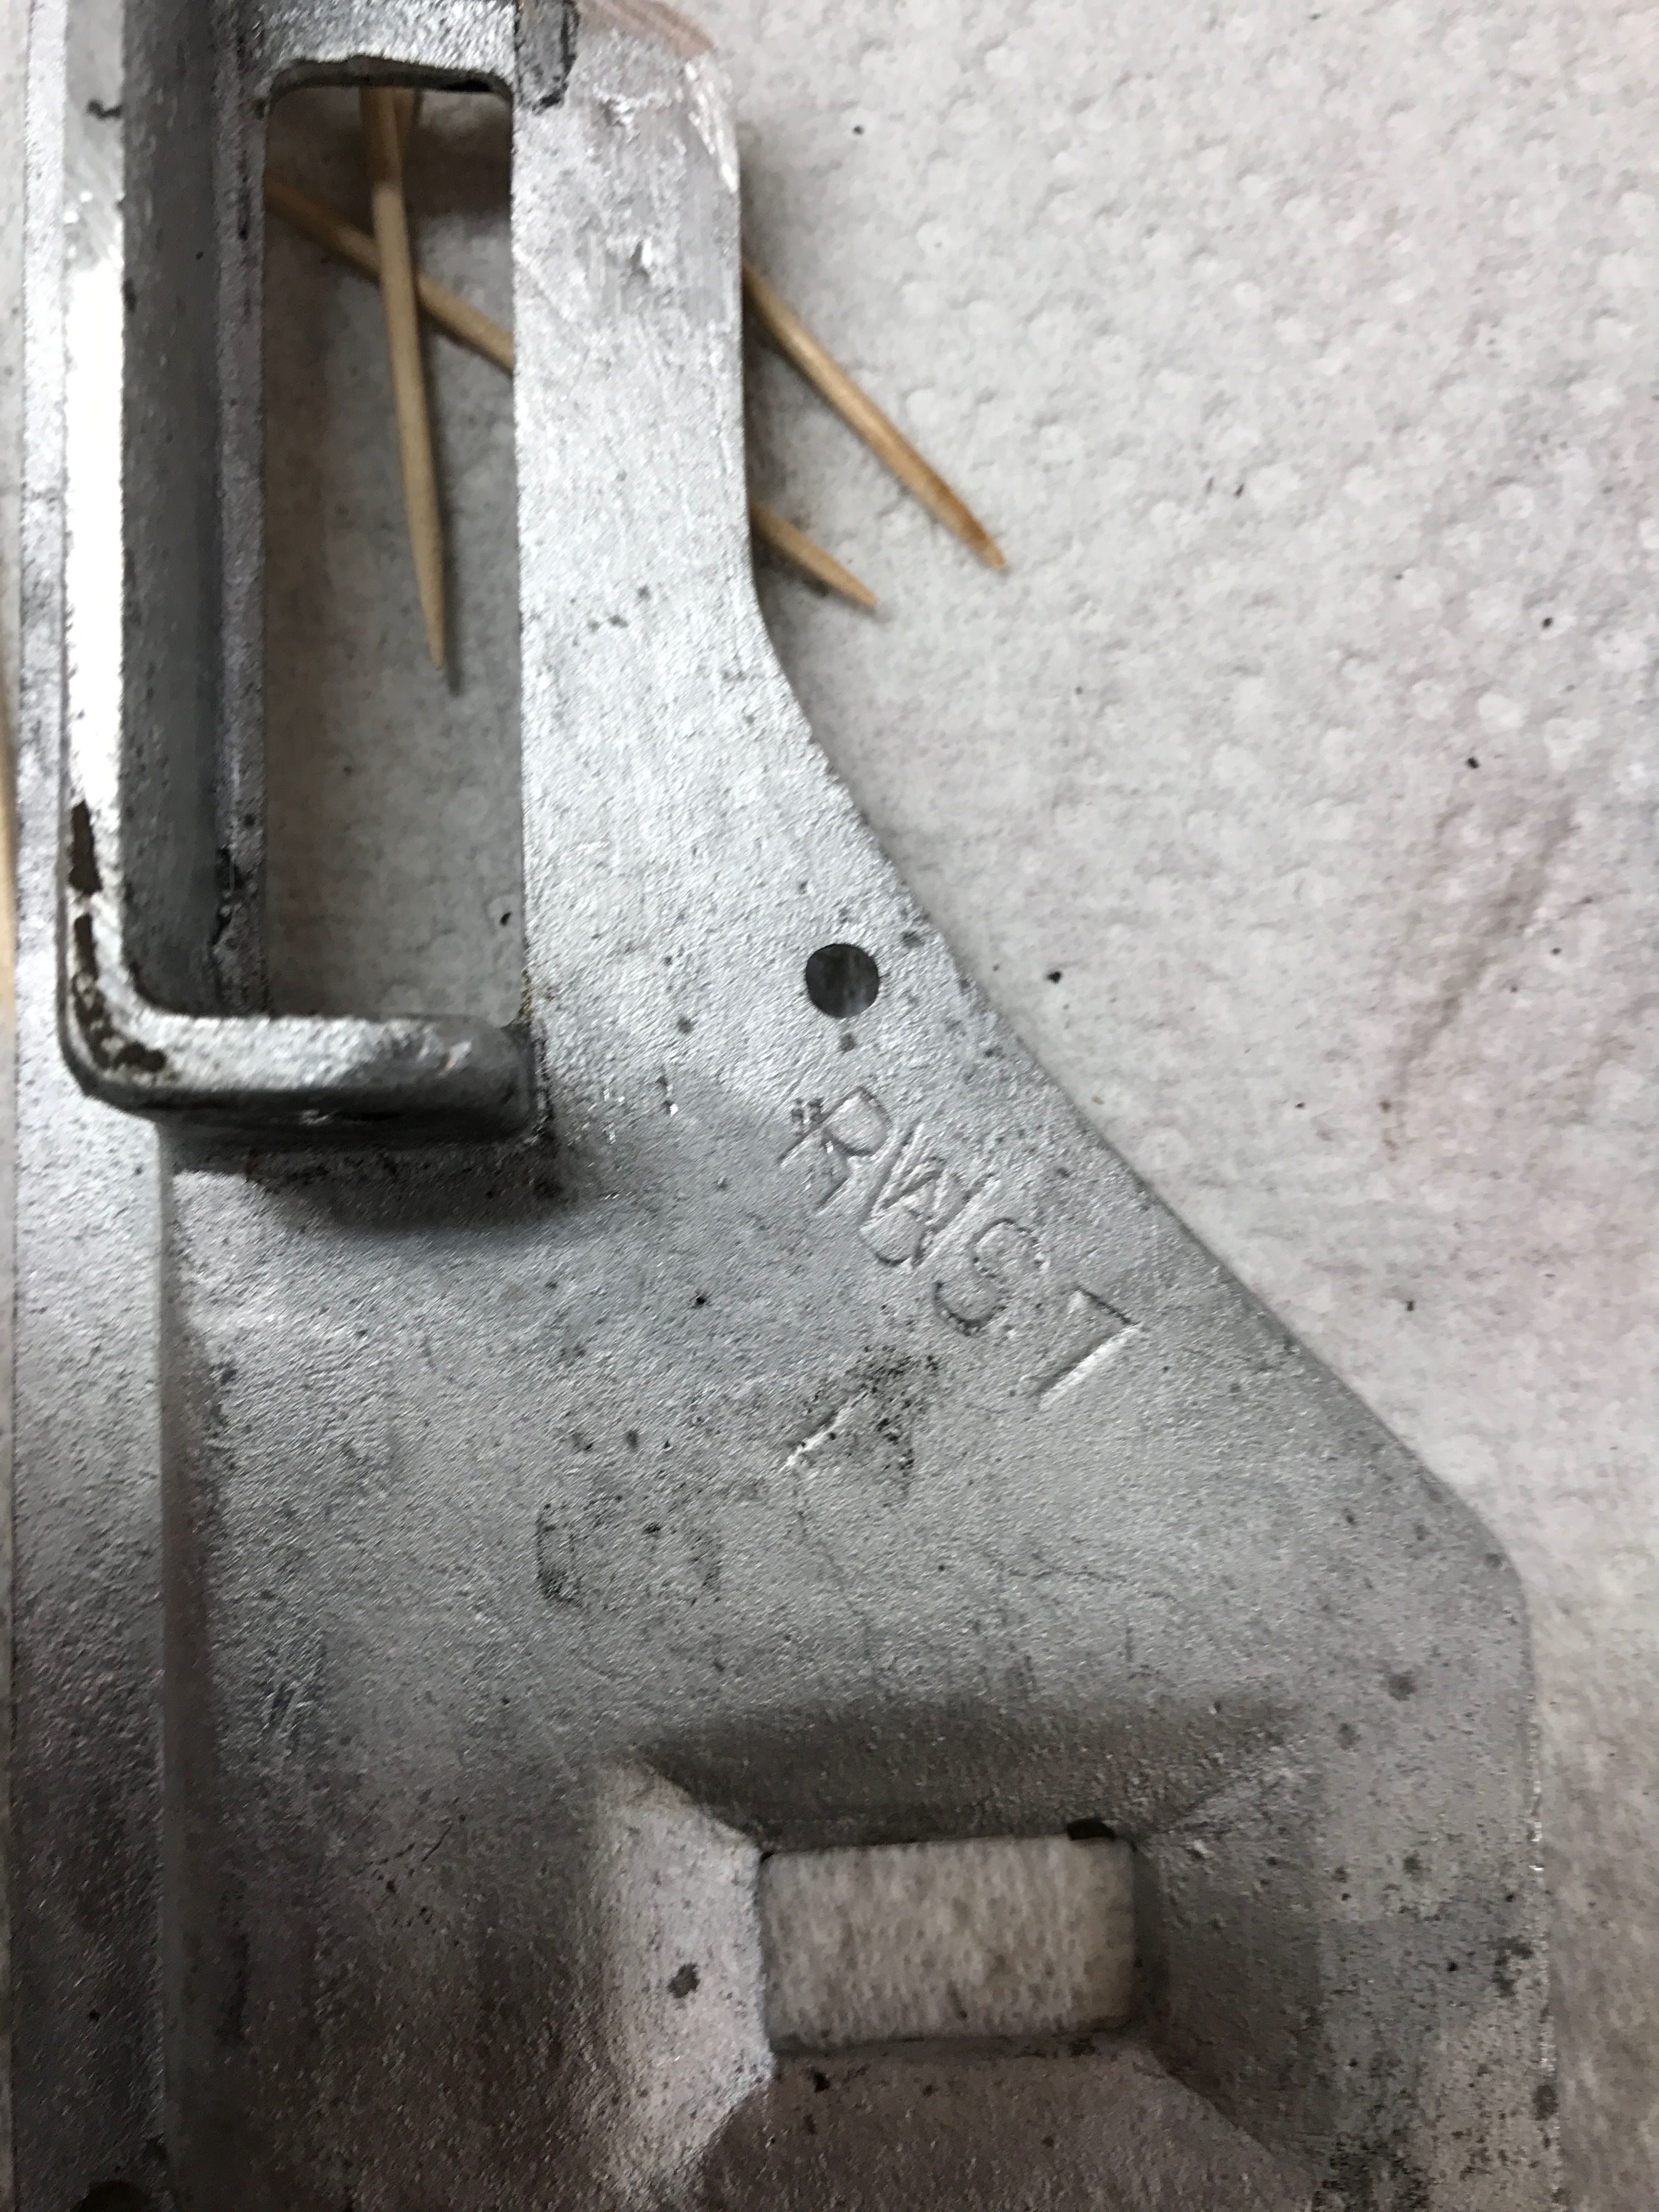
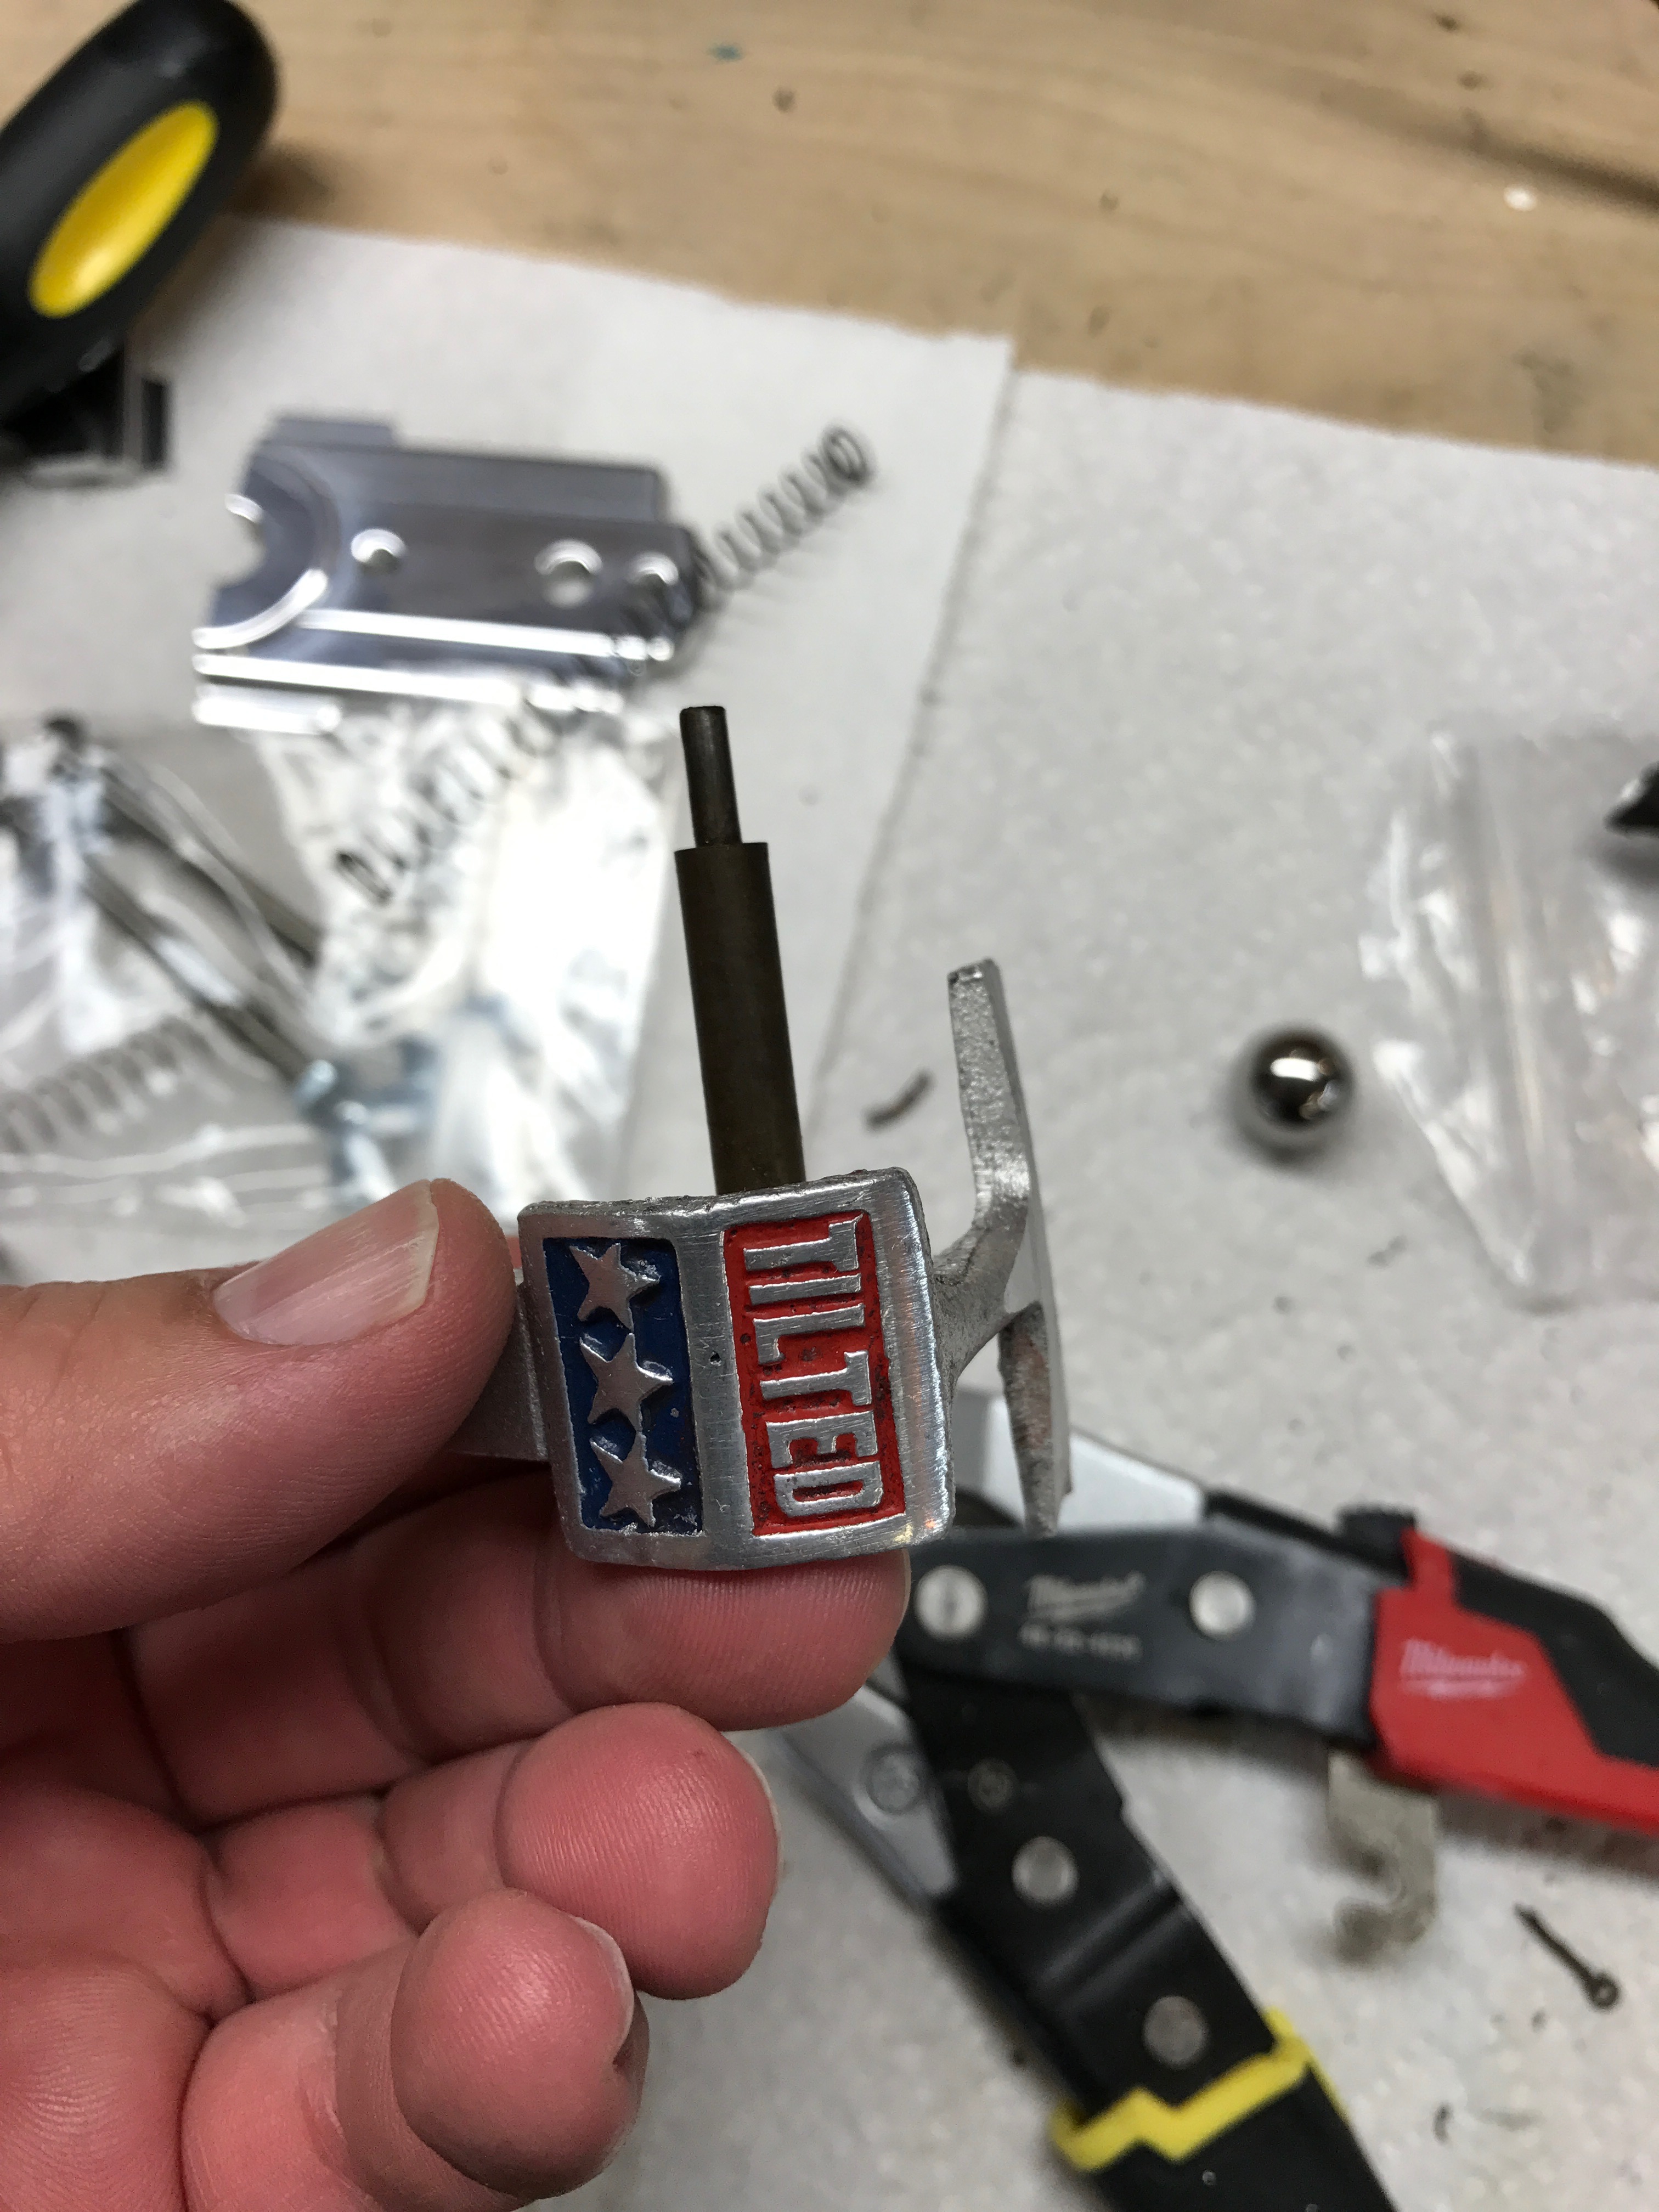
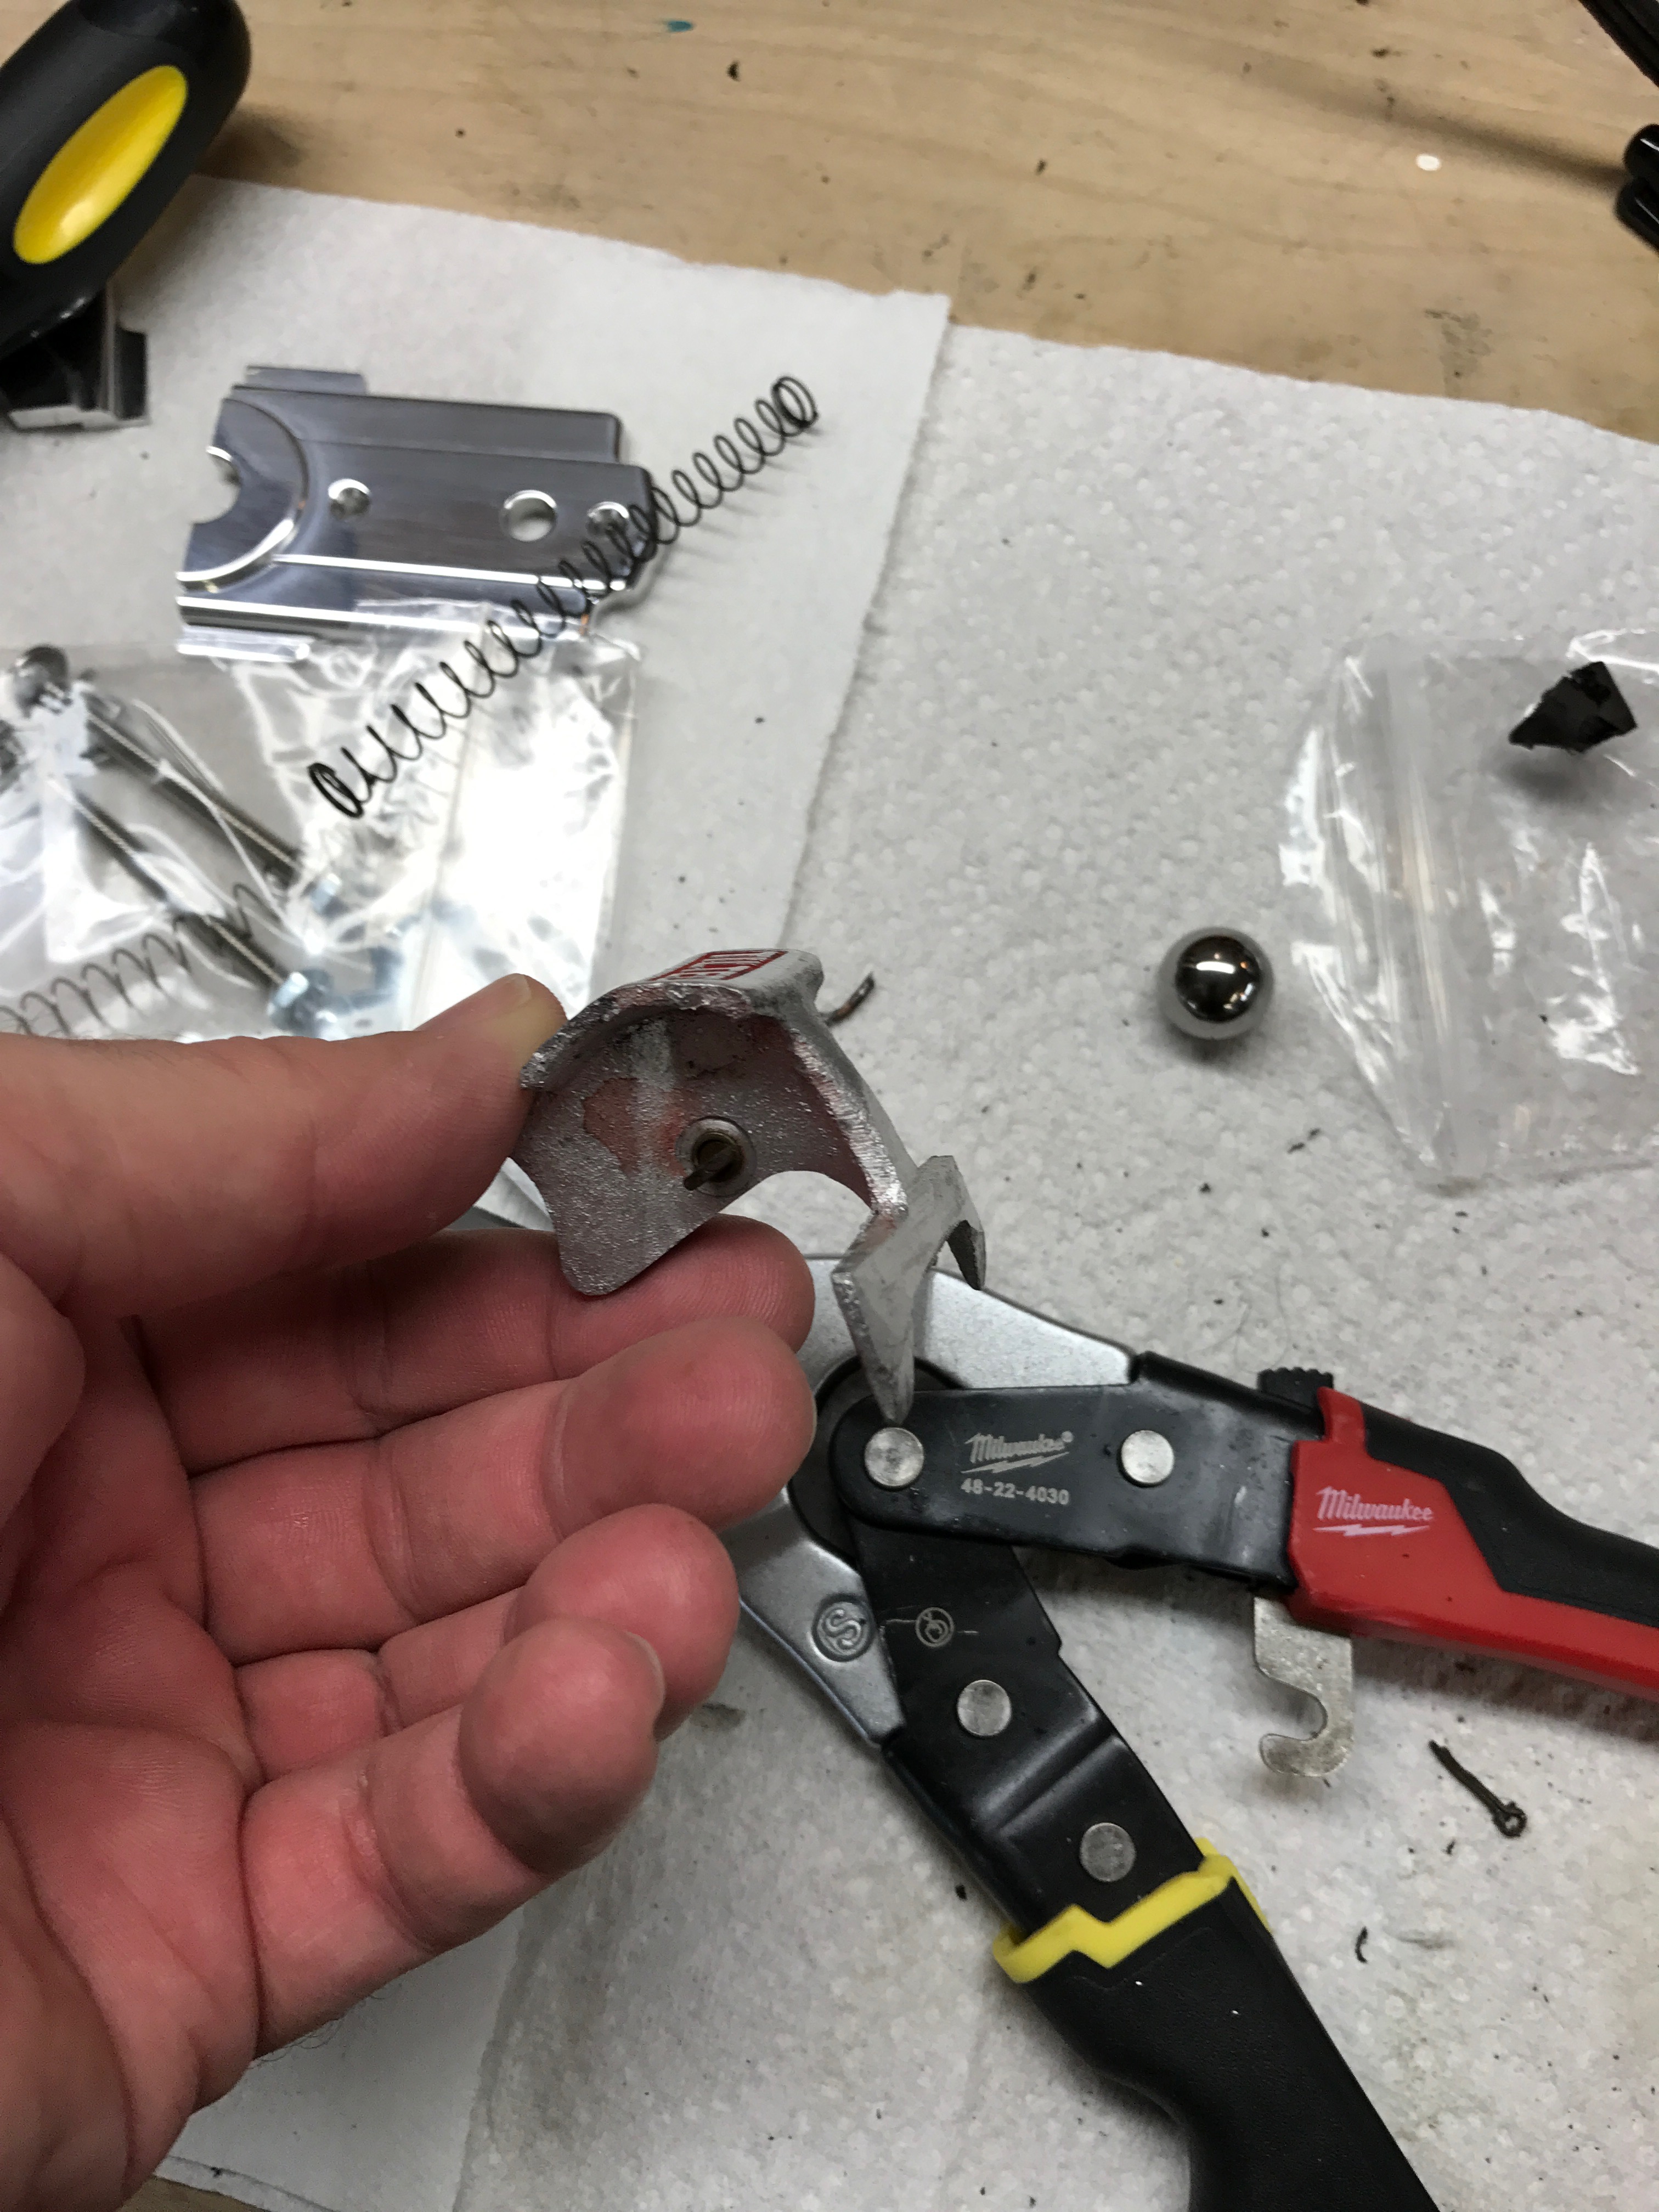
The metal cast parts are pretty cool. They are stamped with 4 characters. R for Rock-ola, J and S for Jig-saw, and a number (1-7).
Notice the shooter assembly below actually says RWS7, for Rock-old World Series. At some point someone must have robbed the shooter from a world series for this machine. Most of these parts are in really good shape and cleaned up nicely.
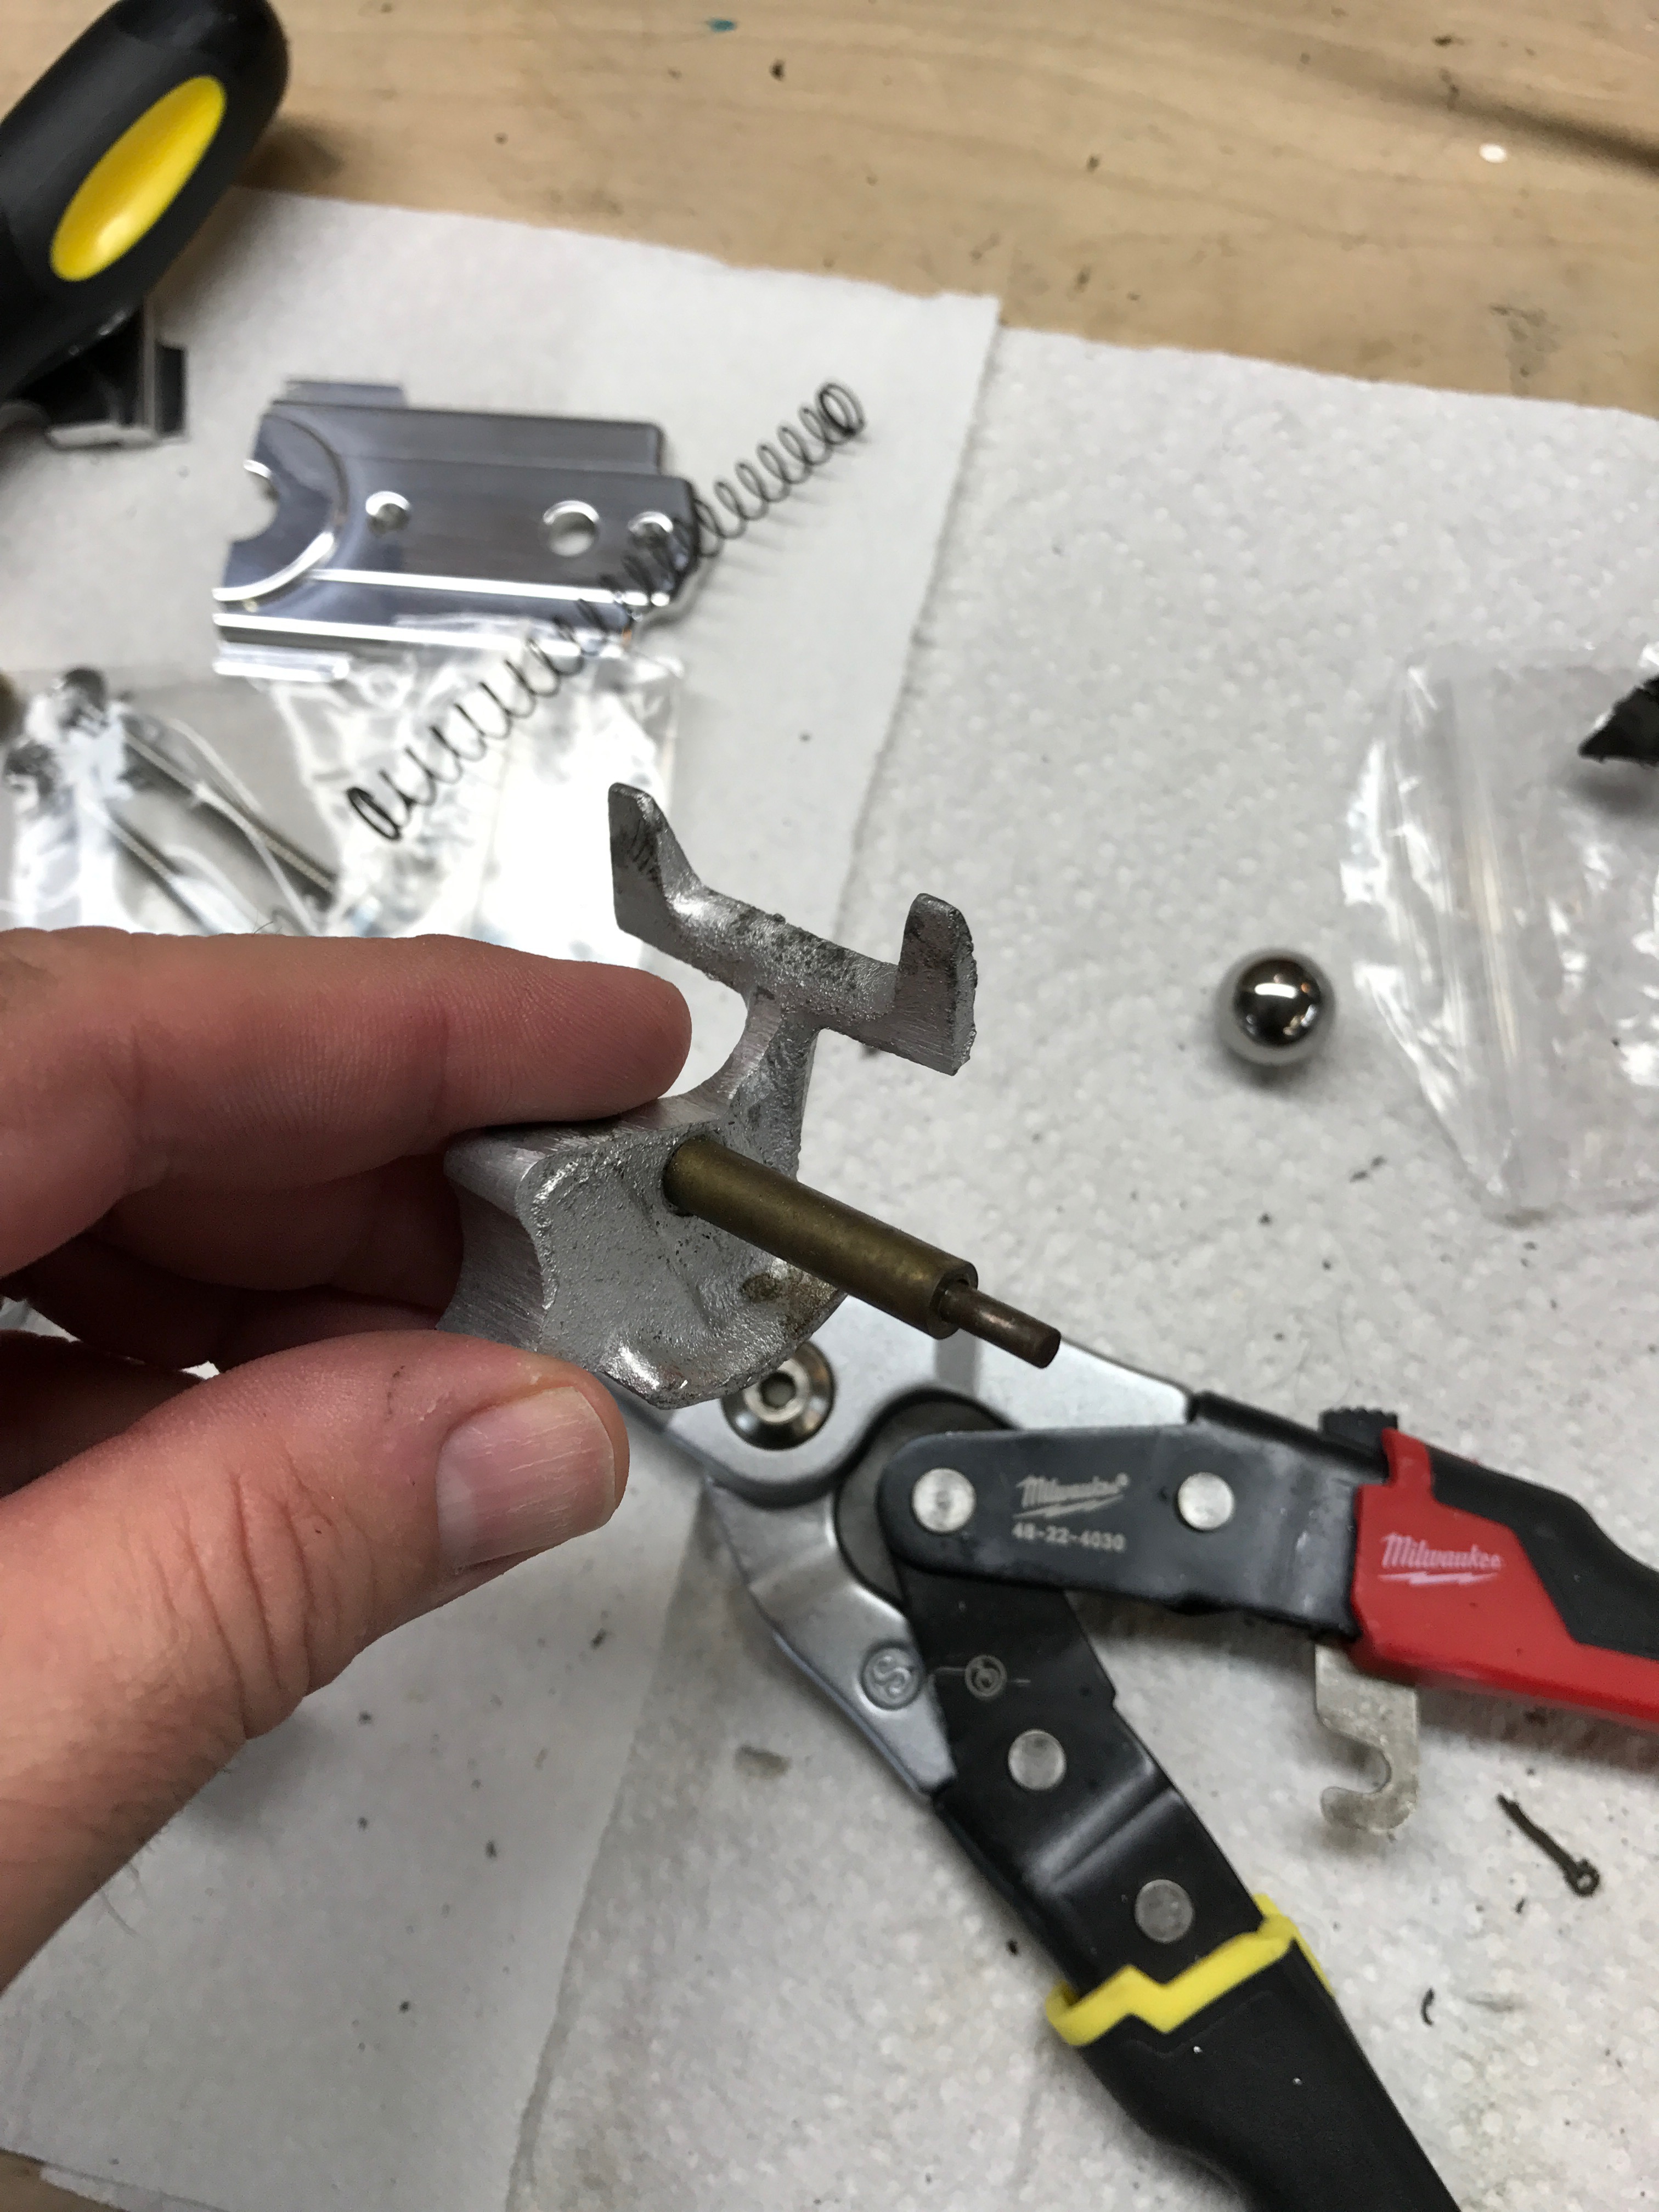
Tilt Mechanism
The tilt mechanism has a cup with a spring loaded post for a ball to sit on. When you reset the machine (by pushing the coin mech in), the post lowers, allowing the ball to center itself on a divot in the middle of the post. Once the ball is centered, the tilt indicator resets. If you shake the machine enough, the ball will fall off the post, and that will in turn allow the tilt indicator to rotate to indicate tilt.
The tilt indicator is purely informational. It does not affect gameplay at all. Even after a tilt, you can still shoot the reset of the balls.
Playfield
There were some pretty embeded ball trails. I worked on these pretty hard with a rag and some mean green and then novus. I was able to reduce them considerably, but I was worried if I was too aggressive it would start to remove paint/finish.
In the lower right and left of the playfield, there was some separation of joined pieces, in addition to some delamination of the plywood layers.
I had to pry some of the pieces apart some to be able to get glue into the joints. Then some pretty extensive clamping to get back to nice tight joints. For the most part this came out ok. It’s tough getting an 85 year old machine to look new again – but that’s not the point anyway…
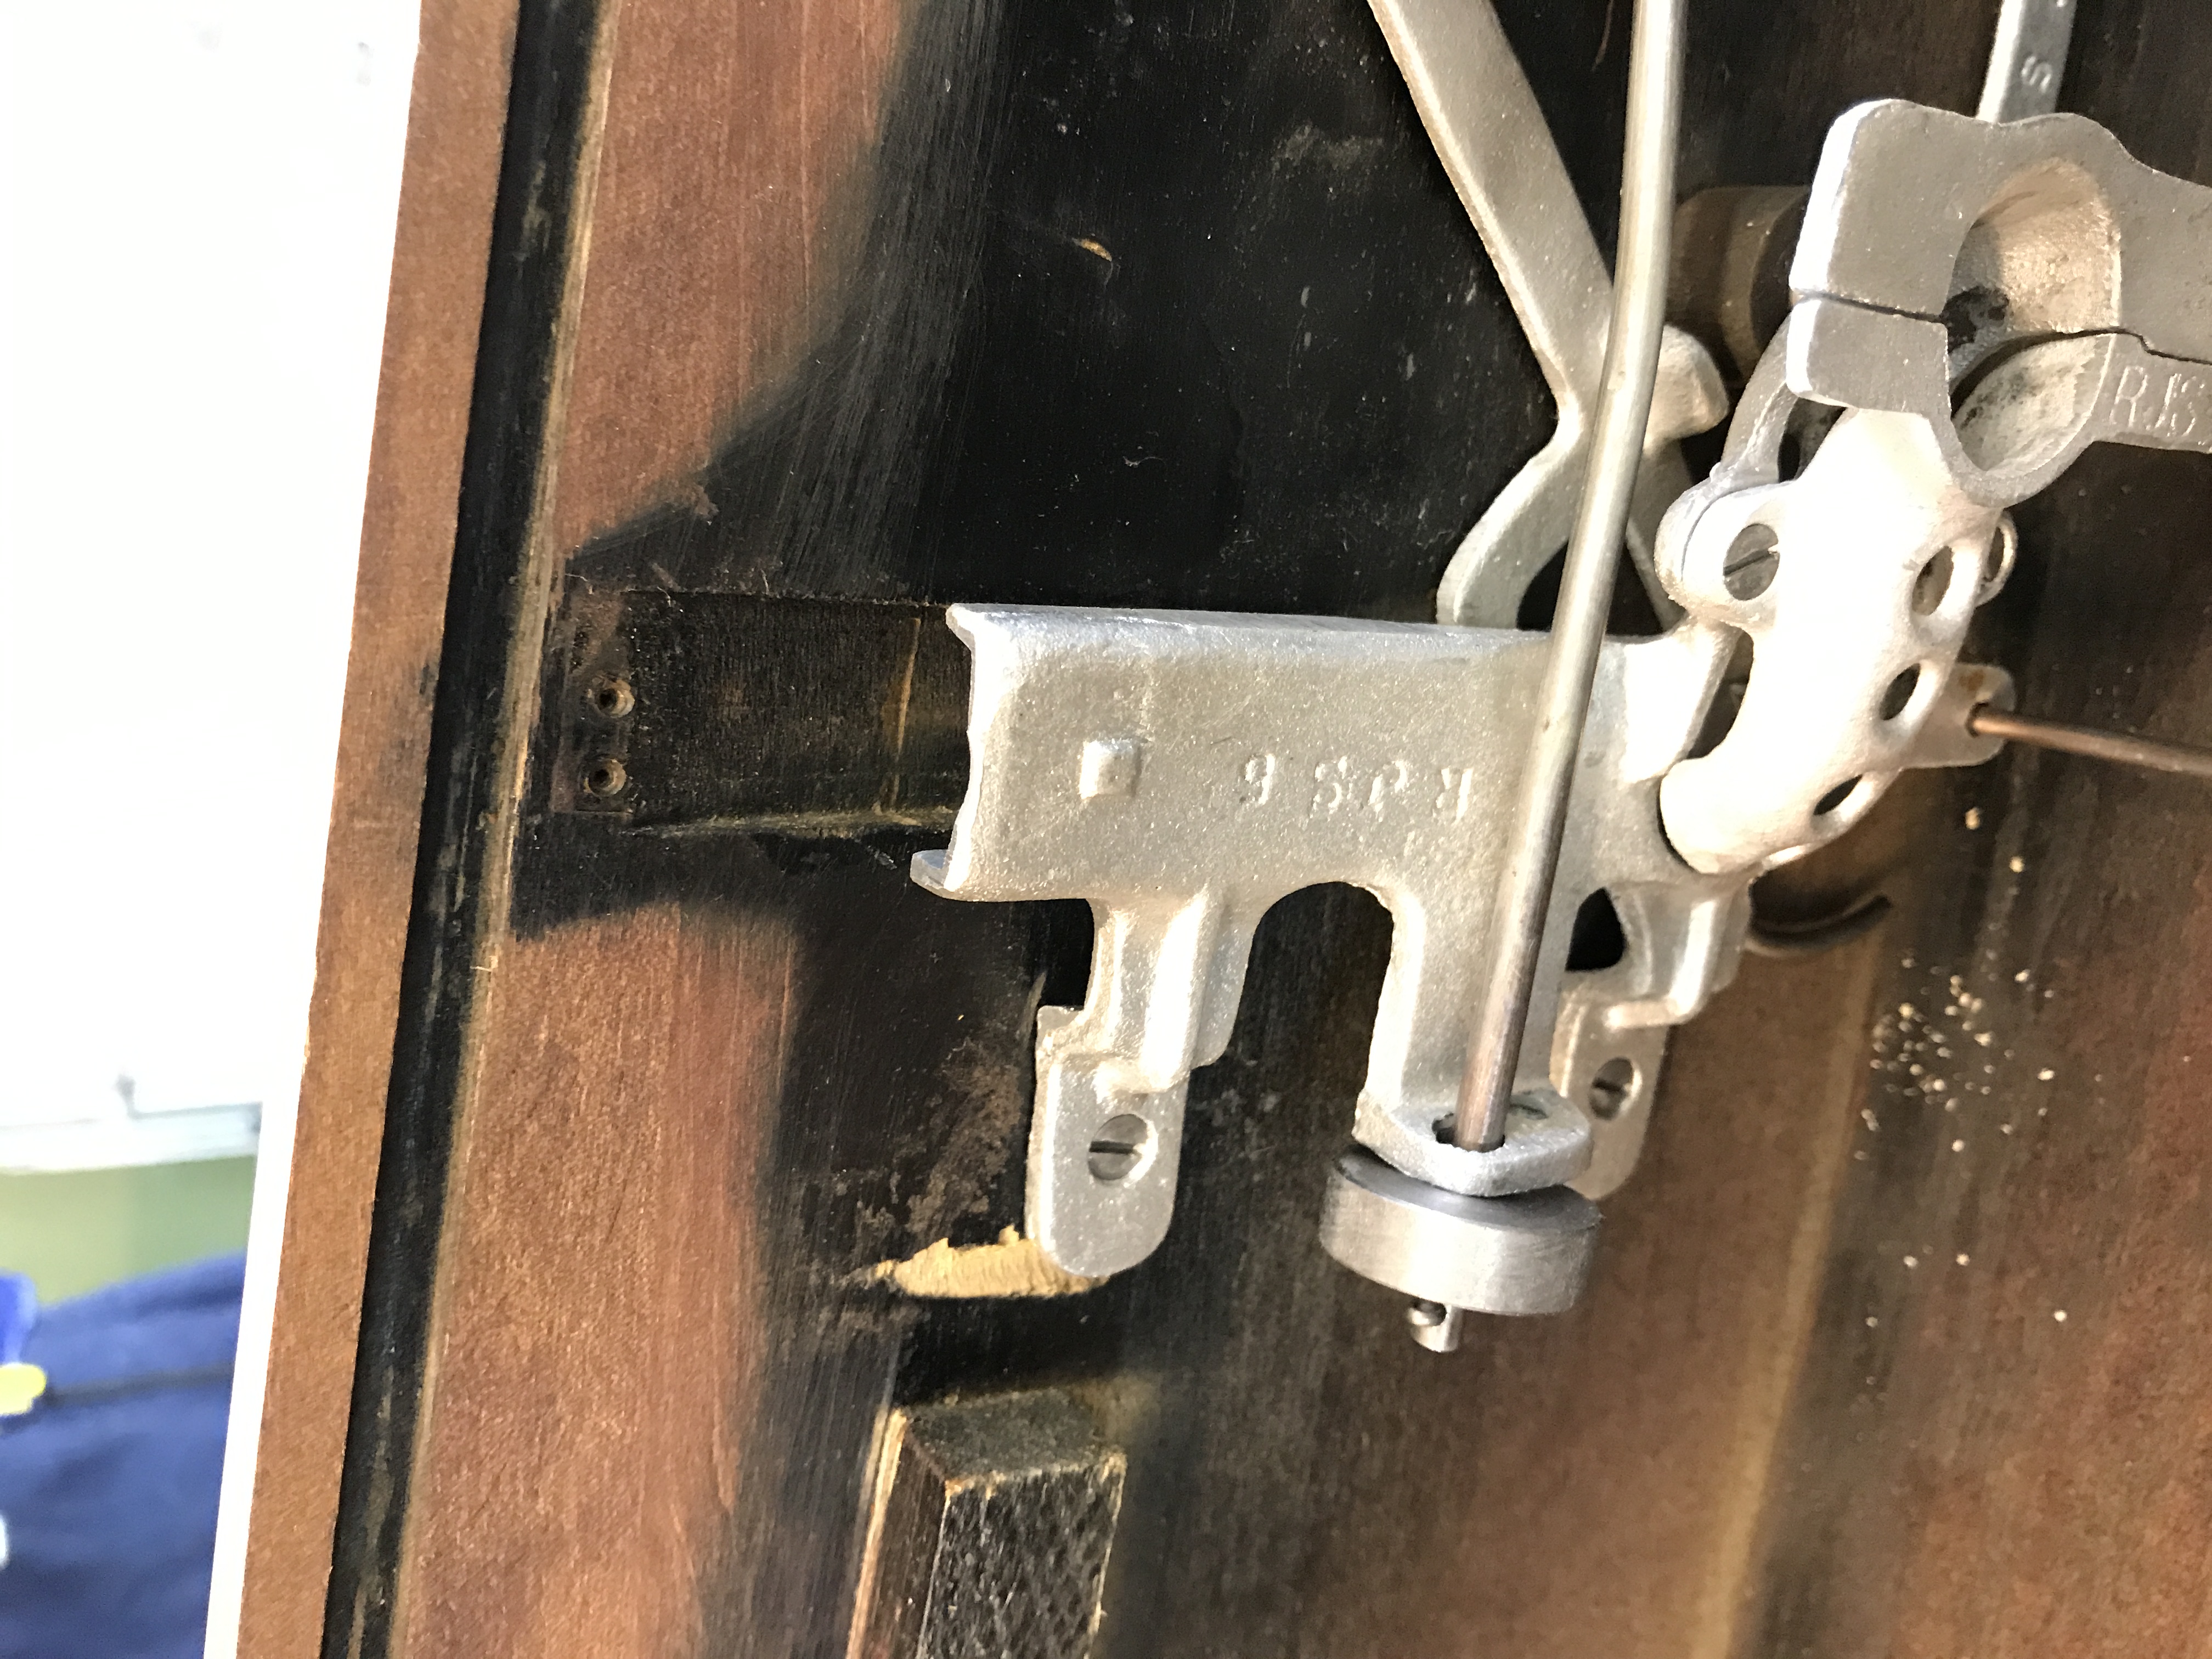
Ball Lift Mechanism
The main issue with the ball lift mechanism was that the screws that hold it to the side of the cabinet were stripped in the wood, and coming loose, causing unreliable operation. I used wood glue and toothpicks to fill the existing screw holes to repair this issue. It’s a trick I learned from Clay’s This Old Pinball videos. You take a few toothpicks, coat the ends with wood glue, then drive them in the screw hole, and break them off. You can use a hammer to gently drive them in if you need to. Once the glue is dry, you can screw the screw back in and it will be good as new.
I cleaned up these cast parts with my sonic cleaner and a mixture of mean green and water. They came out looking brand new.

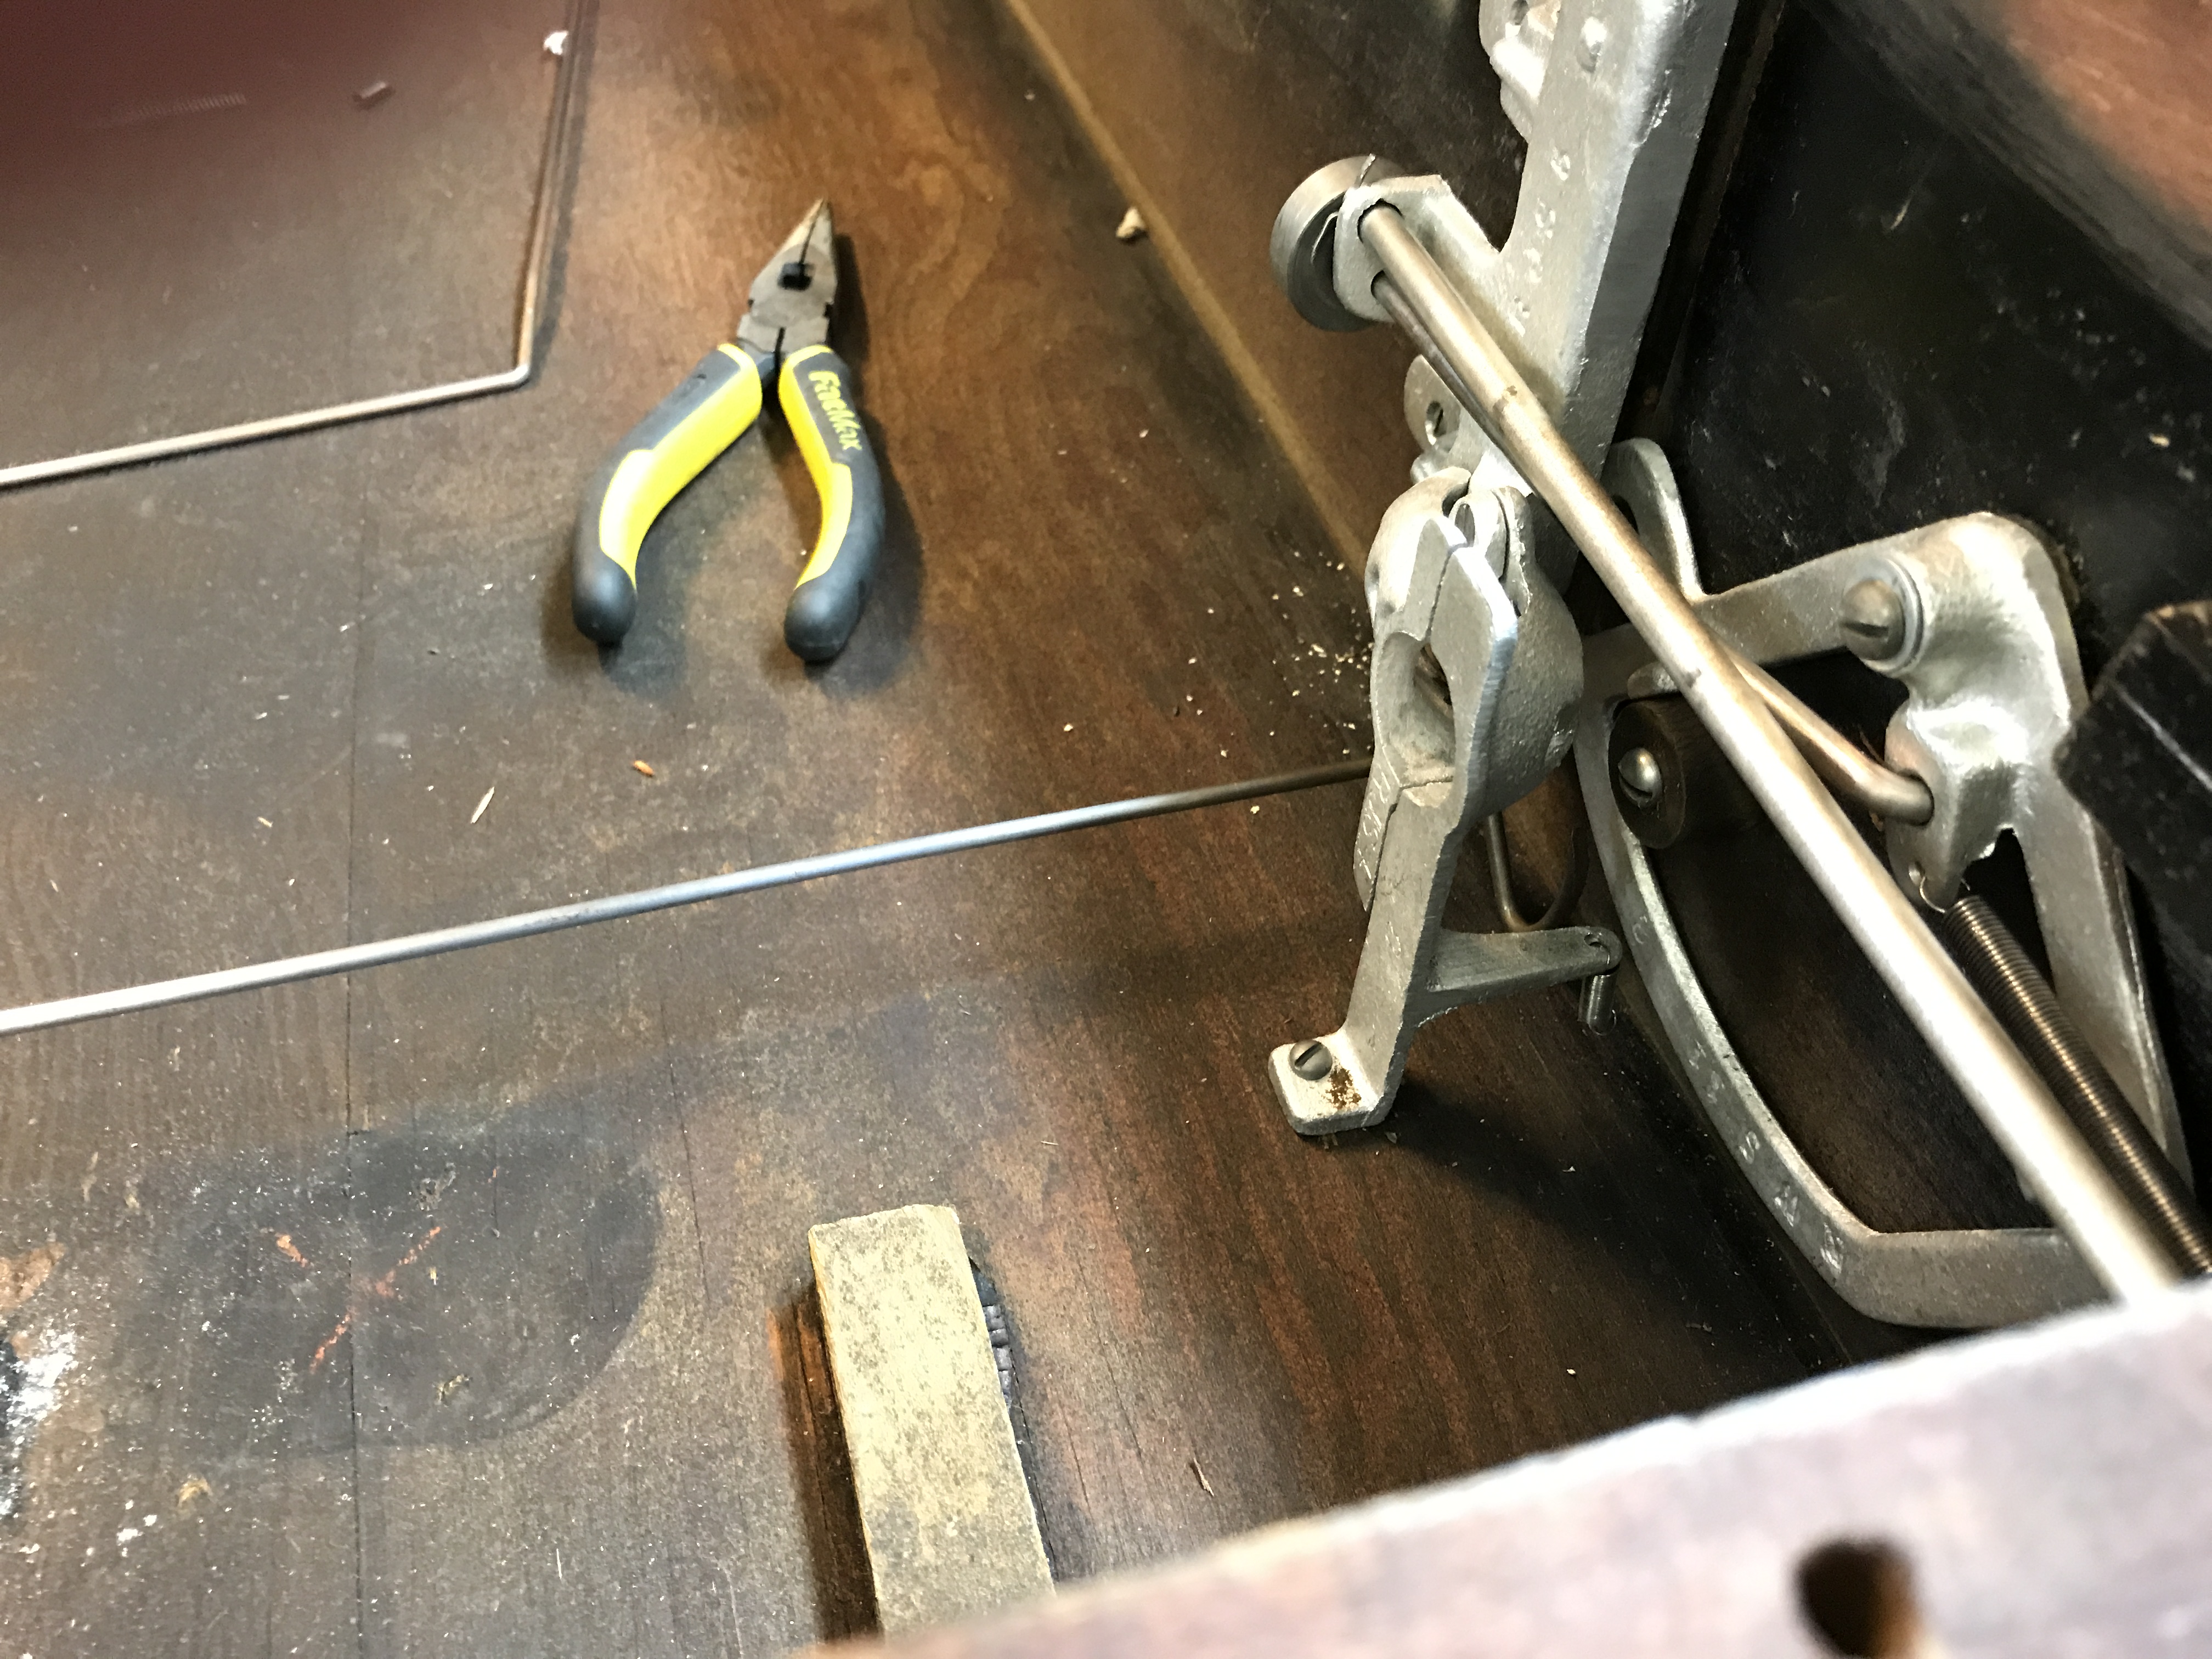
Game Reset Mechanism
The coin mech (first picture below) pushes the spring loaded mechanism (second picture below) to push the lower playfield down, resetting the brass rods for the puzzle pieces, allowing the balls to drain into the catch area for the ball lift mechanism, and allowing any ball that was captured in the “double score” hole at the top of the playfield to drop.

Partially Finished Game
I plan to restore the cabinet back to the original paint color, along with the new legs, coin door, and marquee holder. For now, I’m leaving it as it was to enjoy playing it.
Hi Pete
my world fair Jigsaw pieces are rough and badly faded..do you know if these are for sale anywhere(probably not)
or would you kindly send me a photograph from directly above of your pieces so i can try to replicate the images them some how..!
it would be a great help
best rgds Geoff(london)
Hi Geoff, I looked around quite a bit for reproductions when I restored mine but could t find anything at that time. I’d be happy to send a hi-res picture but won’t be back with the machine until October sometime. If you’re not in a hurry I’d be glad to then. Mine are somewhat faded as well but still look ok if you don’t look too close.
Do you have any photos of the double score mechanism as mine is missing. I know there is a rod that goes from the coin slide side but i cannot work out how it connects to the double score hole.
i have one of these machines I wish to sell. Any thoughts on the best way to do that?
eBay or Pinside.com