 From Billboard Magazine 1965 and ’66


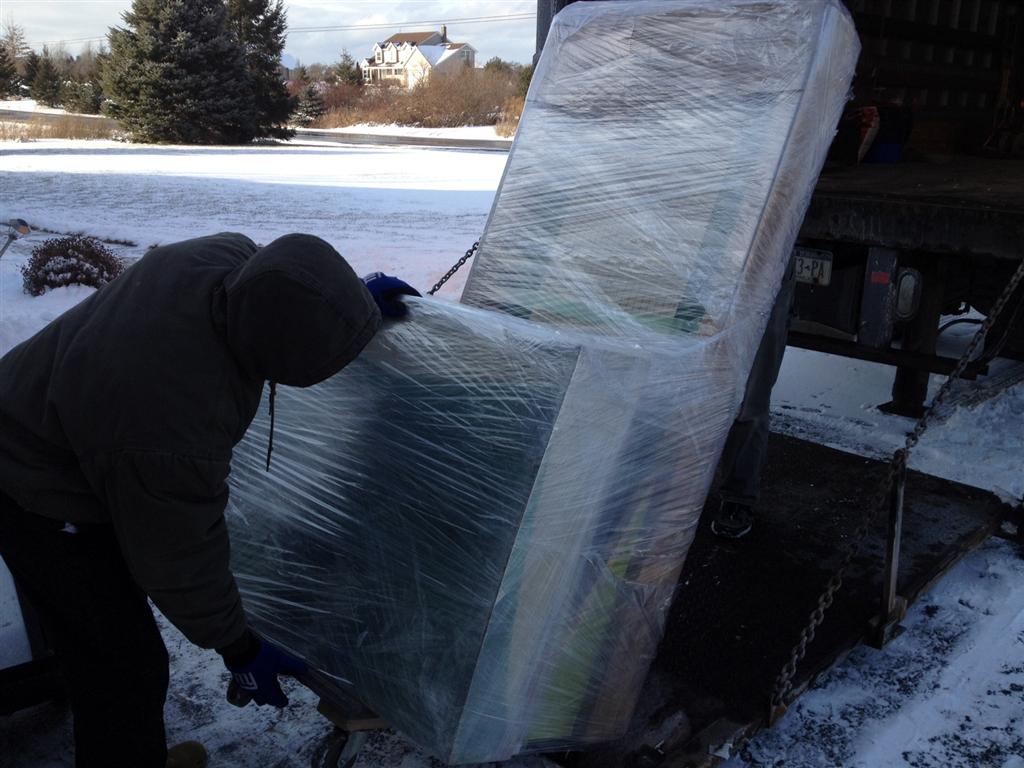
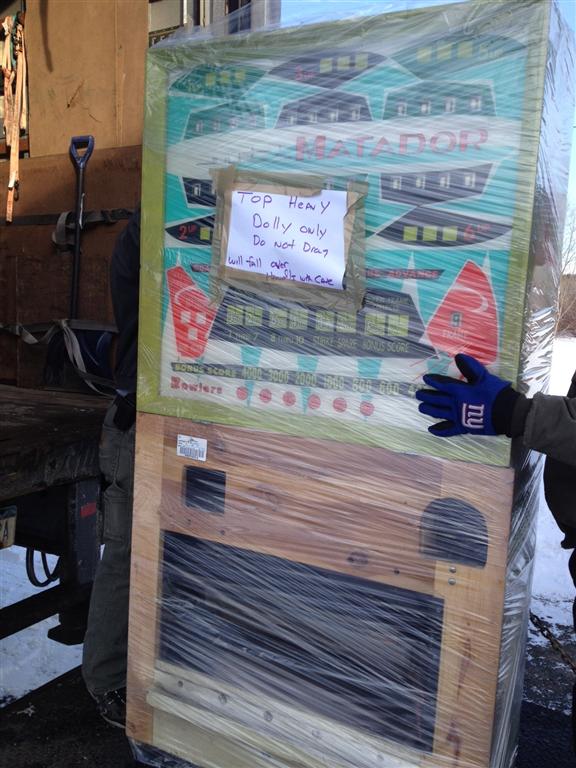
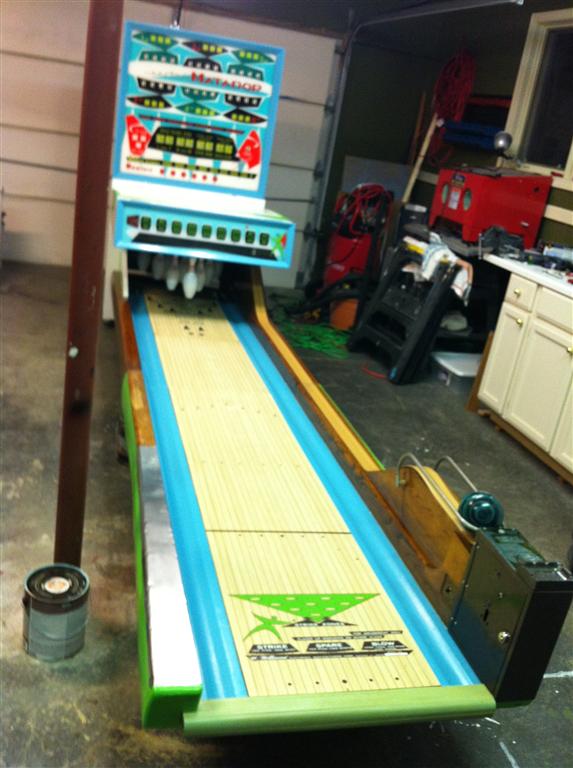
Here’s some pictures of it being packed up in Rochester NY for it’s journey to Kansas City. I bought this bowler from Mickey Treat of http://coinopny.com/, and had a very positive experience. Mickey normally does restorations of these bowlers, but he agreed to sell me one unrestored as a project.

I’m beginning the restoration process. Here’s what I’m starting with.

")
")
")
")
")
")
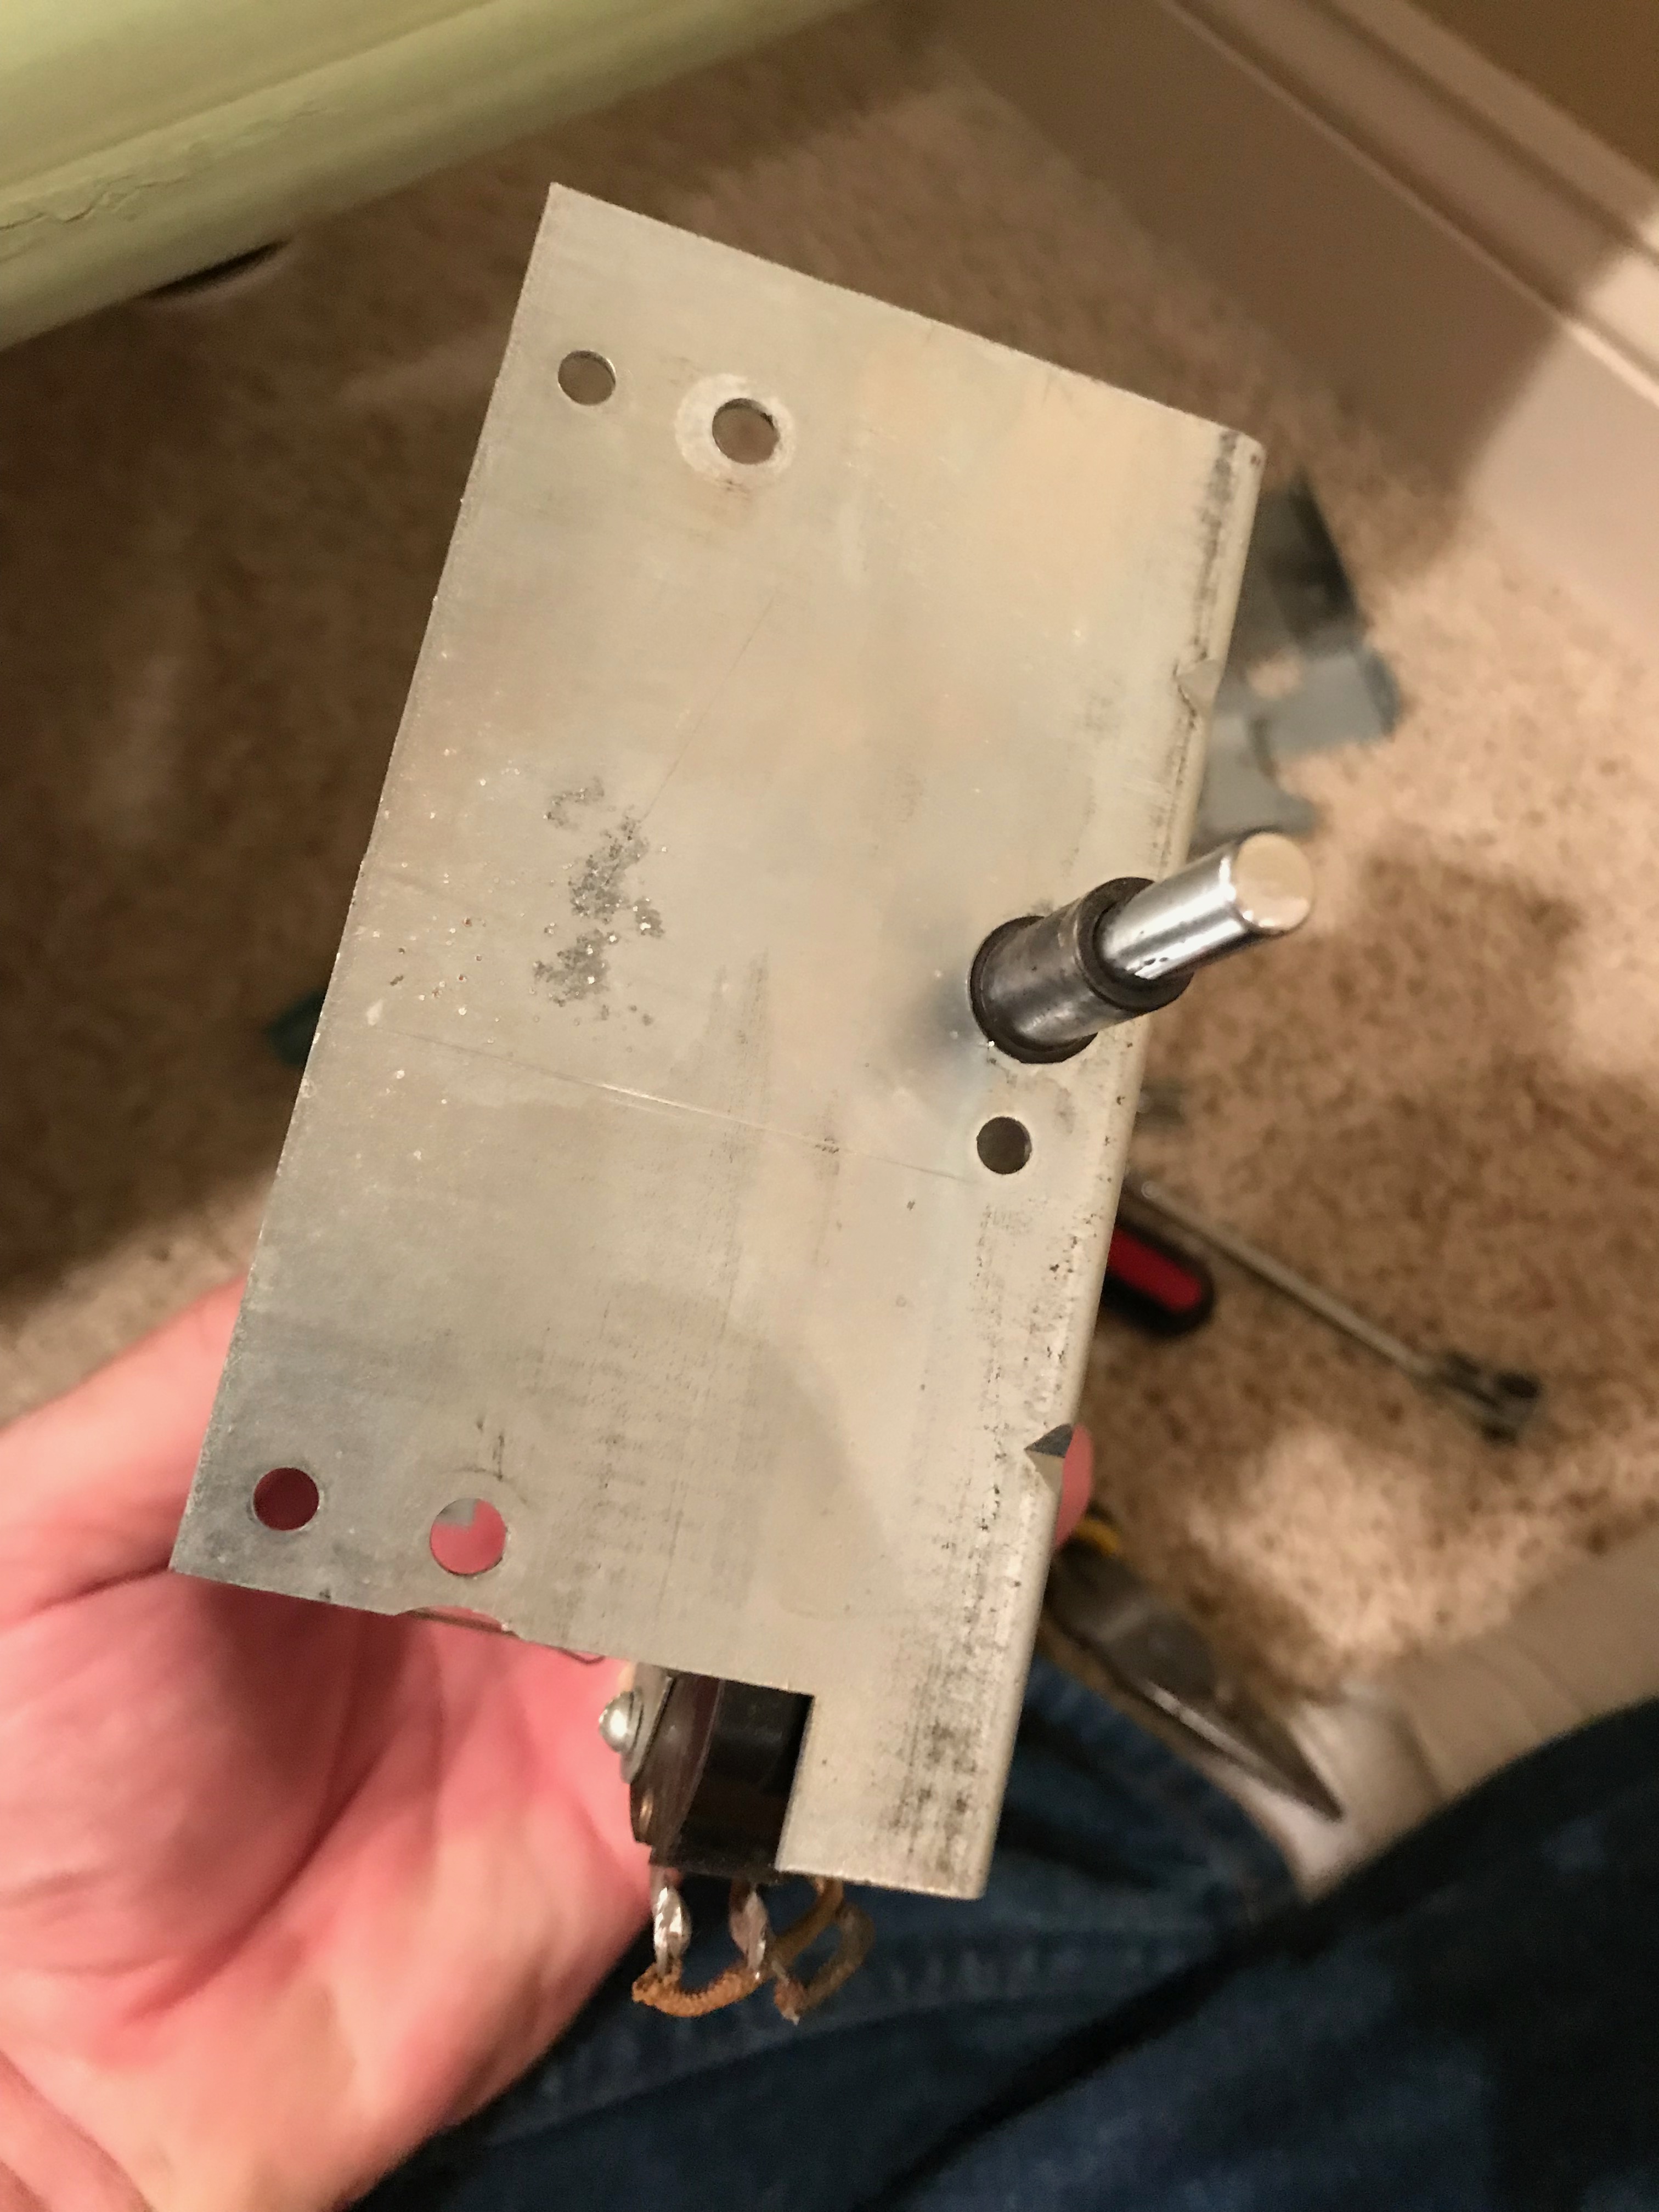
There are two broken switches which I have to rebuild with piano wire based on Shaggy’s repair suggestions.

After
")
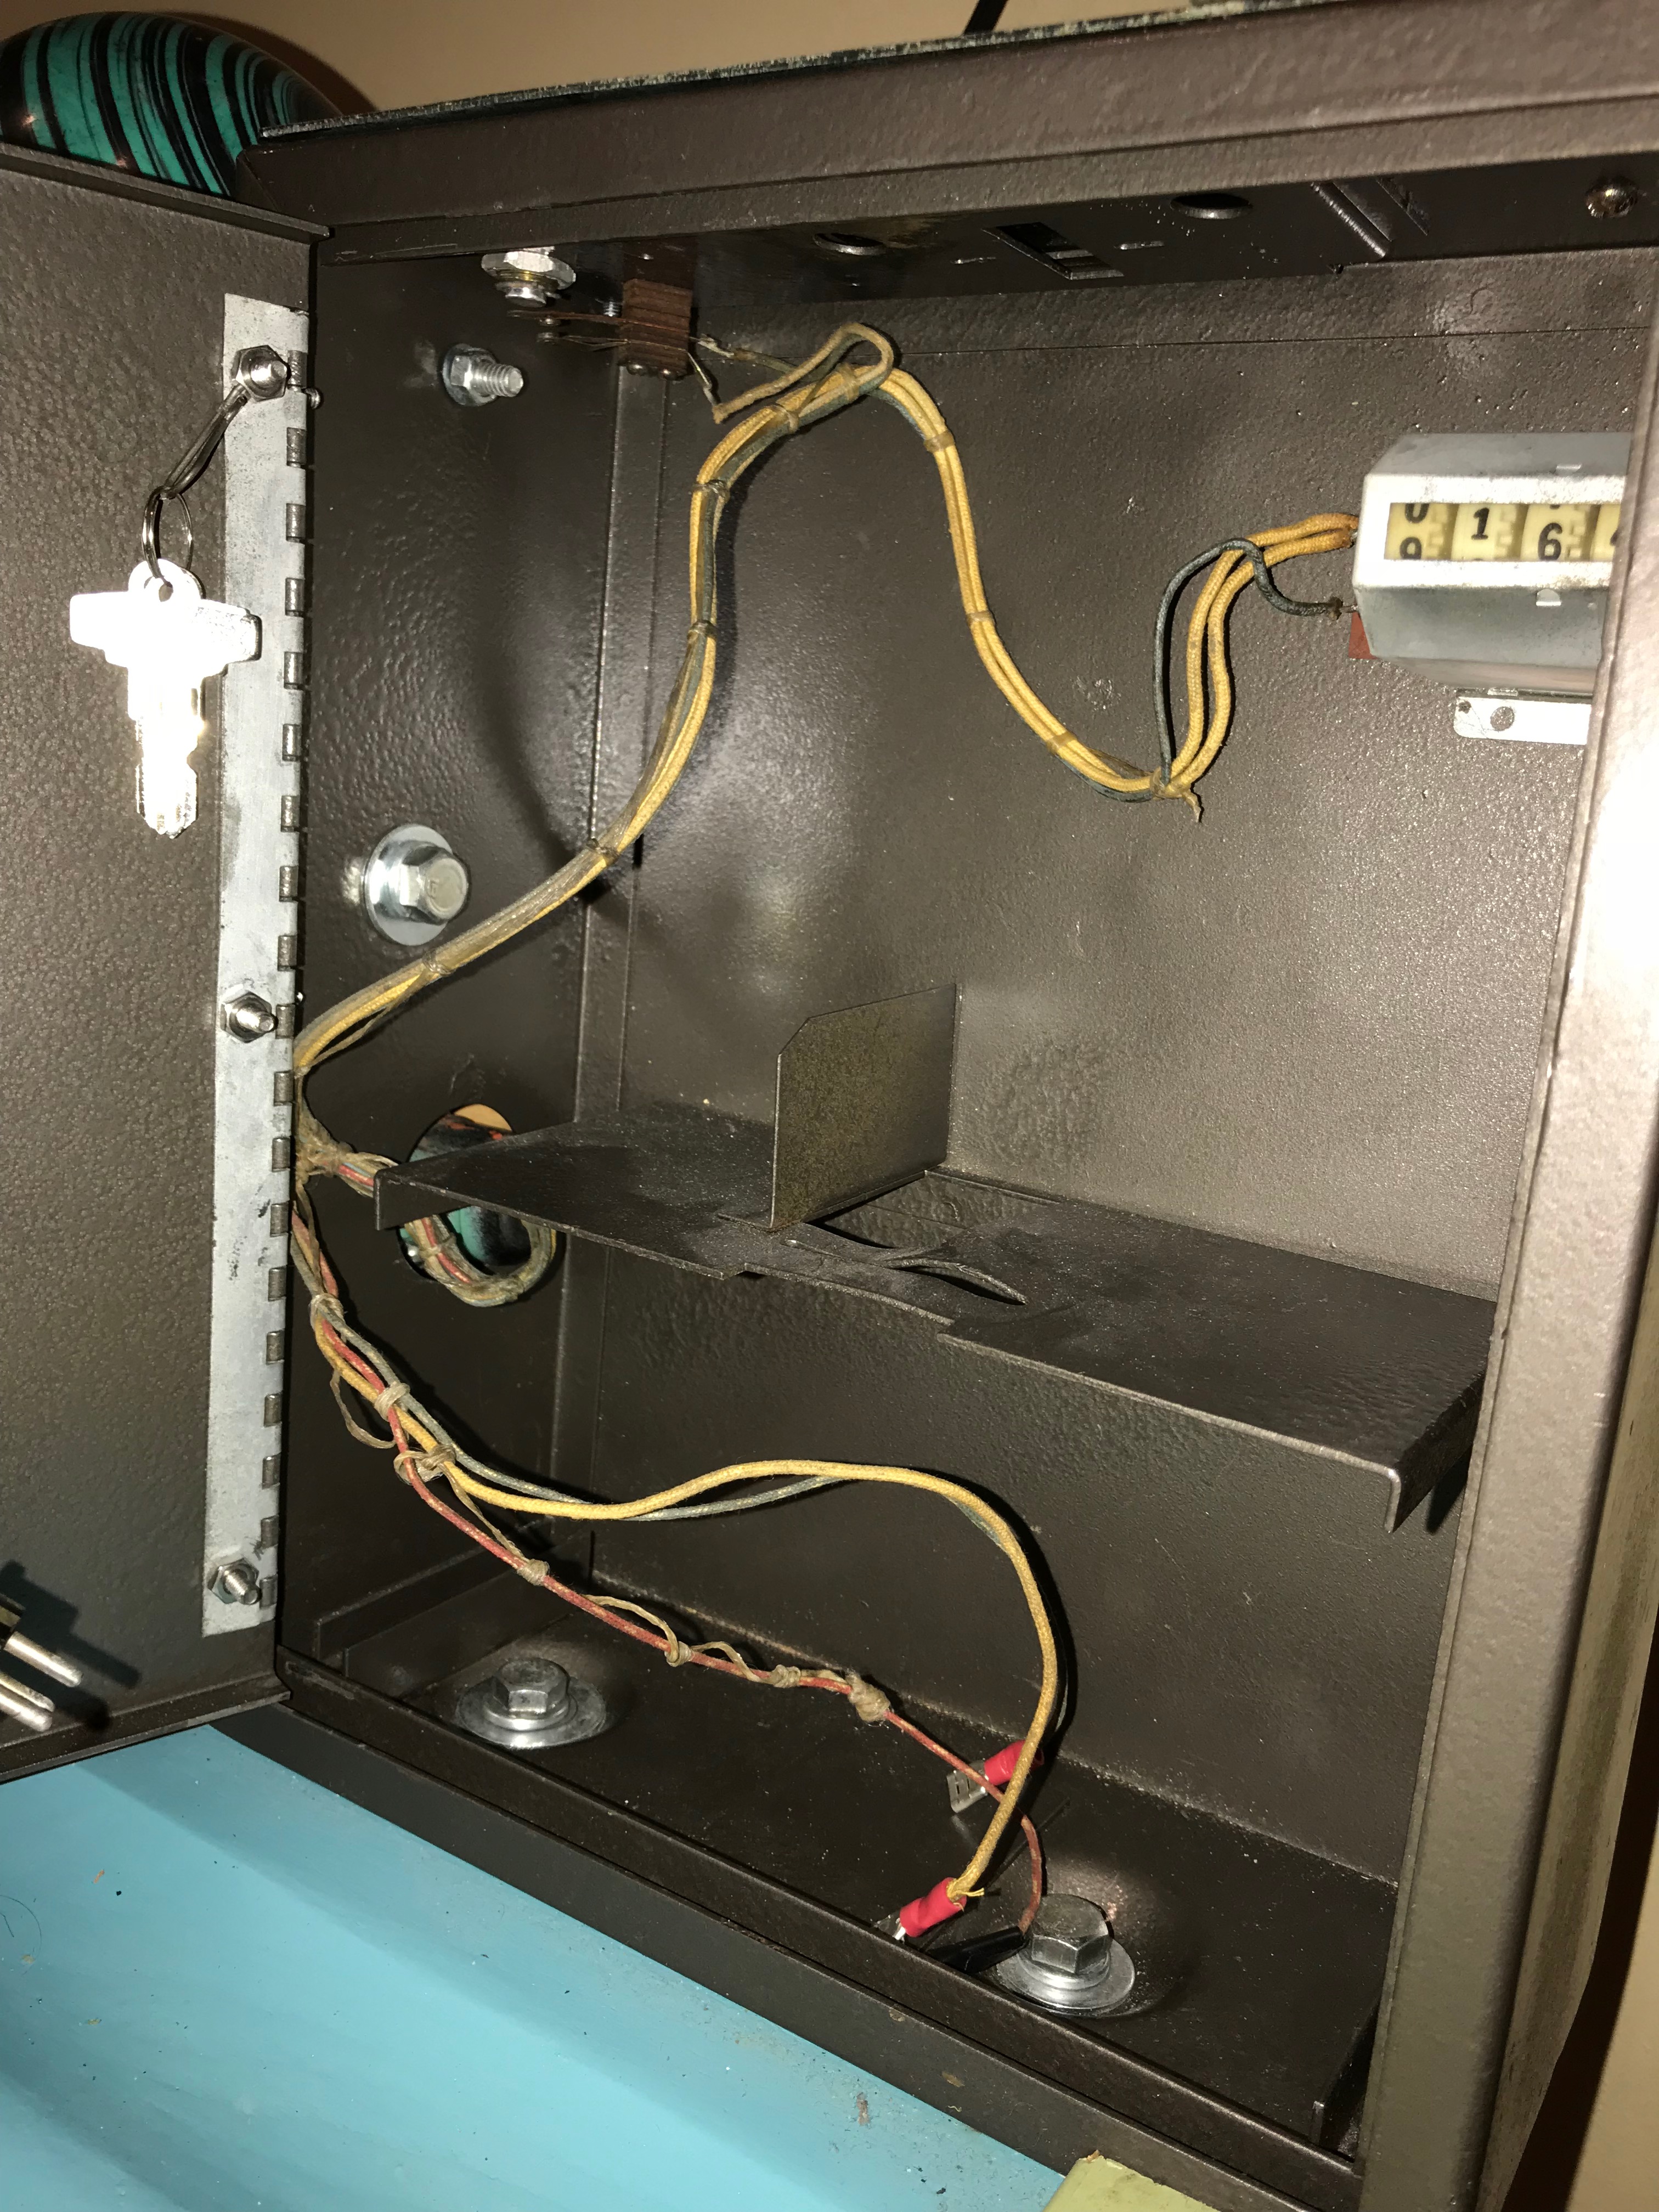
The coin box is really rough, dented, and repainted, but the paint is worn. Looks like someone set a can of red paint on the coin entry plate at some point and left a red ring on it.

Overall it’s in pretty good shape. It’s very dirty from years of being stored, and some of the components like the coin and metal ball guide are pretty rough.
There’s quite a bit to do, cleaning, painting, mechanicals, etc.
Ball Return Guide
The ball guide was rusty so I decided to see what bead blasting it would do.
Before:


After:

Quite a bit of bead blasting, cleaning, and a clear coat really cleaned this up.
Woodwork
There is some woodwork that needs to be done. Generally speaking the wood is in OK shape, but there are some problems.
The left end cap is split in 3 pieces and had been pretty hacked up. To fix this I removed it, lightly sanded it, glued it back together and then used wood filler to fill all the cracks and nail holes.
")
")
The end of the lane where the shin guard rubber attaches must have been sat or stood on, and was severely cracked, and had been repaired poorly in the past.
")
")
")
")
")
")
First I had to fix the split in the piece that I removed.
")
Then re-attach it.
")
")
")
")
Coin Box
The coin box had been pretty mangled. The coin entry plate had paint rings, and had been somewhat hacked up. The coin return button area had a doorbell button attached for free play. The paint was pretty rough, and the wrong color. I decided to bead blast this as well.

")
")
")
Beadblasting:
")
")
After:
")
")


I used dark bronze hammer tone paint, which is as close to the original color as I could get. I hammered out most of the dents, but I couldn’t get it perfect.
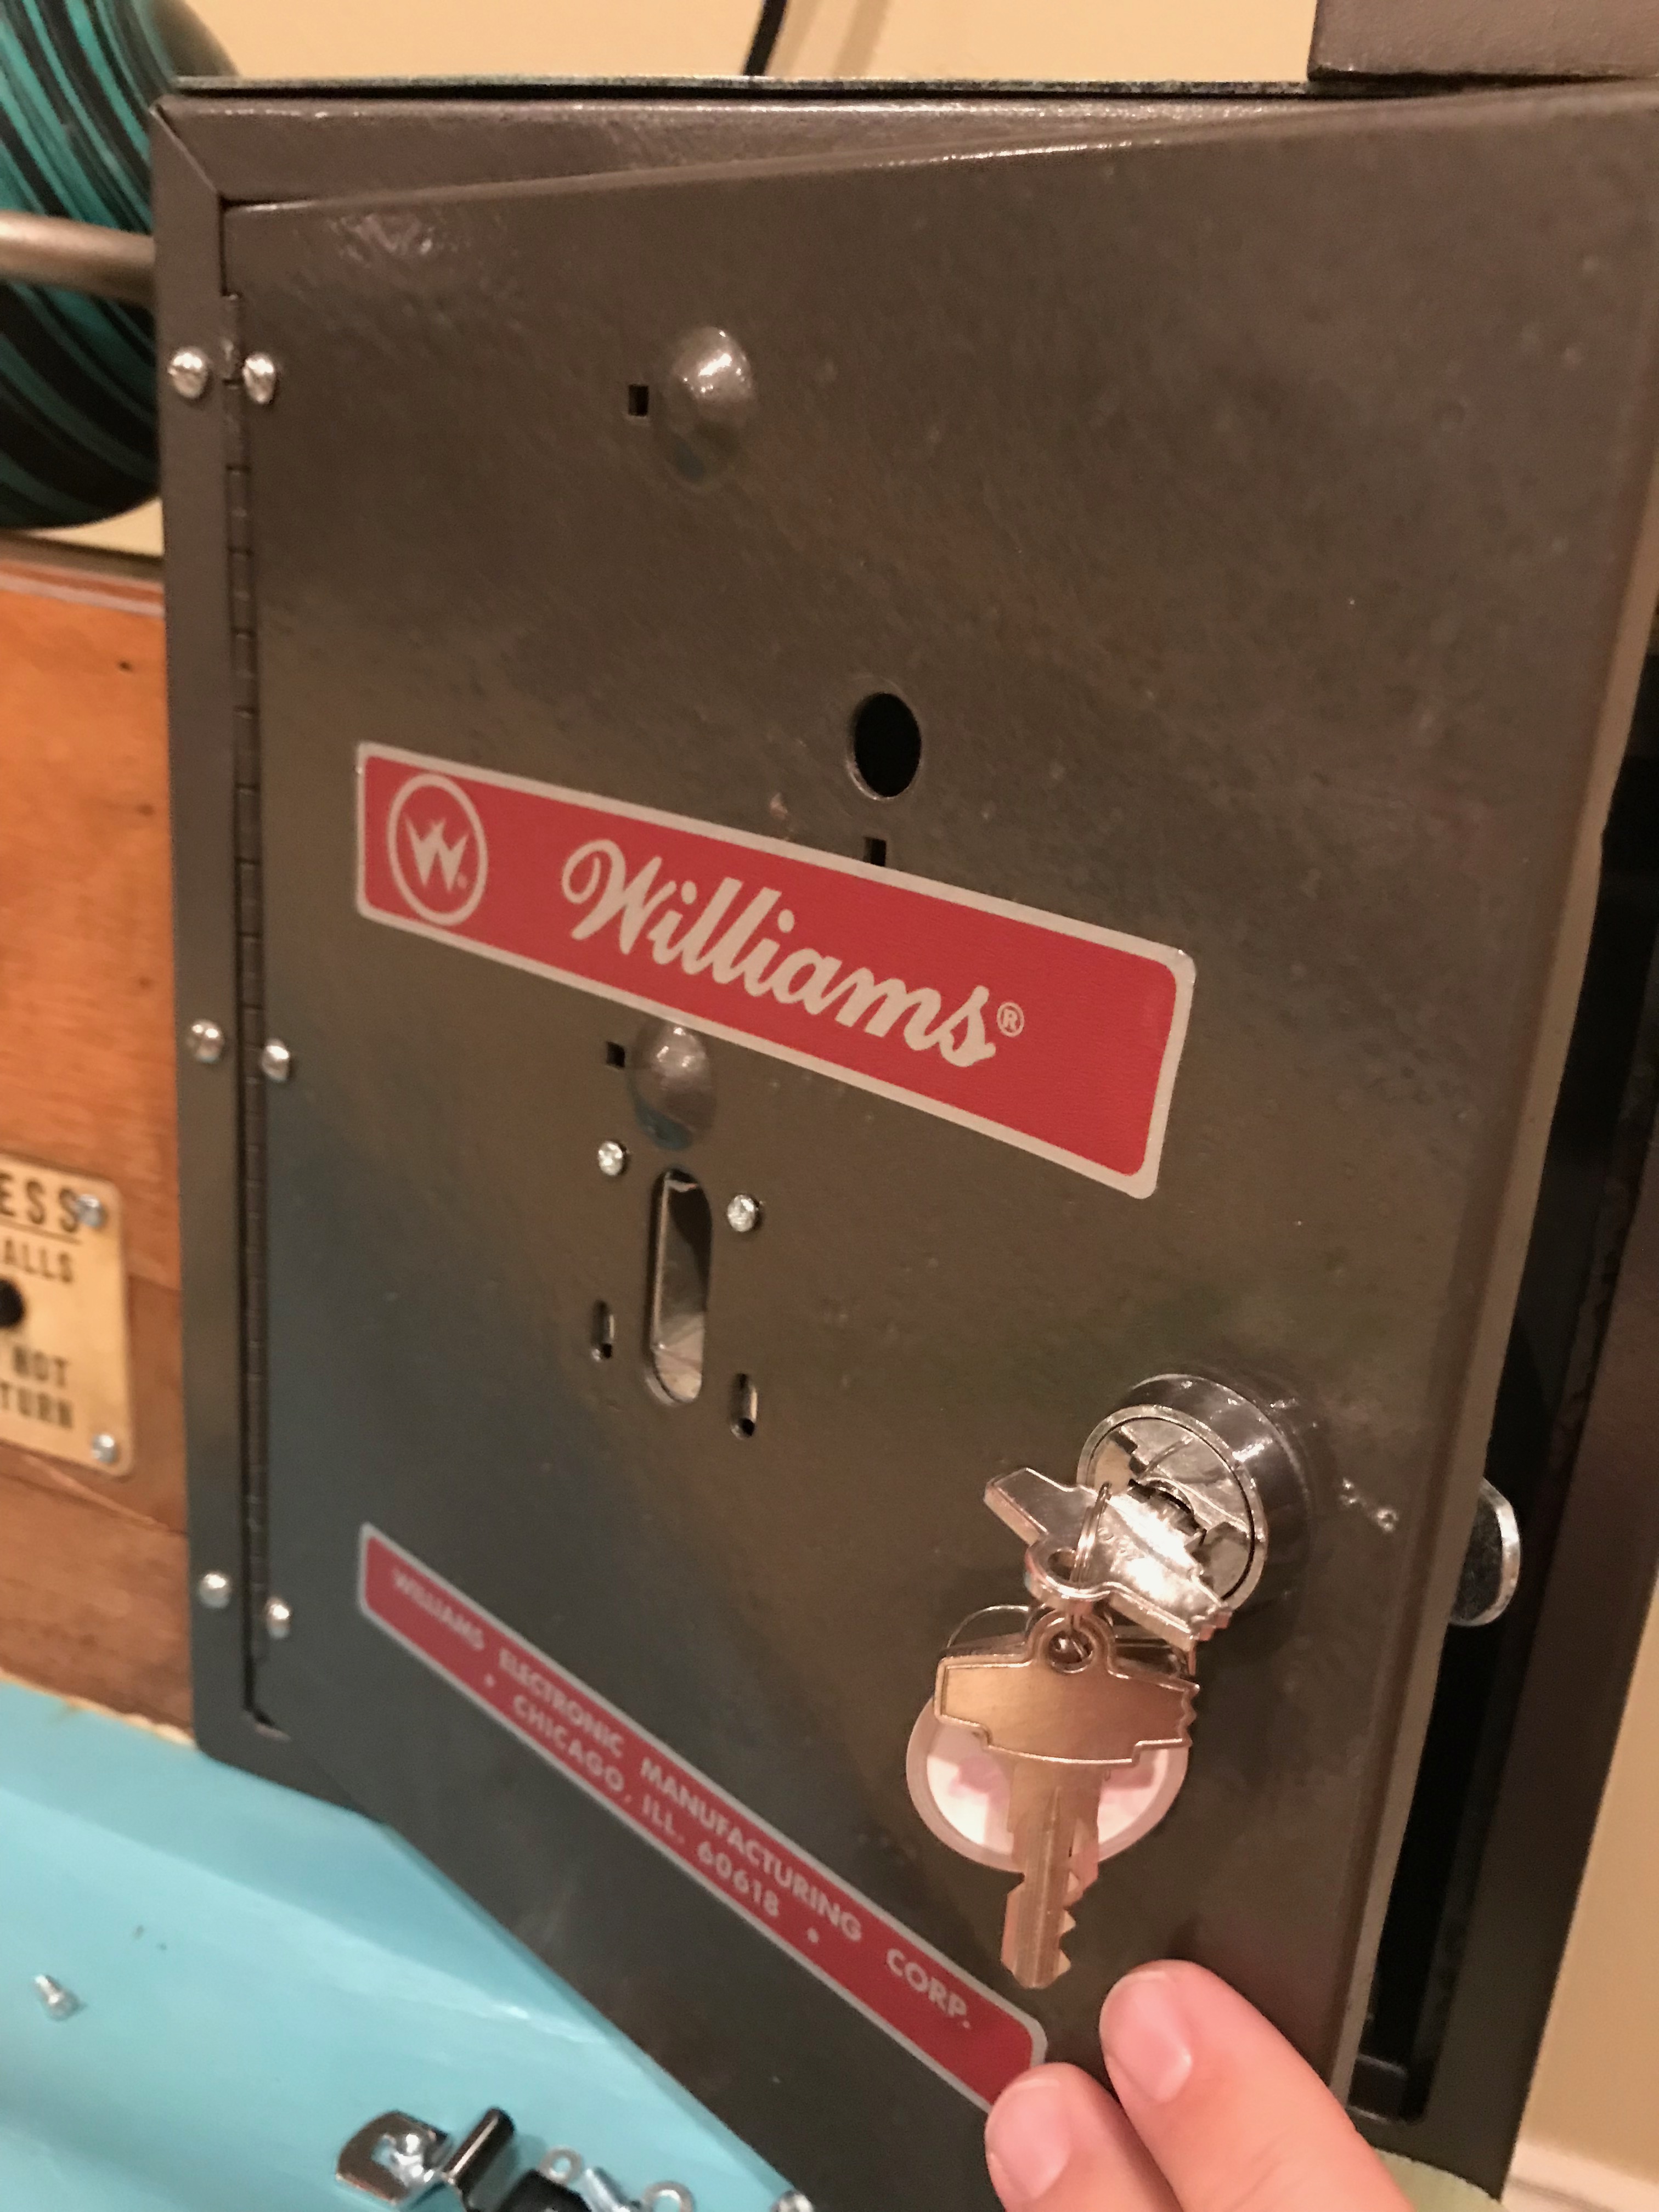
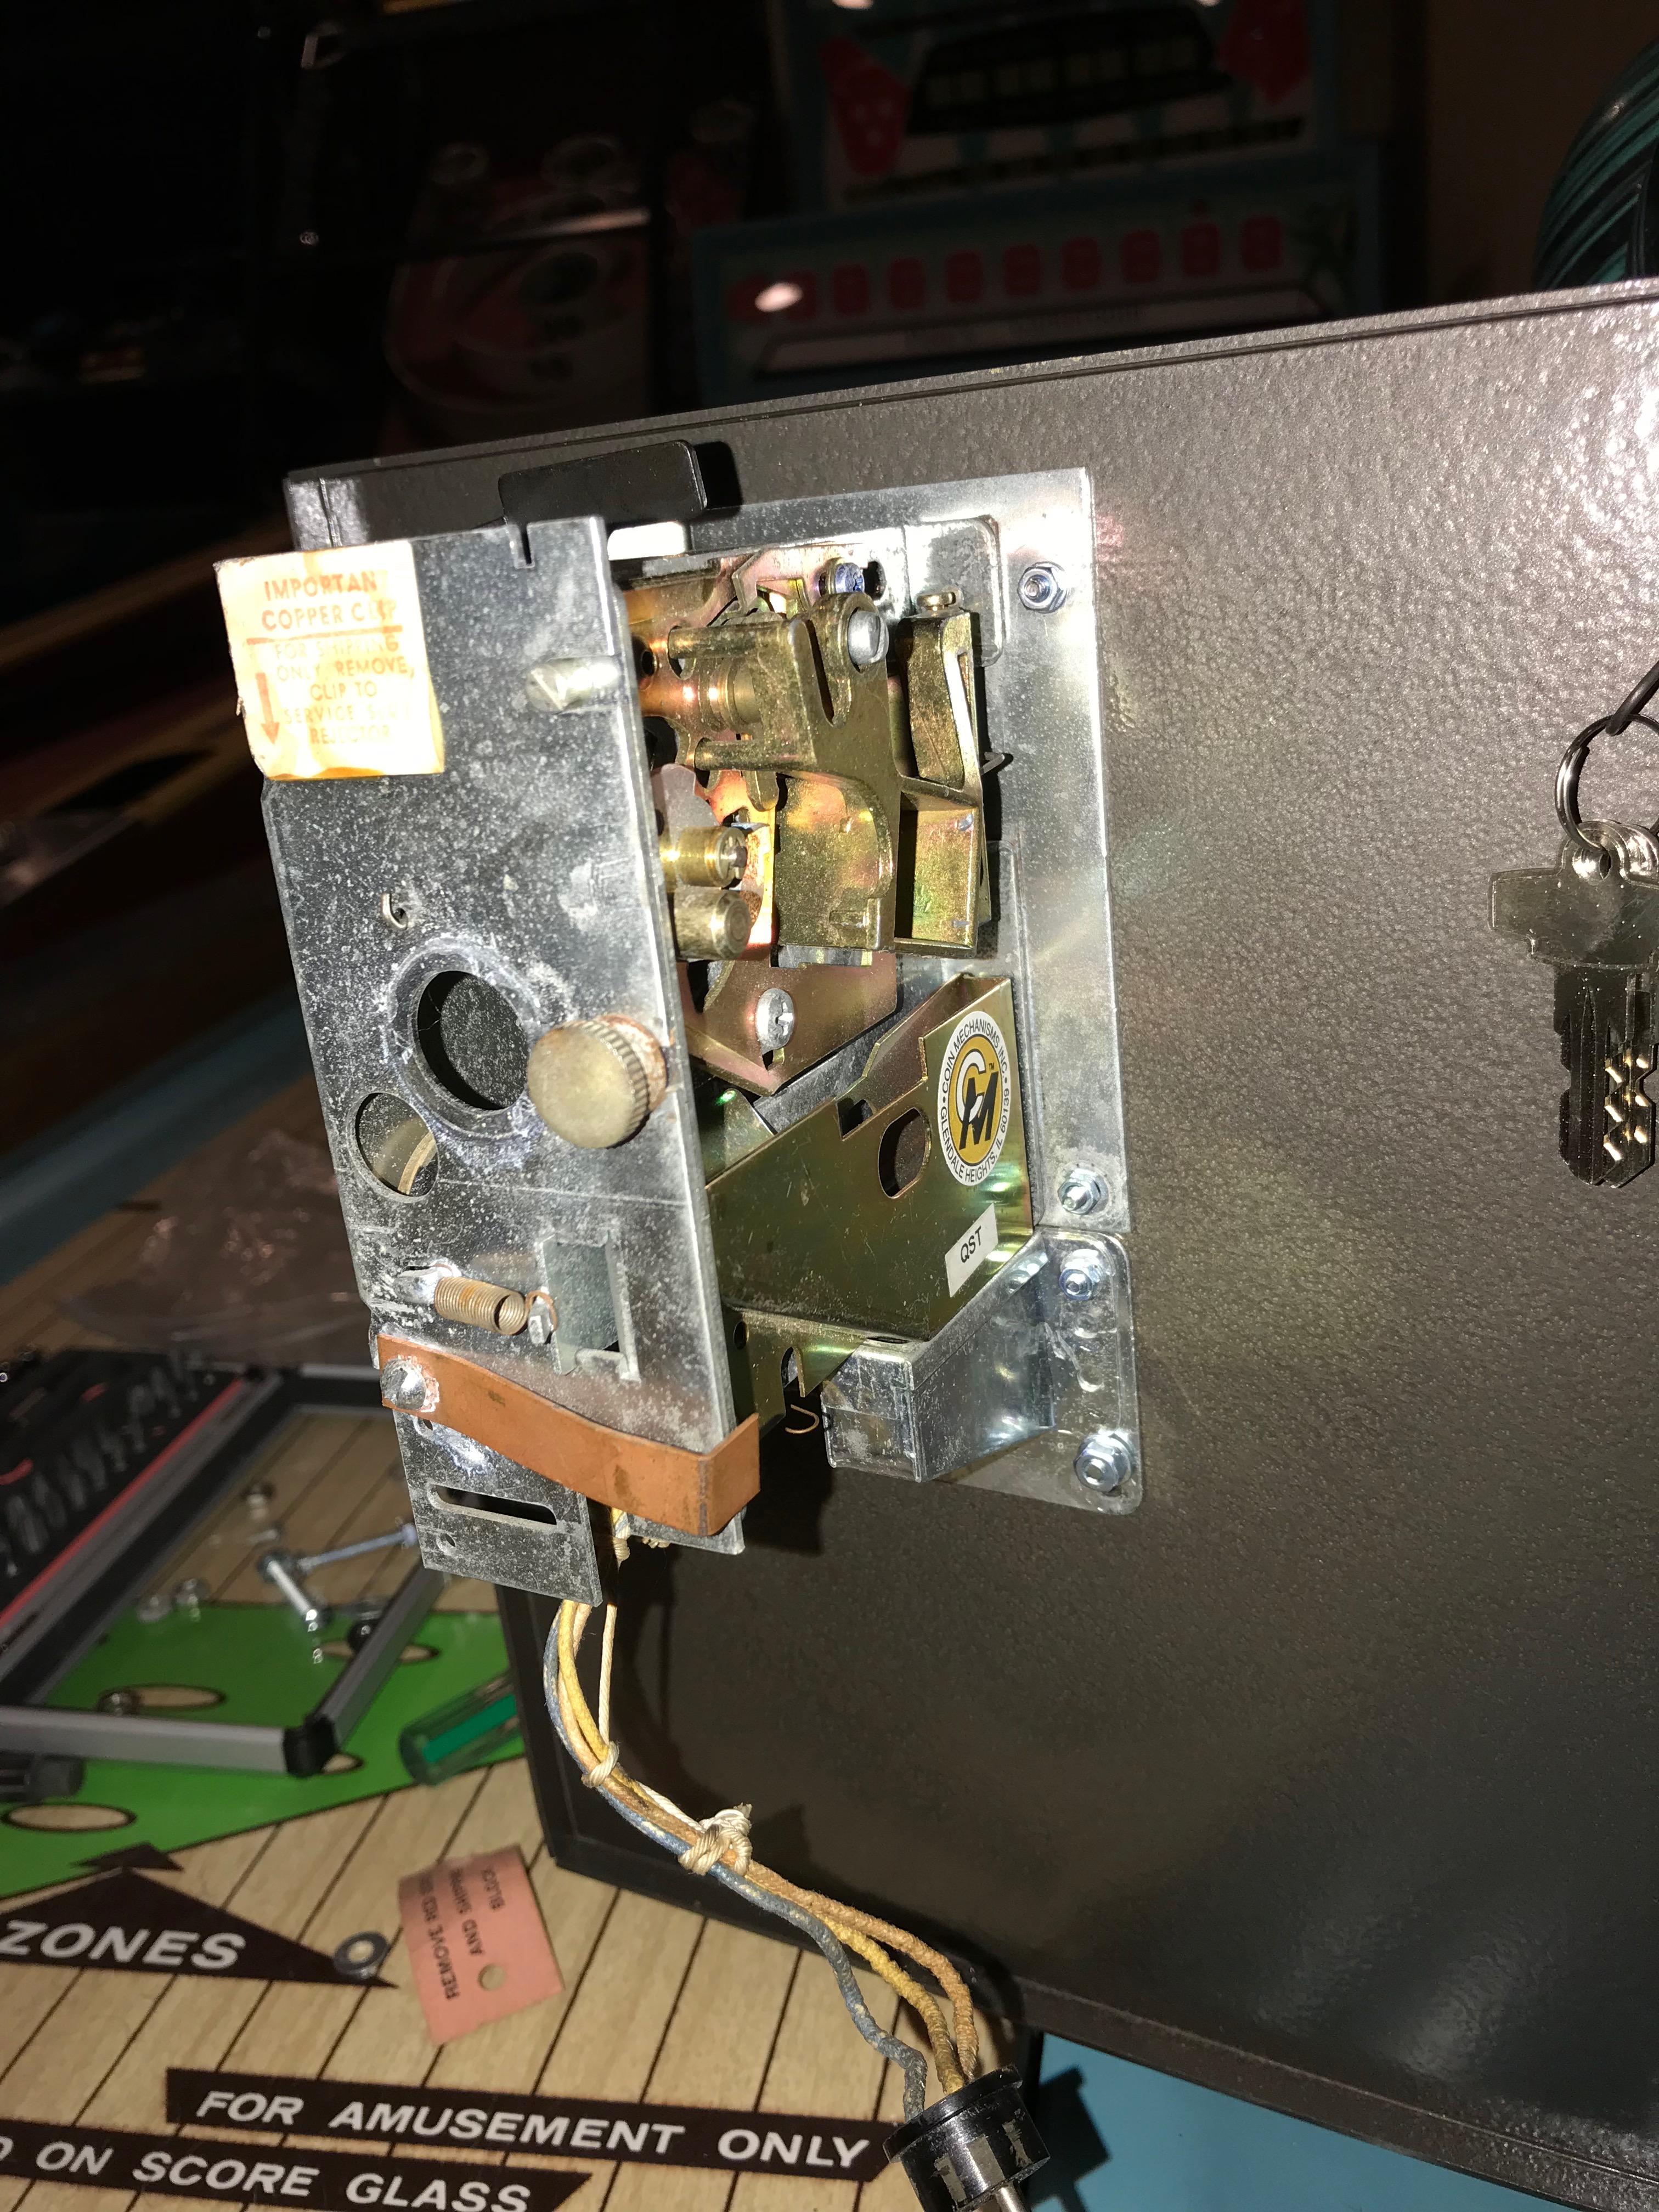
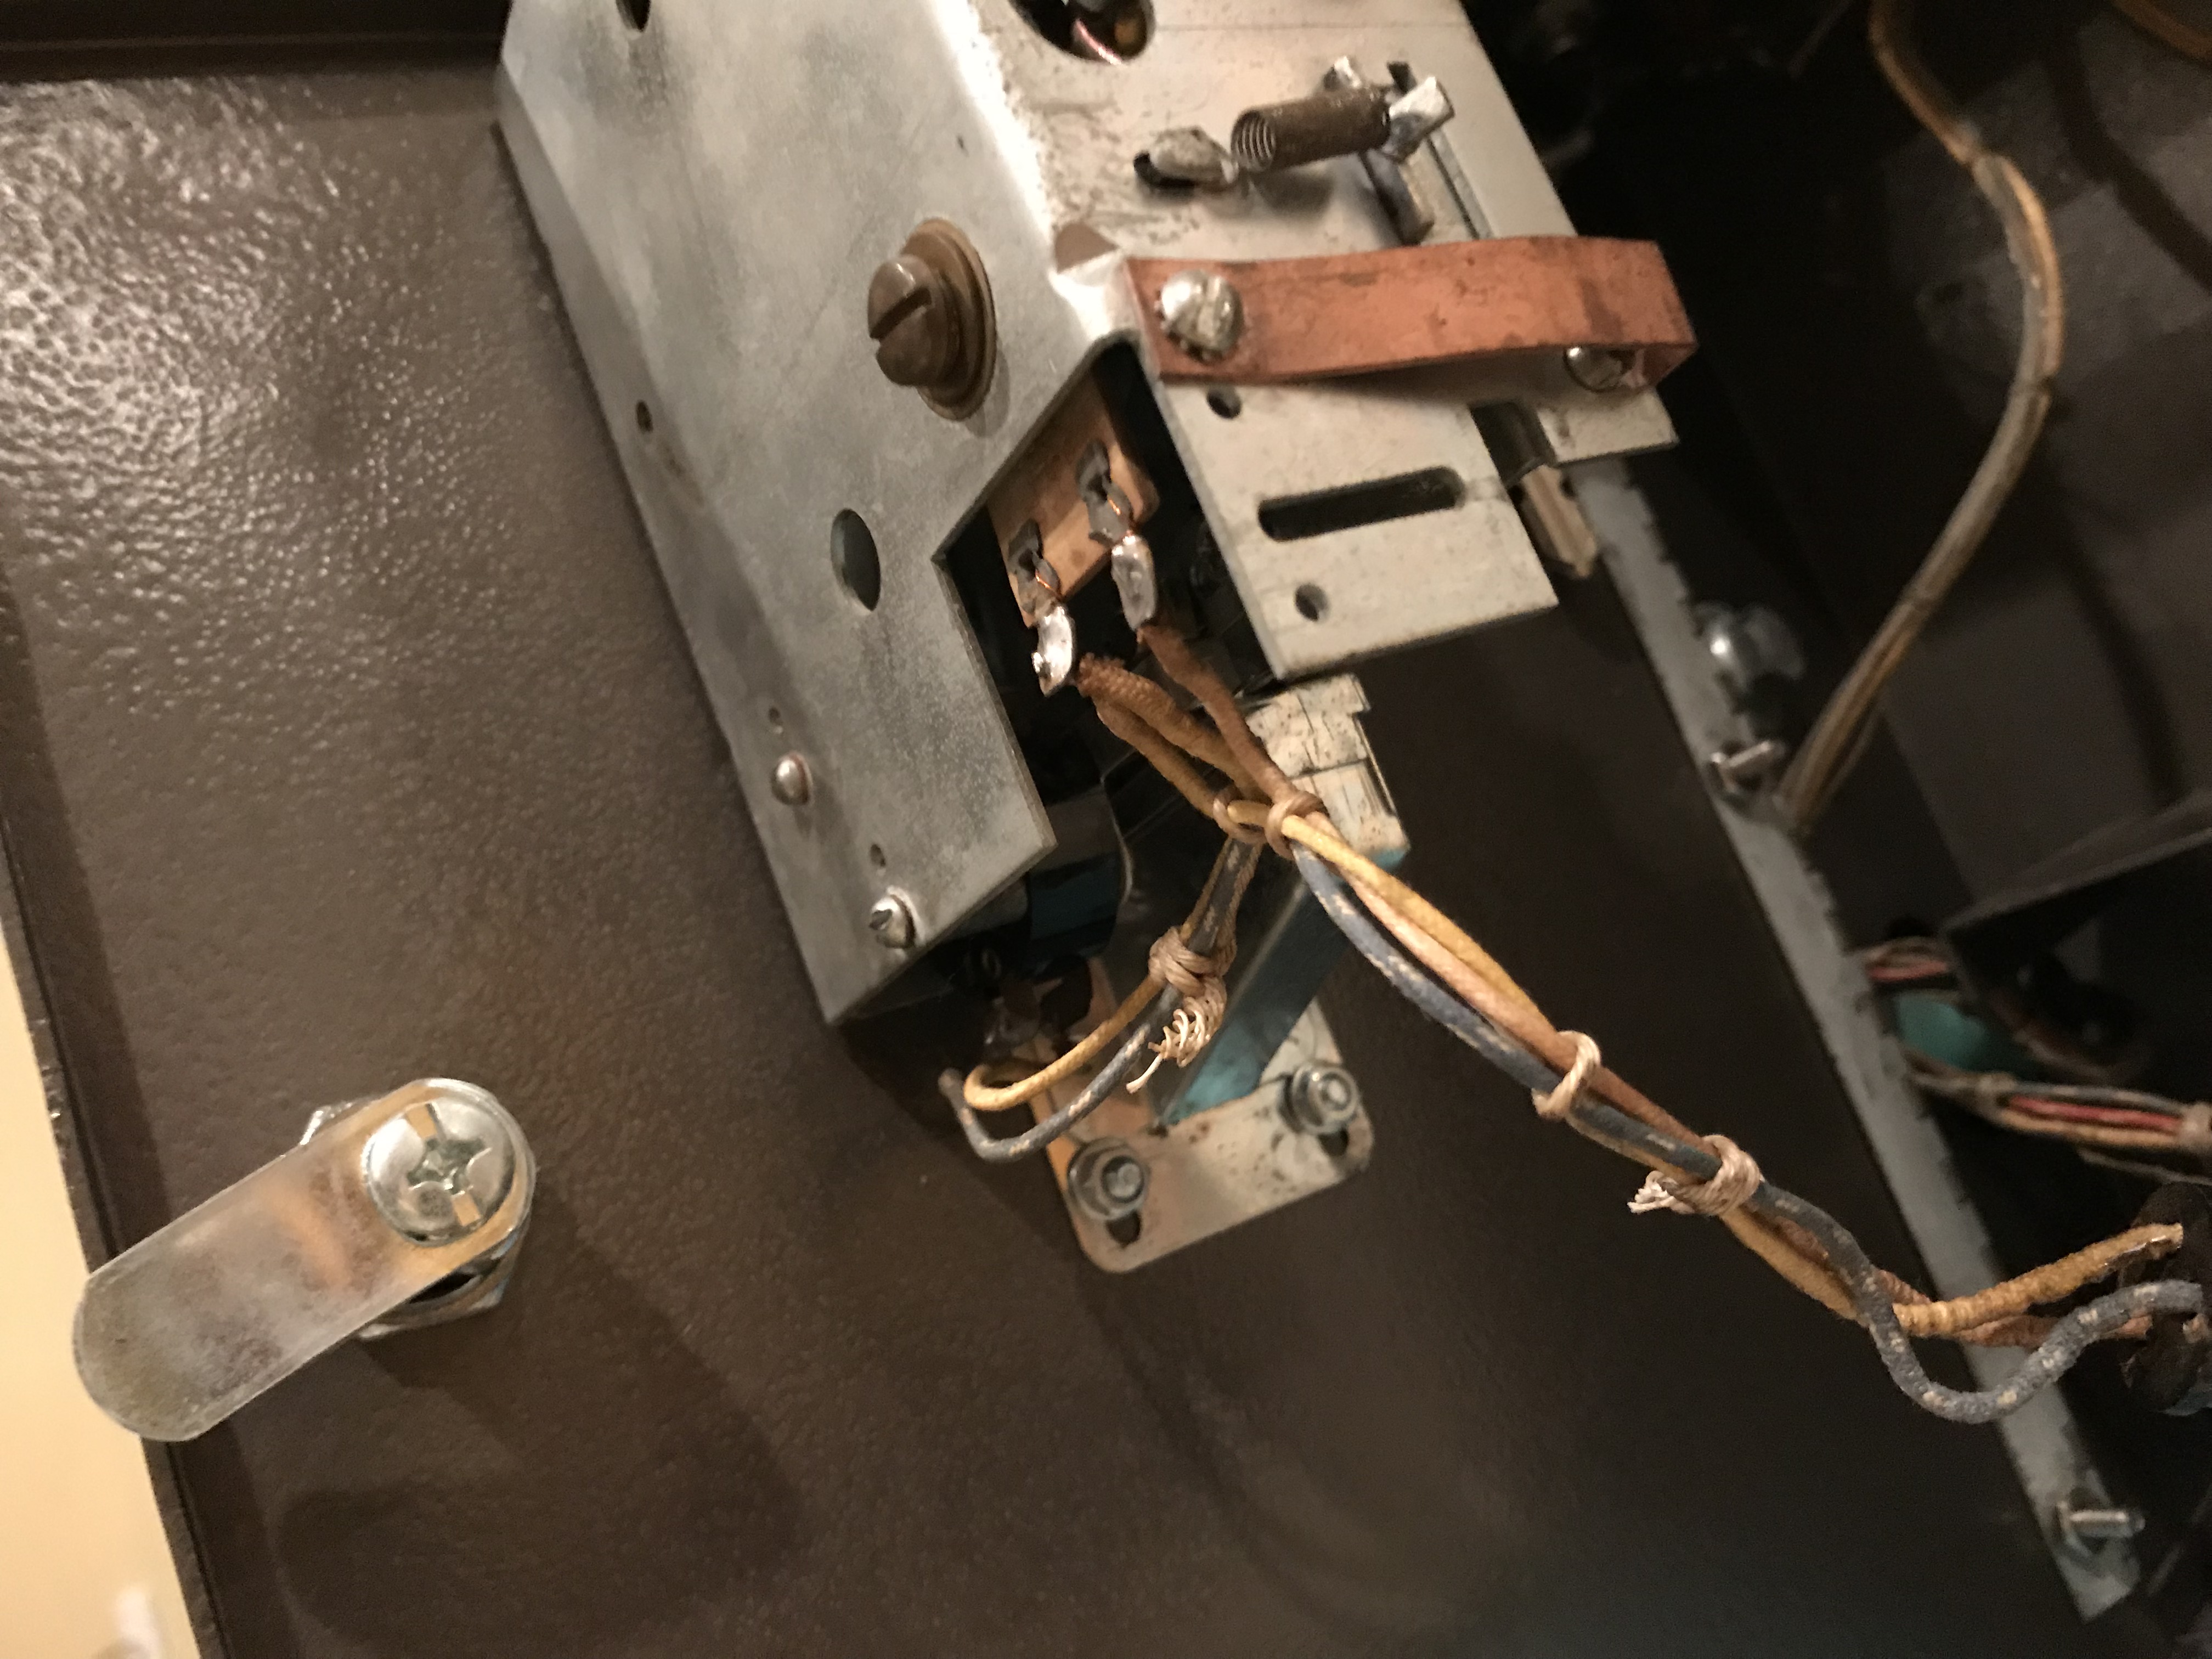
Restoring the Coin Mechanism
This particular machine appears to have been made during the transition of United to Williams. I don’t believe the the alley is original to this game, but I can’t find any pictures to verify the original alley would be branded United.
The coin box on this machine appears to be pretty unique. From pictures of machines around the time this game was made, very few have the same coin box. Through research, I found that the coin mechanism, and associated brackets appear to be the same from the earlier machines where the coin box slid into the rear of the ball return area.

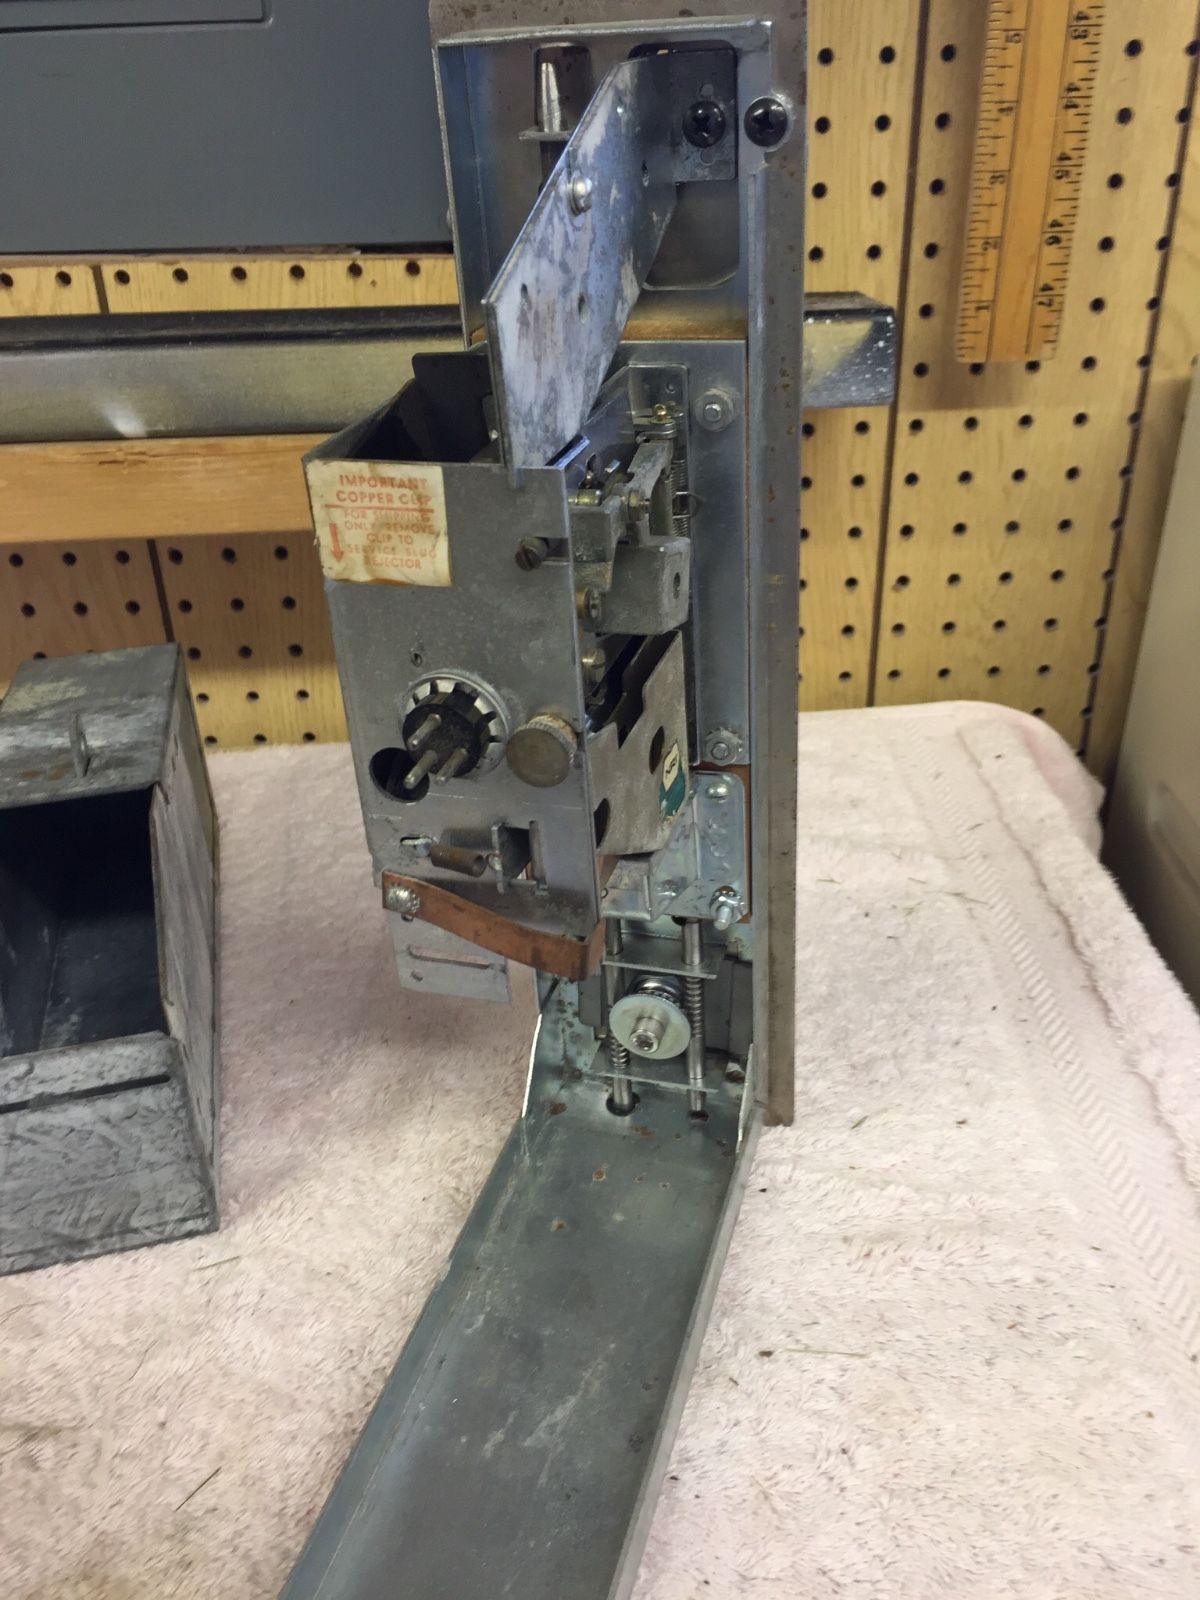
I found someone selling one of these on ebay, and bought it to use the parts to complete my game.

Ball Lift Assembly
The ball lift chain assembly was greasy, and gummed up with many years of dirt and hair. I think some rodents had called this machine home for a number of years. There were some various nut shells and other sights of habitation. The ball lift brackets were also gummed up and their rubber coating was coming off.
I had recently got a parts washer so I loaded it up with 2 gallons of mean green, some dawn dish washing liquid, and 19 gallons of water and proceeded to wash the crap out of the chain assembly and guide.
Before:


Scraping the old plastic coating off the lift brackets

Re-coating


I used some “dip” plastic you can get in the paint section at home depot. This is essentially a can of liquid plastic that you can dip stuff in, and it will solidify after a drying period in to soft plastic, like what you would have on the handle of a screwdriver. You can even get it in different colors.
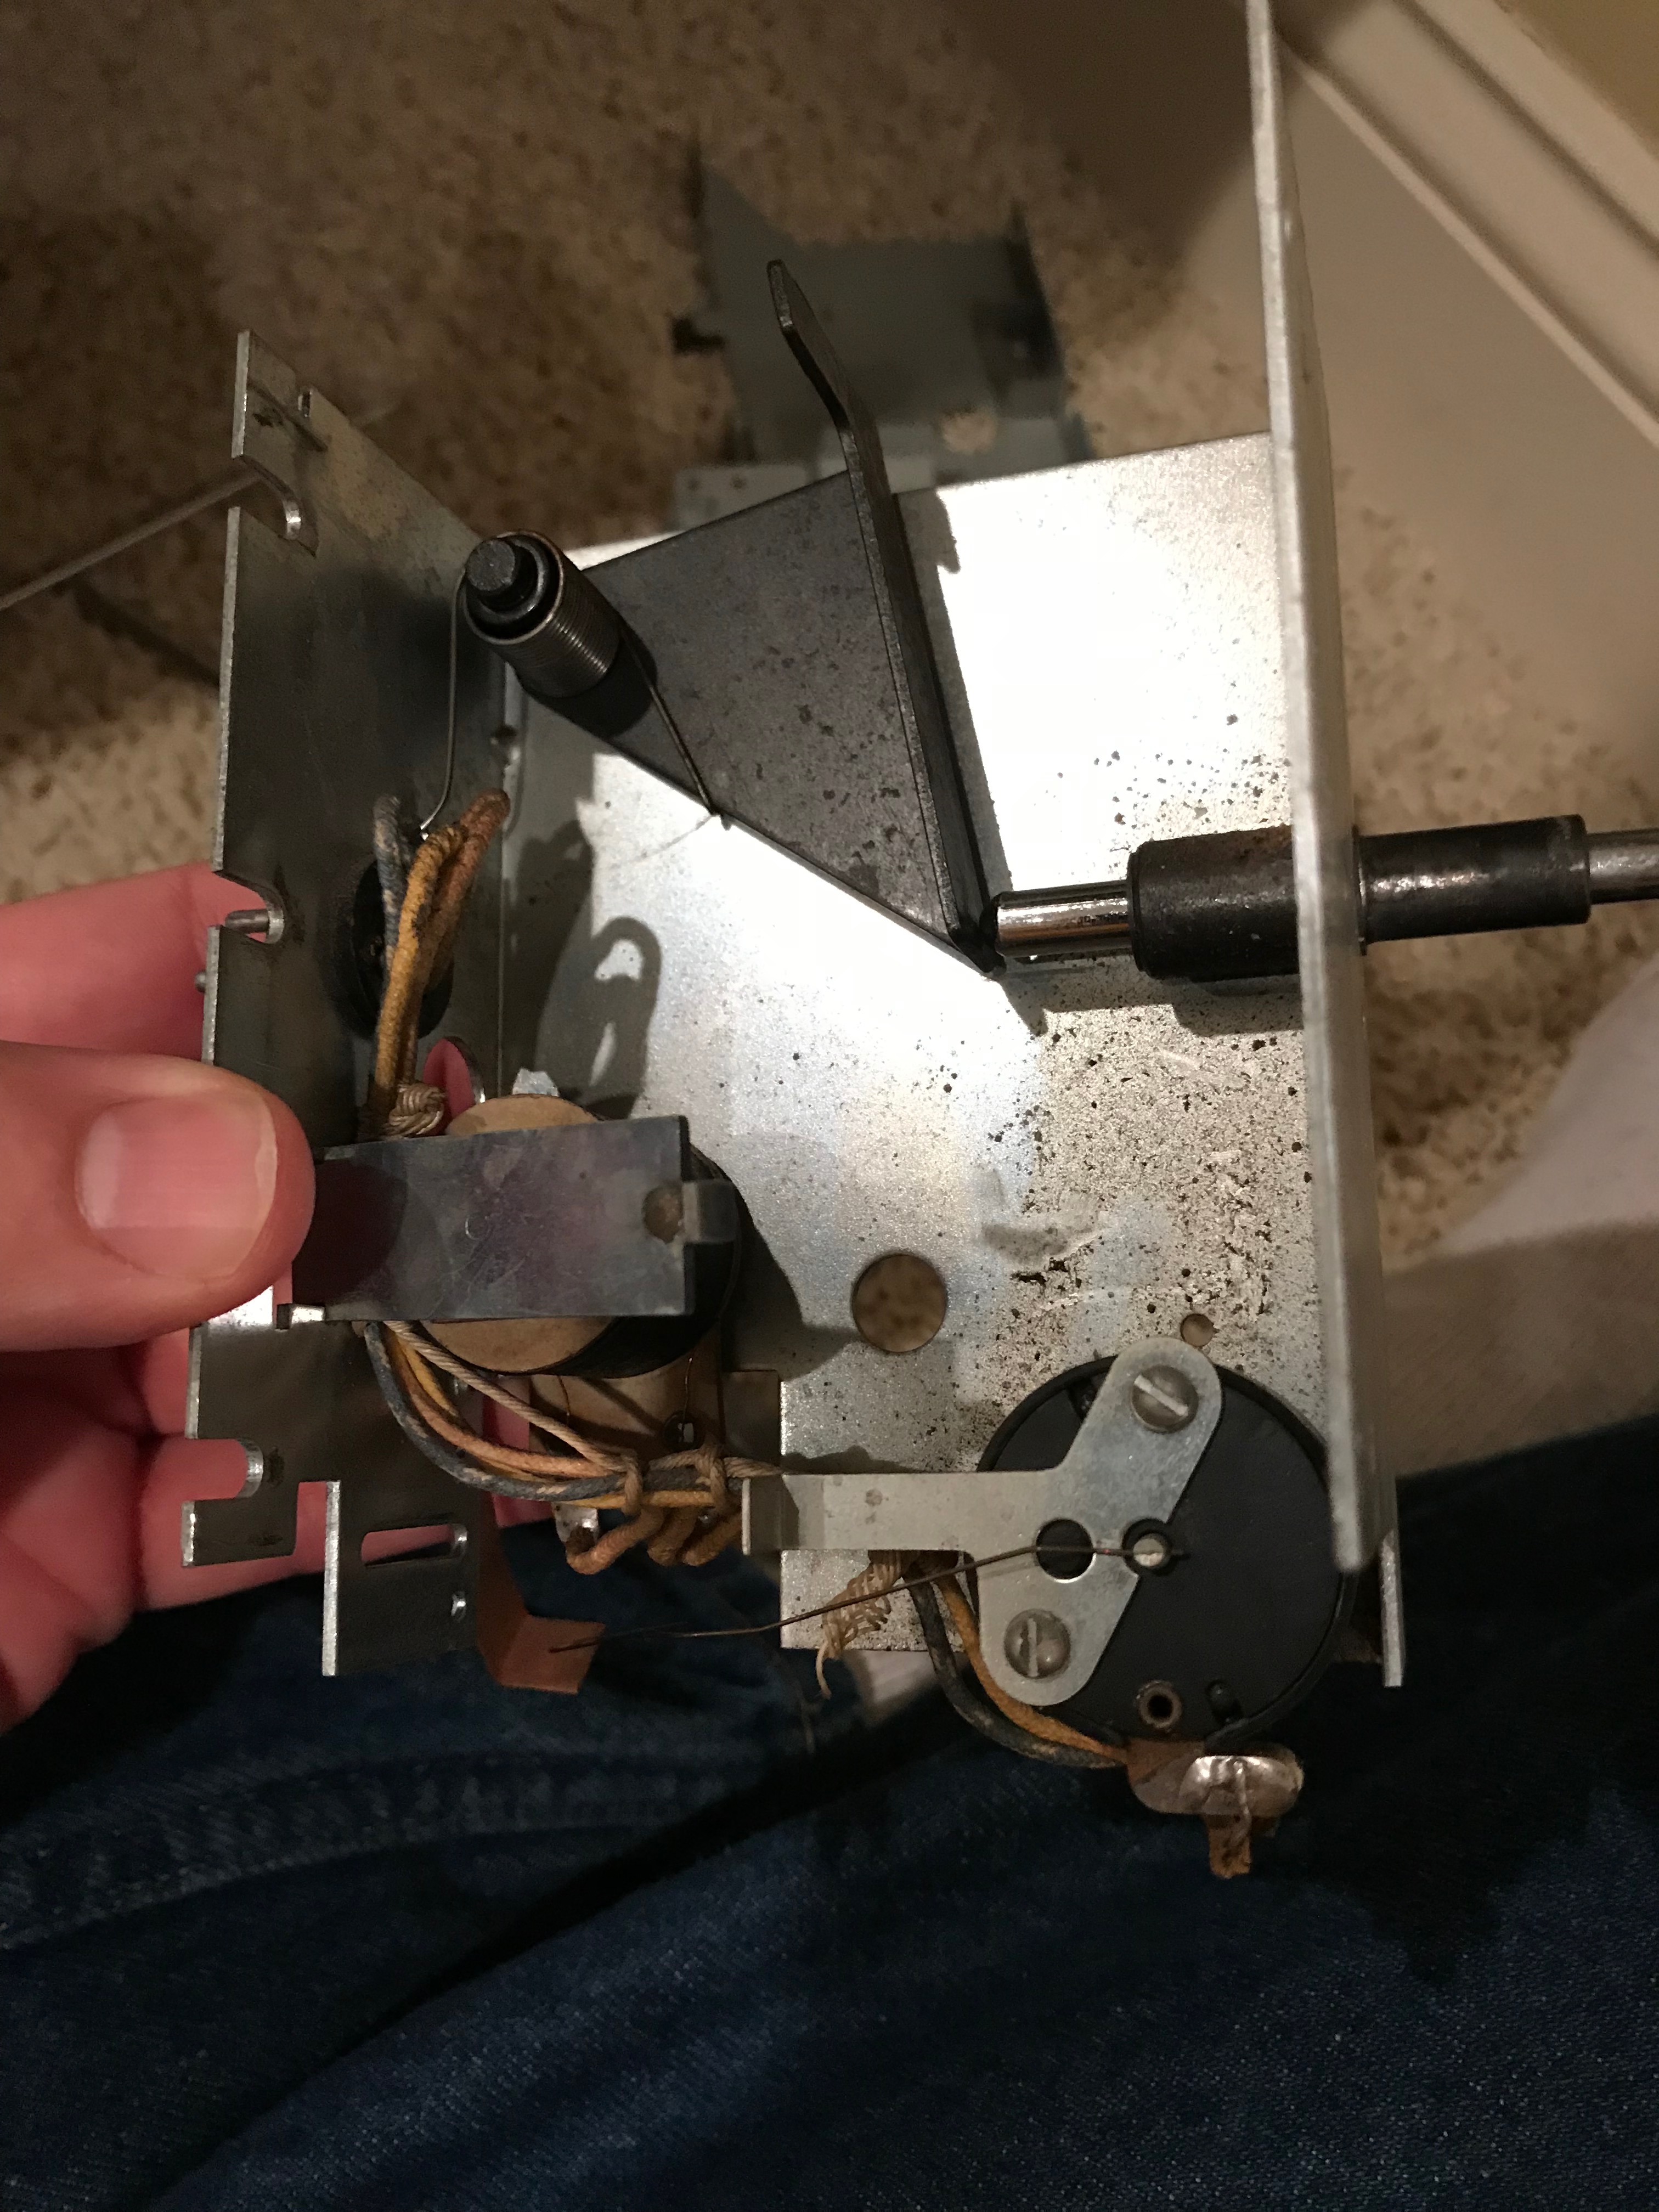
Electronics
All the units are pretty sluggish or frozen. I also noticed some burnt and melted coils (not too many). Here’s the process for re-building the stepper units on this machine.
Start with a picture of what it looks like before you disassemble it so you can reference it if you forget where a spring attaches etc…

Remove the springs and arms, as well as unbolt and remove the gear/sprocket.

Clean up the plate and the posts that the arms go on with solvent or mean green.

Clean up the arms, making sure to clean out the holes in the arms and in the plate where the parts go through with something like q-tips and mean green. Then lube metal to metal parts with Teflon gel lube.


While you are there, clean out or replace any aluminum or brass coil sleeves, as well as replace any nylon coil sleeves.

Look how nasty these old nylon coil sleeves get. When they are dirty or greasy (never lube these) the plunger doesn’t slide freely in them and that can cause the units not to operate properly.
")
")
There’s just a few of these mechanisms to do in a bowler! This took me about 3 days of slowly and carefully going through each one and cleaning it, and replacing parts as I found issues. Sometimes as you disassemble you will notice there is a burnt coil you didn’t see before, or a broken or lose screw. It’s good to methodically go through each one of these to ensure you don’t leave a situation that will cause problems when you turn the machine back on.
Bakelite Plate and Rivets
Clean the Bakelite disk rivets with mean green or alcohol and either 600 grit sandpaper or a scotchbrite pad. One thing I’ve noticed about the sandpaper over the scotchbrite pad is that you can get “left behind” strands of the scotchbrite pad on parts of the assemblies you are cleaning. If you didn’t get these removed, they could interfere with it’s operation.


Clean

Make sure to gently clean the “fingers” as well. Make sure to lightly lube the surface of the rivets when you are done.
Reset bank assembly
Ok, this thing was kicking my butt.
")
")
The problem was that the switches on the alley (which activate each of the pins) go through the relays at the top of this bank. First off, the sequence of the relays isn’t like other machines like this I have worked on. From the top, they are numbered as follows: 1-10, 1, 3, 5, 7, 9, 1-10, 10, 8, 6, 4, 2, 1-10. Obviously the schematic doesn’t give you any clue to this, and the bar where the sticker that would normally label this bank was missing. So trial and error to figure it out. Anyway, the problem was that the roll-over switches are wired to the relays based on which pins should trip based on the other pins that were hit. Some of the make/break switches were not “breaking” when they should have, and it’s very, very hard to see this. Even with a magnifying glass! As soon as you start to adjust one switch, you start to alter the behavior of the others. It took me about 5 hours to get all the pins triggering at the right times. Whew!!! glad that’s done.
Mapping of the switches from top to bottom:
| 1-10 |
| 1 |
| 3 |
| 5 |
| 7 |
| 9 |
| 1-10 |
| 10 |
| 8 |
| 6 |
| 4 |
| 2 |
| 1-10 |
| Strike |
| R.O. SWS Control |
| 2nd Ball |
| 1st Ball |
| 11th Frame |
| Game Over |
| Start |
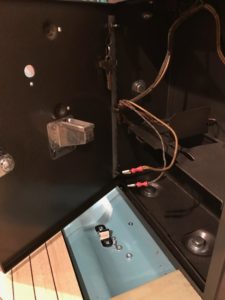
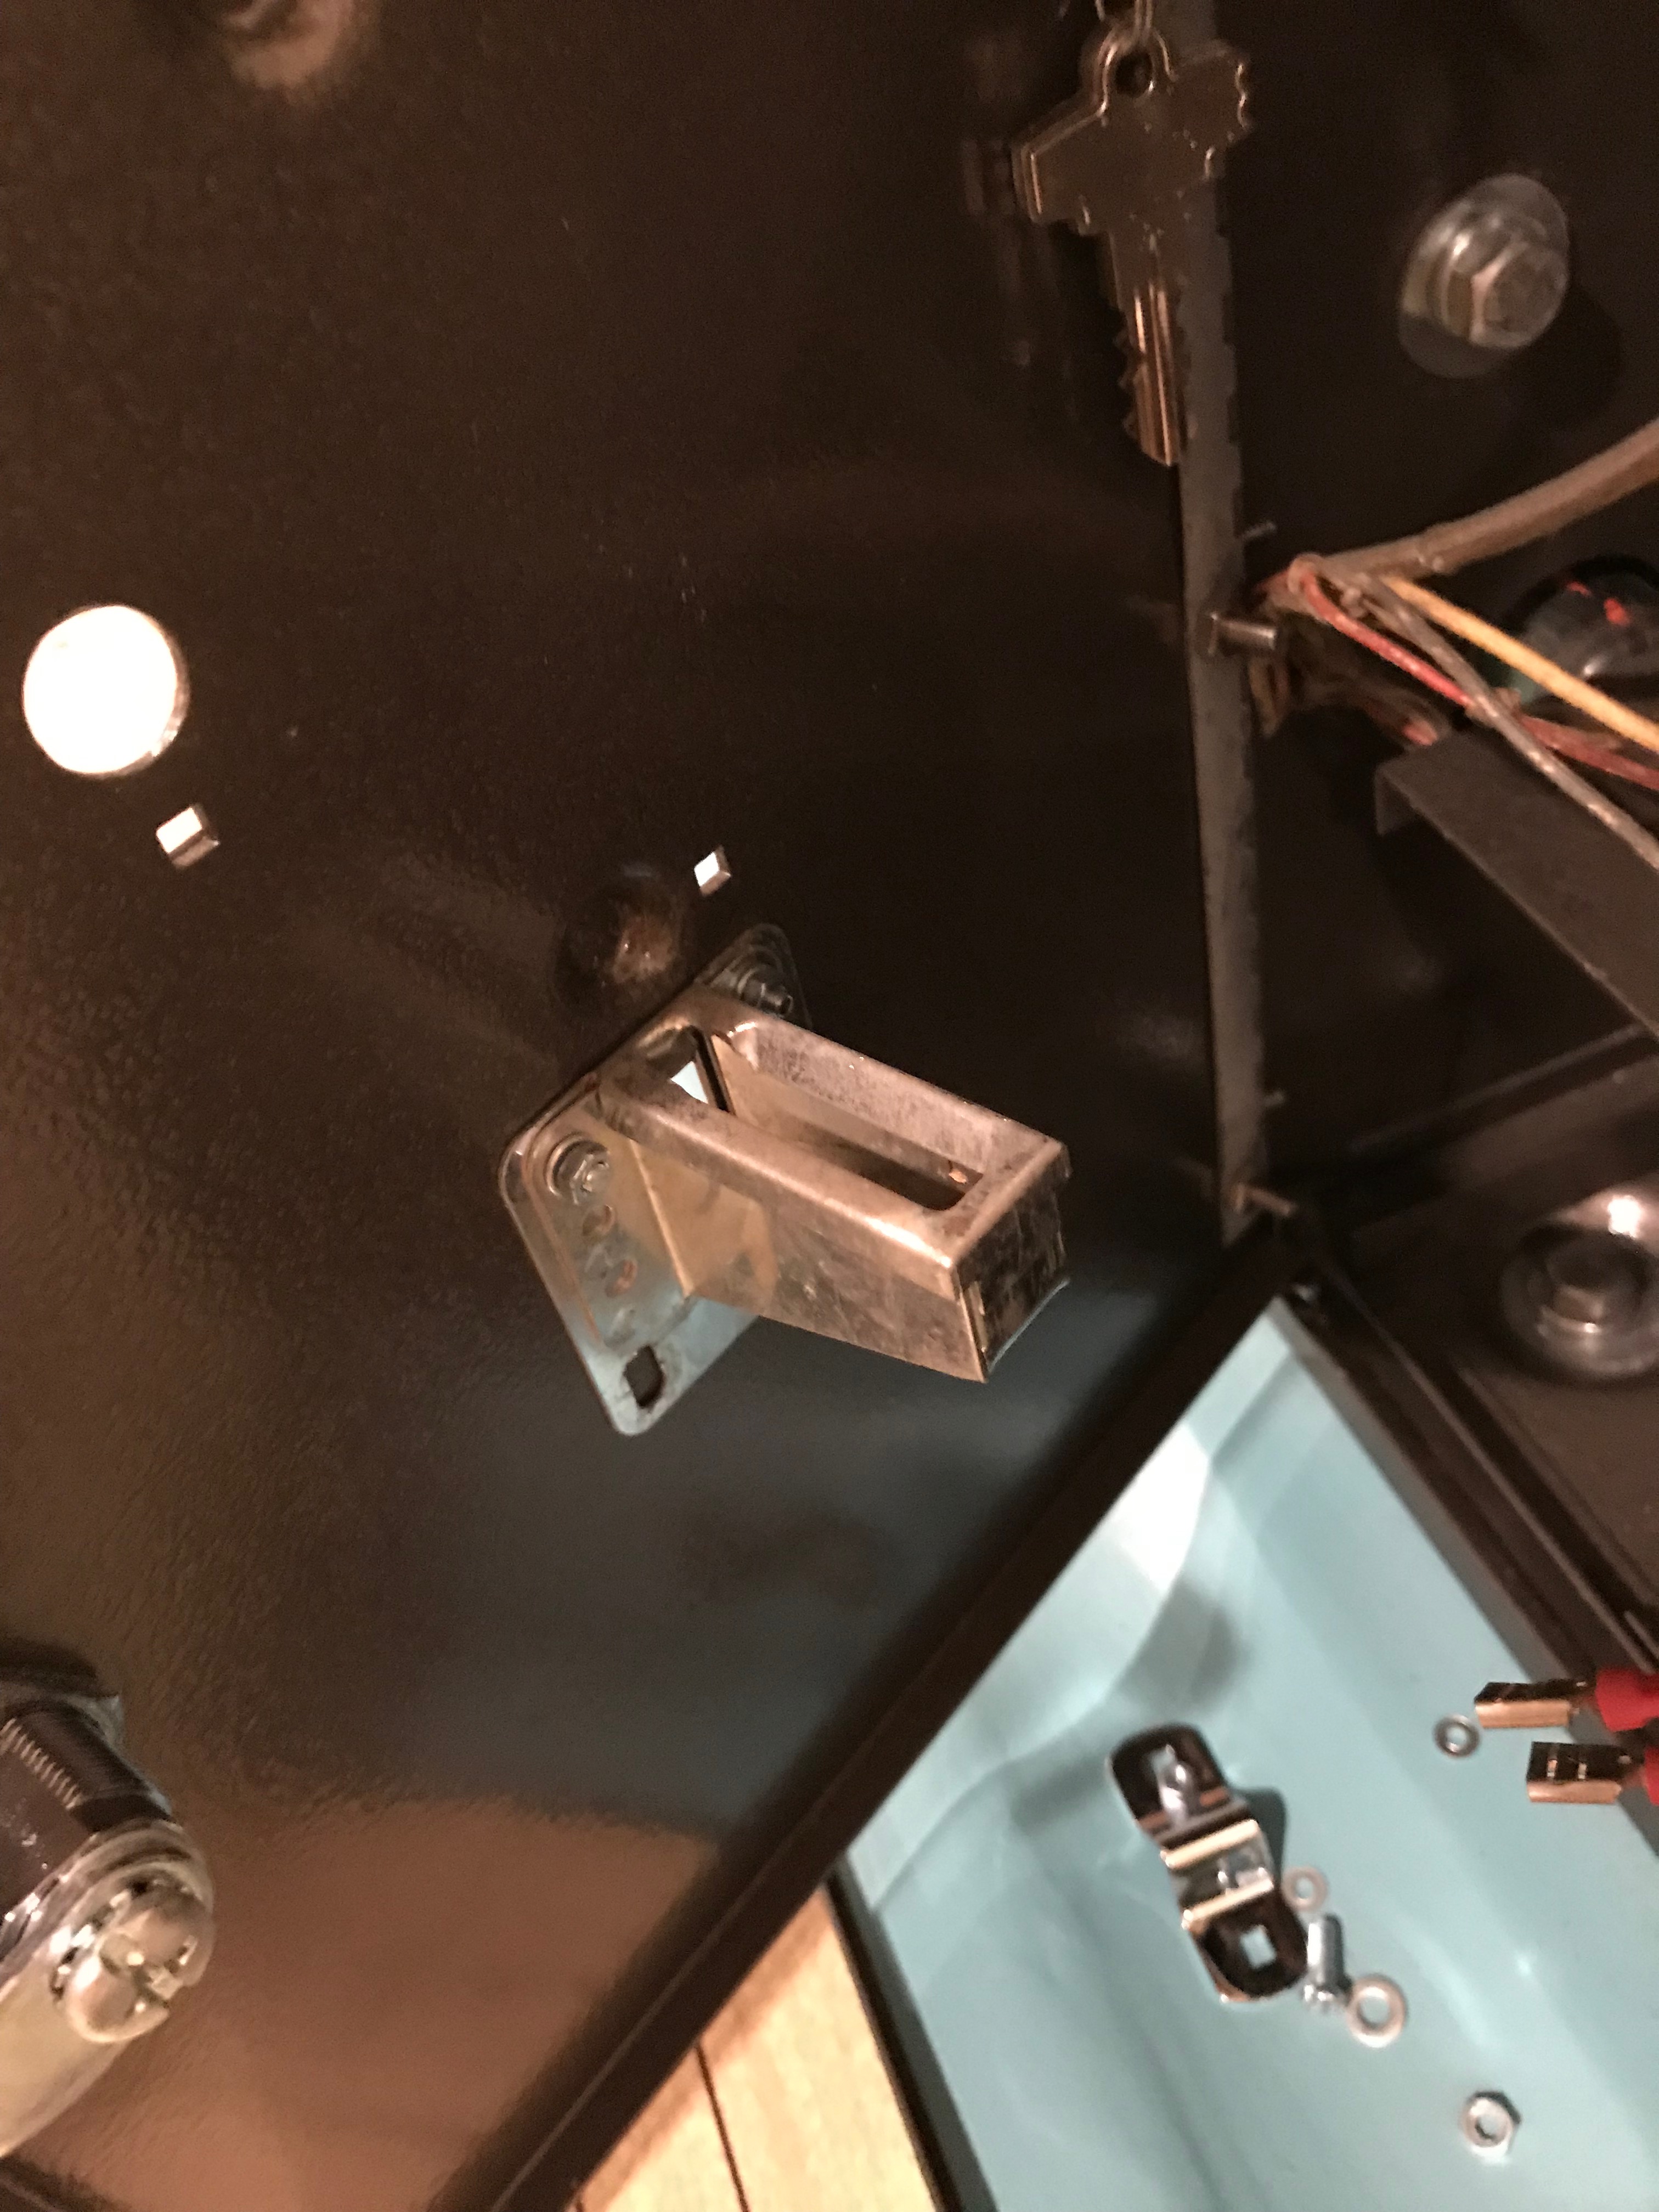
Repair of rear lane section lock down catches
The location where the brackets on the rear underside of of the lane section that contains the switches lock into the alley were broken and missing from years of abuse. This is probably the best picture I have of what it looked like before the repair. Look at the very bottom of the picture at the back end of the alley, you can kinda see the missing wood.
")
Here’s my repair. I used an oscillating saw to cut away a section to use to attach a new block of 1 by 2 wood, and then drilled holes in it for the brackets to seat in. If you look under the lane section you can see the new wood. This worked out pretty well.
")
Ball Return Guide
The ball return guide was missing a bracket to attach to the coin box. It looks like there was a bolt welded to the end that would be inserted to the coin box, but this was sheared off. I had a hard time figuring a way to attach this that I was happy with. Here’s what I came up with.
")
")
I bent a rubber lined metal wire guide around and slipped a bolt through the holes. I then slipped the whole thing onto the ball return guide. I then slid this through the hole in the coin box to mount it. See below.
")
I was able to get the proper (repro) mounting hardware for the front of the ball return guide from Saint Louis Ball Bowlers.
In this picture the coin box is taped off for painting the red triangles that were originally there.
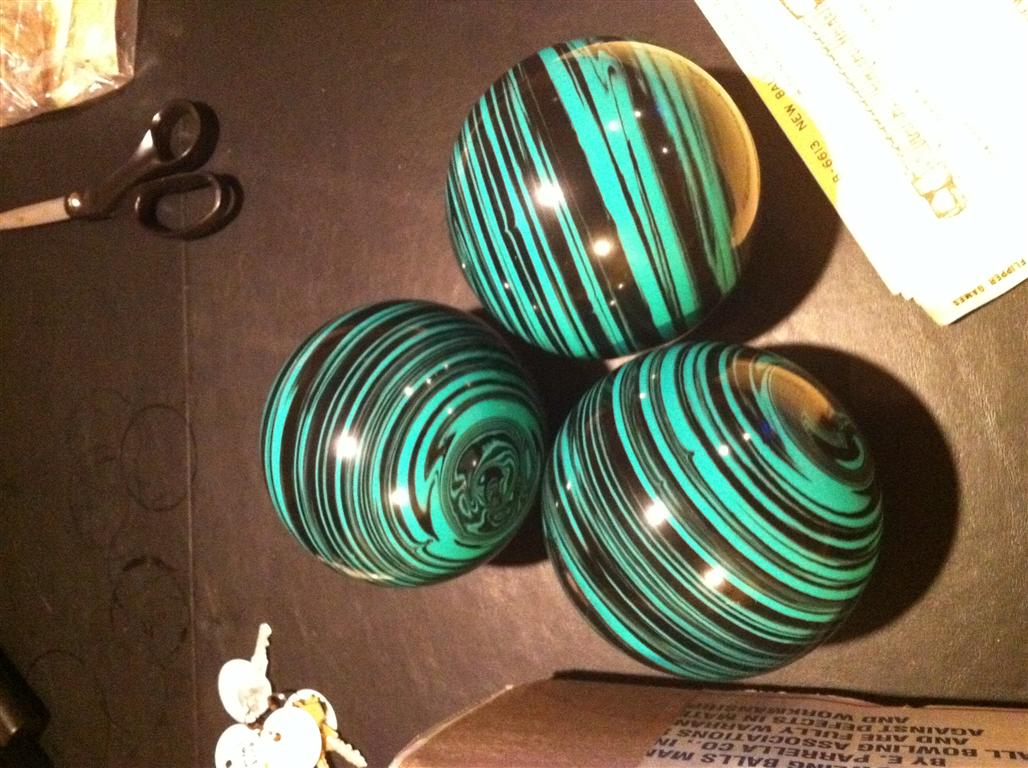
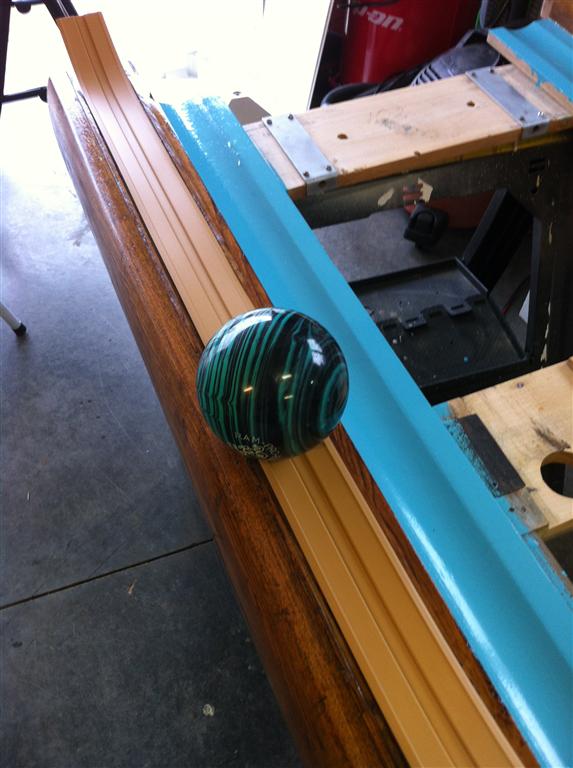
New Balls
I ordered some new balls from Paramount Industries. I got the “EPCO Ram Pro Rubber Bowling Balls”, and got the mint green and black. The mint green kinda goes with the green on this game. They are around 40 bucks a piece – not cheap, but well worth the price. These are a great upgrade to the bowler from the original balls, and if you don’t have the original balls, it’s wonderful that they still make balls the right size. I found these balls are made for some less common forms of bowling such as Candlepin and Duckpin.
Light Sockets
Man, the light sockets on the board under the roll-over switches were toasted. Take a look at these!
")
I’ve already replaced a few in this picture, but I went on to replace all of the. It looks to me like someone soldered the base of each socket to the cup to reduce the flickering, but somehow the solder they used just roached those sockets something terrible.
Lane sections foam padding
Each mounting bracket for the lane sections needs some replacement foam padding. The padding that was on these when I got it was dried out and falling off. The padding helps keep the lane sections elevated above the ball gutters. It also gives resistance when you tighten the mounting bolts to bring the lane sections level and into alignment with each other.
")
In the below picture, I’ve stripped the old hardened foam from the bottom of the alley sections and replaced it with self adhesive weather stripping. I found some heavy duty weather stripping that seemed like it would compress but retain it’s “springyness” over time. This keeps the lane sections raised from the frame as you bolt them down, and gives you the ability to adjust the lane sections up and down.
")
Paint/Stain
Everything is now sanded and stripped and it’s ready for paint and stain.
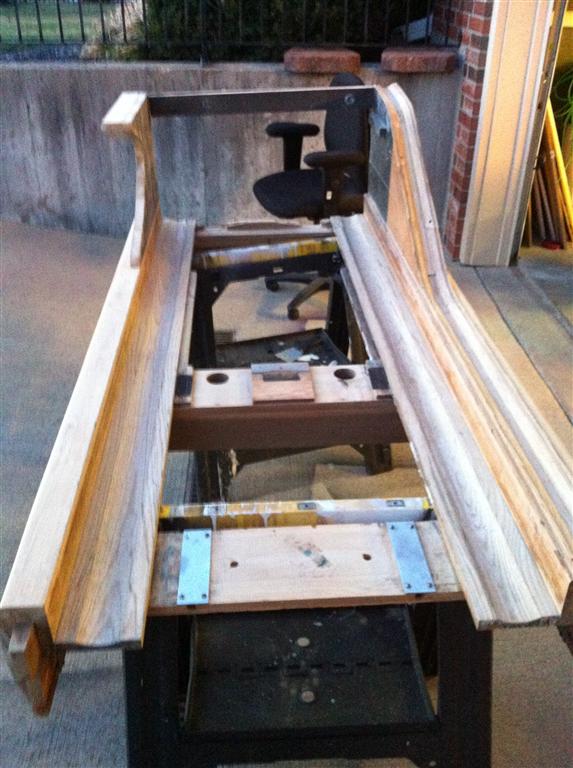
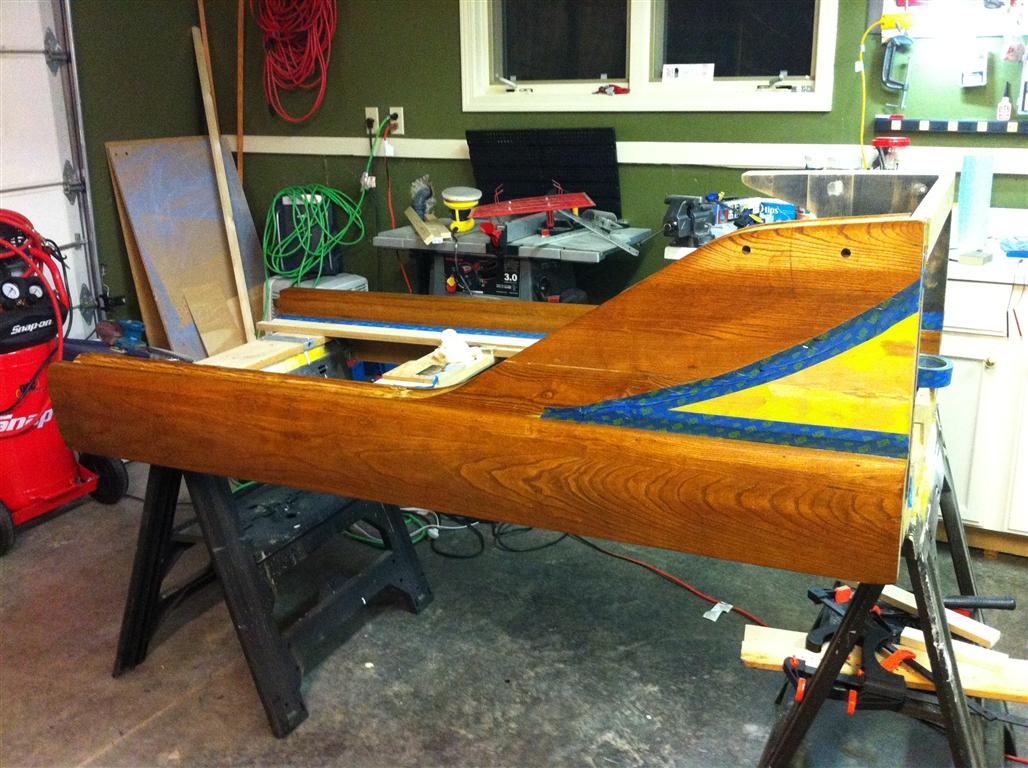
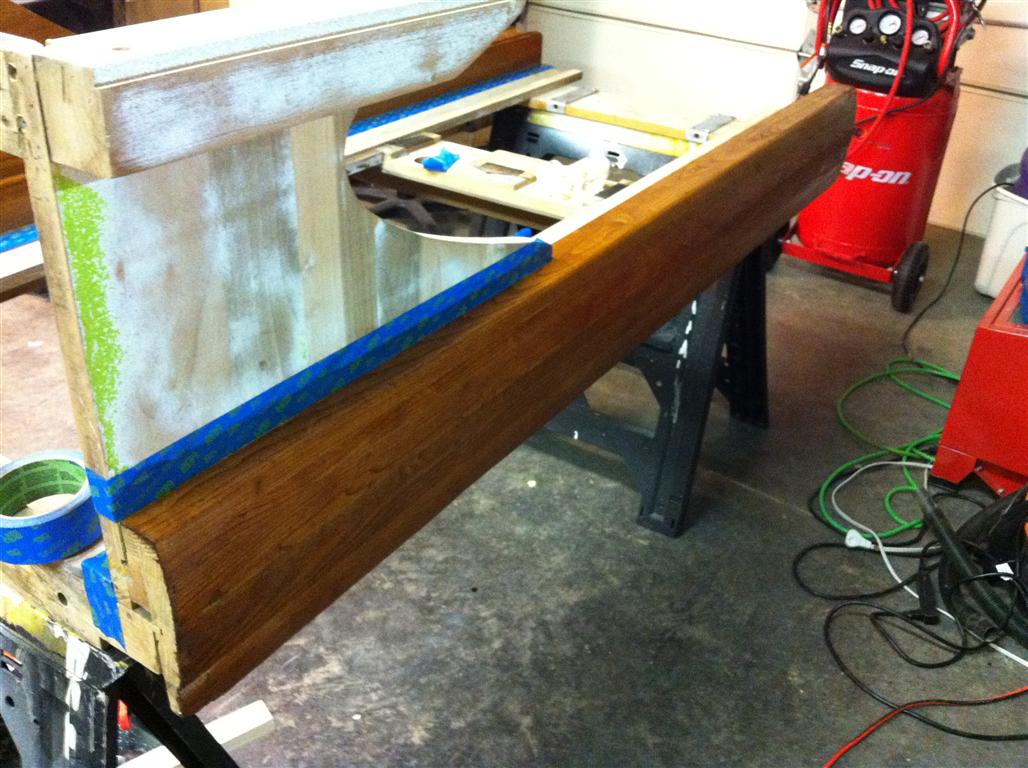
Stain applied to the back lane section. The wood is so old/dry it just soaks it in. Had to do about 3 applications in most places. I think the poly will help gloss it up.
Here, the sides prepped for paint. I used an epoxy wood filler product to fill the large cracks/spits/holes in the wood, and regular wood filler to fill the minor imperfections. and sanded the whole thing with 220. The plywood was slightly delaminating at the bottom right corner (seen in the picture below). I used wood glue to get in between the layers as much as possible, and then clamped it. This worked perfectly as well.
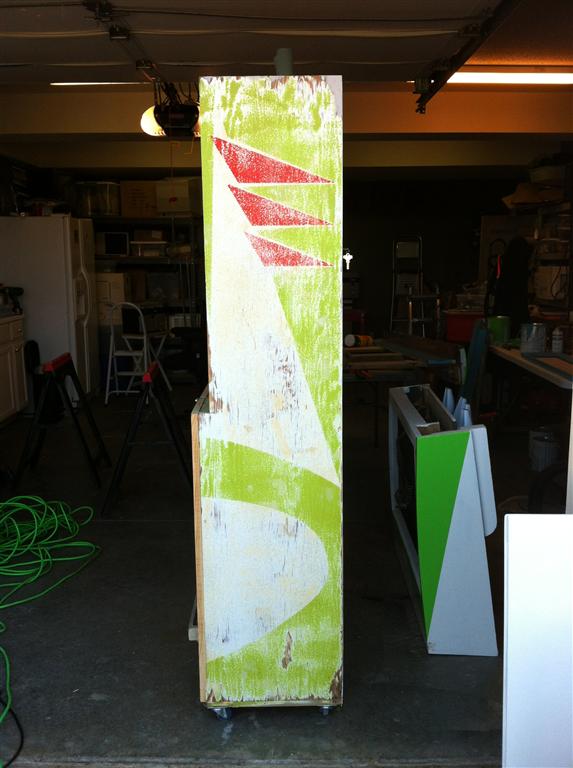
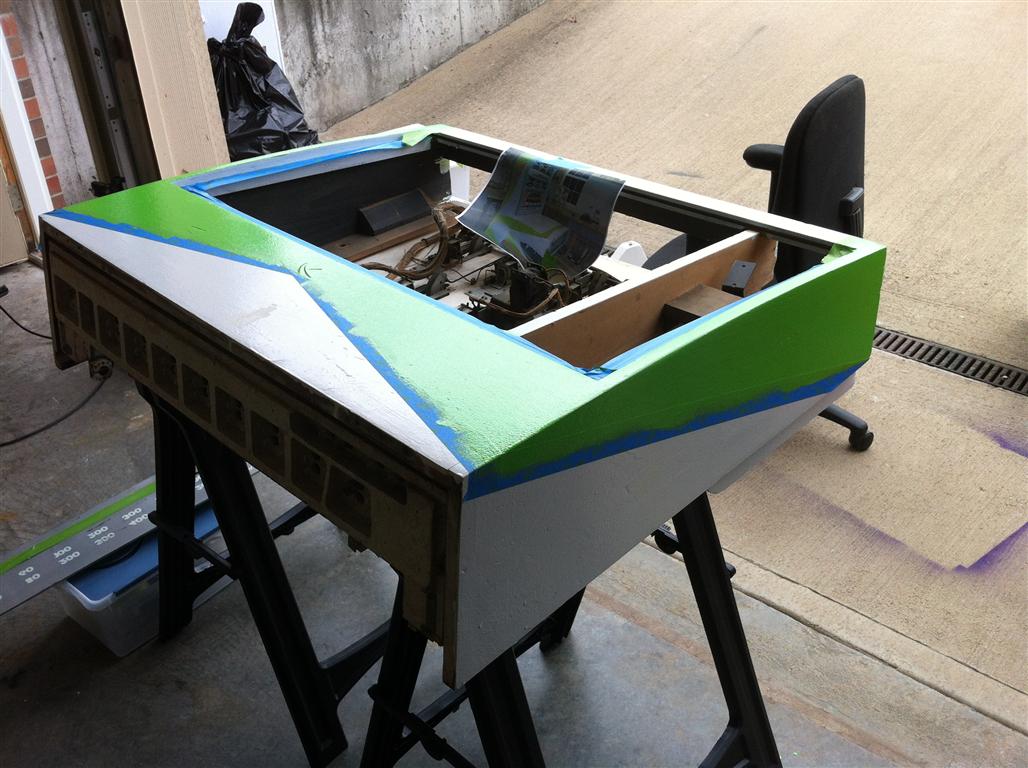
The sides of of the back-box are painted in this picture, just waiting on the 3 red triangles that go on each side.
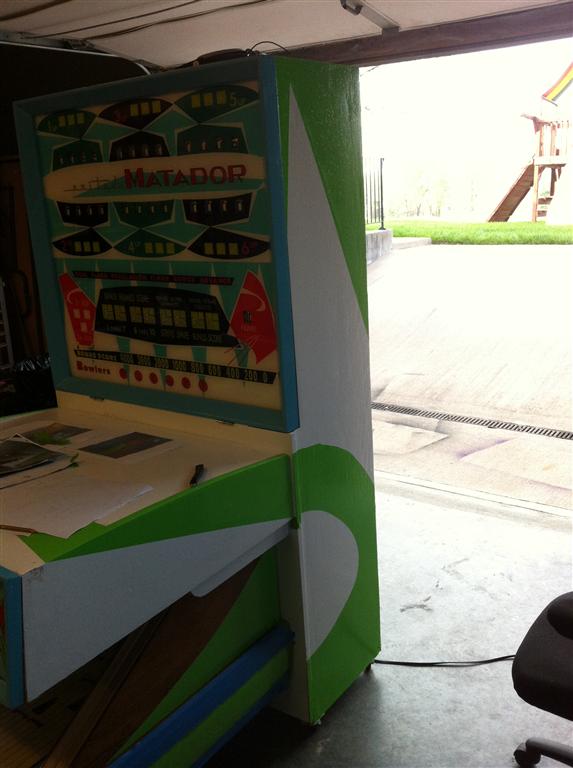
Getting ready to paint the green line down the back lane section on each side. There will be red triangles painted over this.
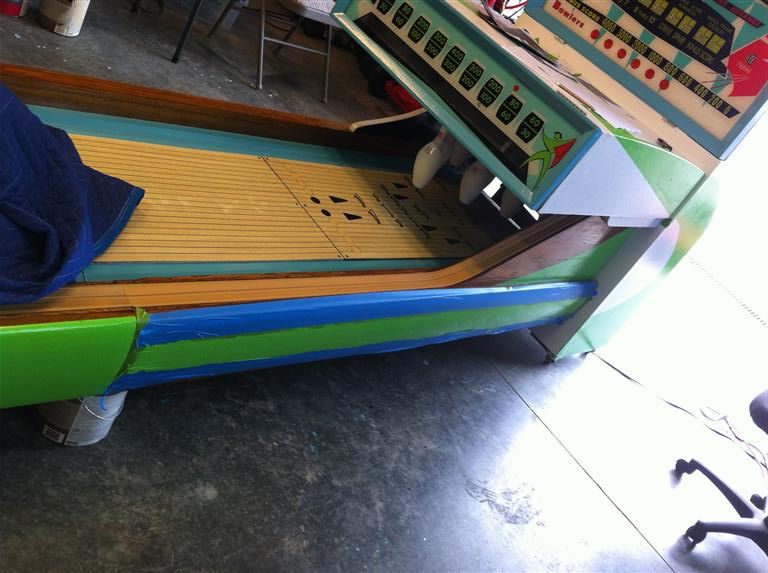
Taping for painting the triangles.
")
")
Ball Return Rubber
The ball return rubber from http://www.stl-bb.com/ is just a bit too narrow for the wooden channel. I found that if I didn’t “press” the rubber down into the channel, but just let it lay in the channel, it fit in the channel nicely. Based on that finding, I just used some latex caulk and put a generous glob of it at a few places in the channel (like where the two sections of the bowler meet, and at the top of the ball return), and then gently “smushed” the rubber into the latex caulk to it would sit at the right height. This ended up working perfectly.
Completed Bowler
I’m still working on adding more detail about the restoration above, but here’s some pictures of the completed bowler.
")
")
")
")
Nice job on the restore.I have a polaris bowler and it seems to be almost identical.I am stuck on paint i am not sure what it would have looked like originally or paint codes.I do like the paint scheme on yours. i would really appreciate any help advice on paint,was it rolled on?do you have a paint code for the aqua color for the frames and gutters?.
Thanks! It was certainly one of the most fun projects I’ve done. Does this Polaris still have the correct paint job? http://www.bigballbowler.com/United/Polaris/ I’m not very experienced with painting and finish work, so hopefully this is helpful. I have made templates for other machines, but I just measured the locations of the triangles.
I painted in a white base, then taped off the triangles using painters tape. I rolled the large areas, and brushed the small ones. I’m lucky as my bowler had a very simple geometric paint job.
I had enough paint left on the cabinet that I was able to use the Sherwin Williams app for my iPhone, you take a picture and it gives you the paint codes for the various colors.
I’ll have to find the paint cans to give you the paint codes. I’ll see if I can find them.
ok, I couldn’t find the paint left from the restore, but I did save the color codes in the sherwin-williams app. The Aqua was SW 6946, the red was SW 6867, and the green was SW6921. Hope that helps…
Pete
Hi Pete,
Thanks for the help on the codes…It is going to be a big job but its going to be great fun.
The link you provided has the before picture that looks like mine but the paint is very bad / faded so not sure the app would work.
So making good headway with the refinish and now have the game together.When i power it on the reset bank coil is buzzing really loud constant…that is just a momentary coil?…any ideas what may be causing the coil to stay on?any idea what switch controls it?.
Sorry for taking so long to reply. The reset bank solenoid is momentary. It’s triggered by the score motor. It pulls in and pulls the reset bar up against the back of all those switches resetting them to “un-tripped”. If it’s activating all the time, I suspect the switch on the score motor that activates it is stuck closed, maybe bent, or maybe some wires are frayed and touching at the back of the bakelite plate on the score motor. Do you have a schematic? If not, I can have a look and see if I can give you some ideas where it might be shorting.
Pete
looks great i can only hope mine turns out as nice as yours did
trevor i am also working on a 64 polaris maybe we can help each other out along the way. i have the schematic if you need it.my biggest problem is mine cam with the wrong lane so the connectors don’t match feel free to email me at jpryorx2 at hotmail.
hey pete i was wondering if you can help me out? i need to completely rewire the 5 connectors between the lane and head unit on mine. is there any chance you’d be willing to tell me which ones went where. ie pin deck,coin box,roll over switches and lights? from what i’ve found your matador and my polaris are the same game with different glass so if you need the schematic just let me know
thanks
jason
Hey Jason, sure, I’d be glad to try to help. I probably need a bit more info about what you need though. Are you saying the connectors coming from the lane you have do not match the sockets in the back of the bowler? Or are you missing the wiring completely?
The wiring coming from the lane would include the wires from the roll-over switches, as well as the coin box. So, I’m guessing you need to know for each pin on the socket in the back box what it’s supposed to connect to on the roll-over switches and coinbox?
I’m not sure if I have anything that would show that. Let me check my schematic to see if it indicates which pin in each socket the switches are connected to. If not, the only other way I can think to determine this is to push the bowler out from the wall, attach a meter to each pin, and have someone push the switches to find which one closes the circuit on each pin. If it comes to that, I’d be happy to do it, it just might take me a few weeks to get to a point where I have the time…
Let me know if that’s what you are thinking please…
Pete
all the wireing is there the lane connectors just don’t match the ones in the game.a pin out of the connectors would be great but that would be an awful lot of work for you. for right now just telling me which connectors do what would be great. i have 5 female connectors in the back of the game going from top to bottom i have
1. 14 pins
2. 18 pins
3.16 pins
4. 22 pins
5. 20 pins
if you cold tell me for example the 14 pin one is for the coin box ect so i ahve a better starting point of tracking down where they go. i’m having alot of trouble seeing the wire colors. again any help would be great.
thanks
jason
hey pete i hate to keep bugging you but i got mine just about working now. had to rewire all the connectors on it. if your willing i do have 1 last favor to ask you. i am missing the light board behind the lower glass with all the lights for flash on it and the harness that goes to it .if you get a chance could you take a pic of yours? maybe hold a tape measure acrossed it. i think i can figure out the wiring at least i hope .
thanks
jason
sure, I’d be happy to. It’ll take me a week until I can get it moved and take the pictures.
I can’t believe you figured out all the connectors w/o anything to go on. That’s amazing!
ok thanks i’ll keep checking back. i don’t think you should have to move it thou. you should just be able to open up the front lower glass to where you can see the light bulbs. on mine there is brackets at the front of the pin deck that the light board i need to make screws to. i’m just not sure where all the bulbs should go. i got pretty lucky with it. i basicly had to make my own schematic for the lane switches since now of the colors matched then it’s was hours and hours of looking at the games schematic to figure it out.
Hi Jason,
Sorry for taking so long to get back to you. I’ve been crazy busy. Do you want a picture of the front and back of the light panel behind the lower backglass? That shouldn’t be too hard.
if you could that would be great i know all about being busy we’ve had 2 deaths in the family over the last month and now a bad trans in the wifes truck so i haven’t even touched my bowler lately. as of now all i need to do is paint the back unit ans make the flash board and it will be done.
thanks again
jason
Hey Jason, sorry it took so long. Here’s the pictures. Let me know if that helps.
Pete
thanks for posting the pics it’s been a while since i checked back or even looked at my bowler. as it sits my lane is restained and the gutters painted.got everything wired except the lower glass.so basicly just need to paint the back box and pin hood then i set it up.i’m hoping to work on it again soon but have gotten busy with restore a car
thanks
again
jason
Did you spray or brush your paint? Since you used sherwin-williams paint, was that just a latex house paint? Did you clear coat the paint? I’m looking at painting my Chicago Coin Majestic.
Hi Terry,
I ended up brushing the paint on the bowler. Since it was mostly just geometric patterns, I didn’t even have to make stencils. I just layed out the patterns with painters tape, and then rolled it on. I brushed some of the smaller areas. I used Sherwin Williams “All Surface Enamel Oil” base, custom color matched using their color matching app on my iphone. This stuff is really thick and durable. It can take a while to fully dry/cure, between 1-5 days depending on the number of coats/temperature. I did a solid white base coat, and then painted the greens/reds on top of that. I didn’t clear coat over the paint, but now that you mention it, that sounds like a good idea. That oil based paint was pretty “gloss”, so I have a nice gloss finish on it as a result. I’ll attach a picture of the paint from SW’s website. I love the Majestic model. I really had my eye on a Majestic or a Holiday, but I couldn’t get anyone to part with one for a decent price. Mickey Treat did have a Holiday at the time, but he wouldn’t sell it as a project, only if I had him do the restore… If you have the time, please post of picture of your bowler, I’d love to see it.
Here’s the Sherwin Williams paint I used.
Hey, Great restoration on your Polaris. I have a 1964 in great shape. However my son was bowling real fast and now the main relay is stuck on- buzzing away . Something is making the relay energized and will not turn off. I have not figured out how or what went wrong. If Any of you Guru’s could help me I would be very greatful.
Thanks!
Can you describe a bit more about what happened? Do you know which relay is stuck on/buzzing? Is it in the pin hood or in the backbox? Does the bowler still work? If not, what behavior does it exhibit when you turn it on and/or try to start a game?
Hi Pete
Great restauration and nice explanations about the process!!! I have a 1965 United’s Oasis game.
Cheers from Switzerland
Chris
They are so much fun! I just wish they were easier to move…
I’m restoring a United Playboy Shuffle-Targette game. I could use a bit of advice on sanding / staining the natural wood sections. Mainly looking for what kind of stain you used, a type of clear on top of that if any, and maybe a process to help me along. Also on mine a few of the corners are nicked pretty good. Small chunks missing, etc. I’m guessing I’ll just have to leave these/sand them a bit as I don’t see how they could be fixed and stained and not be a noticeable repair.
Hi Justin, the cosmetic side of restorations isn’t my strong area, so take my advice with a grain of salt… I did what you suggested, basically just sanding areas that were chipped off. That said, I really didn’t have too much of those kinds of issues with this machine. I did end up gluing some lose/split pieces back in place before sanding. Once sanded, I just used normal minwax stain from home depot. I believe I used the kind that has the clear in it. Basically something like this http://www.minwax.com/wood-products/one-step-stain-and-finishes/minwax-polyshades. I have seen folks cut out these kinds of issues and splice in new wood – but I guess you have to be much more of a carpenter than I am to pull this off. I’ve also seen folks use various paint and stain to recreate the look of woodgrain over a repair using body filler or other wood filler products. I believe Clay/Shaggy illustrates this on this pinrepair site and also in at least one of is TOP videos. I’ve never tried it myself. Good luck with it. Post a picture if you’ve got time, I’d love to see what the Playboy Shuffle looks like…
Pete
Here it is pictured the day I purchased it. $20 at an auction. I’ll post again when it’s done.
That’s awesome! $20 bucks – man you really did well on that. I’ve seen videos of that kind of shuffle bowler I think – is it like a marriage between a shuffle bowler and a skeeball machine? You slide a puck, but it lands on a skeeball type target? It’s going to look great. I love the backglass and colors.
Yep. It’s a cross between shuffleboard and skeeball. I’m excited to get this game finished. It’s going to be a blast to play.
Hey Pete. Still not 100% done, 5 years later, but close enough. Said I’d send a pic so here it is. Still need to build a coin box and replace a few light sockets but it’s playable.
That’s awesome! It looks great. Congratulations. I’m betting it’s popular when folks come over for beers.
Thank you. I have a 16′ 1964 United Matador Bowler with 3 original balls. Just like this one. It needs lots of restoration, however last time it was plugged in it sounded like it turned on. I am looking to sell it. Restoring it is something I am willing to do if it adds value to the item. Can I ask you how much your restoration total cost was for this project and how much value it added to your bowler?
Hi,
I didn’t track the money I spent to restore this, but if I had to guess I probably spent about $1K. That doesn’t include tools I had an excuse to purchase to help with the job 🙂 I’m not sure about the value – I’ve not tried to sell it. Ebay past auctions might be a good place to look for what these might be selling for. My guess would be restored it might be worth maybe $2k?
Pete
I have some old big ball bowler flyers trying to see if they are worth anything if so where would be a good place to sell them
I’m not sure the best place. I see a lot of these on eBay – might be a good place to start.
Good evening Pete,
I have a 1967 United’s Coronado Bowler. The machine has been operating great for many years. Just recently the machine started to error, but it only occurs after rolling double strikes. If you have two strikes on the board and roll a spare, the strike-spare unit stays on 2nd strike lite. If you throw an open frame, the strike-spare unit sets to spare lite which is also posting an overstated score. This will occur for any 1 – 6 player after they throw a double strike. Thanks in advance for your thoughts.
Please notify me of new posts by email.