Gottlieb made some really cool pinballs in the early 80’s. Some of my favorites are Volcano, Haunted House, and Black Hole. These machines are fun to work on, and fun to play. They are all wide-body pinballs, made close to the same time.
Volcano has the distinction of being Gottlieb’s first pinball with speech, and although primitive by today’s standards, is pretty cool sounding. I believe Haunted House was the first pinball to have 3 playfields – a “basement”, a “main floor”, and an “attic”.
I have a Volcano and Haunted House in my collection, and they both get a lot of play, but I have to say the Volcano is usually rated higher by the players.

I’m going to go through this entire machine systematically, so the first thing to do was to remove the playfields to get easy access to the cabinet.


A thorough vacuum of the cabinet while the playfields are removed is essential as it’s tough to reach all those corners when the machine is assembled.
The metal on these machines seems to have a tendancy to oxidize worse than some others I’ve seen, especially if it’s been exposed to any number of liquids, oils from hands/fingers etc. This machine has had some various liquids spilled in it when it was operated, and that has led to some areas that will need some special attention.


Also, I noticed that in the series of moves this machine has gone through recently, the joint at the front right corner is starting to separate, so it needs to be glued, screwed, and clamped back together.


This machine got new flipper switches recently, so those are in real nice shape. As are most of the cabinet components. This machine will get a new power cord, and also new electrolytic caps in the main power supply. I’ll probably replace the bridge rectifiers as well, as these look like the originals and will steadily lose efficiency and will eventually fail.

July 23rd Update
A fair amount of work has progressed on this machine. The main playfield is set up here for restoration.

It’s not the most professional work area, but hey, it works for me. I’ve got a nice bright halogen desk lamp that I use for light, and a pretty nice (but cheap) soldering iron (left side of table) from mpja.com (they sell a lot of great surplus electronics stuff). Mean Green and Windex are two of the cleaners I use a lot on pinballs. I go through a lot of paper towels when cleaning up a pinball as well. Old rags are a good idea to have around for cleaning up and polishing with Novus.

You can notice some writing on the pop bumper driver boards above. I used Clay’s guides to fix and upgrade the pop bumper driver boards in this game to make them more reliable. I’ve seen that you can also add led’s to these to show that they have power, and when they are being activated to help with diagnosing problems. I wish I had added those feature, oh well, next time. 
Many of the playfiled components have been removed to asses the work needed, and to expose areas that obviously need some attention. The area under the popbumpers being the worst.


Painting and detail finish work isn’t my strong suite, but some areas of playfield paint are pretty forgiving. I use craft paints from Michael’s or Hobby Lobby, along with a variety of sizes of paint brushes. I use spray clear coat, I spray it into a glass dish, and then apply it with a paint brush (for small areas) to protect the paint. I’ve learned these techniques from the This Old Pinball videos and Clay’s website. Here’s what the area looks like after touch-up.


Not perfect, but good enough I think. It will look even better after some clear coat goes over the paint to protect it and give it a gloss to match the playfield.
This playfield has a partial mylar coating, which is really not in the greatest shape. It has protected the paint, but is a bit cloudy and makes the playfield look a bit washed out. Short of removing the mylar, which would risk pulling up a lot of the paint as well as creating the problem of removing all the glue there’s not a lot that can be done to improve this. I will take some plastic cleaner/buffing fluid and run a buffer over this later to see if I can remove some of the cloudiness.
There are some areas of the mylar where the playfield wasn’t properly prepared and some wax or dirt remained when the mylar was applied. This causes bubbles under the mylar where the glue to did not adhere to the playfield as it should have. Again, there’s not a lot that can be done about this. One area was particularly bad, and I decided to cut out the offending piece and replace it with a new strip cut to fit the area. Notice also how the window to the lower playfield gets wax and other junk under the window between the plastic and the wood “lip” that it rests on? Also, the paint gets really abused along the lip of this window because of the transition of the ball across the plastic and wood. I will give this area a good cleaning, light sanding, and new paint and clear coat.


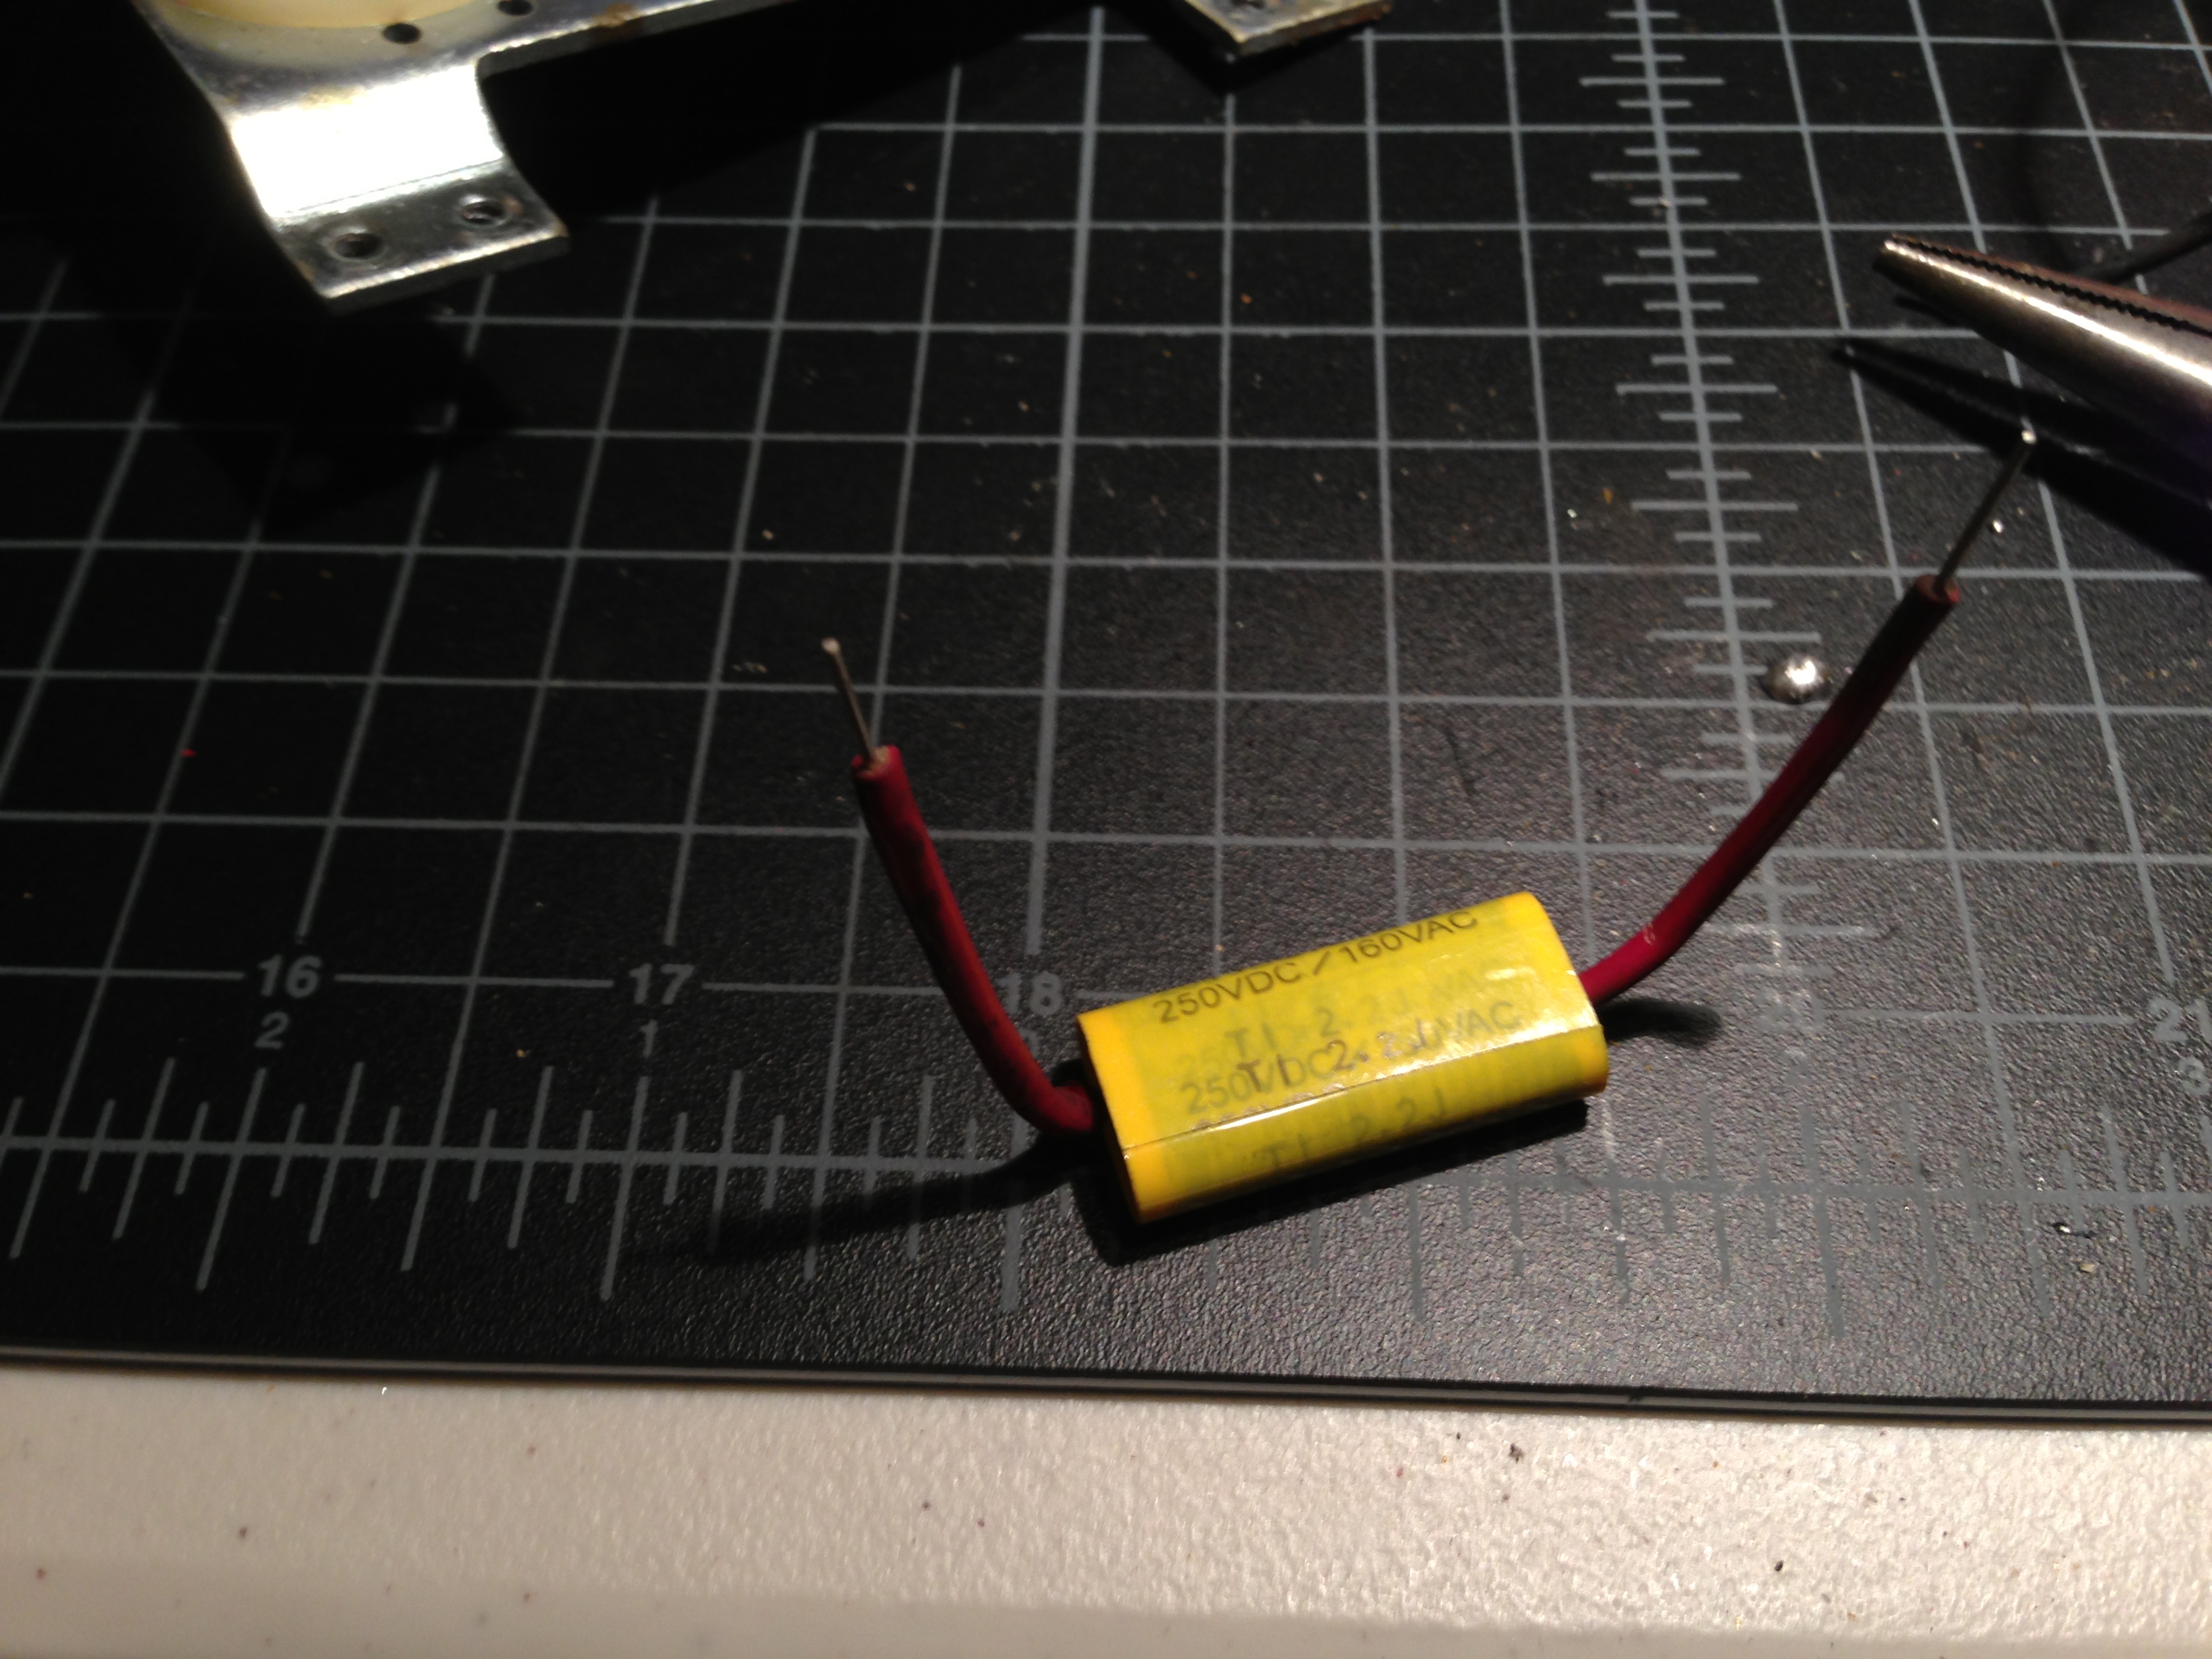
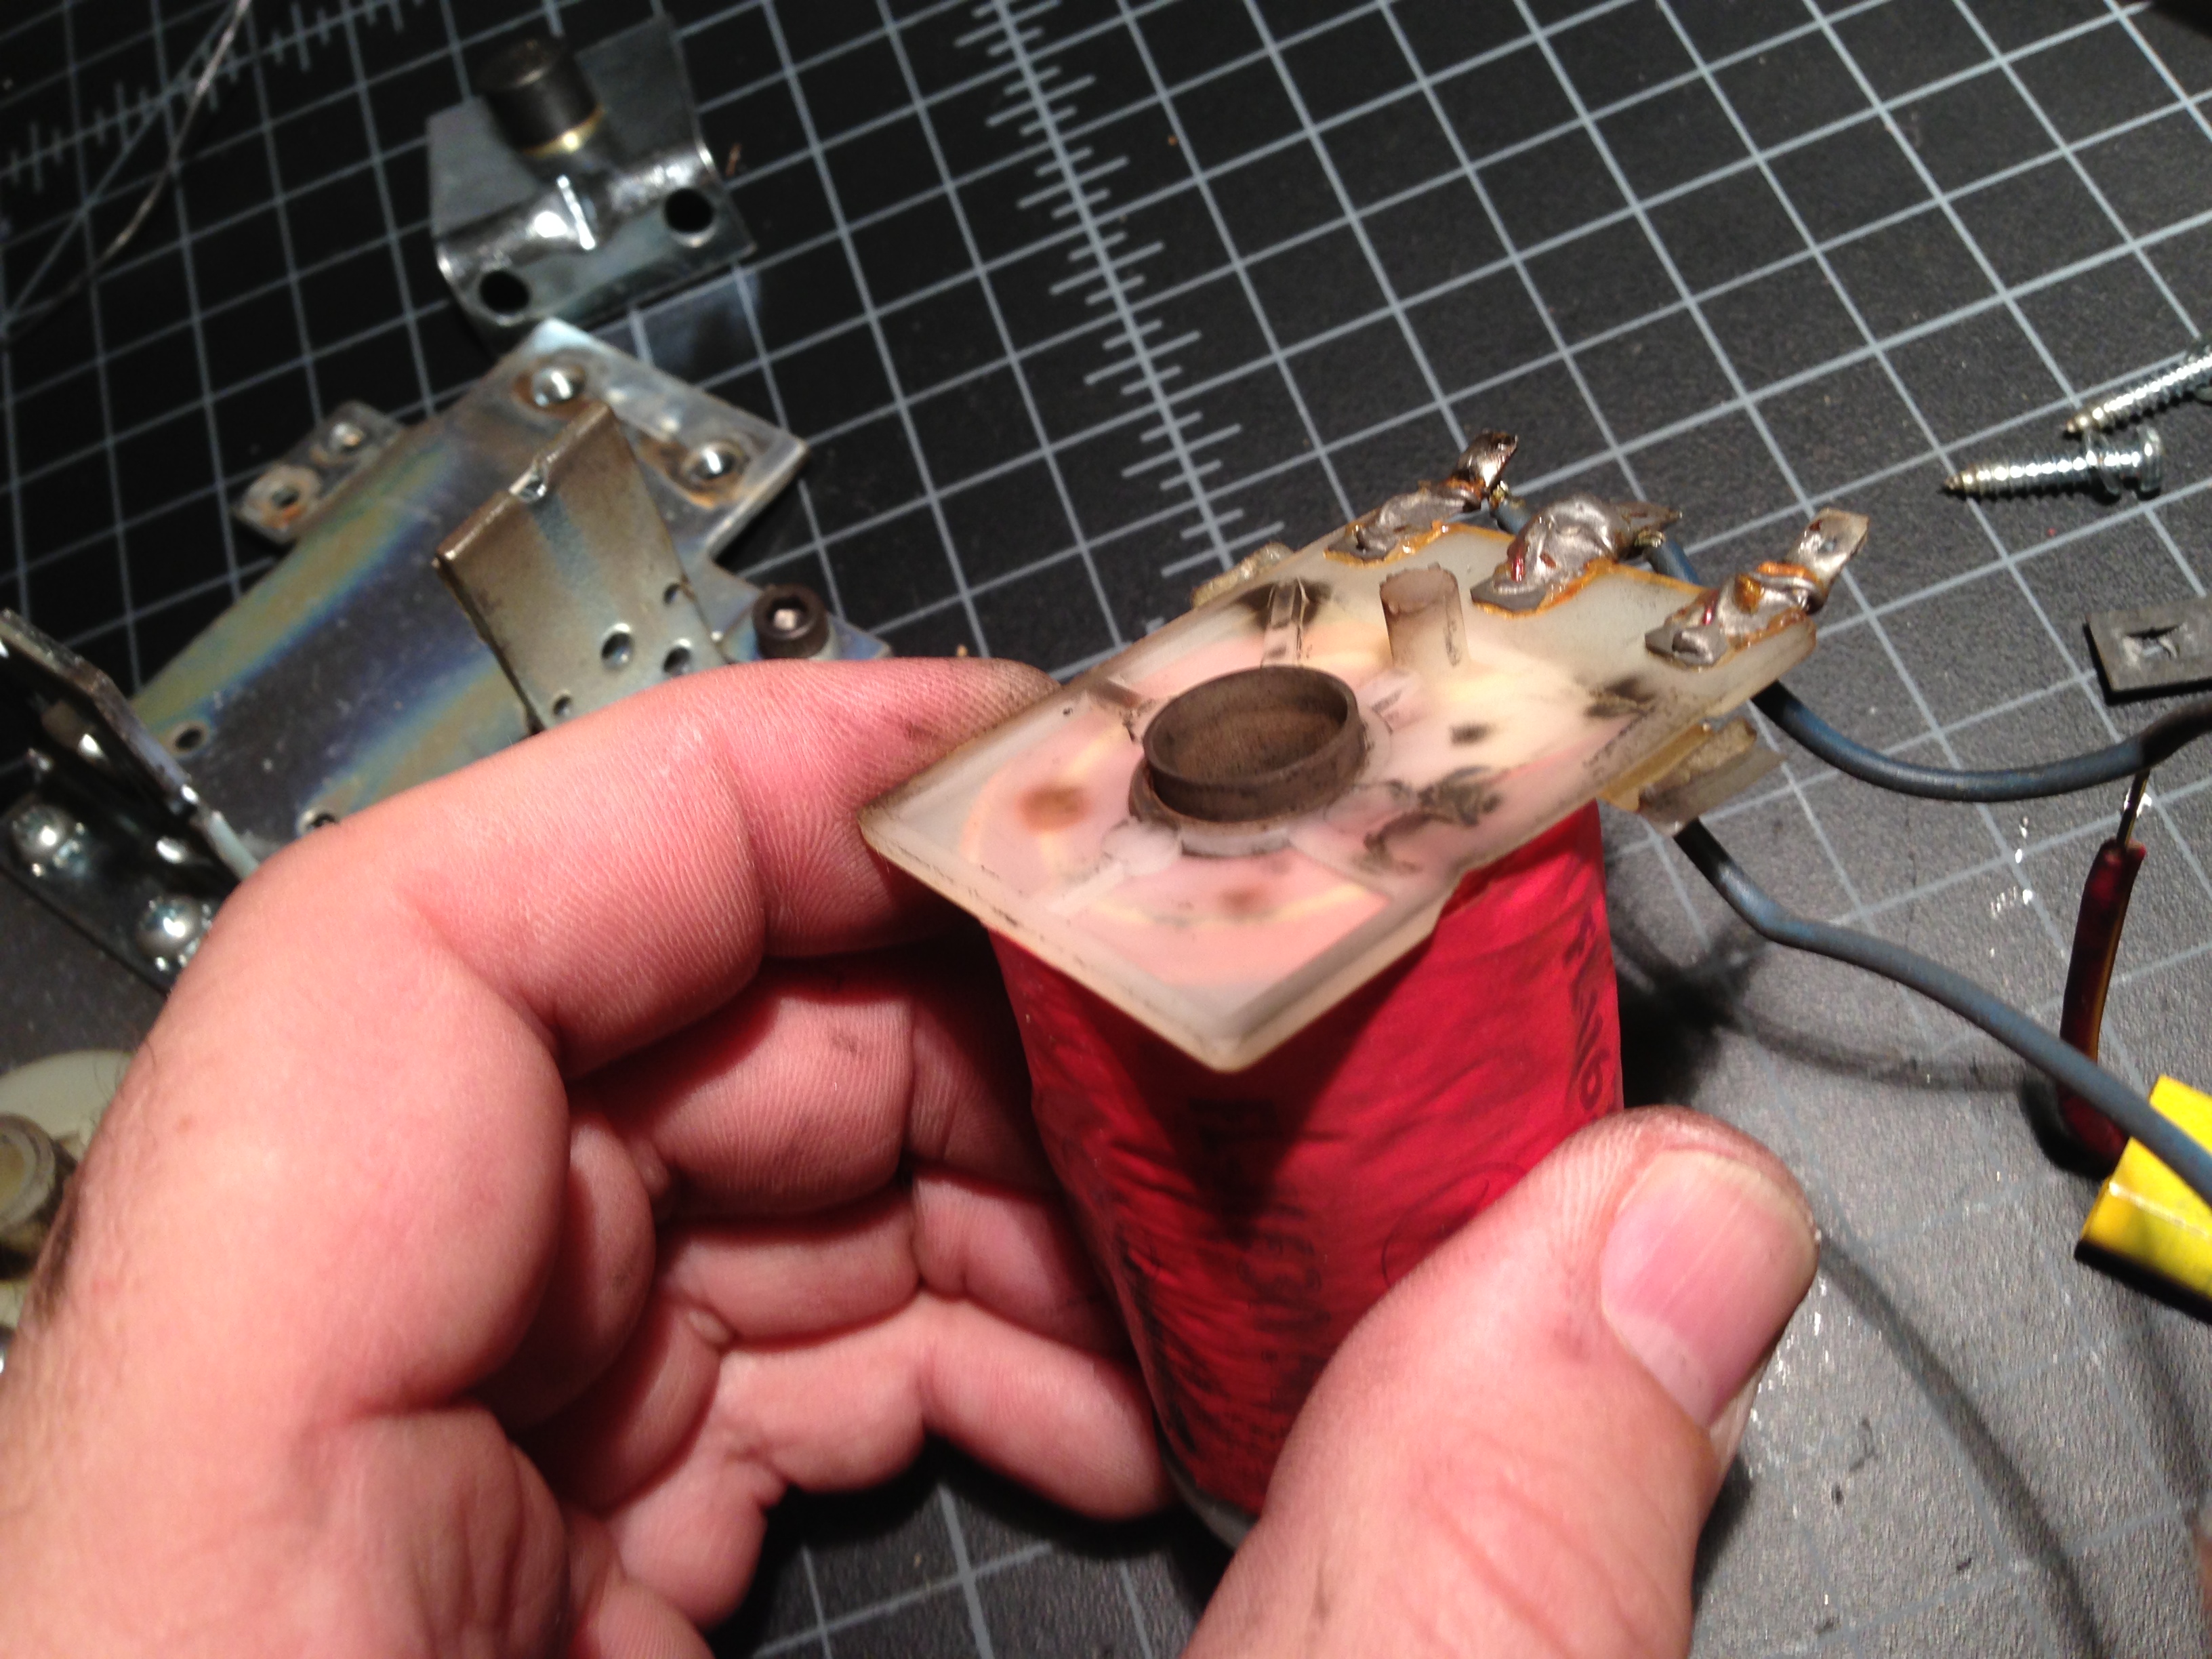
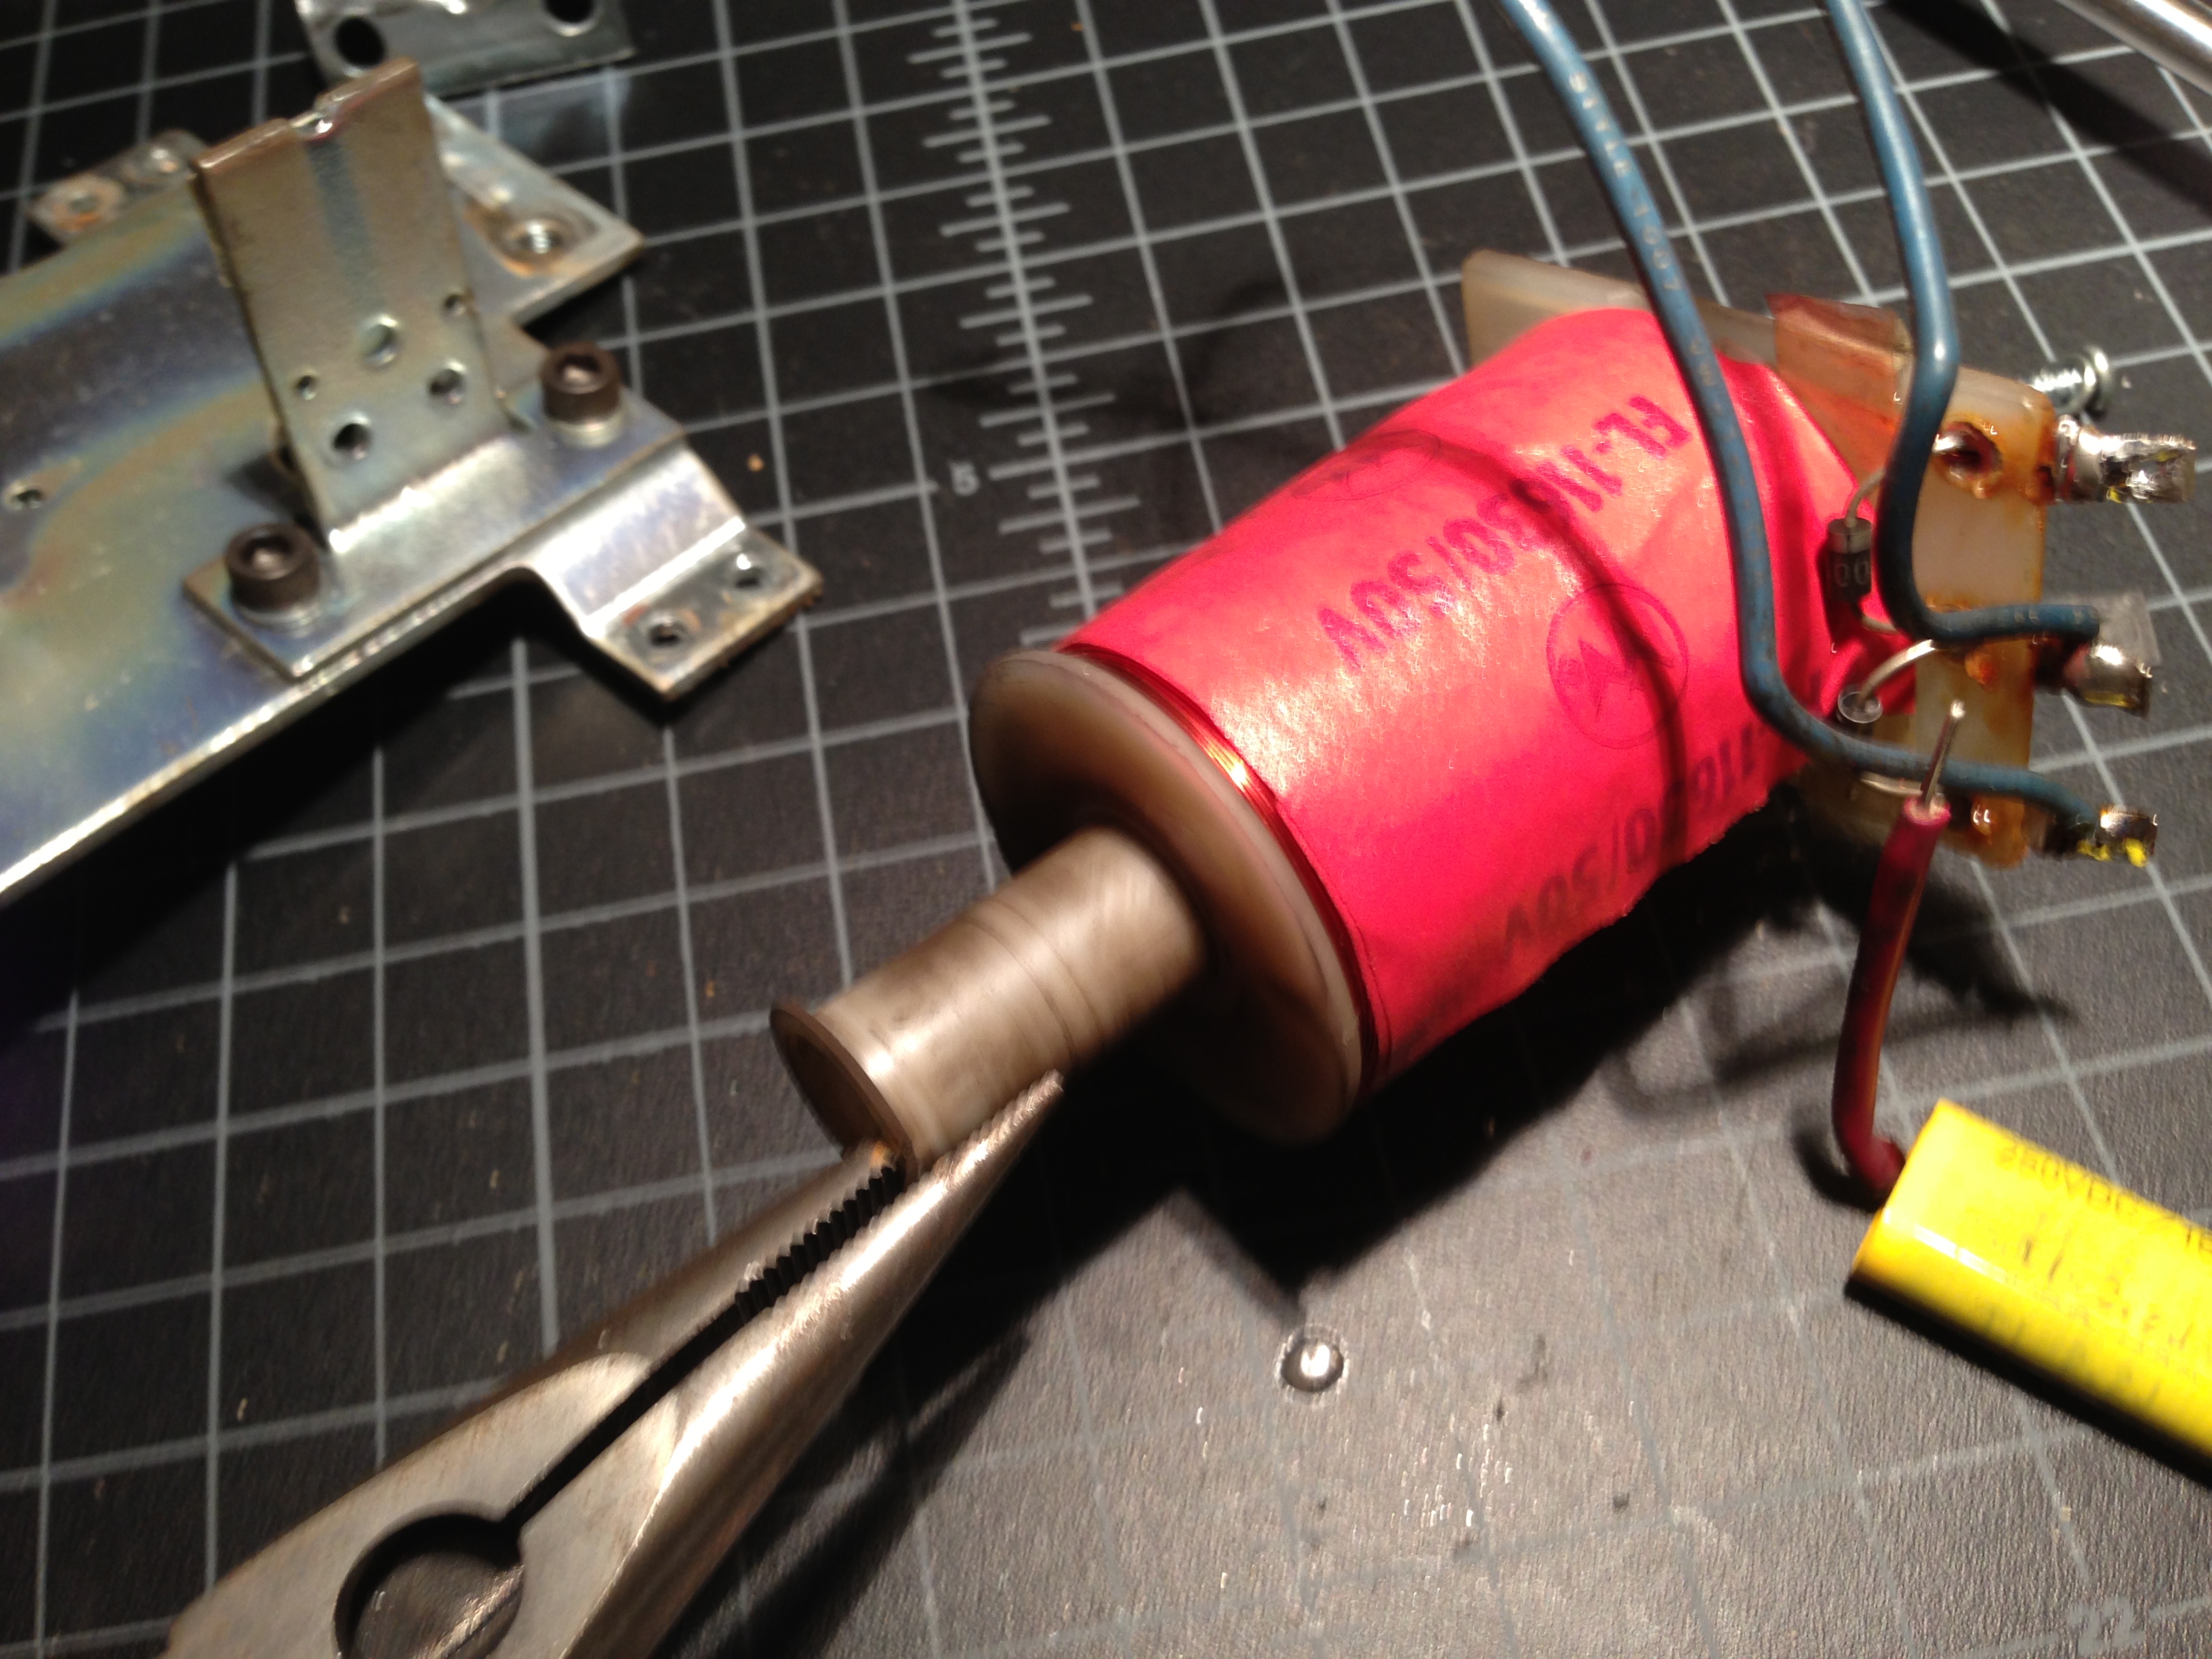
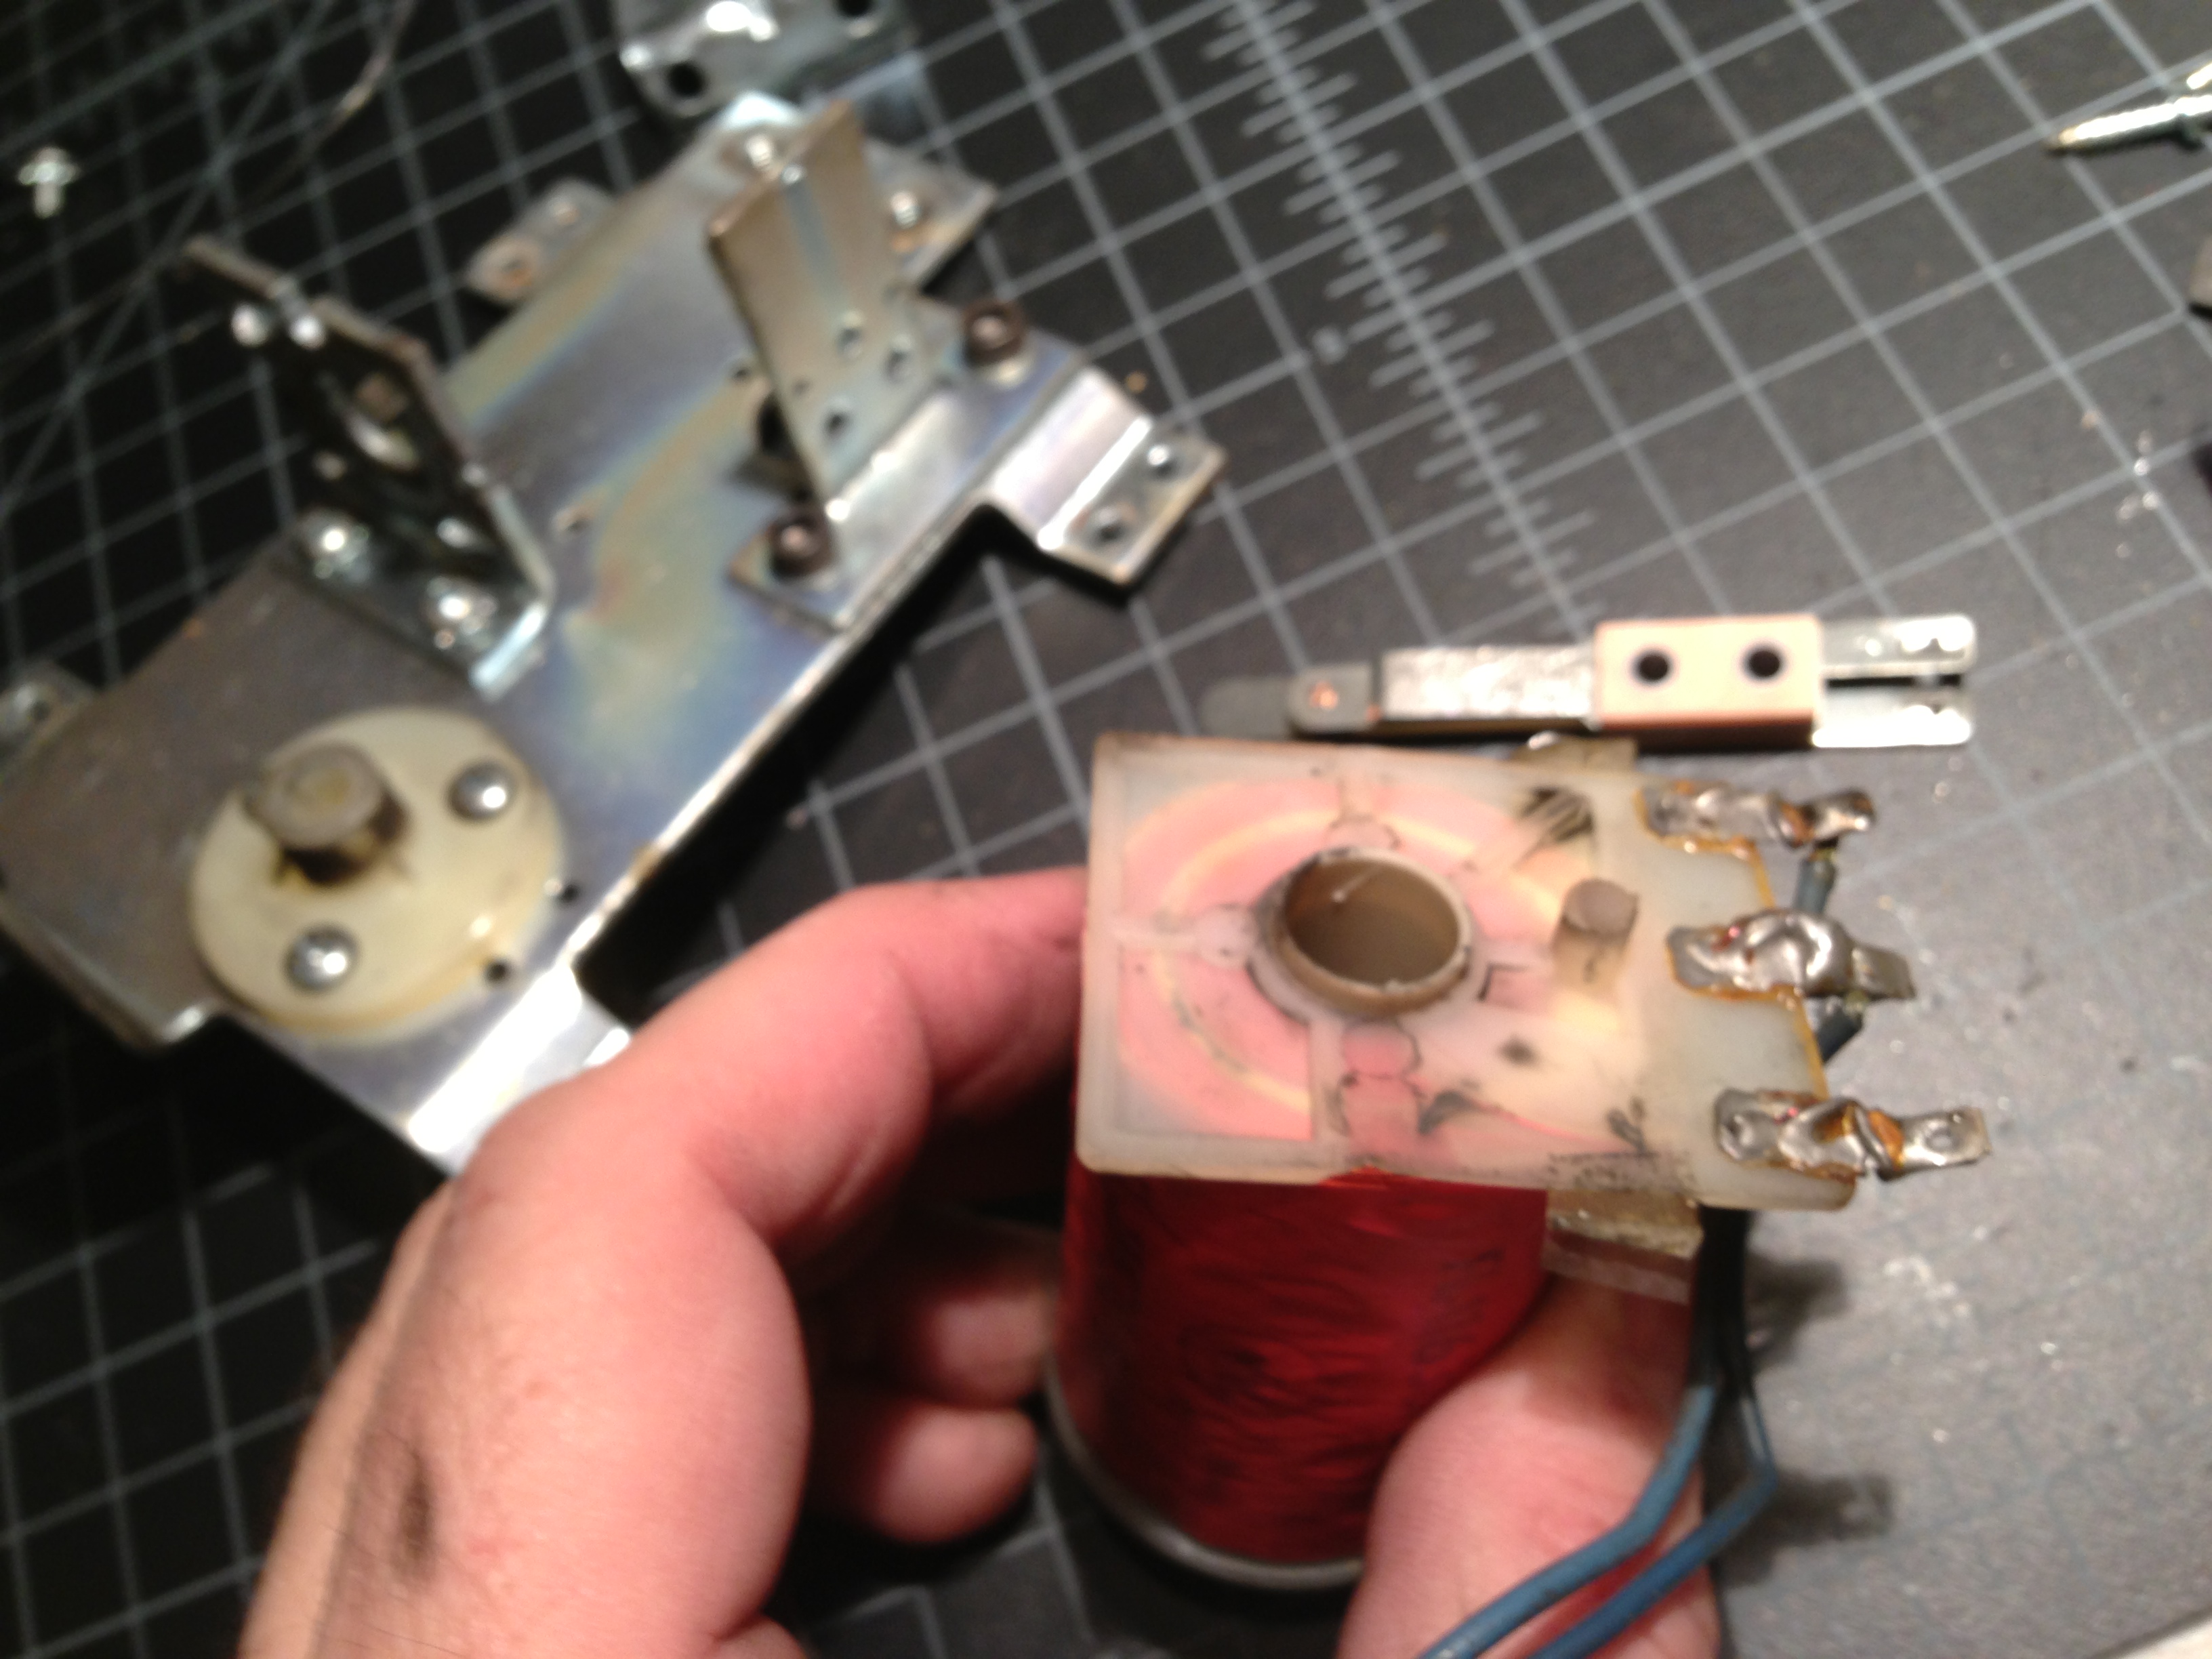
I ordered about $500 worth of parts for this machine. I will be rebuilding the pop bumpers, replacing many coils, switches, and drop targets, targets, and plastic posts. Here’s some of the parts that will be replaced. I know the coils really don’t need to be replaced, really just the coil sleeves, but I went a little overboard on this one.


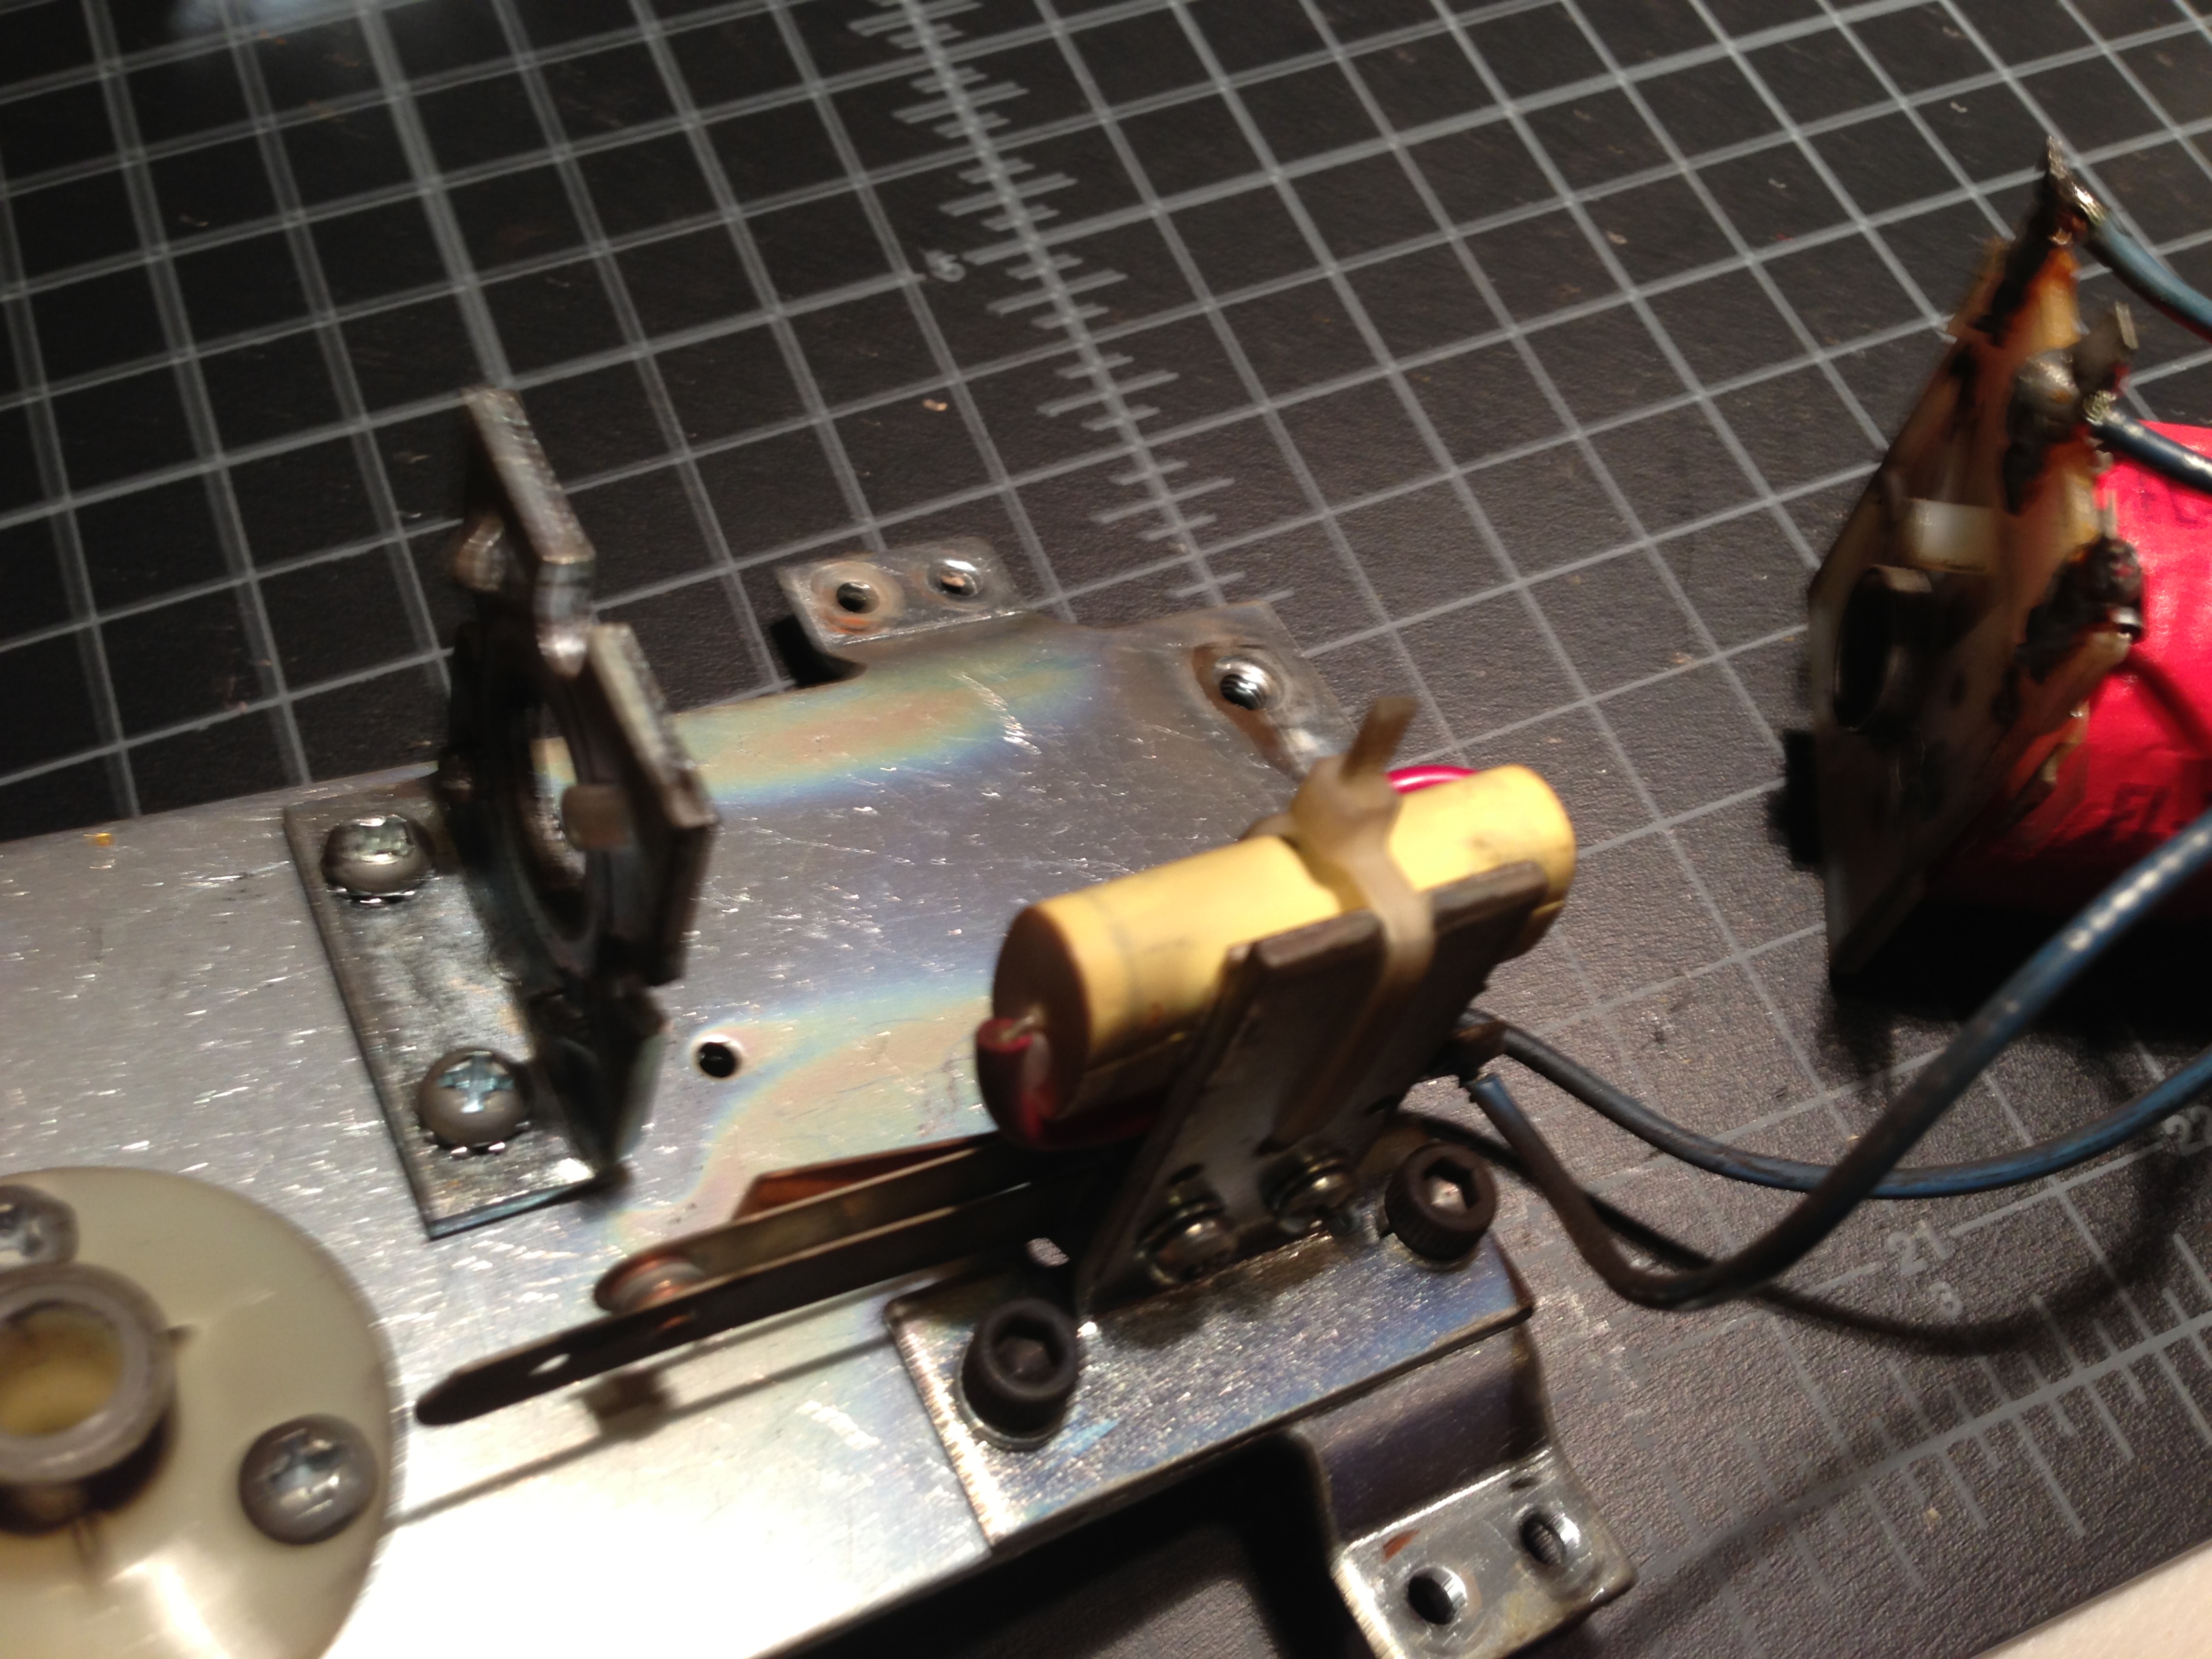
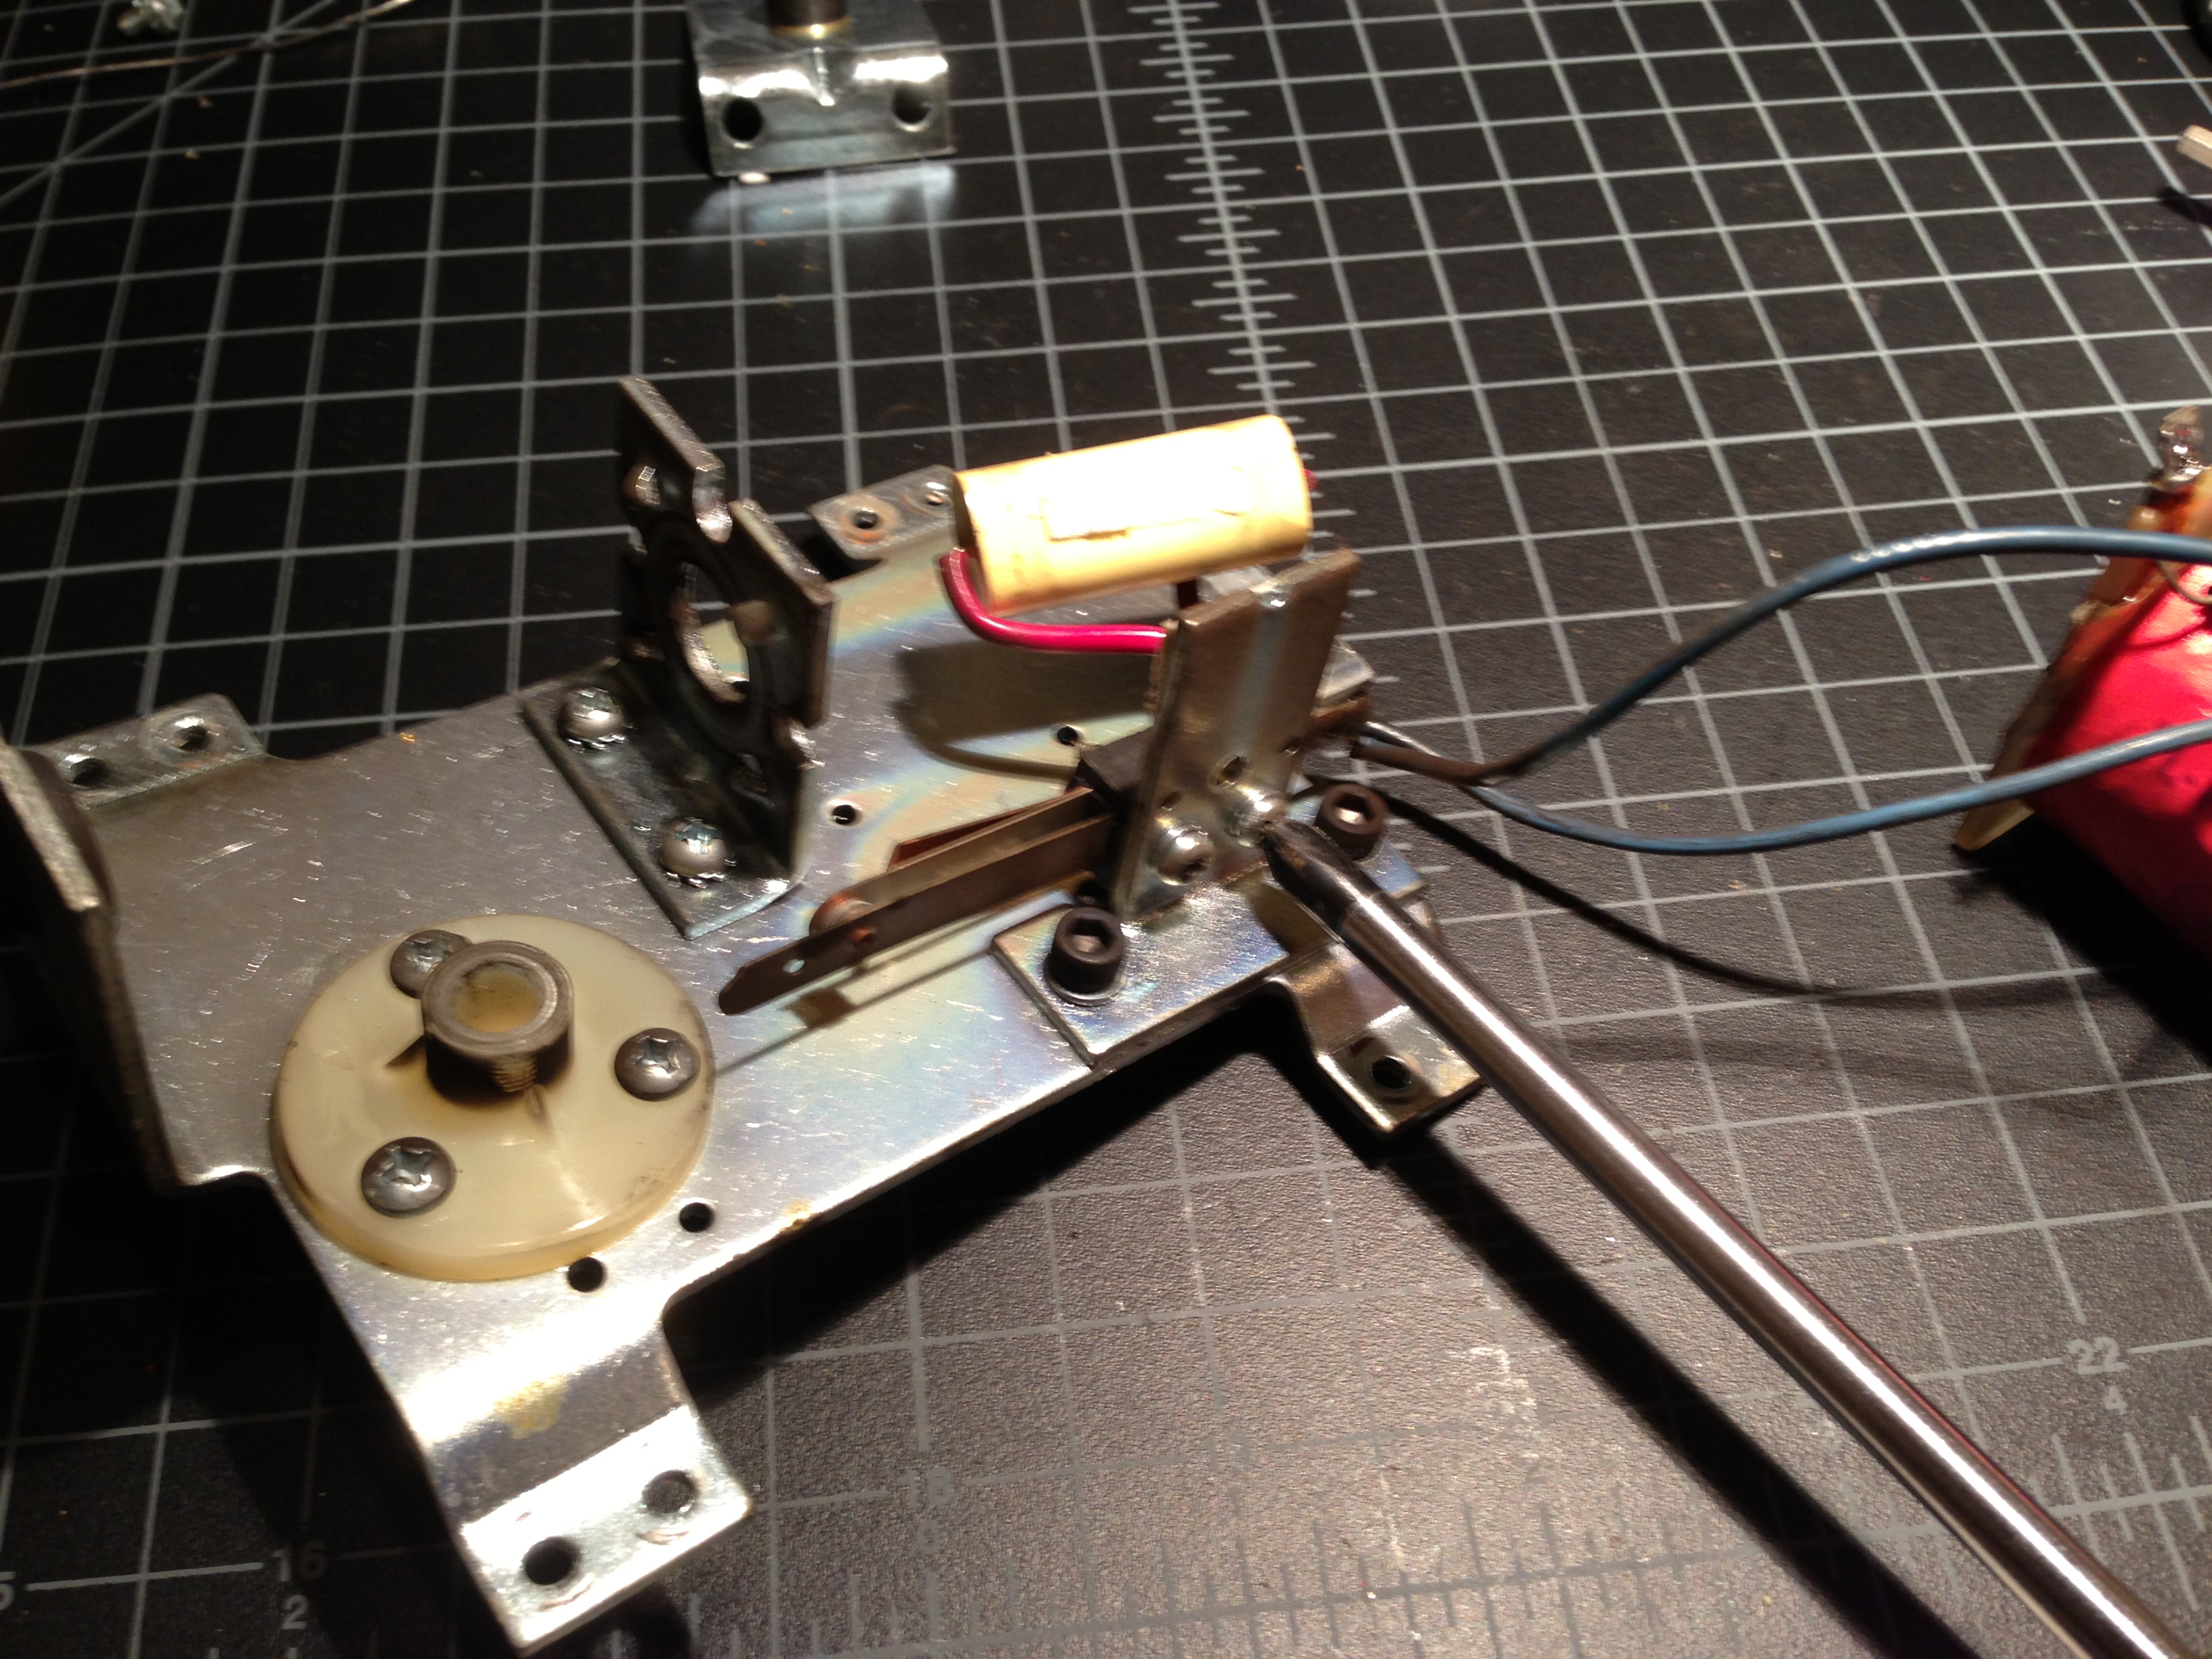
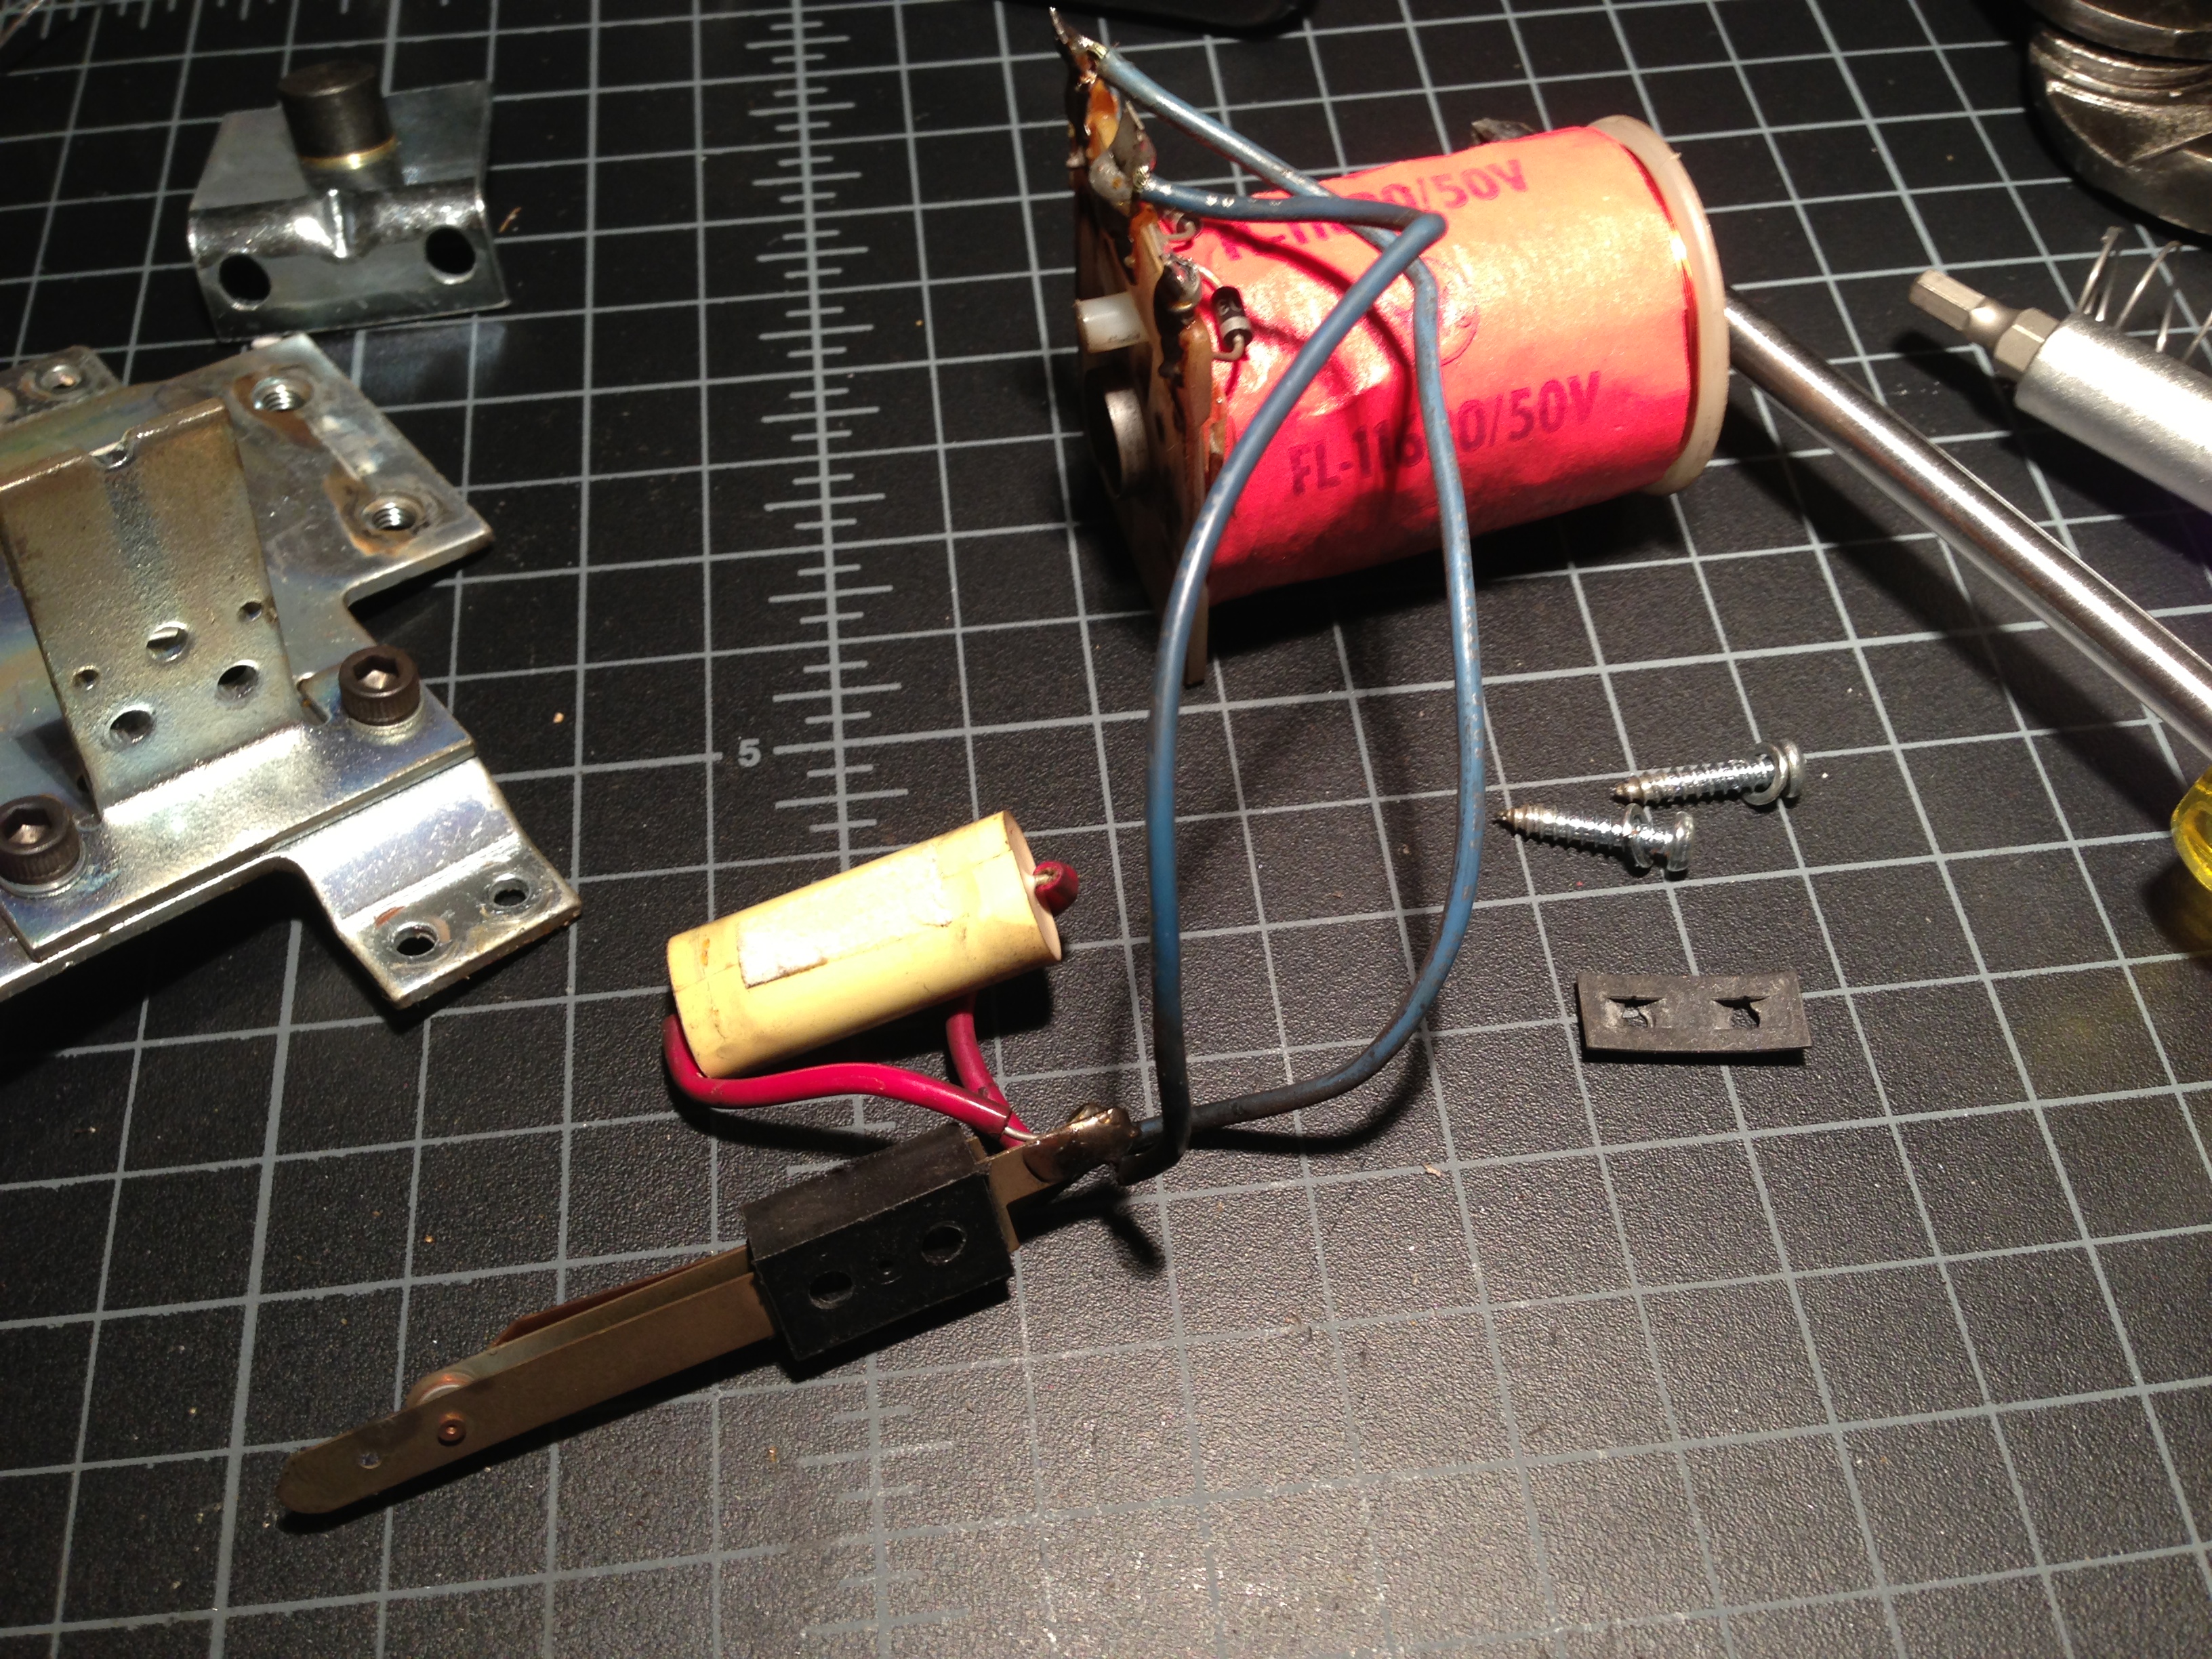
Main power supply before and after
http://www.bigdaddy-enterprises.com/sells some nice electronics kits for Gottlieb machines. The main power supply kit includes the bridge rectifiers, filter caps, and a couple of other components. I like to replace all of these components.


New Instruction Cards
The http://www.ipdb.org/ has instruction card scans for many machines. I download the PDF of the cards and print them on card stock paper in my ink jet or color laser printer on high ink/dpi. I got new plastic covers for these cards from Pinball Resource. I’ve had an idea I haven’t tried yet. Instead of new plastic covers for these score cards, how about laminating them? I figure it will look the same when in the machine, the cards will be less likely to warp and will stay in their spot better, and handling them won’t leave oils that will discolor them over time. I’ll probably try this on the next machine I do.

New Power Cord
There was an old, nicked up power cord on this machine. It’s pretty easy to replace these, and even though it could be argued it’s not entirely necessary, the cord is 30 years old, and a new one will look a lot nicer, and is safer. I found one of the original tags from the machine when it came out of it’s box inside as I removed the old power cord.


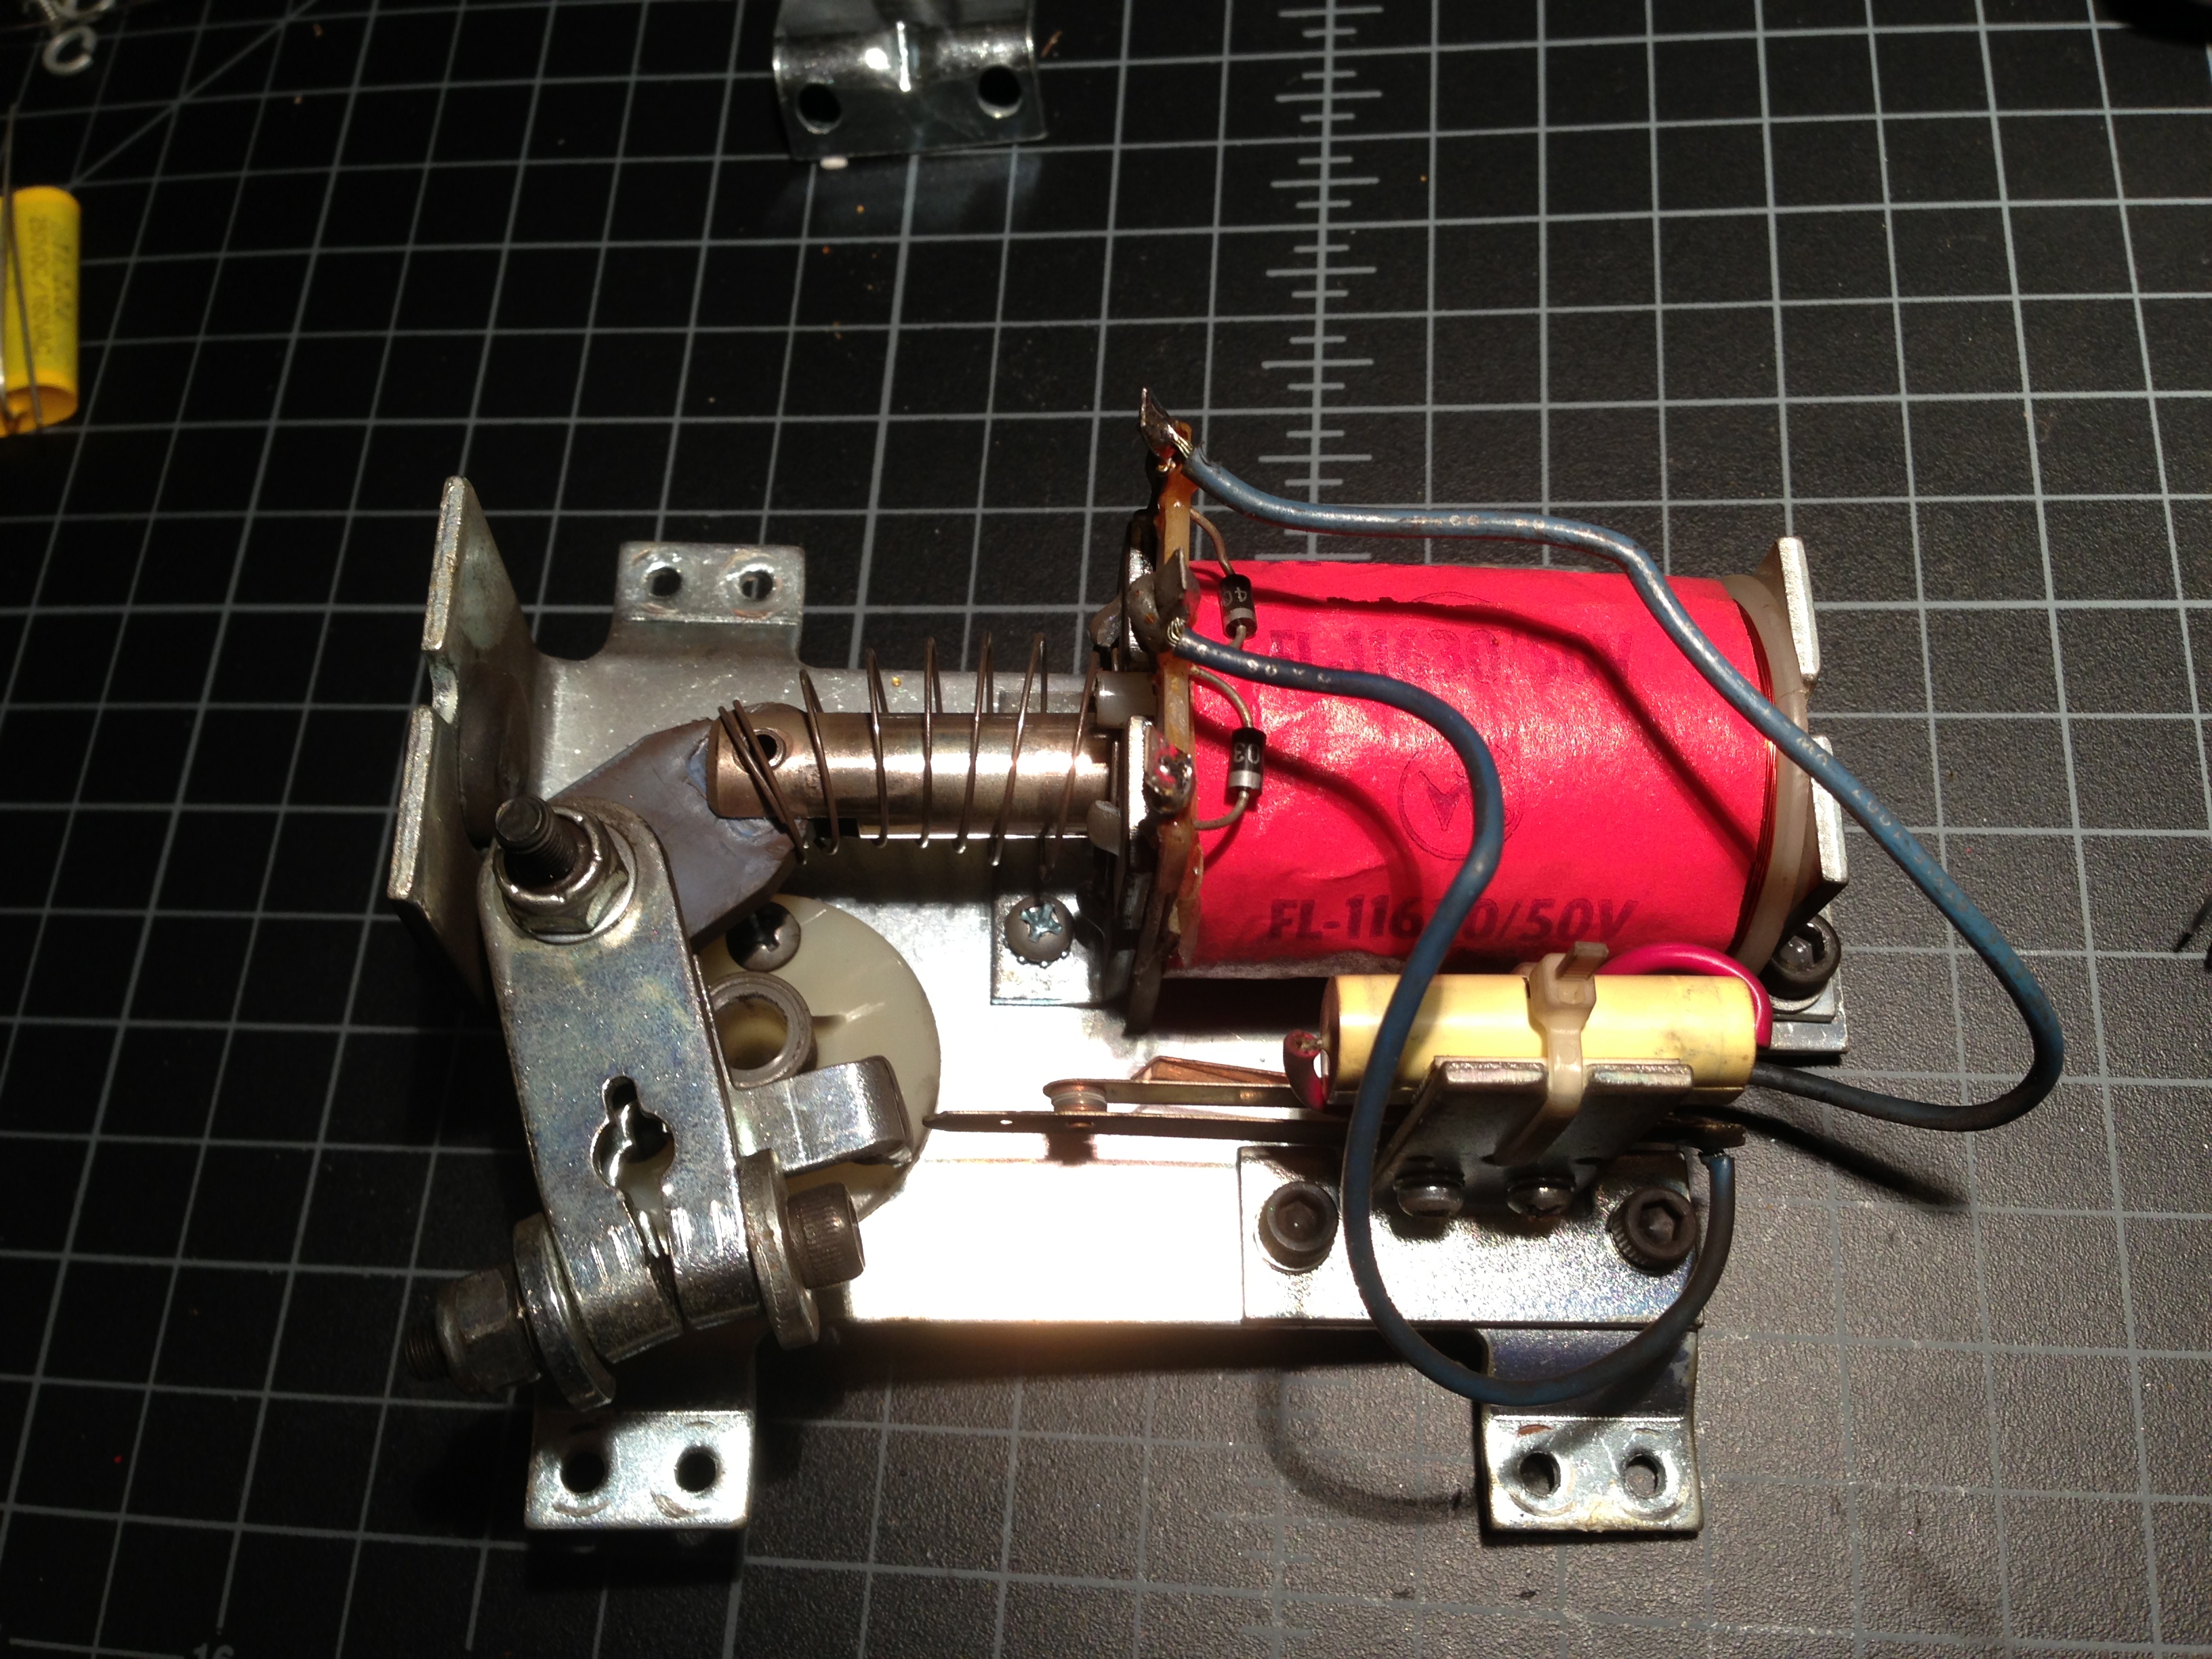
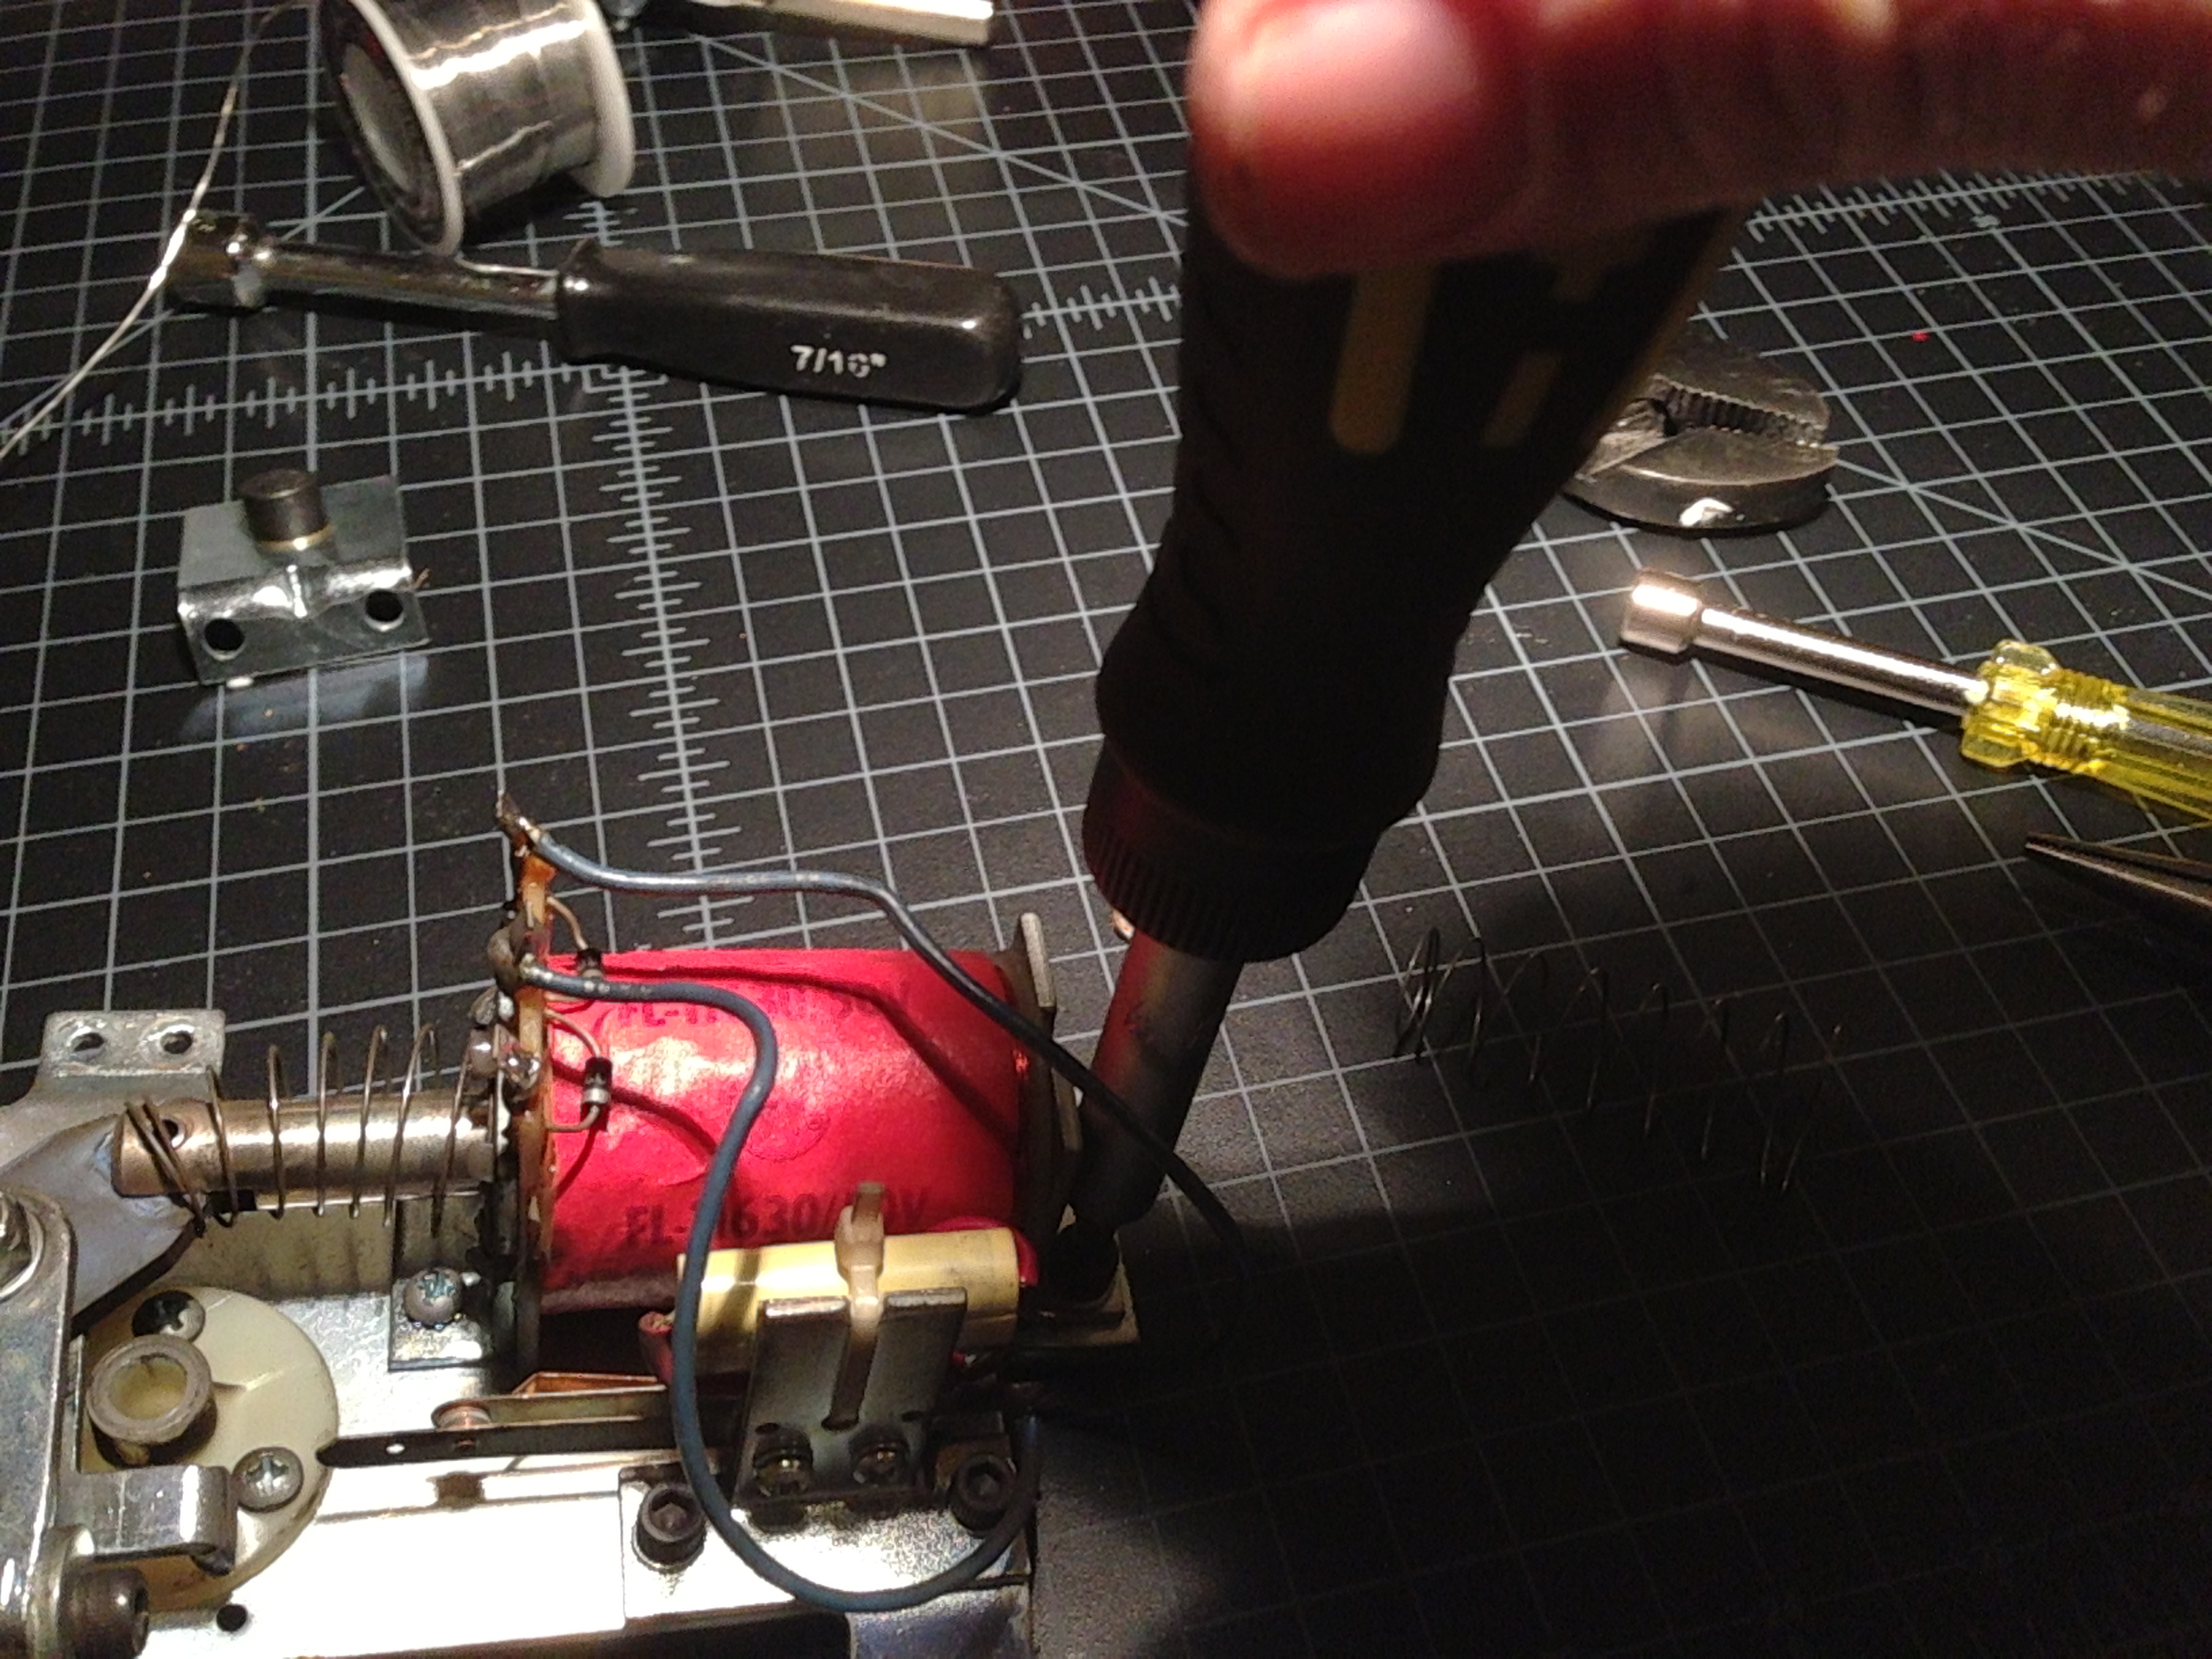
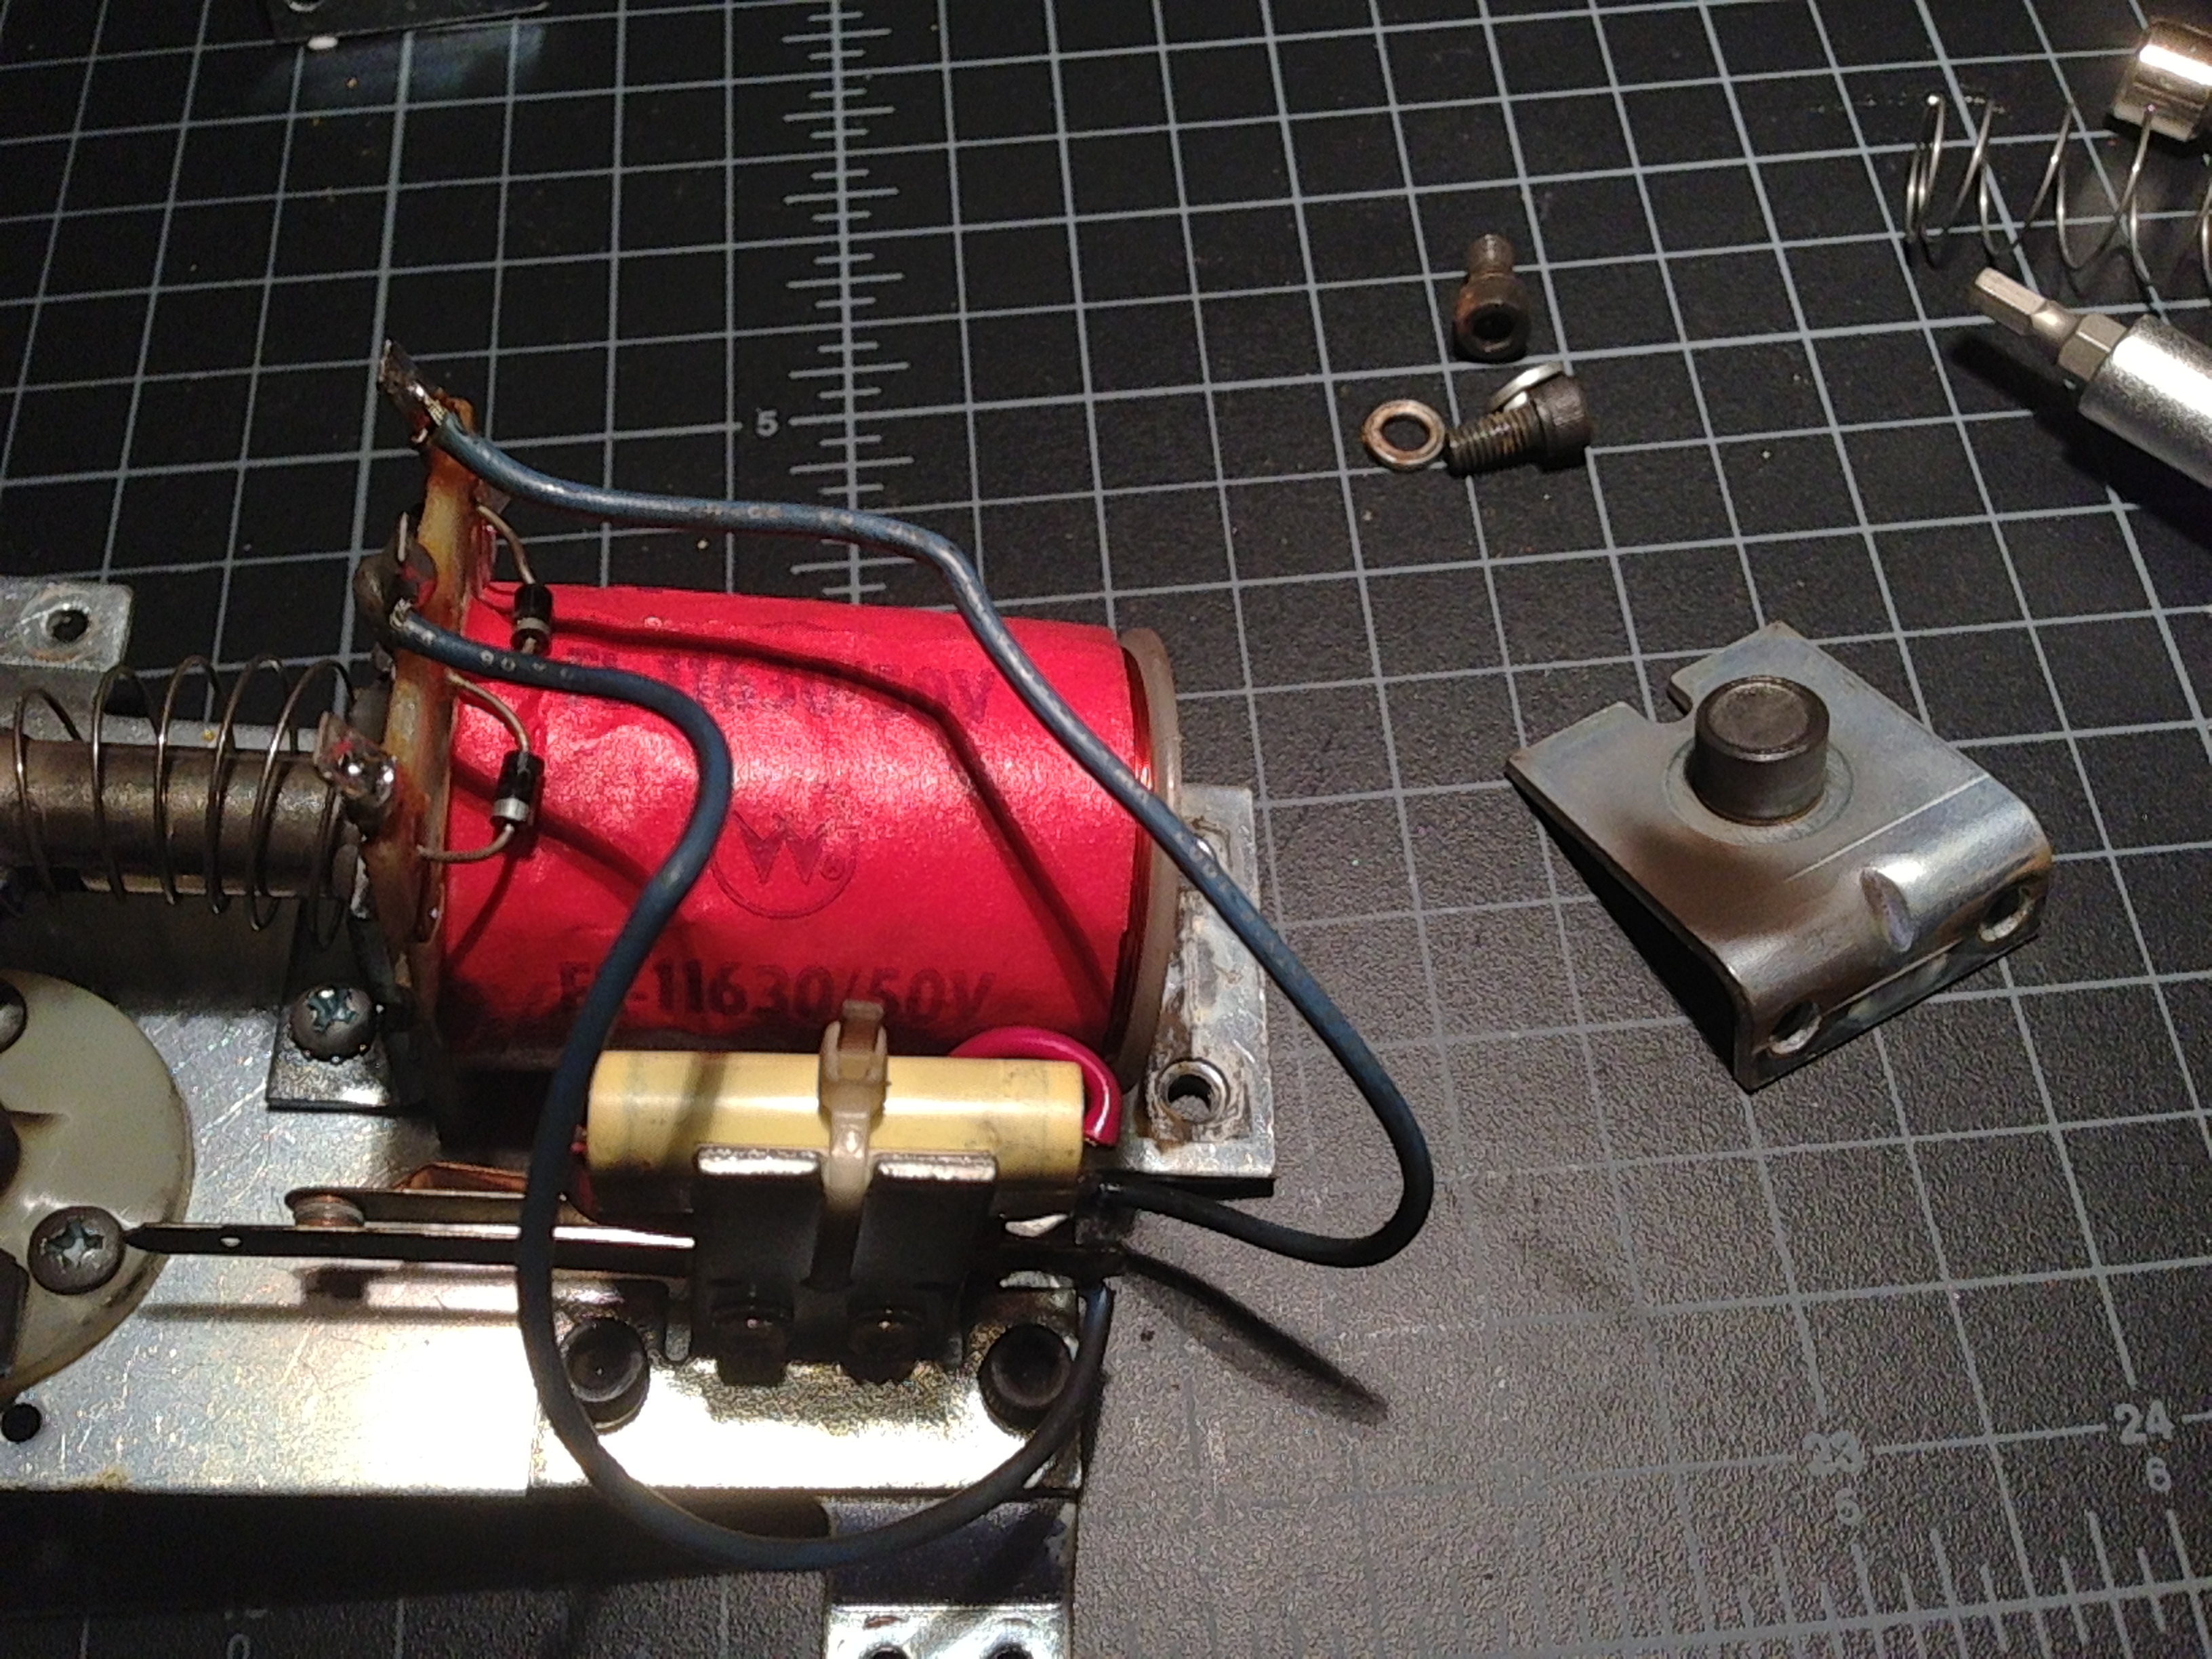
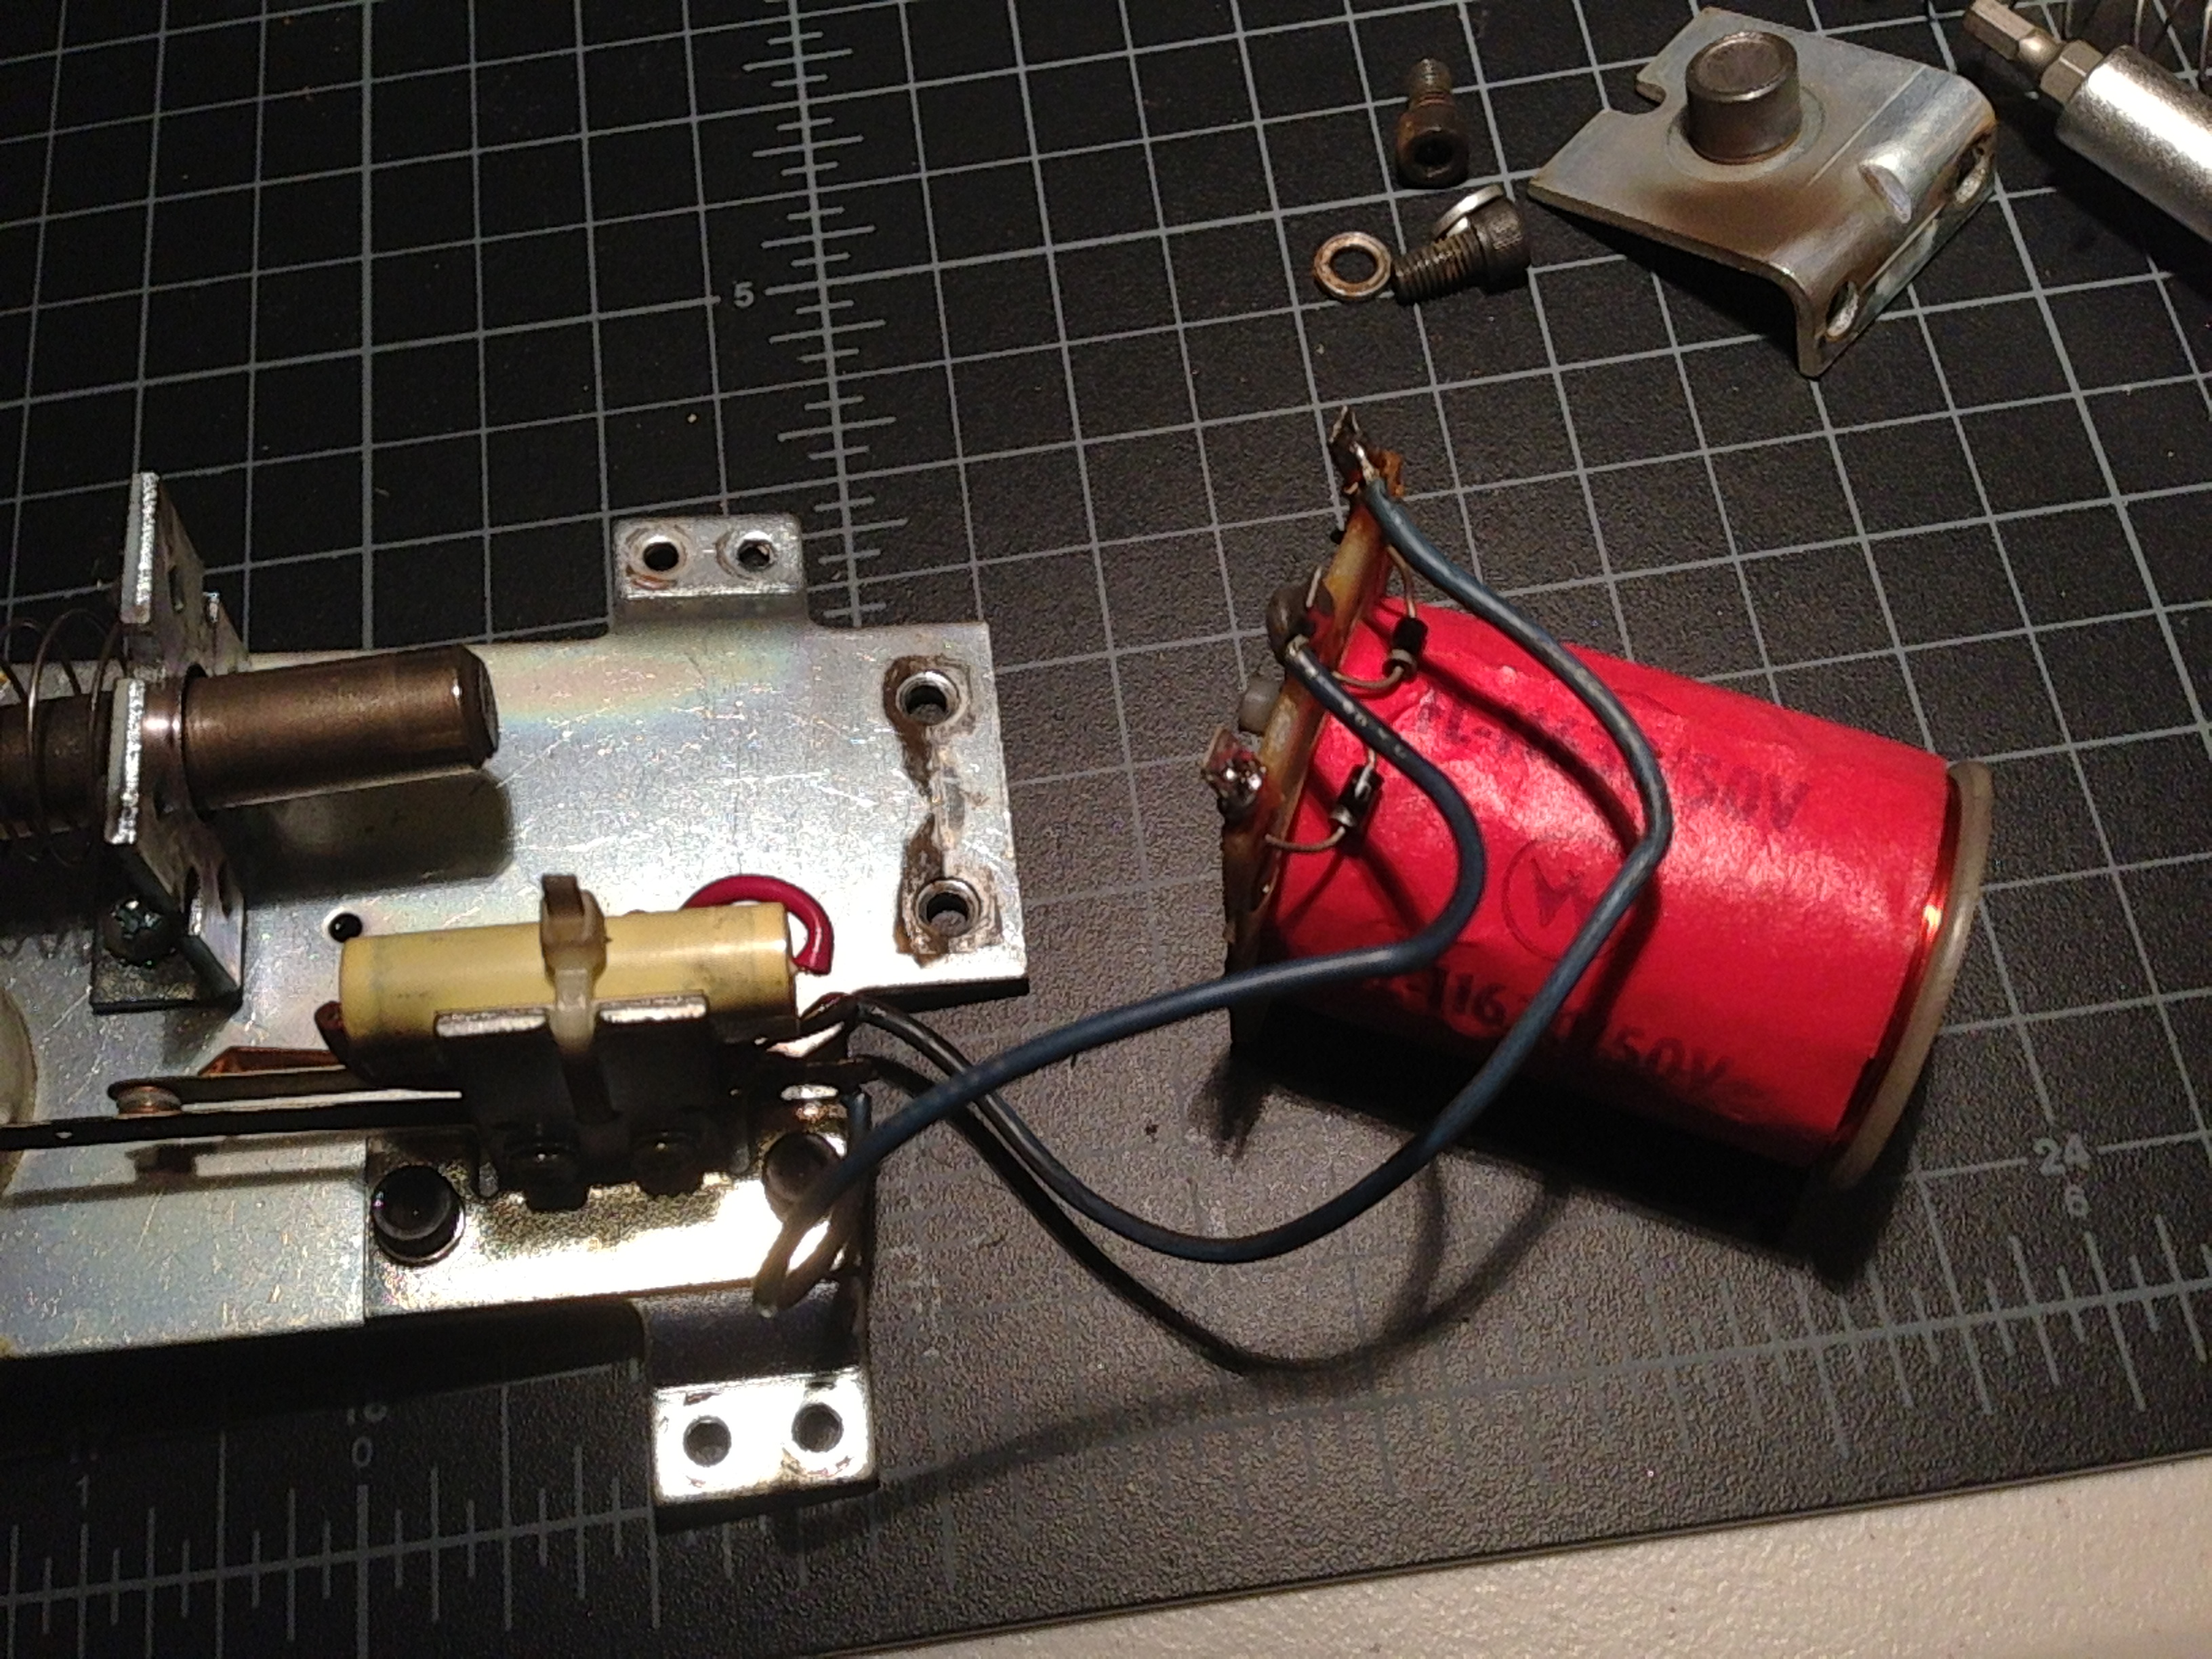
Flippers
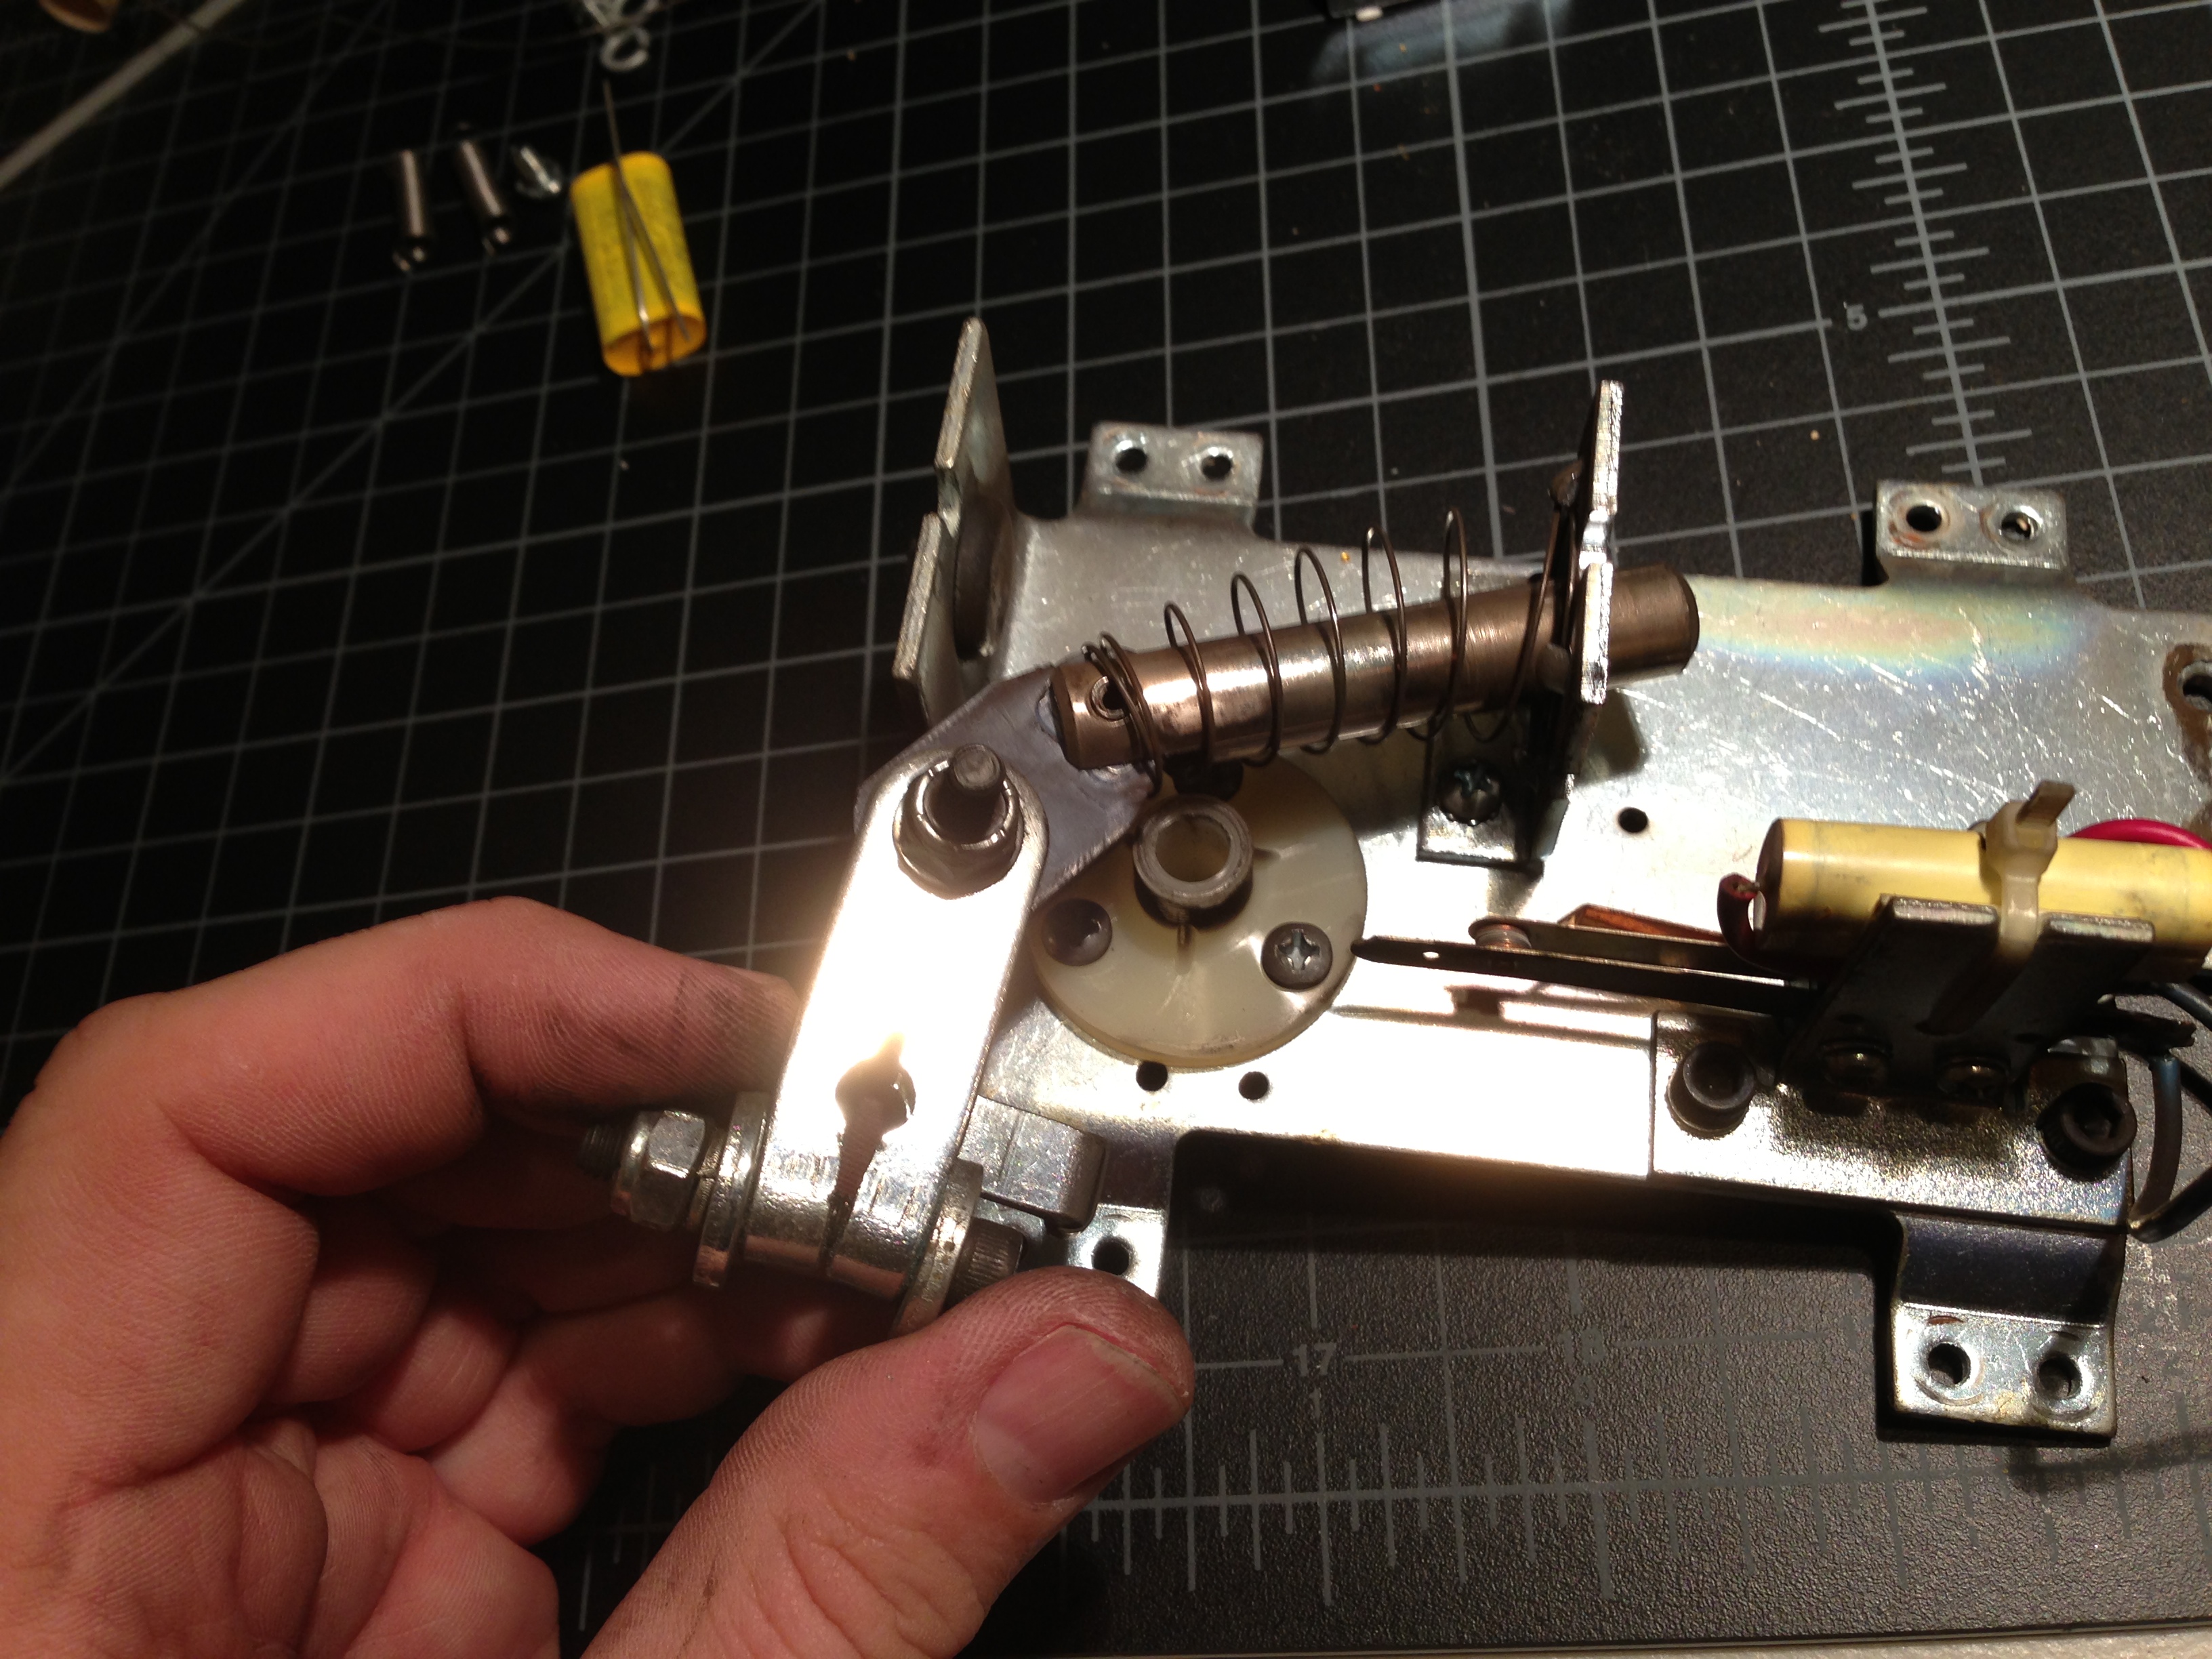
The flippers need some work. I’m going to replace the coils and coil sleeves for sure, but as I disassembled them, I noticed it looks like a few of them have been oiled or greased. This really ruins the operation of coils over time. I’ll need to clean these up real good.

Drop Target Replacement
These old drop targets are pretty beat up, so they are getting replaced with brand new ones .


The back plate has to come off the drop target unit. Then each target is accessible. Remove the spring, and work the target off the arm. When you are putting the new target on, make sure you look and put them in the right order. It really sucks to get one of these all the way back together and realize you’ve spelled BALCK rather than BLACK.


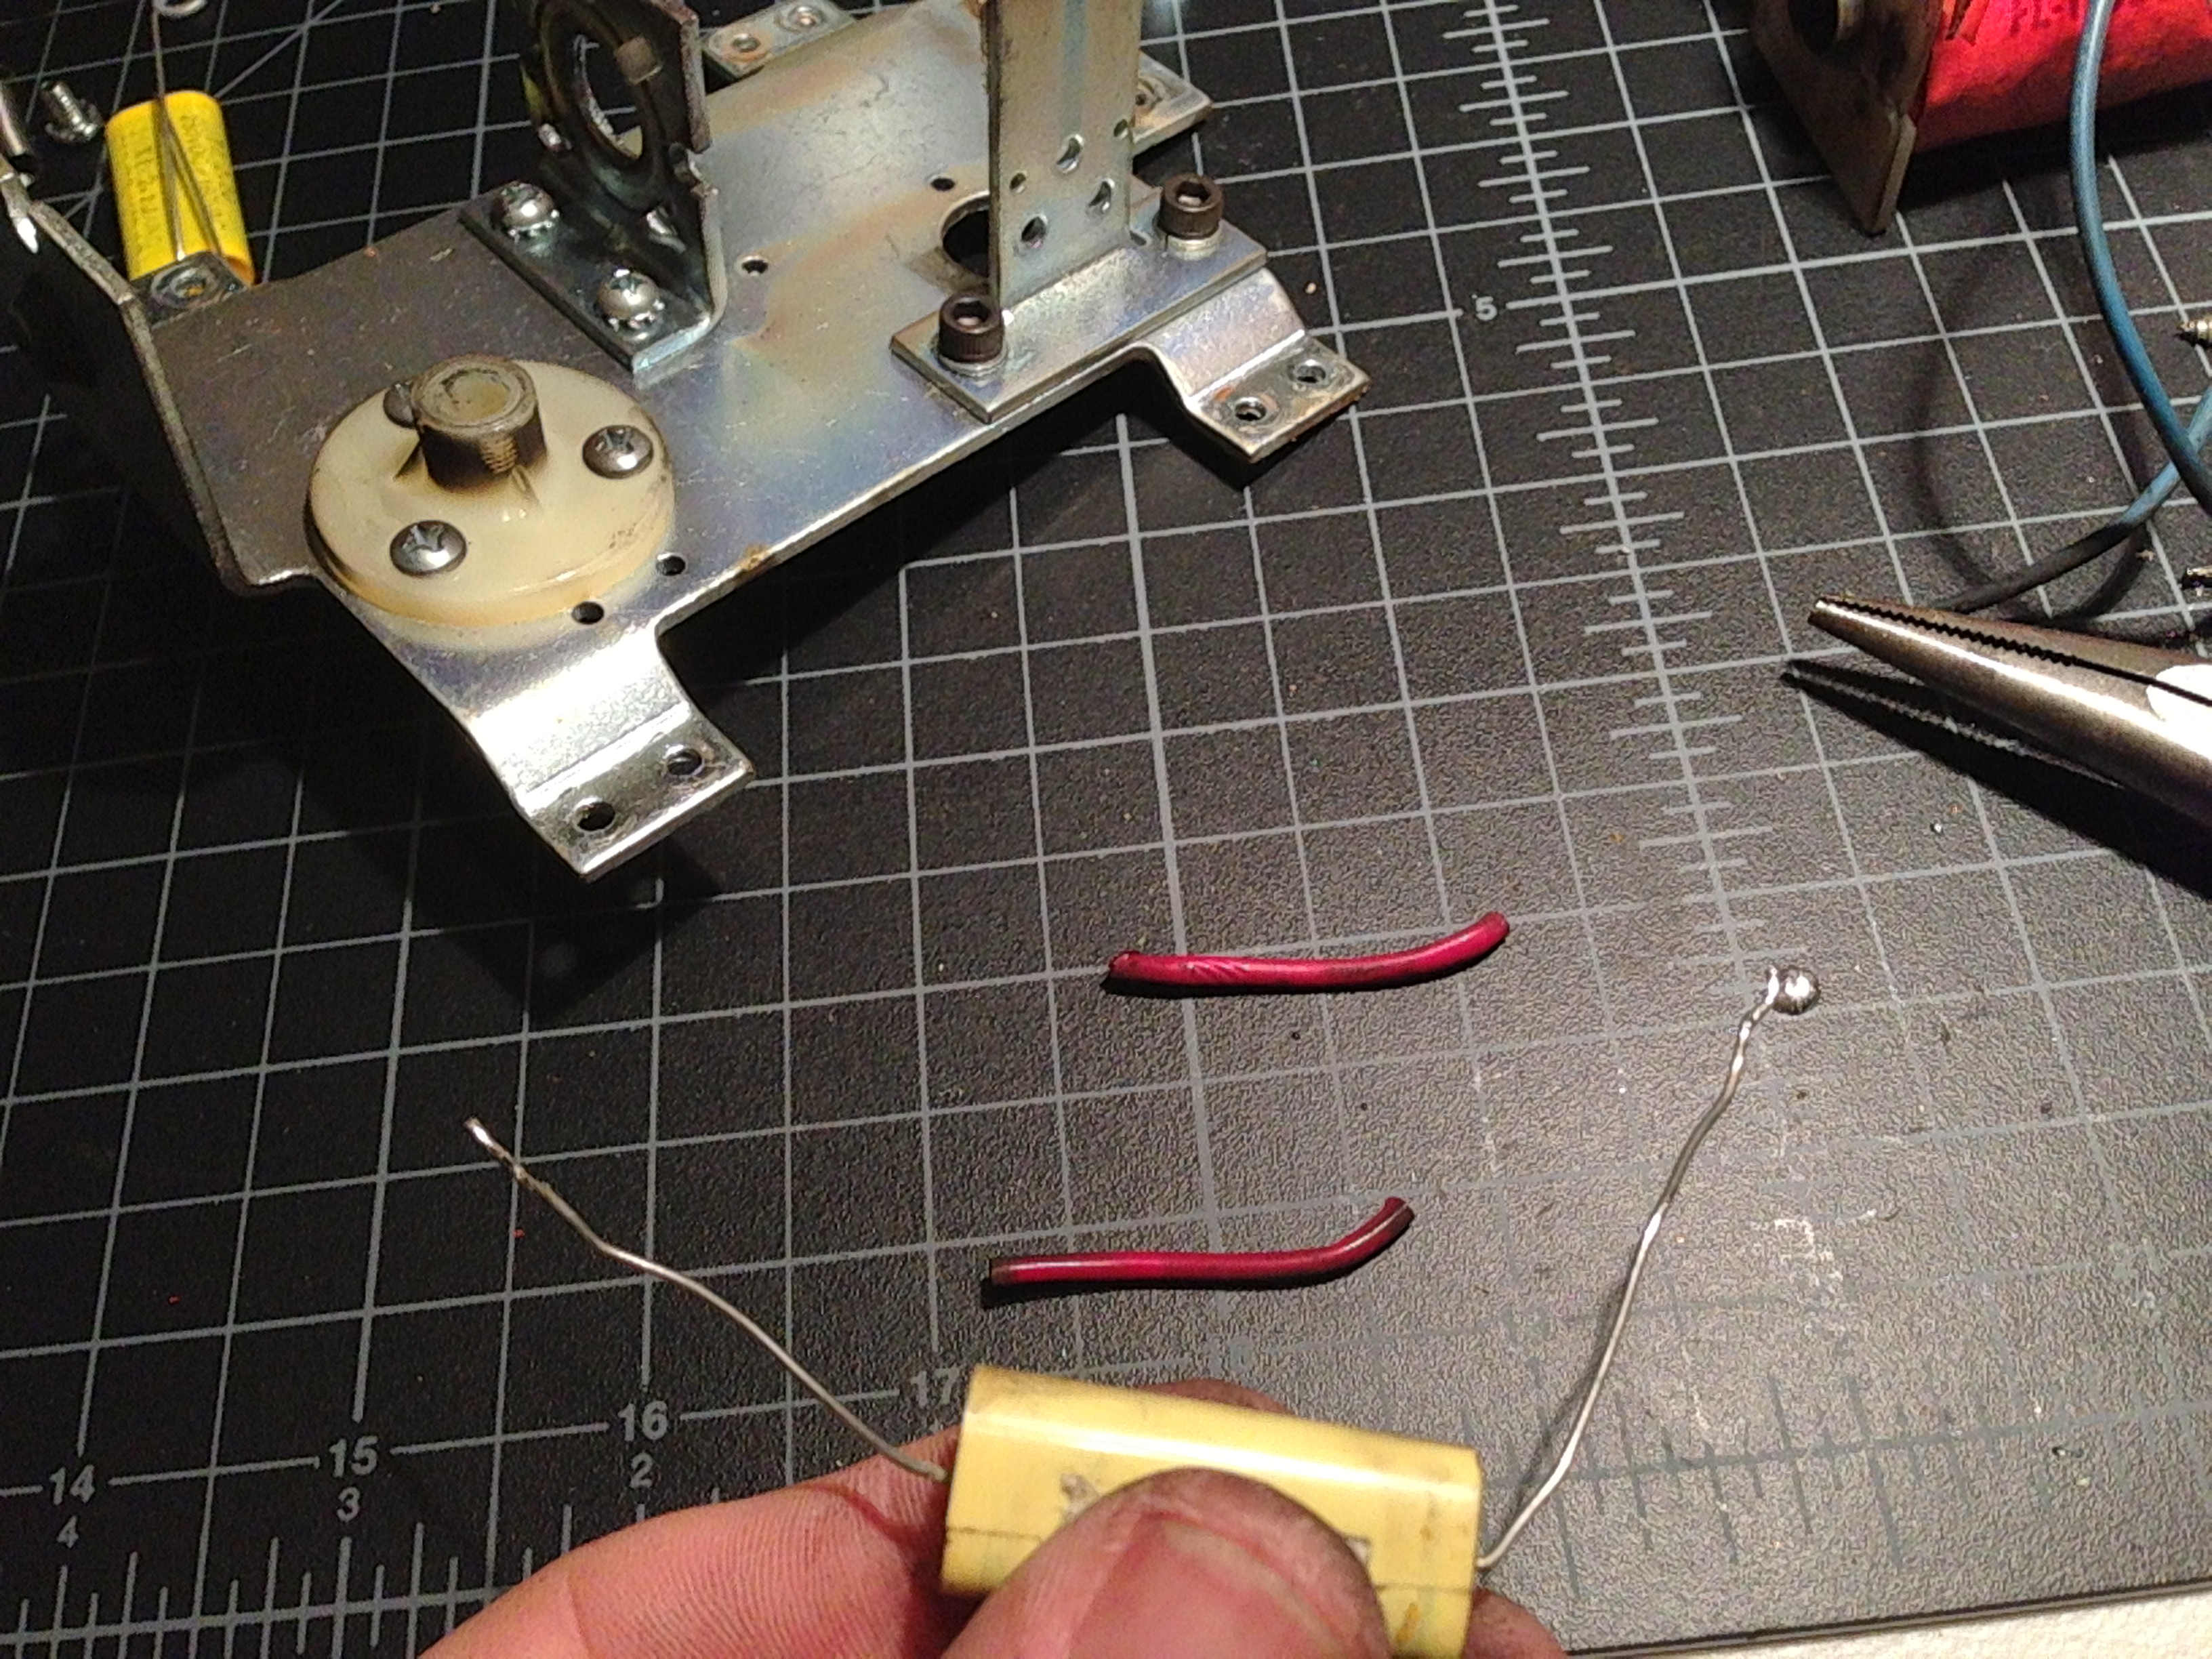
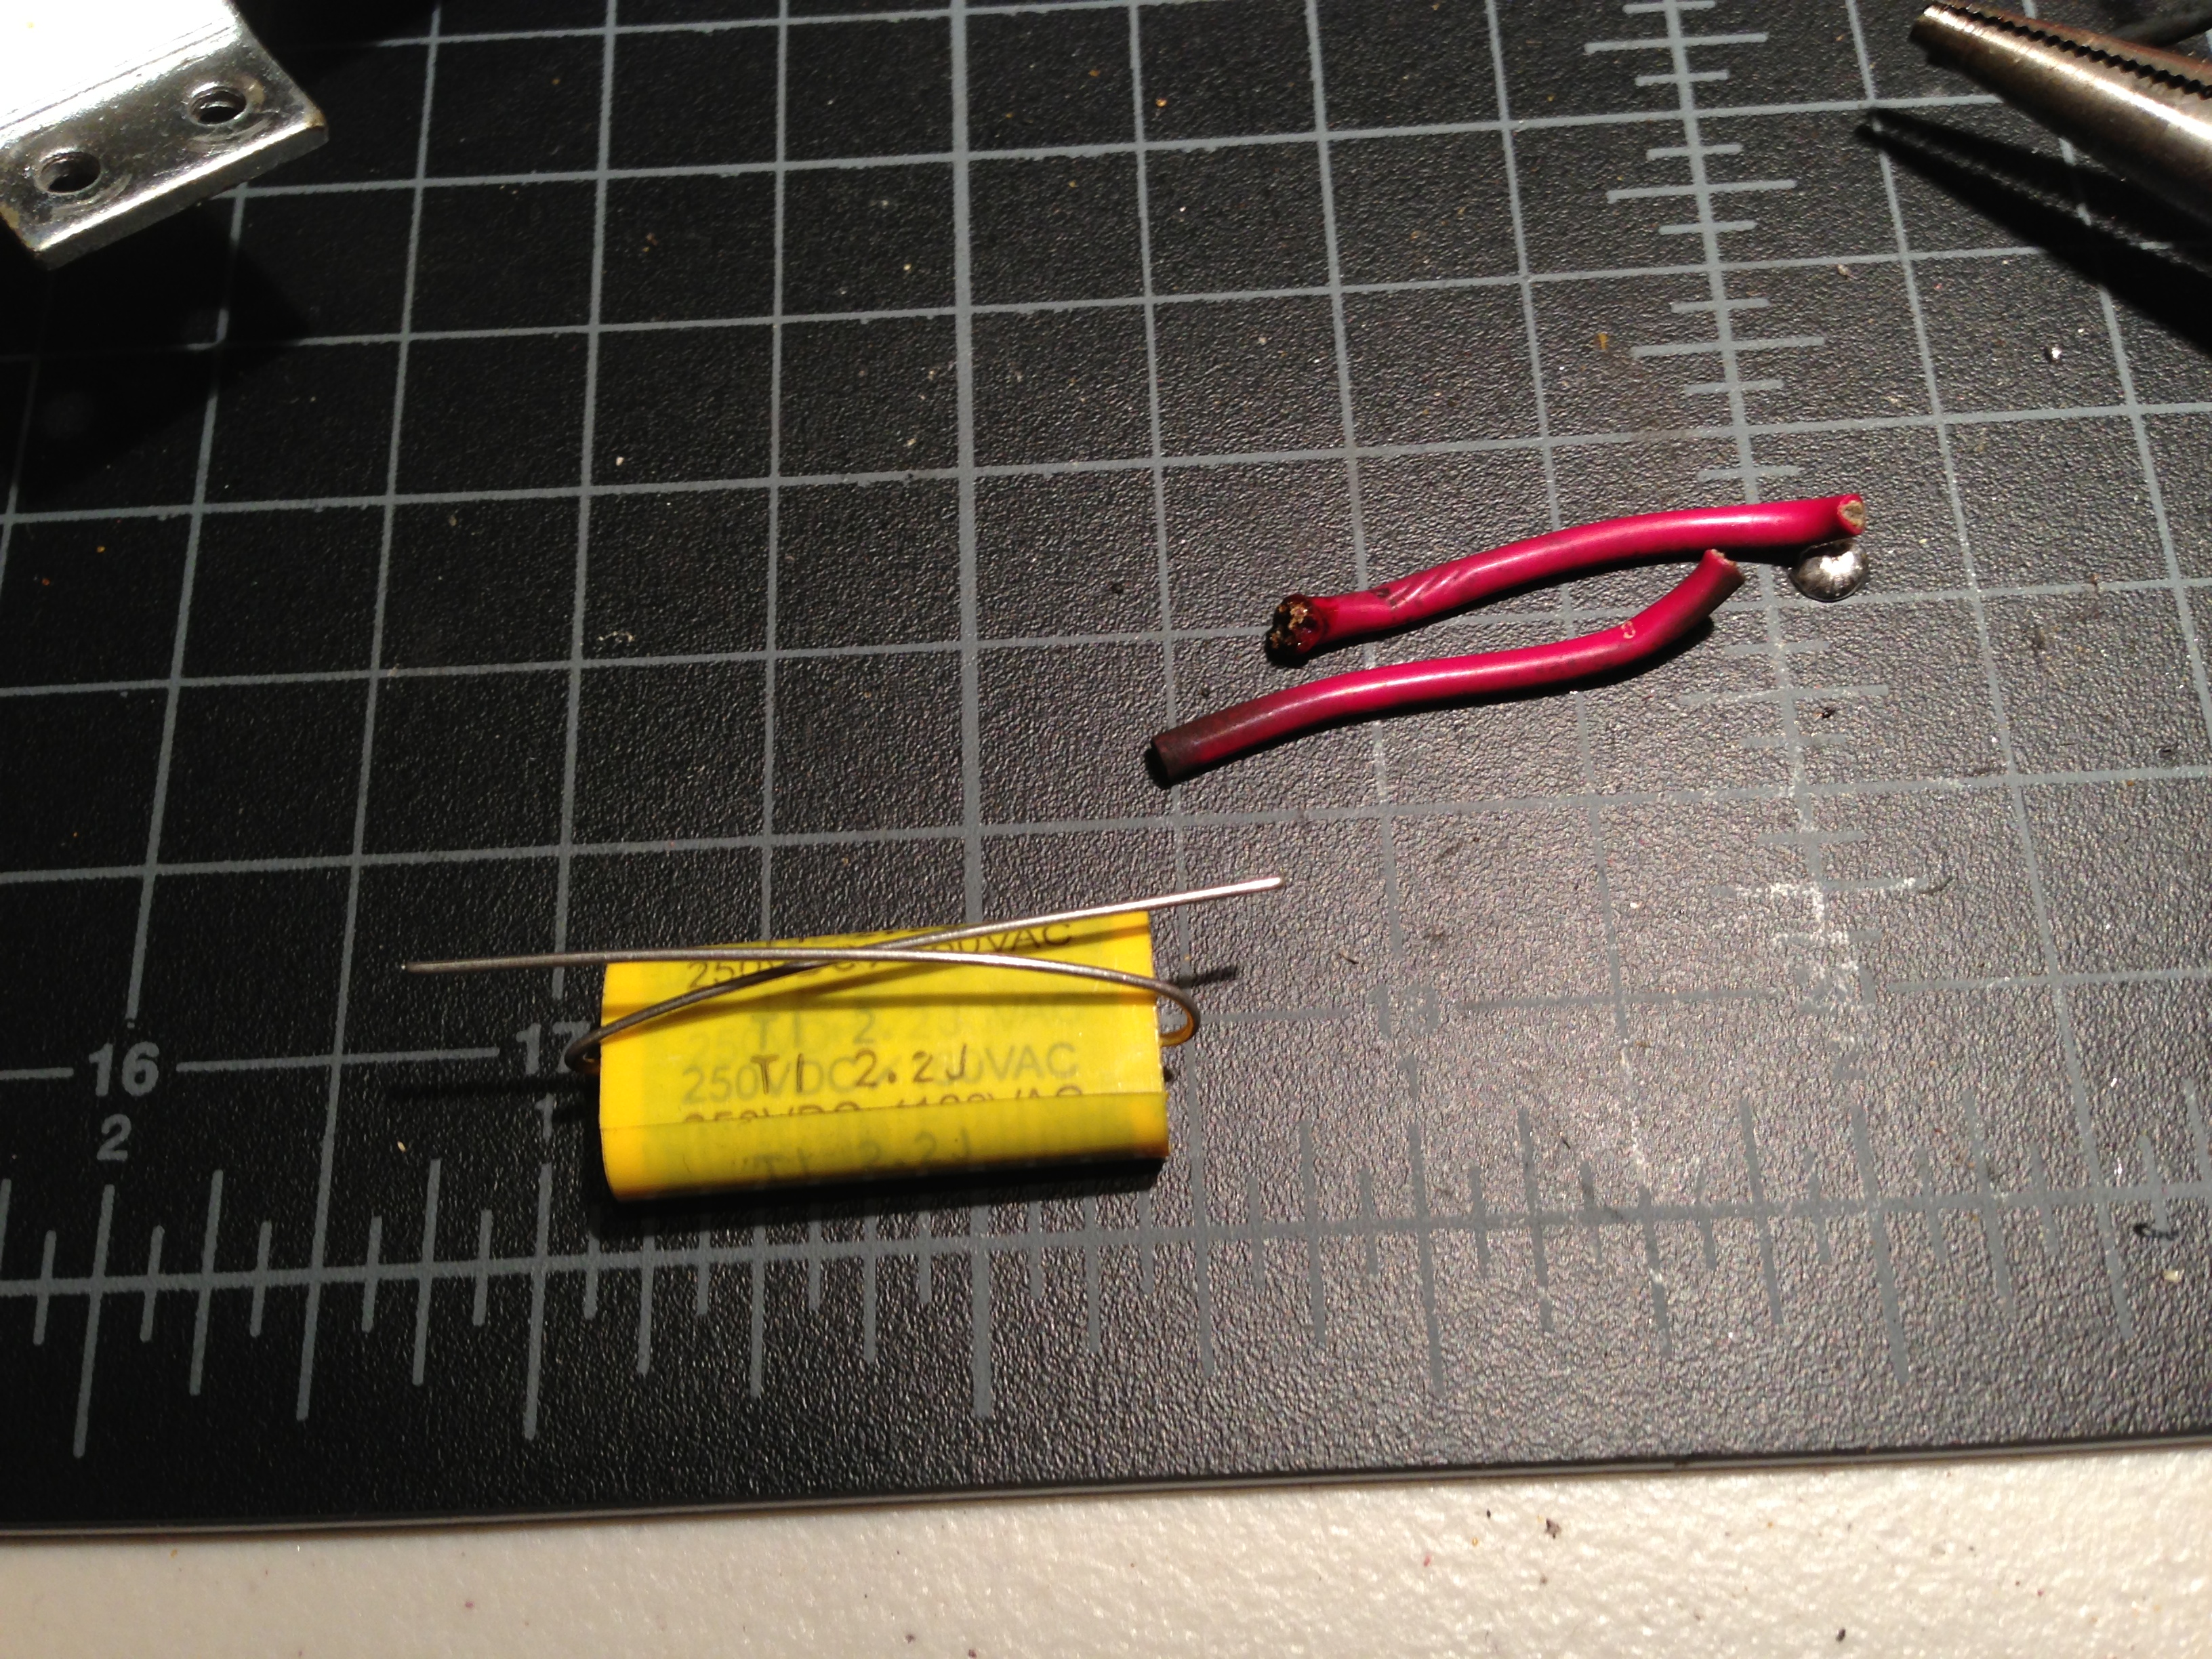
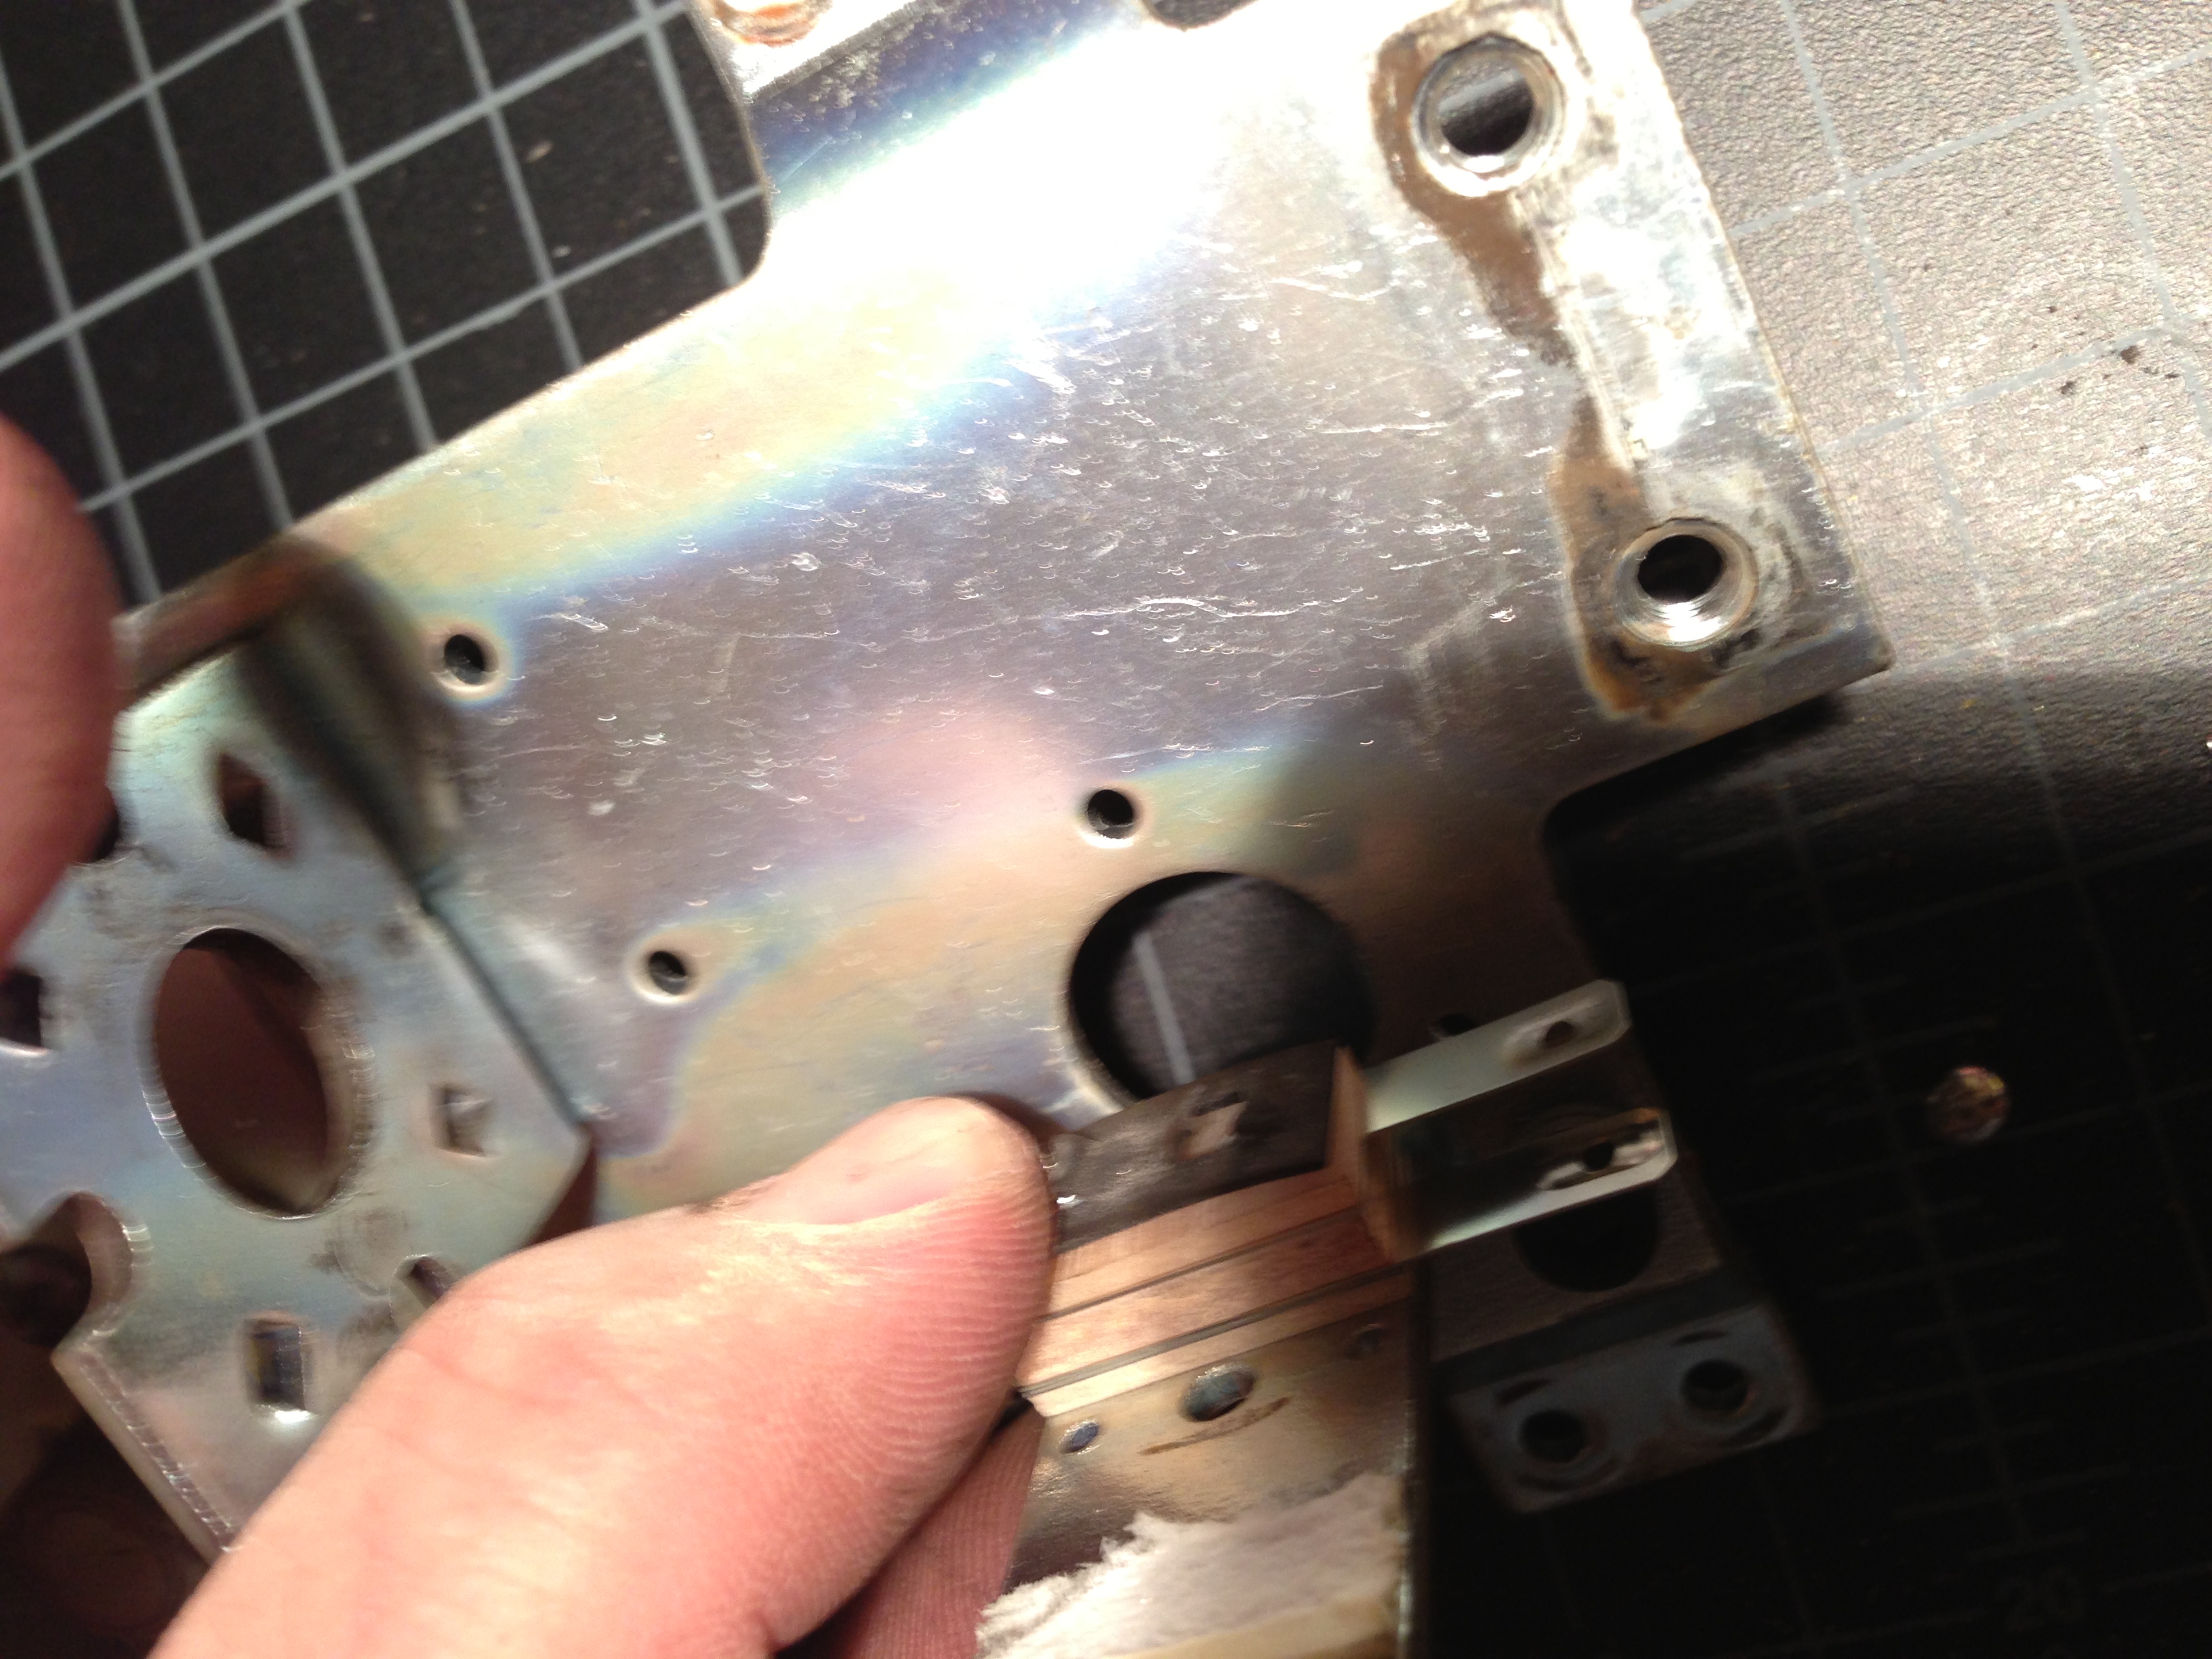
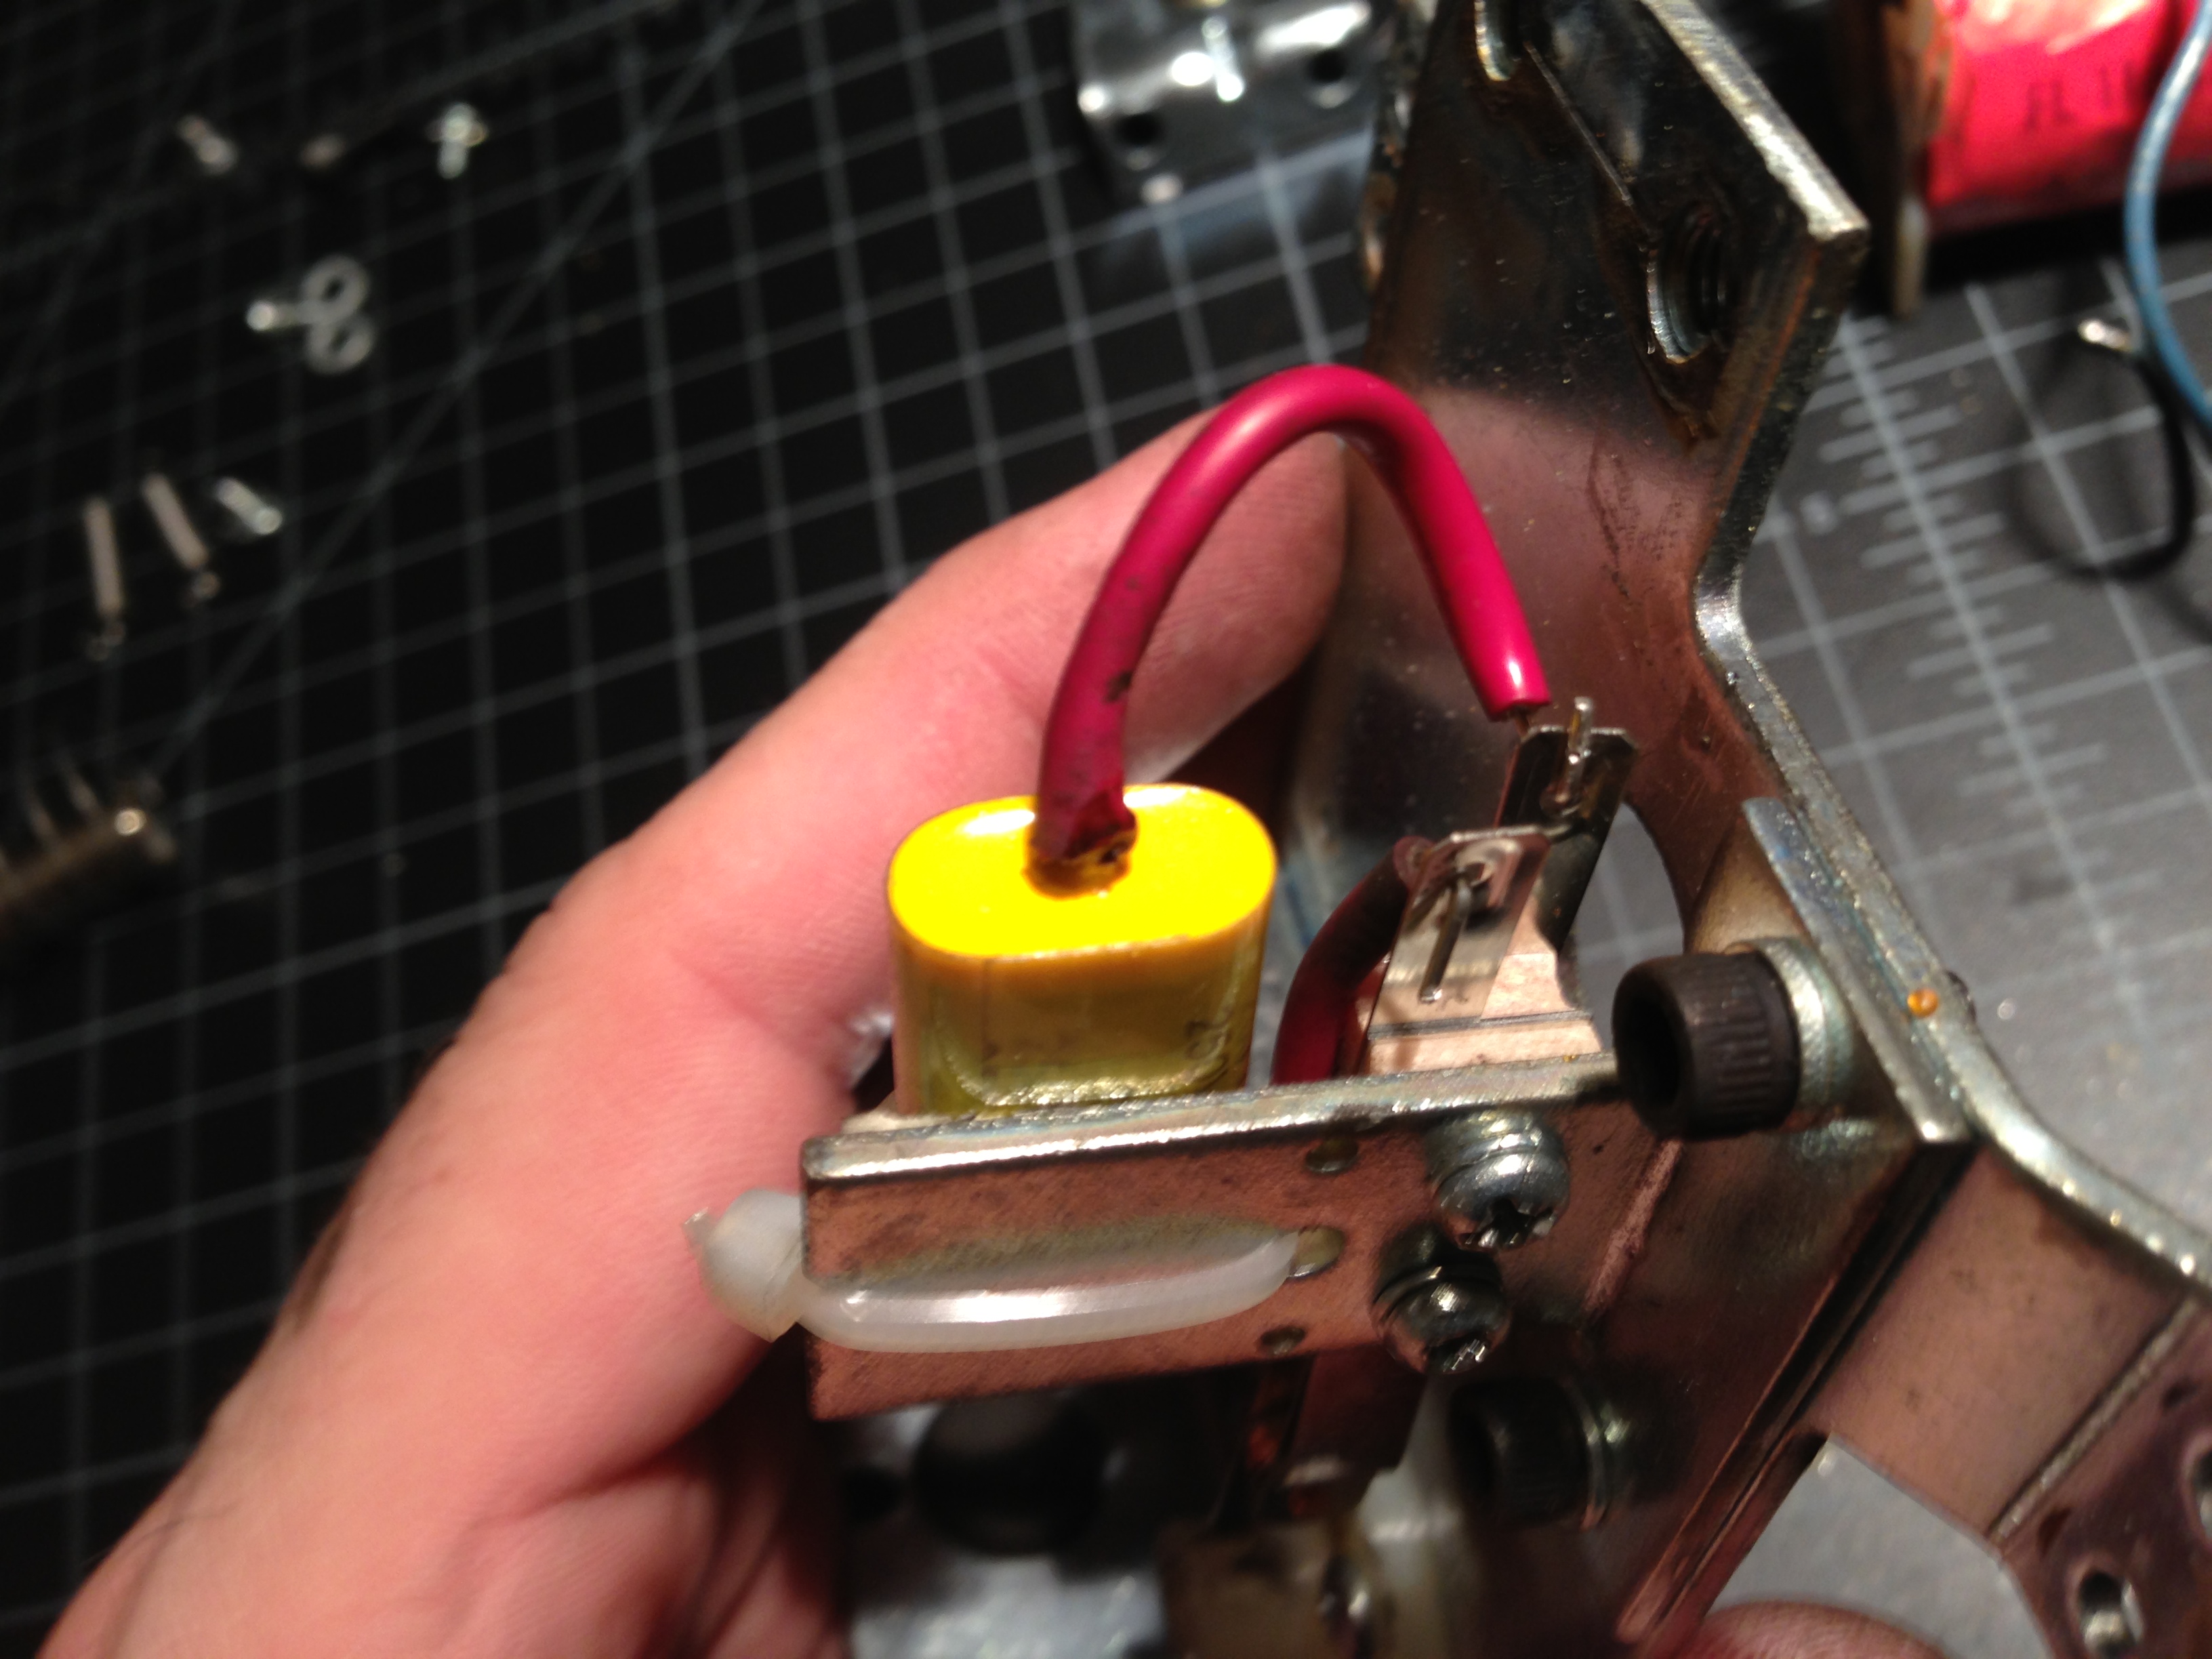
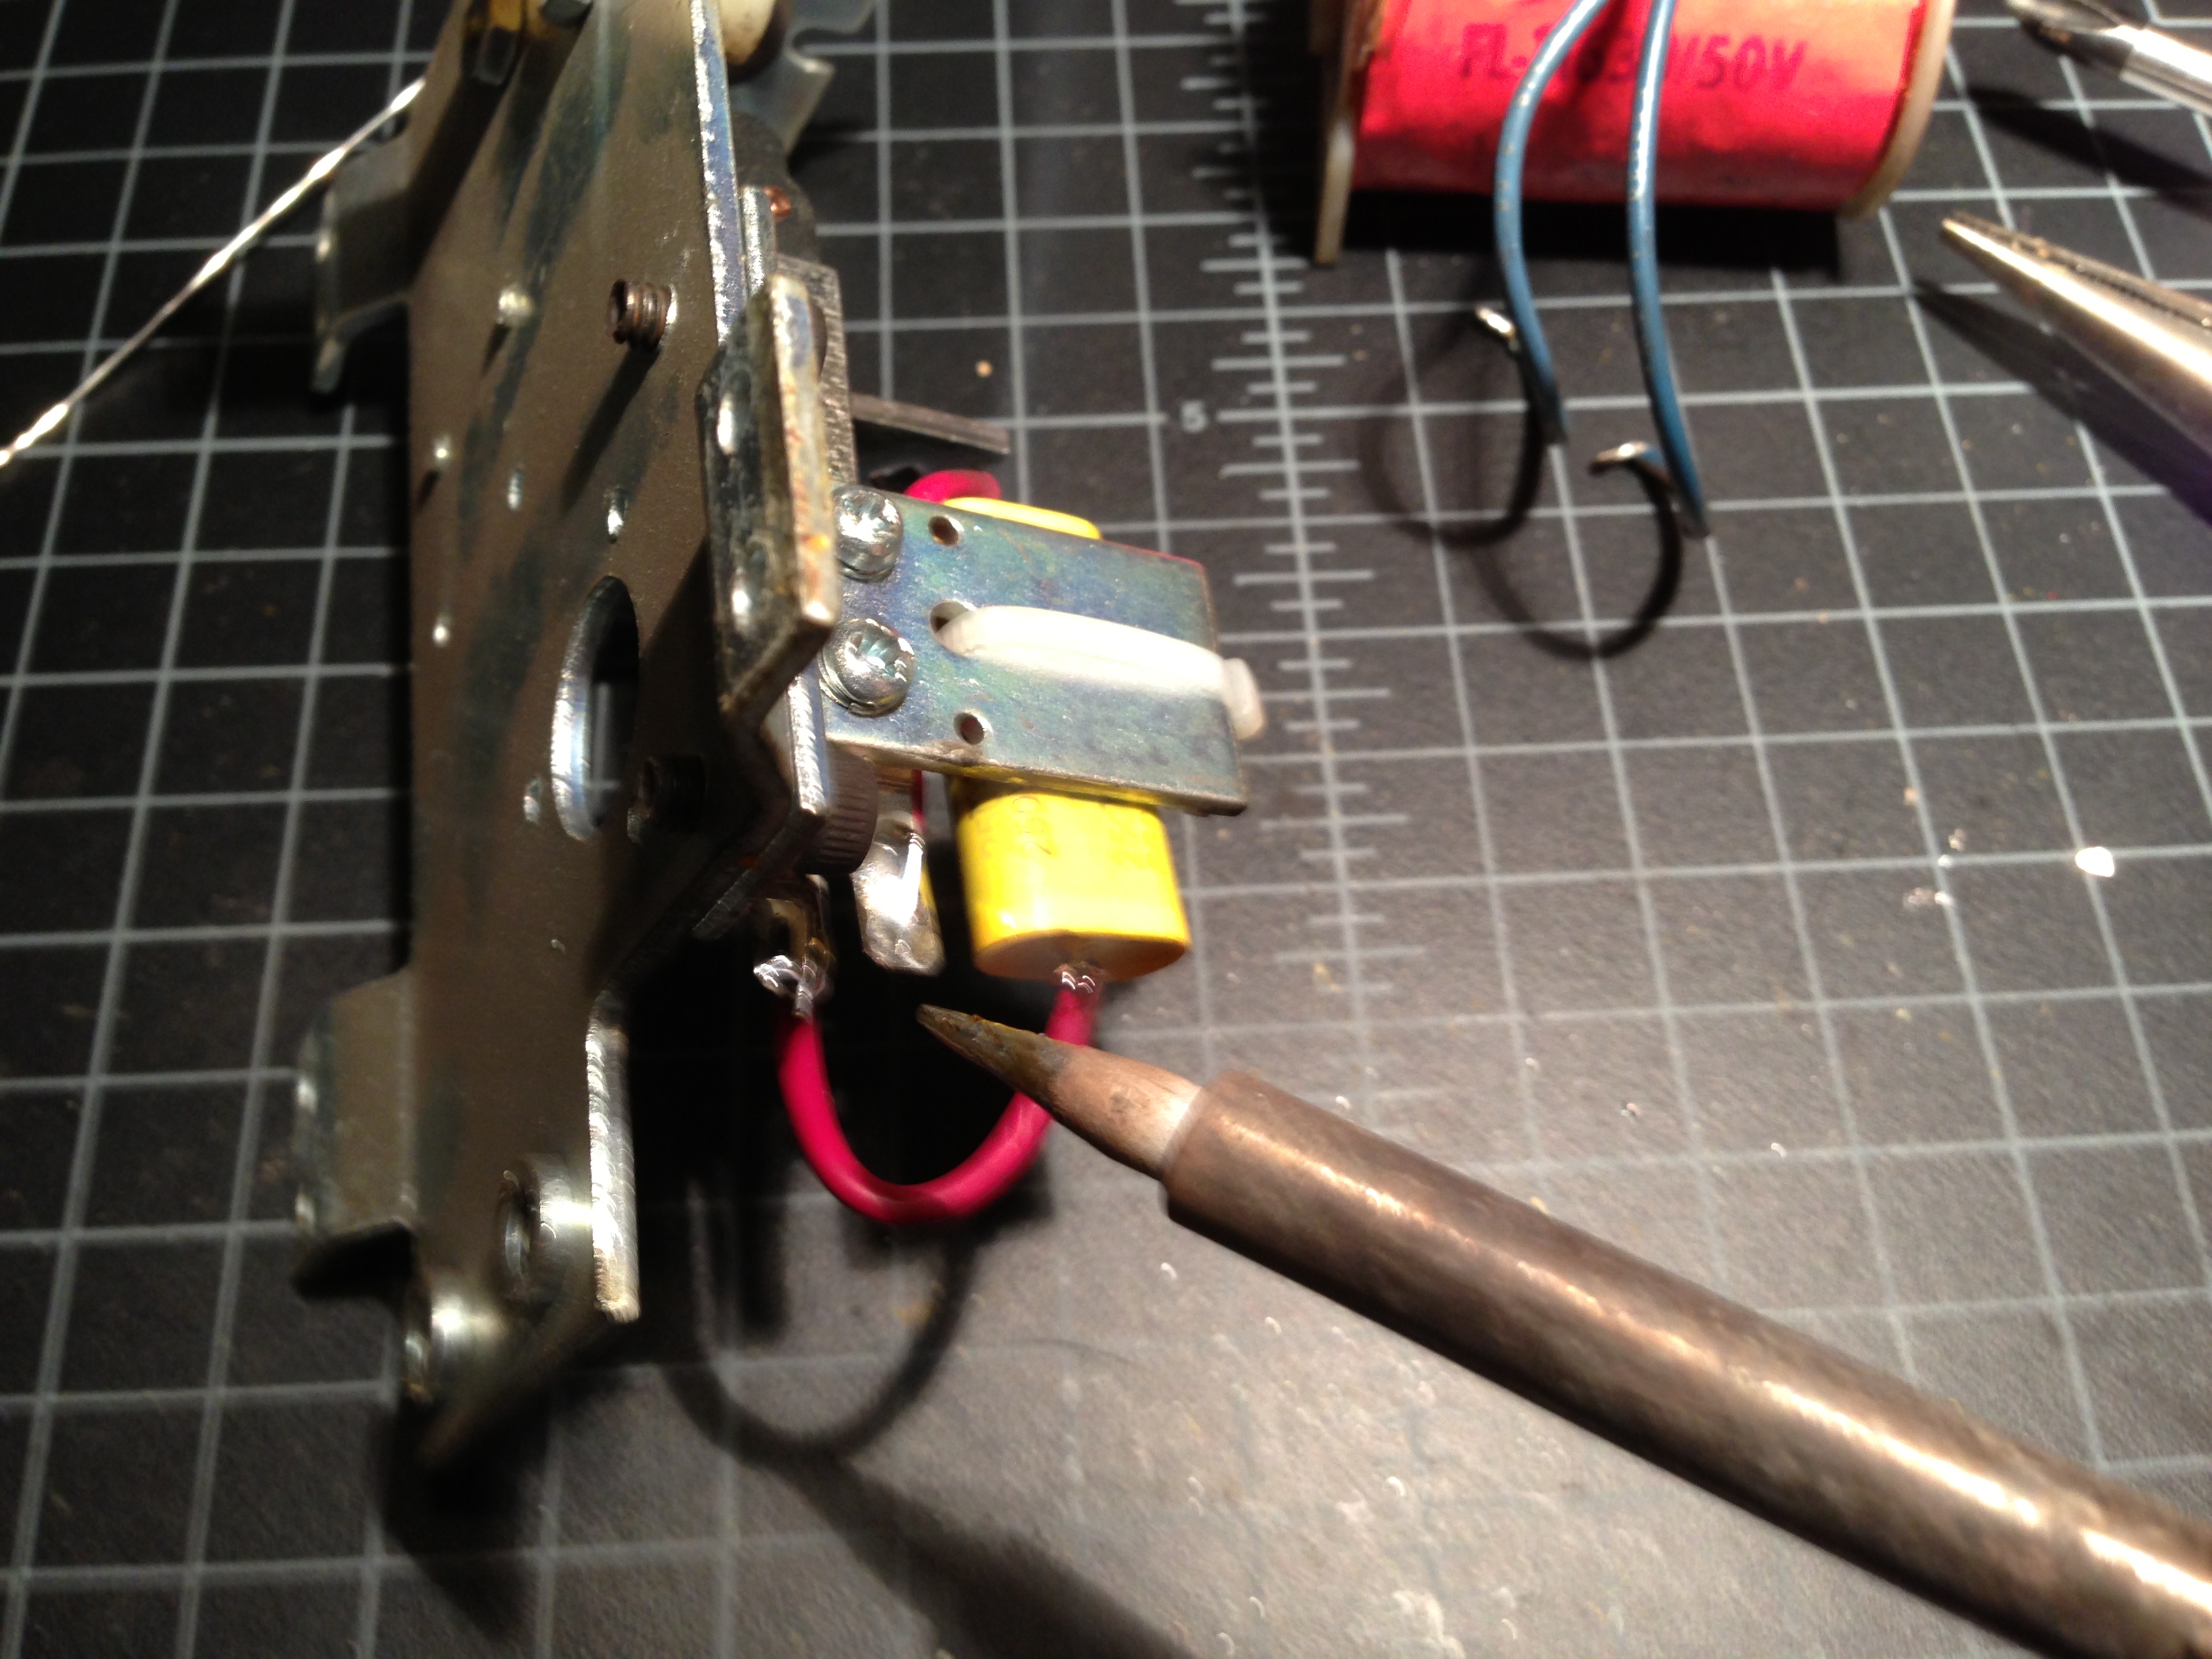
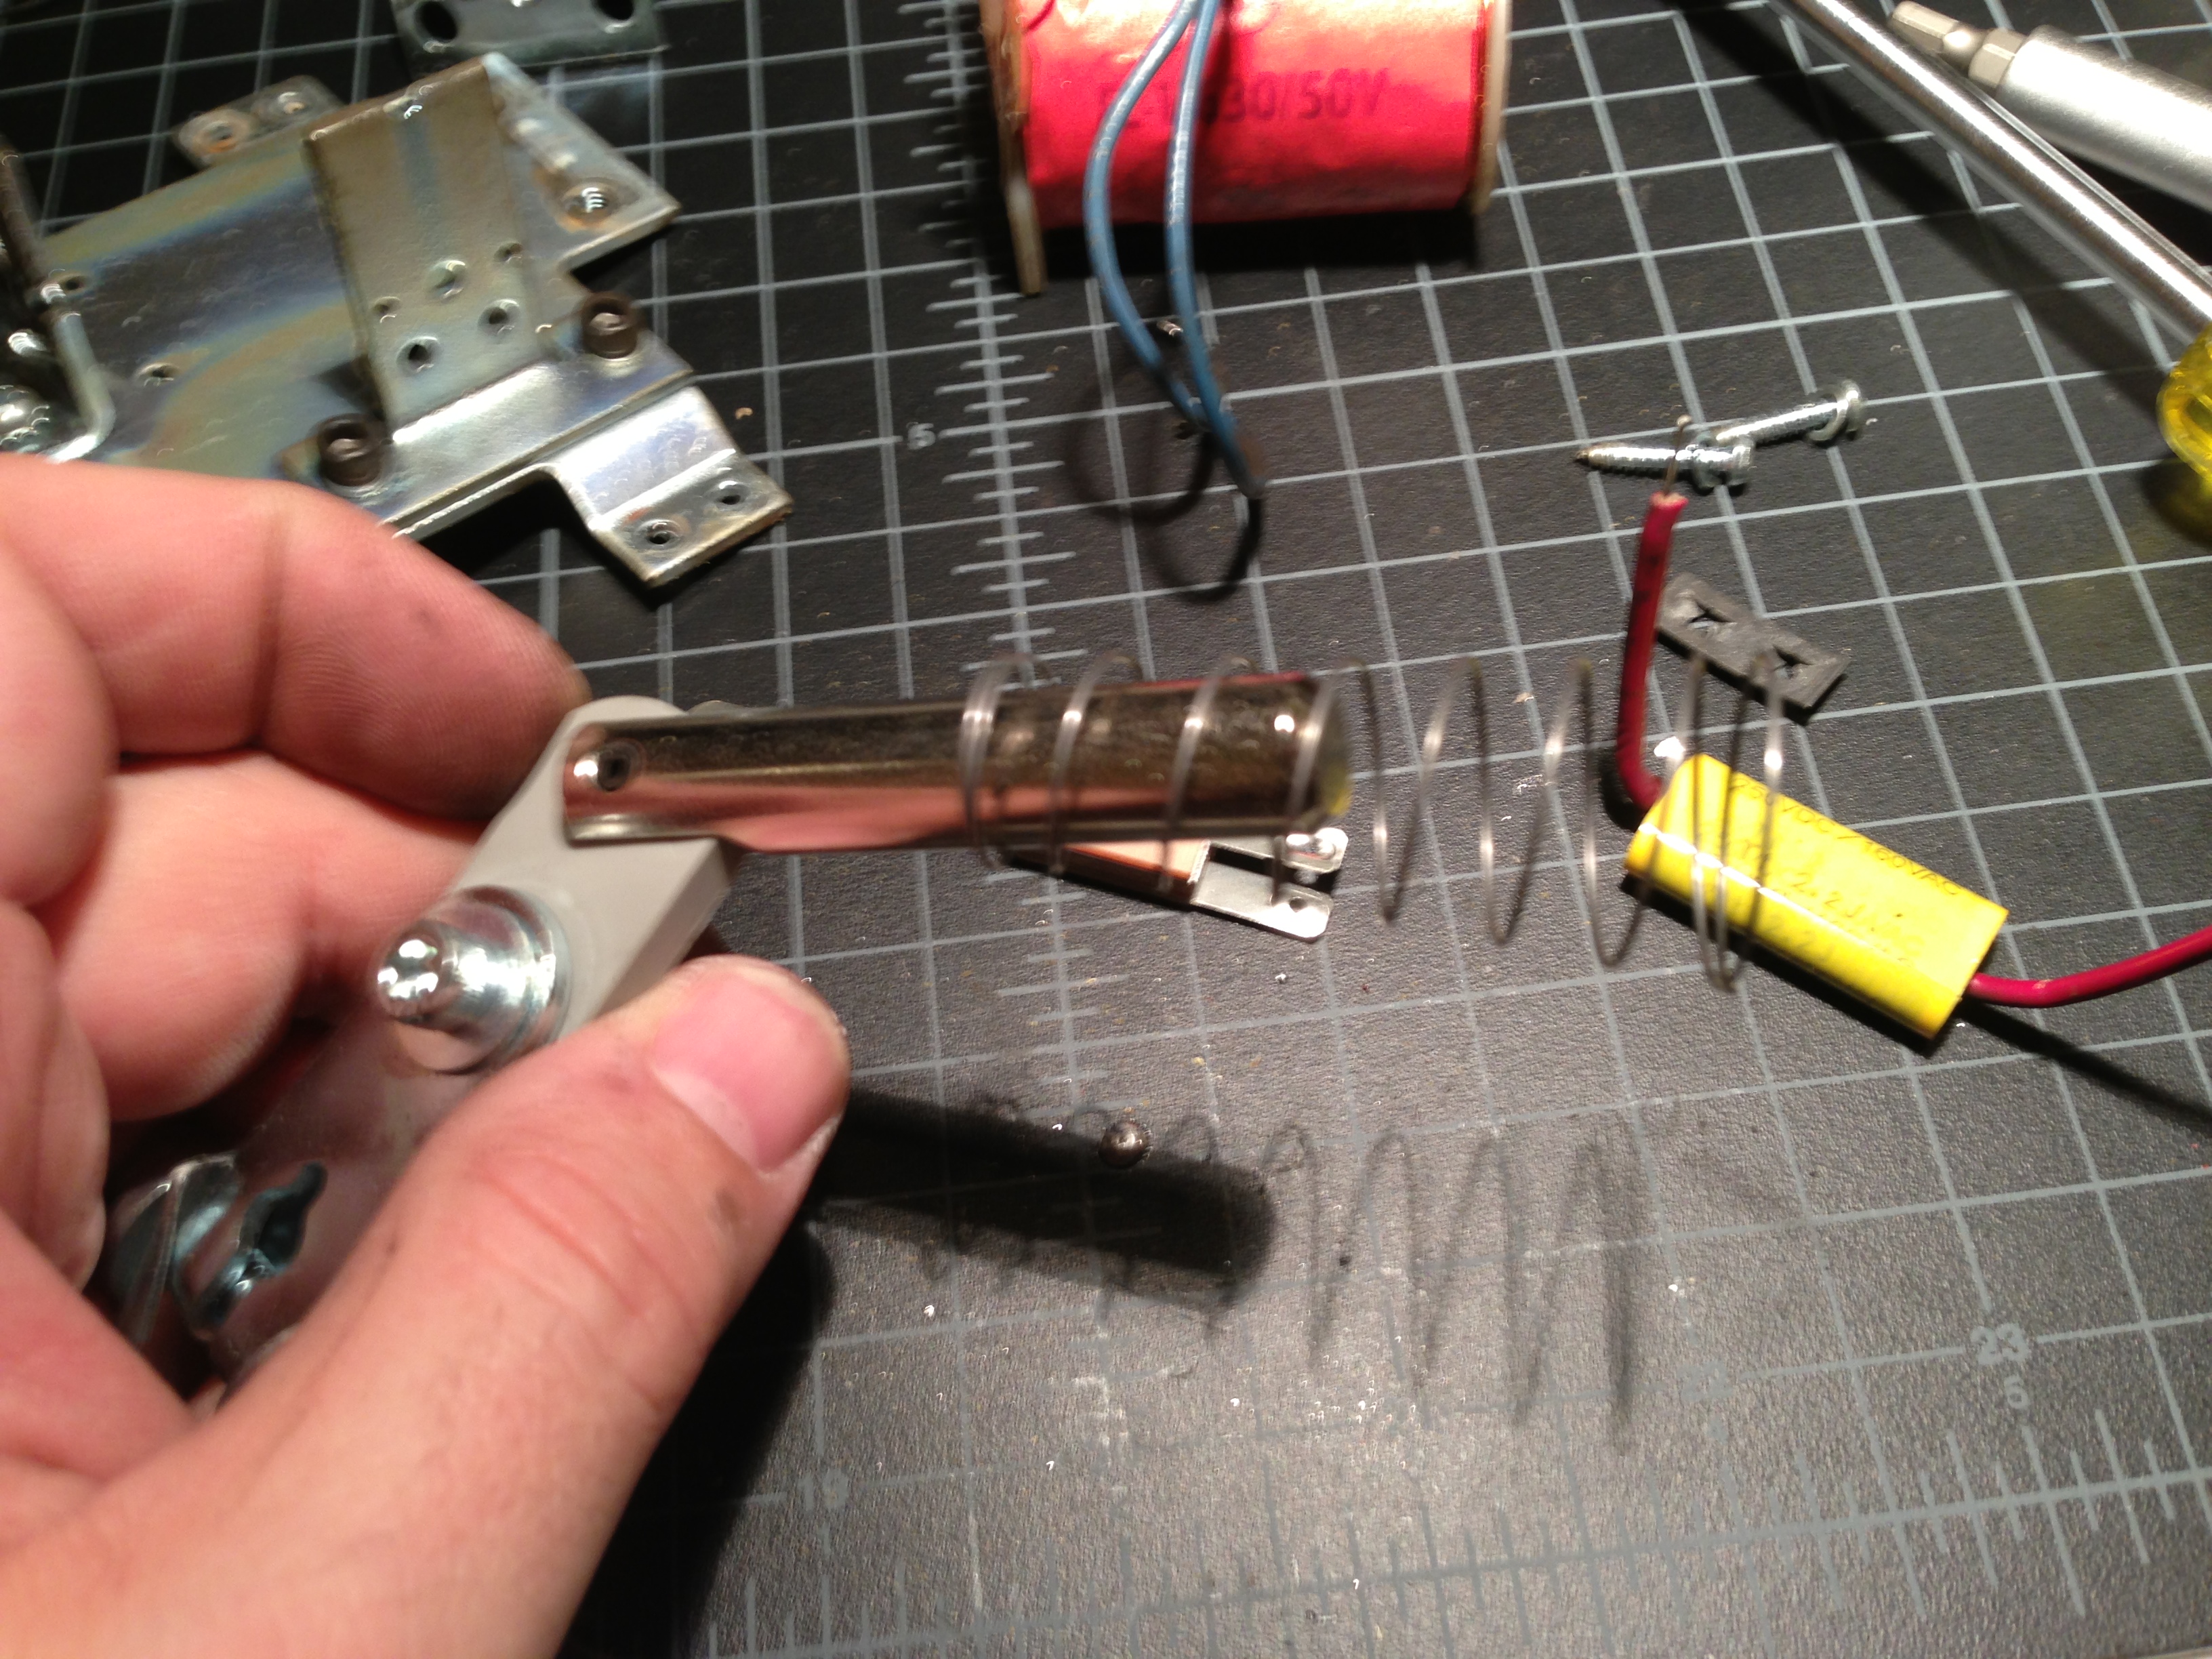
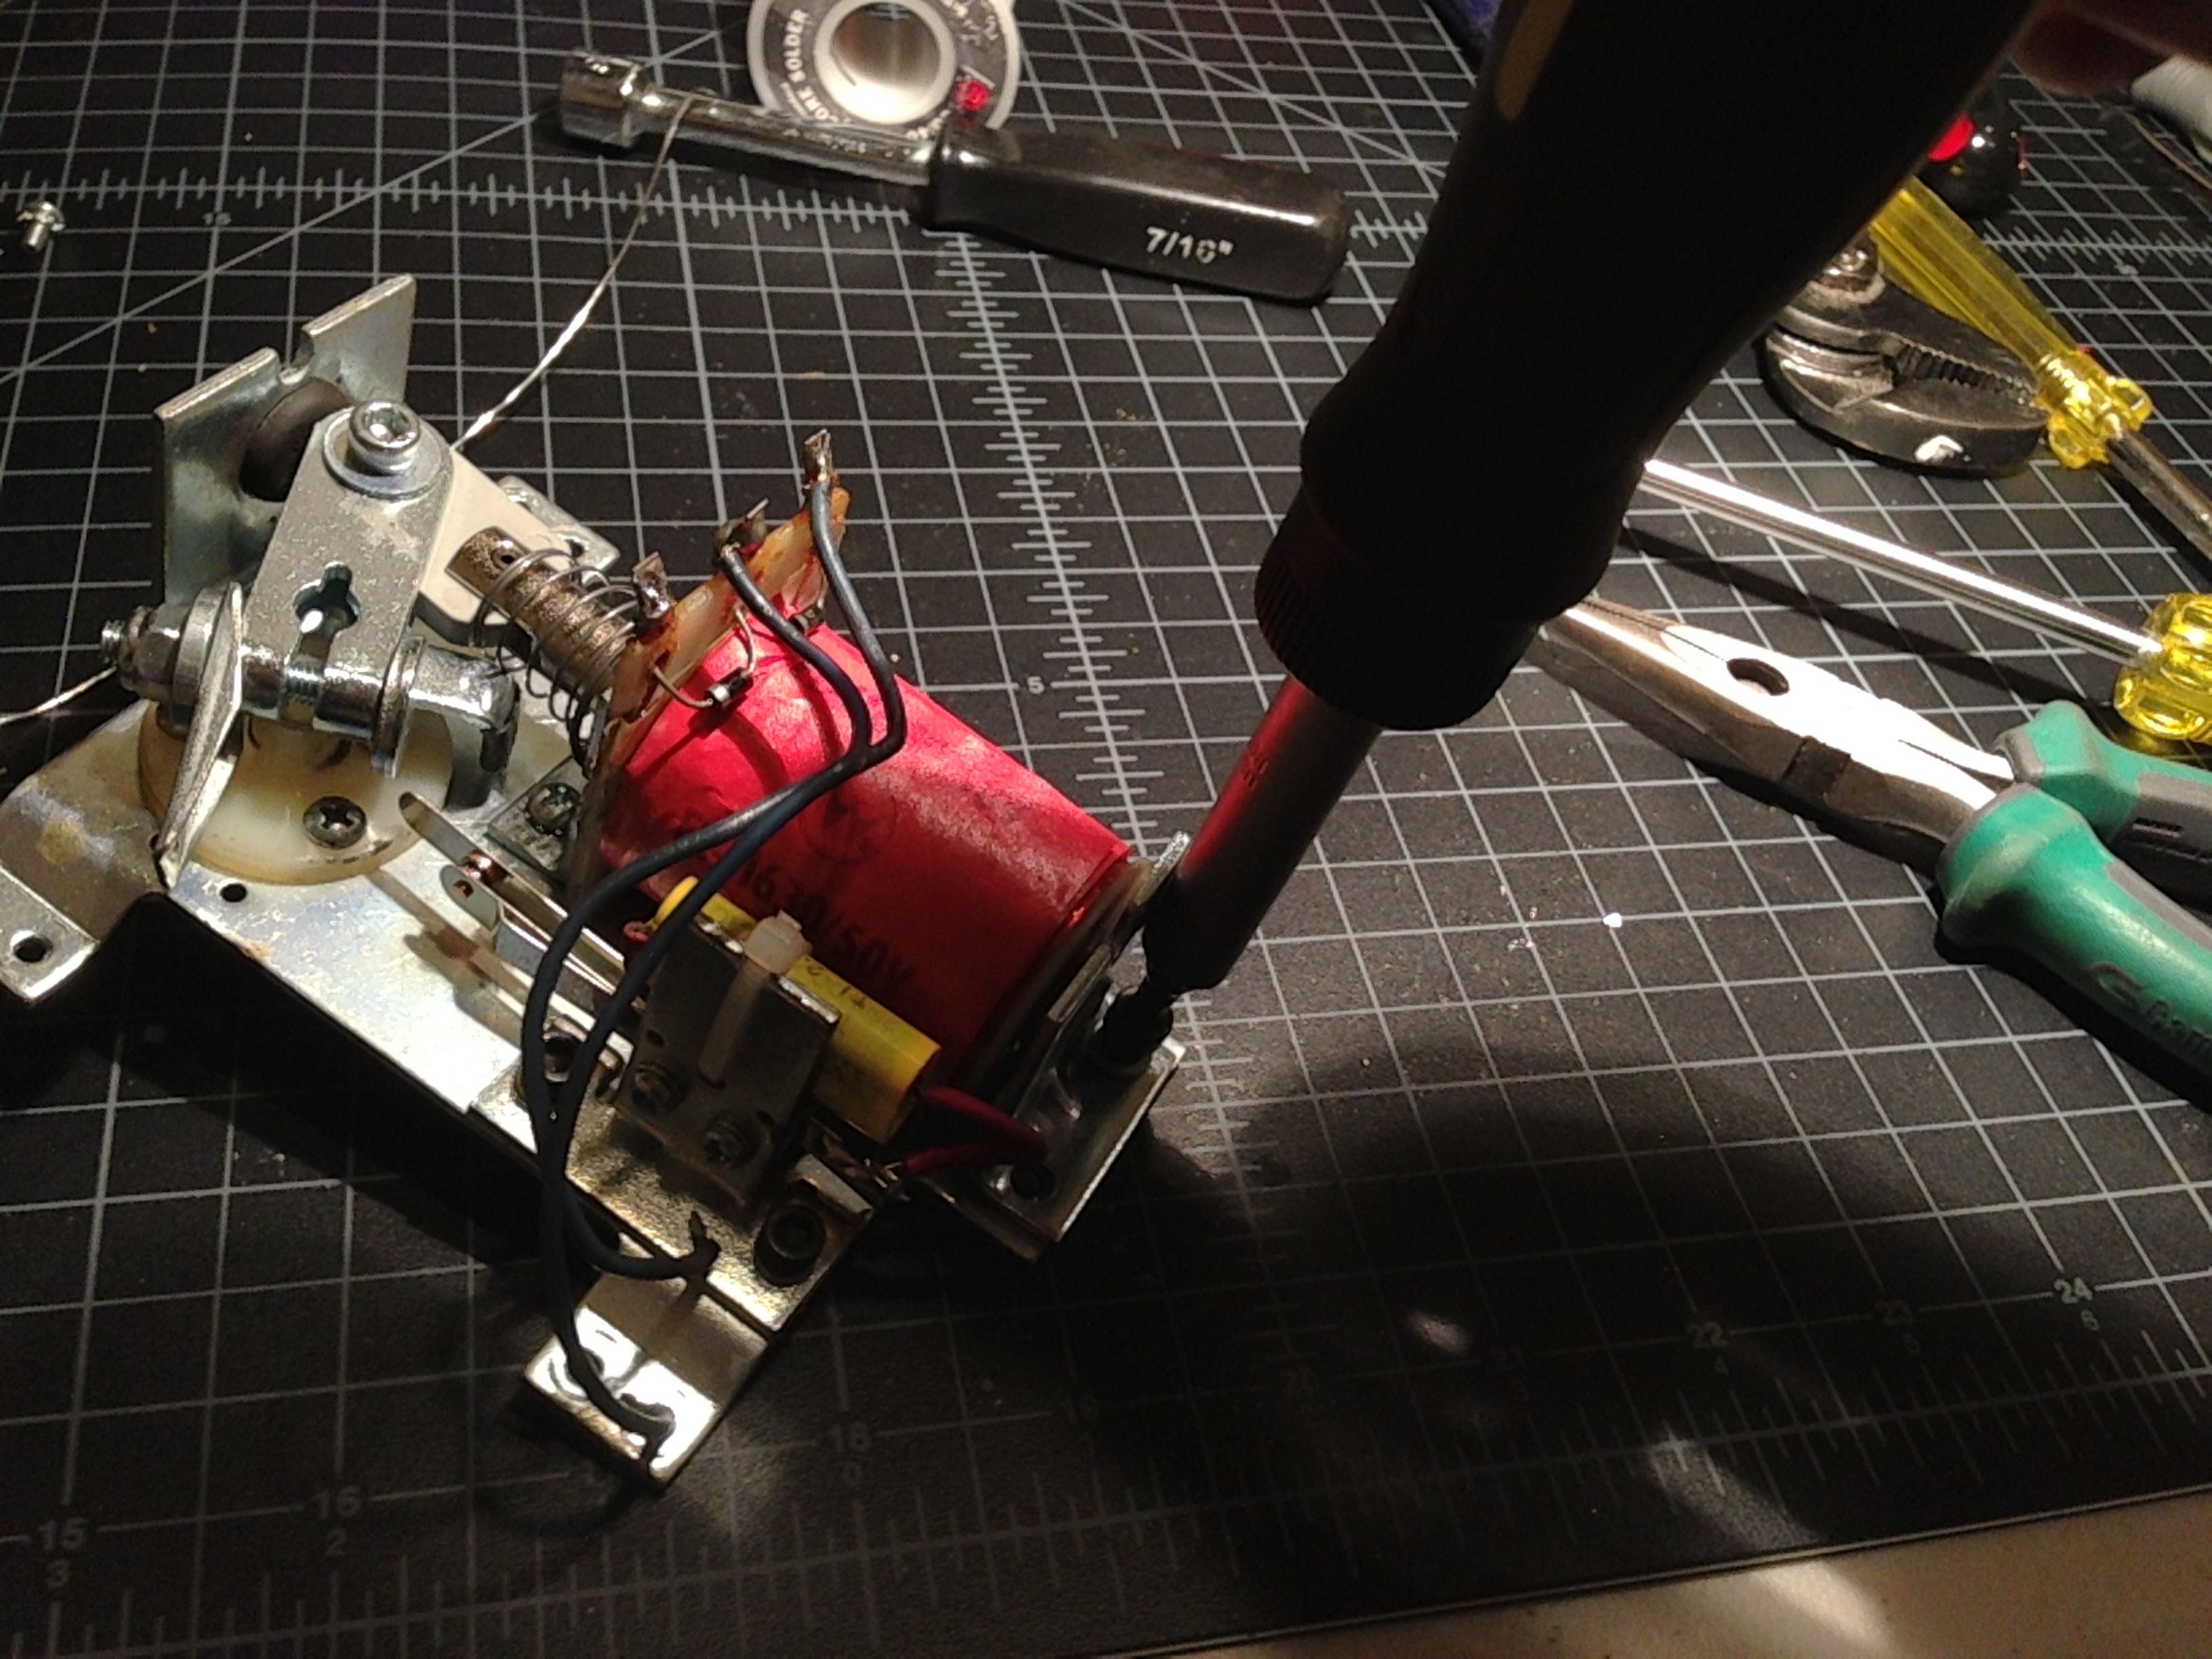
Pop Bumper Rebuilds
The pop bumpers are week, and pretty worn, so they are getting completely replaced with new bodies, skirts, rings, coils, and switches.


Make sure you clean and polish the plunger to make these kick like they should.
Don’t forget to double check your assembly of the new pop bumper parts as once the lights are soldered back into the pop bumper, and all the components are re-attached it’s a real pain to take these back off. Look how nasty the “spoon” switch blade gets over time. This is from all the crud that drops down through the playfield and accumulates in these.
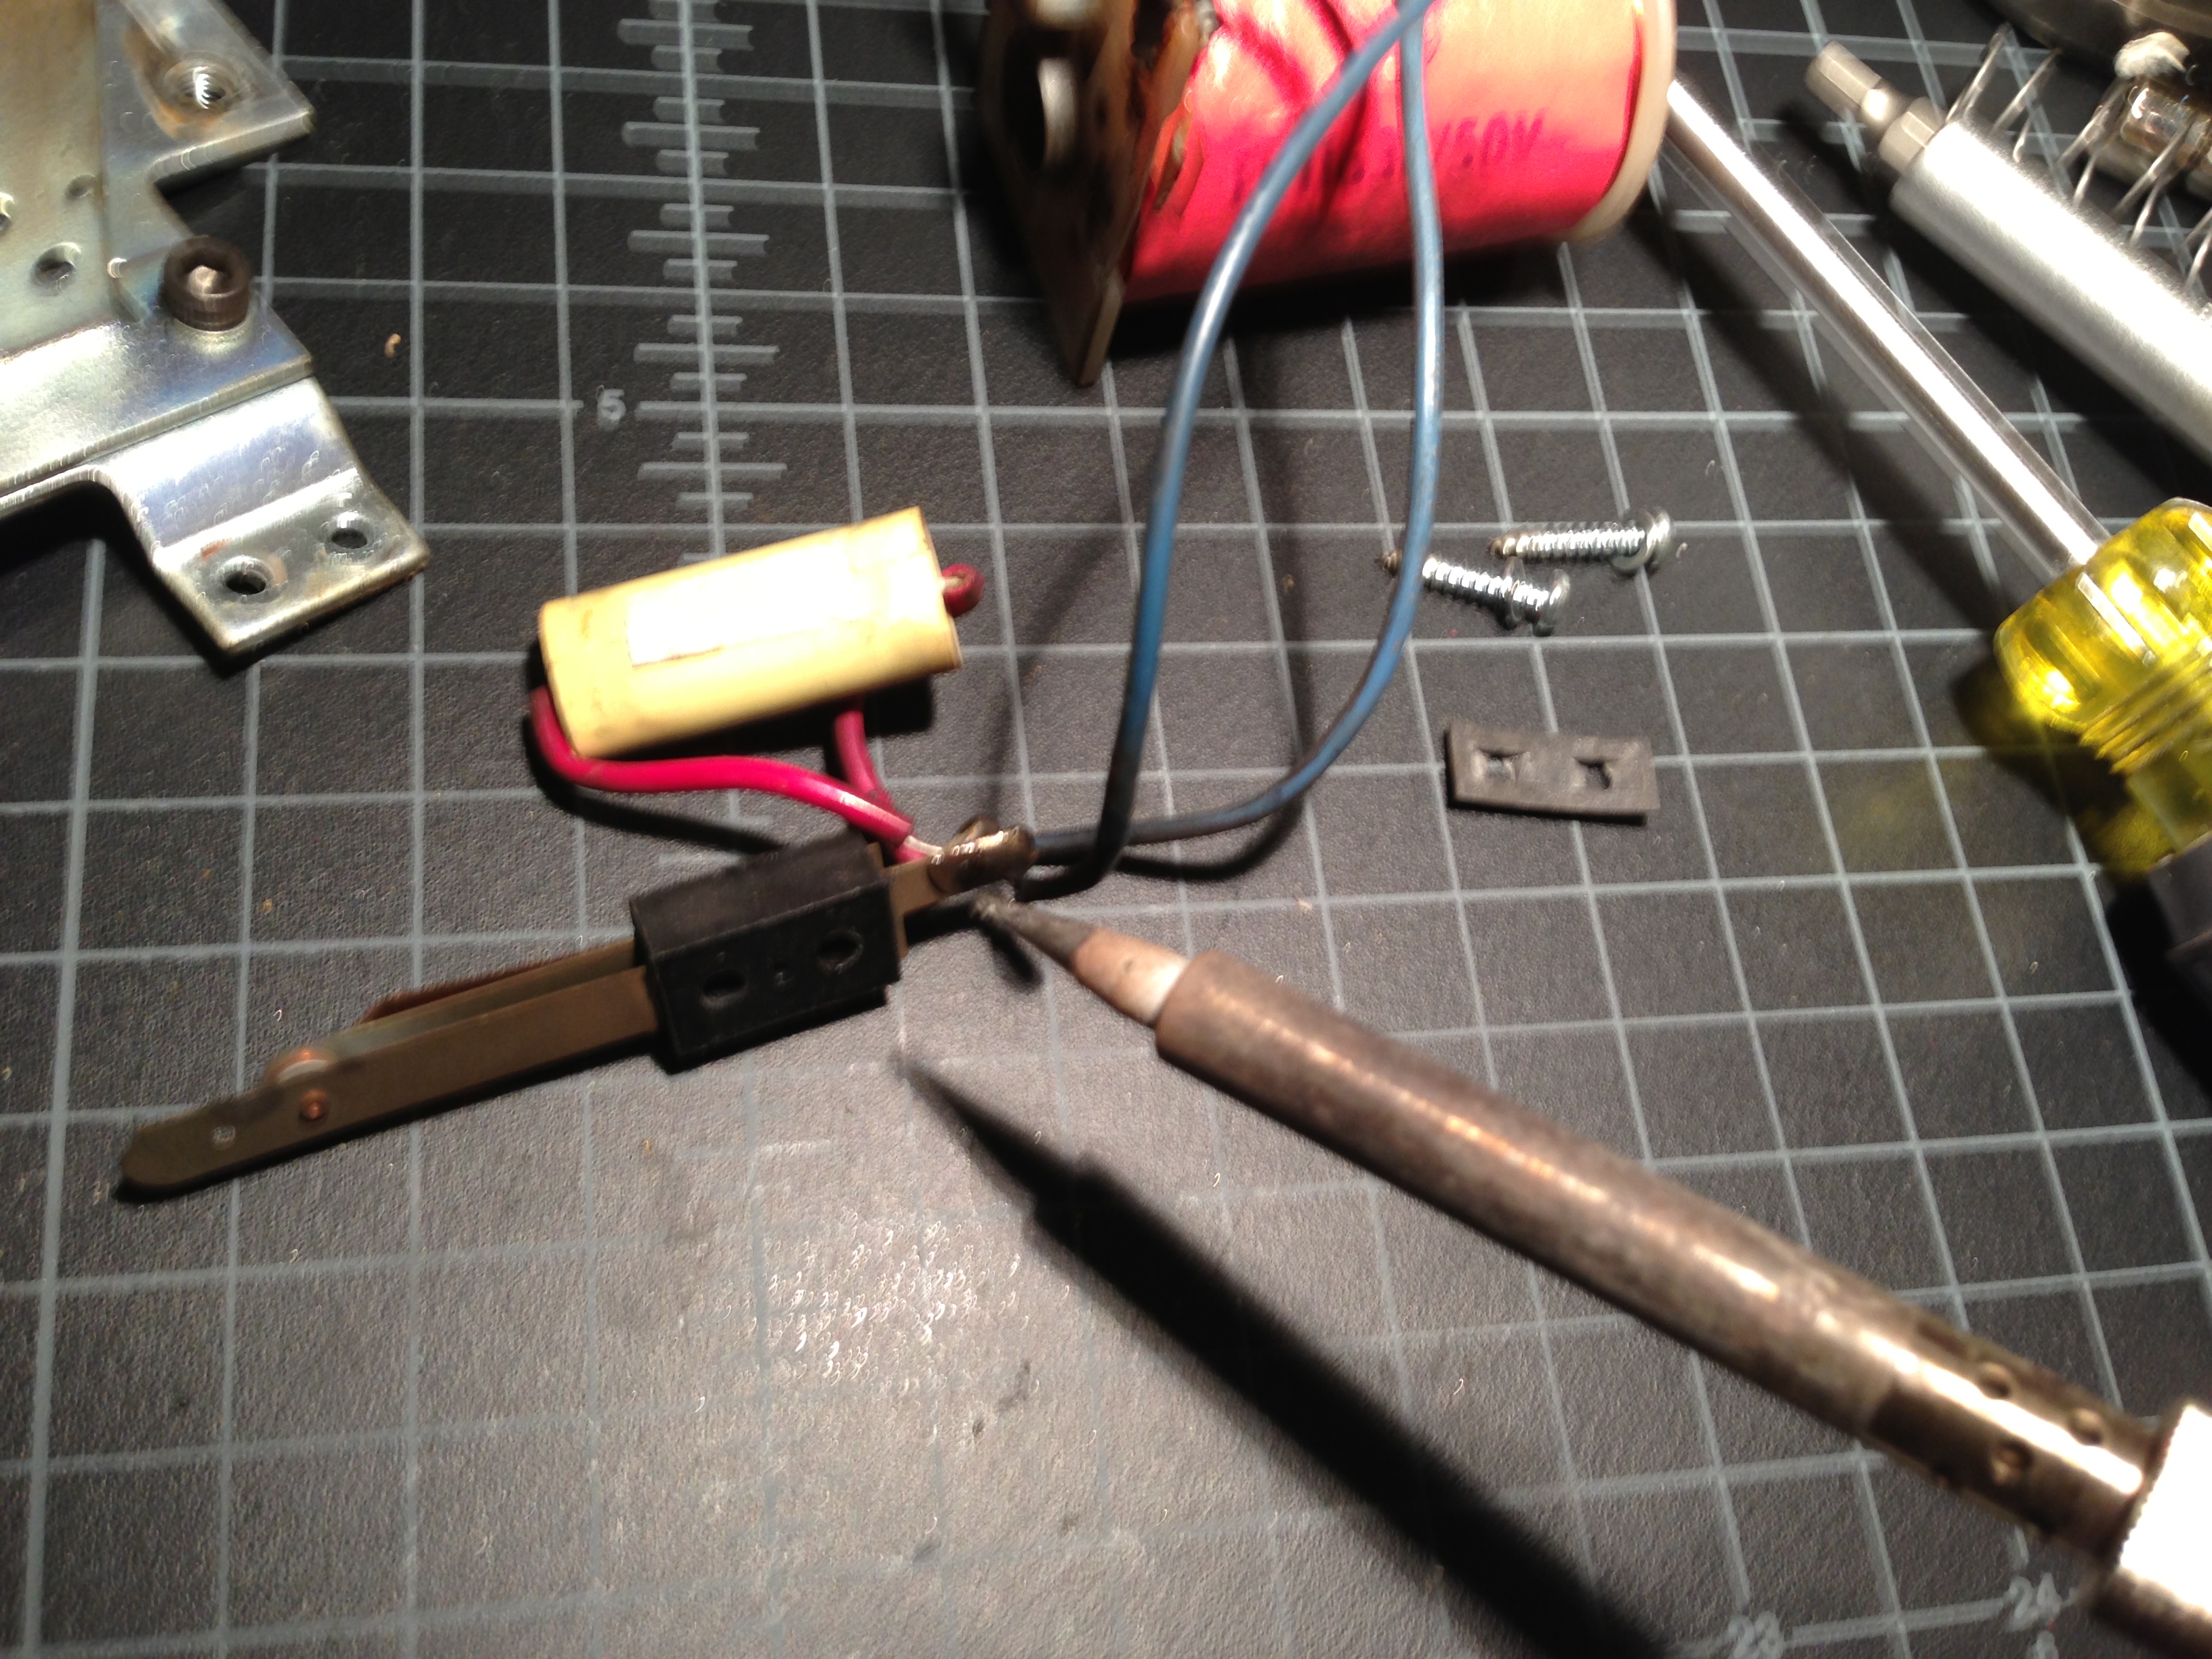
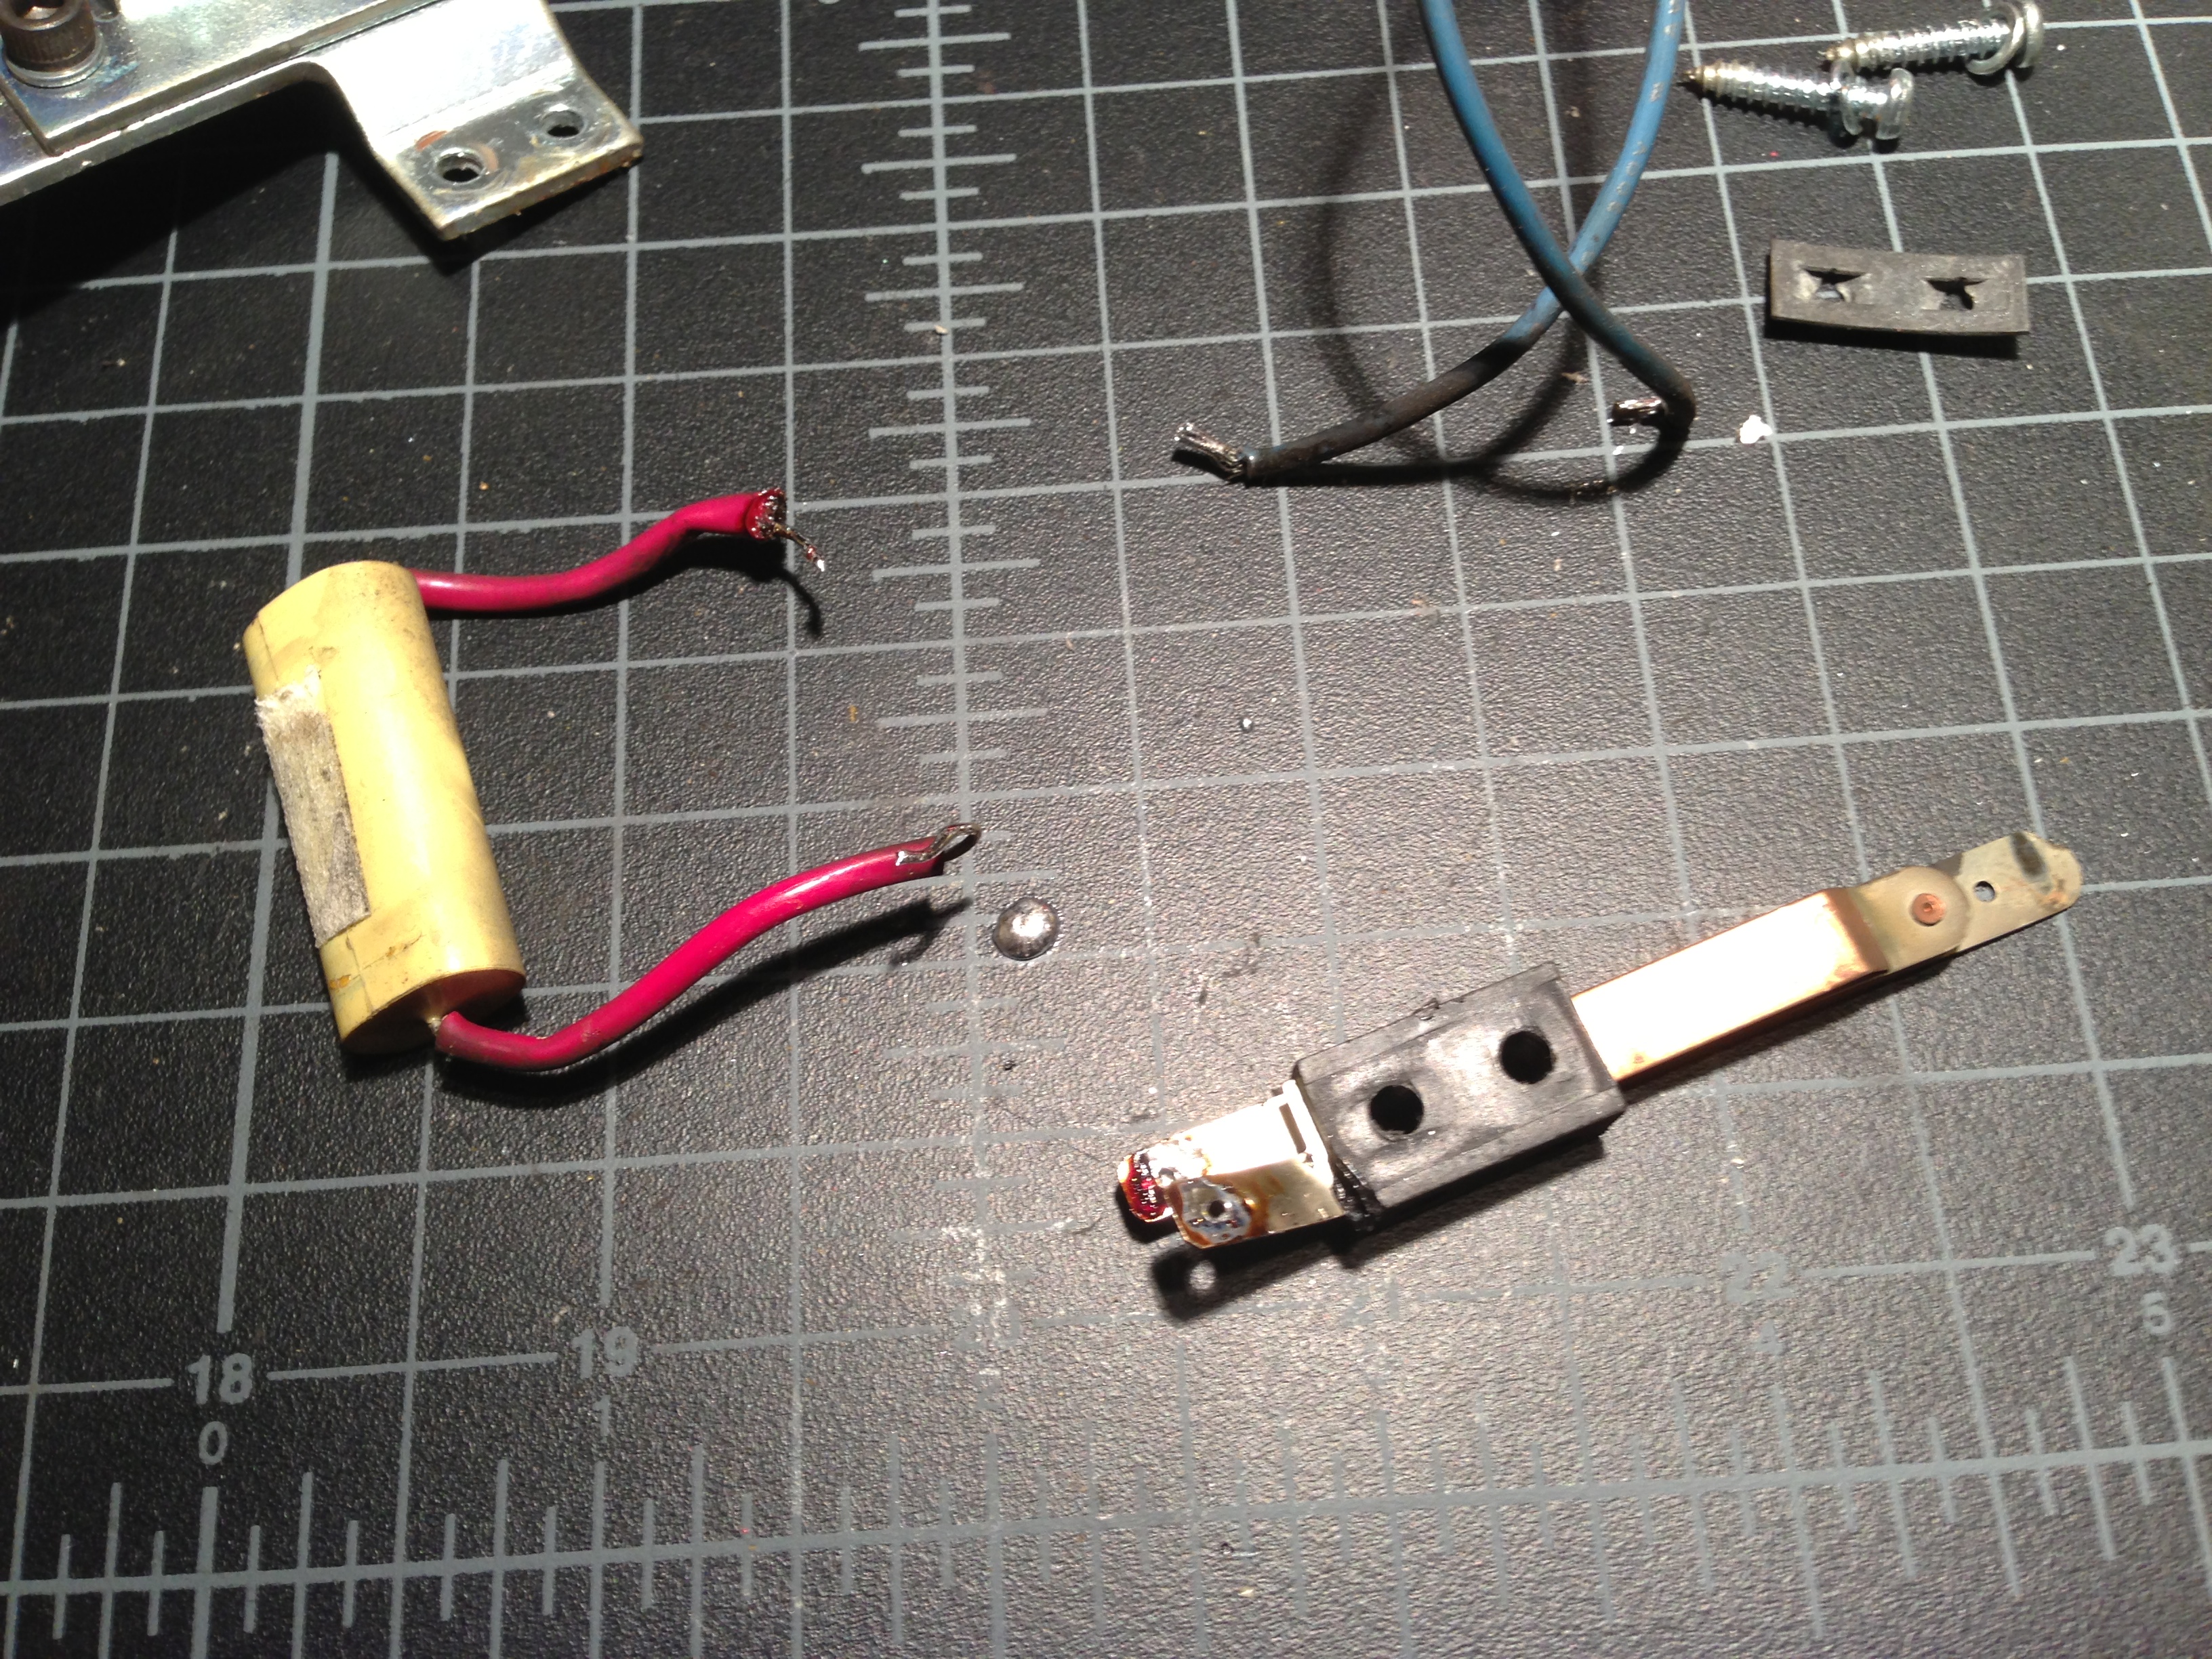
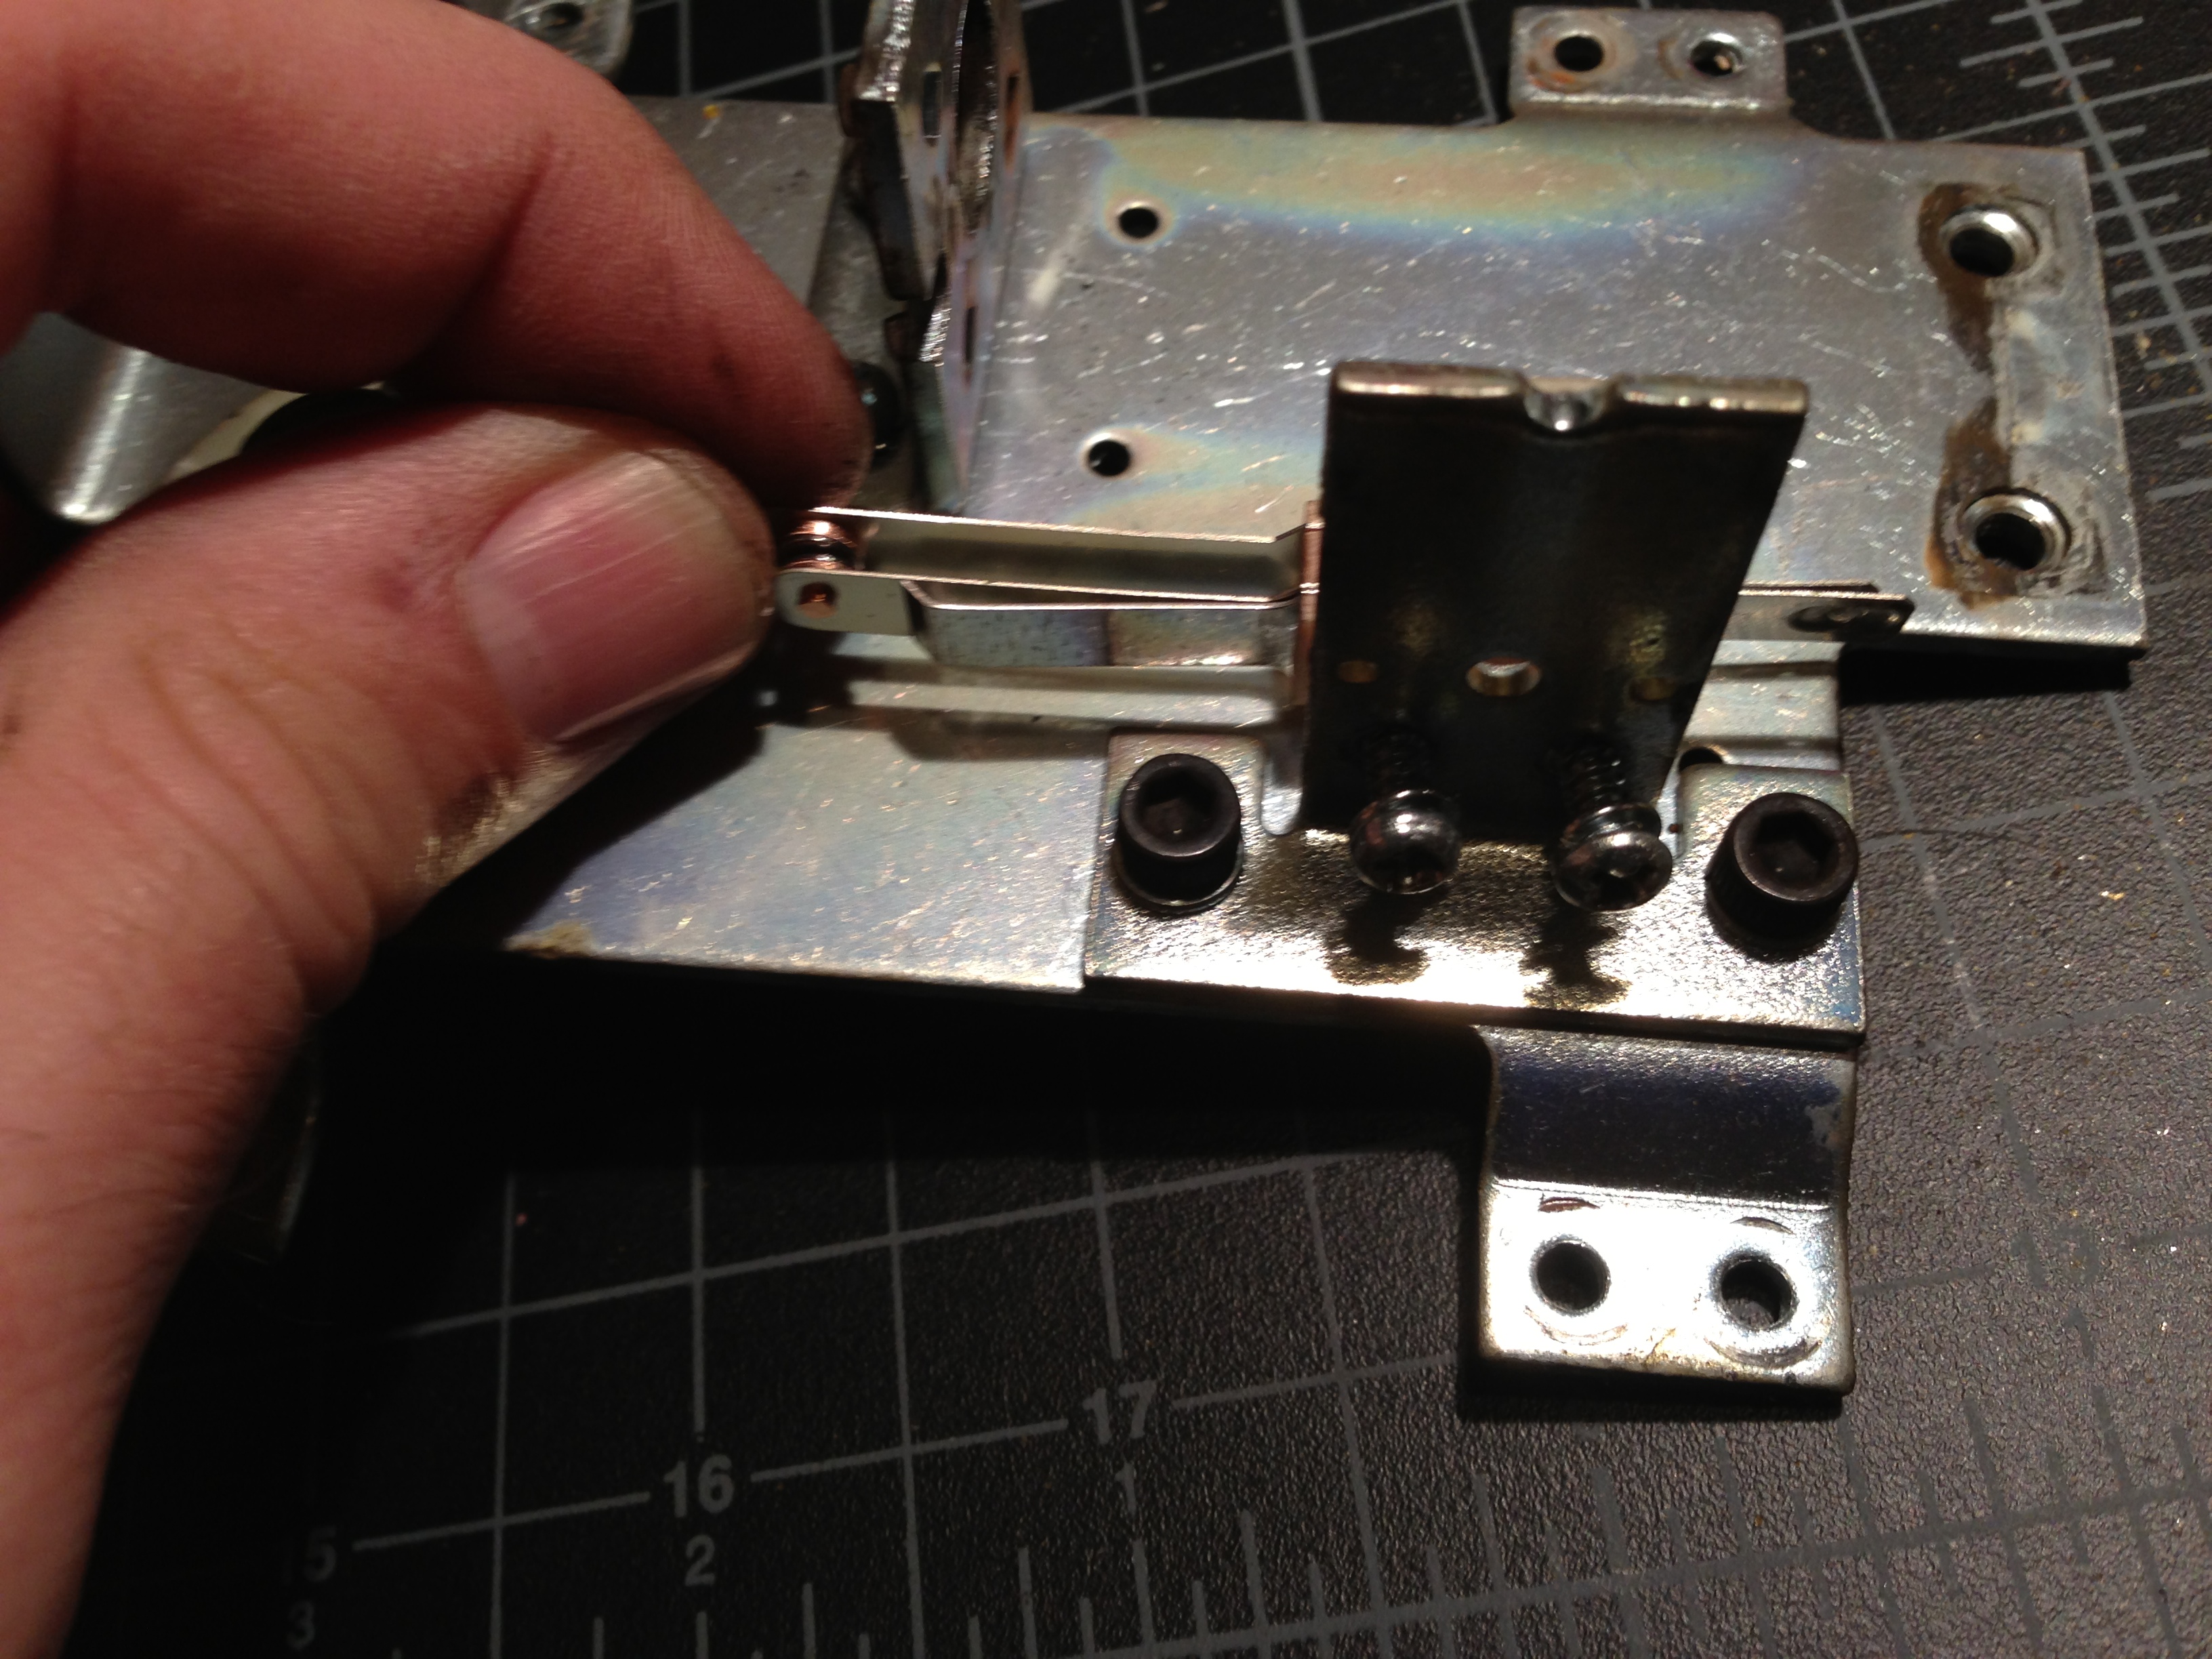
Switch adjustment
It’s amazing how much switches get abused over the years. Just have a look at this one! Each switch needs to be looked at to make sure it’s adjusted properly. Otherwise, features of the game won’t work properly. I use a switch adjustment tool to bend the blades as necessary.


Upper playfield

Back Box
The paint around the border of the back box was getting tatty, and there were a number of scratches and dents, so I removed this, sanded it down, and repainted it.


I had to re-do the paint a few times as I learned the technique to use spray paint. I ended up using Ace Hardware brand gloss black spray paint. I sanded down to bare wood, vacuumed, blew it off with a compressor, and then tack clothed it. Then I did a coat of grey primer, let it dry for a day, then 3 coats of black, letting it dry for a day each time, with a very light sanding of about 800 grit sandpaper between each coat. Turned about pretty nice. Just make sure it’s warm enough where you are painting. The colder it gets, the paint tends to gum up.
")
")
Cabinet Sides
Before


After
Not perfect, but much better than before…


I mixed up a blue color to match the paint on the machine and very carefully touched up the scrapes on the machine. You can notice where if you look very close, but from more than about 2 feet away, it matched very well. I didn’t attempt to do the white as I didn’t have the confidence I could do that w/o it being visible, and it’s harder to see the scratches in the white anyway.


")