I’m restoring a 1979 Williams Gorgar for a friend, so I’ll document the process here.
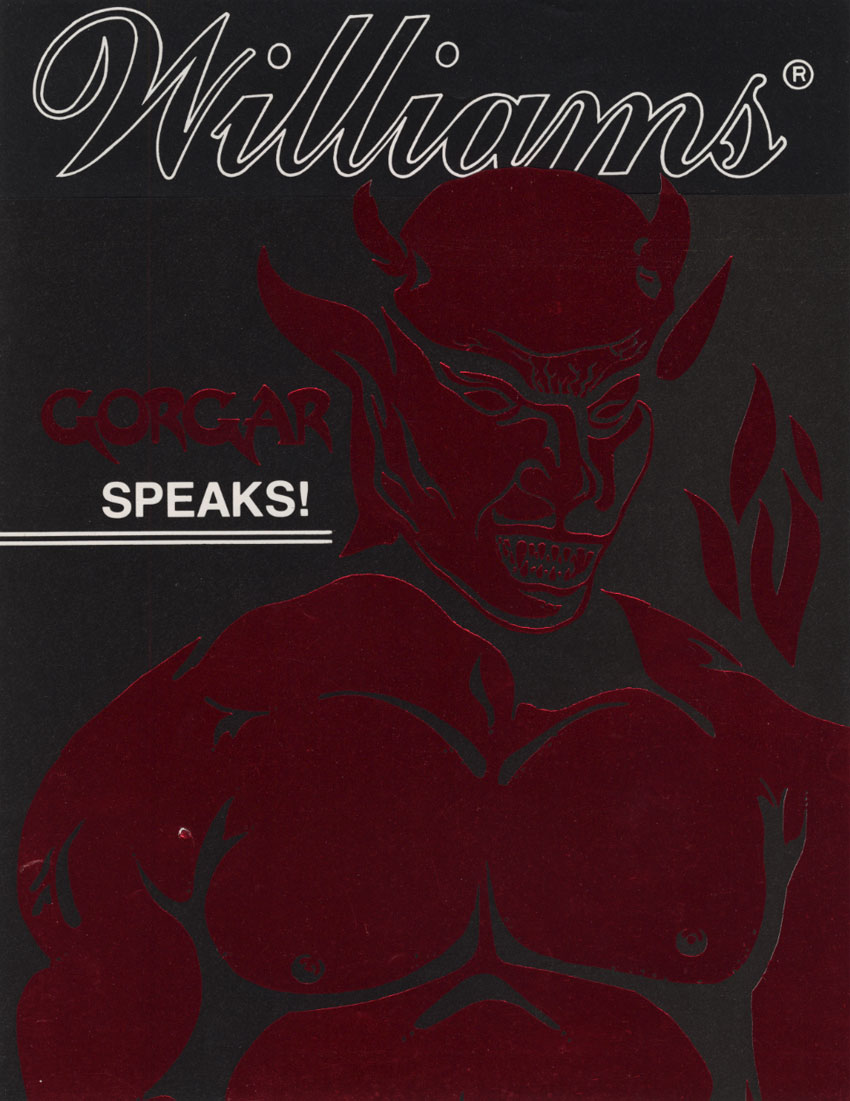
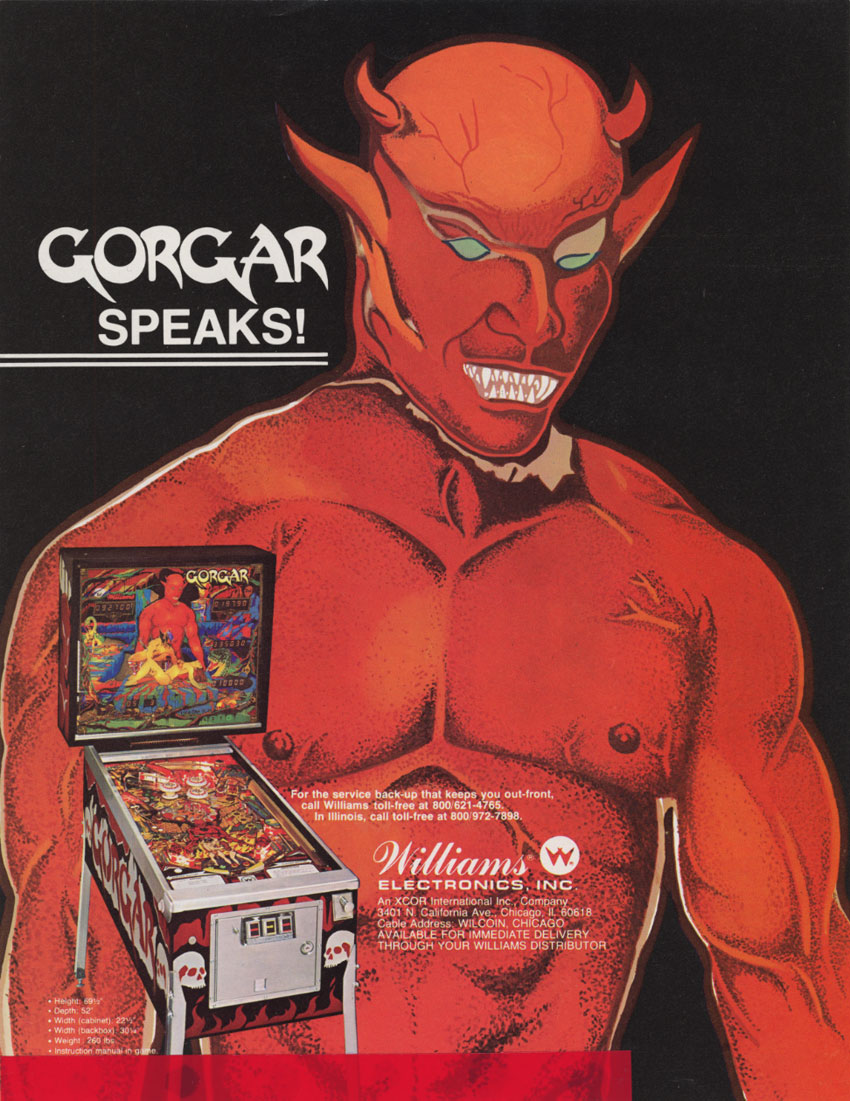
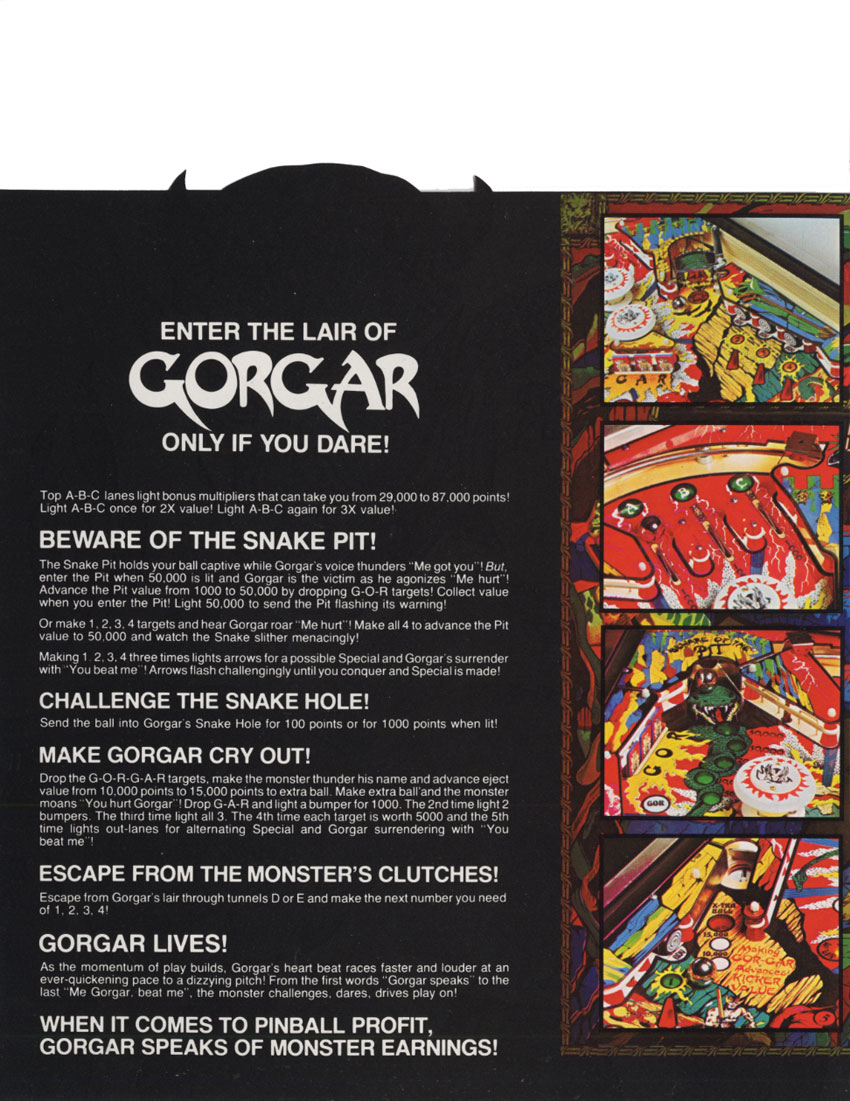
Gorgar has the distinction of being the first talking pinball. From all the stuff I’ve seen that Williams produced to market this, you can tell they thought it was a pretty big deal – I guess it was in 1979…
The candidate machine is in pretty good shape overall, but has some issues with the electronics, and some wear on the playfield that will need to be touched up, and clear coated.
Here’s what we’re starting with.
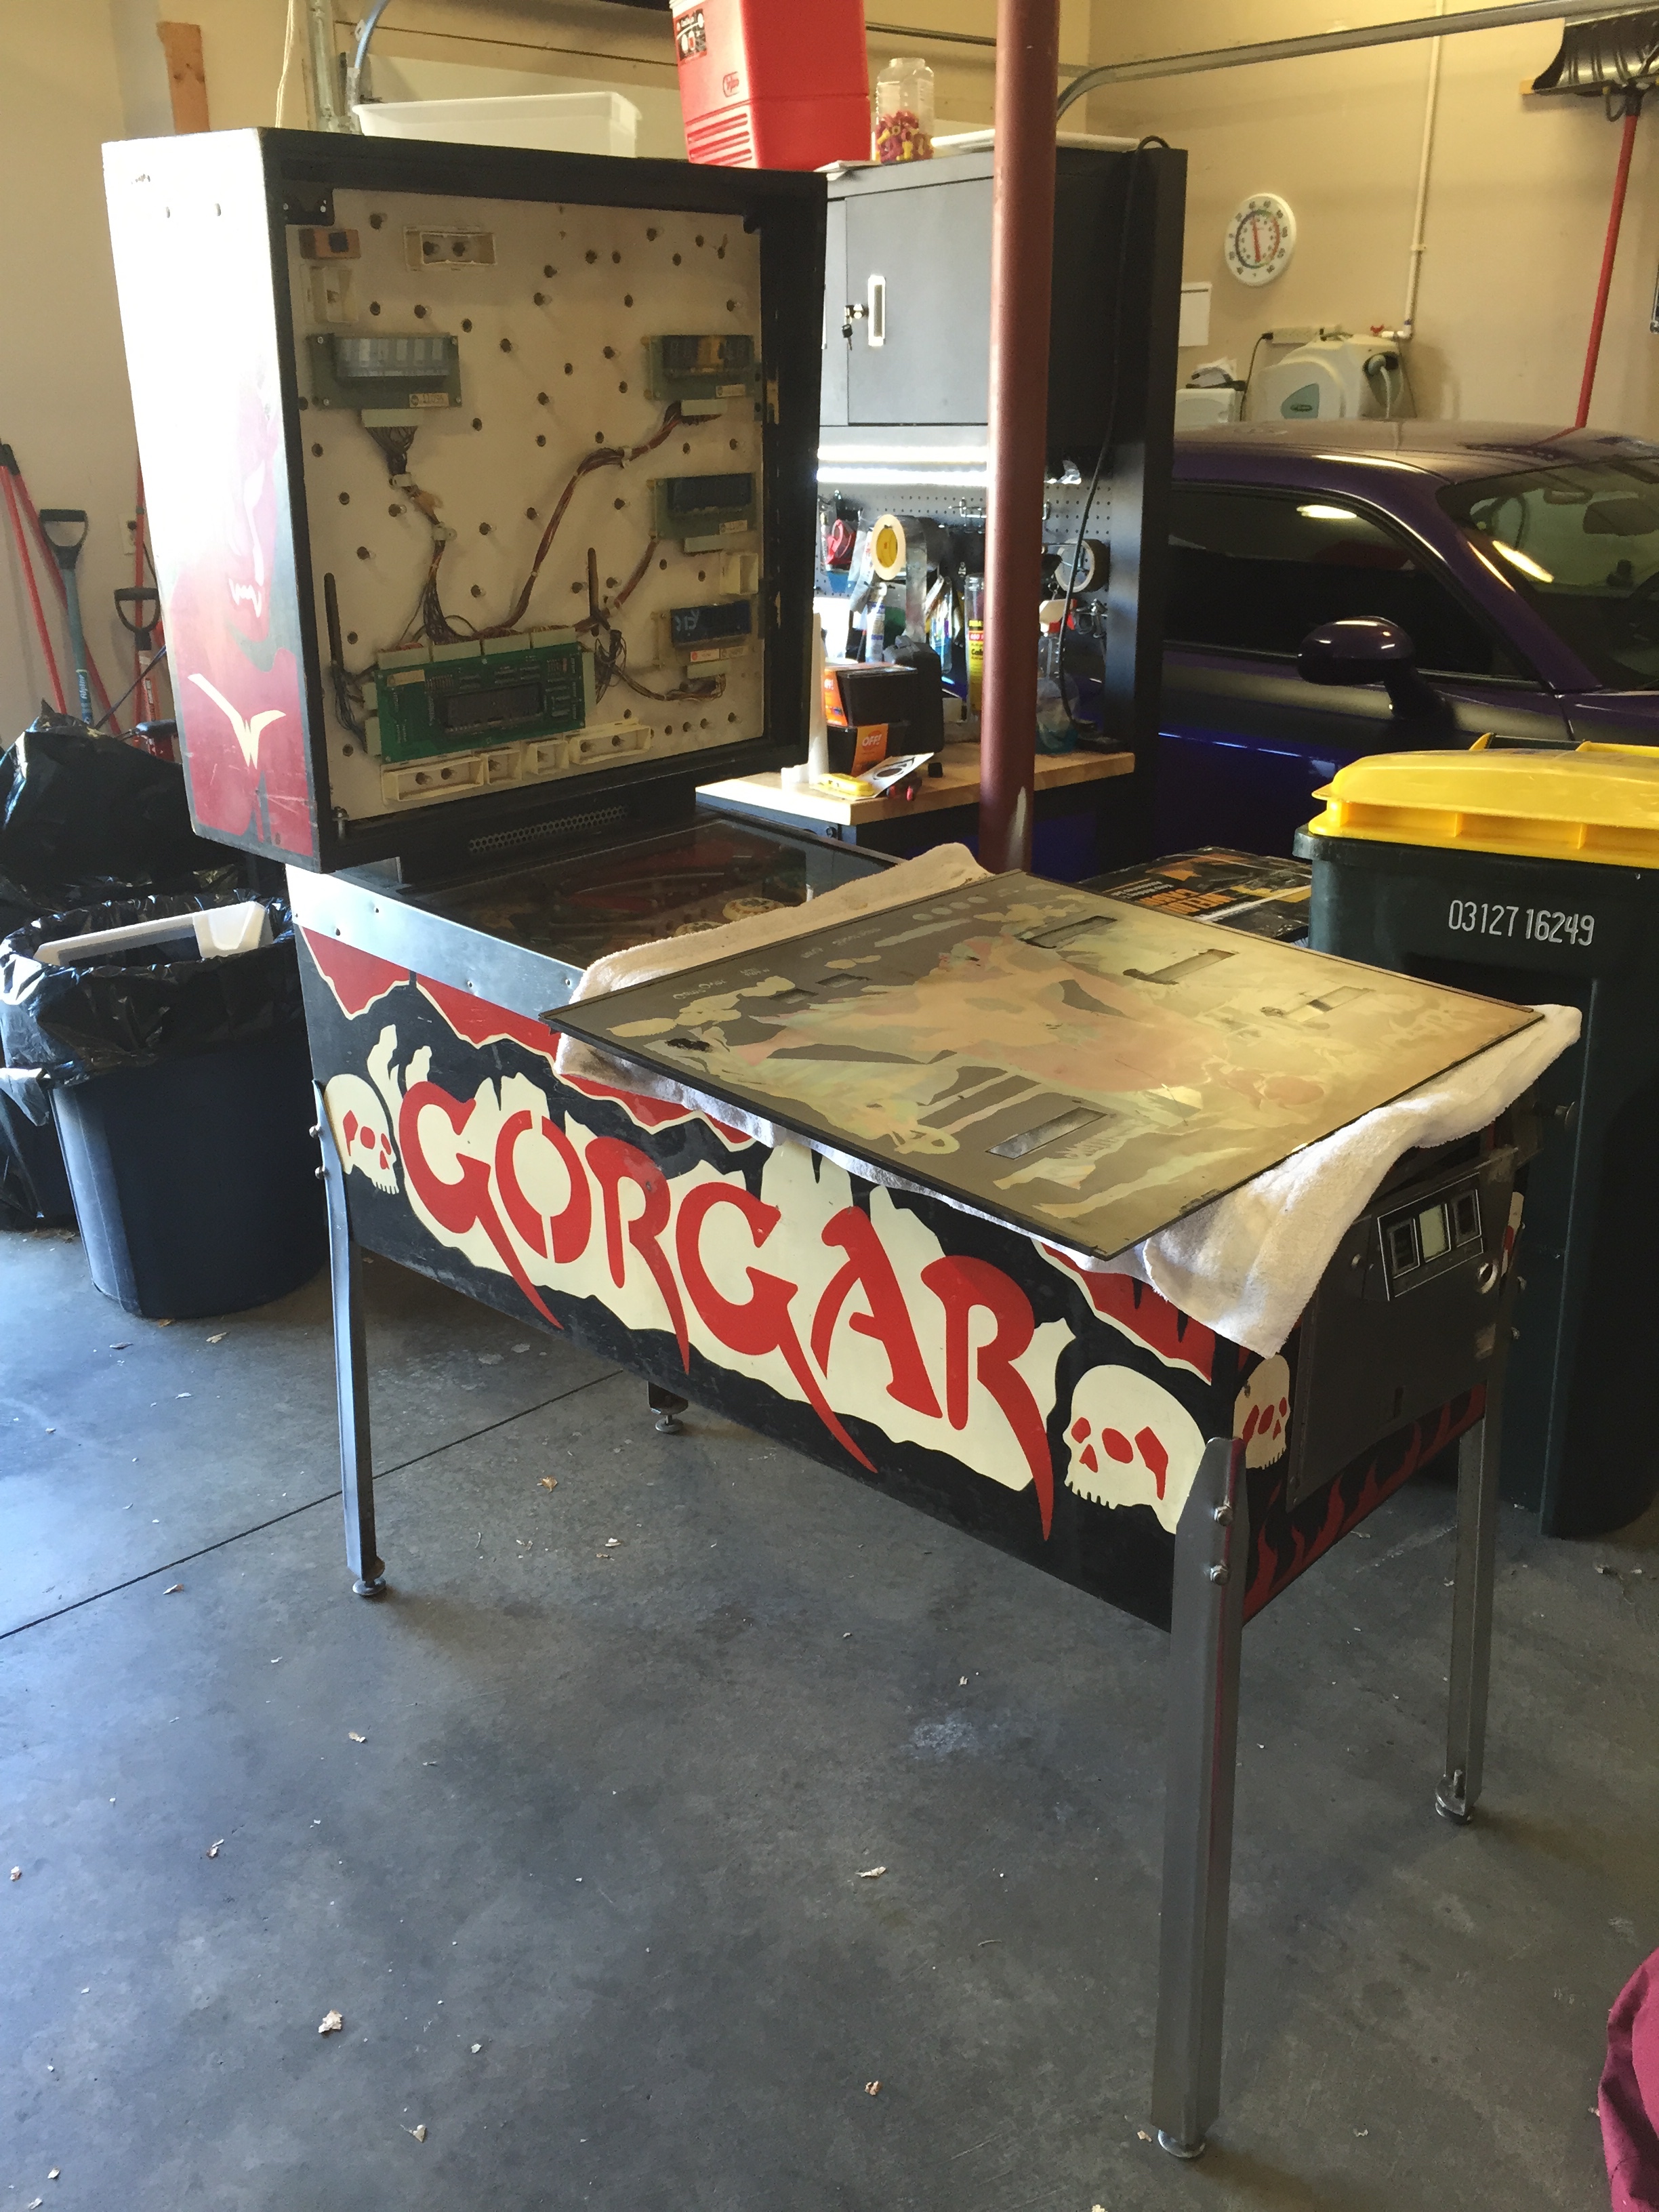
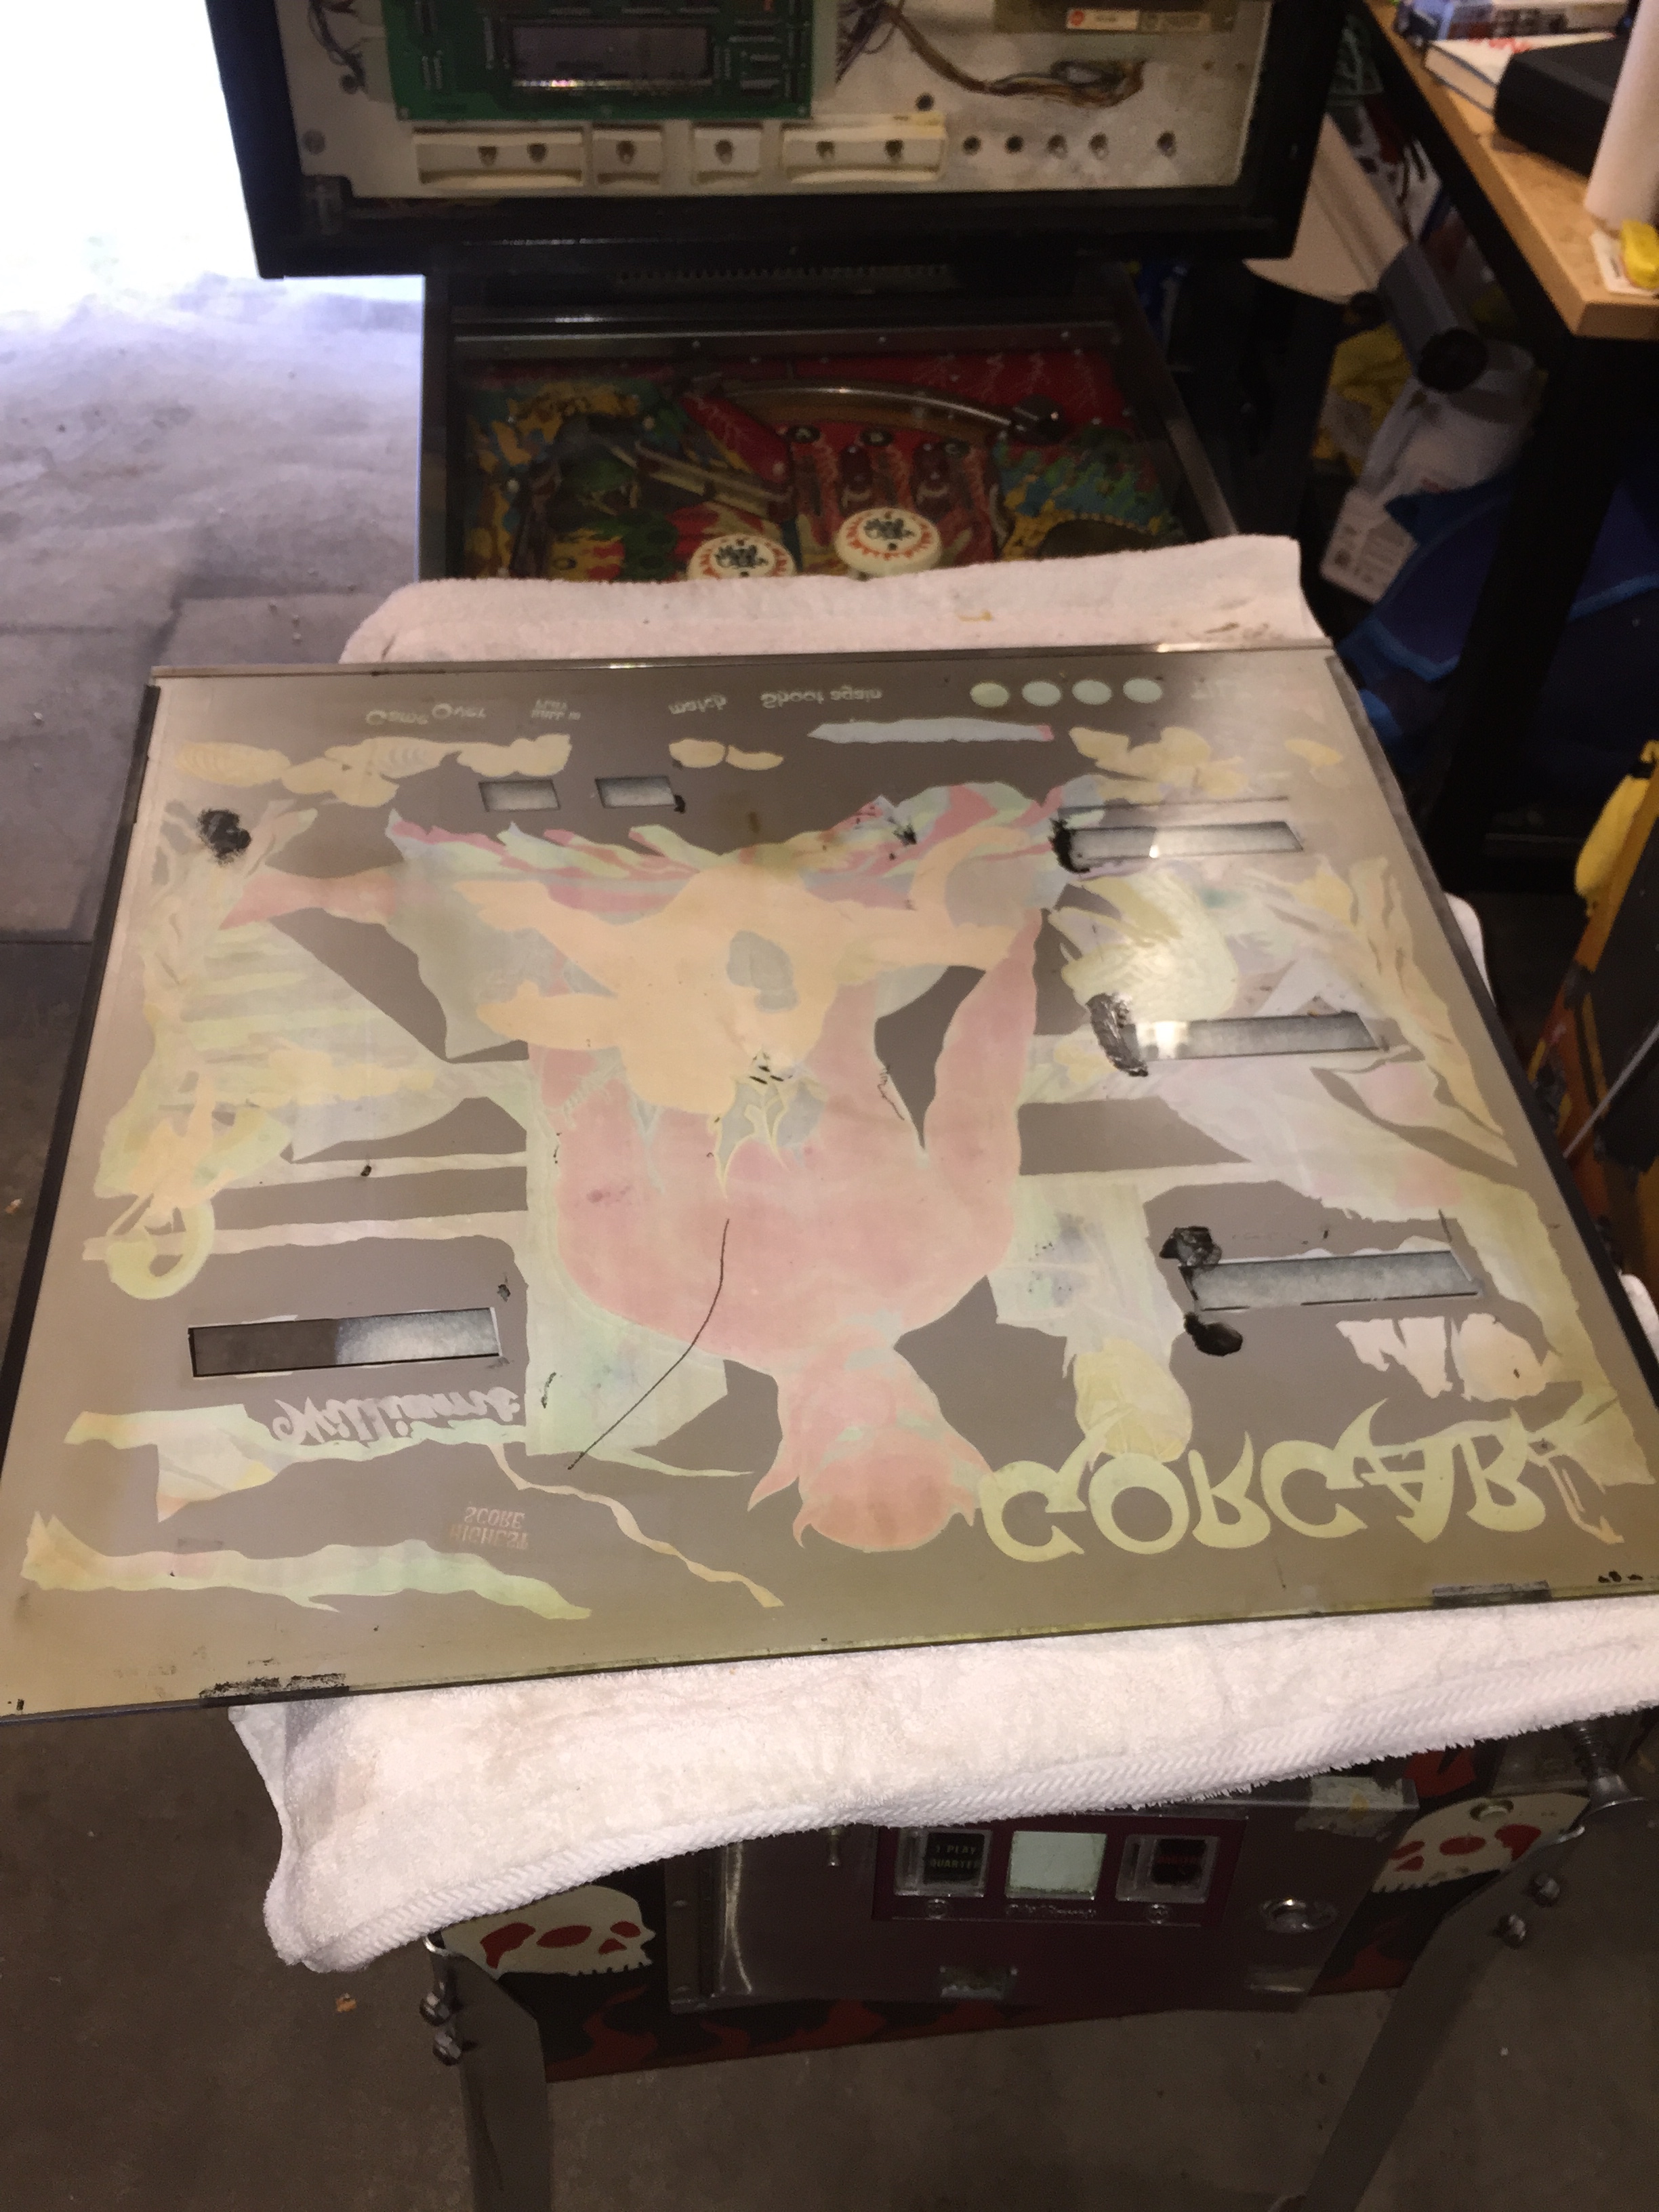
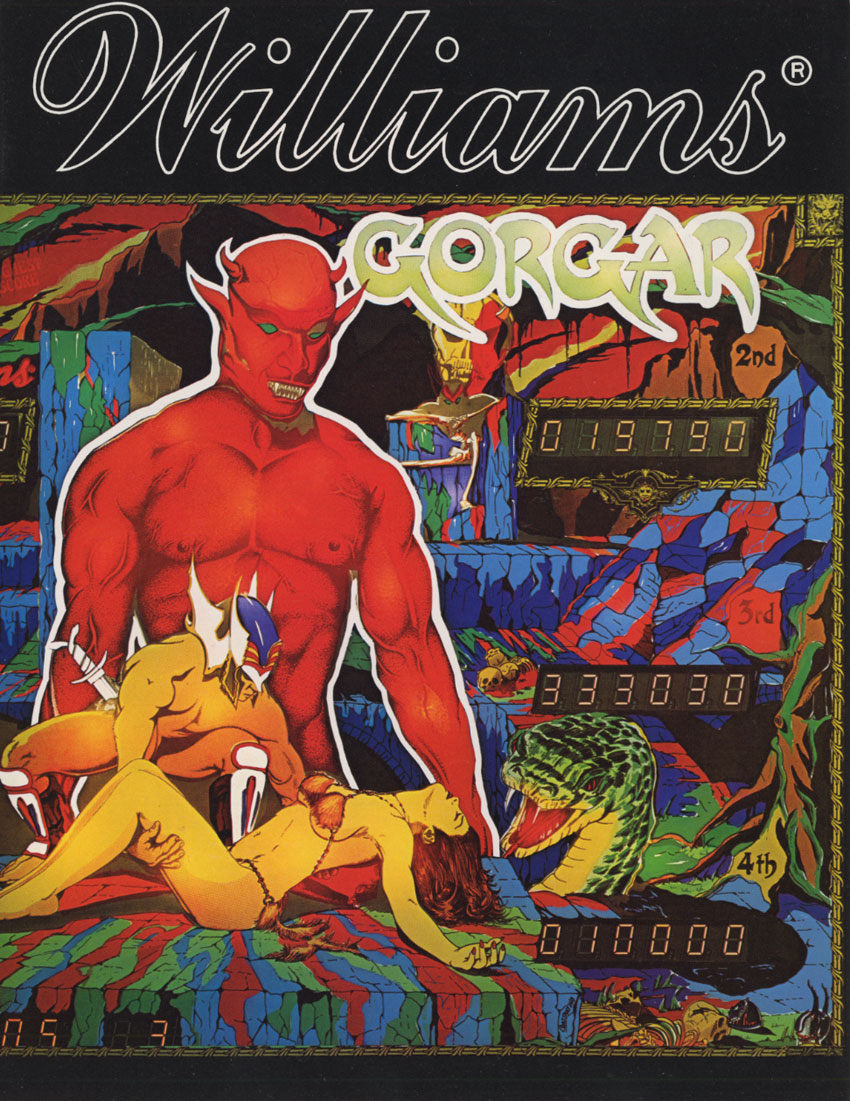
The backglass and case are in pretty decent shape. You can see some wear spots around the score displays, and also a scratch across Gorgar’s shoulder. I may get a reproduction done, but first I may try to see what can be done to touch this up.
The insert of the cabinet is definitely dirty, and needs to be vacuumed and sanded out to get rid of that “old pinball smell”.
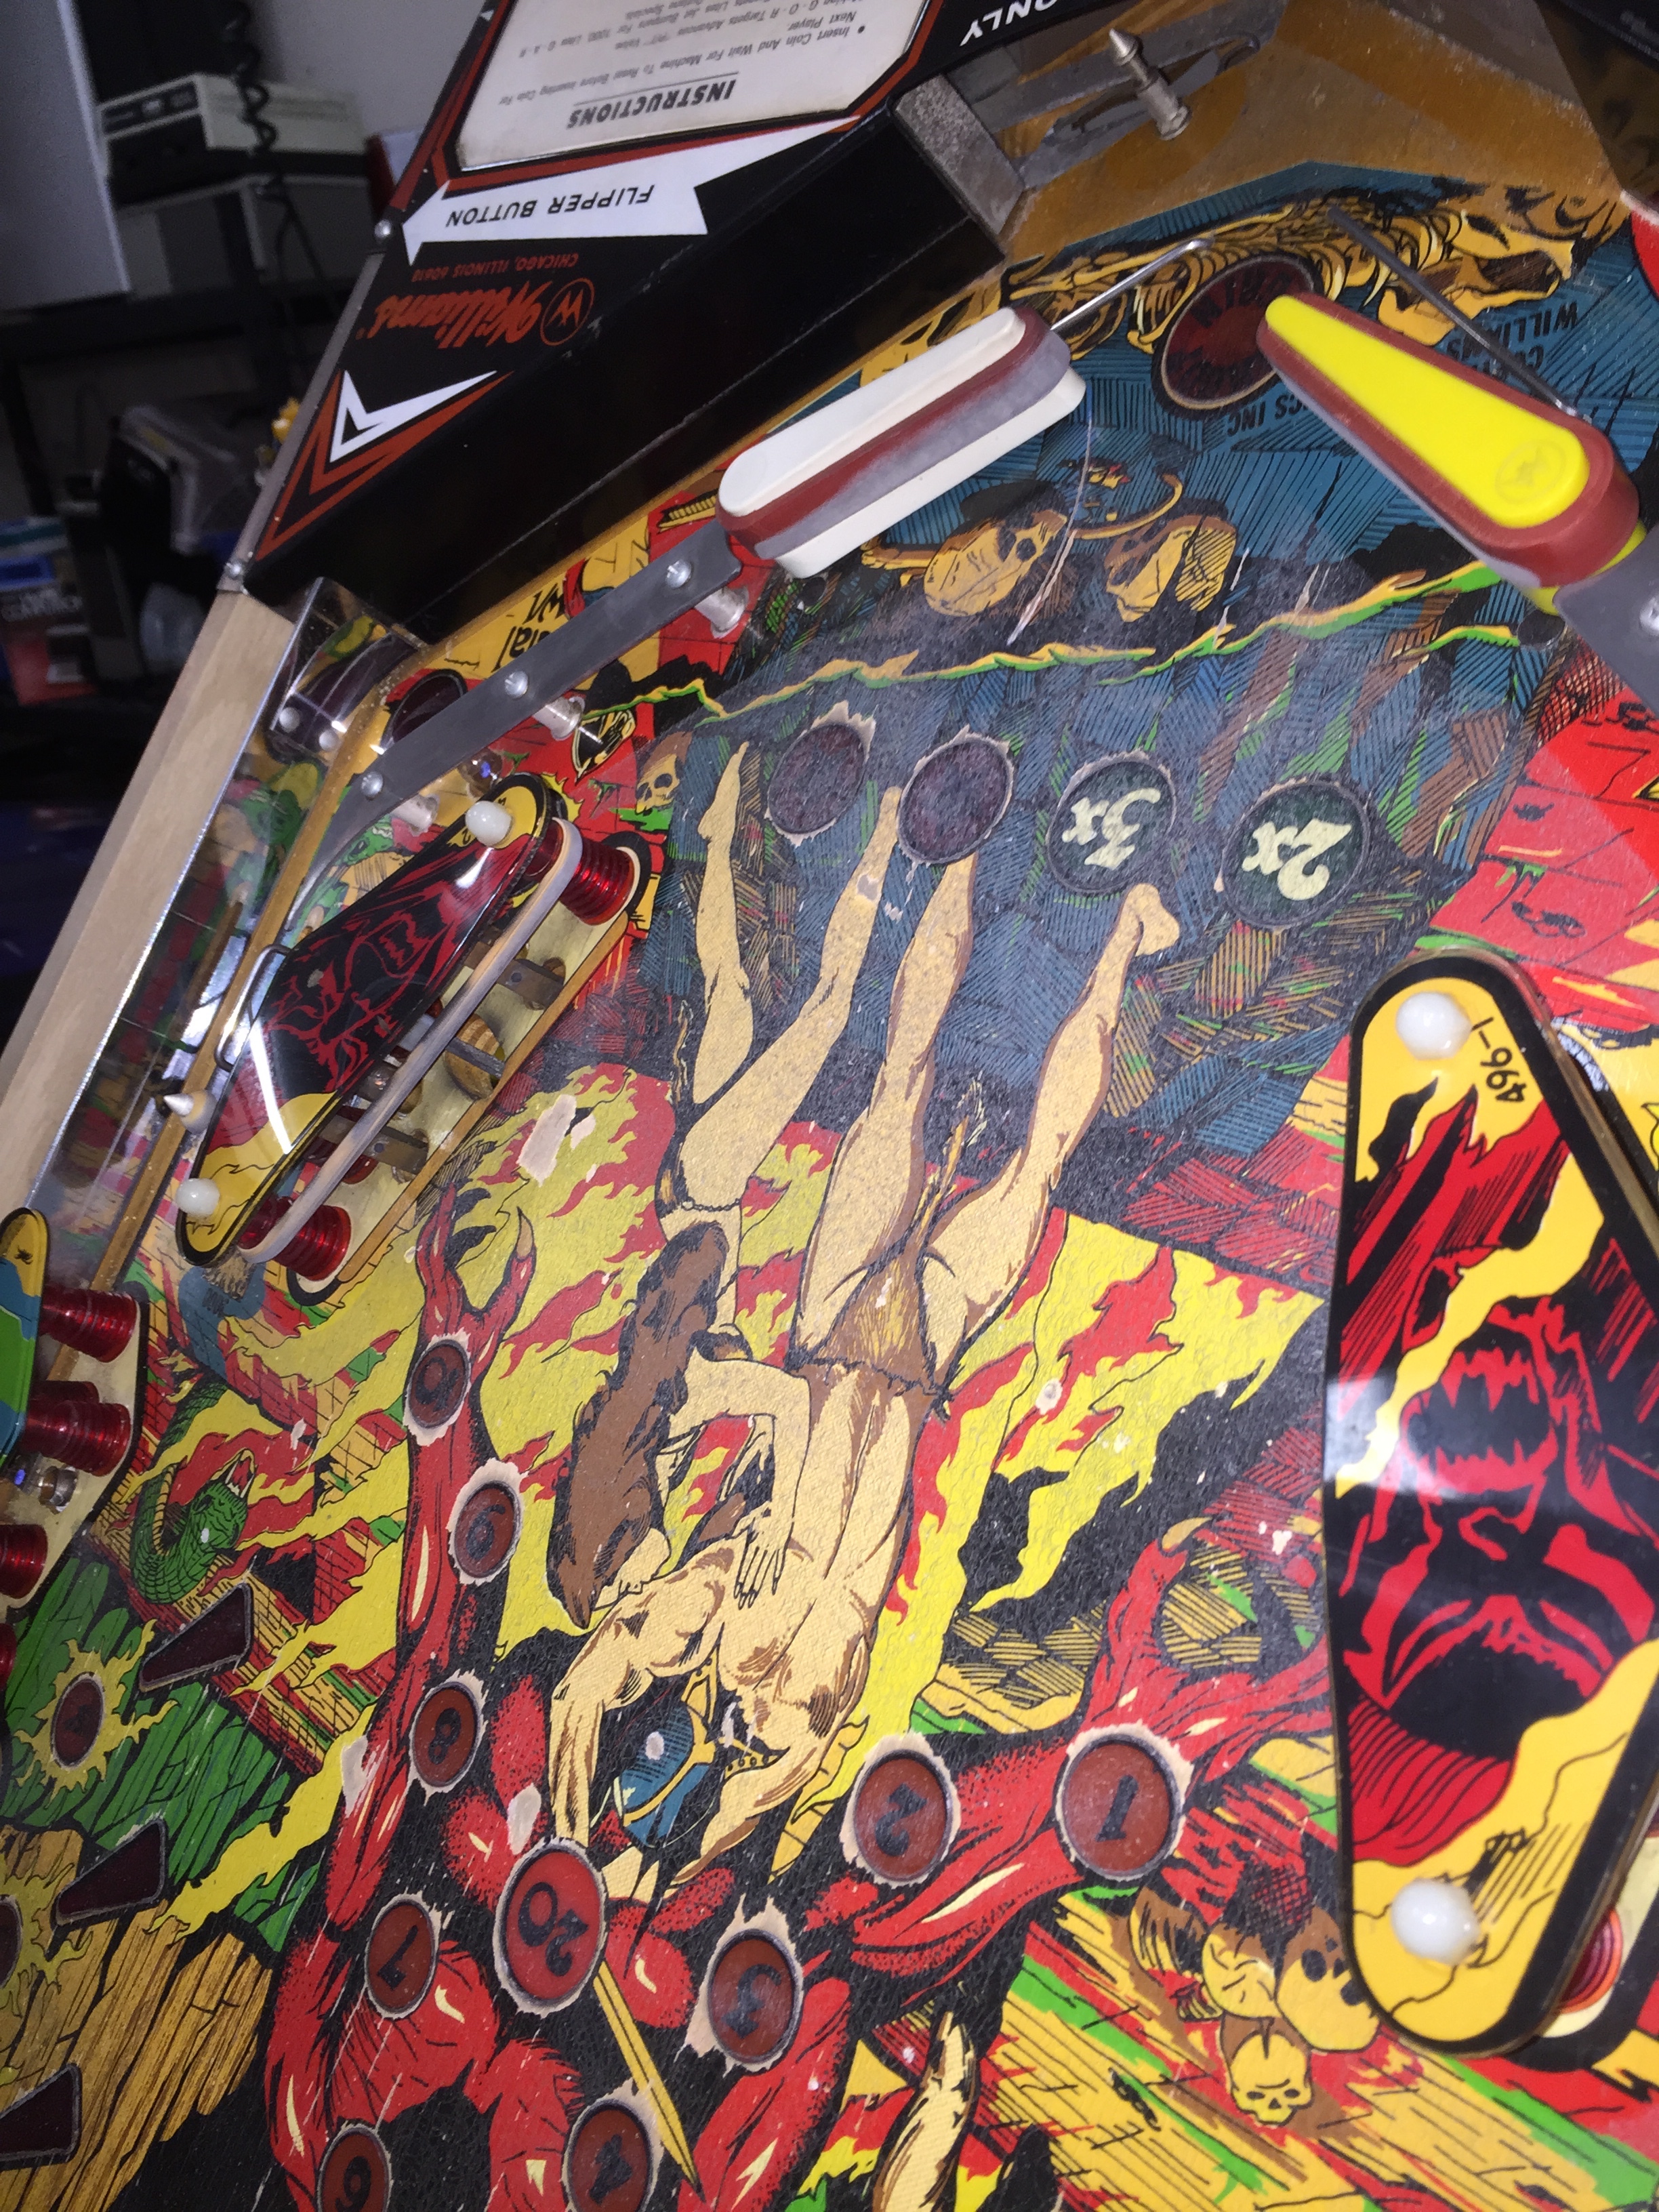
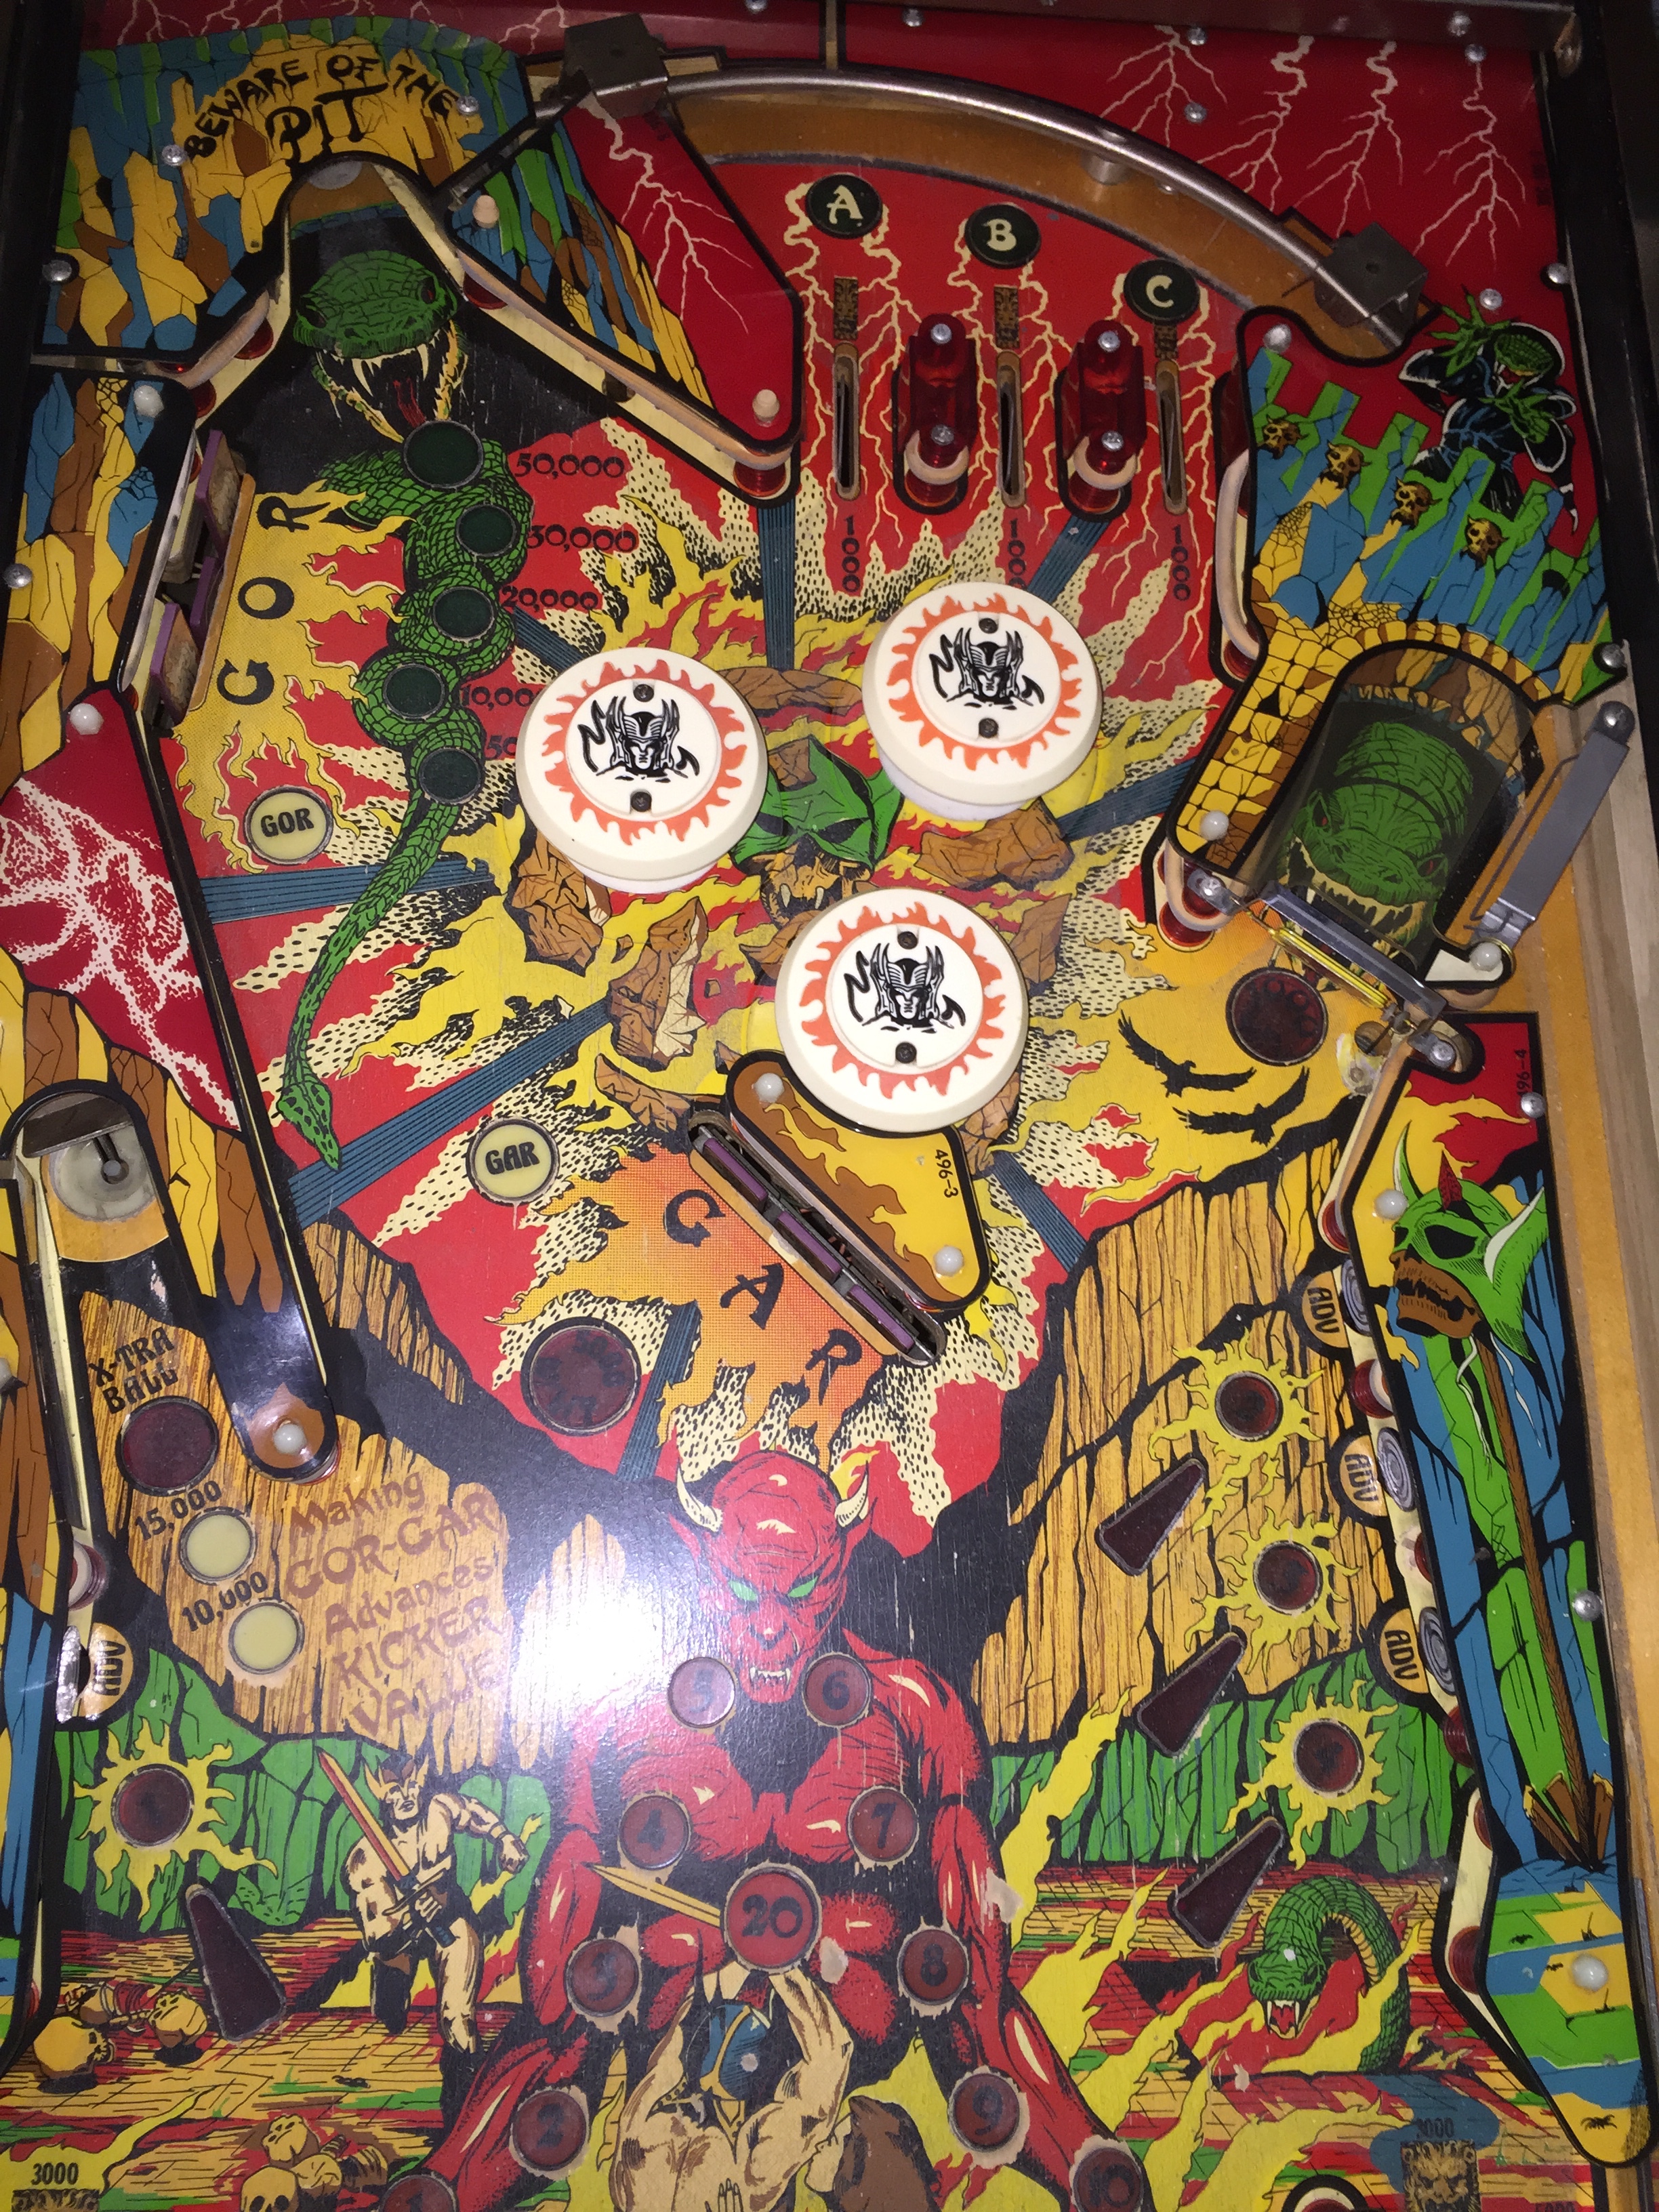
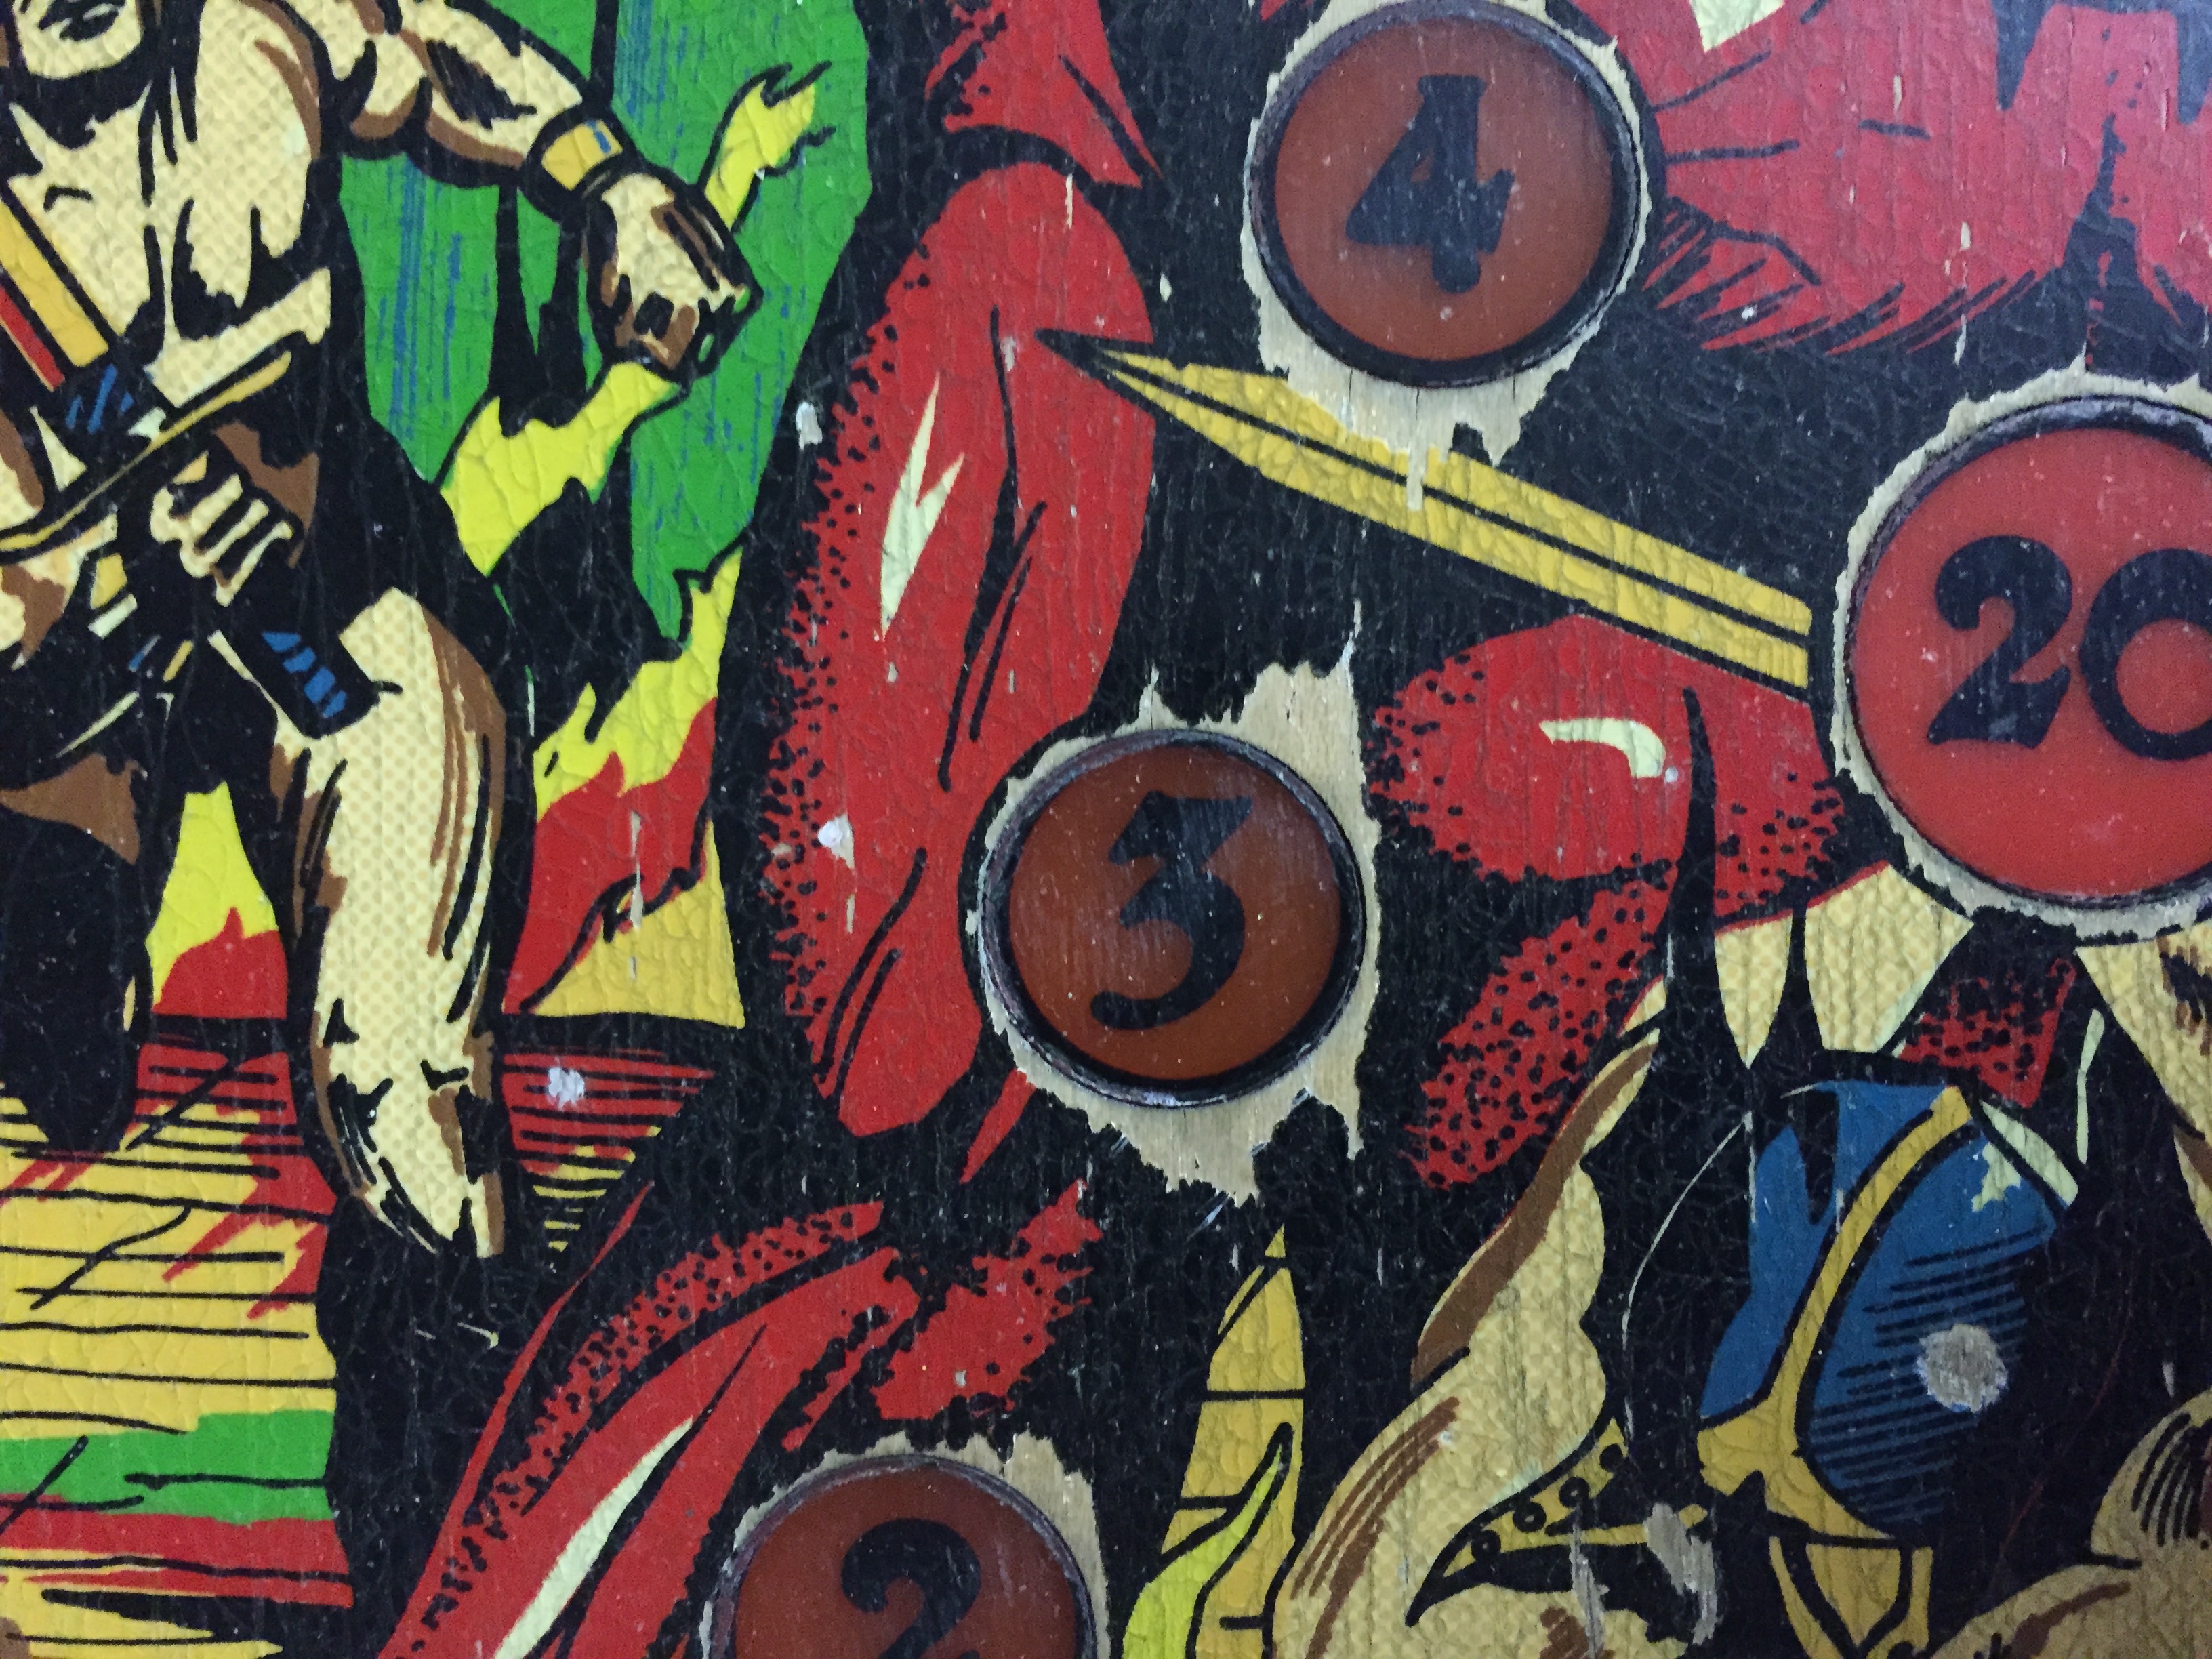
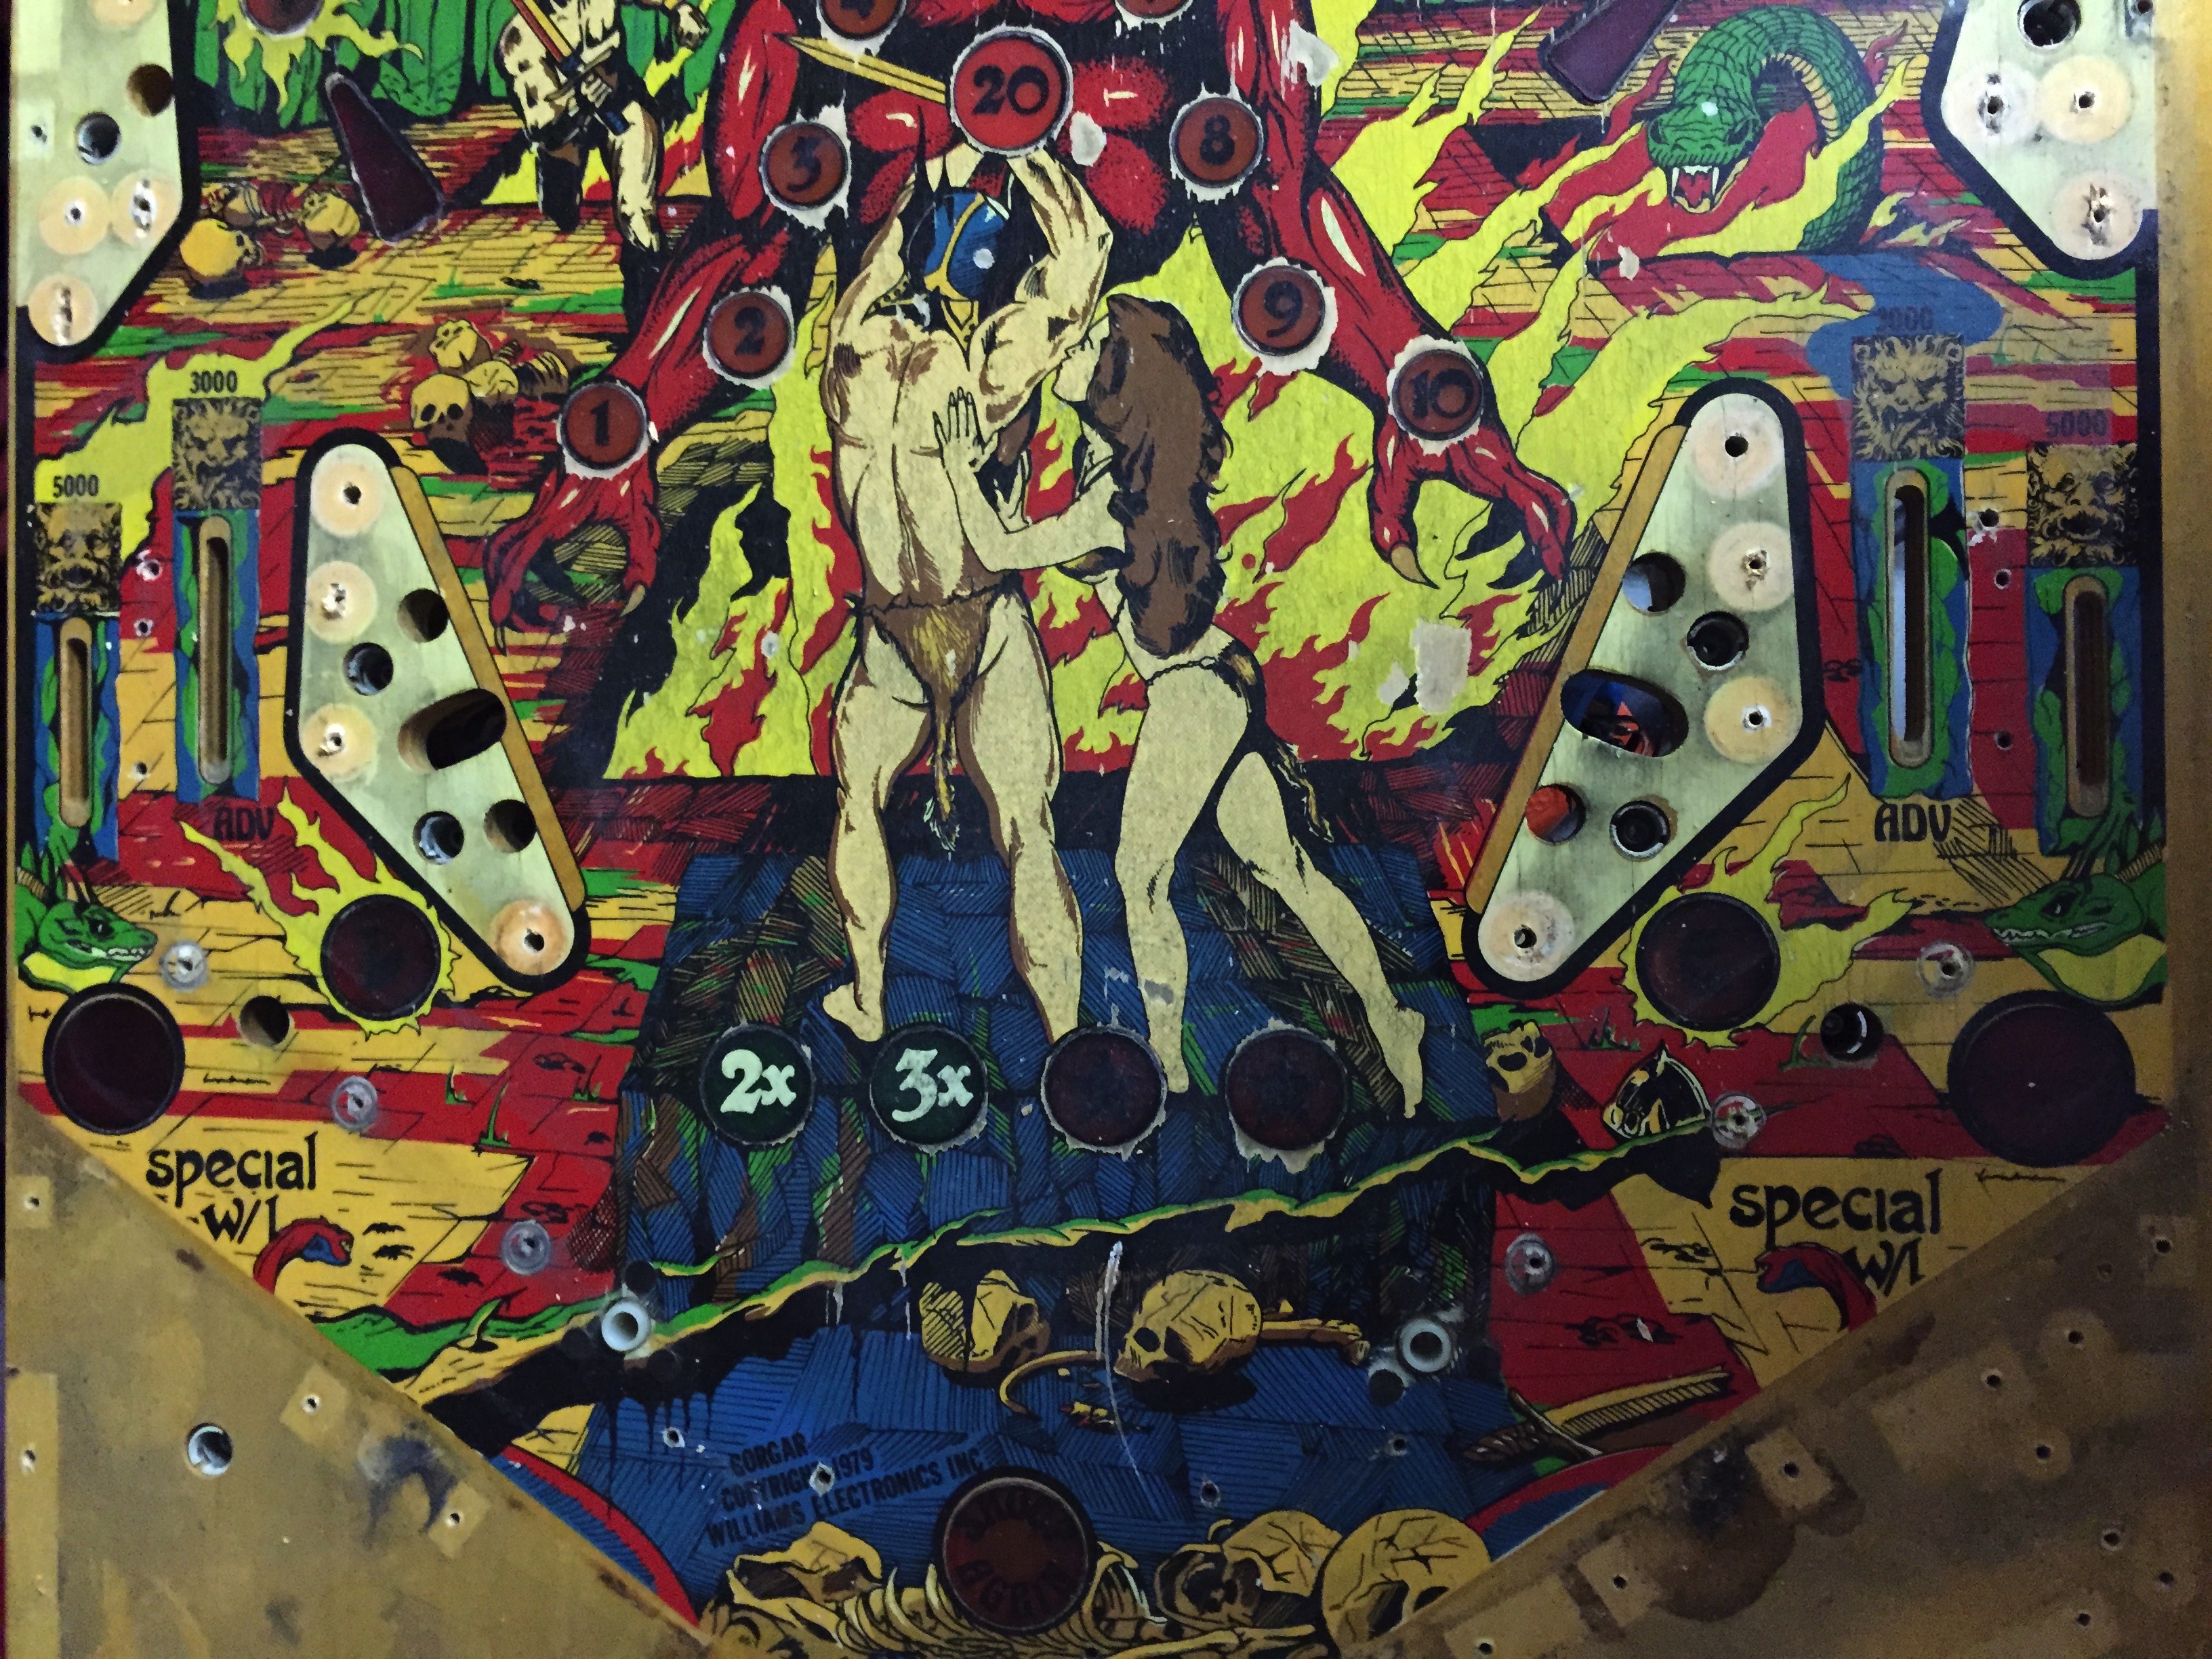
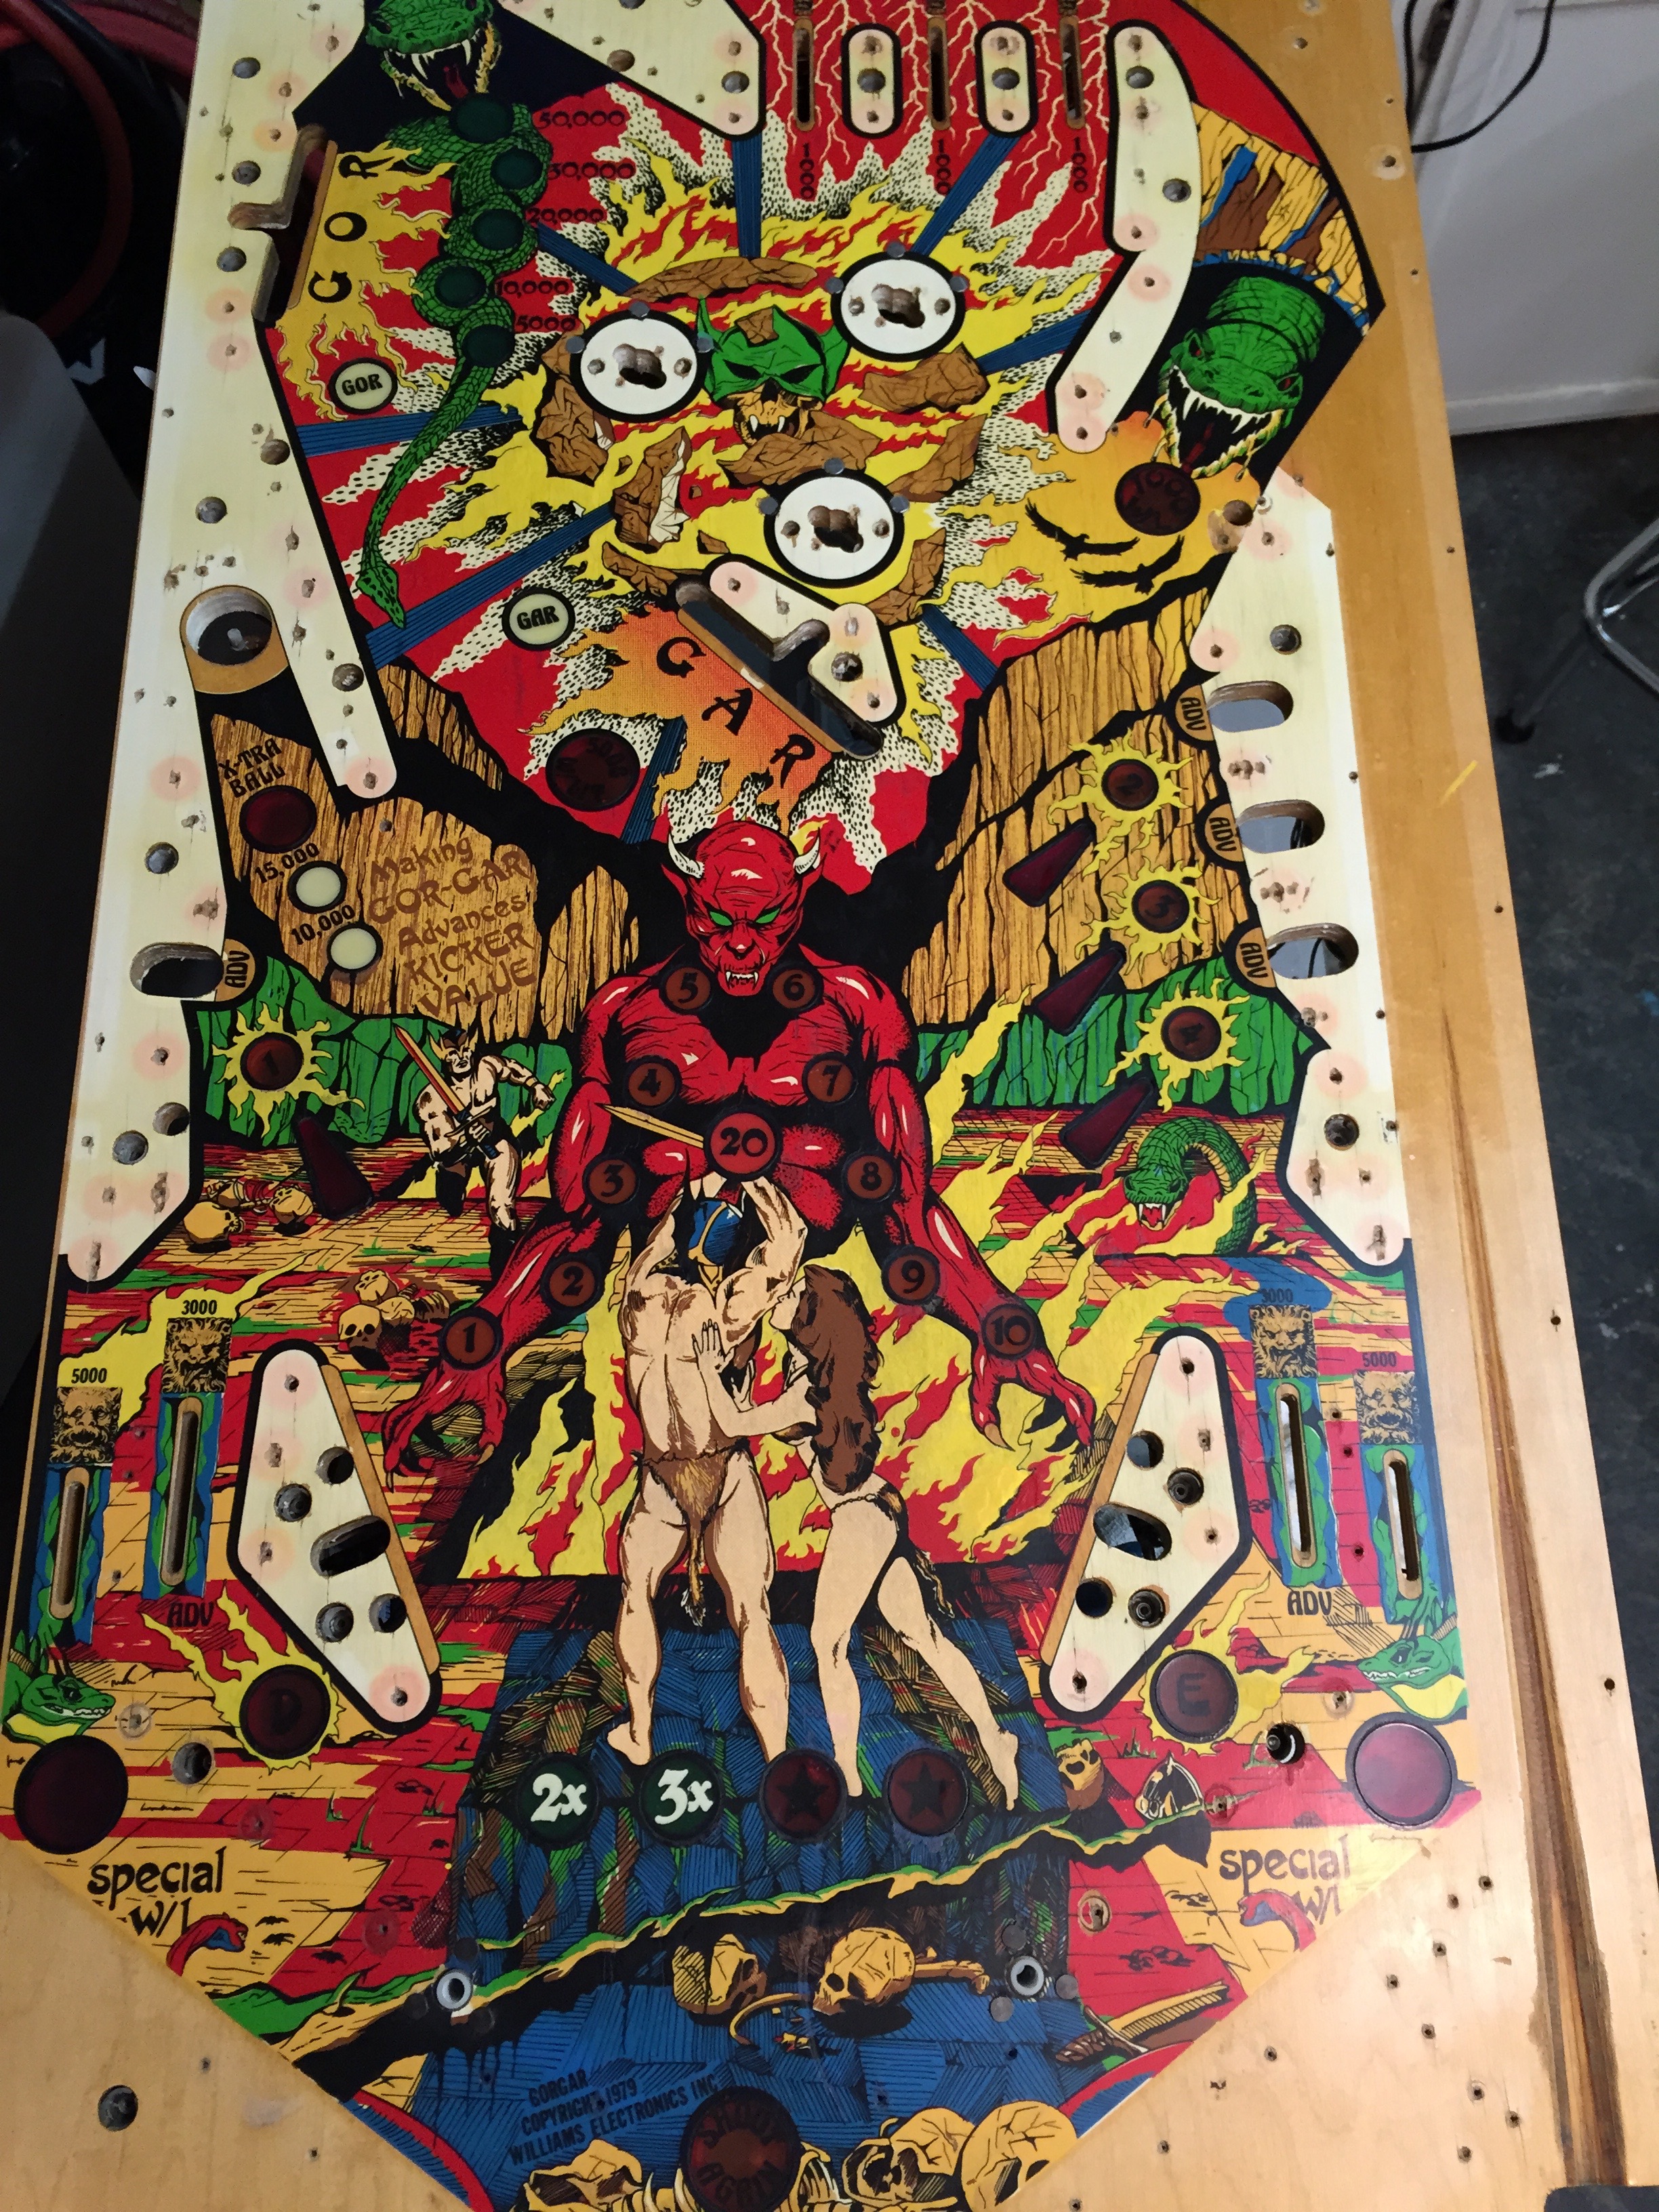
This shot shows the wear on the playfield pretty well. All in all, there are about 5 spots, most of which are smaller than a dime, that need to be touched up. The key lines around the inserts also need some touch up. After some serious cleaning, this playfield will look much better I think.
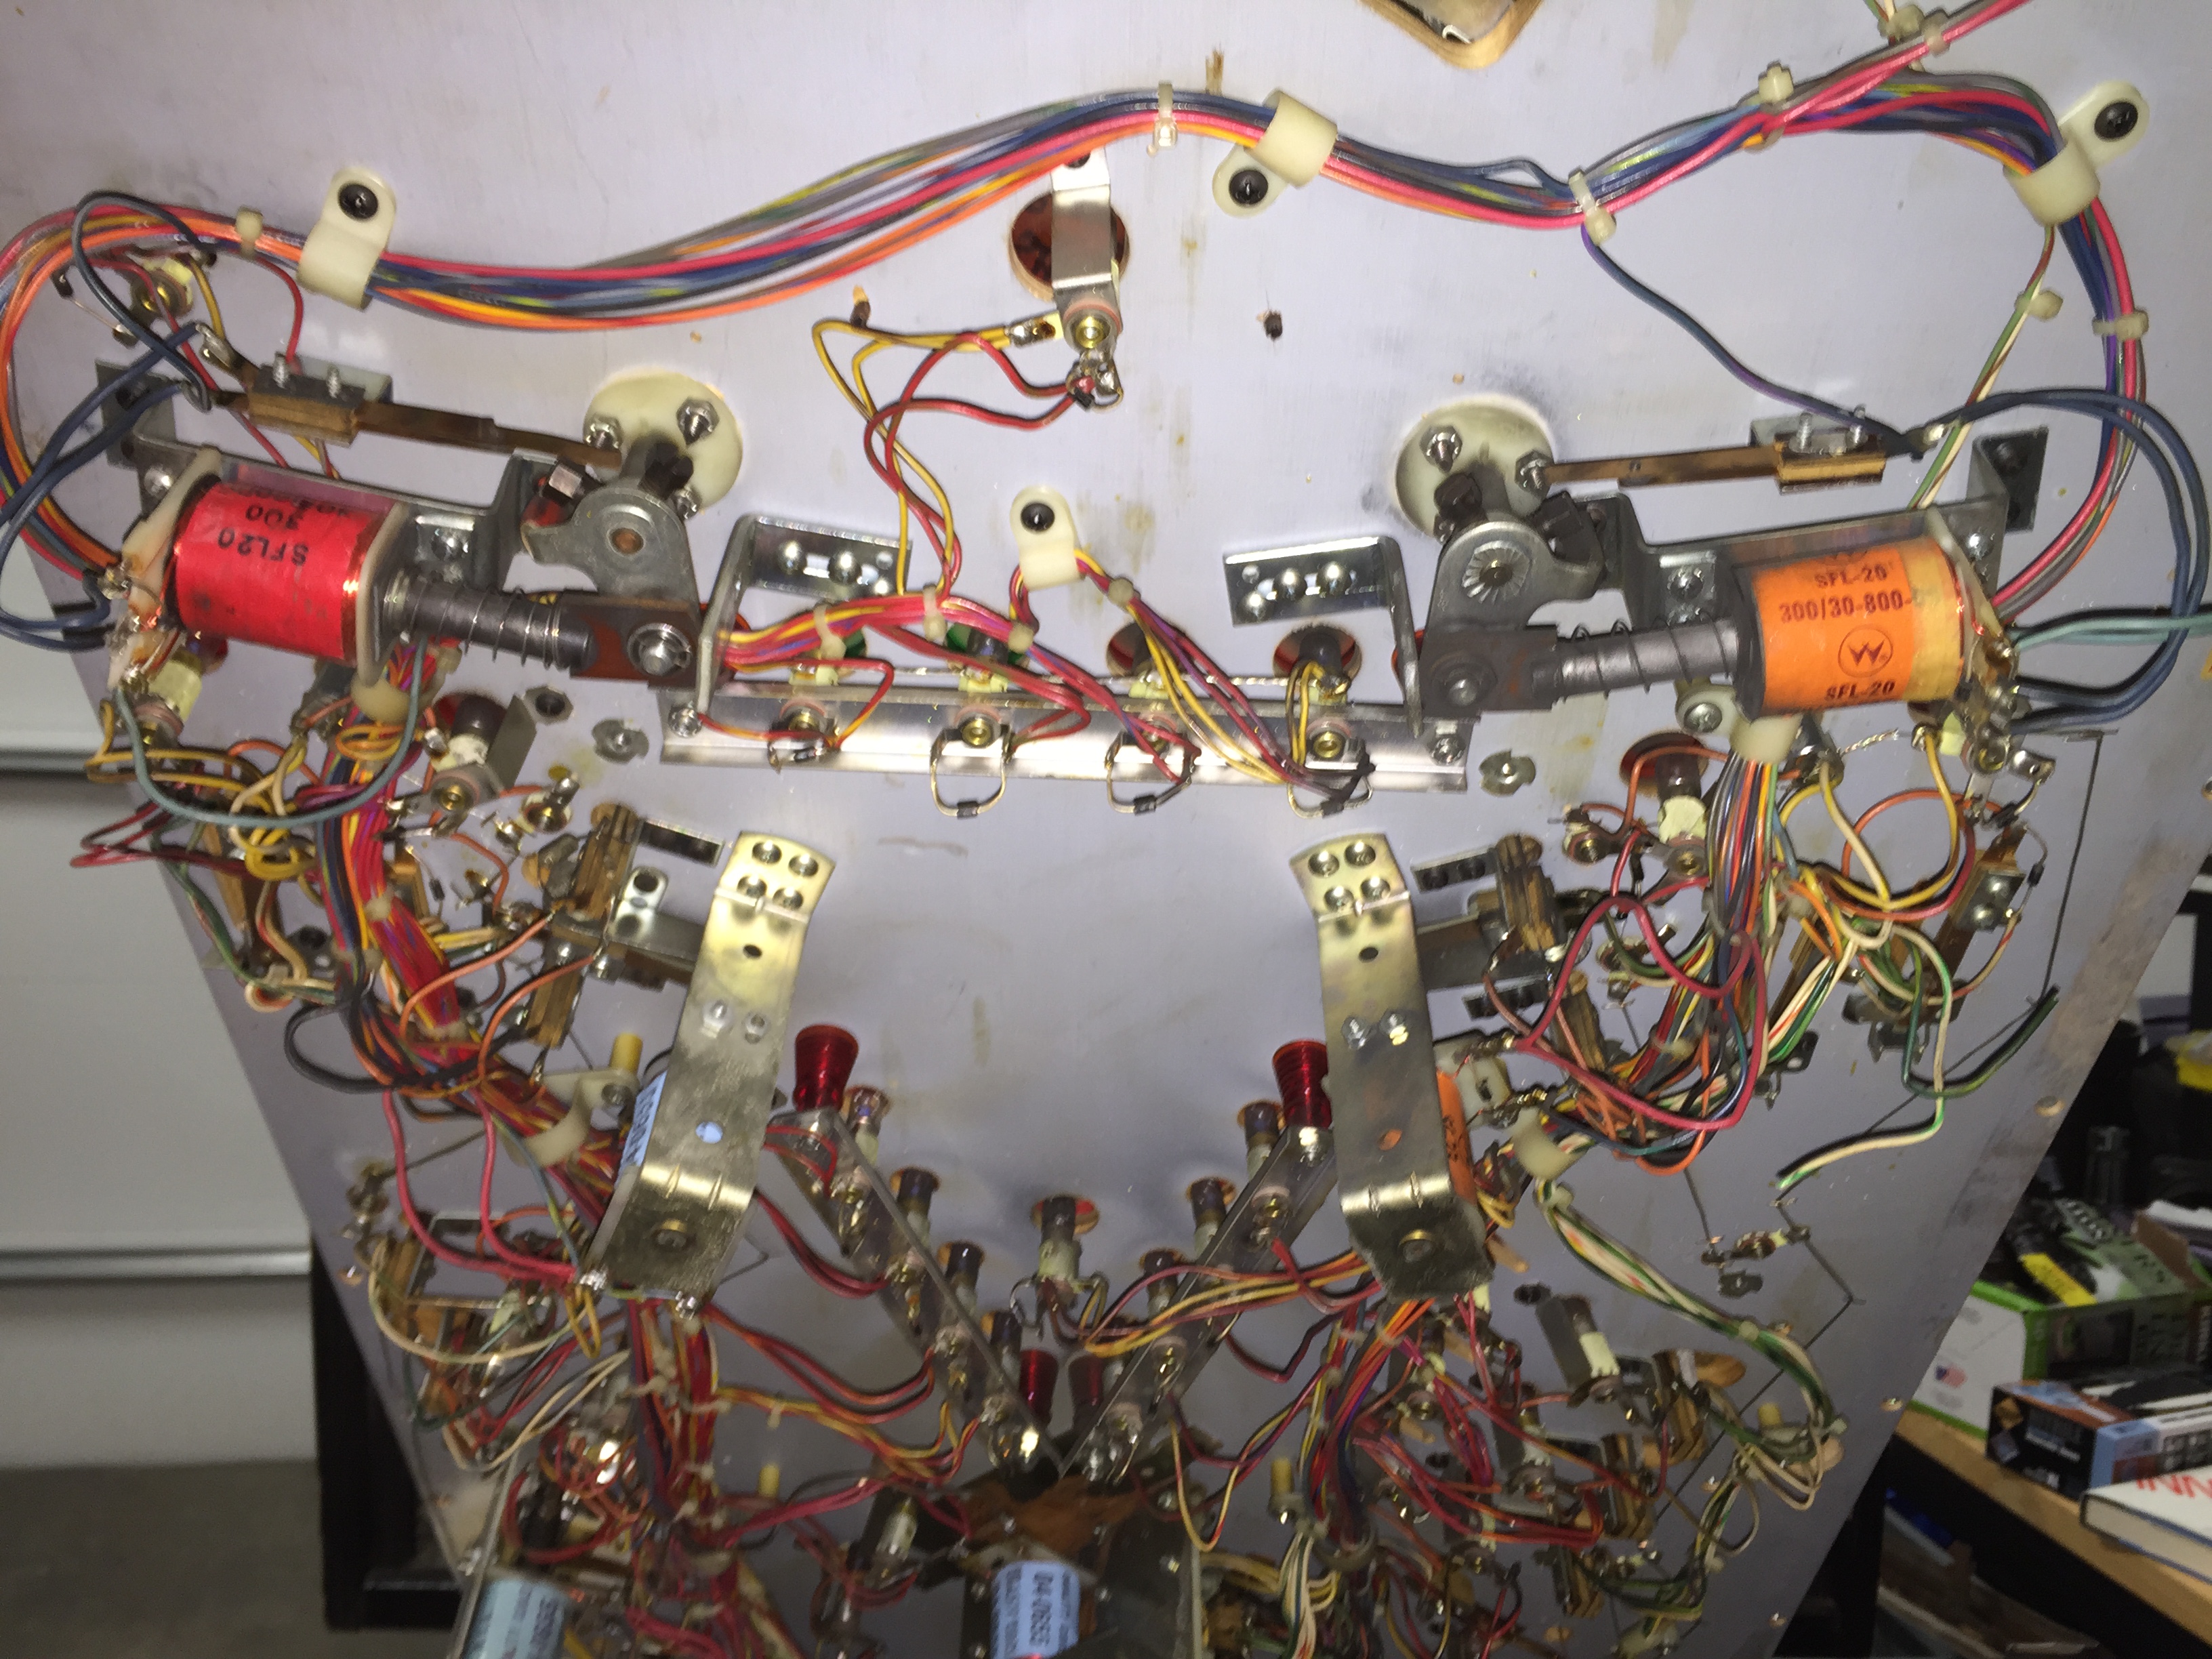
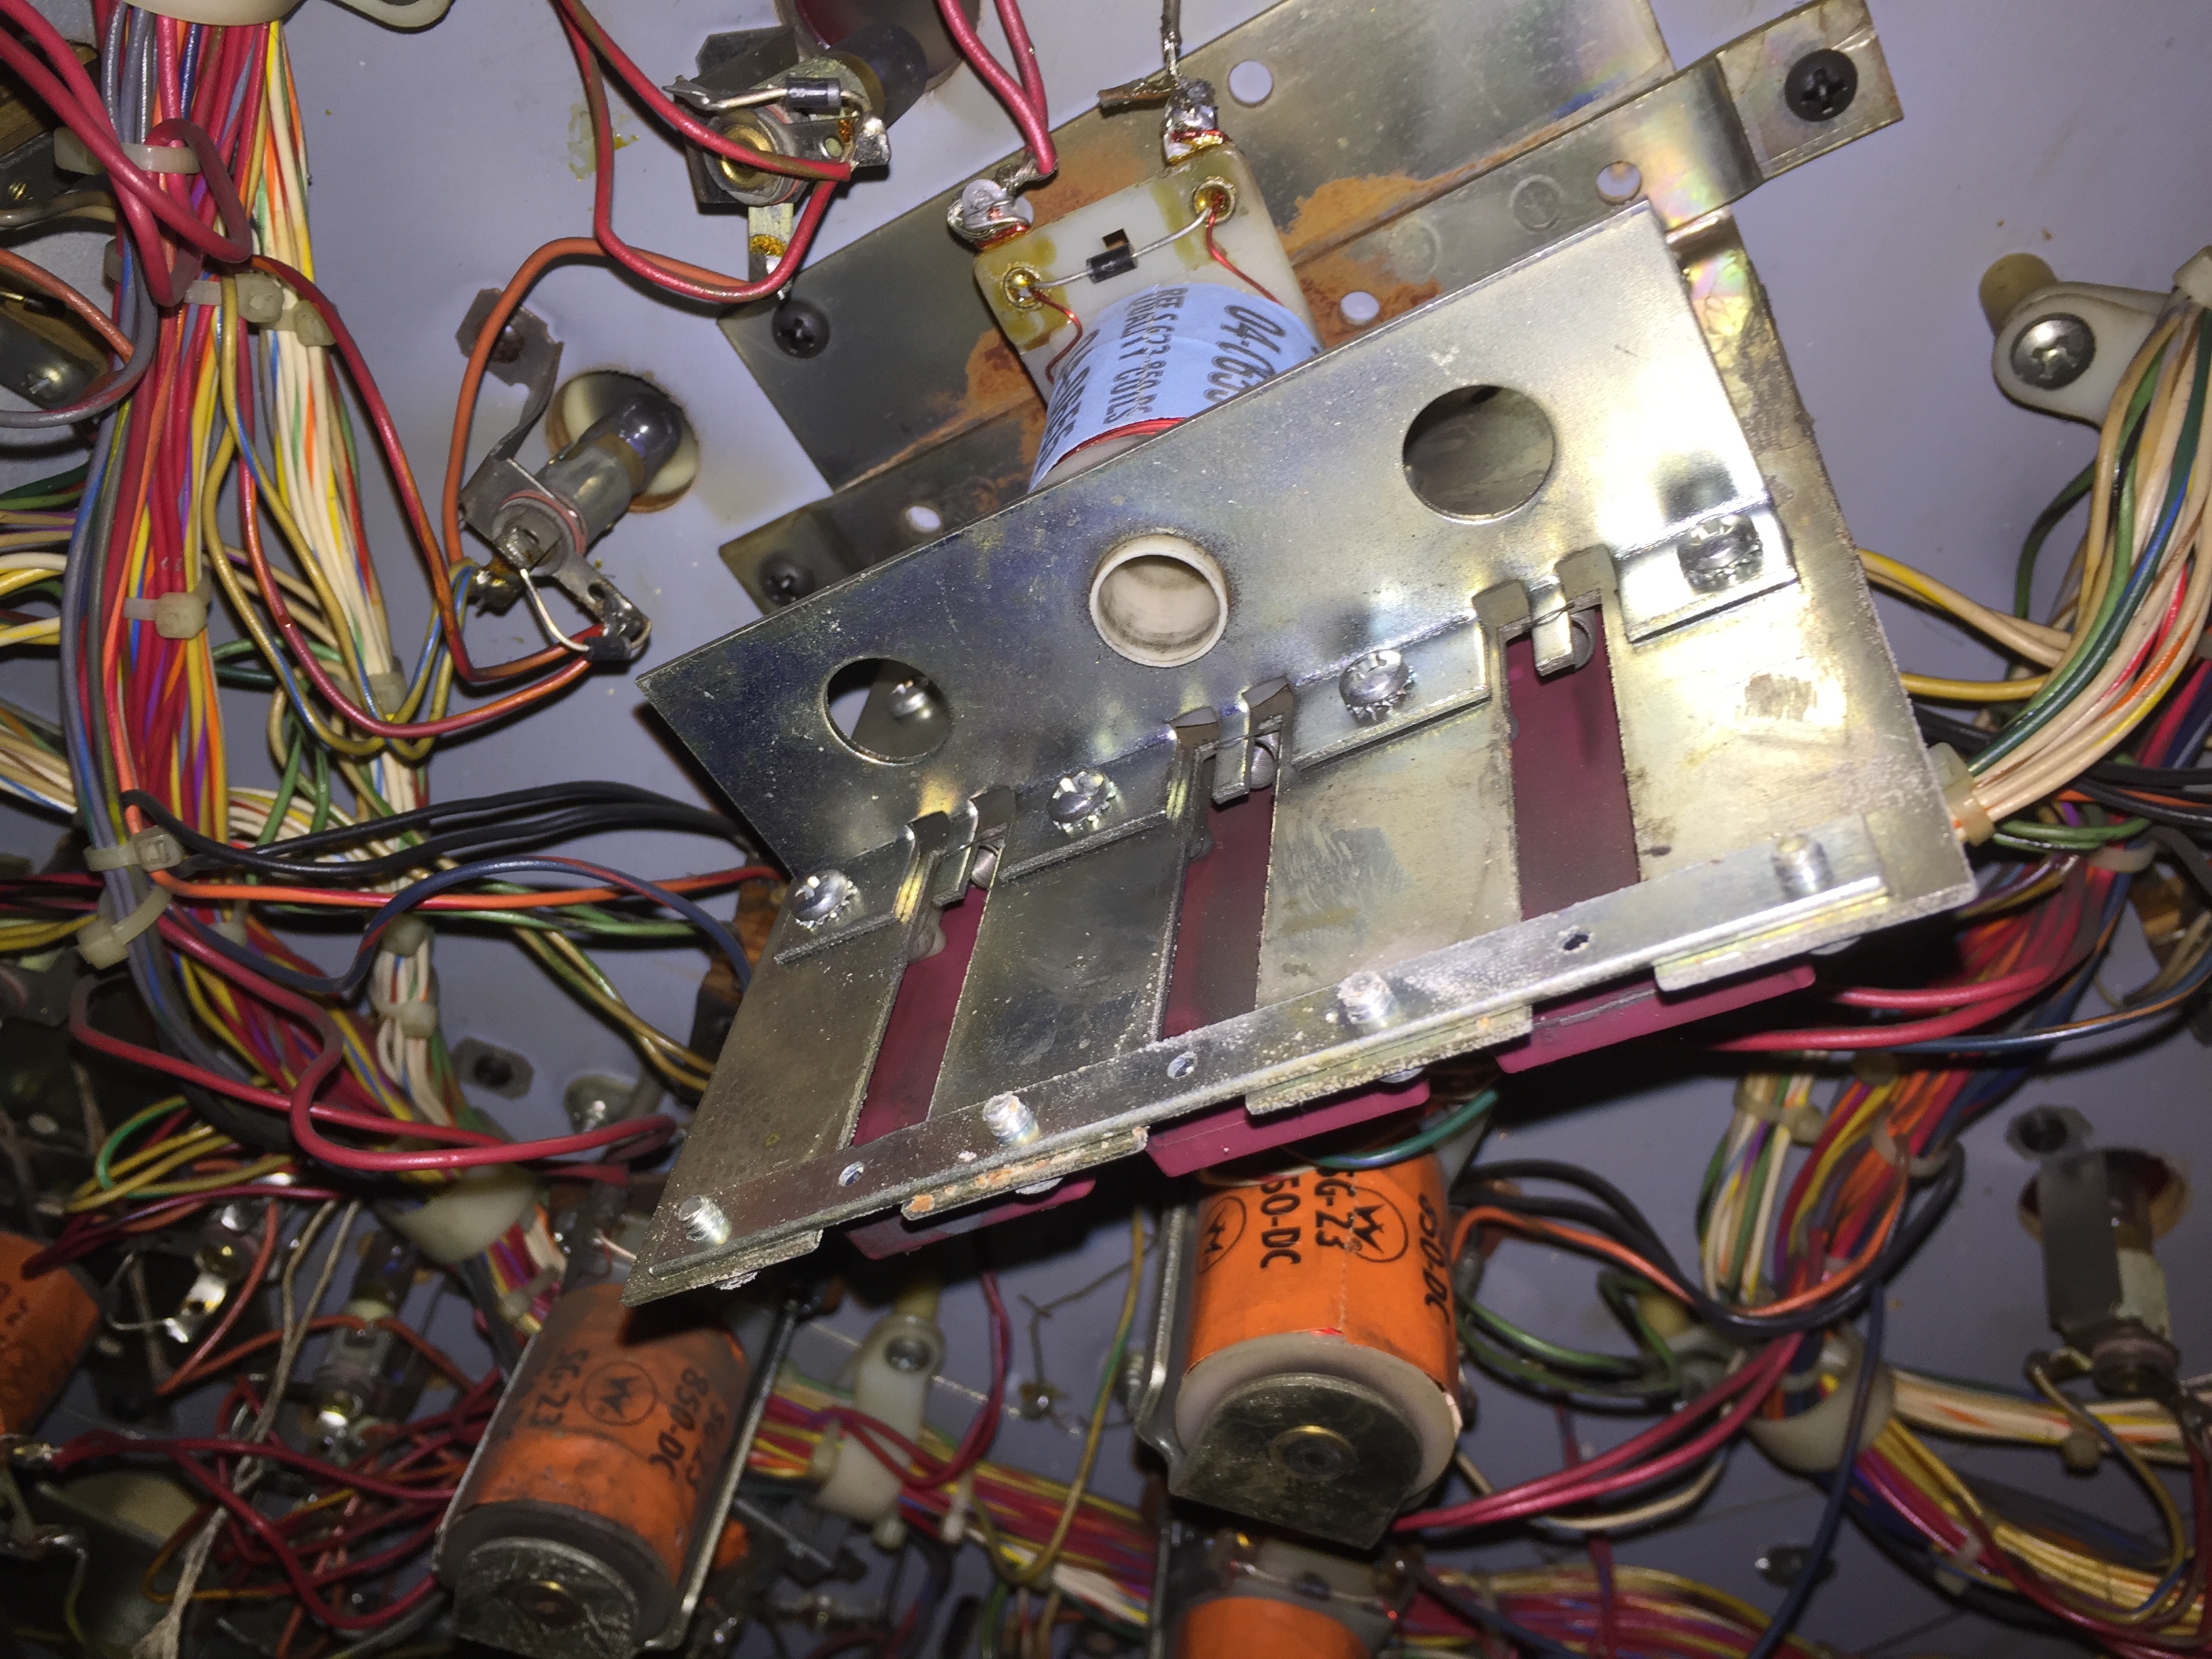
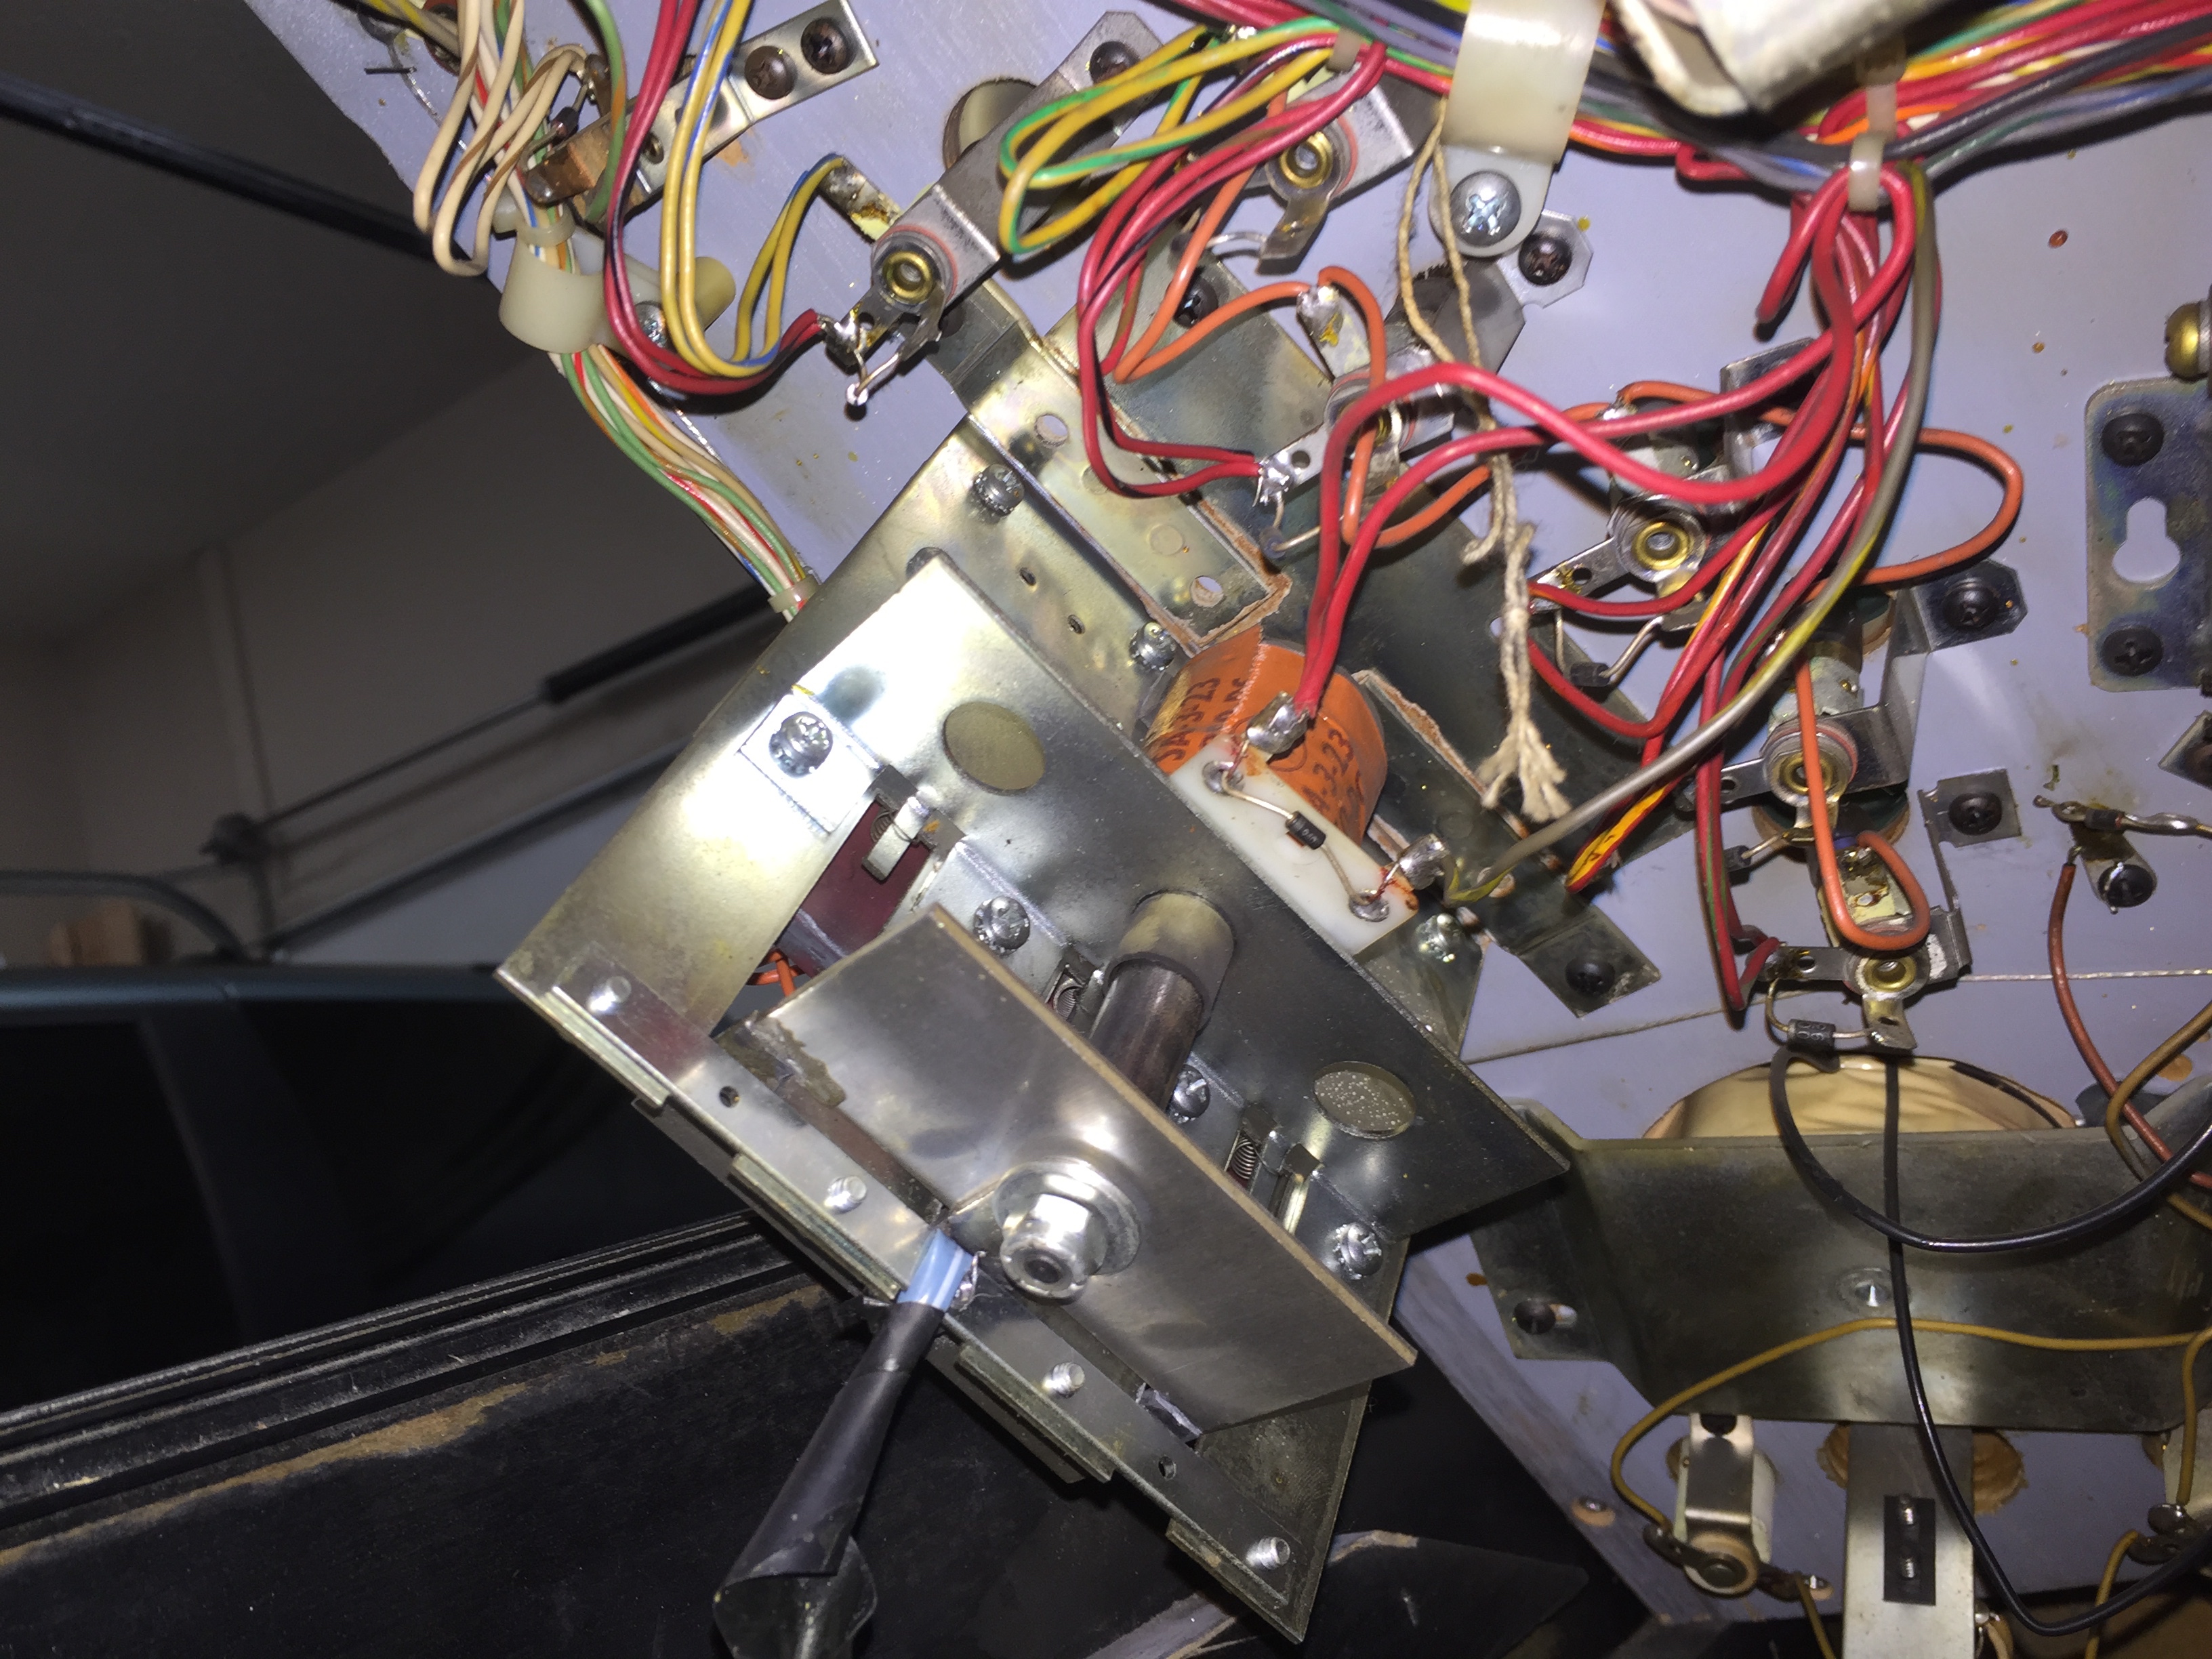
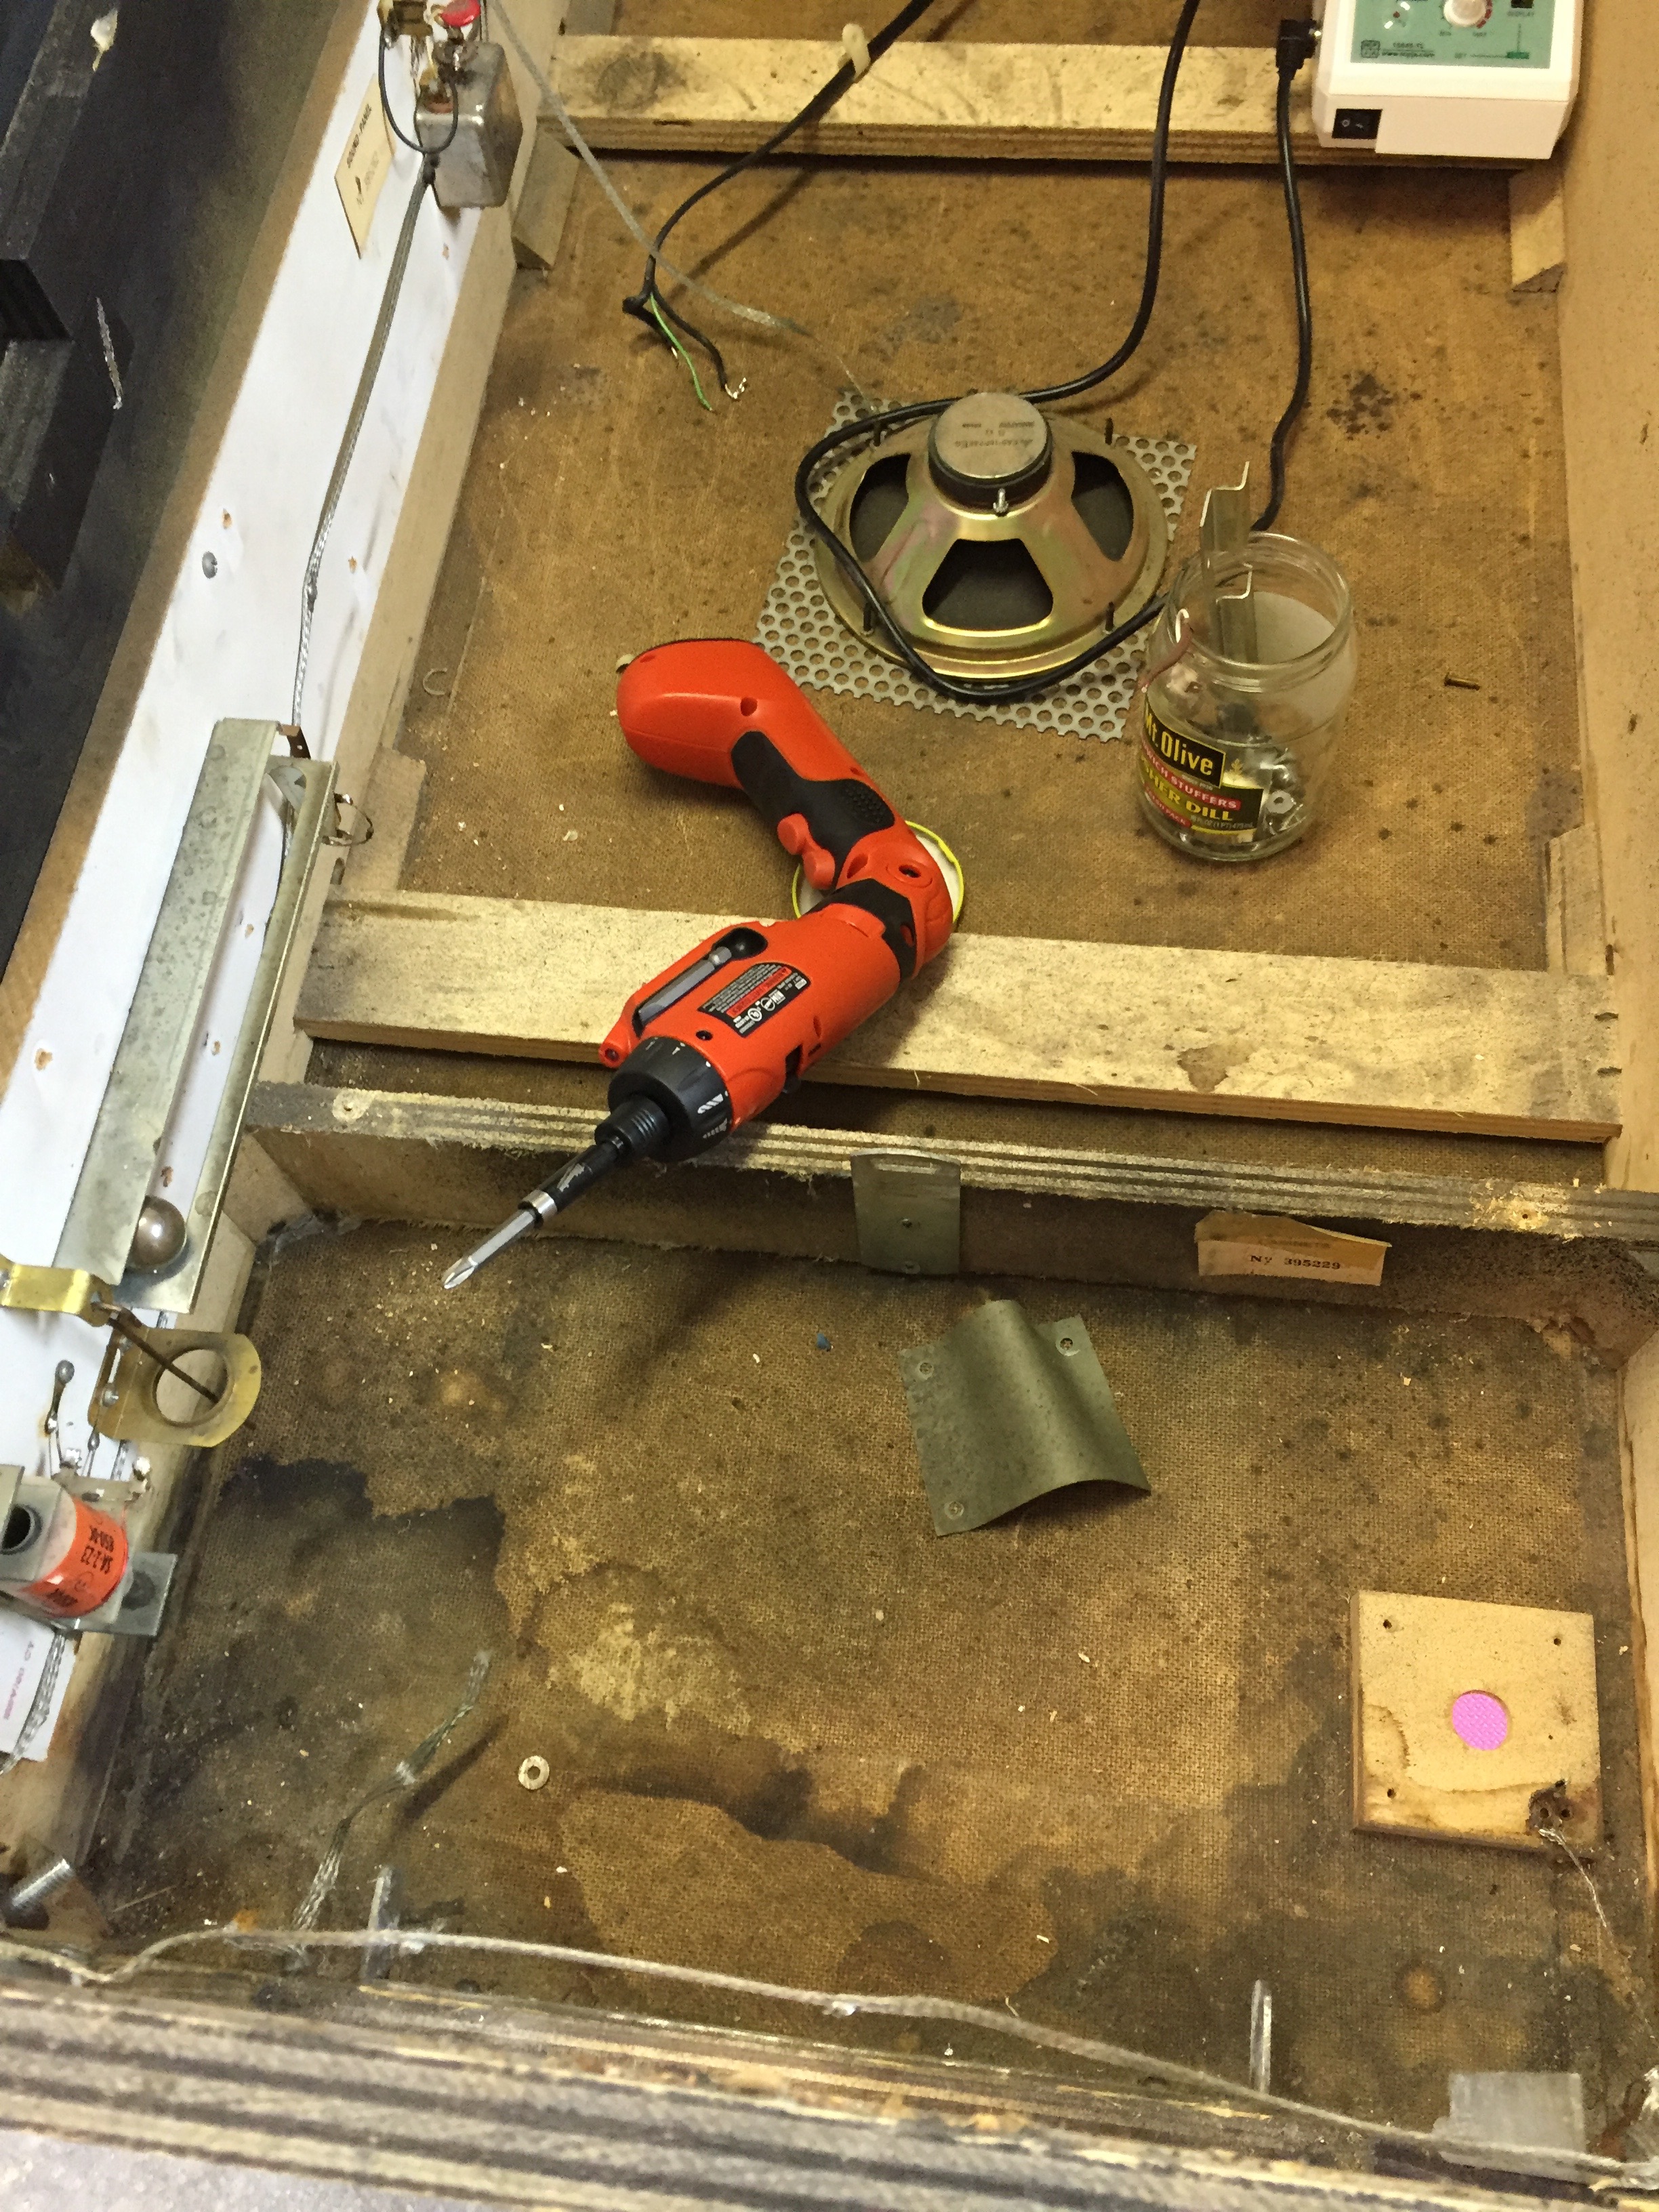
There are a number of under-playfield hacks. Various “wrong coils”, and one drop target assembly reset plate is broken completely off, and the other is held together with some glue, some broken repairs, and a electrical taped straw.. First time I’ve seen that…
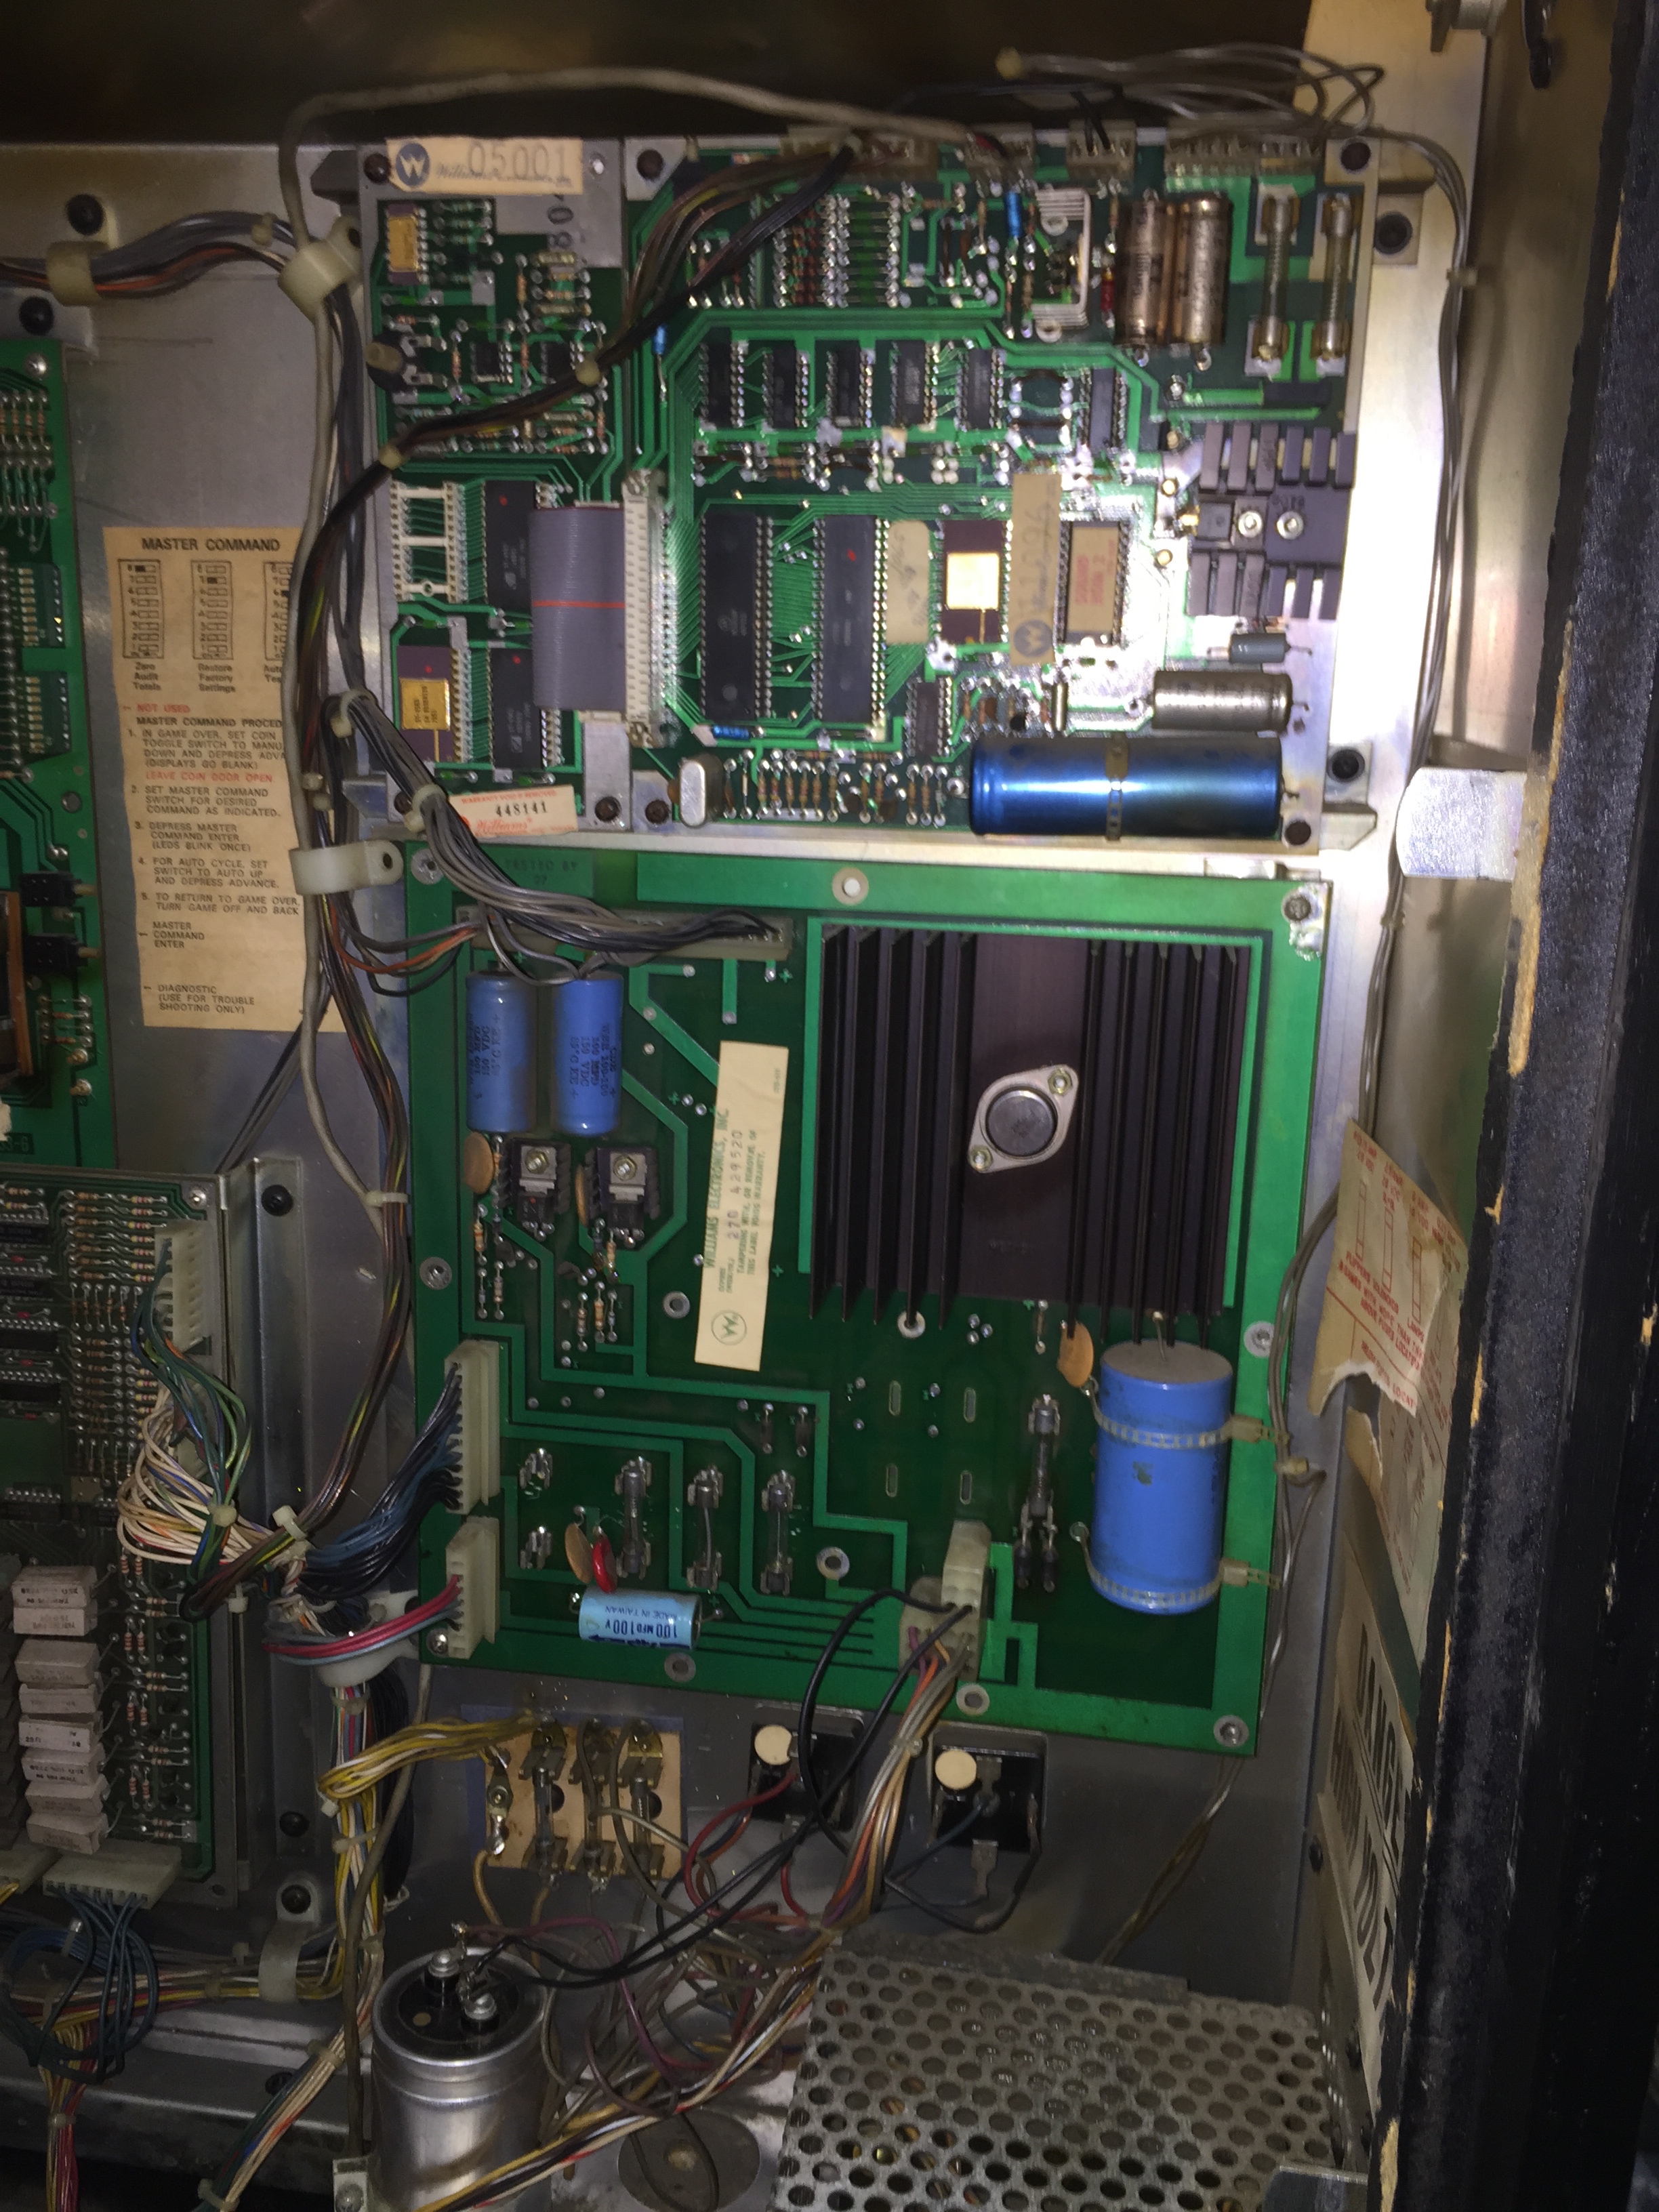
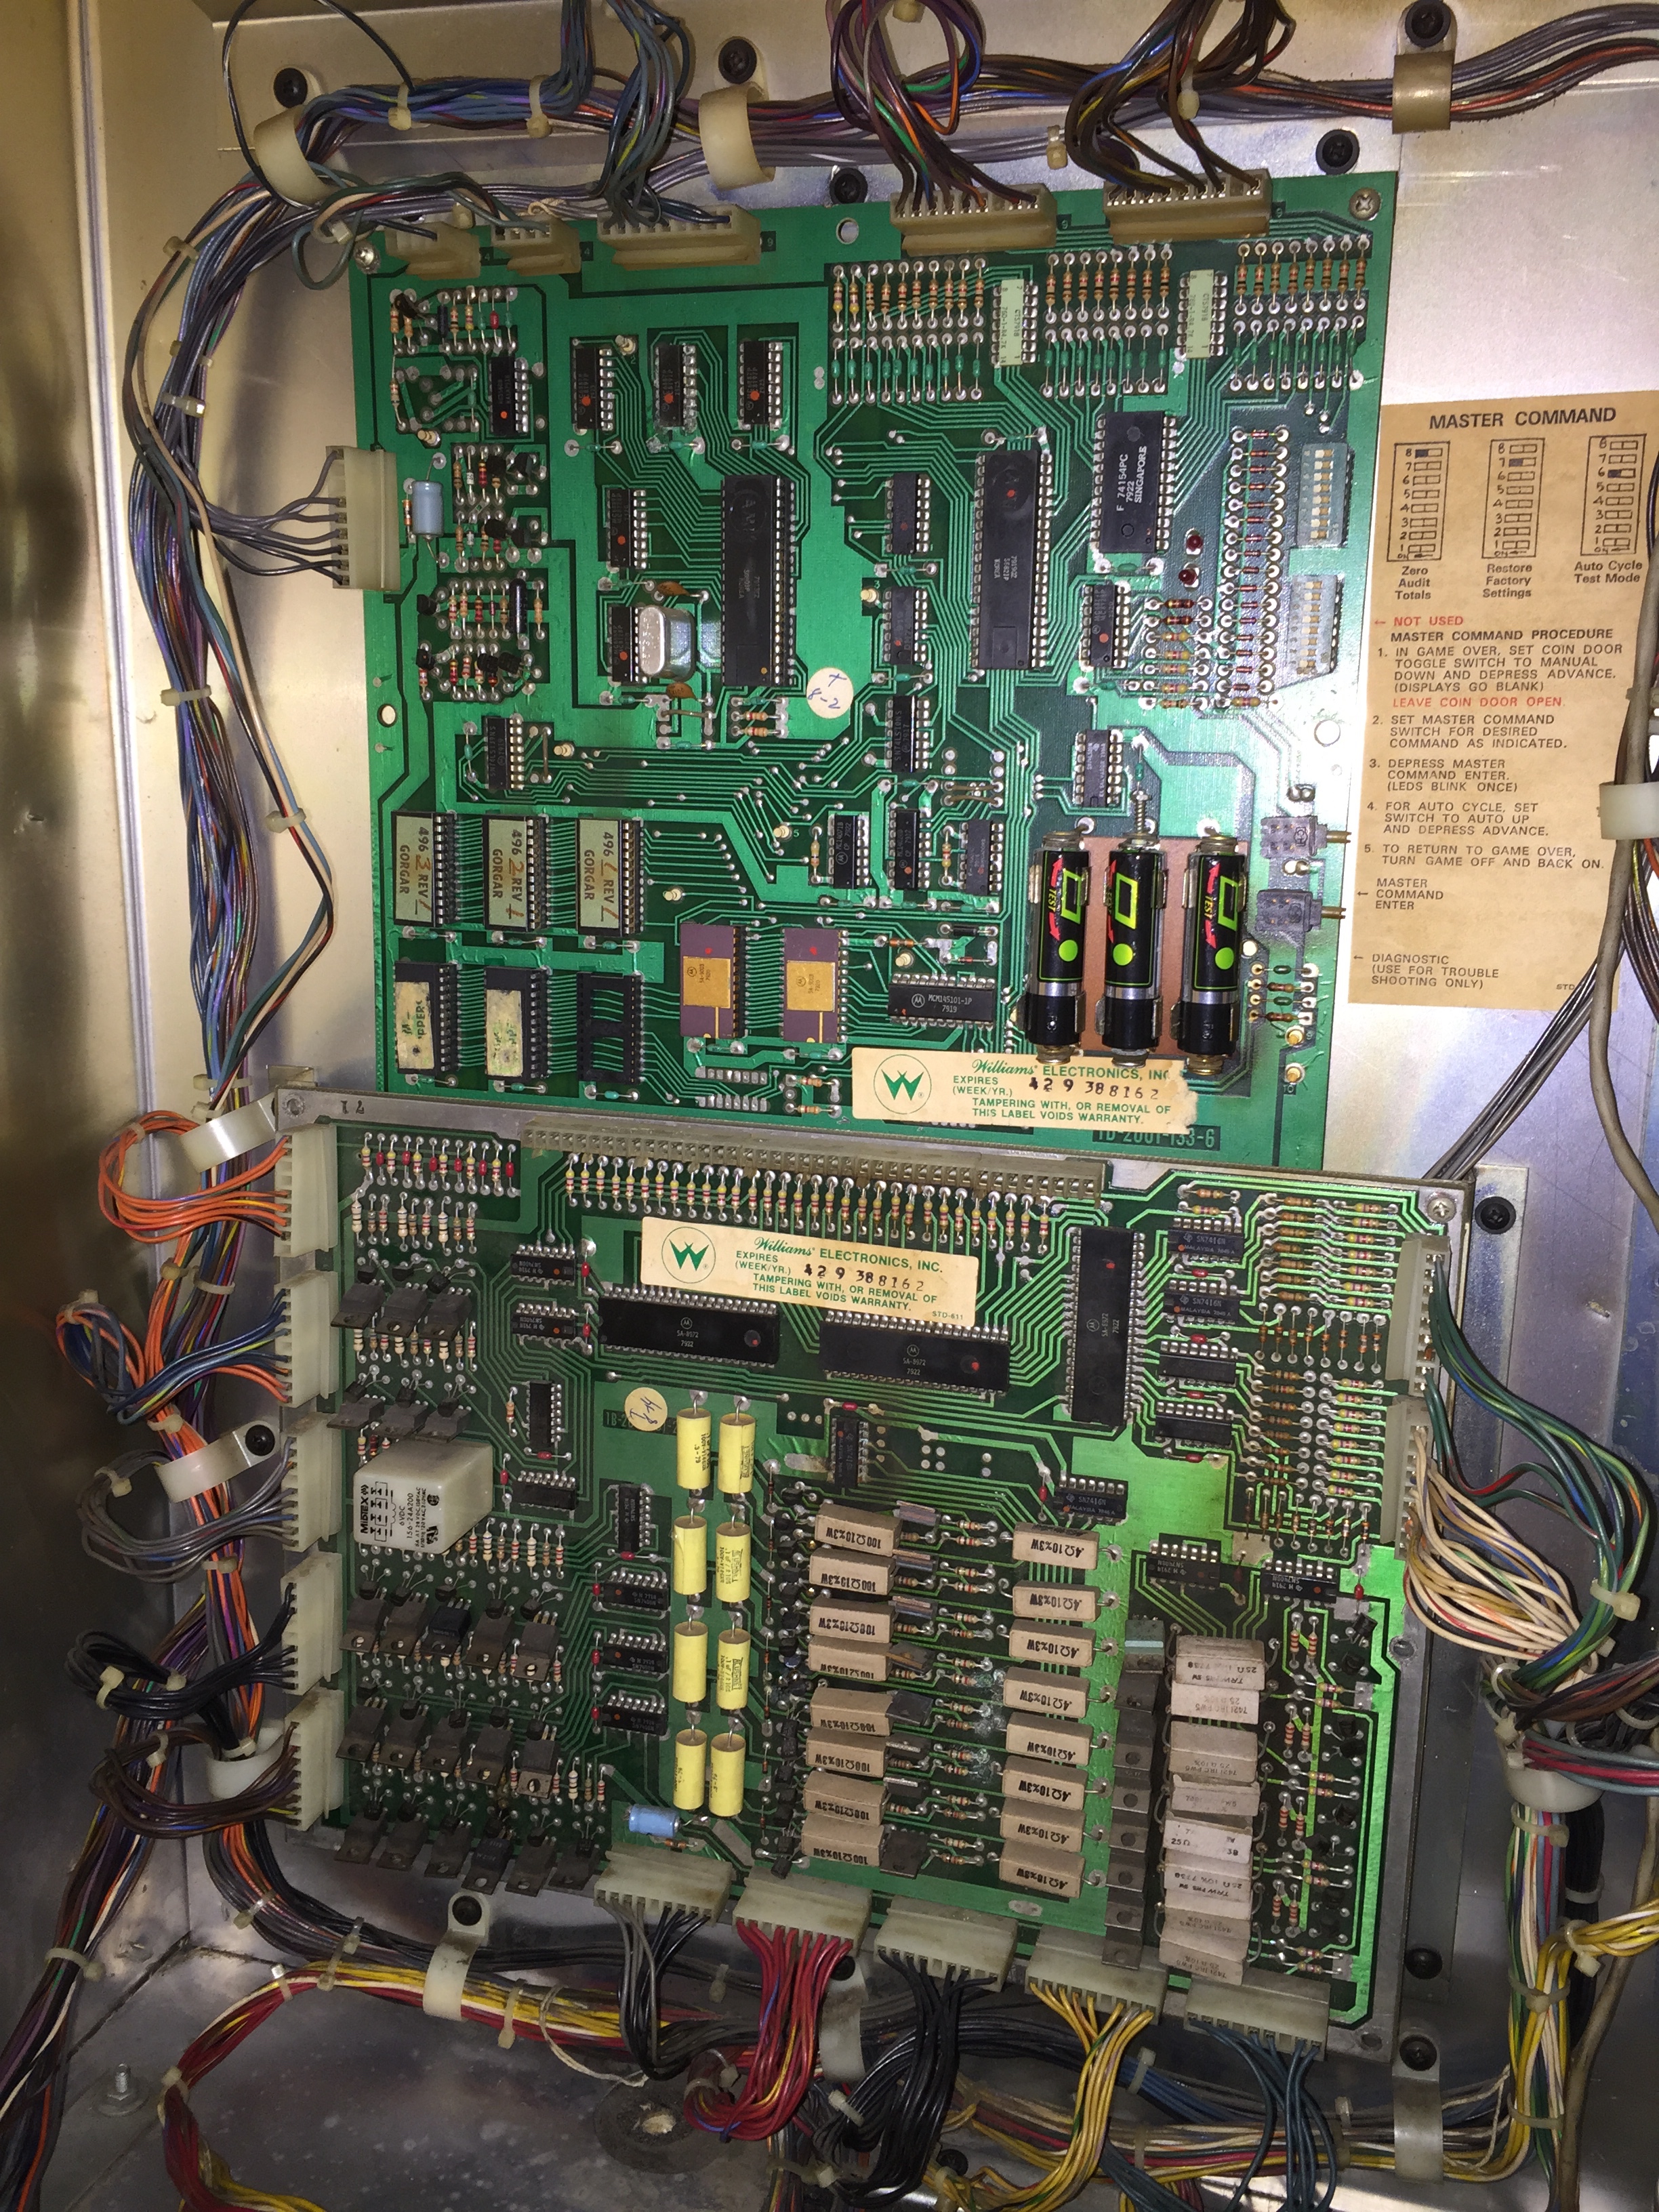
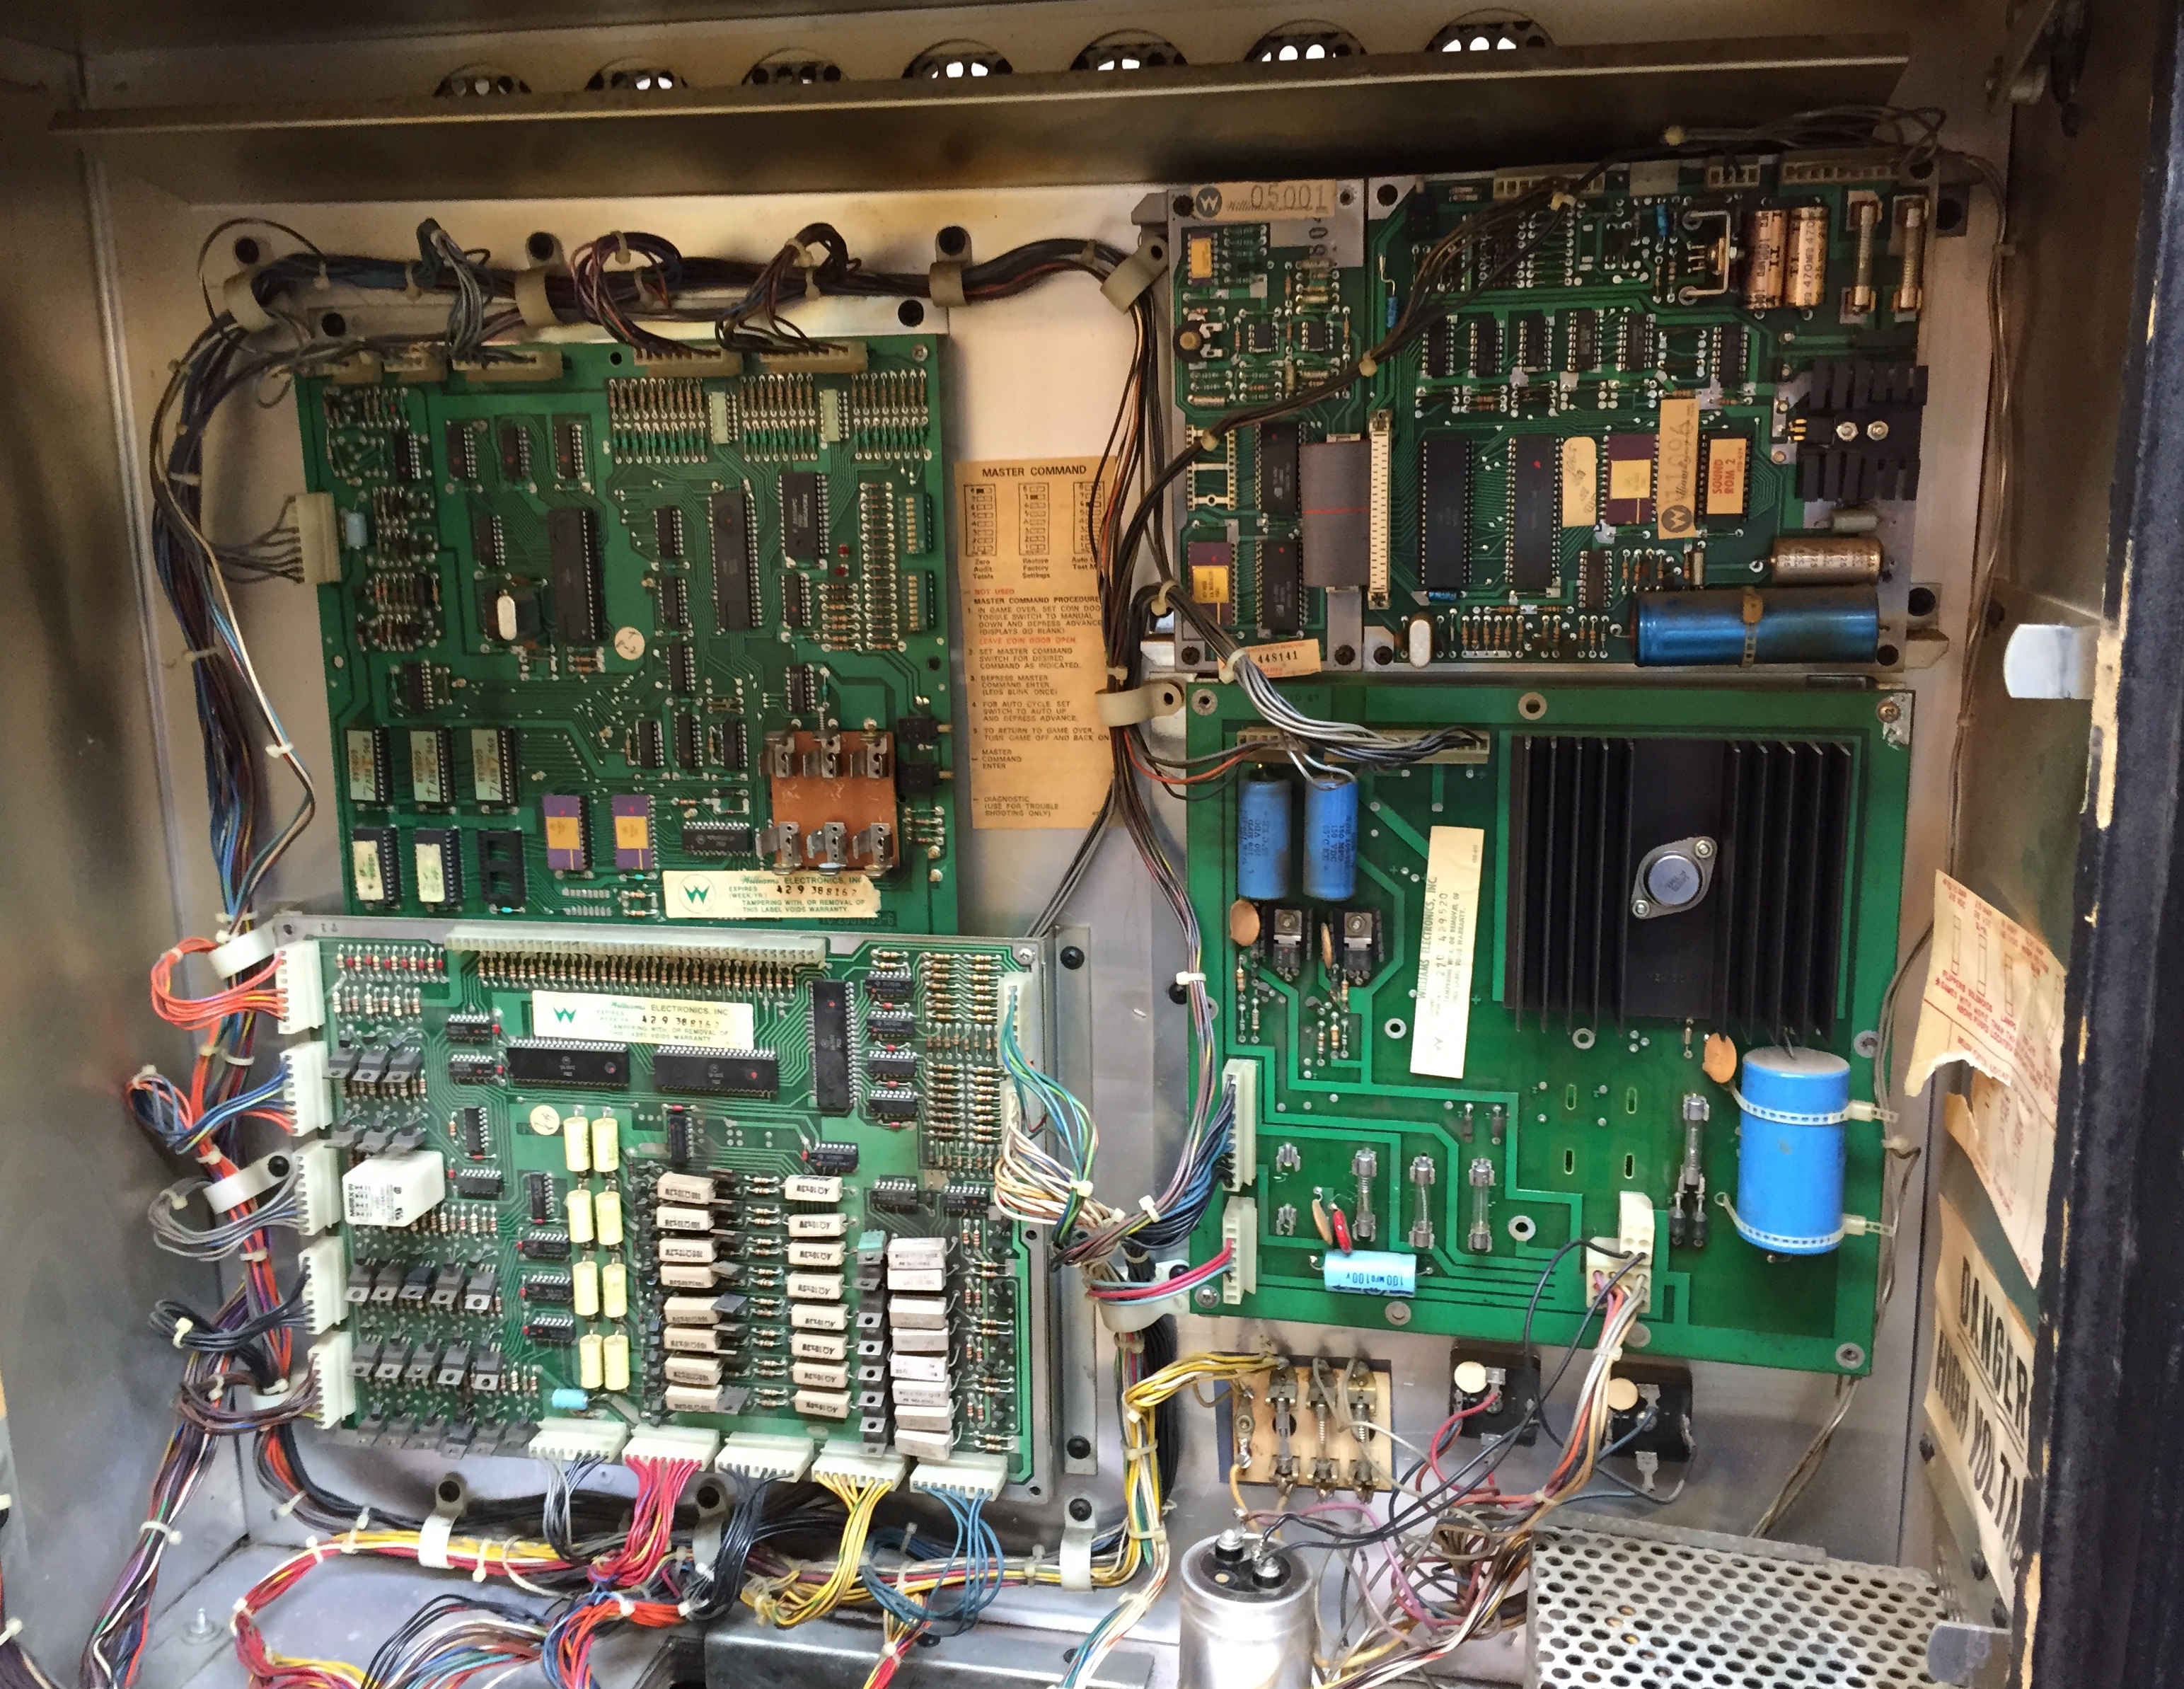
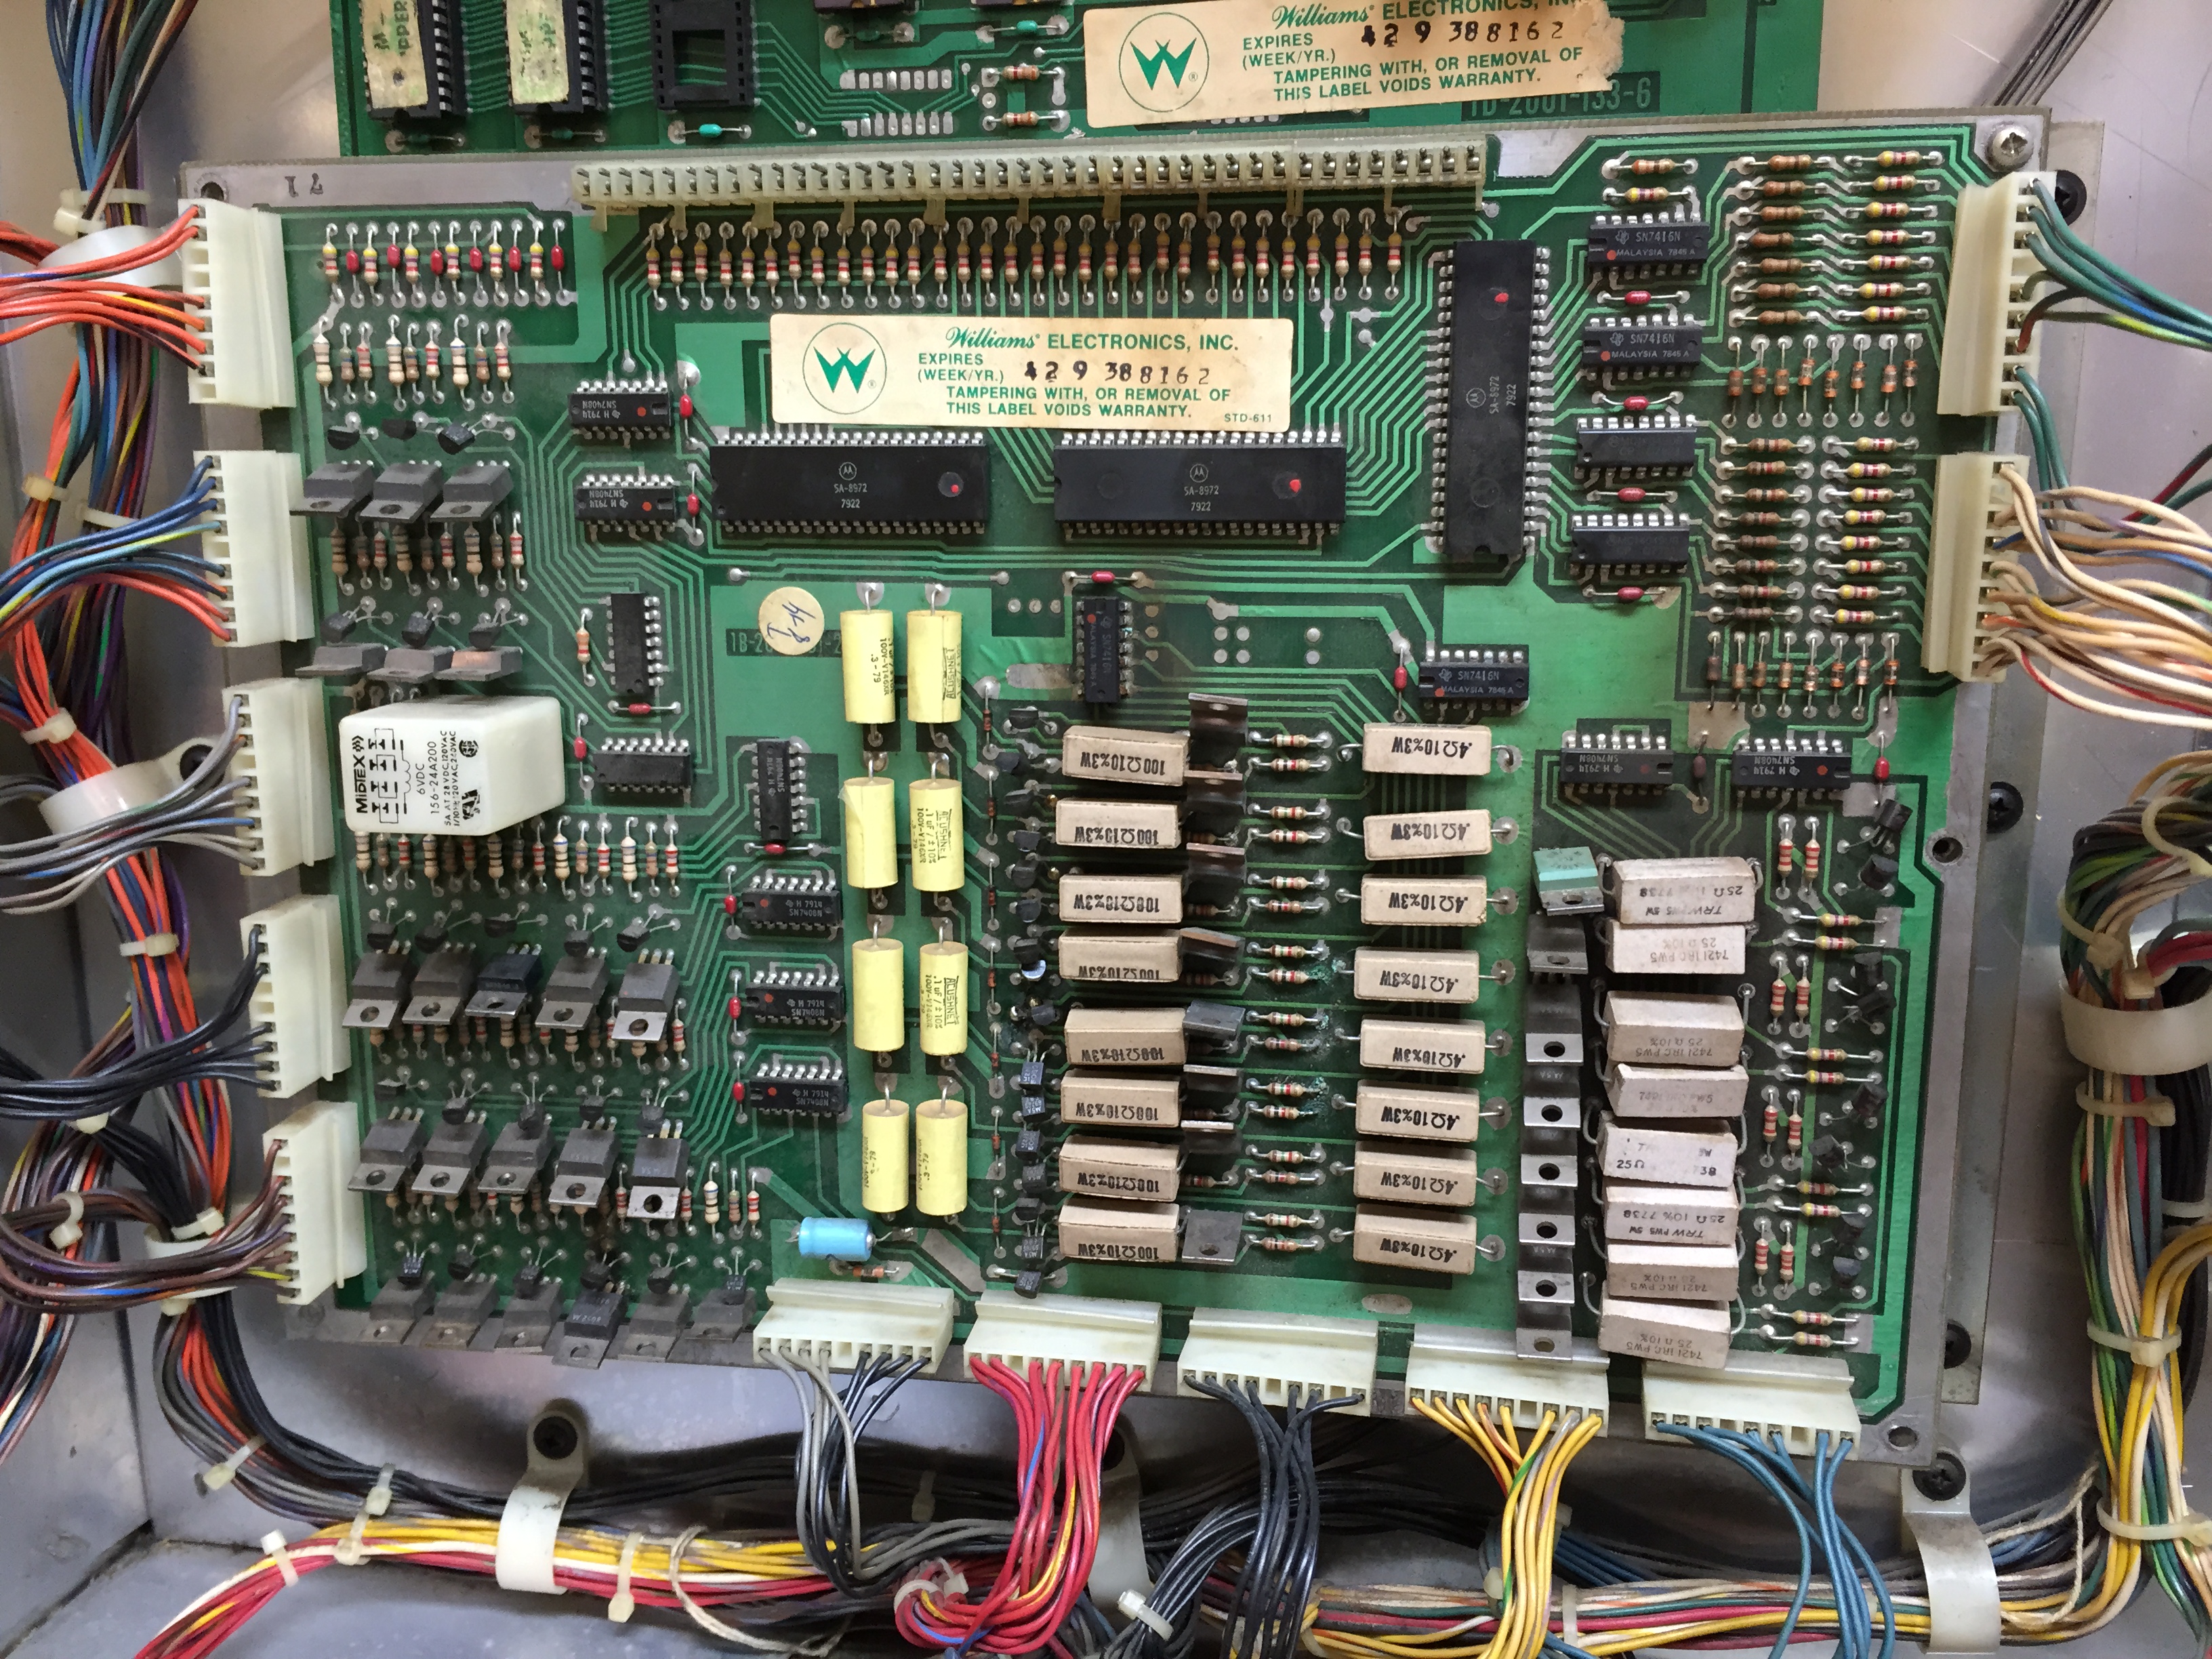
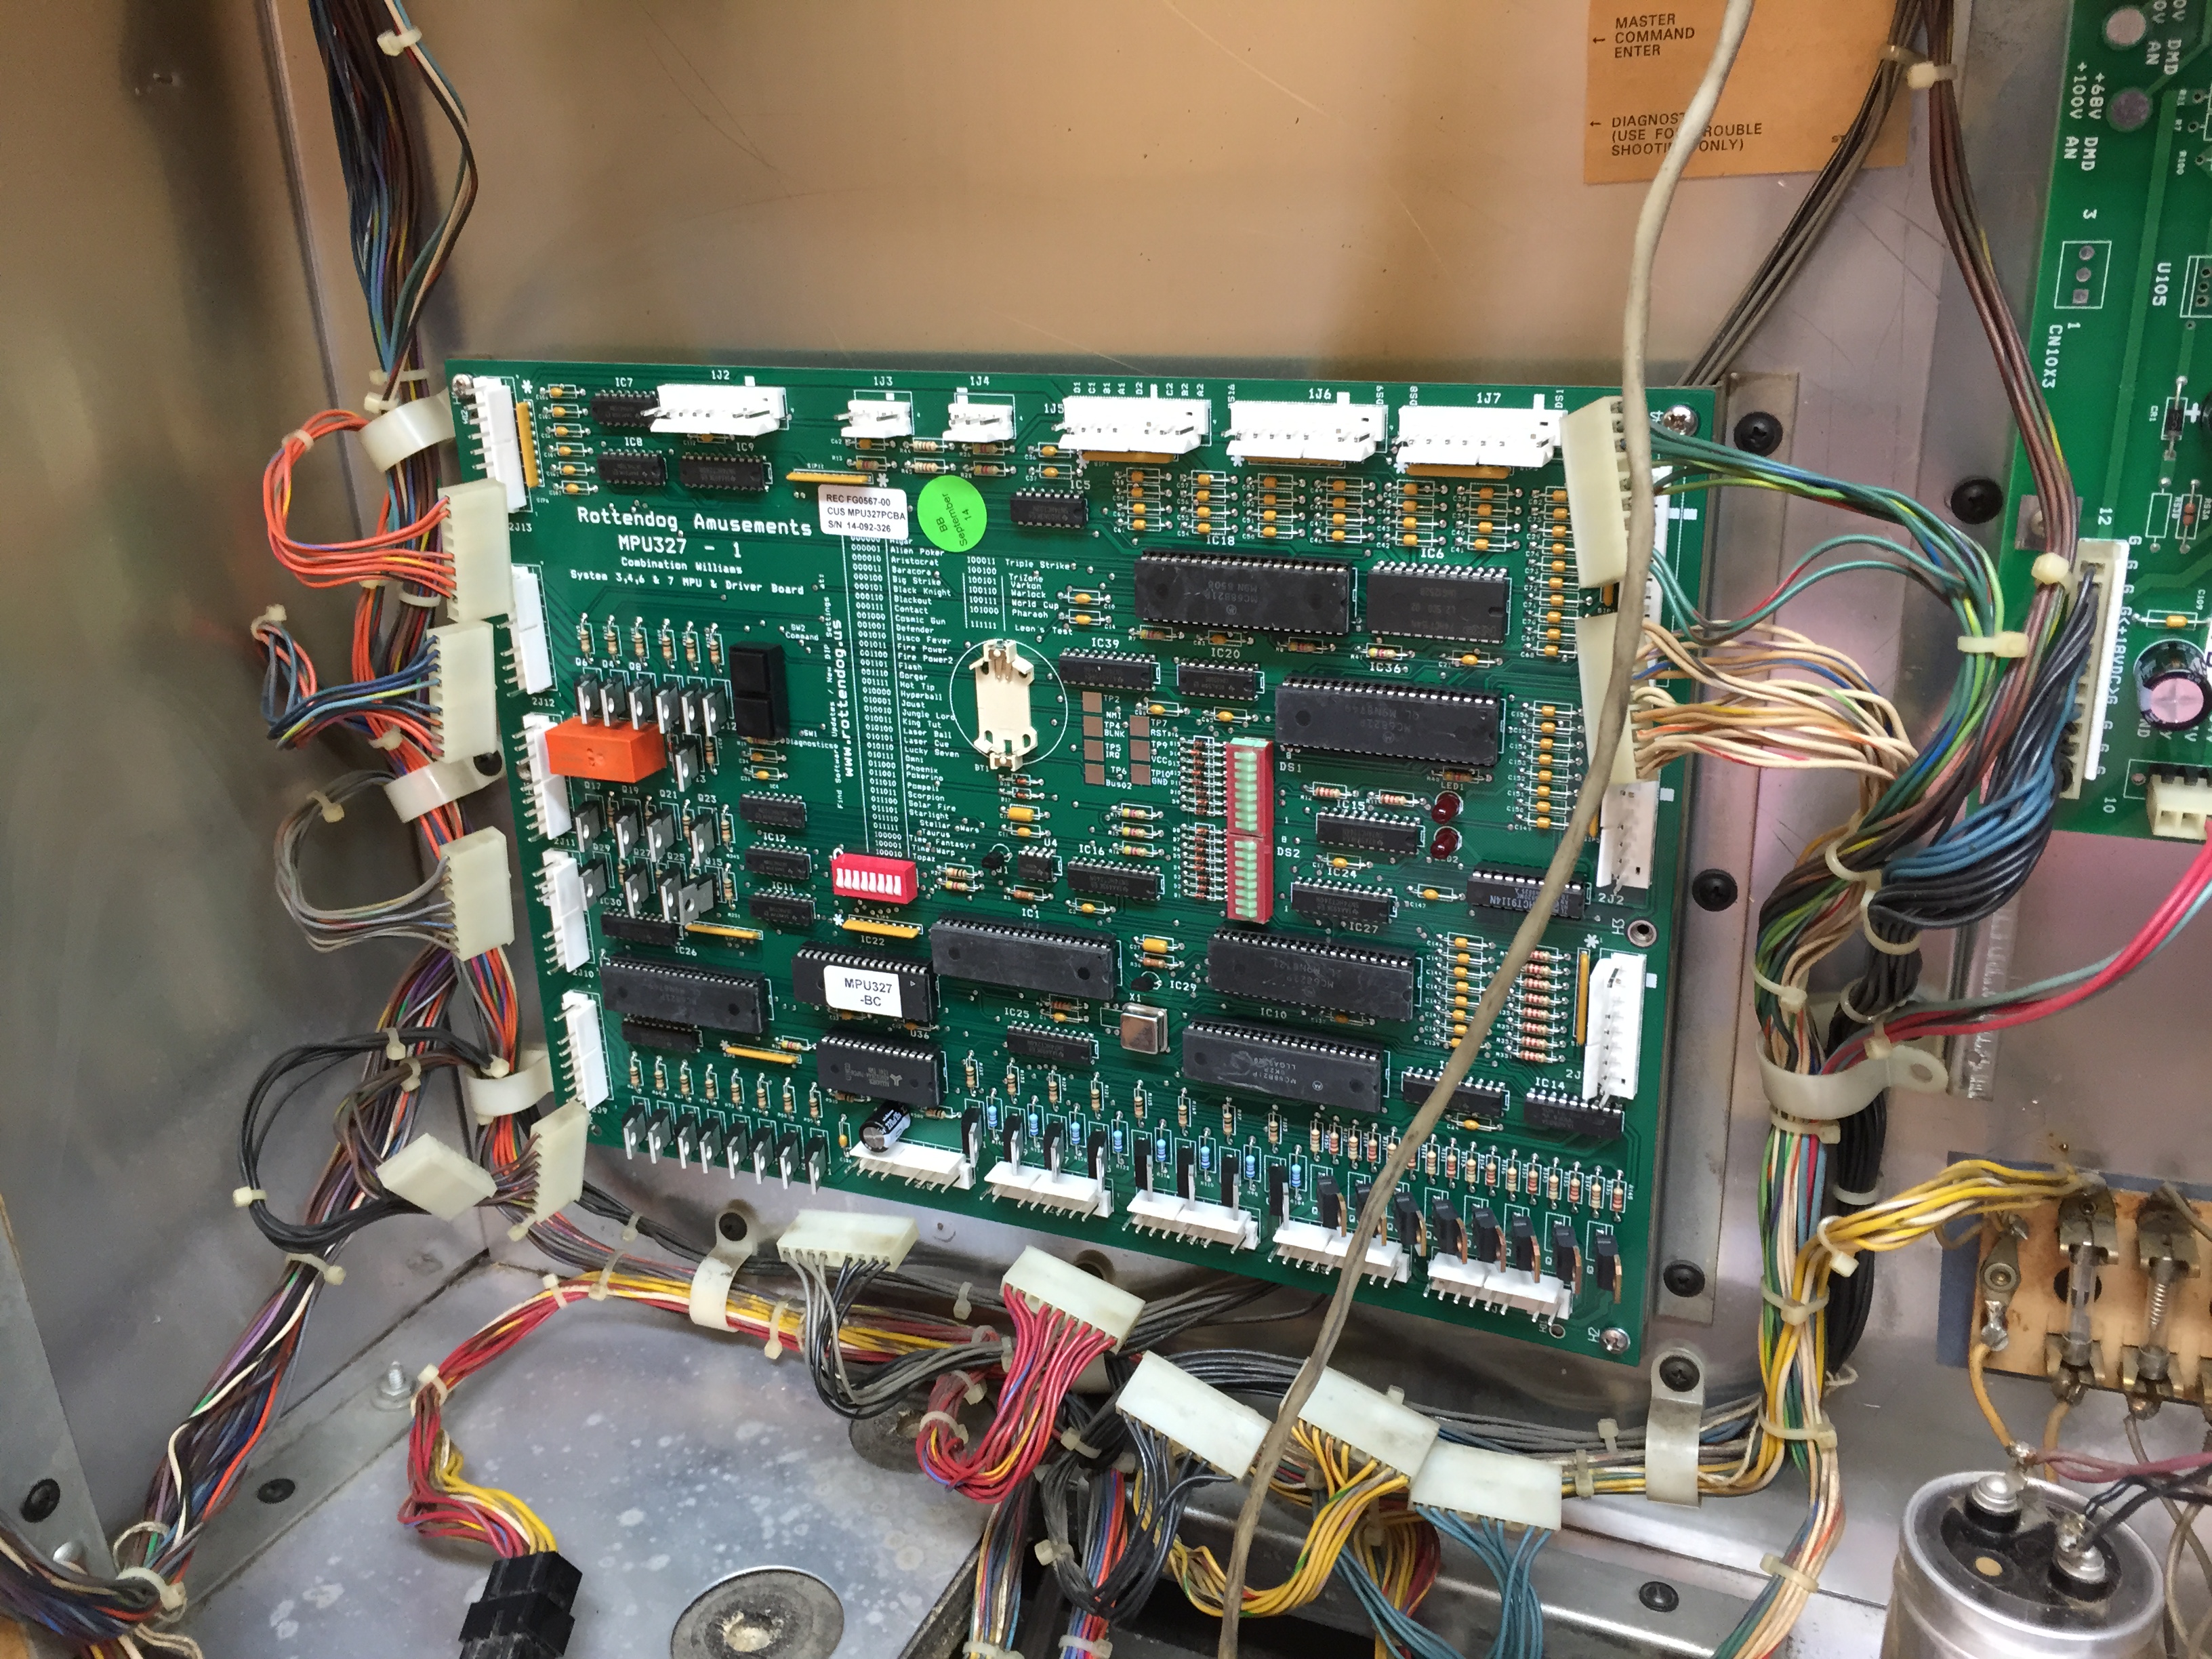
The boards are in pretty decent shape. They don’t look hacked up, but wouldn’t boot. Since I’m doing this restore for a friend, I decided to order Rottendog replacement parts from Big Daddy for the MPU/Driver, and Displays. I also ordered a Kohut sound/speech board. These boards will really make this 45 year old machine much more reliable (at least I hope so).
Replacing the MPU/Driver Boards
Rottendog’s MPU/Driver replacement board is a single board that replaces the original MPU and Driver. You have to remove the old boards, remove the center bracket that supports the 40 pin interconnect, mount the board where the old driver board went, and then remove the top wires that went to the MPU from their wire guides so they can reach down to the top of the new MPU/Driver combo.
Before we start:
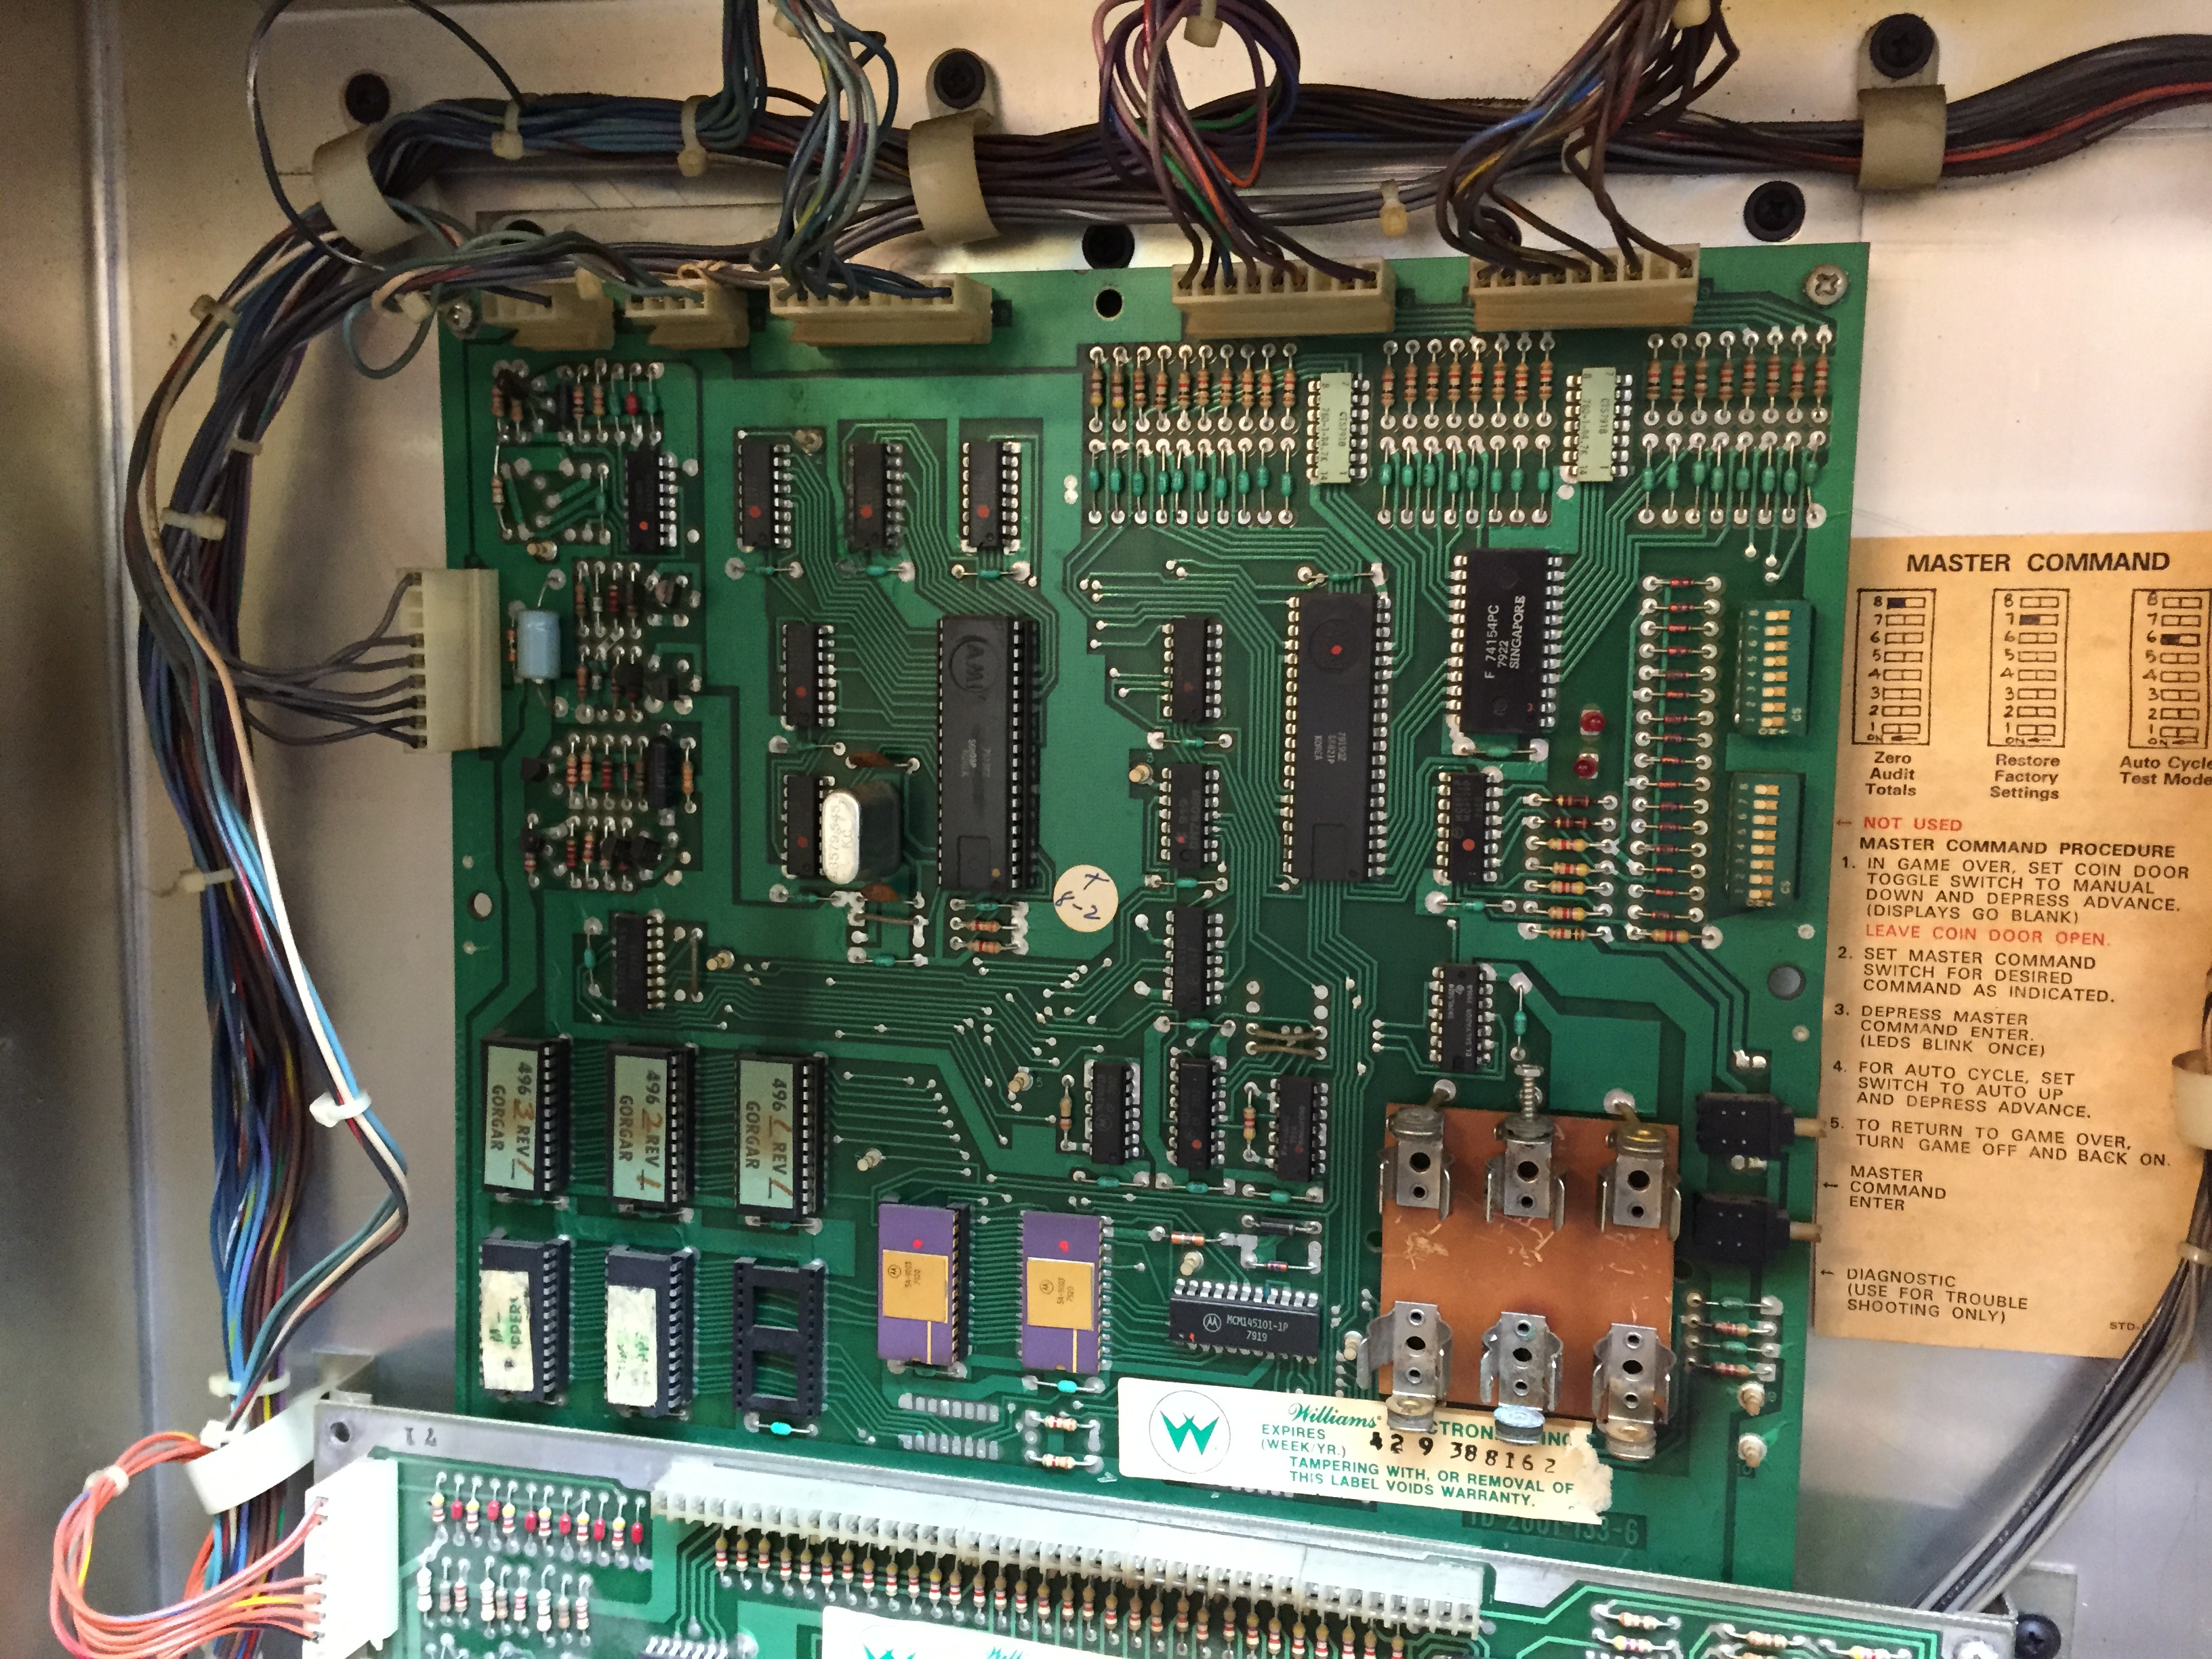
MPU
Driver
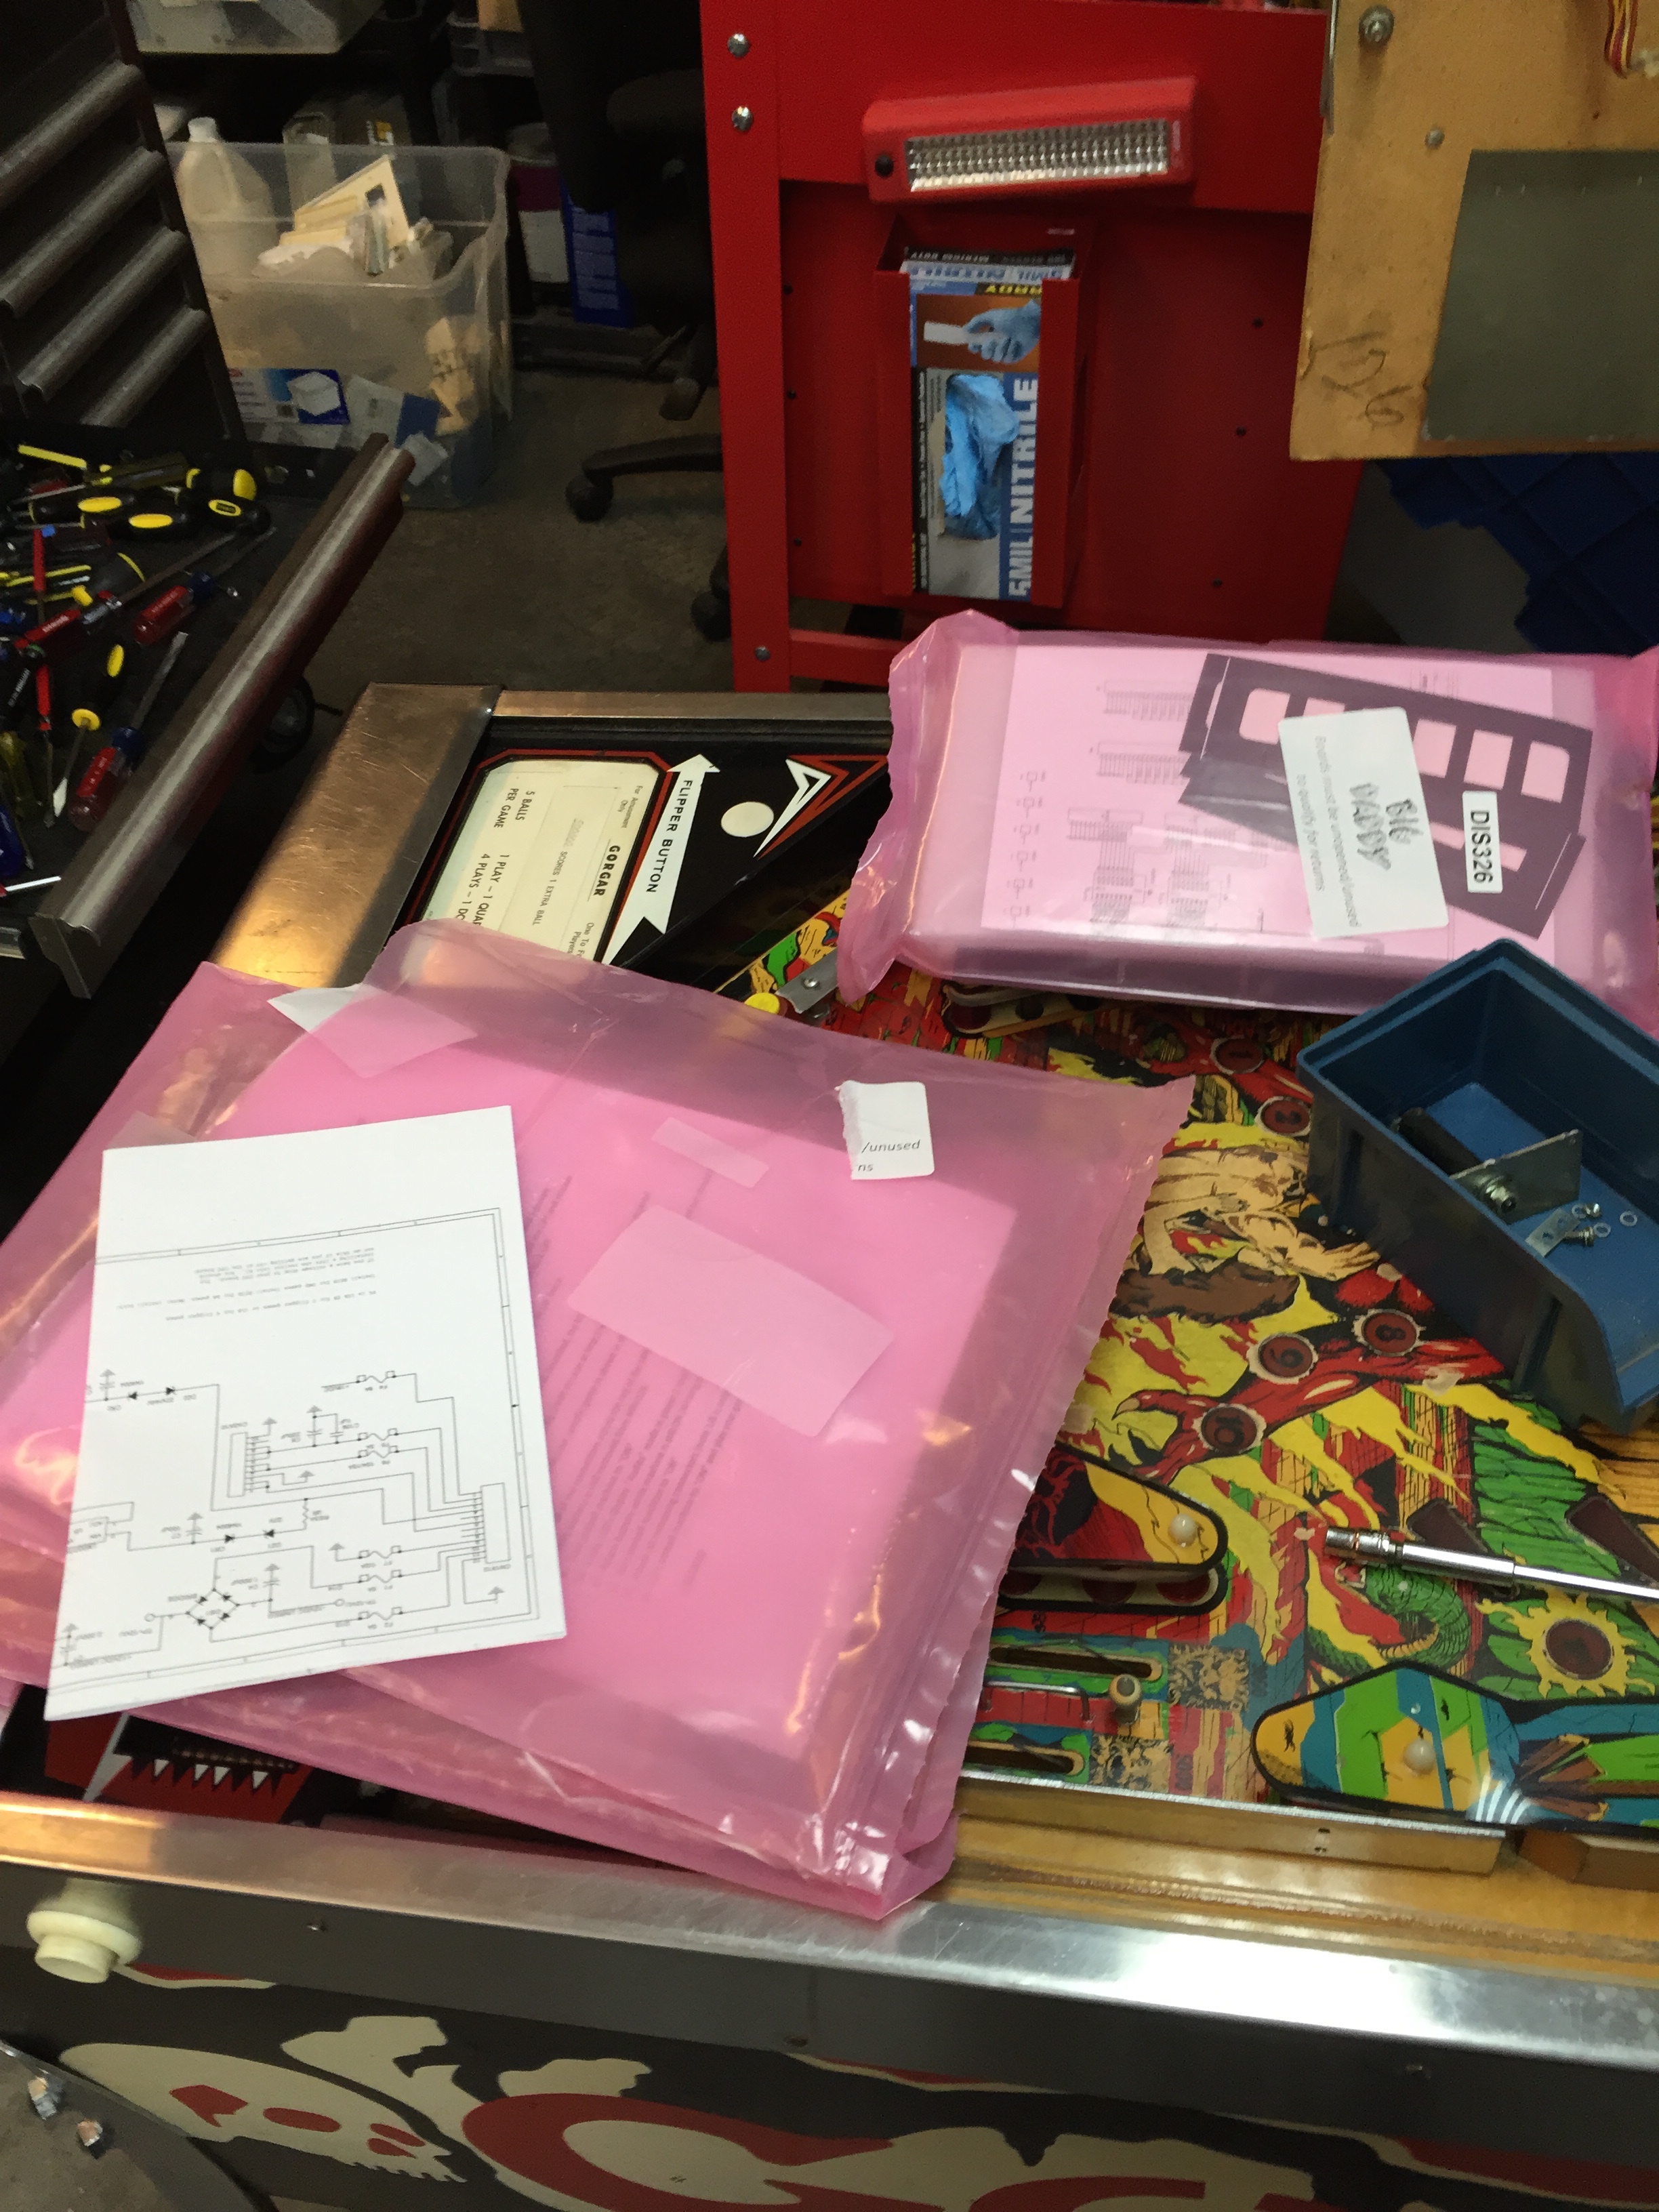
New boards in their packaging.
Old boards removed
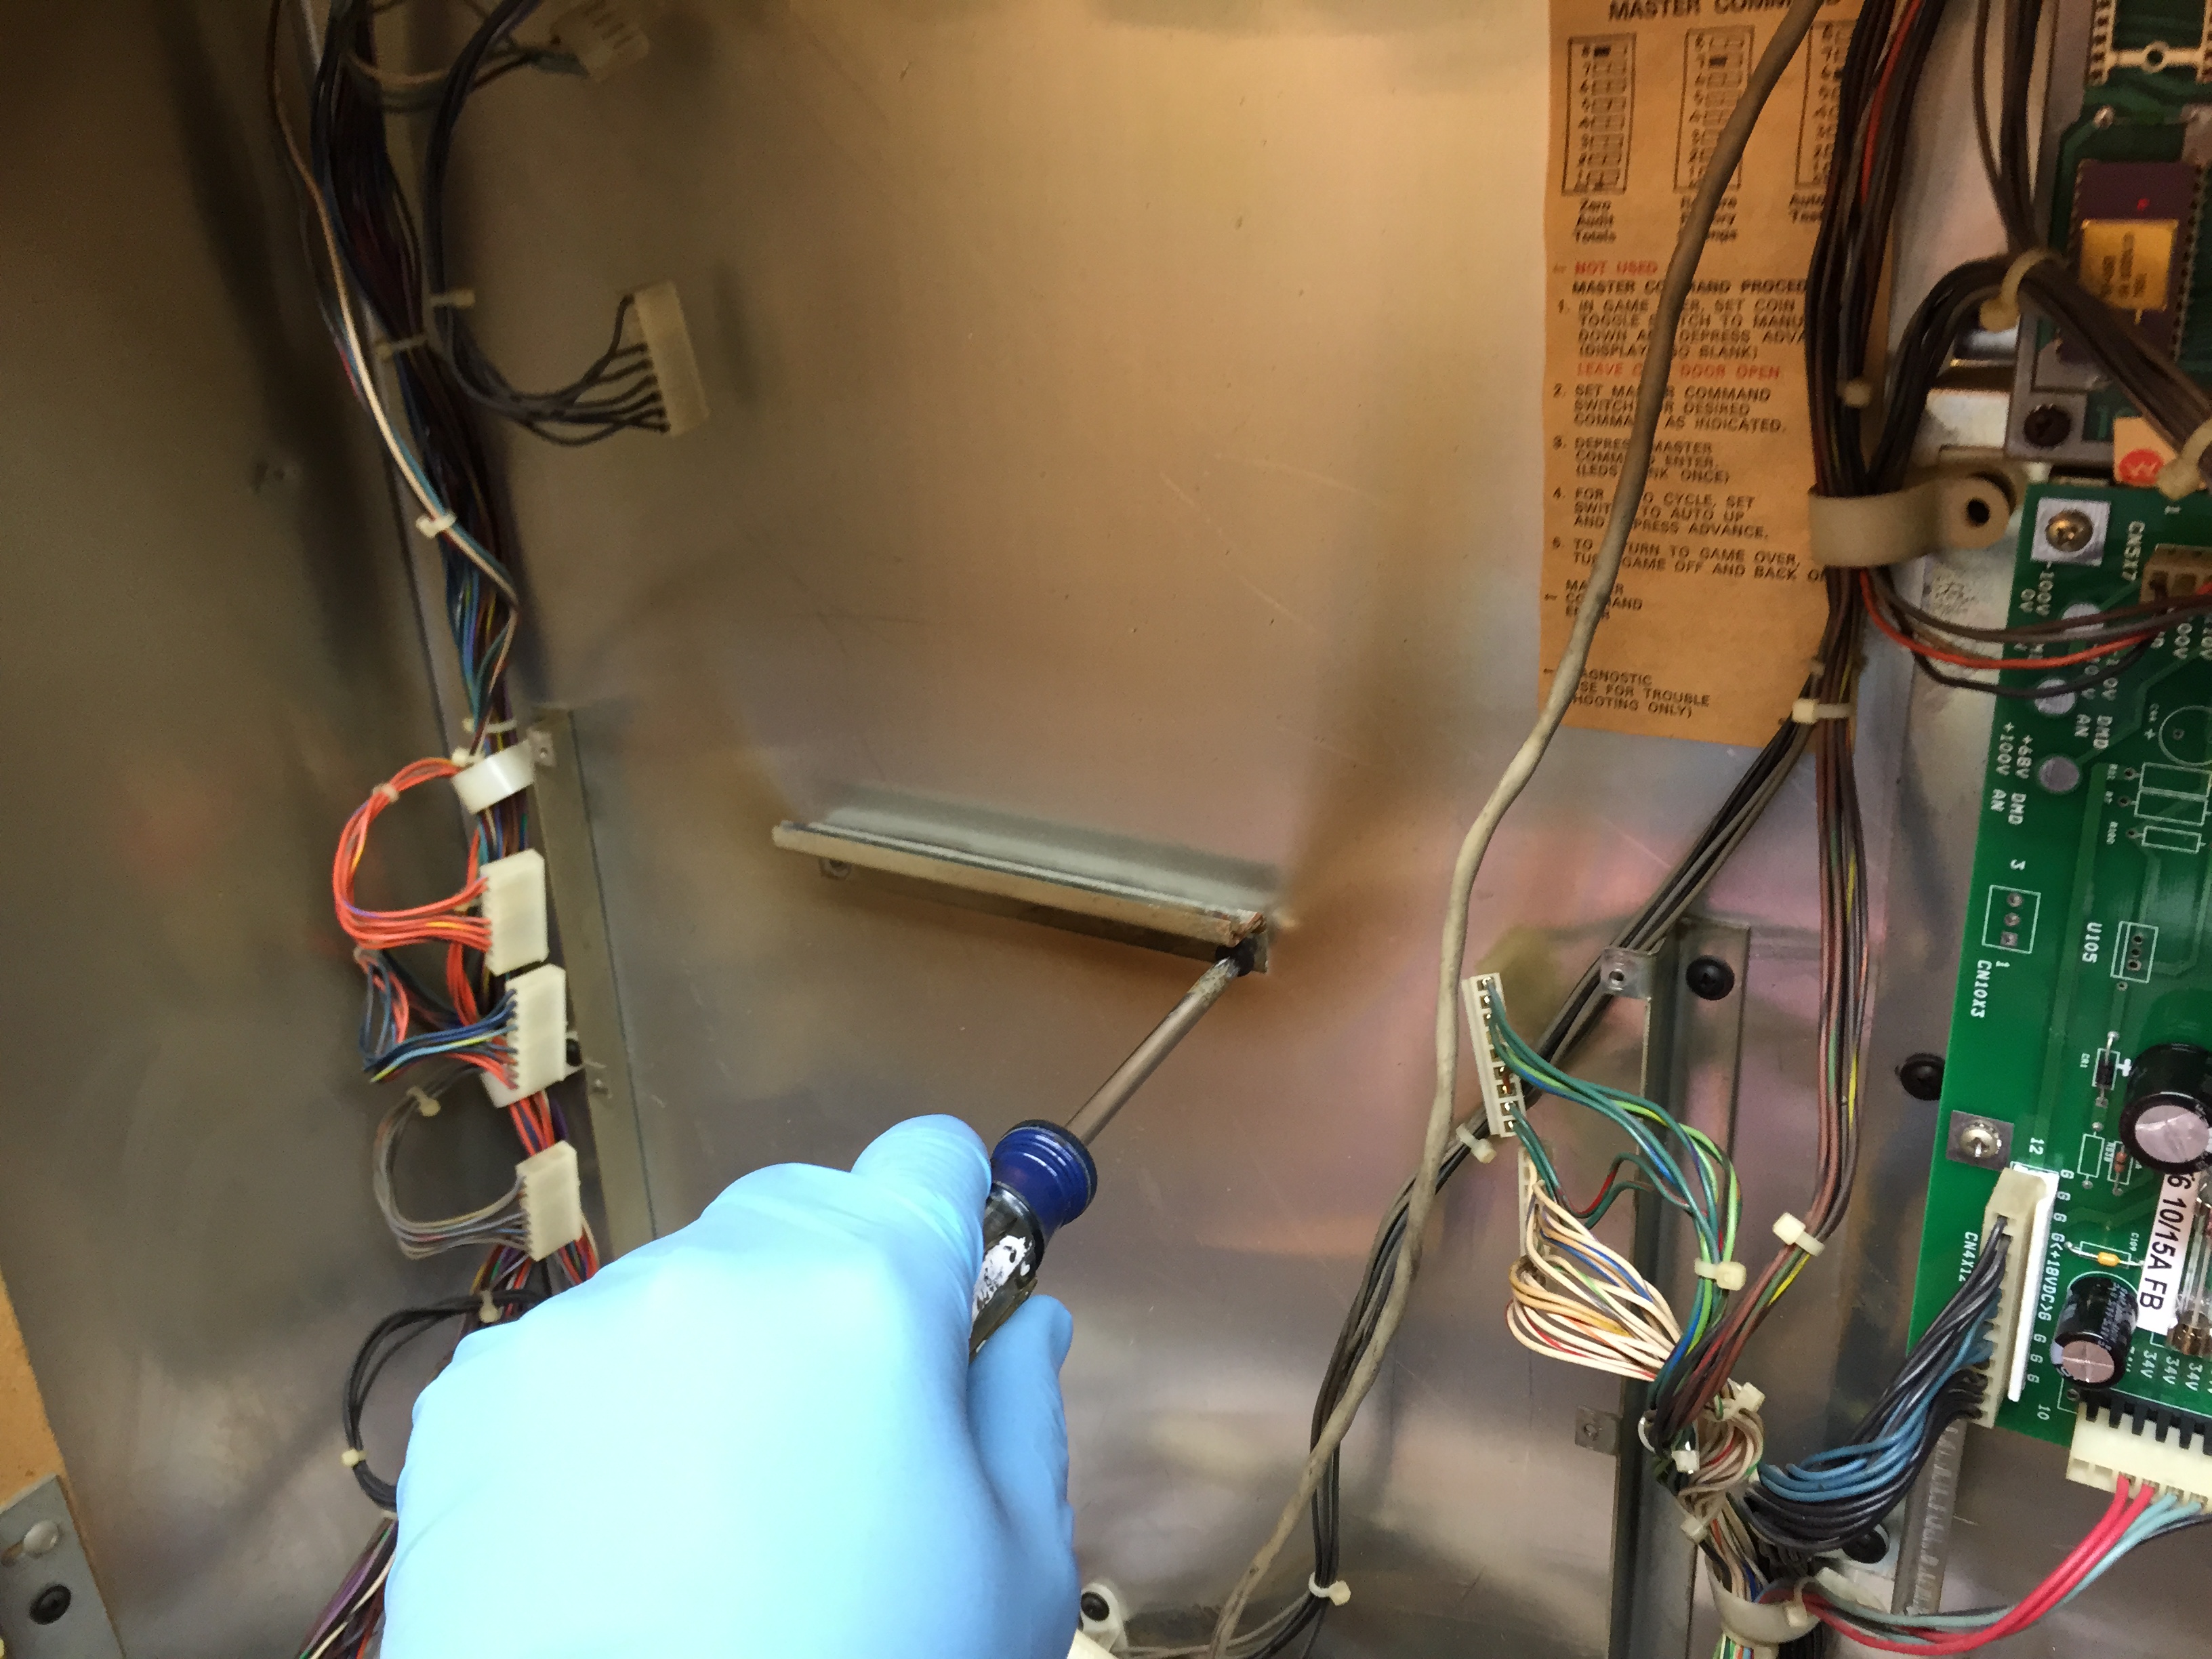
Removing center support bracket

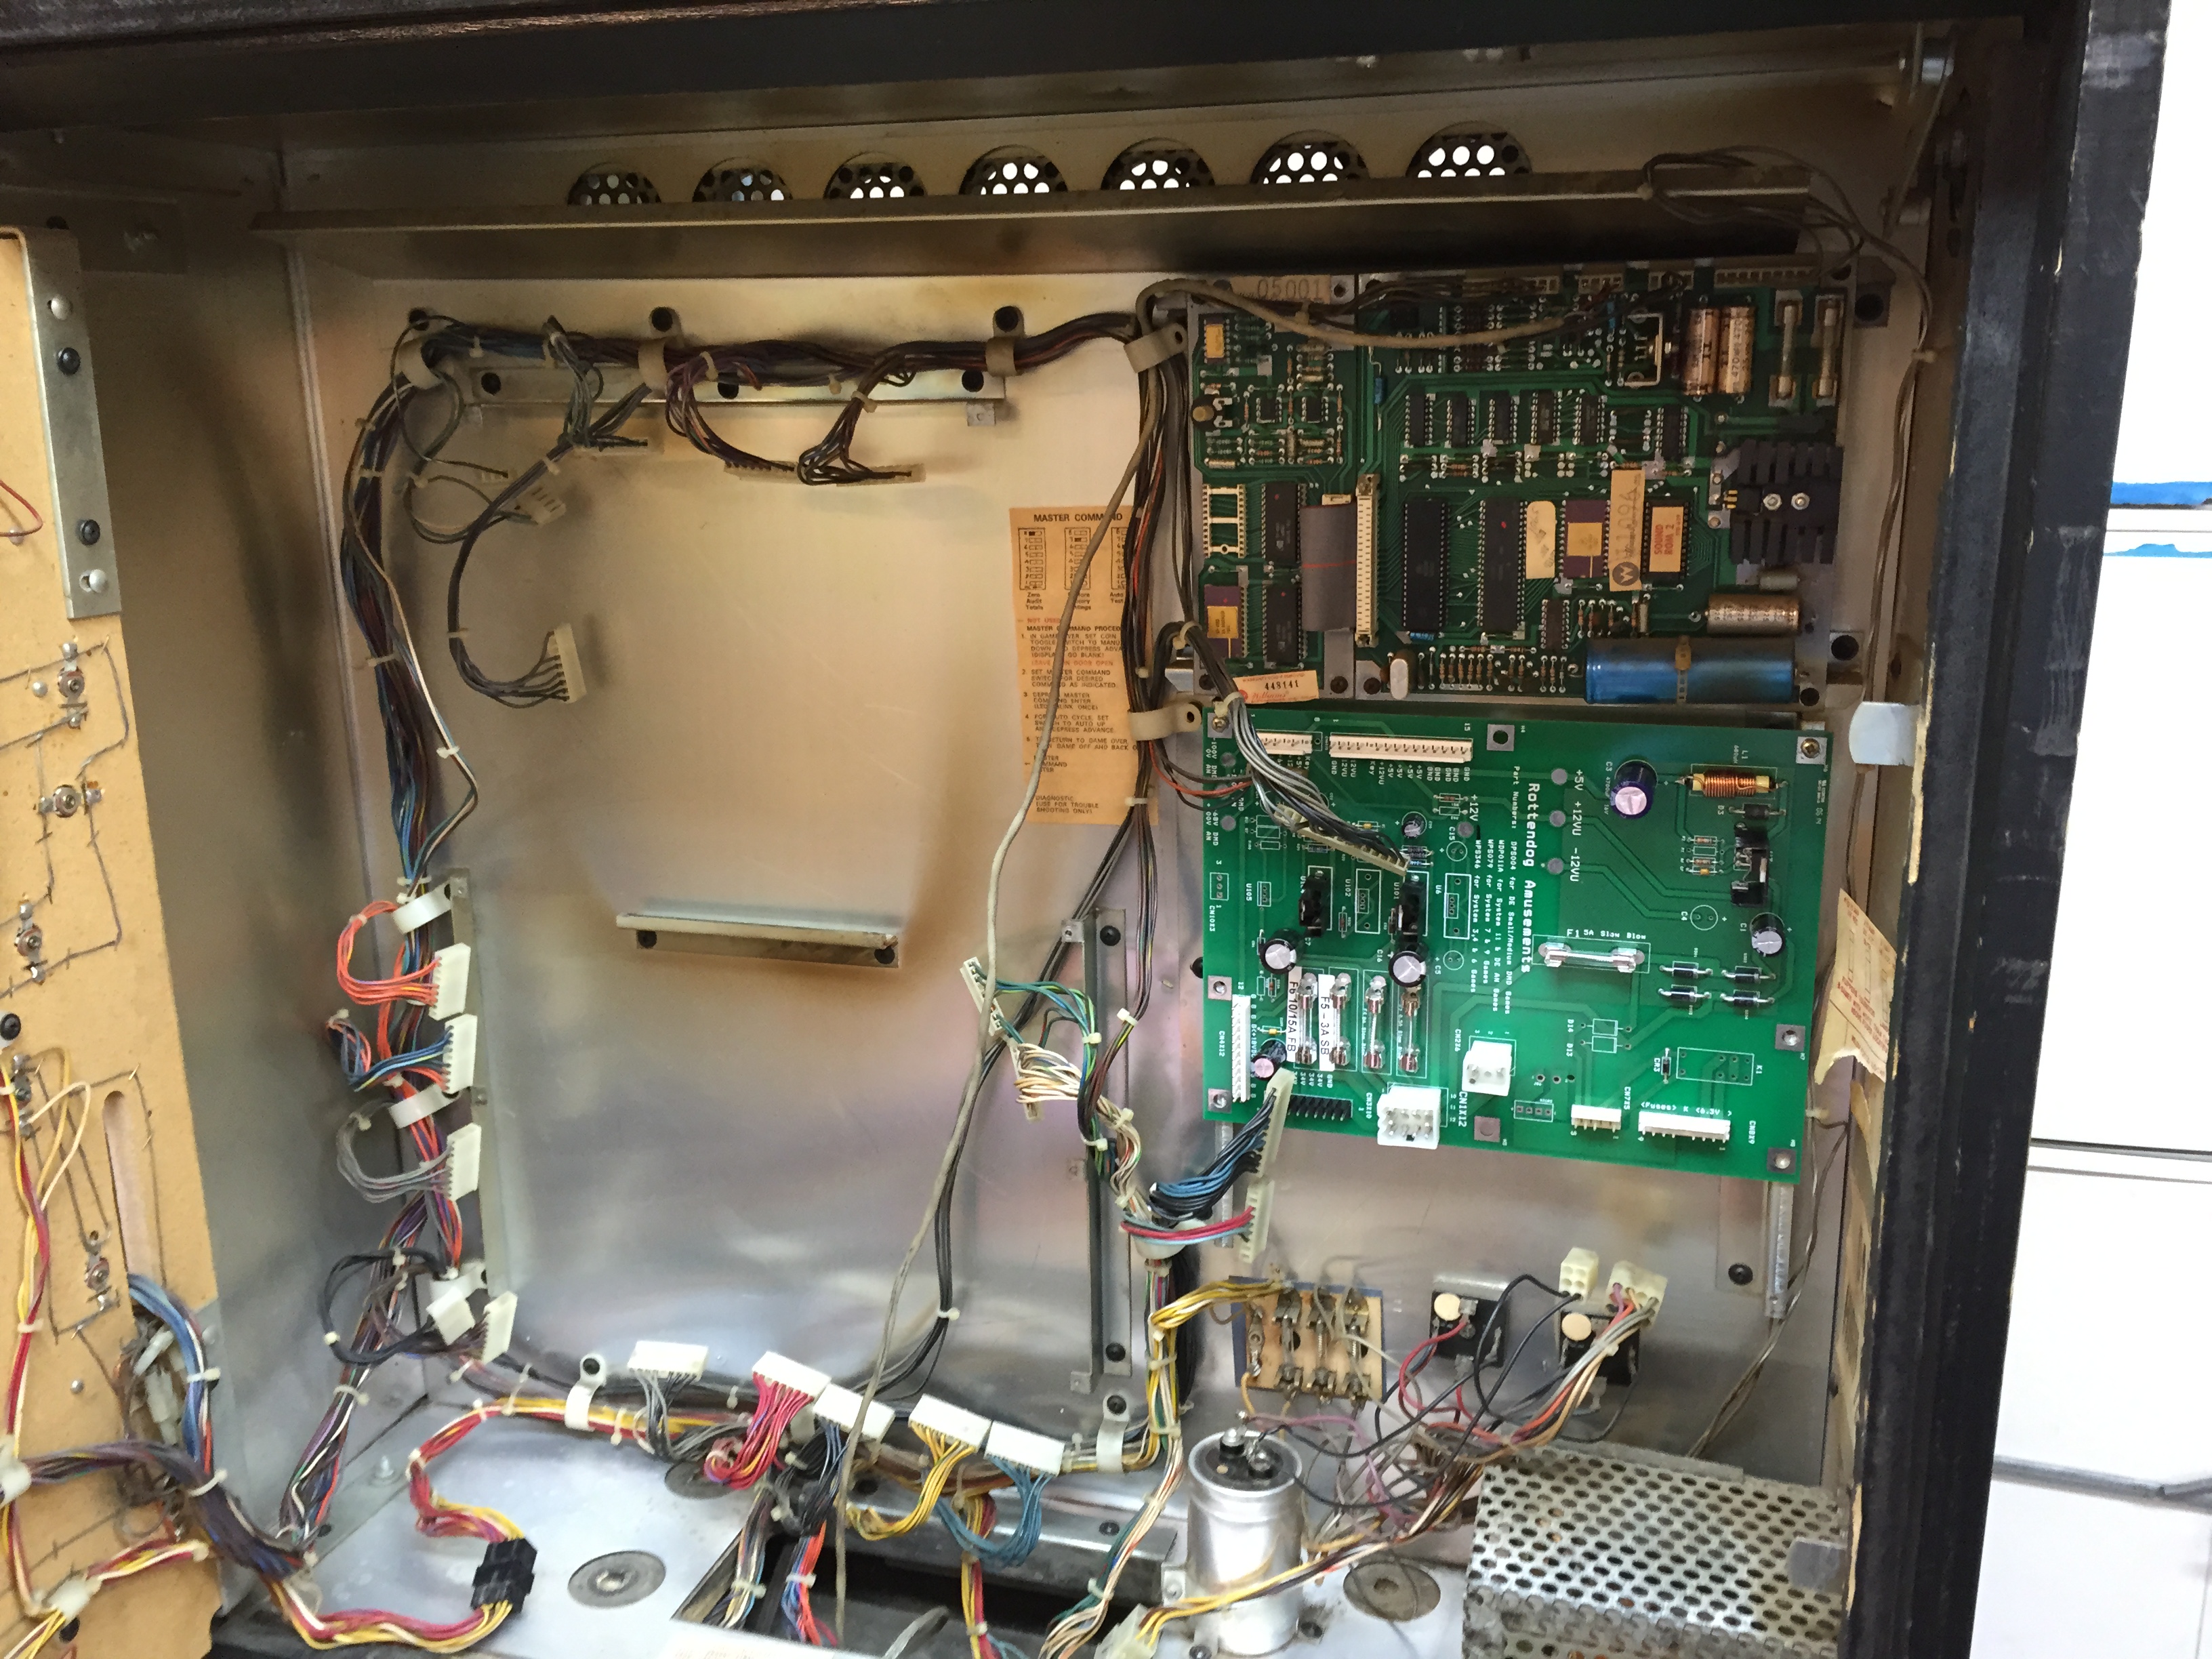
New board getting mounted where the driver used to go
Taking the connectors out of their wire guides so they can reach the top of the new MPU/Driver combo board 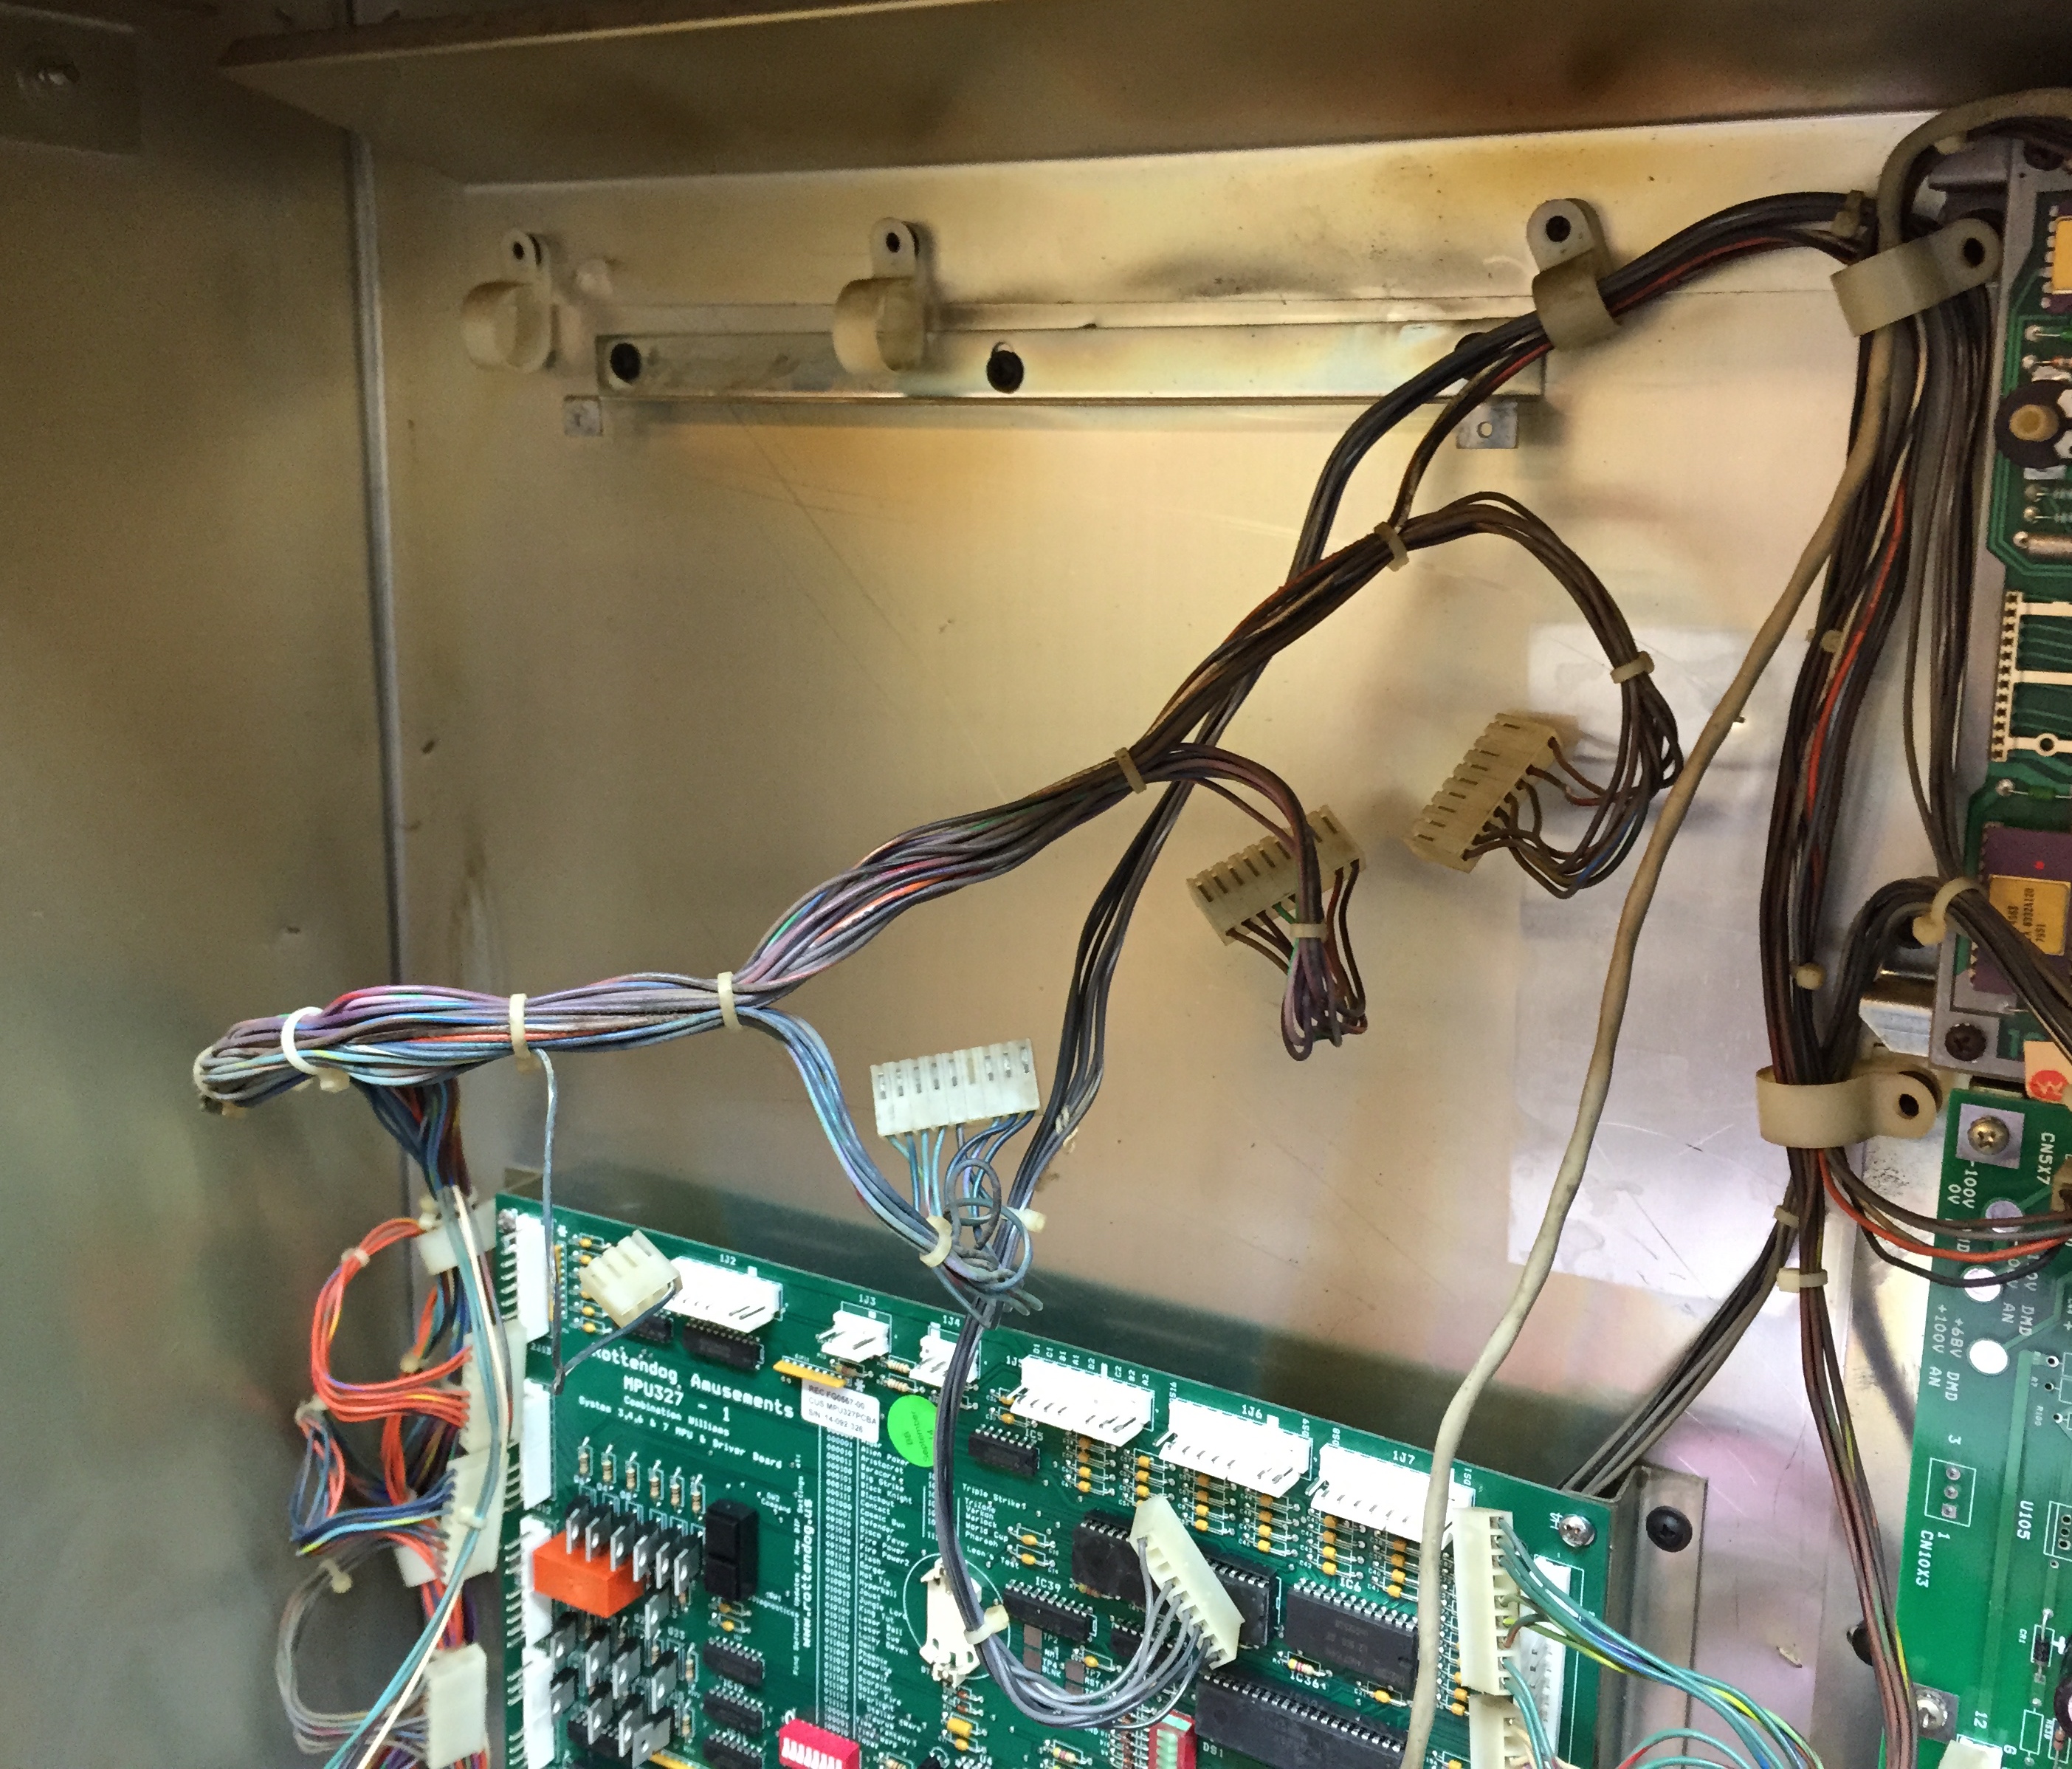
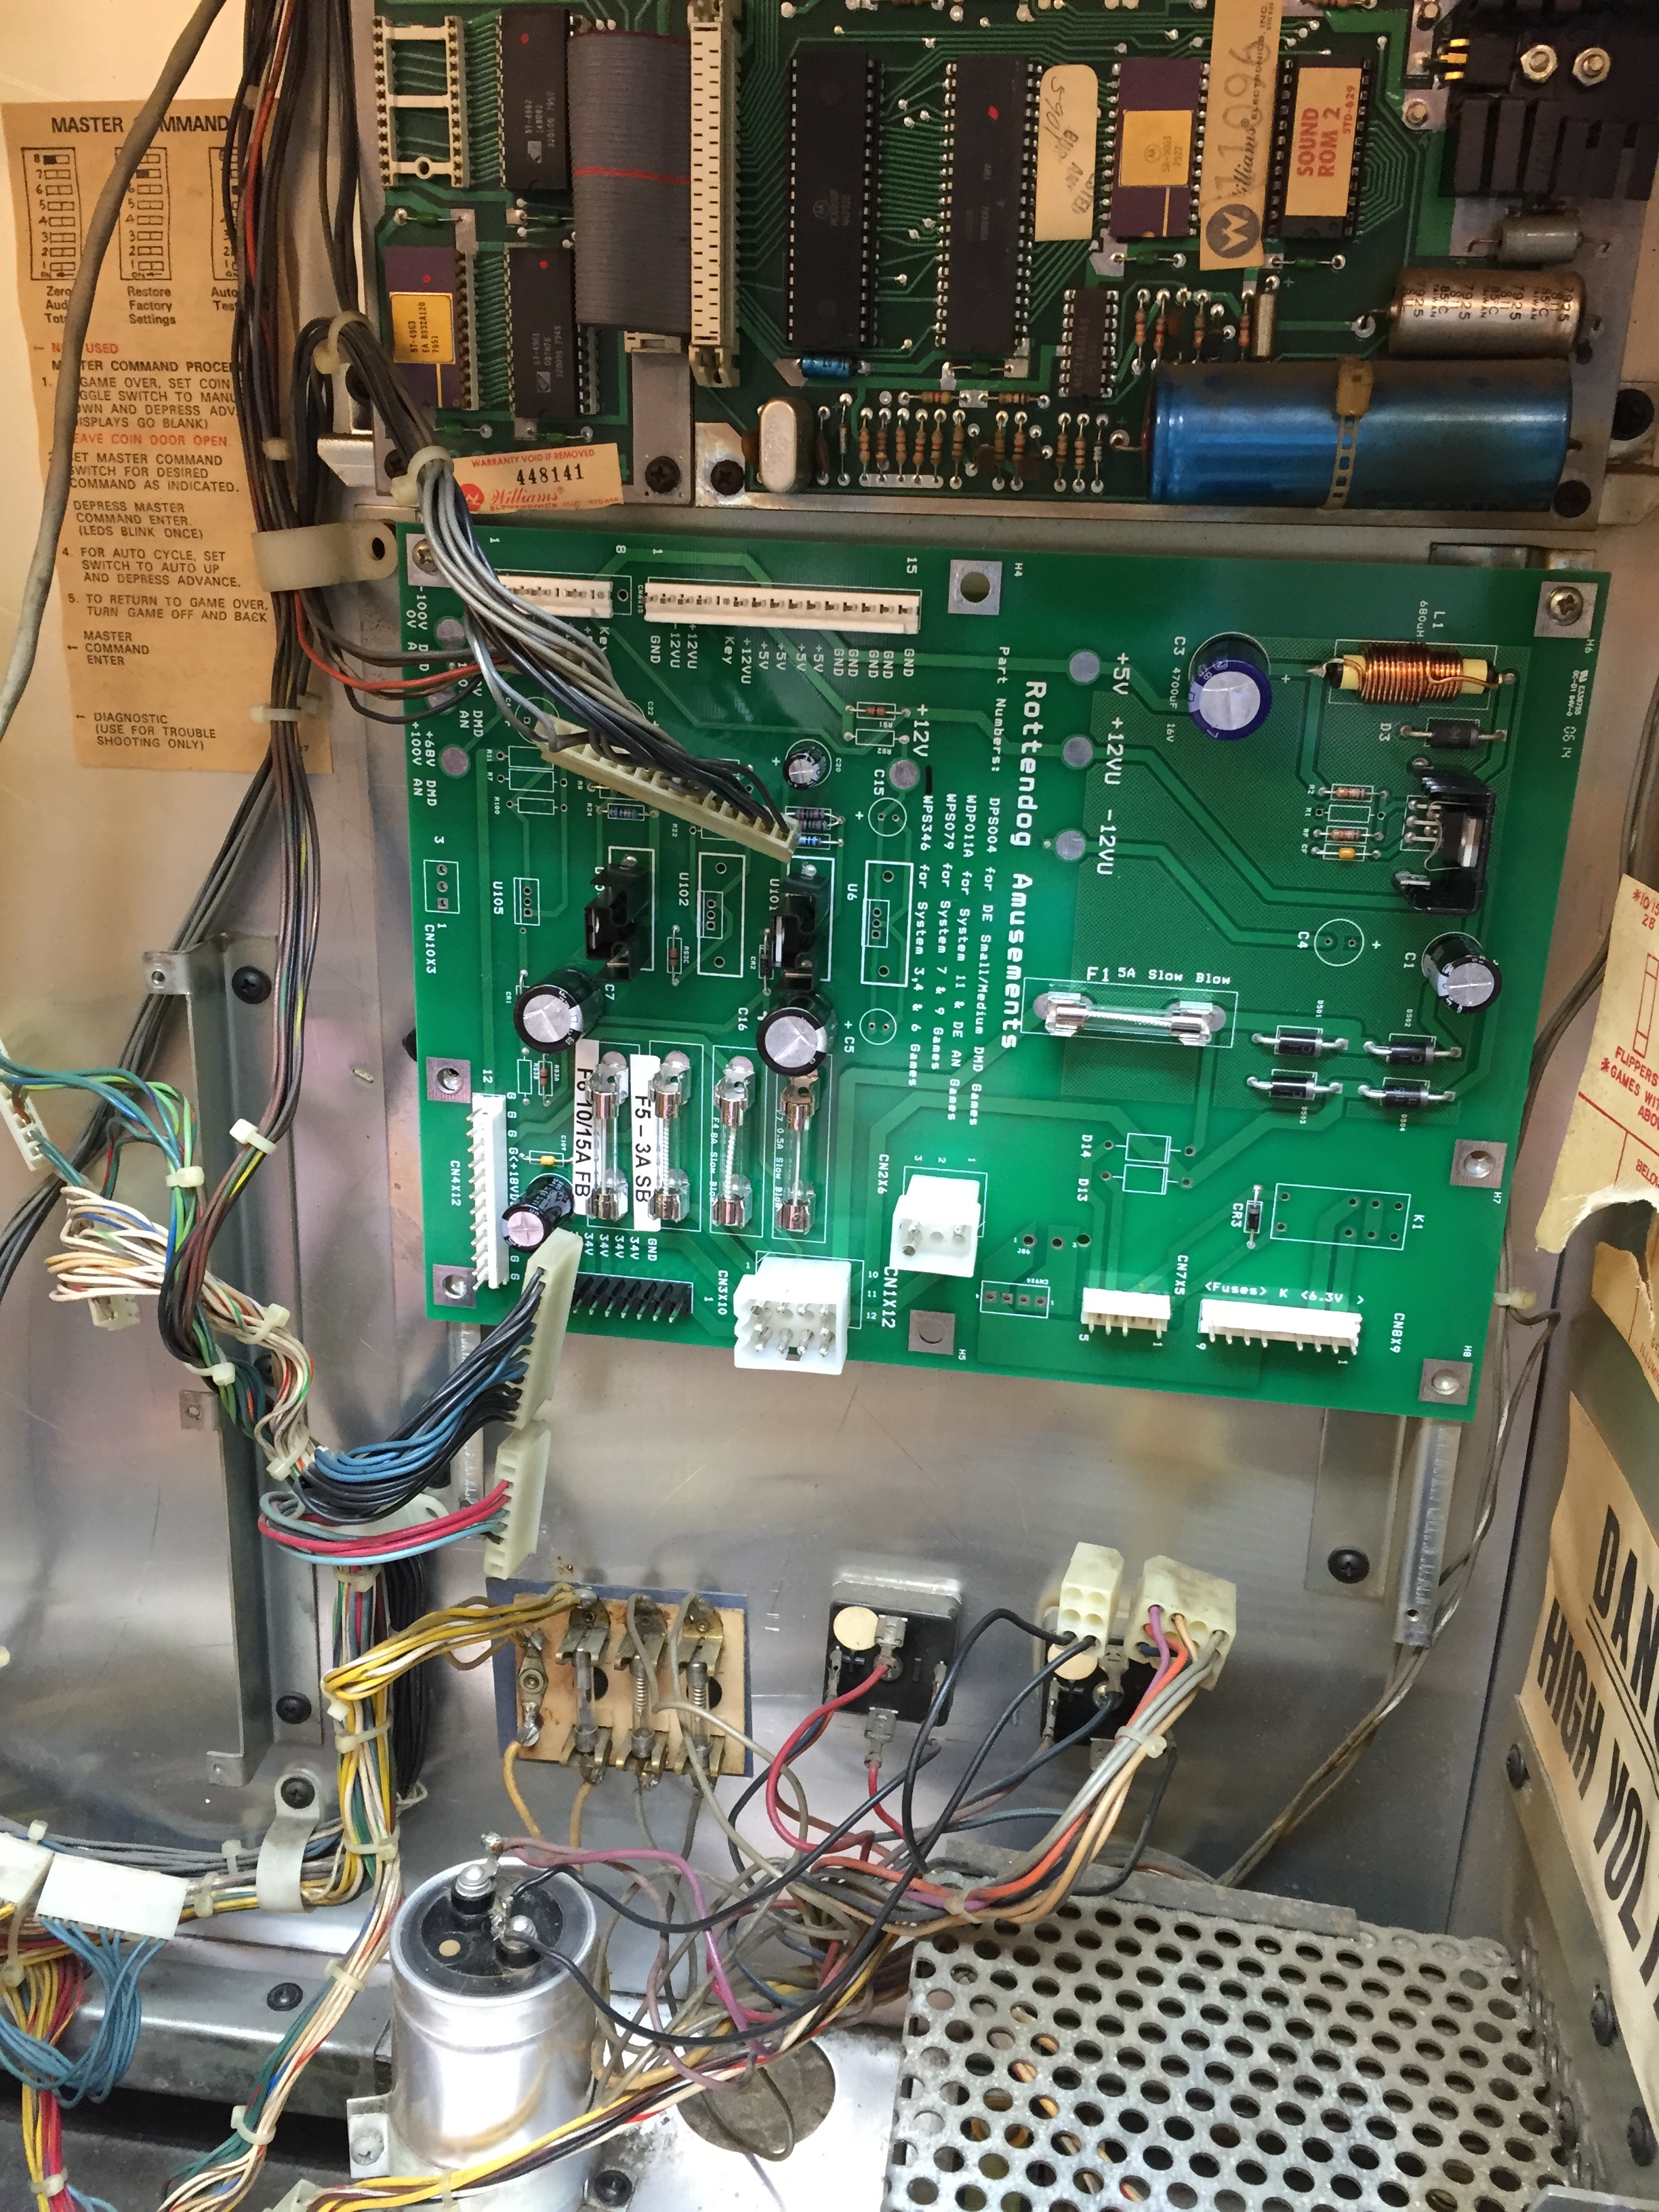
New Rottendog Power Supply in place of the original.
Playfield Touchup
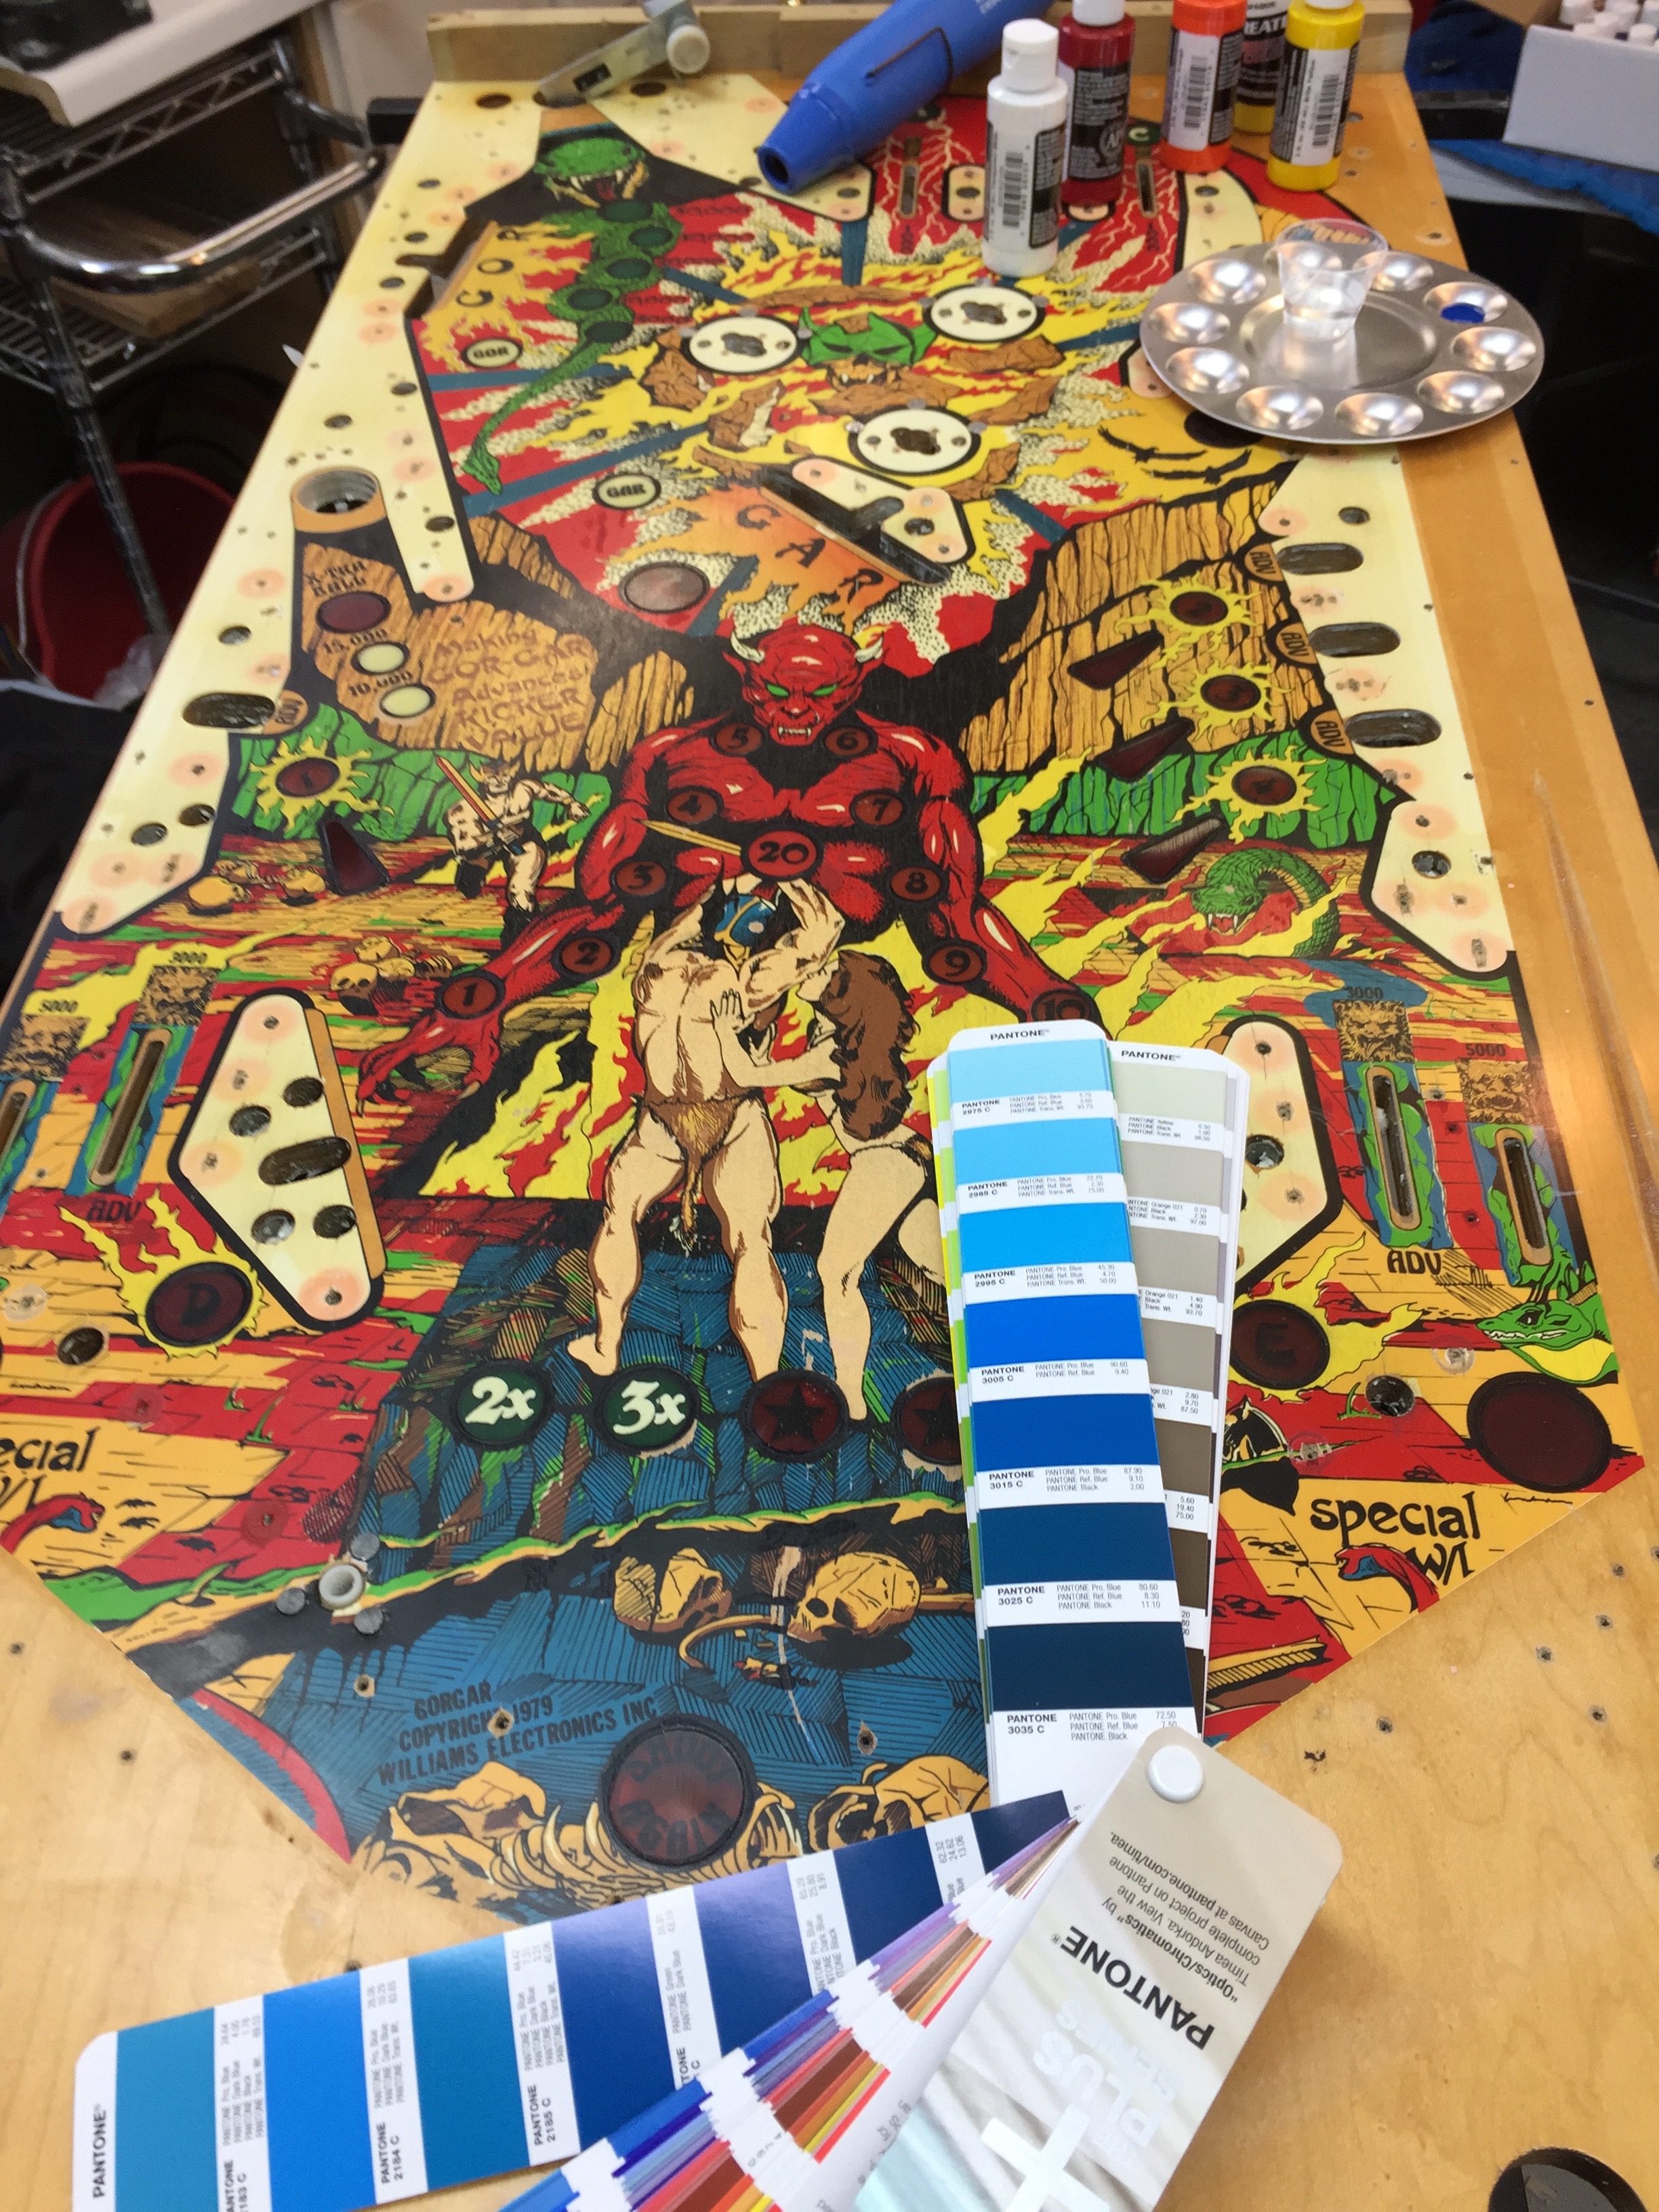
There were some pretty bad paint wear areas that definitely needed to be fixed before clear coating the playfield. This is one of the jobs that is toughest for me. I have a hard time matching colors. Here’s some examples of the kinds of issues that have to be dealt with.
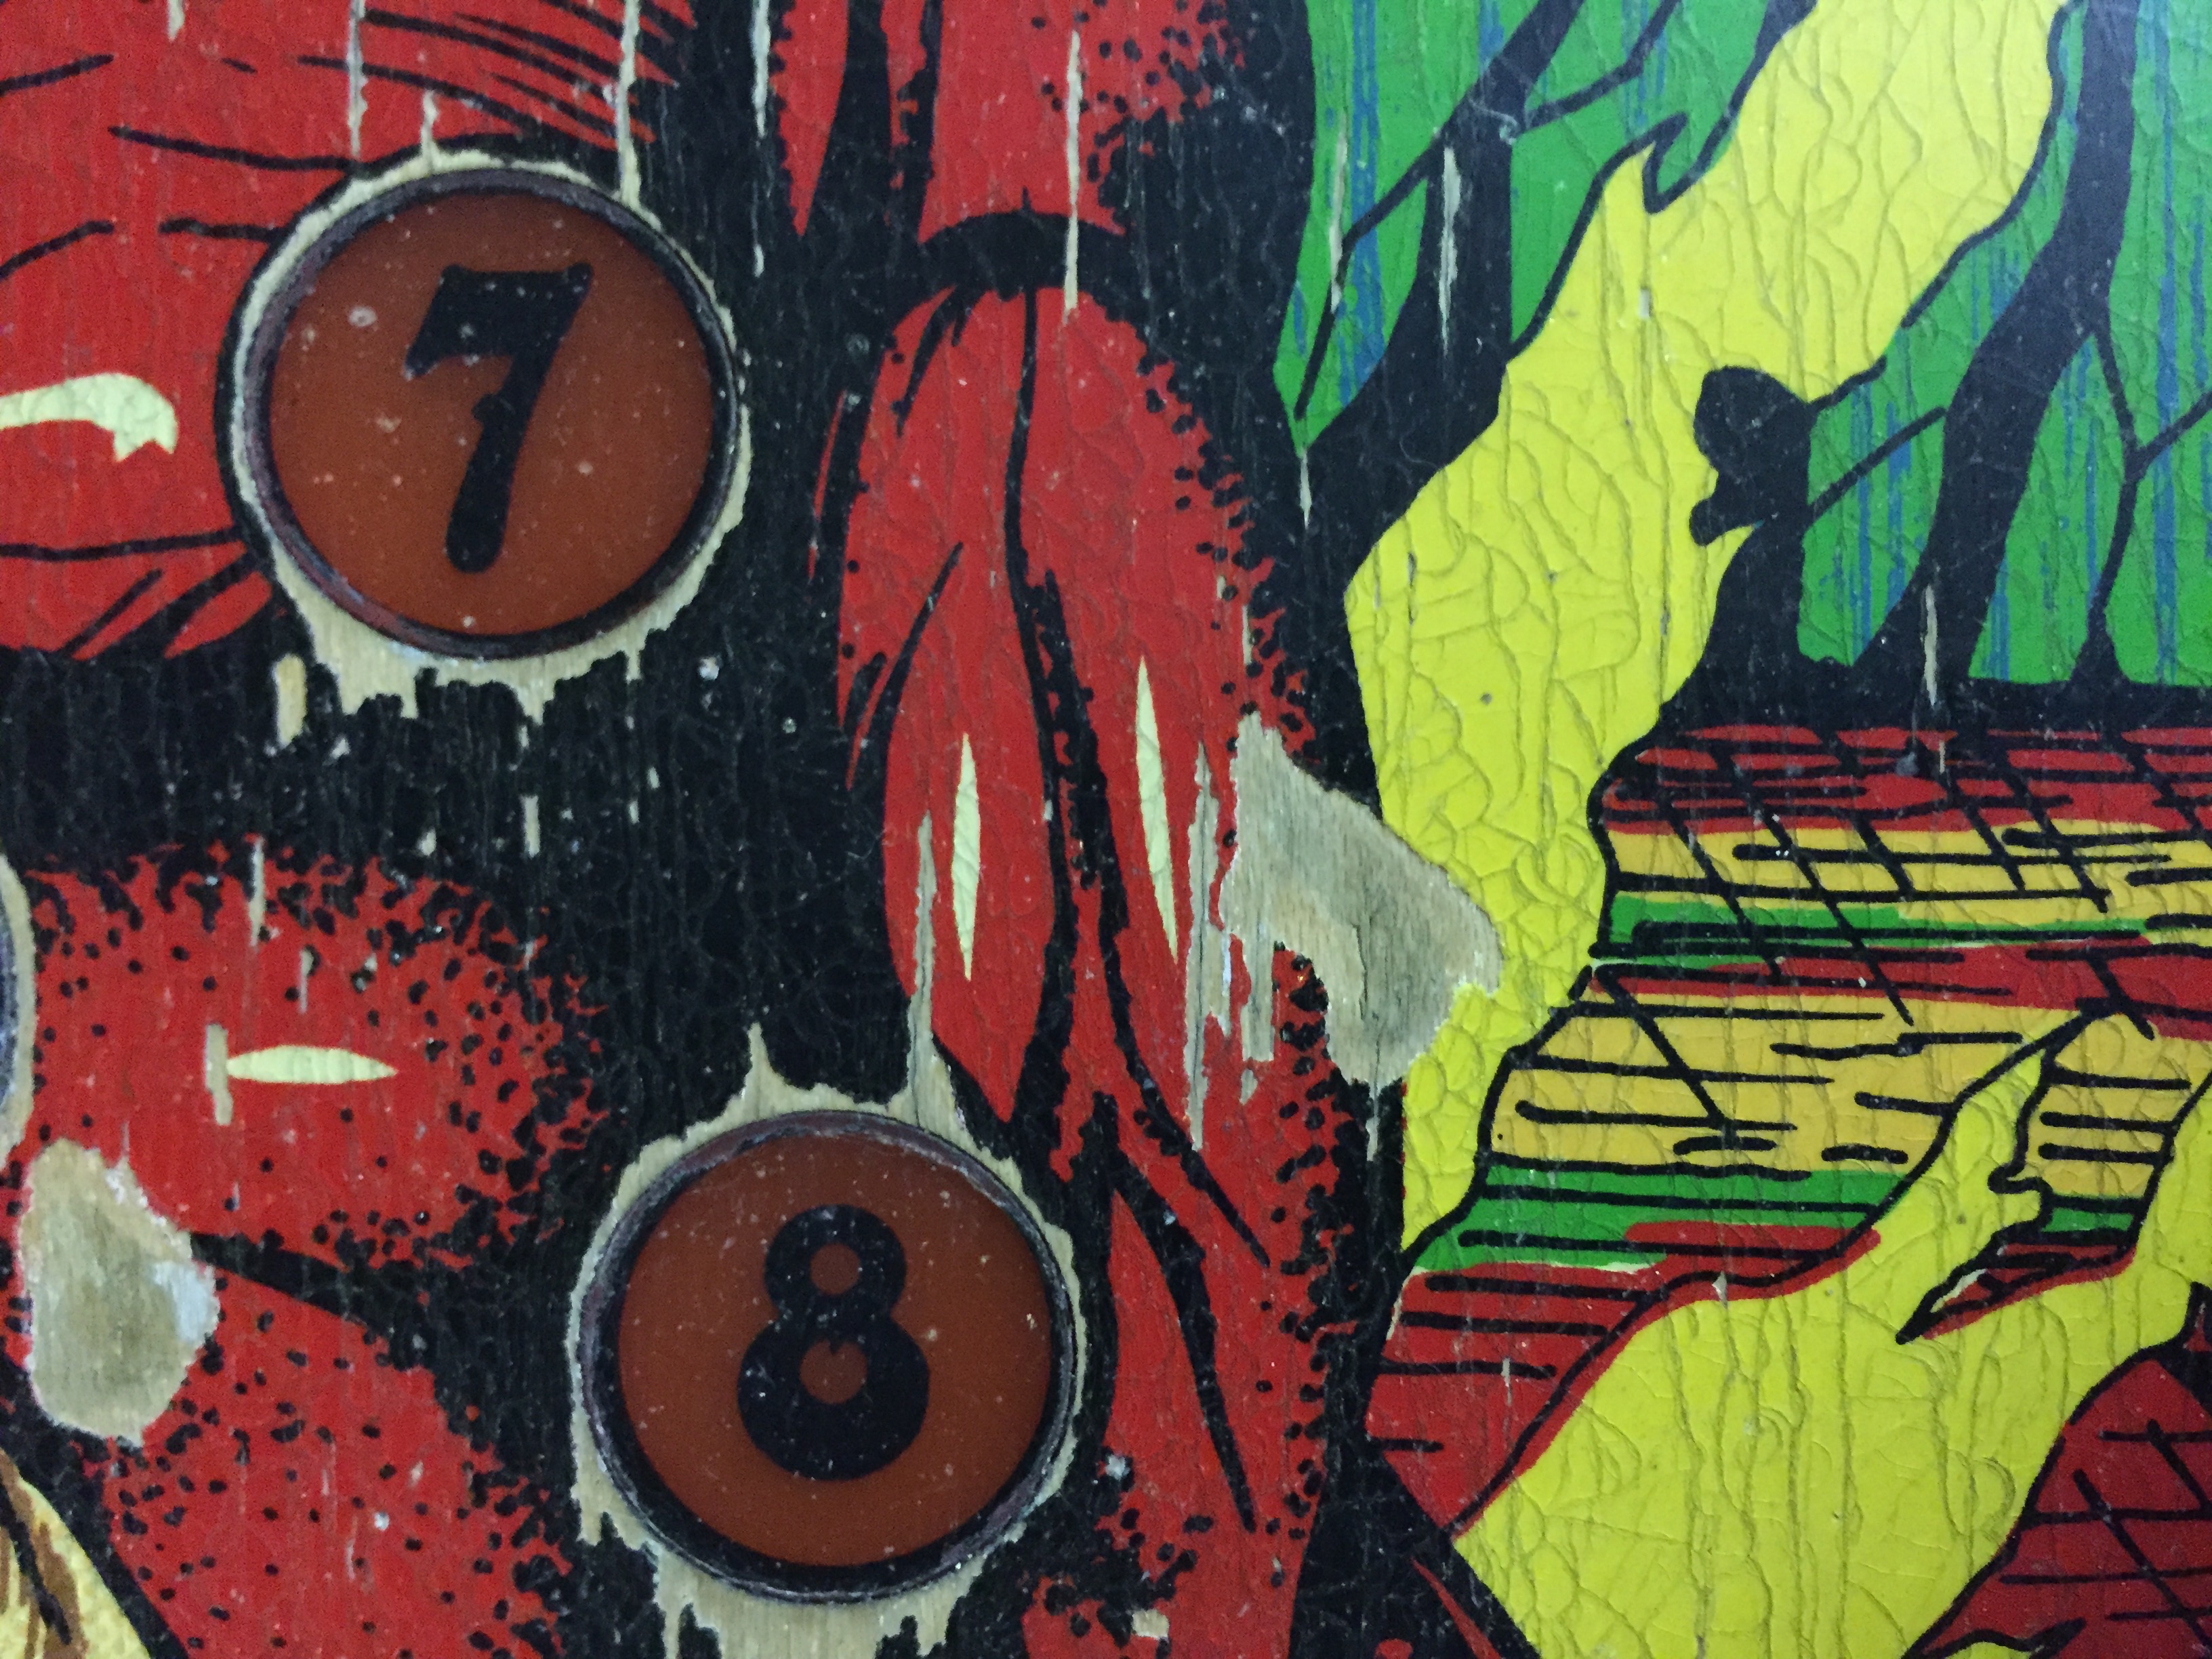
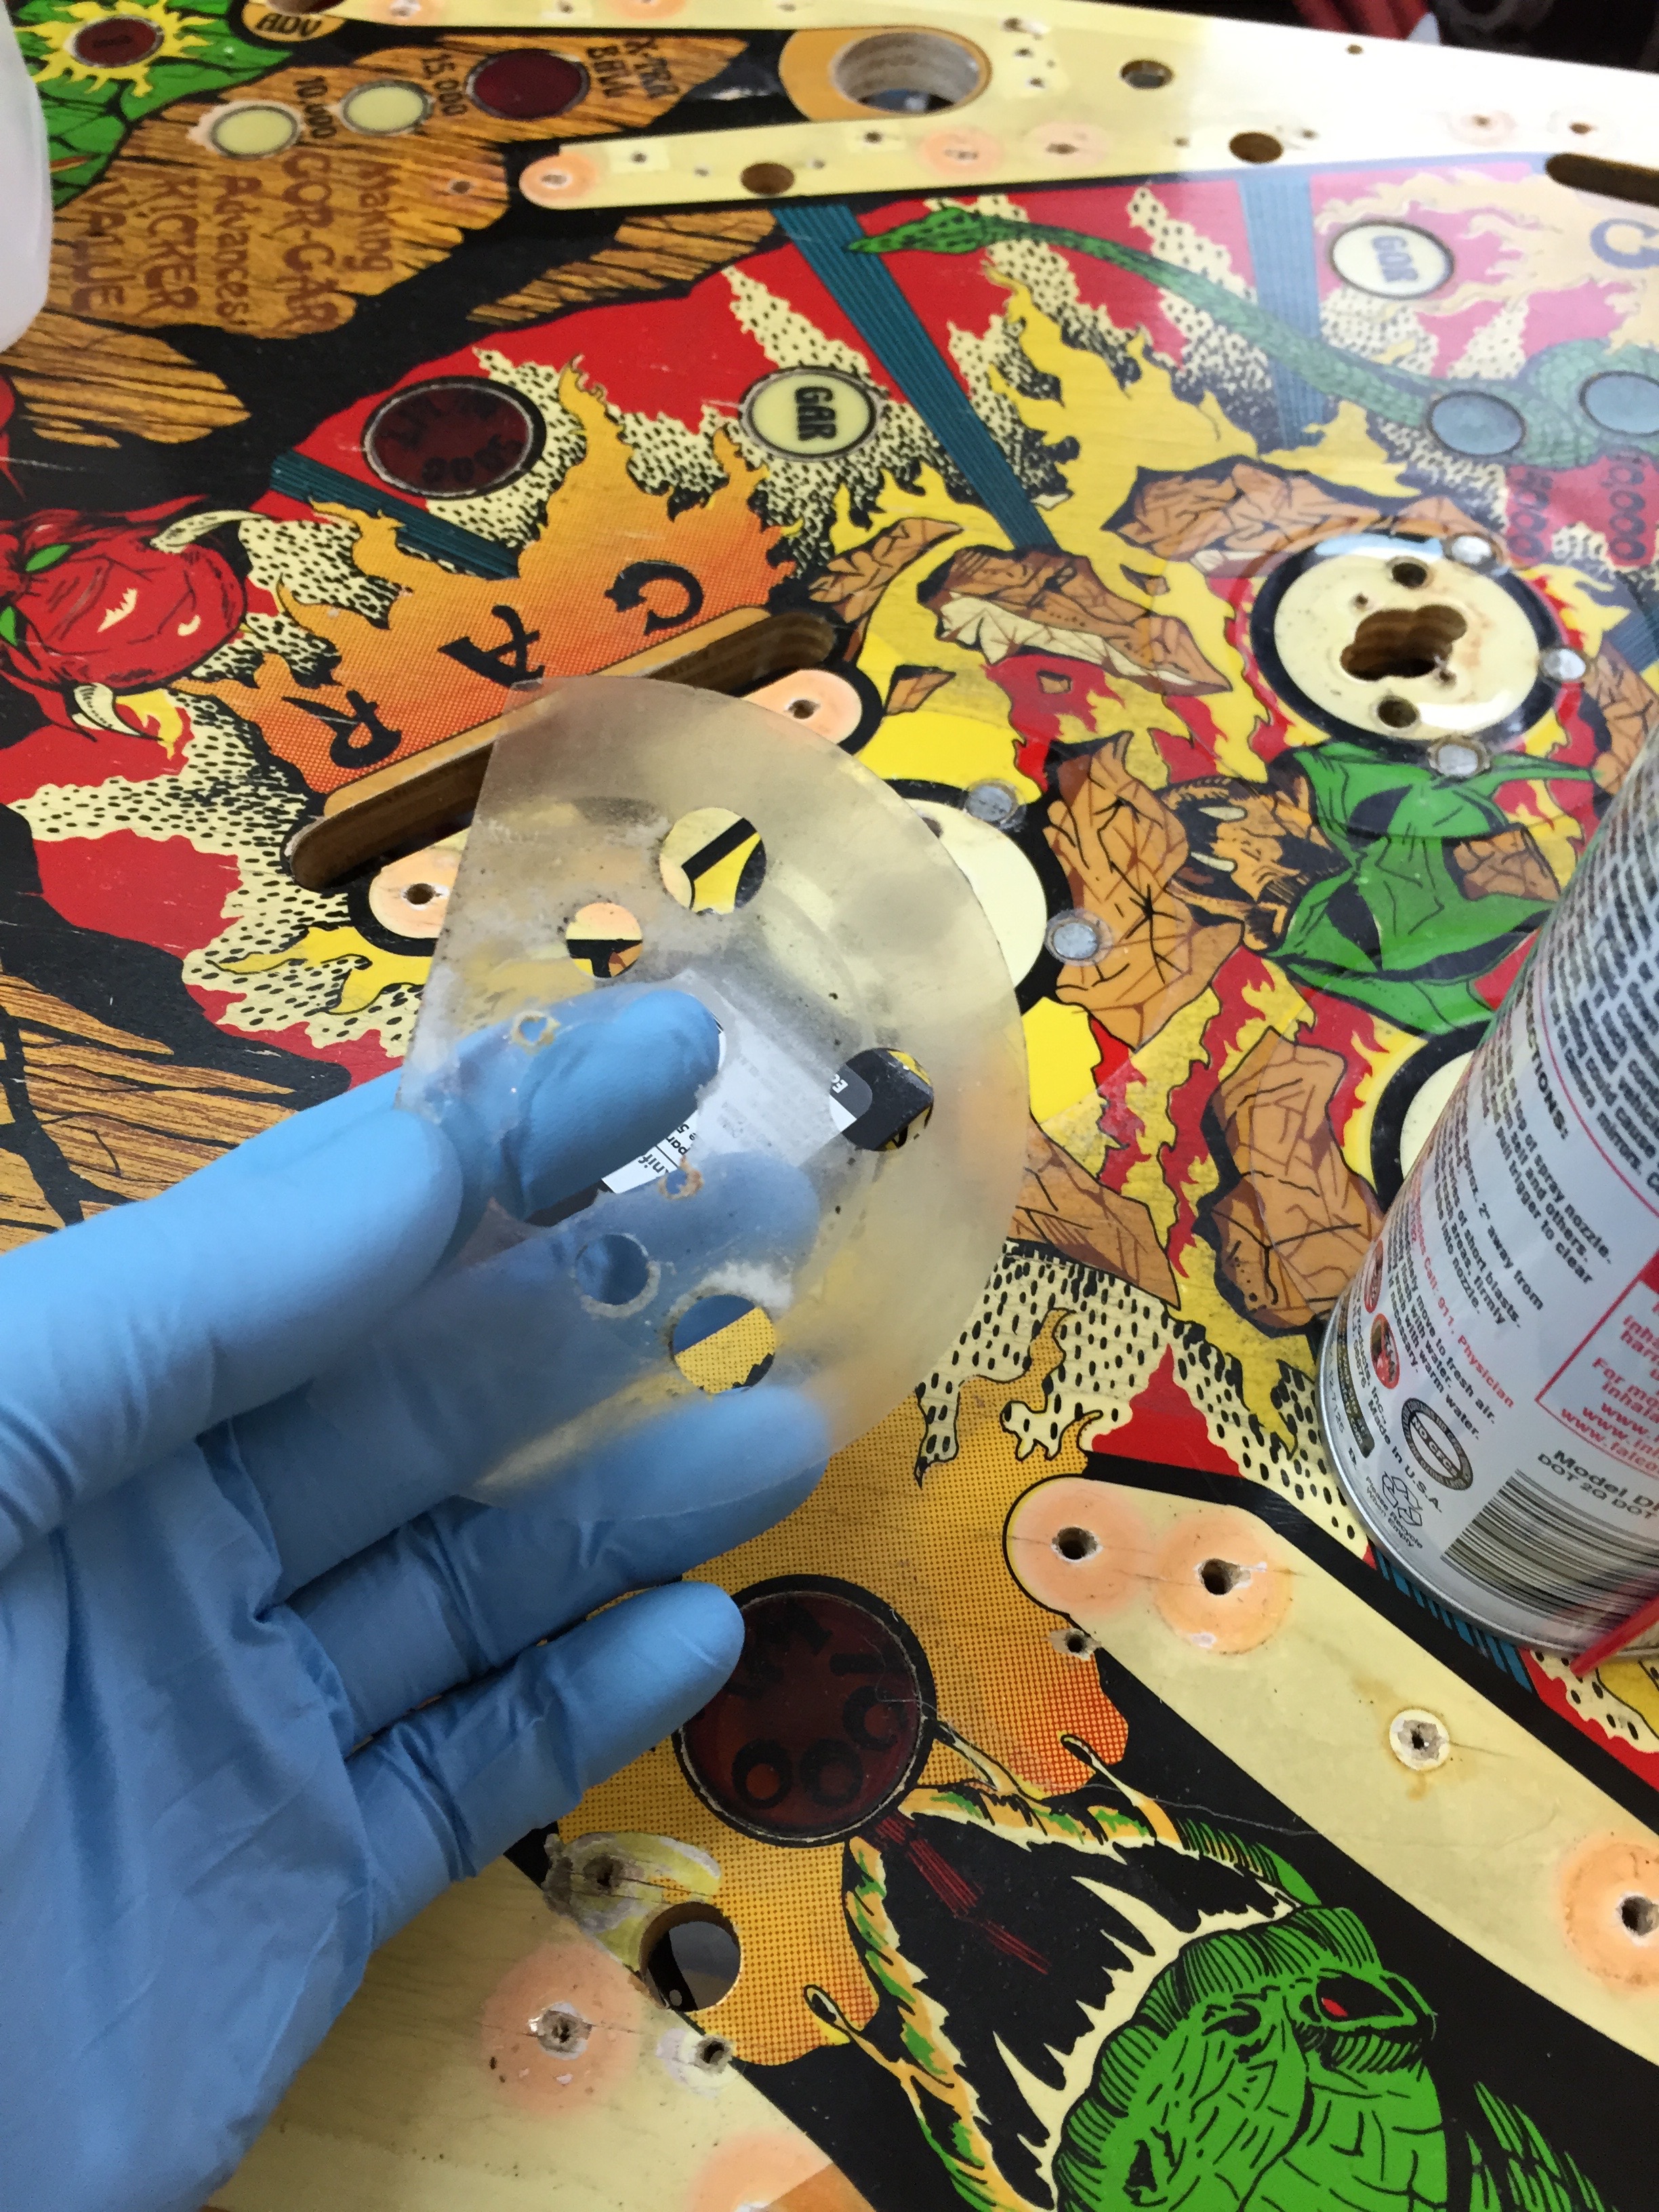
These are the kinds of issues that are prevalent all over this playfield. There’s mylar around the pop bumpers. I use freeze spray and a plastic scraper to remove these.
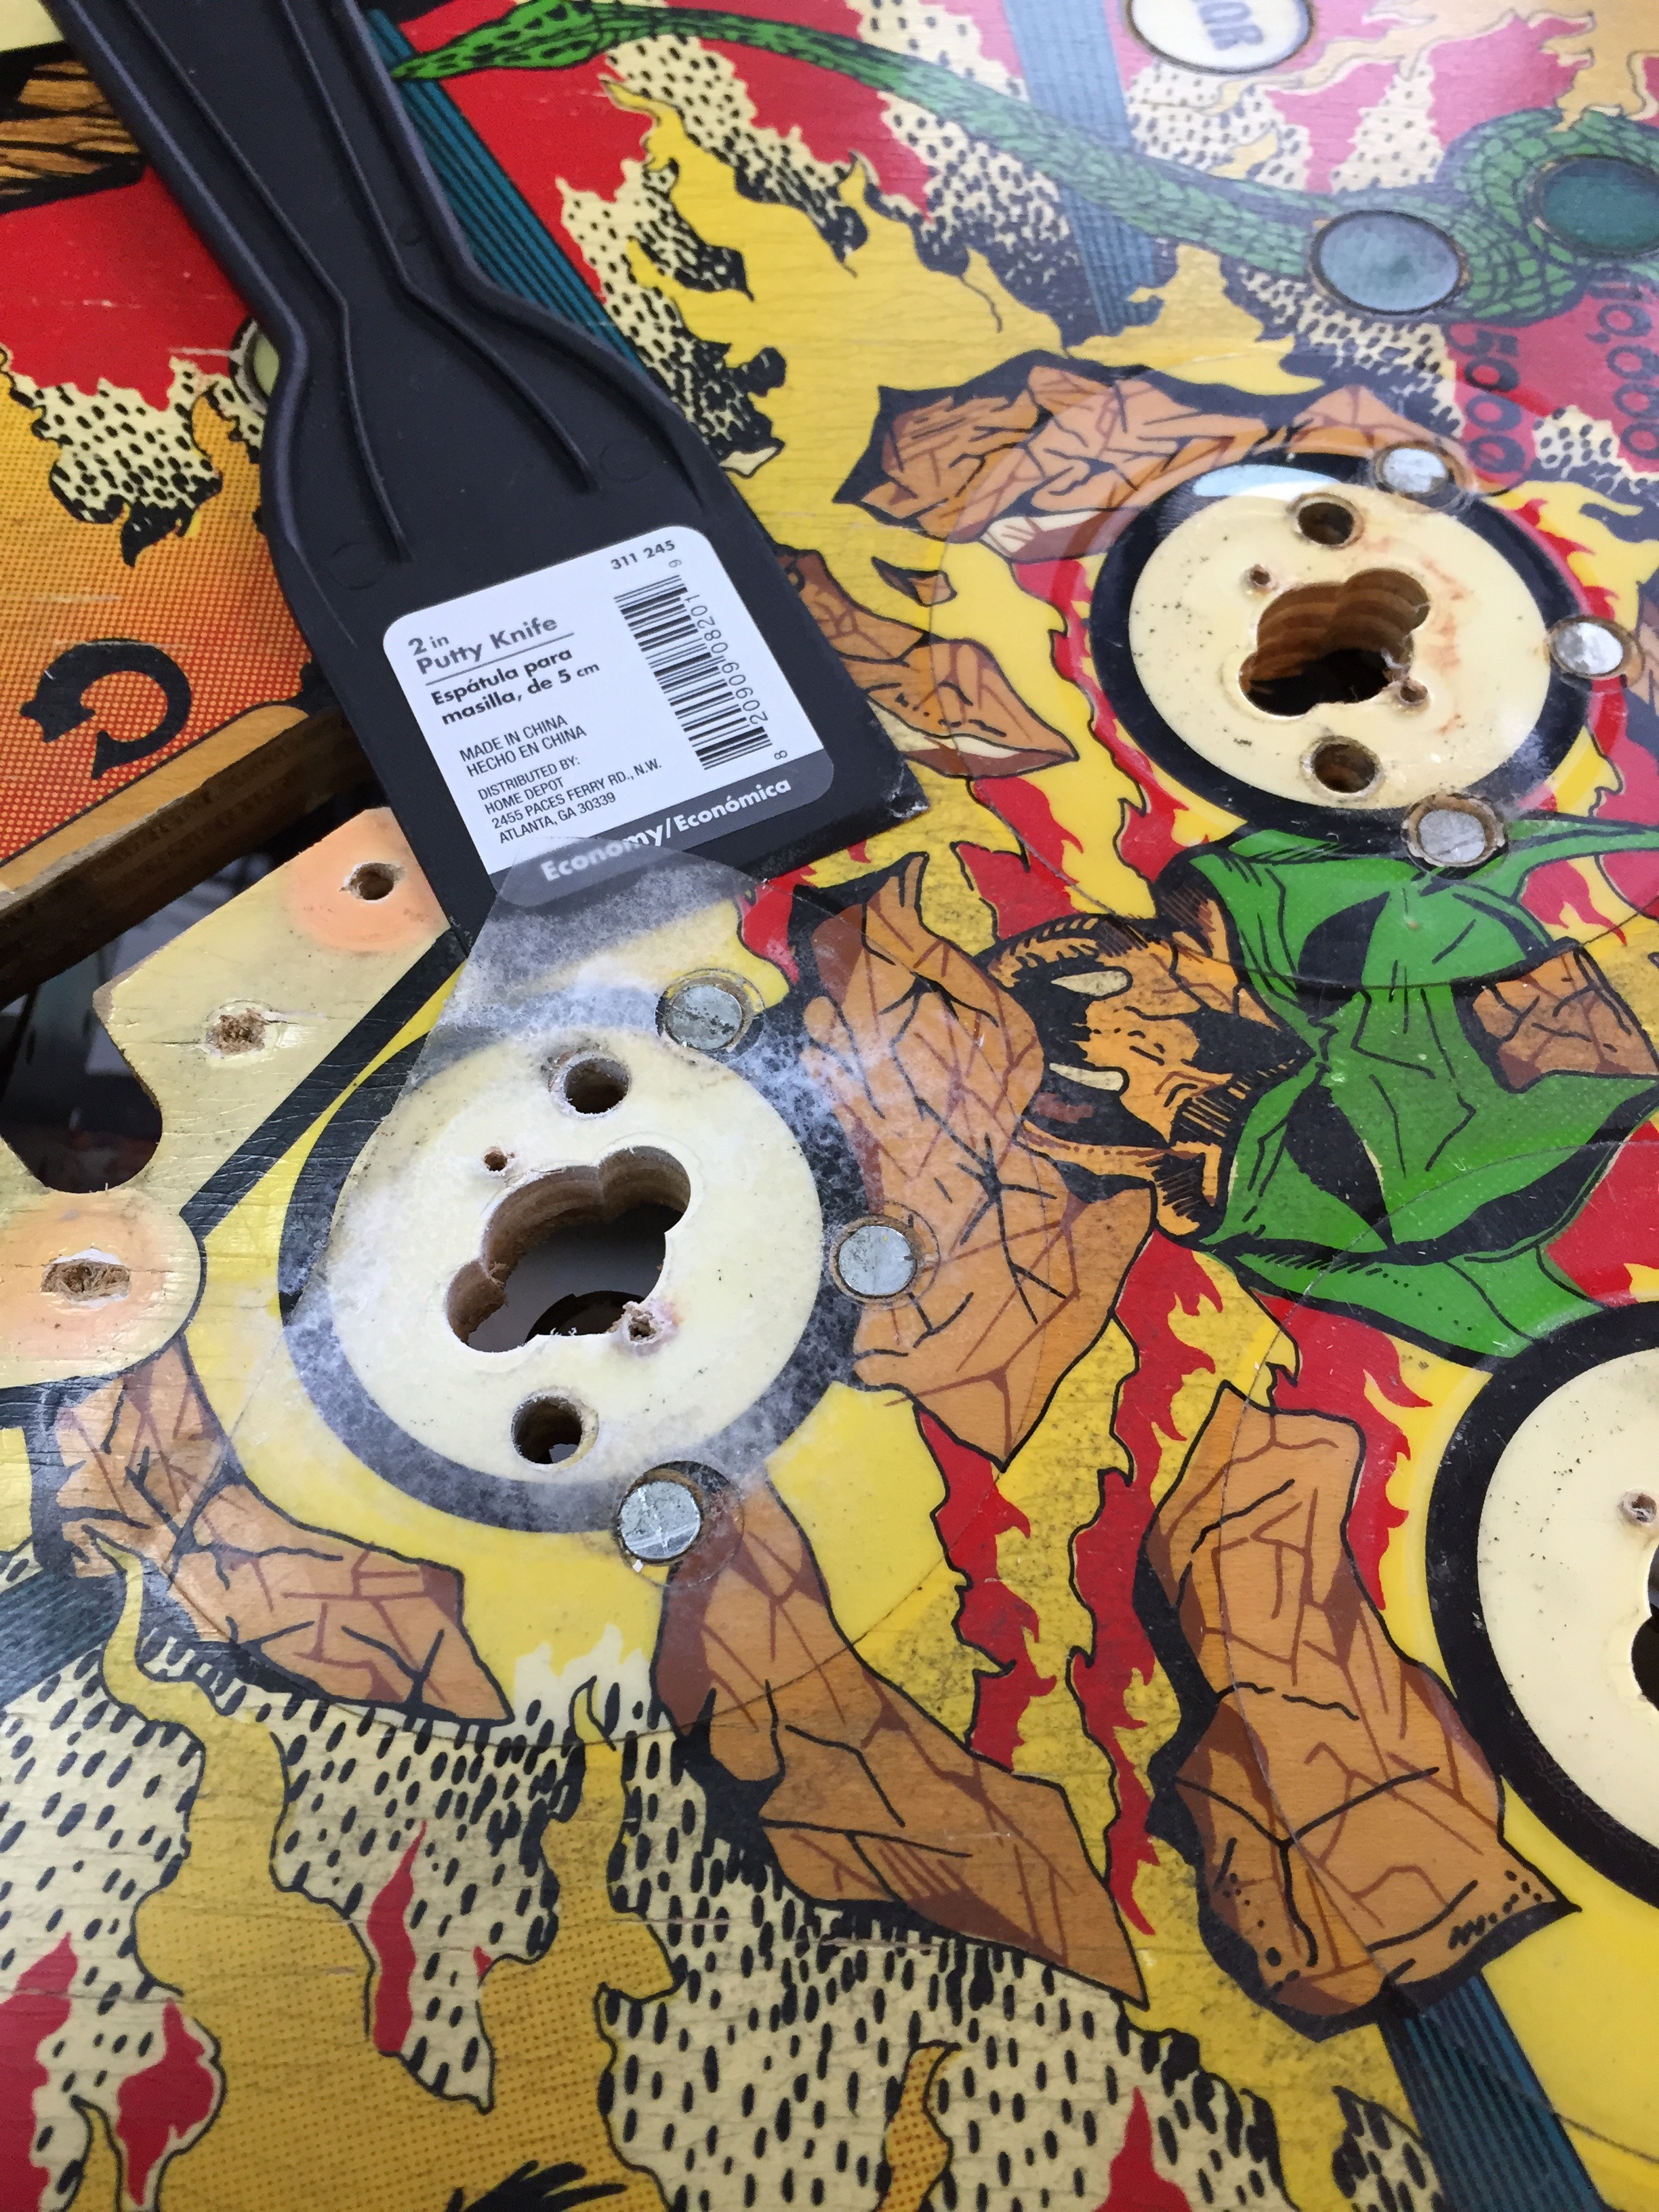
Once these are removed you have to get the glue residue off the playfield. I used a combination of goo-gone and lots of scraping and wiping. Be careful not to gouge the playfield.
I’ve been using a pantone color guide to help me match paint lately and it really seems to help. I can use it as a guide to mix paints, and to help find the names of paints to start with when mixing. It hasn’t made me “good” at paint matching, but it has helped make me better.
Here’s a shot with most of the touch up done. Once I got started on the touchup I realized just how much there was to do. Once I would touch up the larger areas, I would realized there were many smaller areas that needed it too. When do you stop? I spent about 3 days (on and off) and had to stop myself. At a point I start to do more harm than good.
Clearcoating
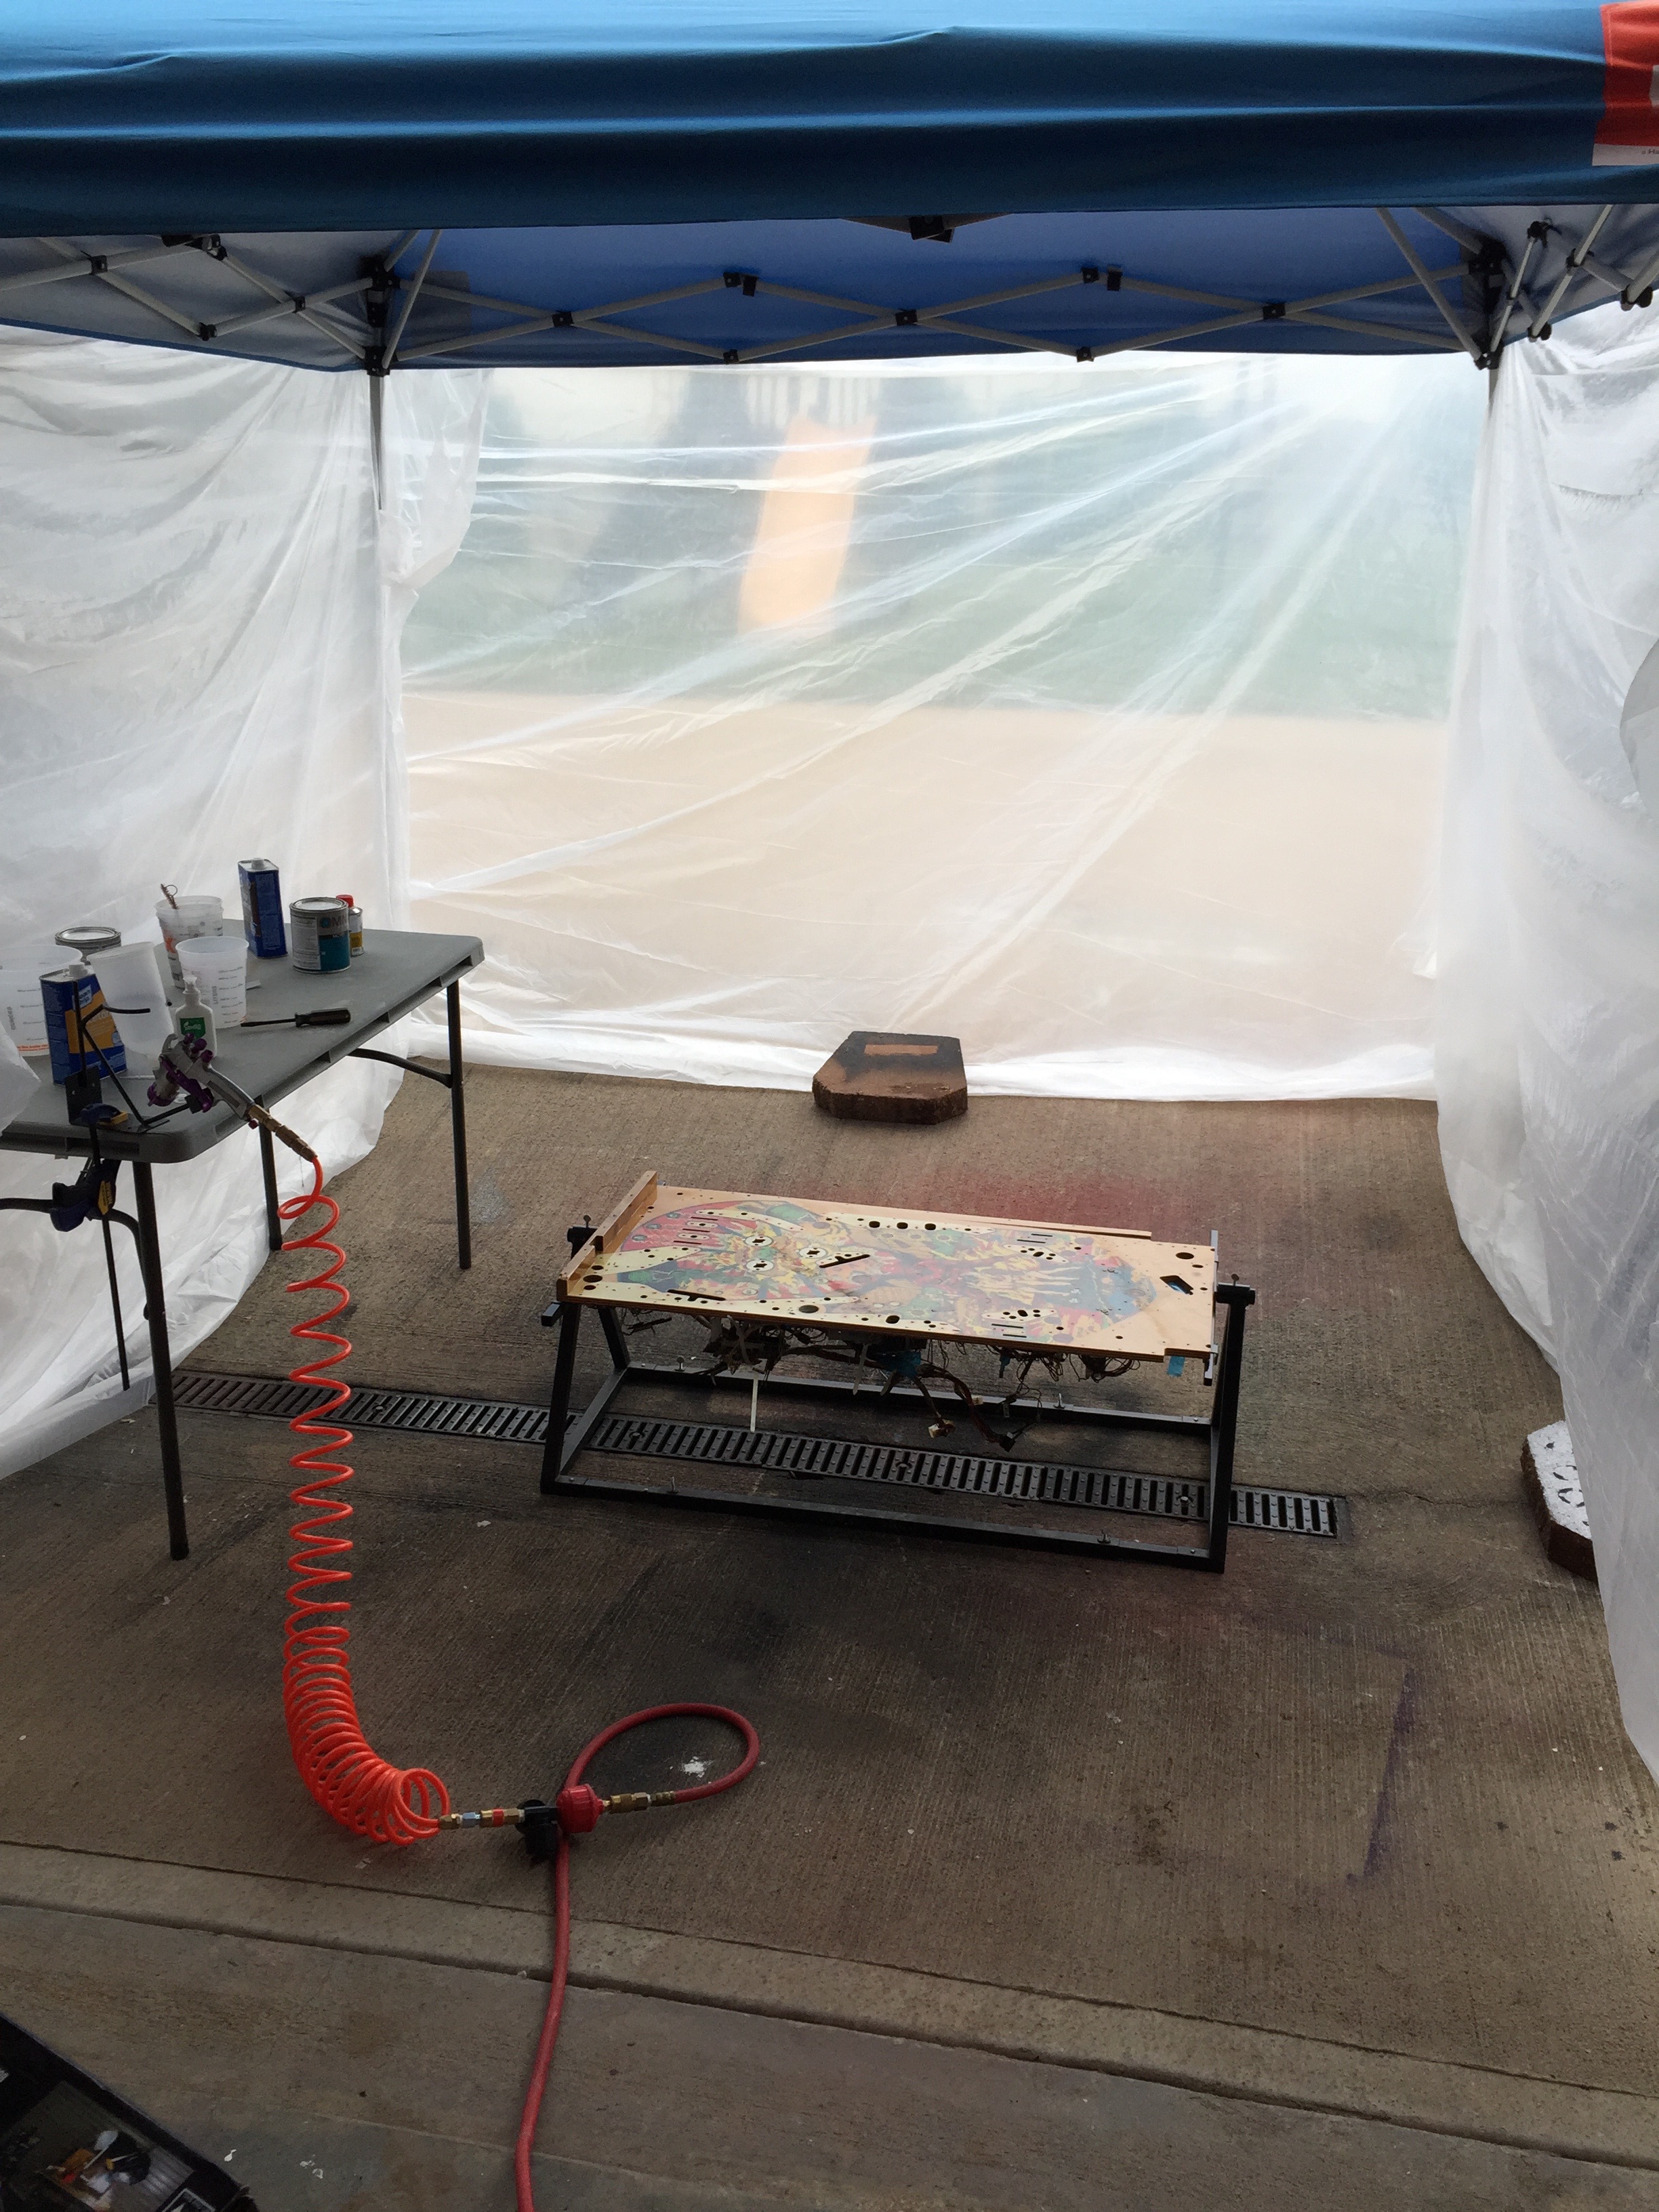
I typically set up a Harbor Freight canopy and use plastic drop cloths to construct a simple paint booth behind my garage. That way I can close my garage door and prevent the fumes from coming into the house, but can open the door when done to move the equipment in and out. Works pretty well, it would be nice to have a dedicated paint booth, but there’s no way I could justify that.
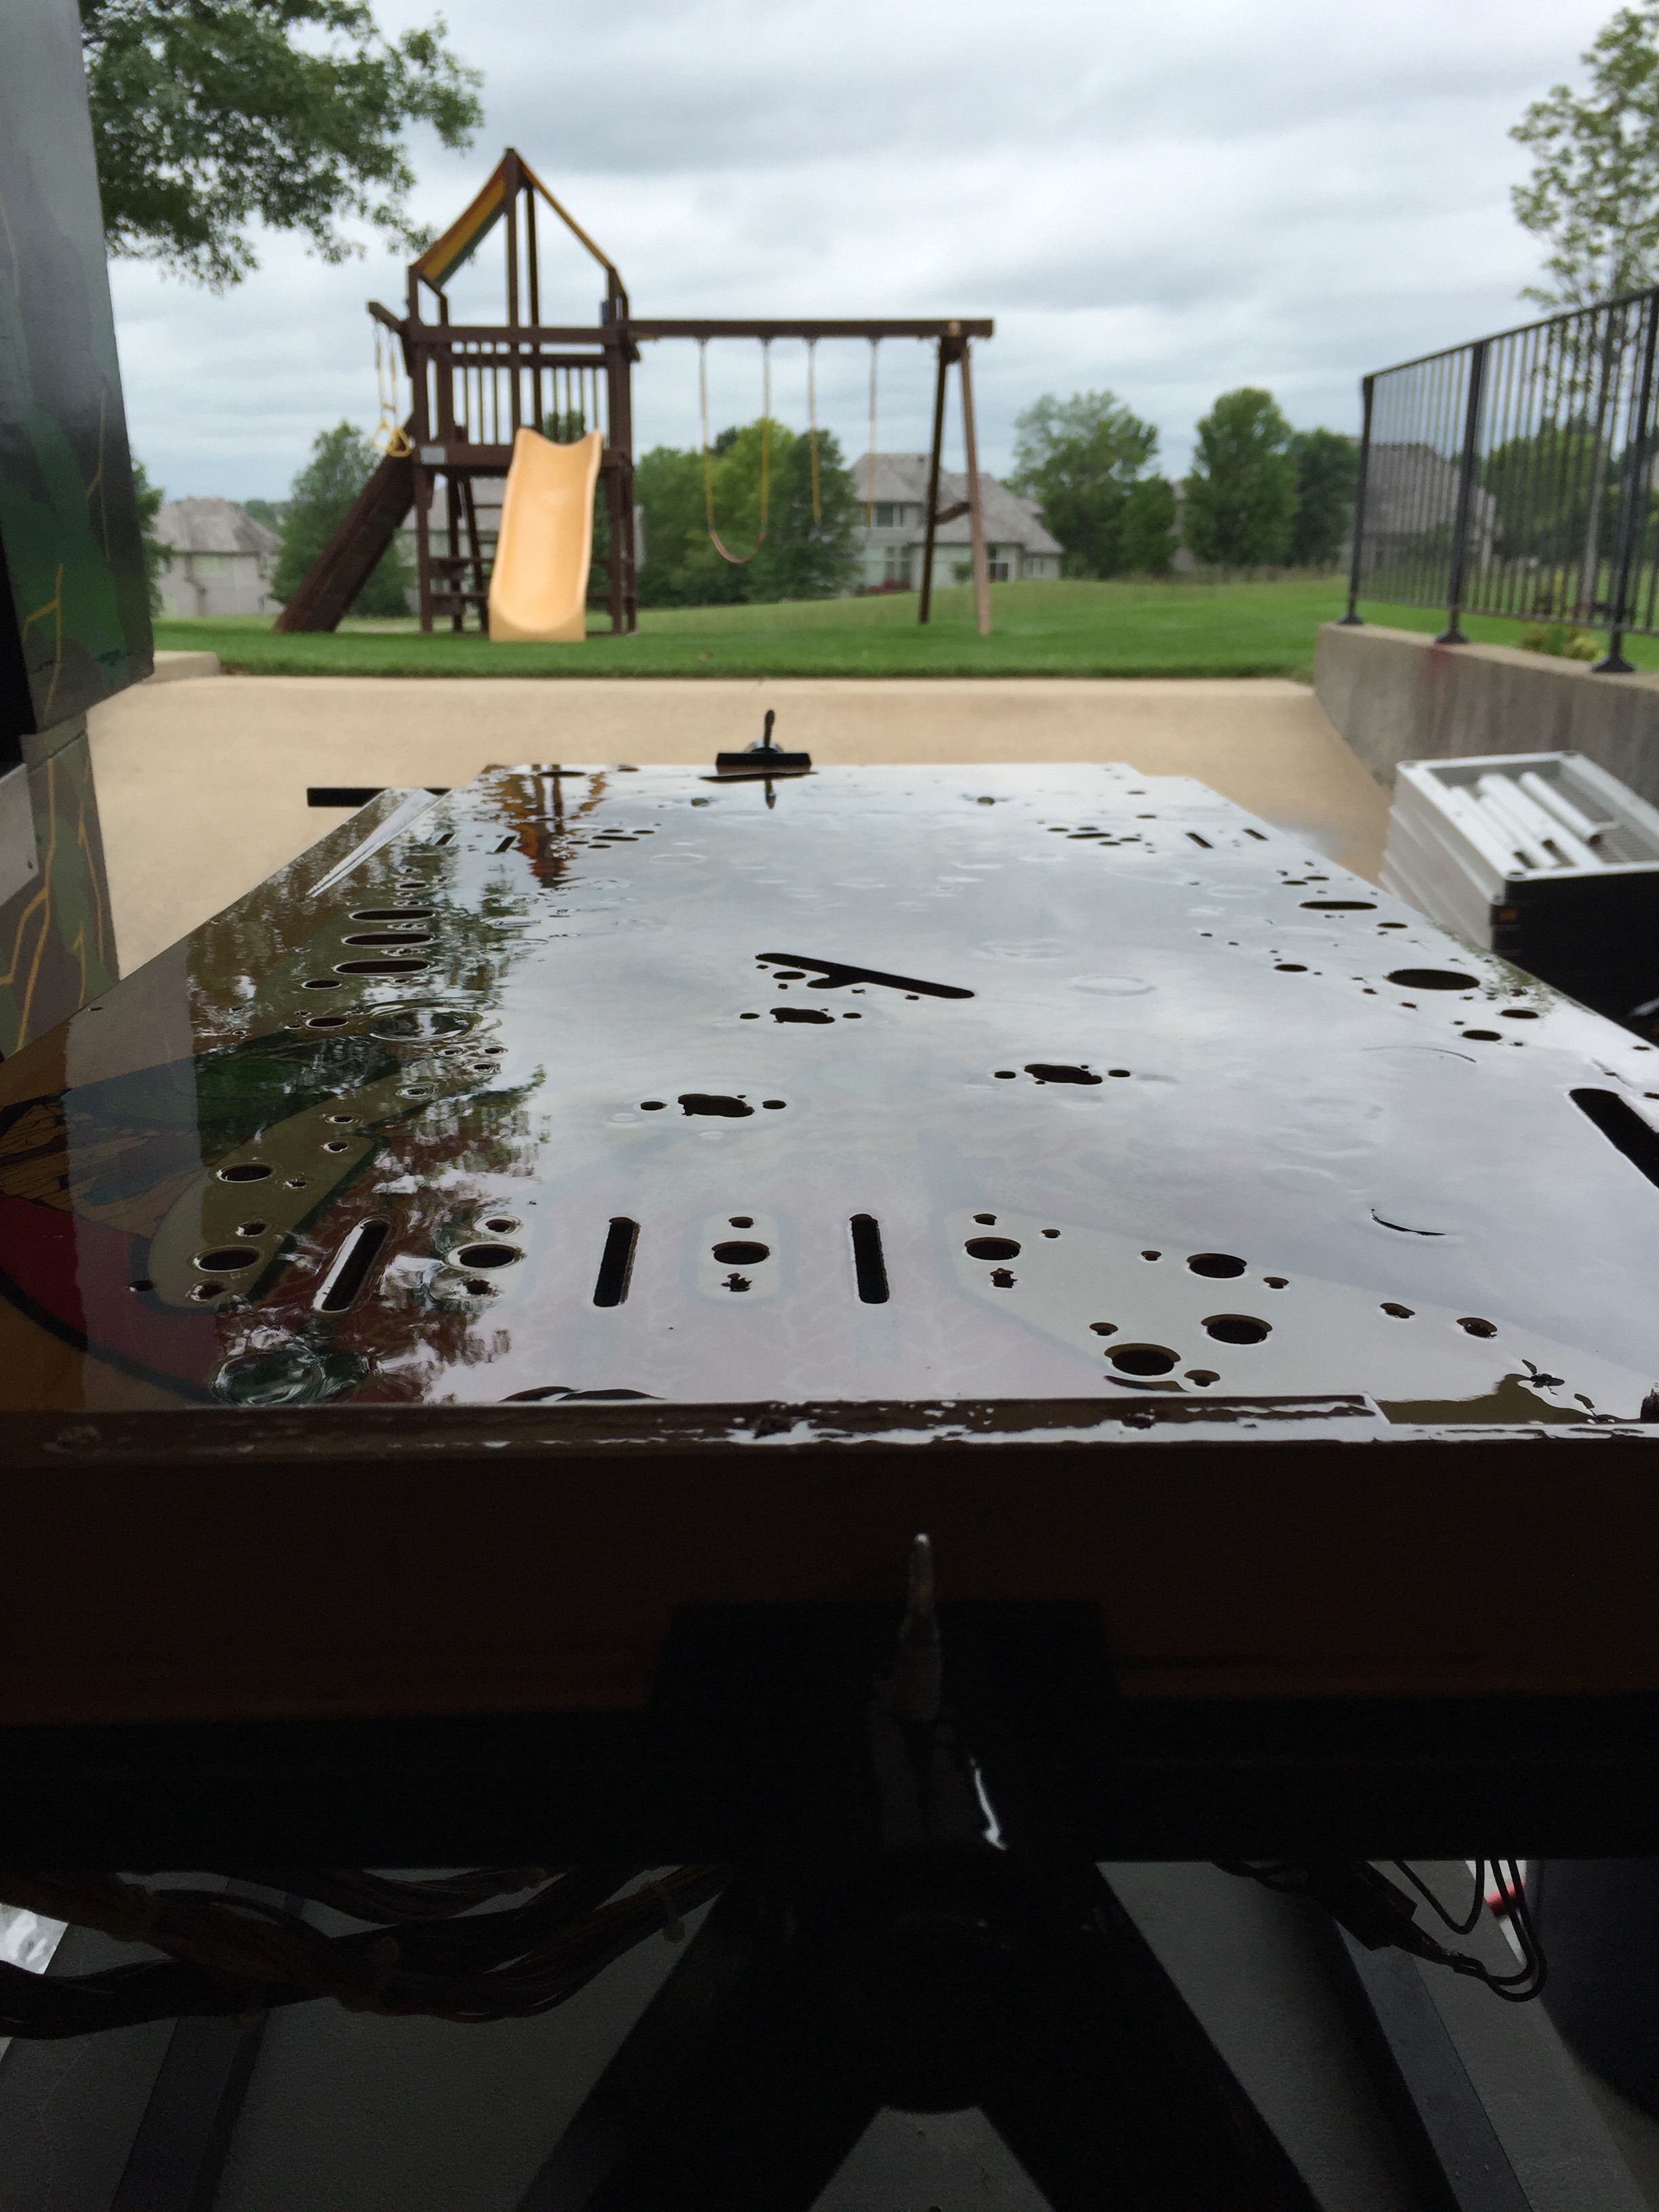
Here’s a shot after the first coat of clear. I remove all items that protrude through to the top of the playfield and use painters tape to cover the holes to prevent the clear from spraying through the holes. Be sure to mask off star button holes as the clear will reduce the clearance for the star button and make them stick or slow.

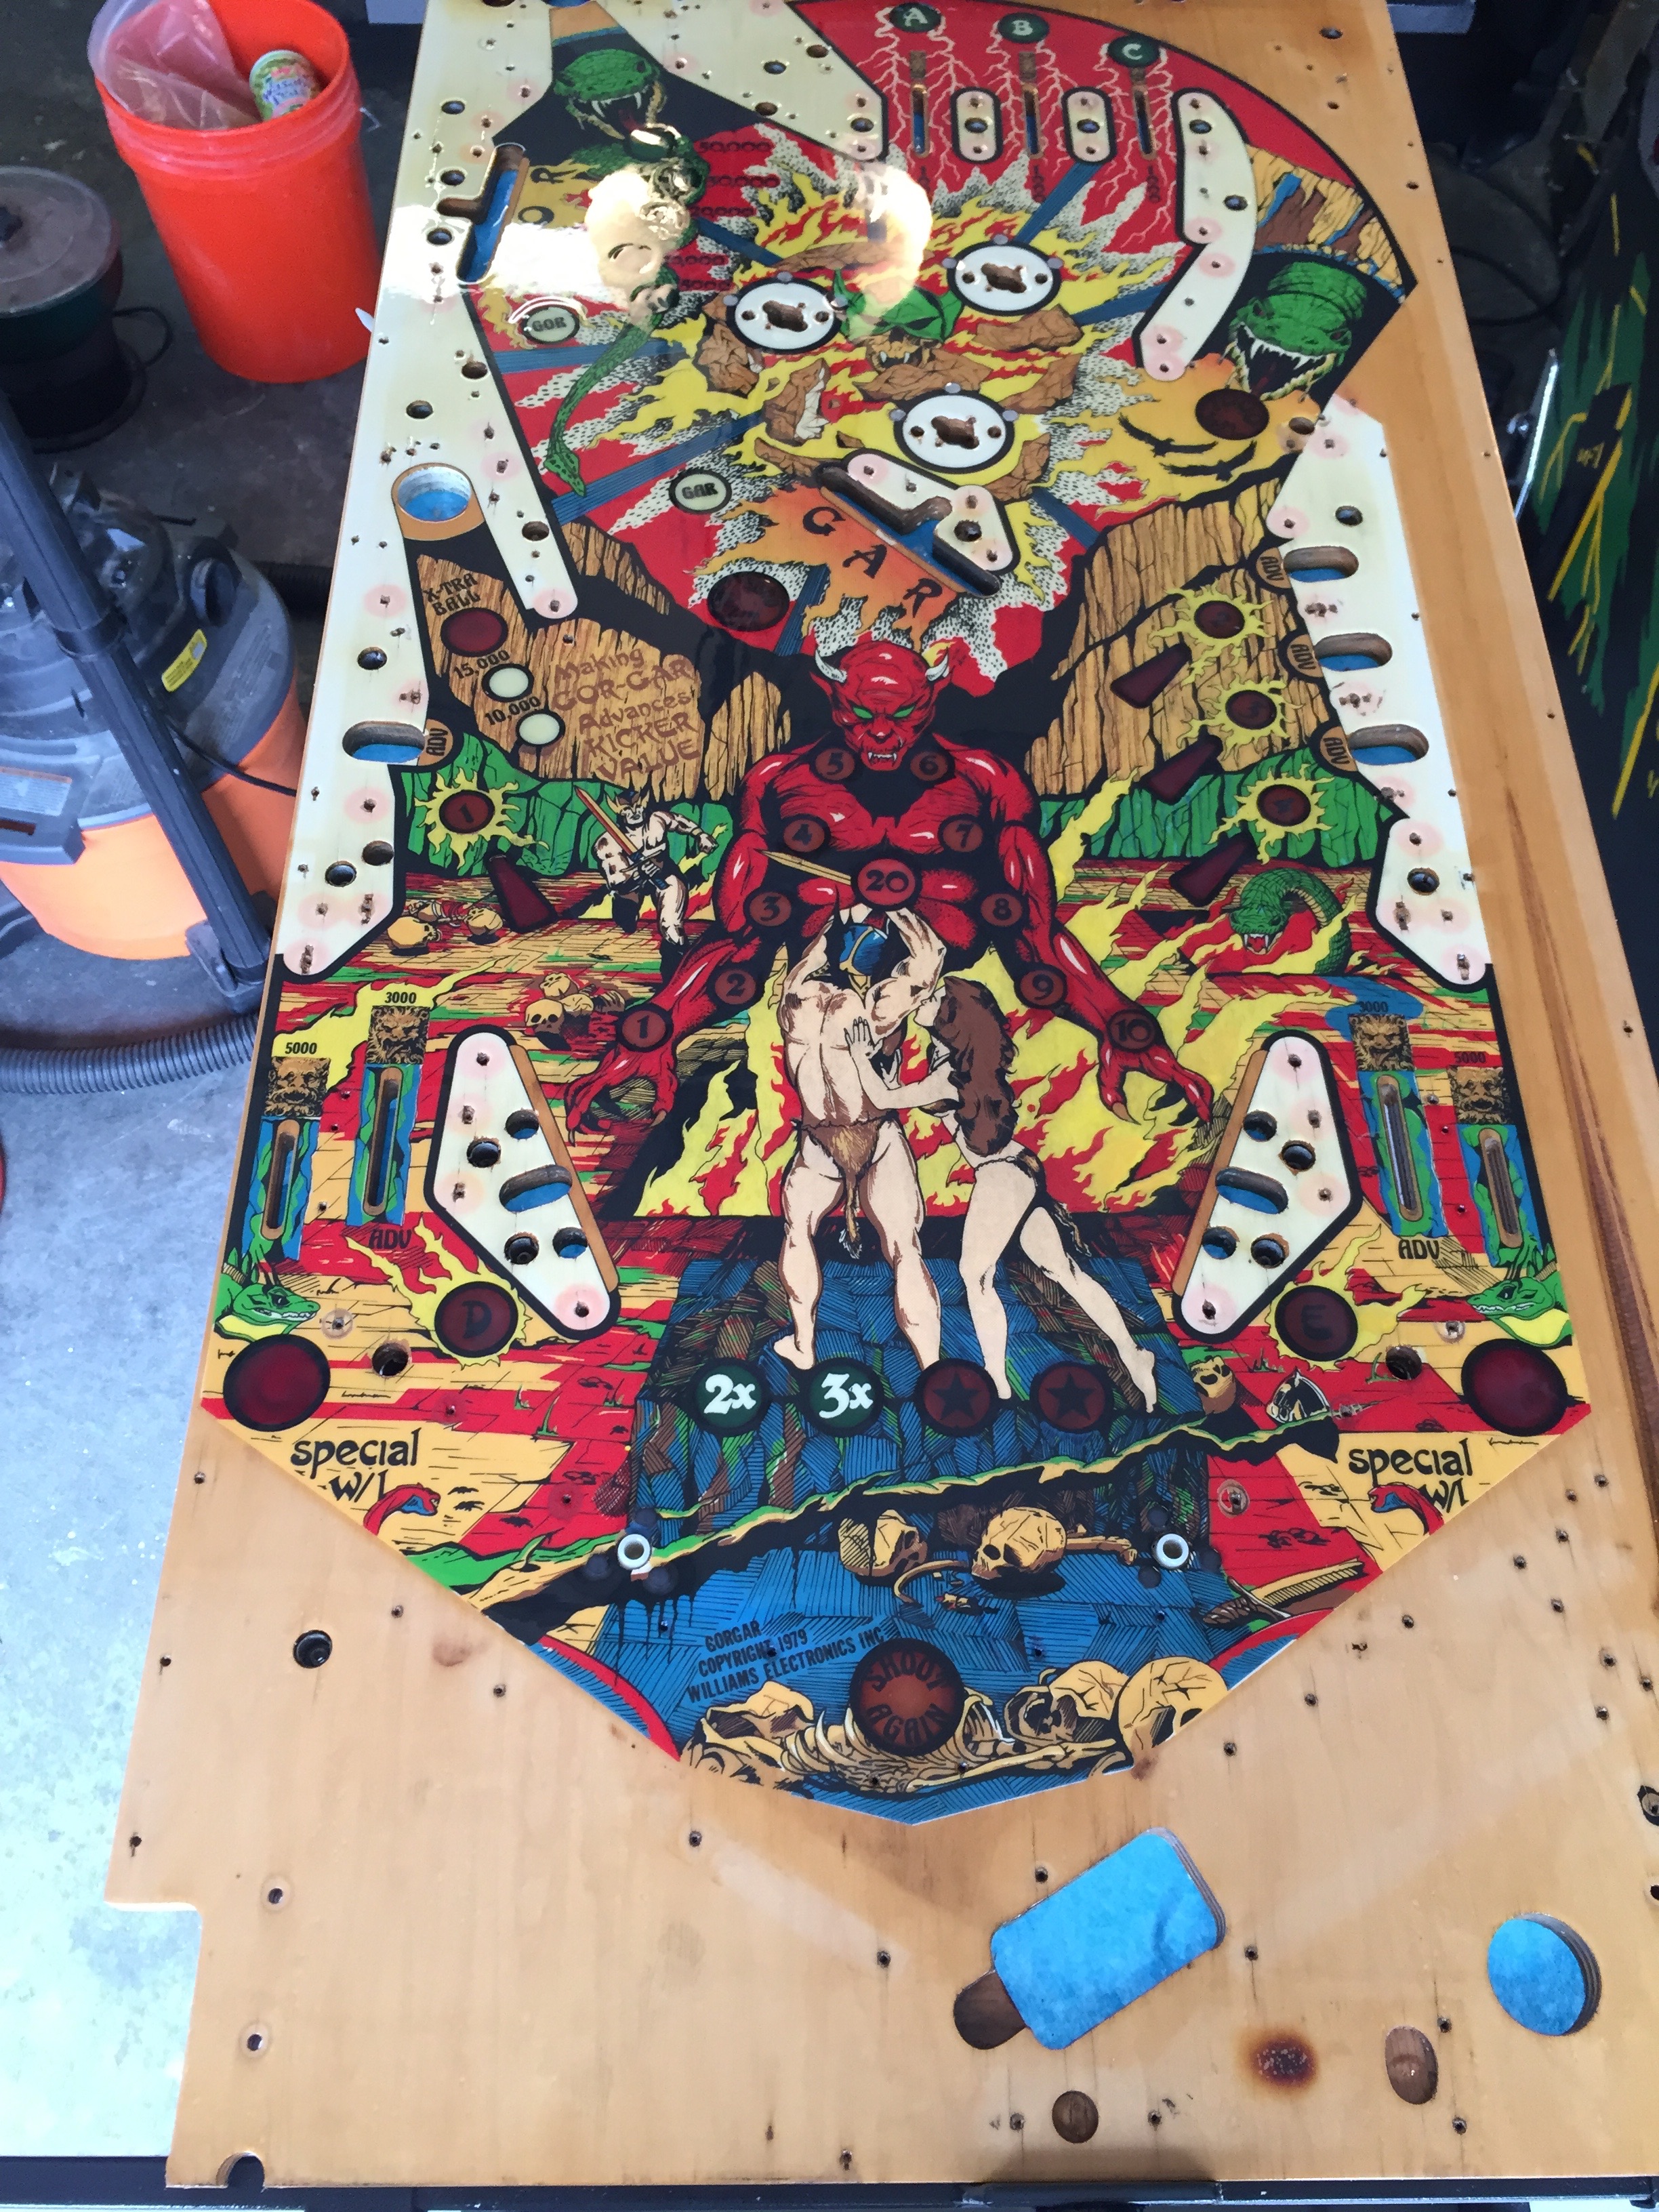
Smooth….
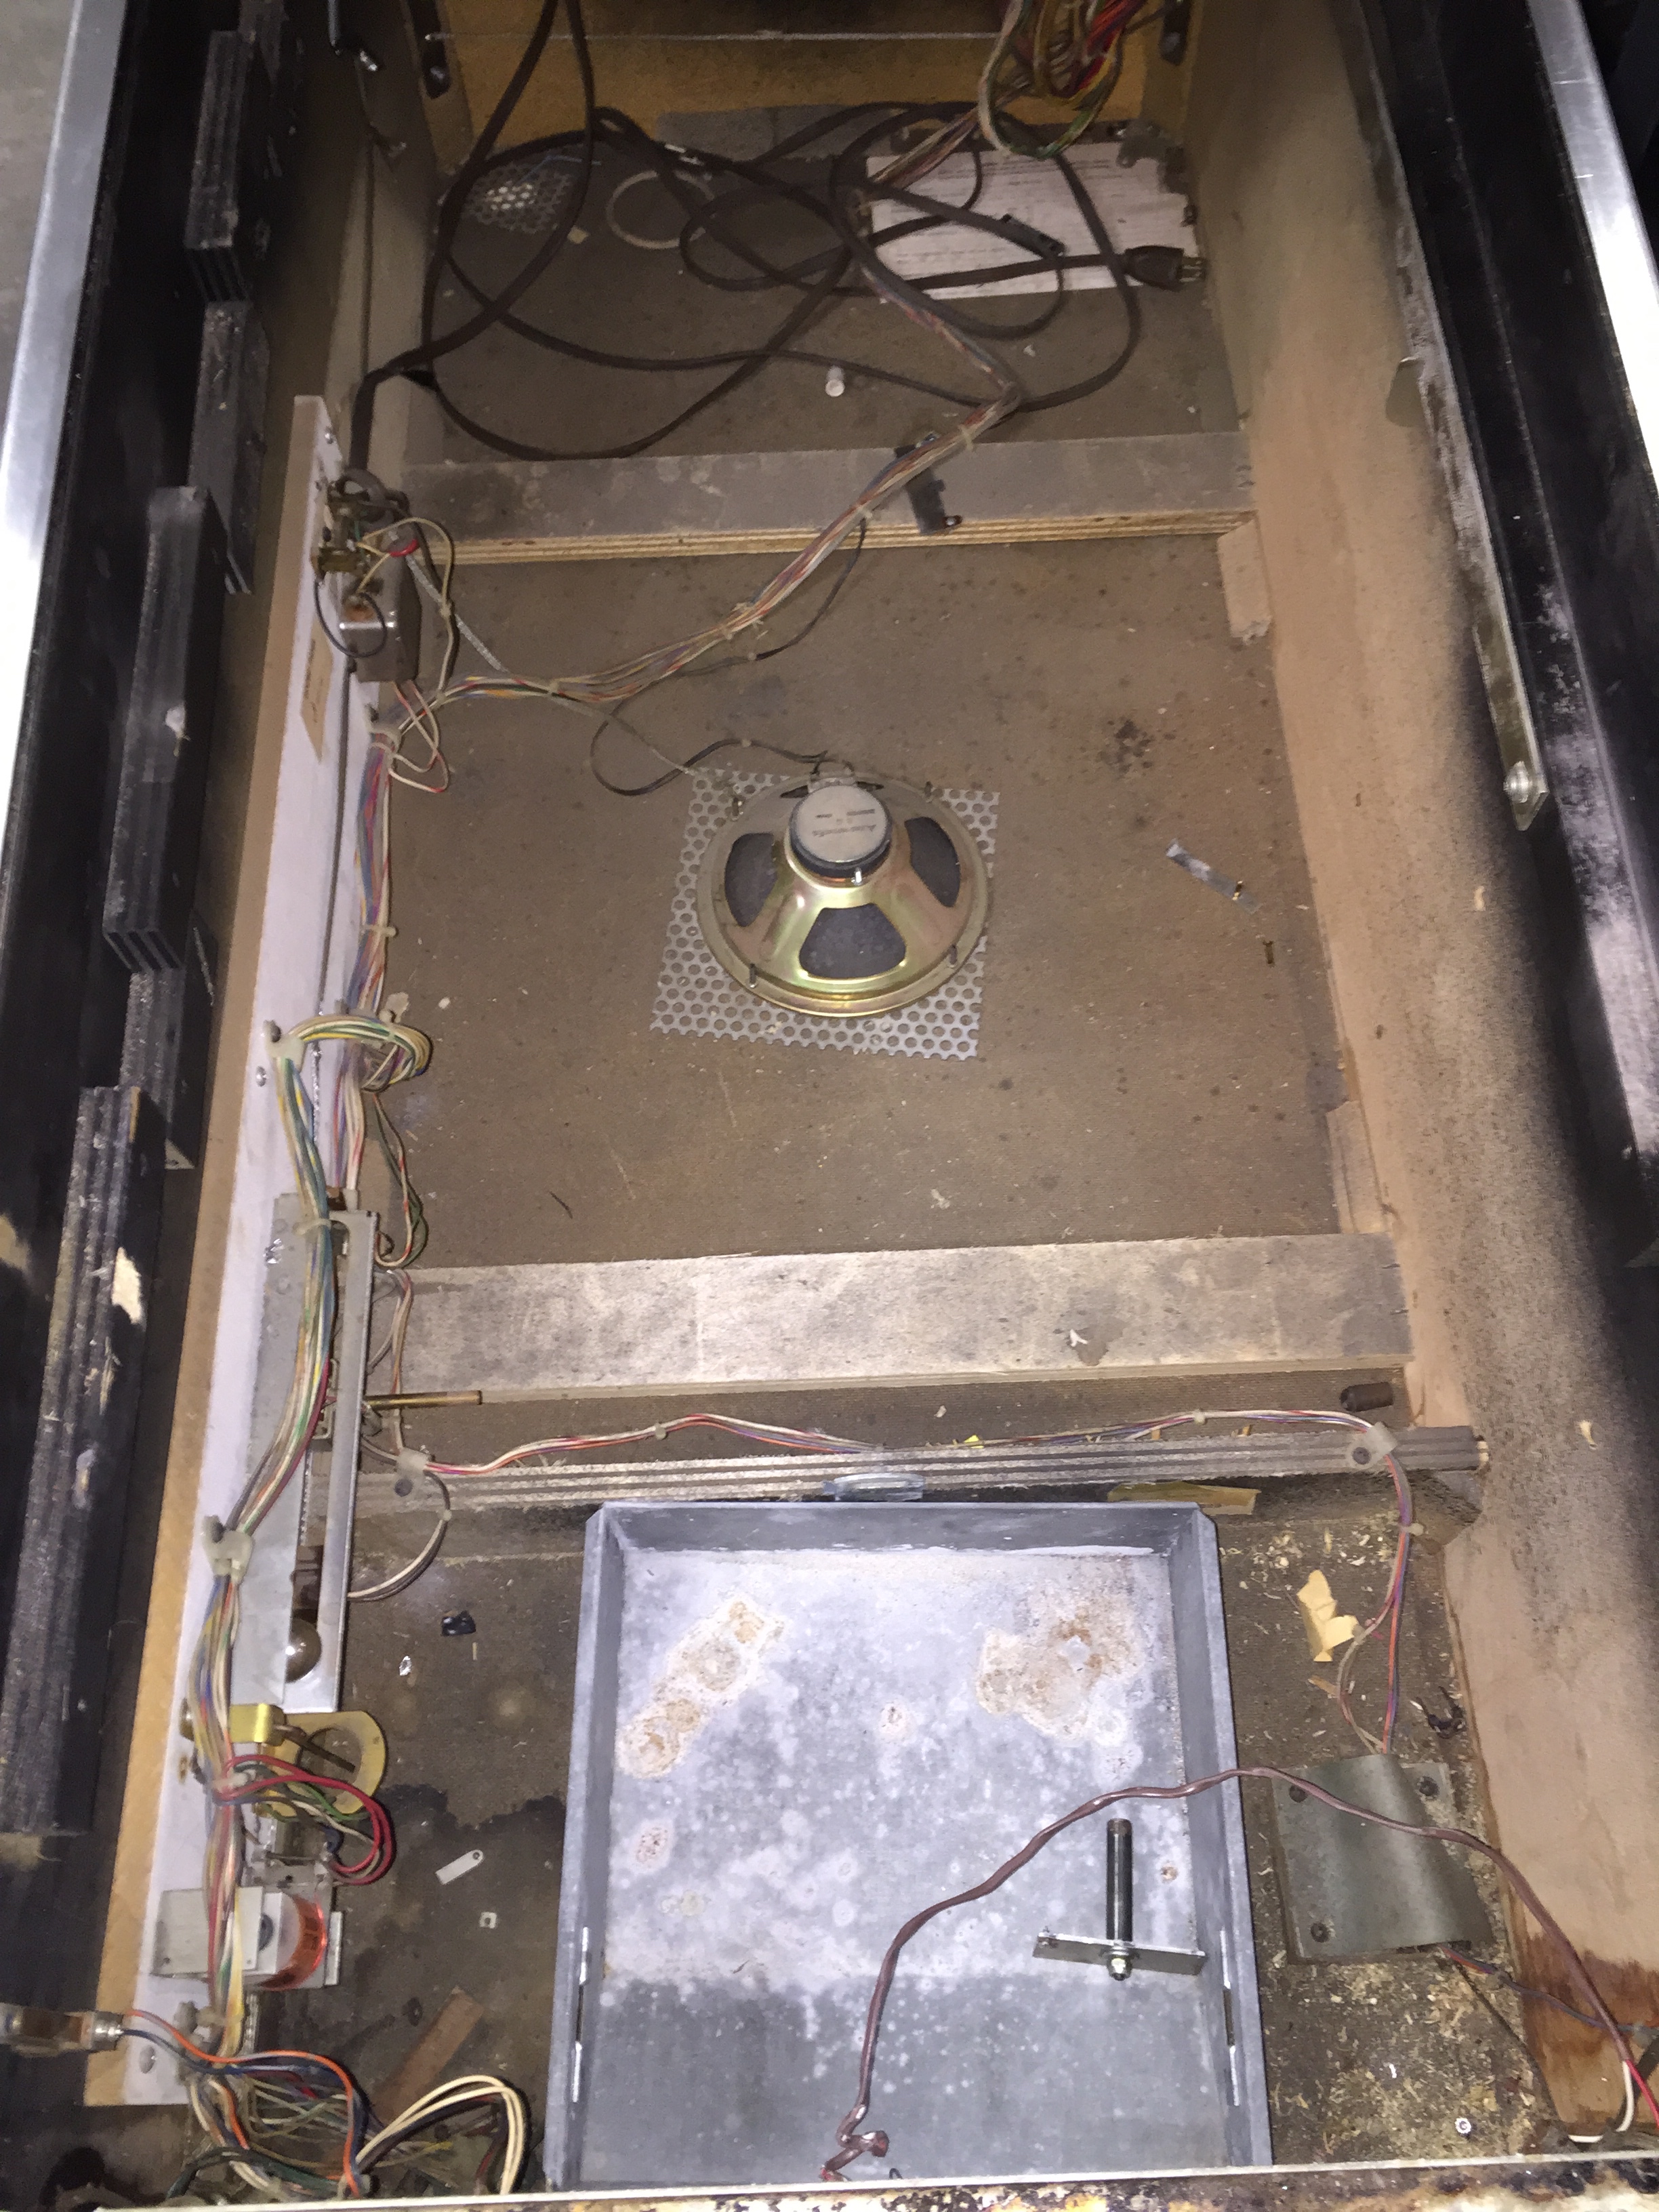
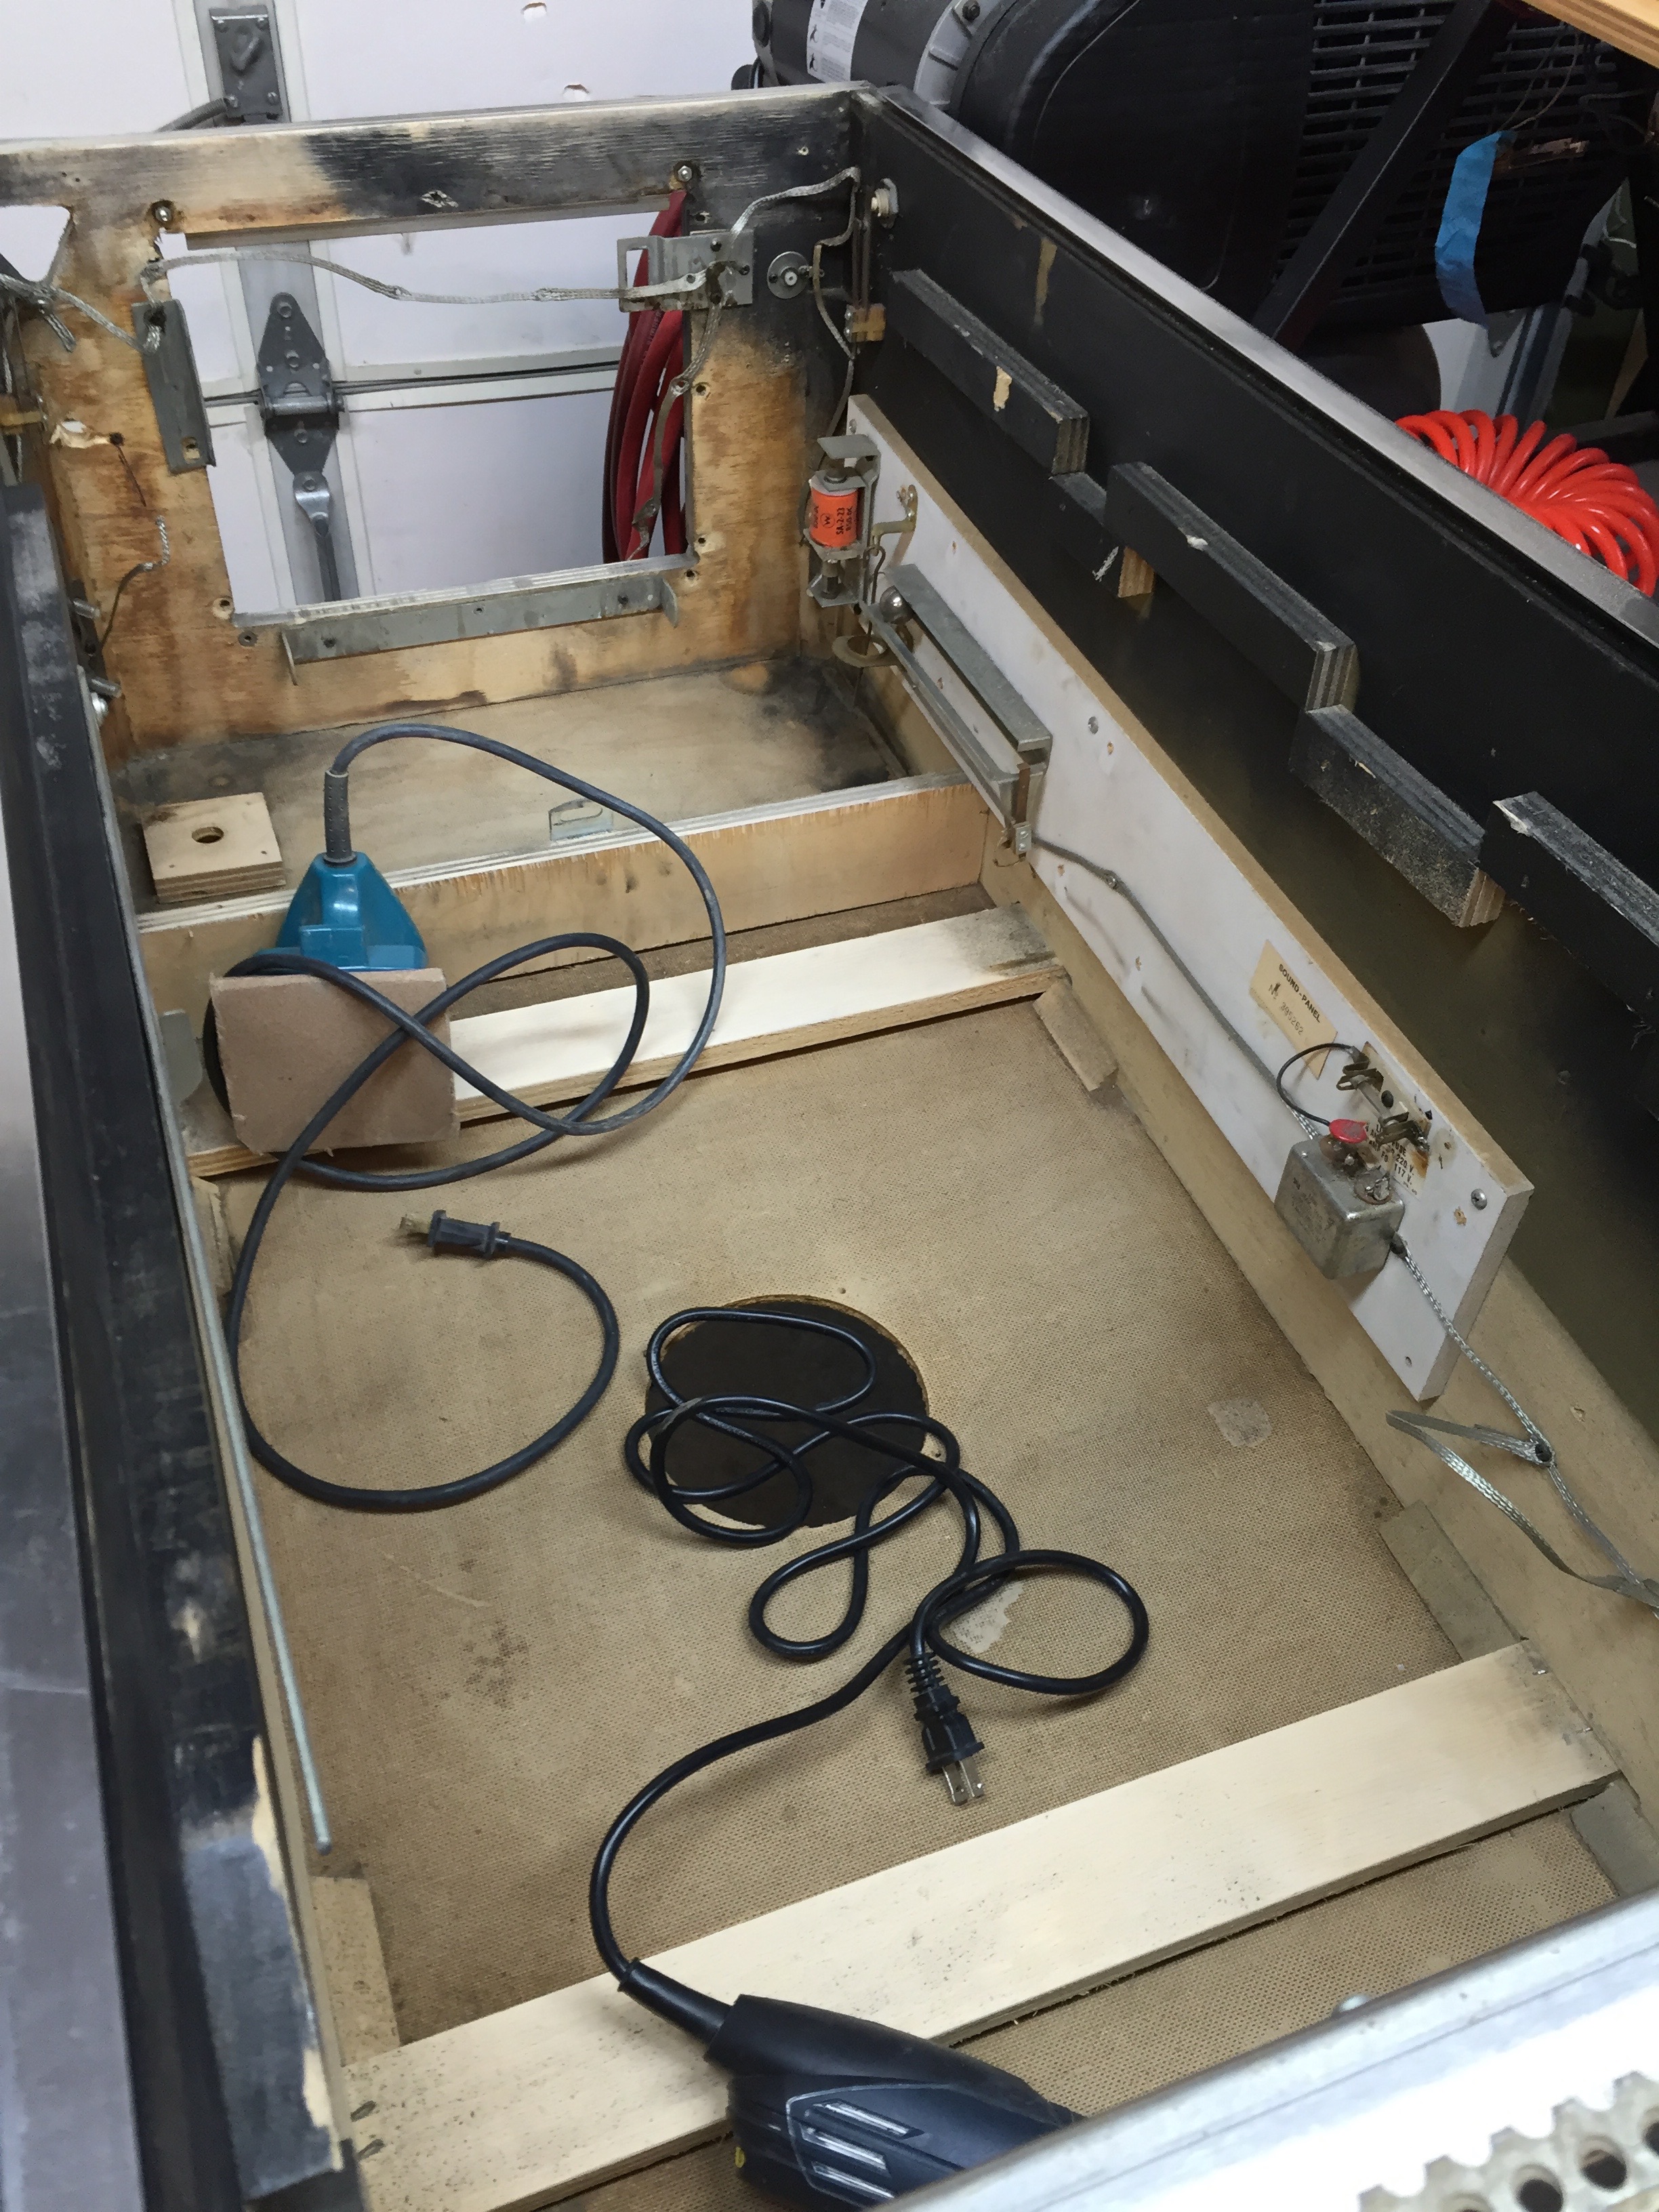
Cleaning the inside of the cabinet
This thing is nasty. It has the usual pop and other stuff spilled on/in it that you see from being on location, but this machine also had a little mouse problem. I could tell from some of the chewed up paper bits and other little treasures I found while sweeping out the cabinet. Someone had already cleaned it up a bit, but there was still some stuff left. The only way I know to clean up this kind of stuff is to remove all/most of the stuff from inside the cabinet and sand it down really good.
Starting on the sanding process…
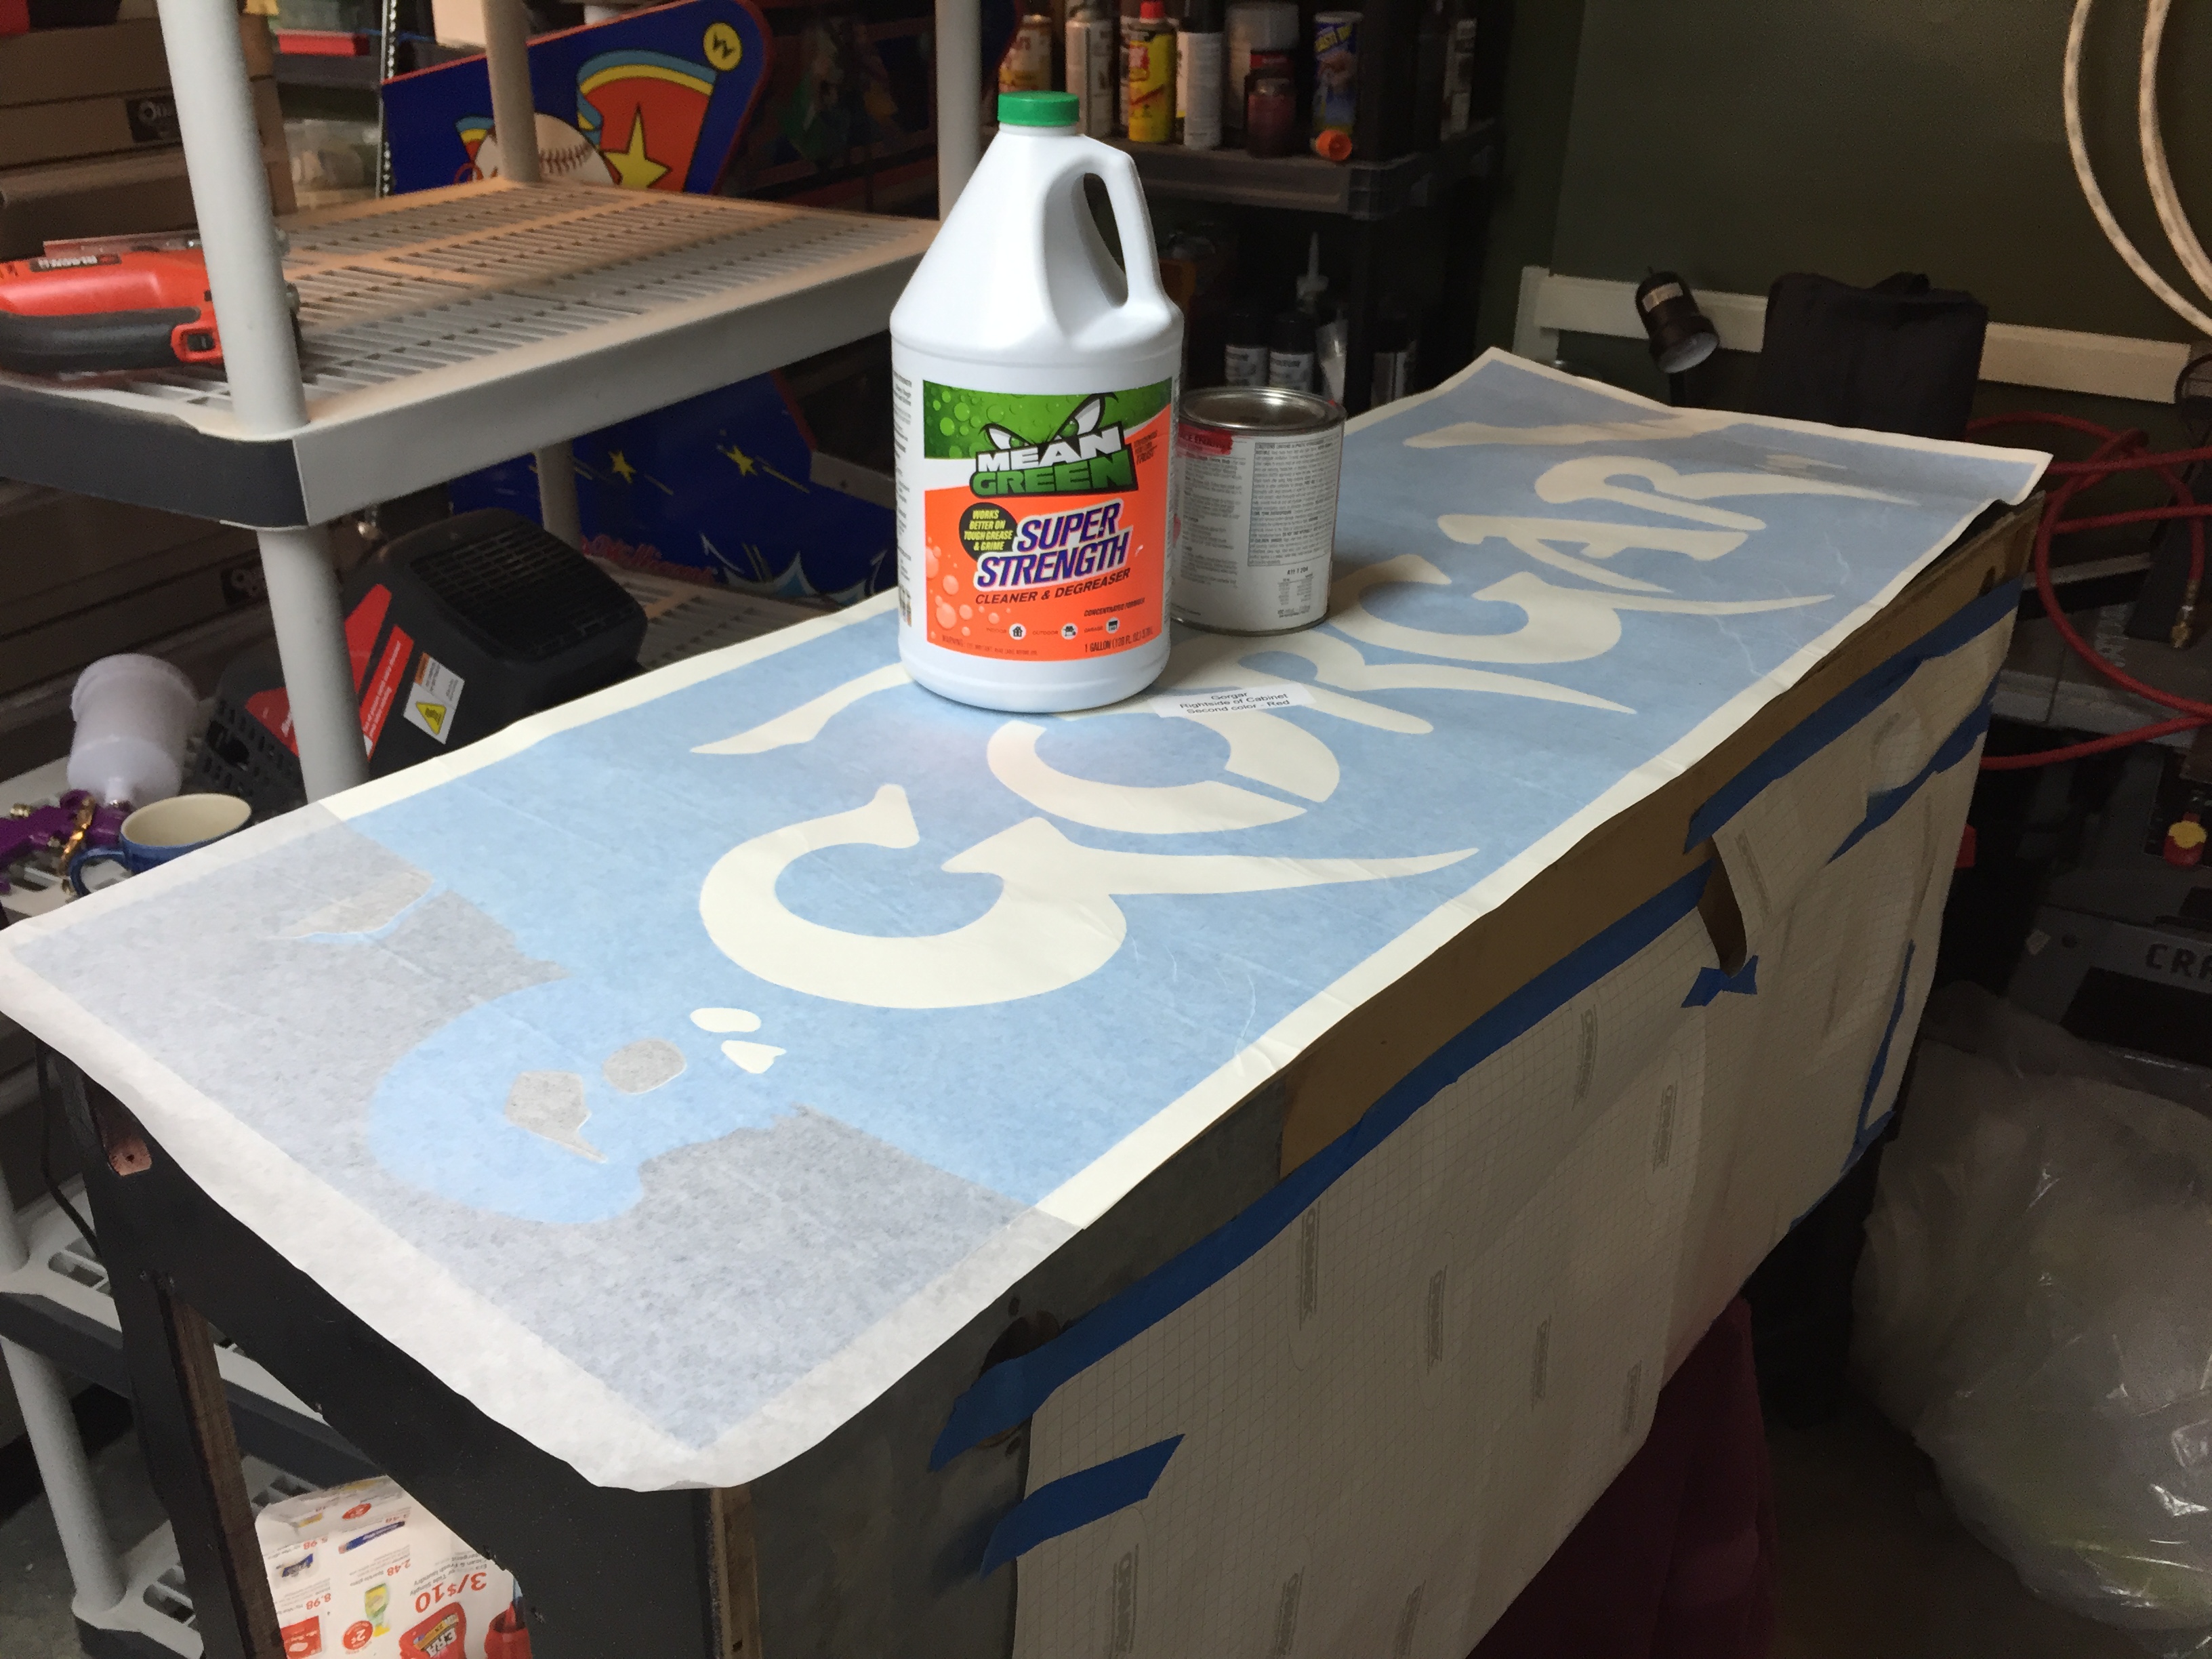
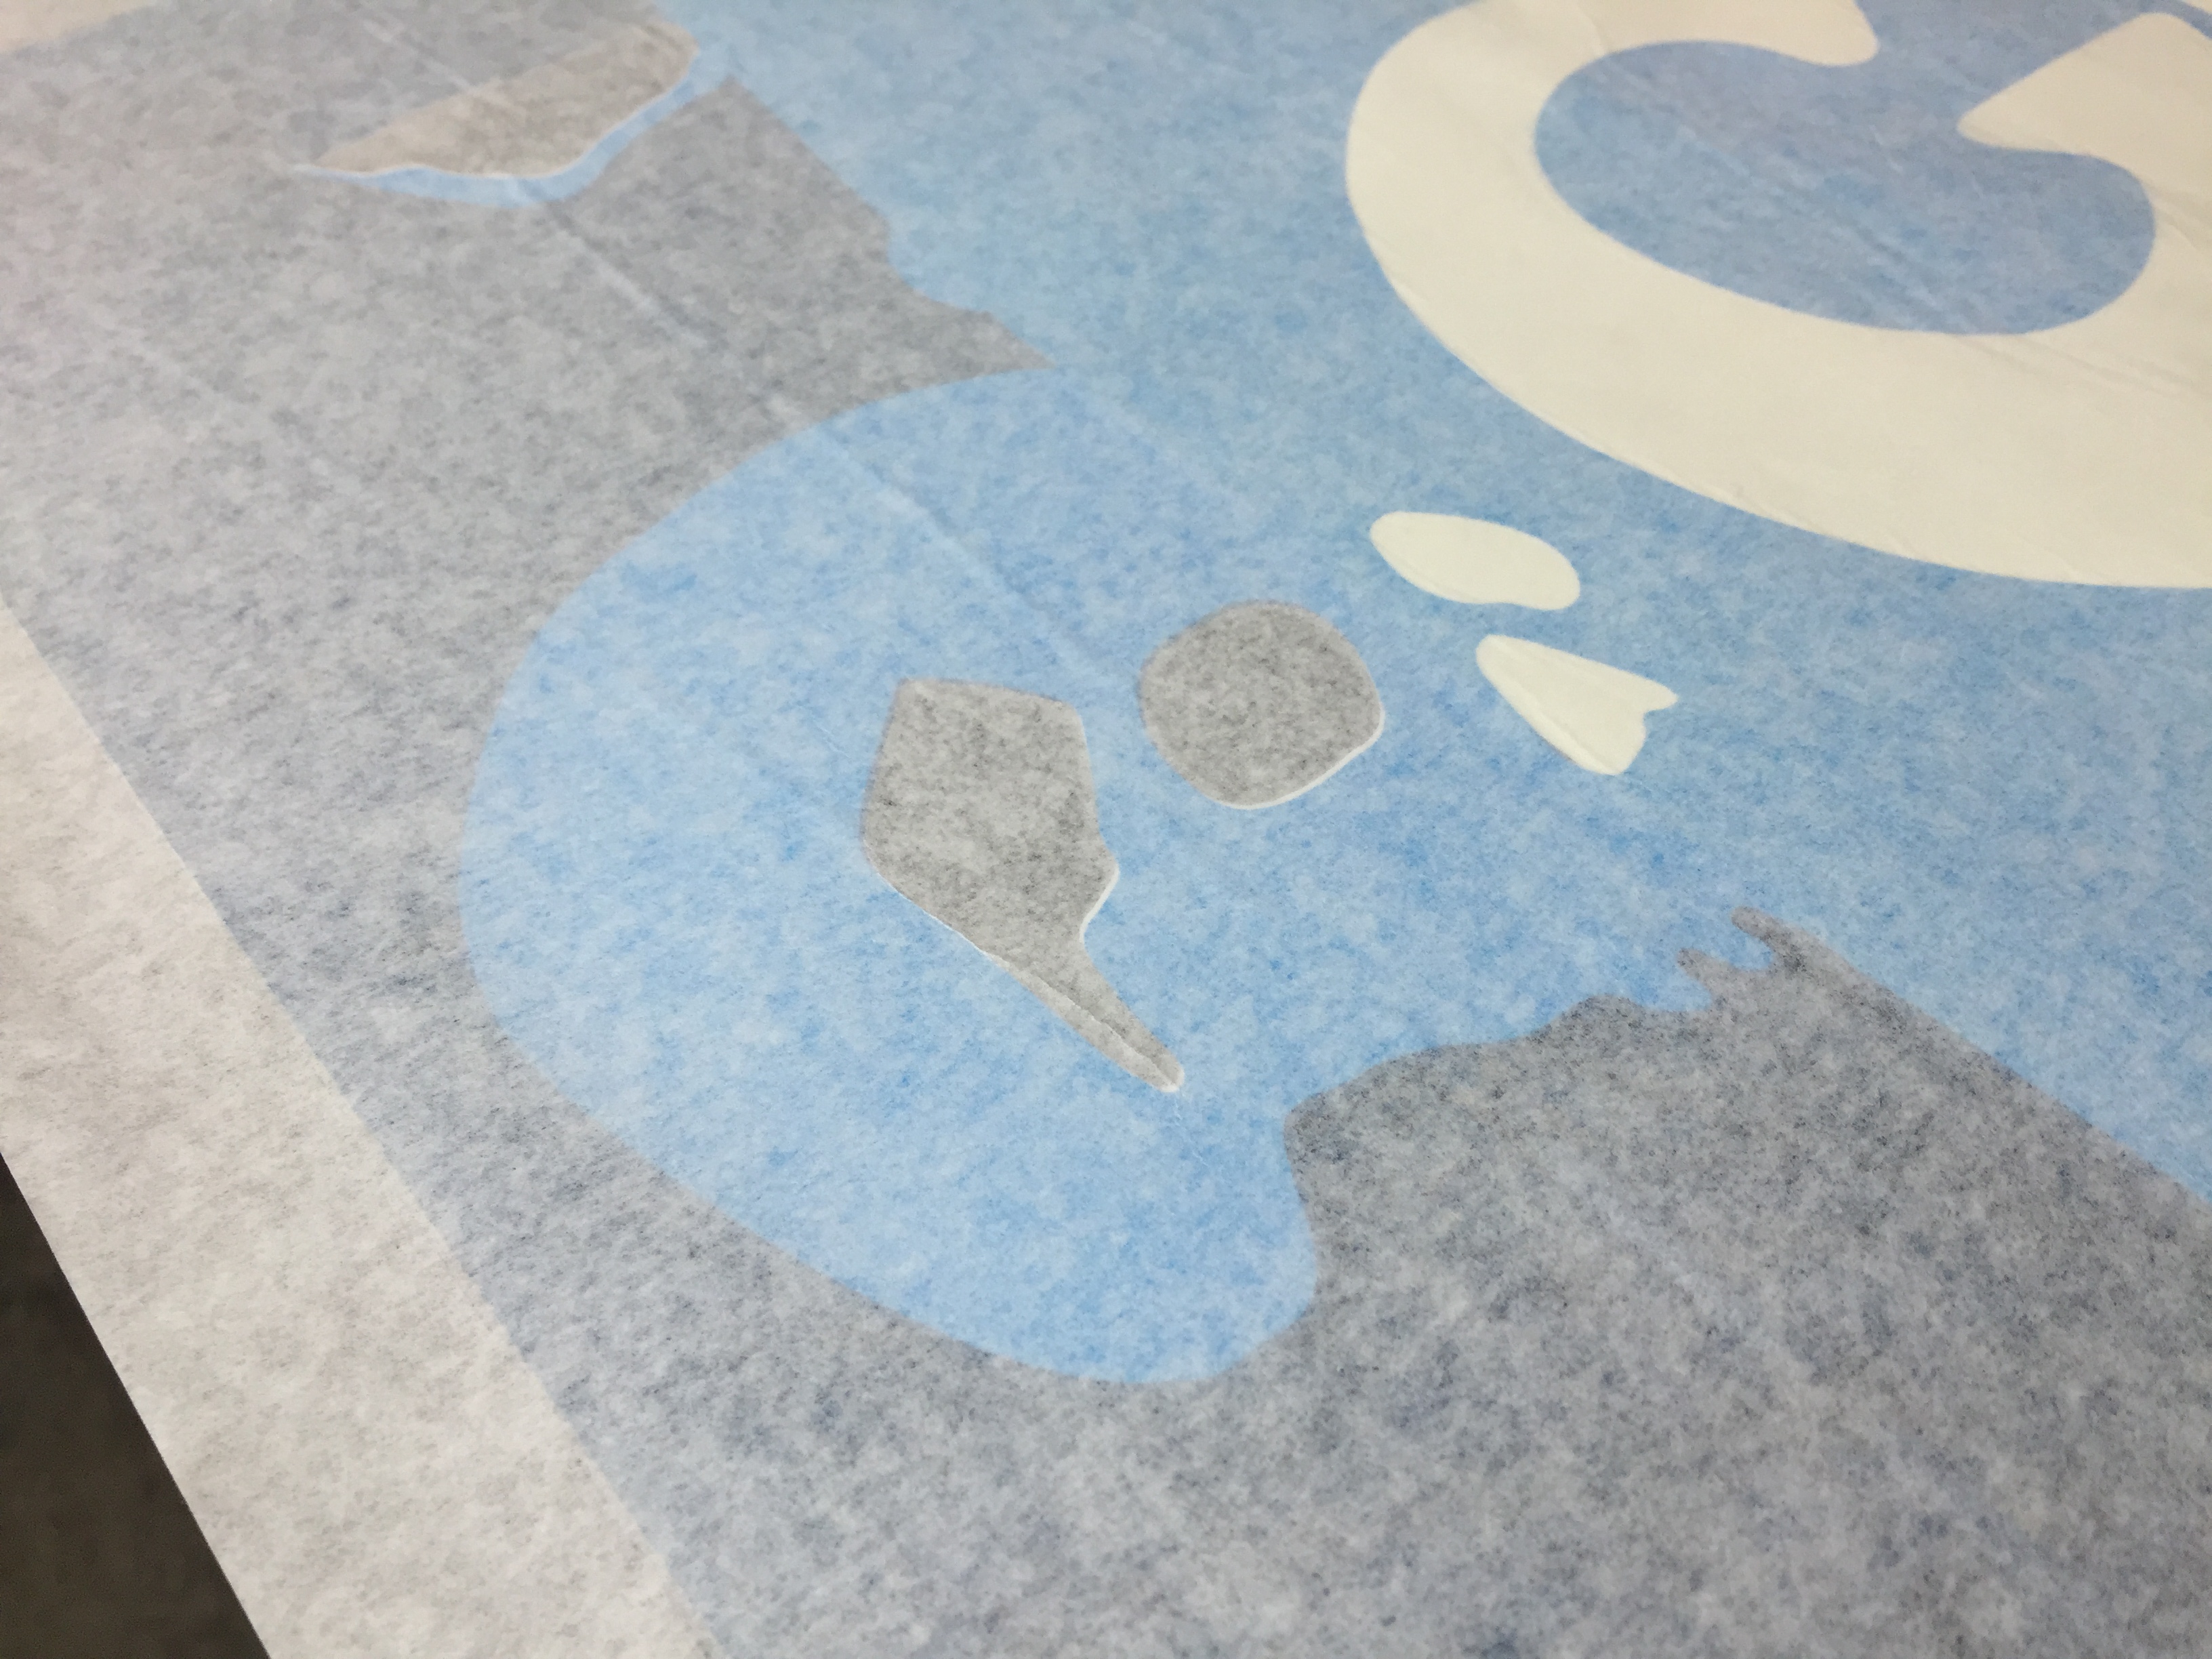
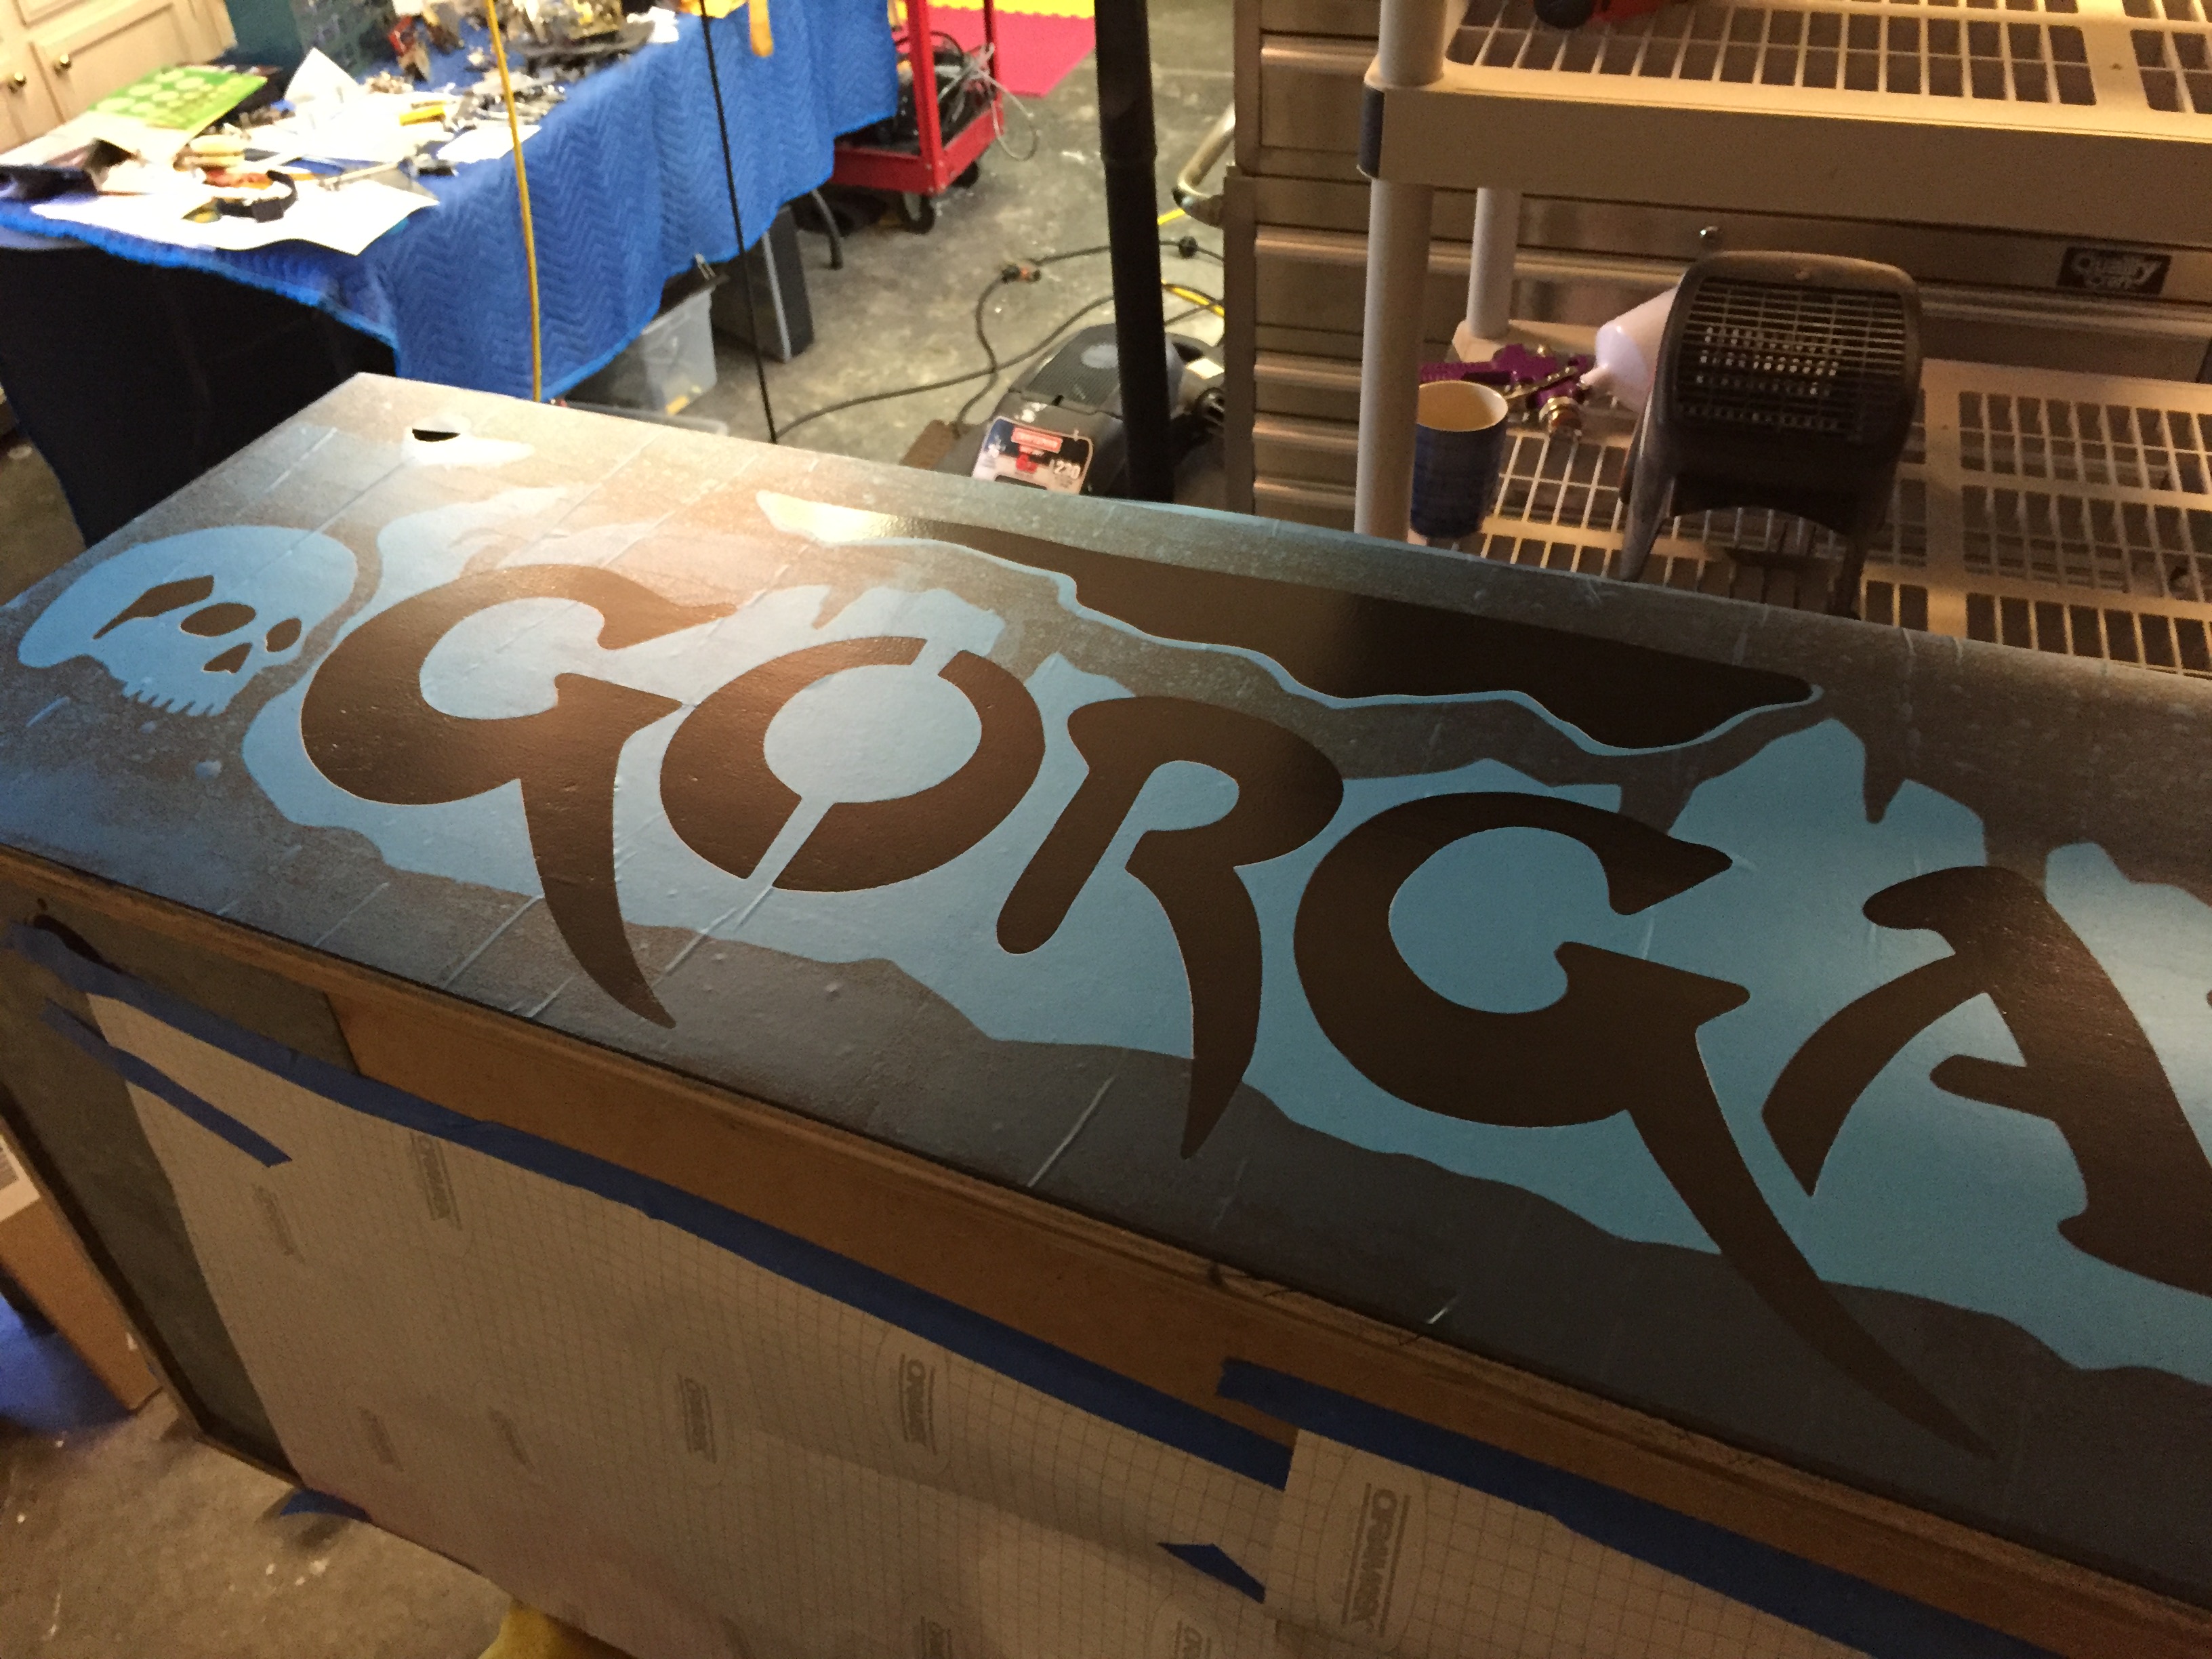
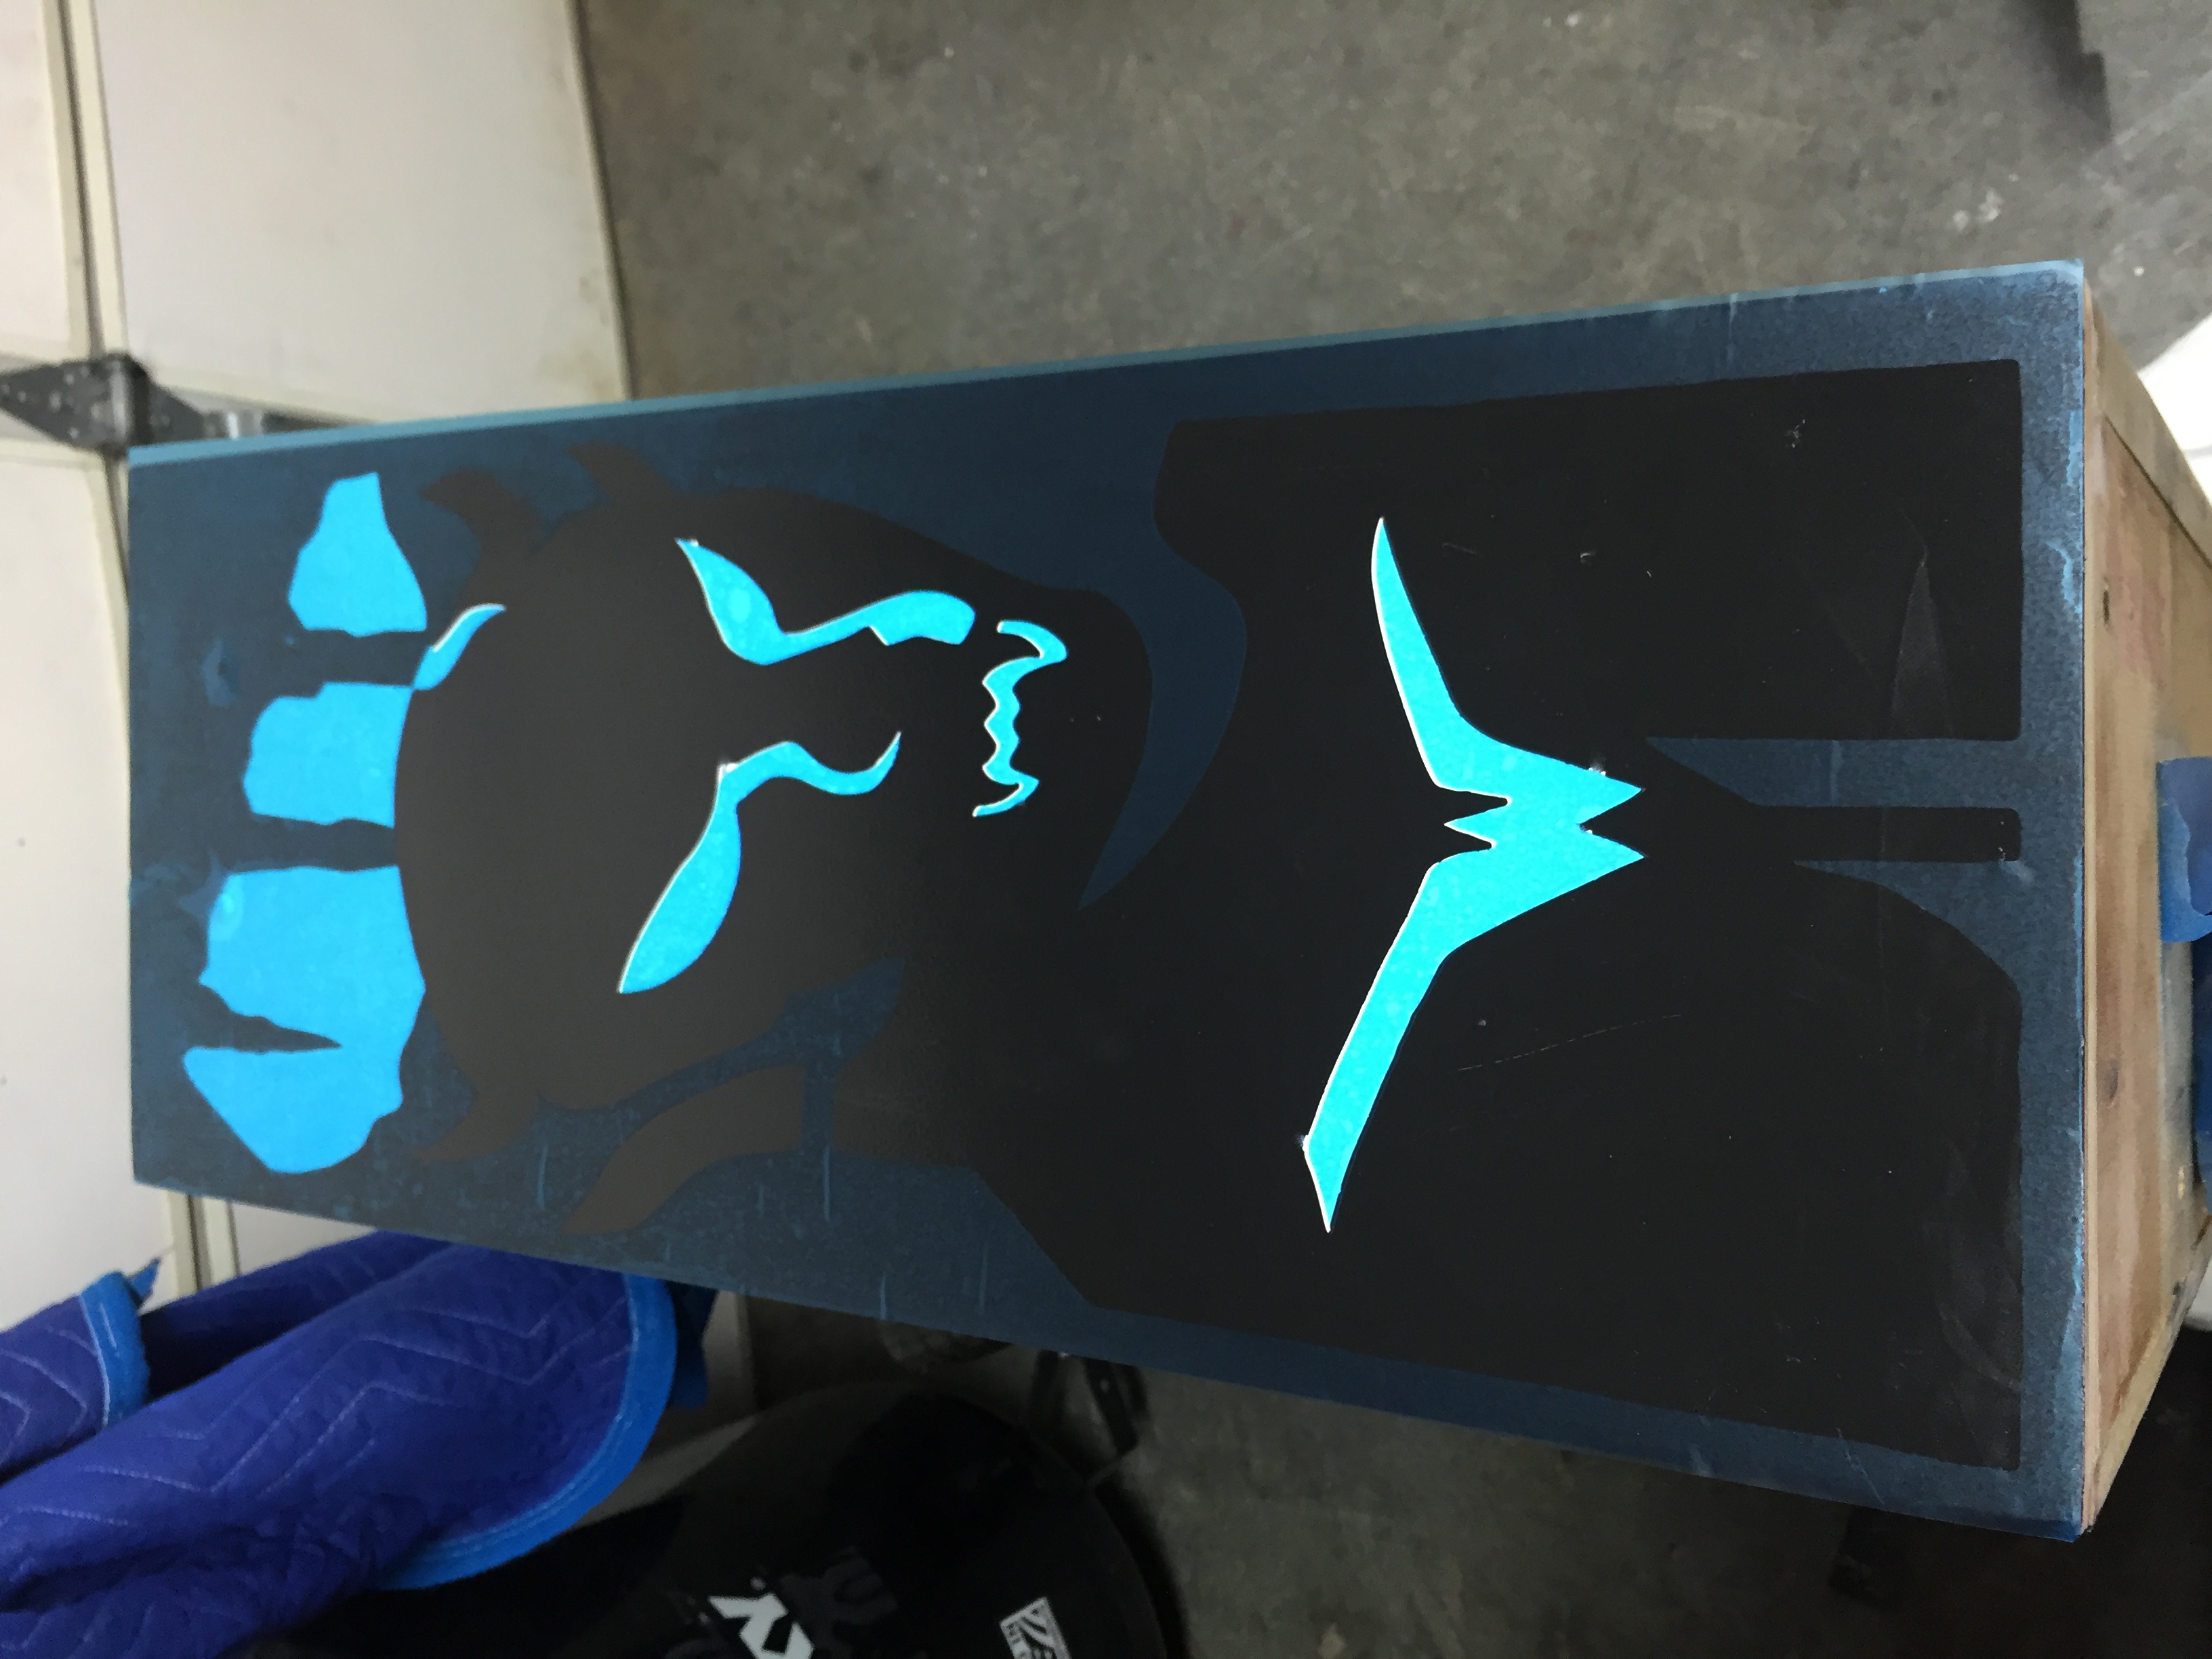
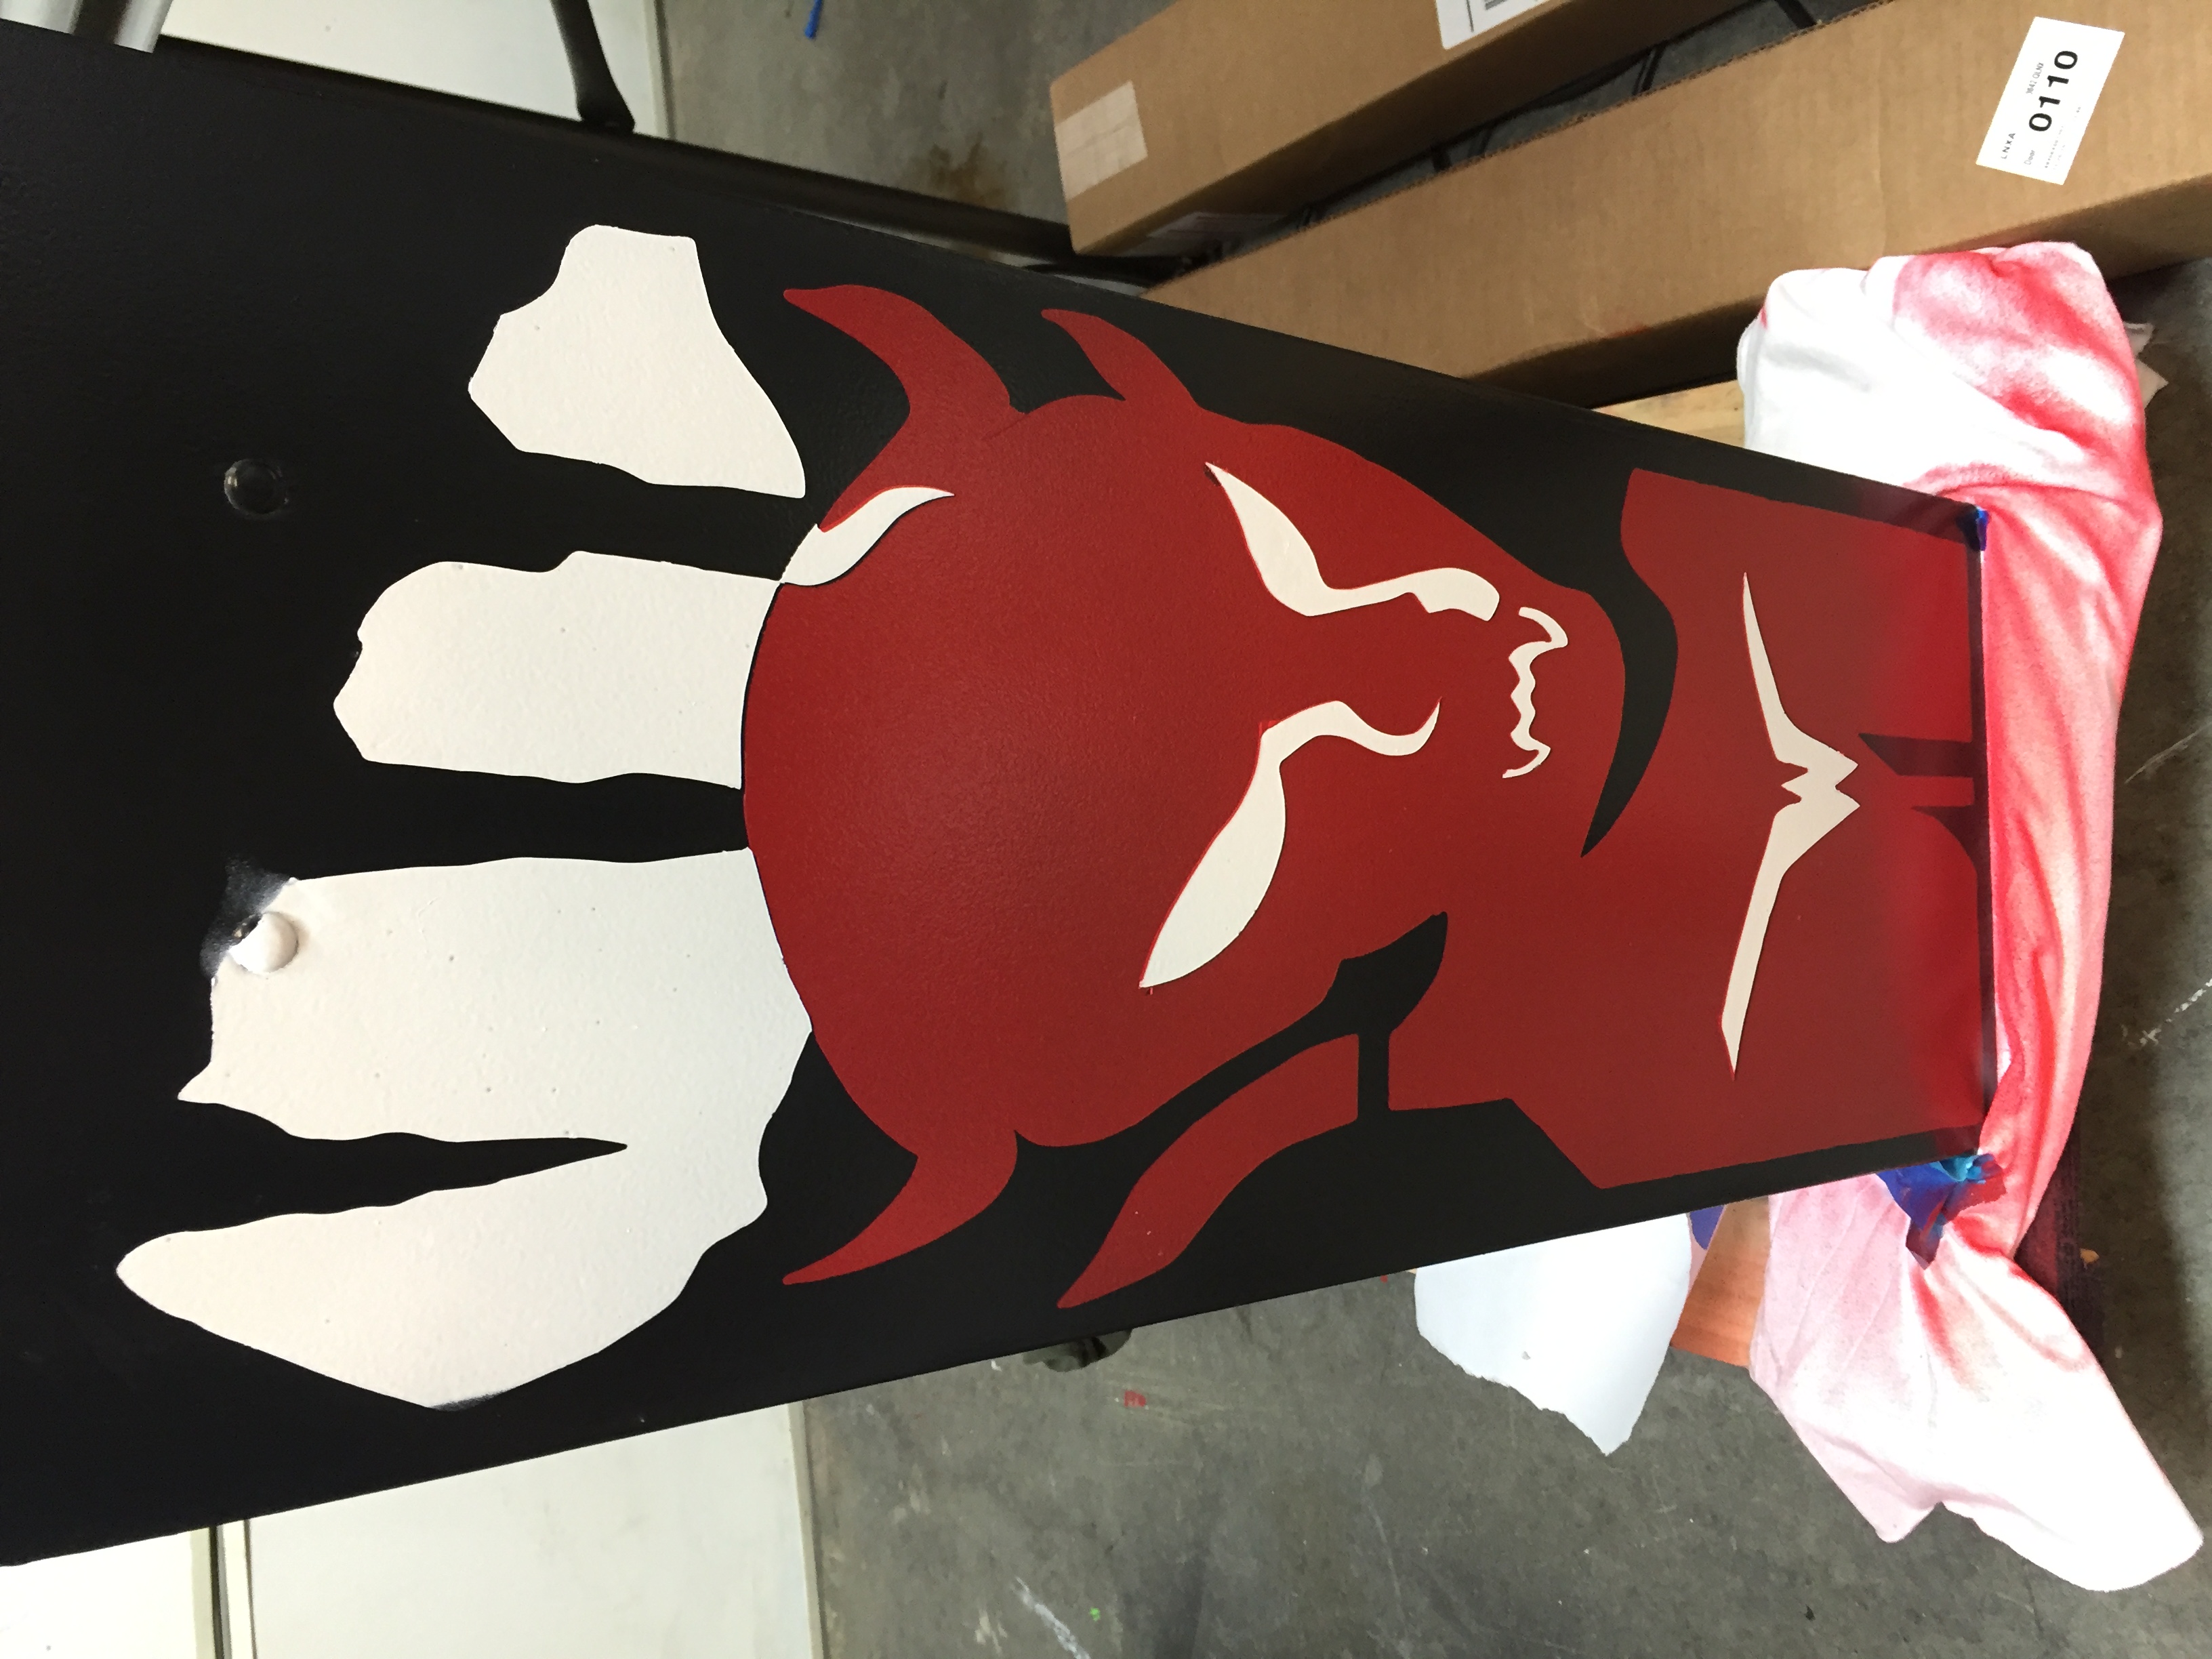
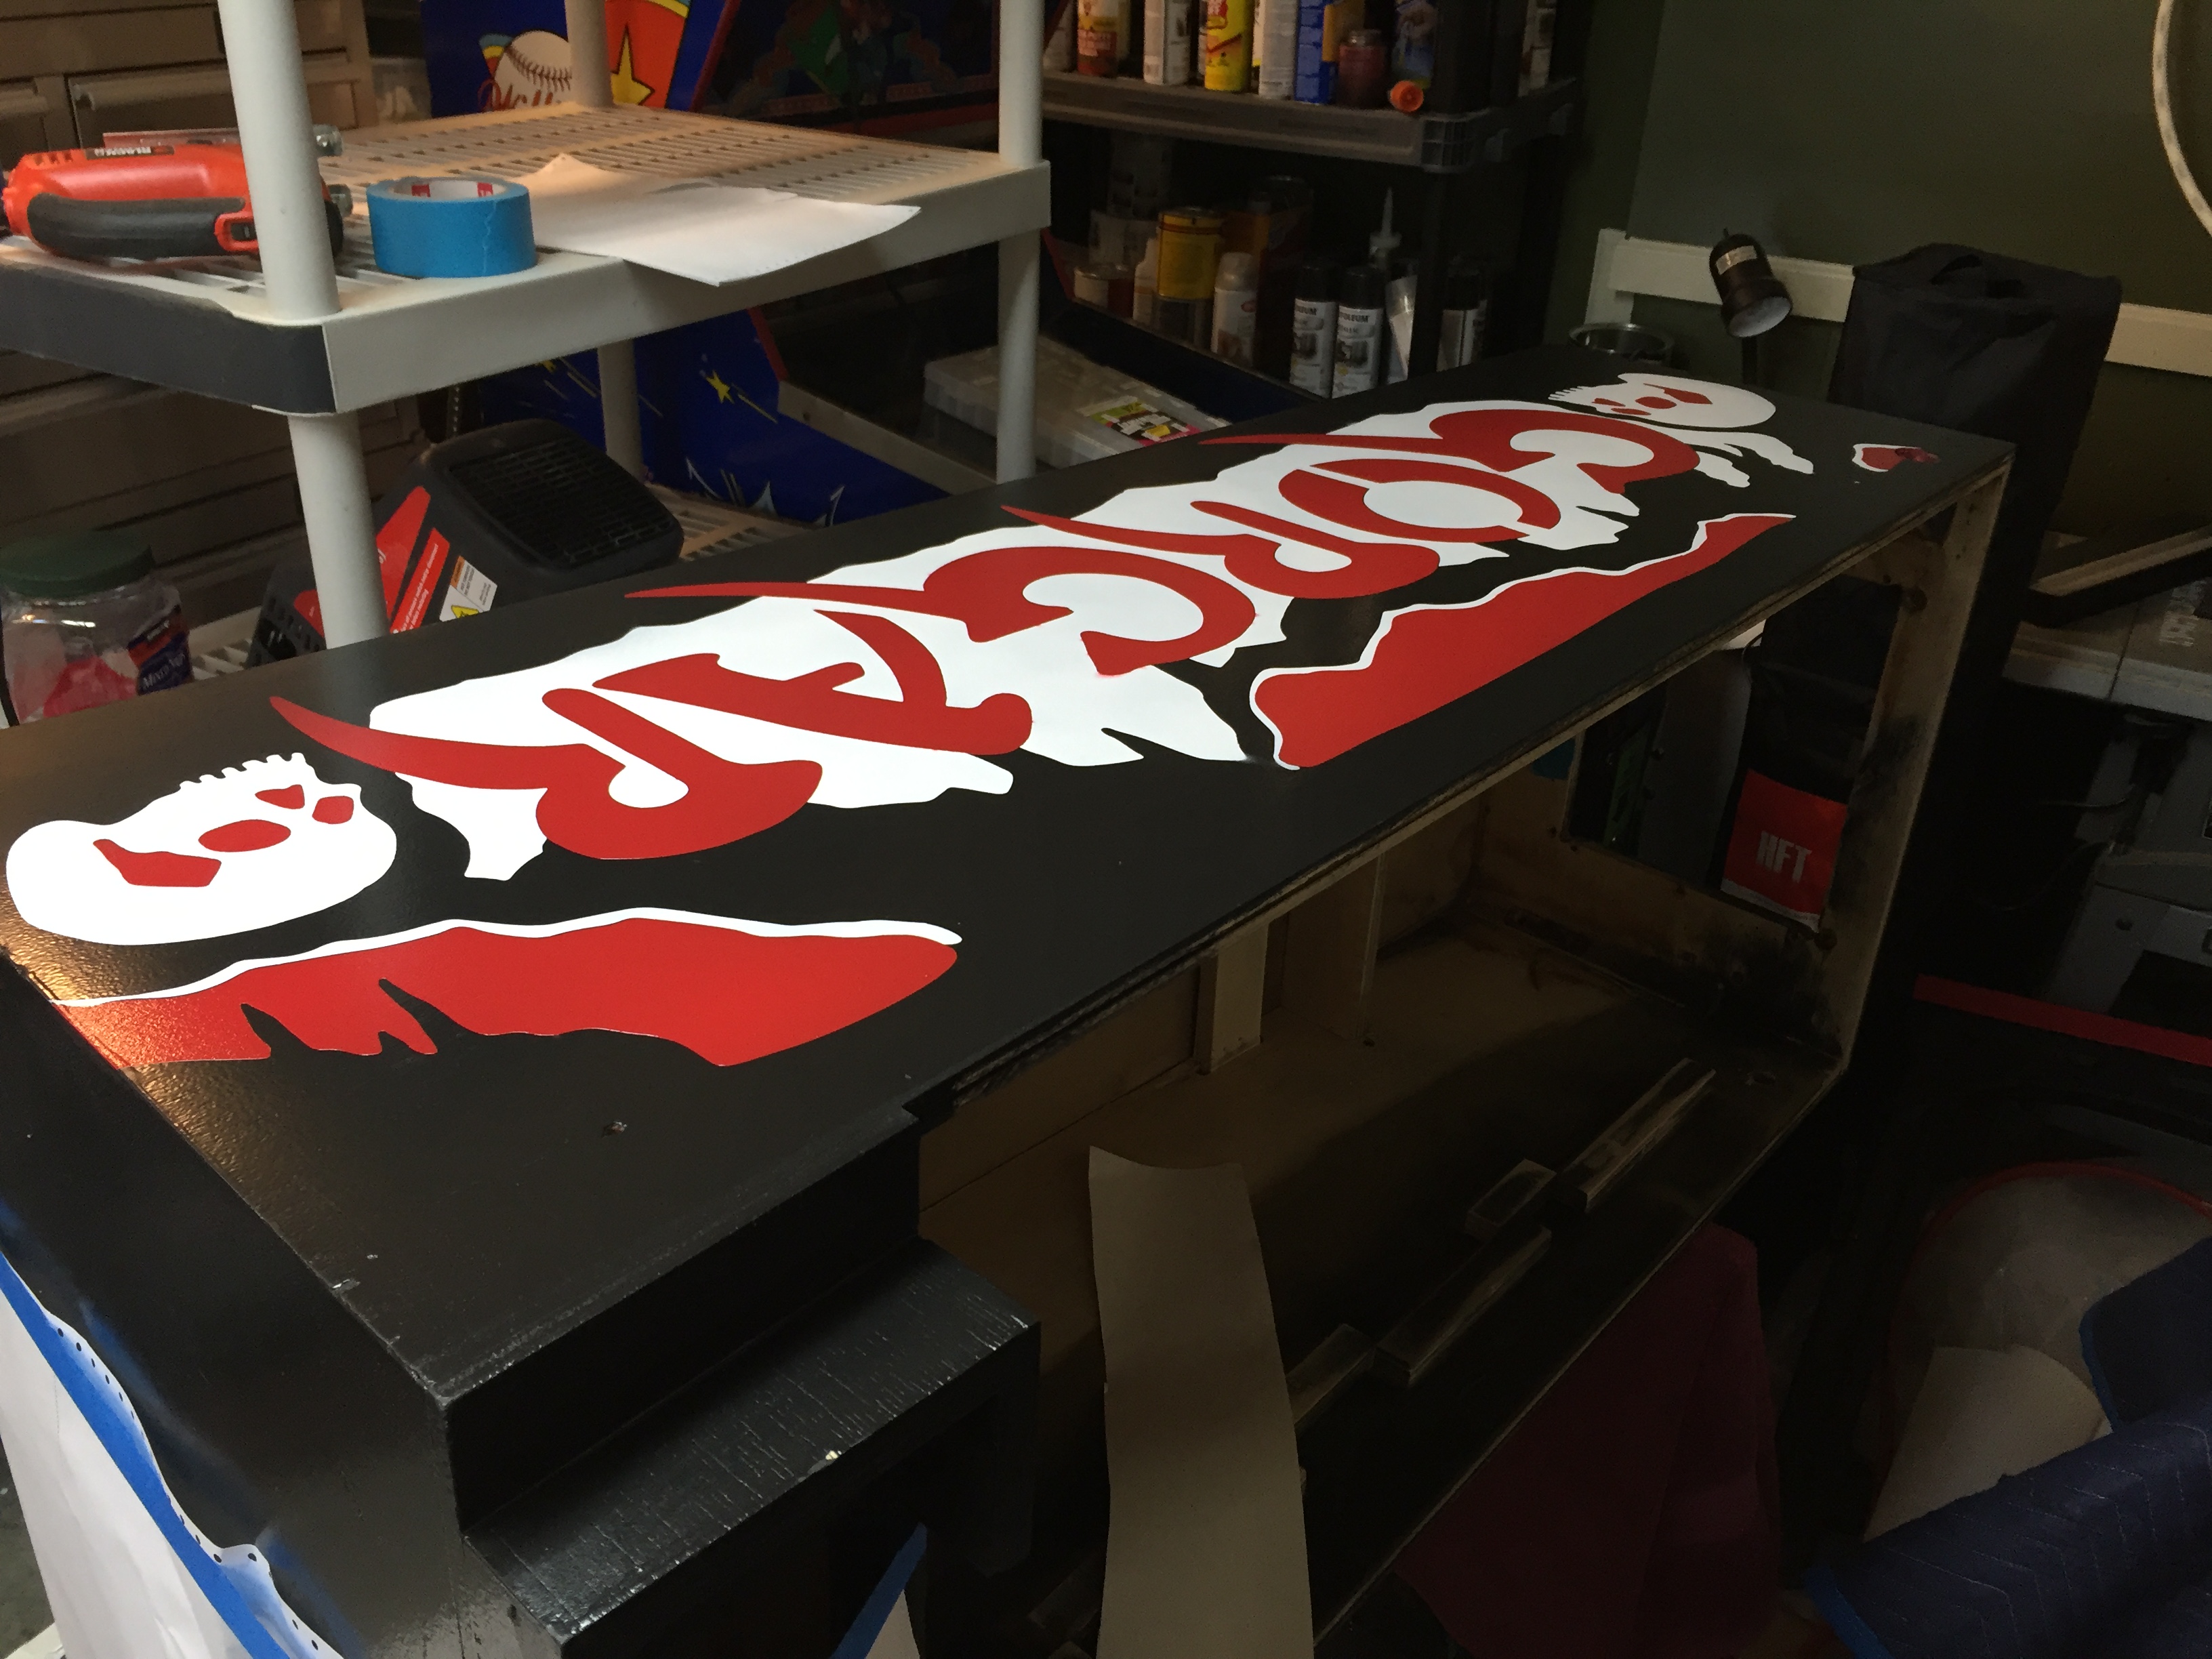
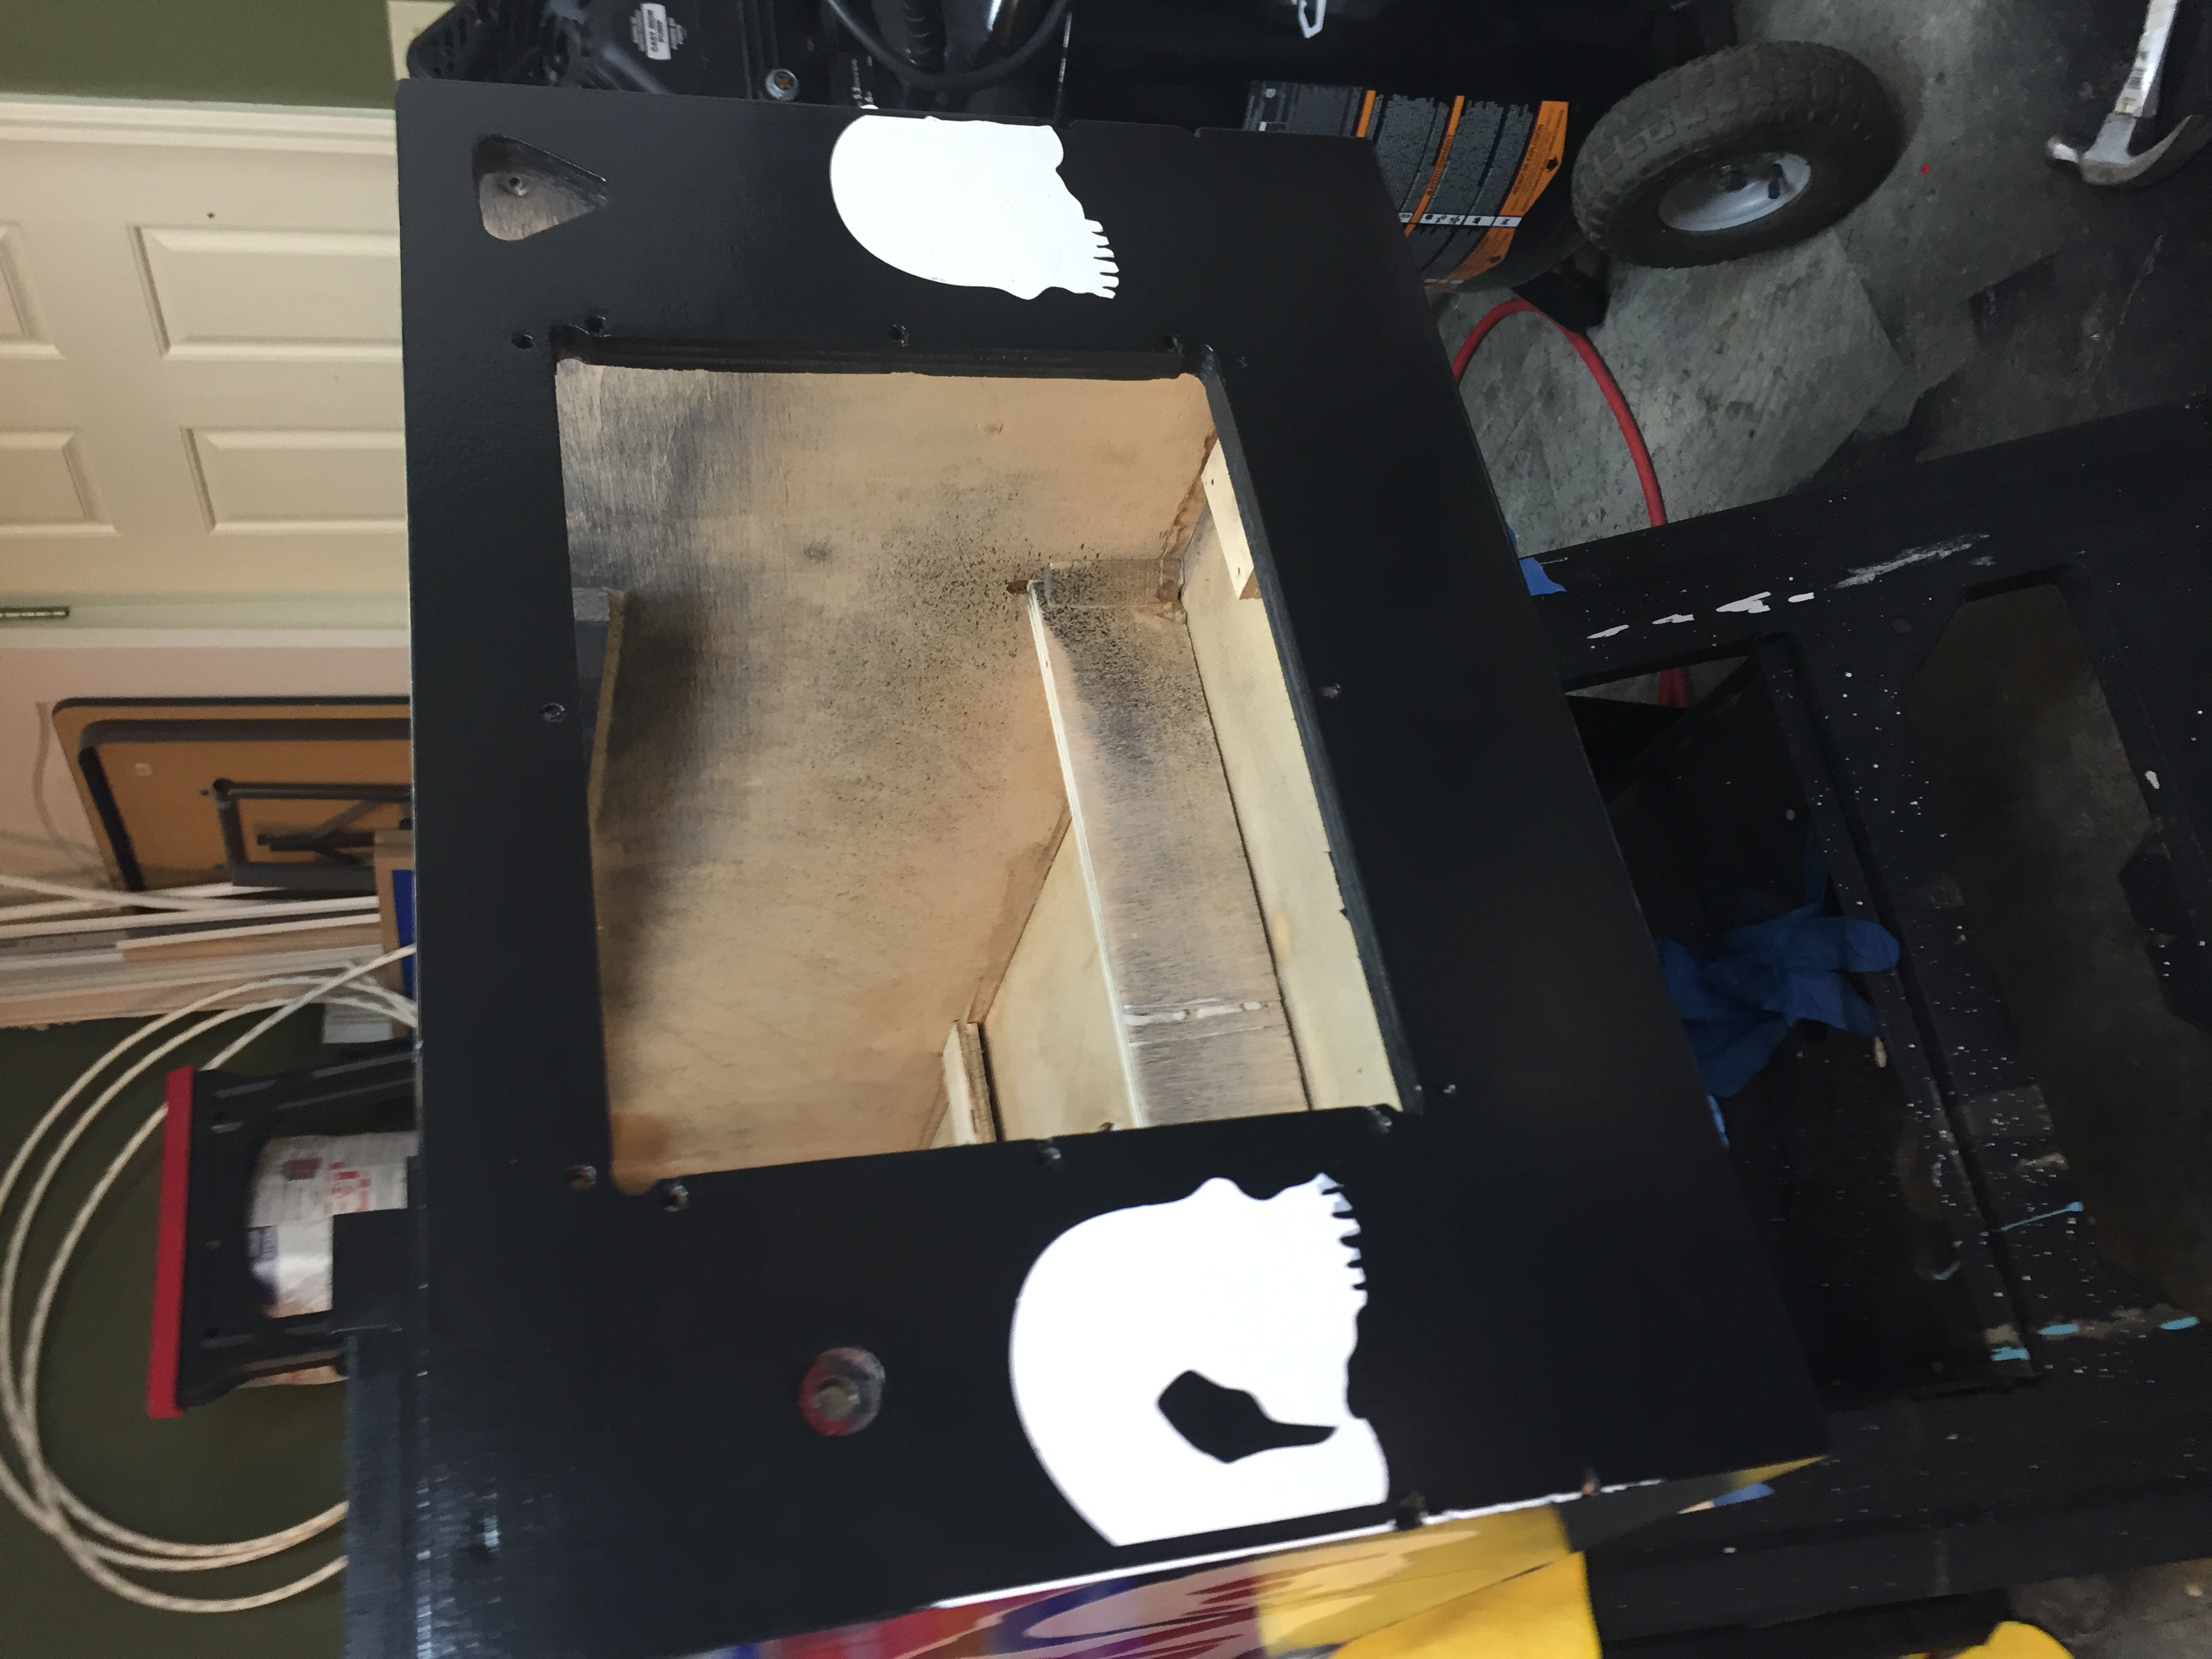
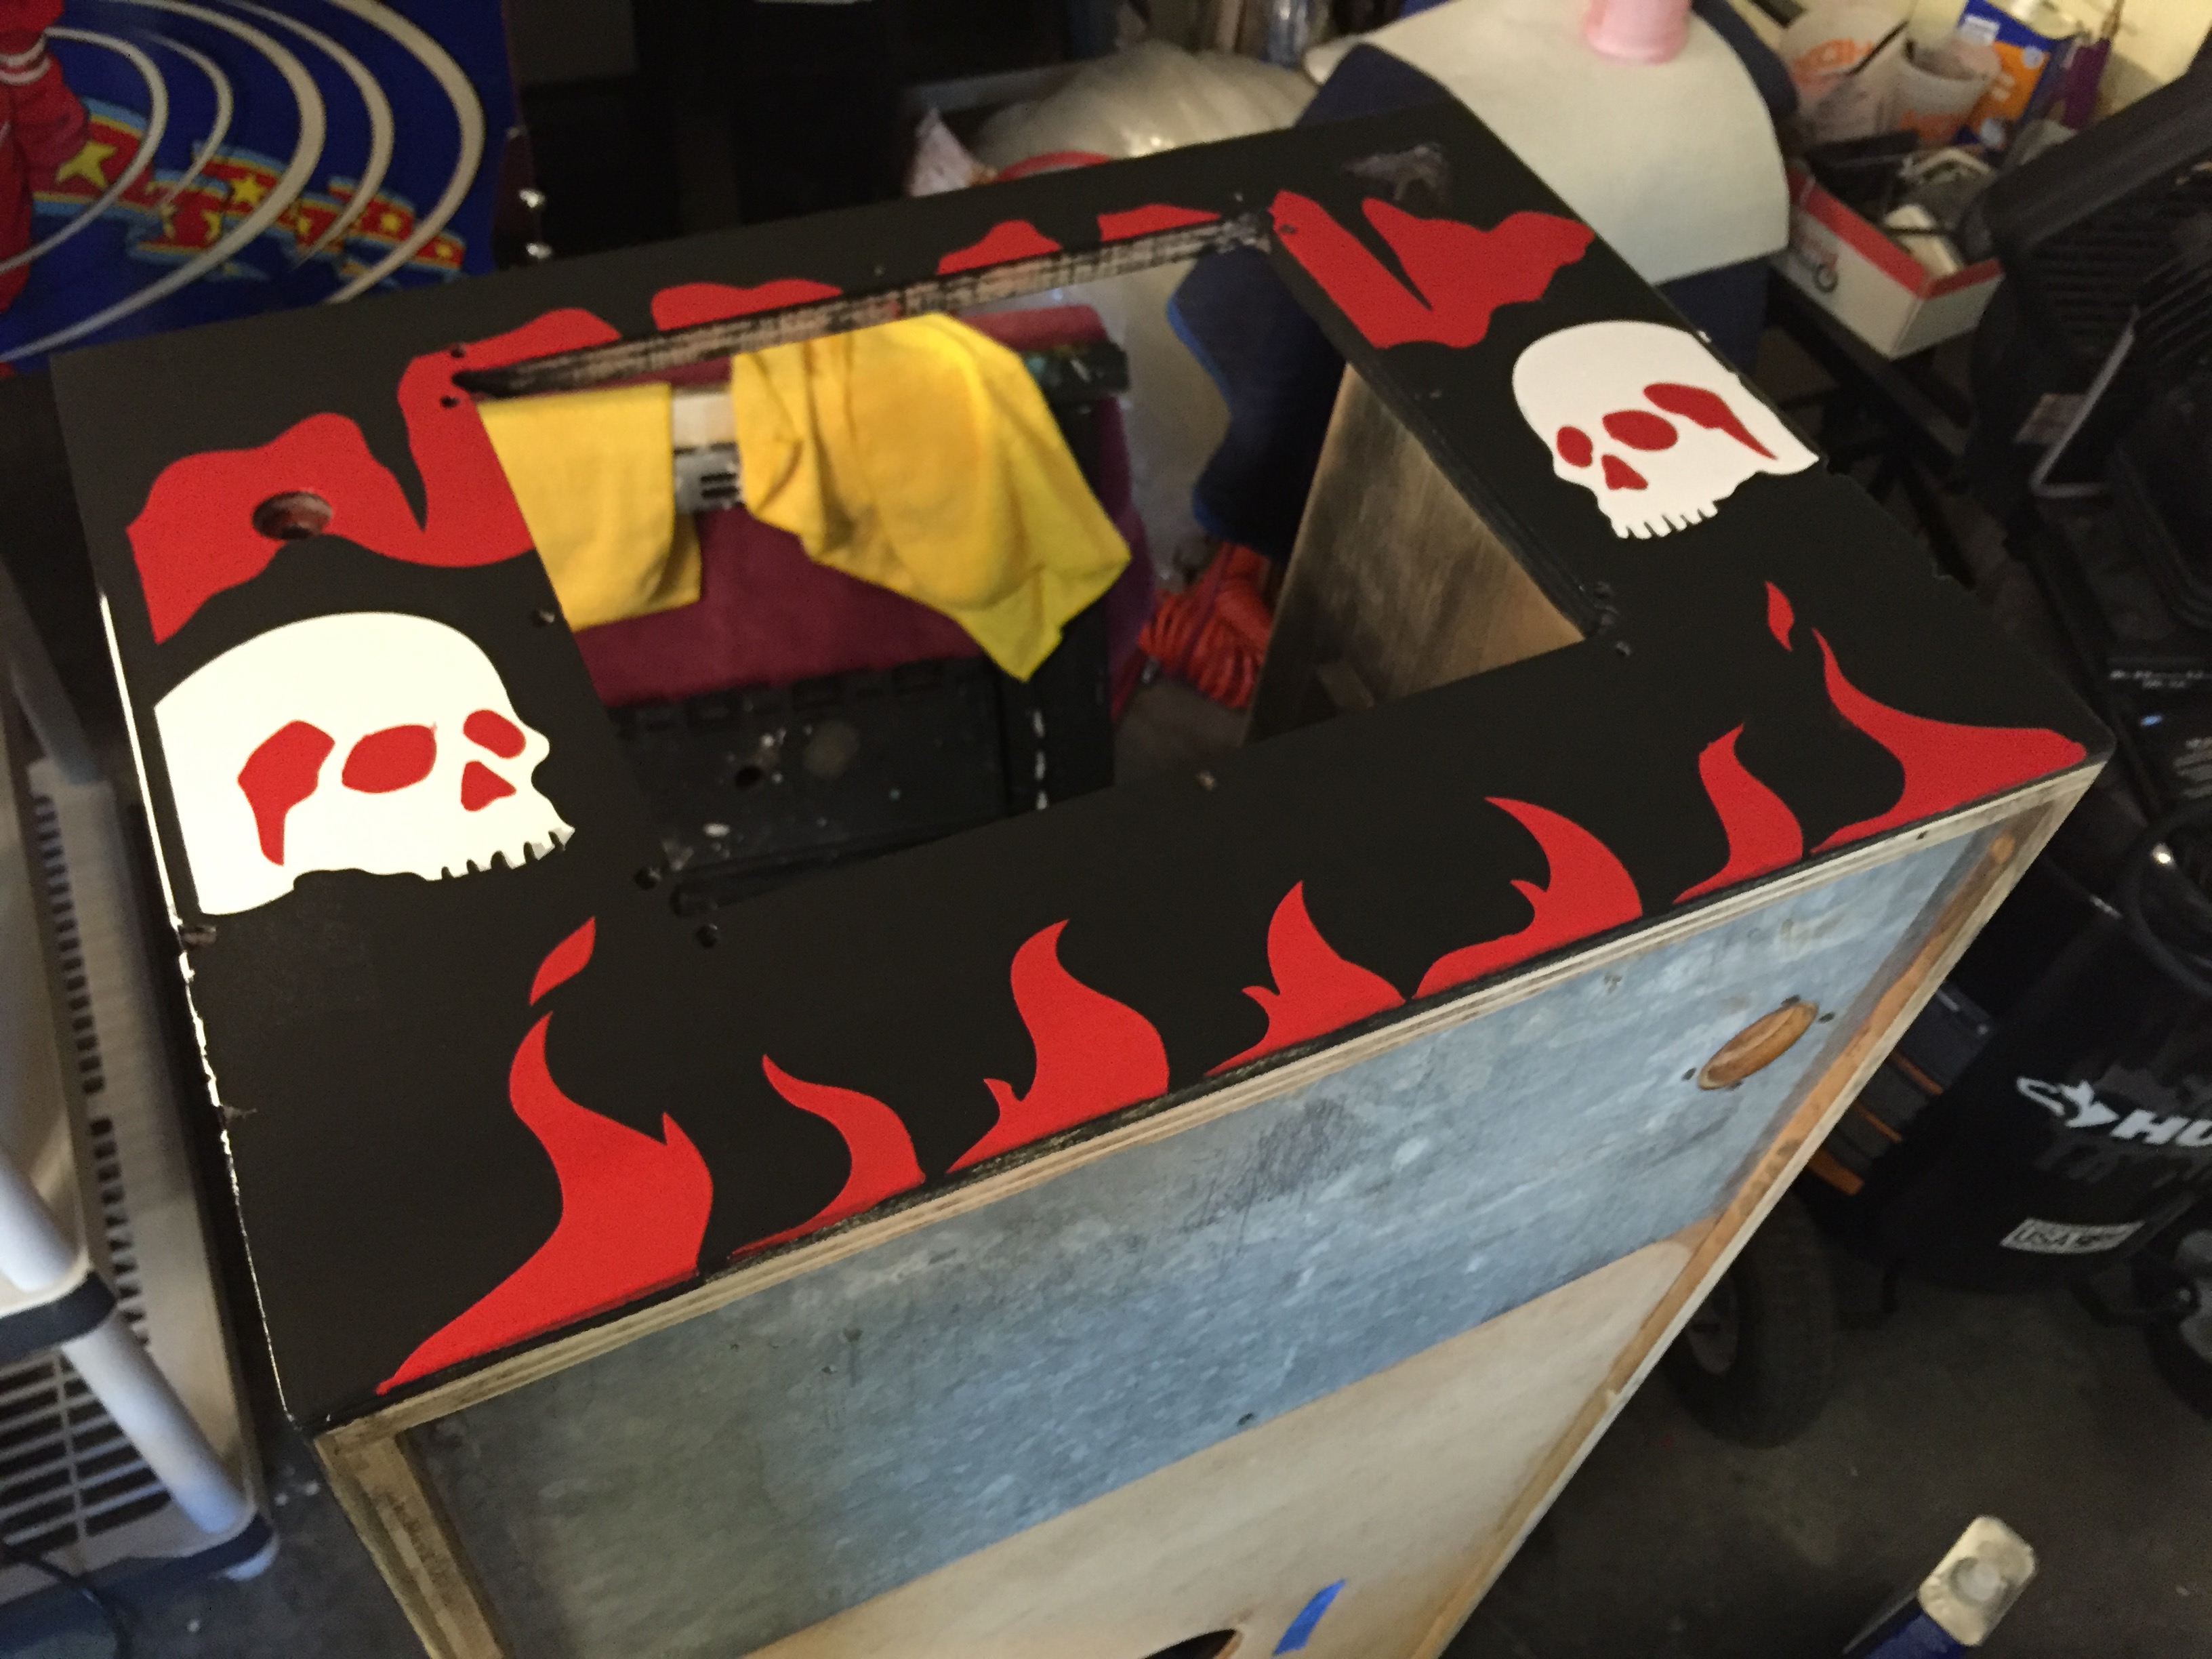
Painting and Stencilling the Cabinet

Thanks for posting these restore article…pay it forward since I know it will help others. If you need any Gorgar parts I can help. BTW, I posted on your Flying Saucer article also.
Bob
Hi Bob, I can’t believe I missed your comment earlier, but thanks, and thanks for the offer!
Pete
Bonjour
je viens de voir votre restauration et je dois dire que je suis impressionné par celle-ci. Félicitations. Certes votre post est ancien mais moi-même ayant un GORGAR de 12/79 qui fonctionne parfaitement (sauf le son qui me lâche de temps en temps !!!) j’en suis pleinement satisfait. Je n’arrive pas a trouver une carte son mais ne désespère pas, j’y arriverai bien un jour. Le problème c’est que je n’y connais rien, ce n’est pas simple pour moi. L’avez-vous encore ?
Au plaisir peut’être de vous lire.
Alain
Hi Alain, I sent you an email.
Pete