I decided to try a restoration of an Atari pinball machine, and saw one come up on eBay for a decent price to snapped it up. It needed a new playfield, but everything else looked pretty good. There was someone selling a decent stripped playfield at the same time, so I bought them both.
I figure I’ll clean, touch up, and clear coat the new playfield, get all the electronics working, and then do a playfield swap. The cabinet and backbox are in pretty good shape and the backglass is near perfect. I plan to repaint the legs and replace the leg levelers. I’m a little worried about the electronics in this game, as I’ve never worked on an Atari before, but hopefully it won’t be in too bad a shape.
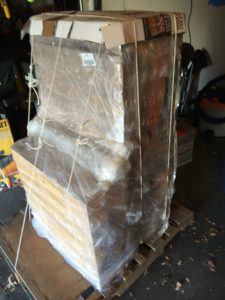 The seller had offered to palletize it if needed and I took him up on that offer. He did a really nice job of packing this up. I’ve experienced a few issues with STI/NAVL deliveries where I think someone along the way dropped, or otherwise abused a machine. My Bride of Pinbot cabinet was actuallyout of square a bit from some abuse. I think when possible I’m going to look for this option in the future.
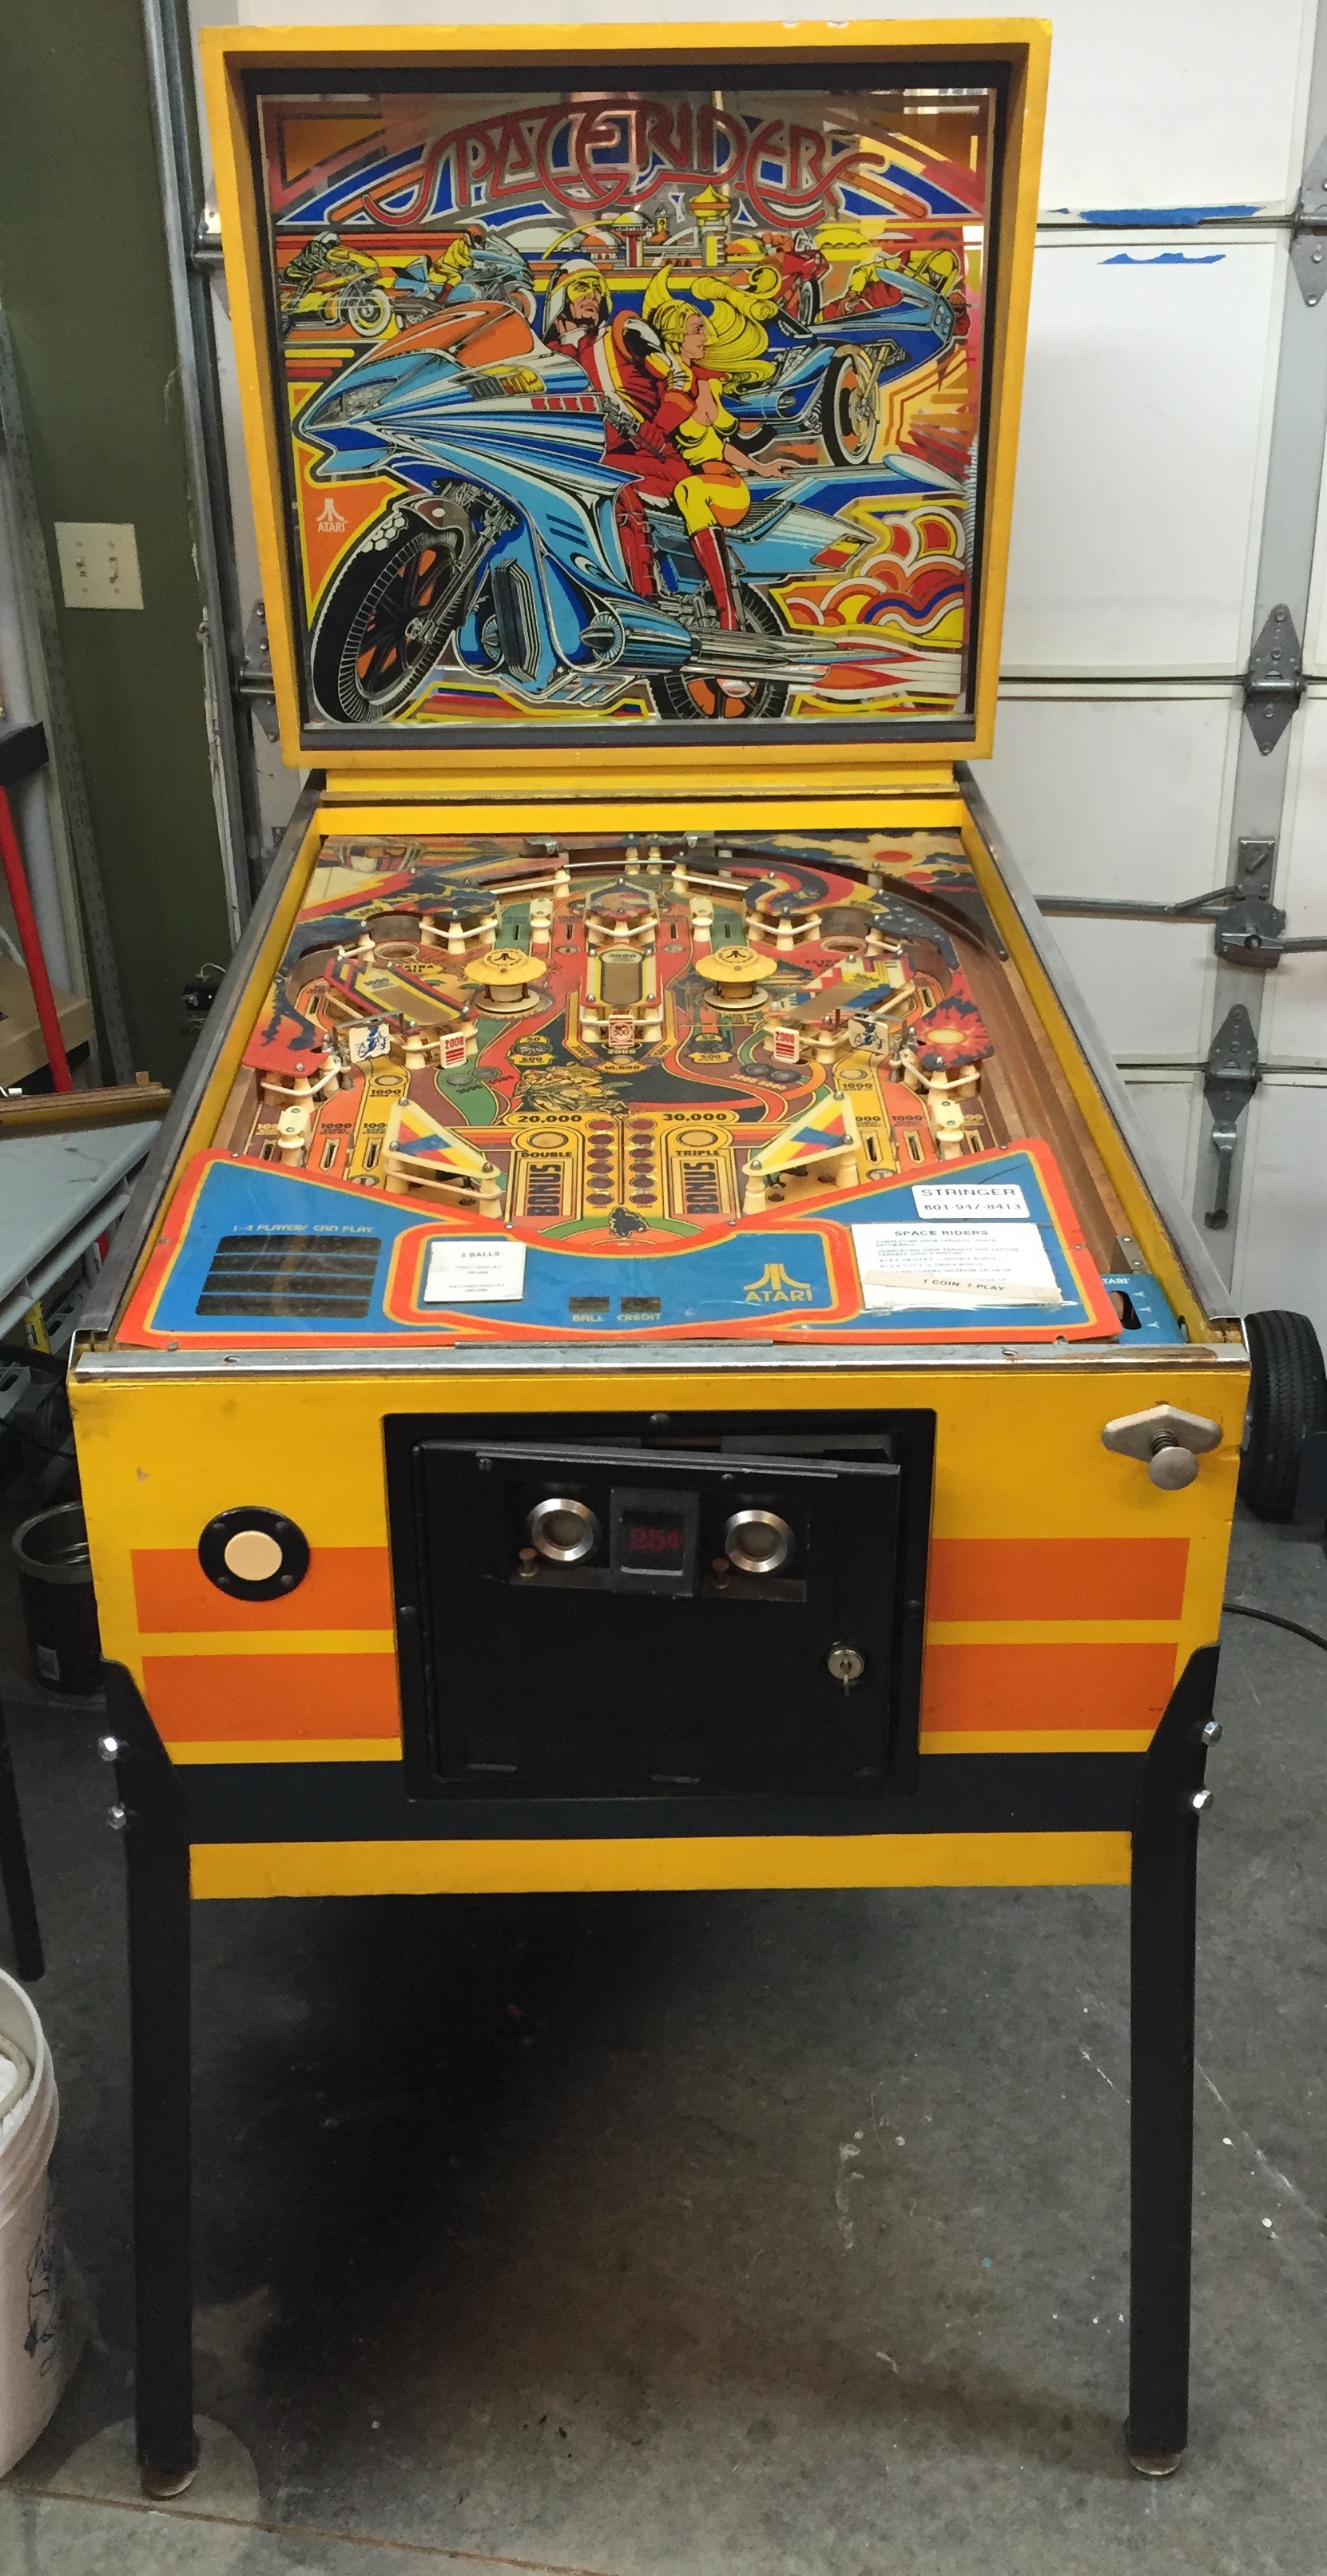
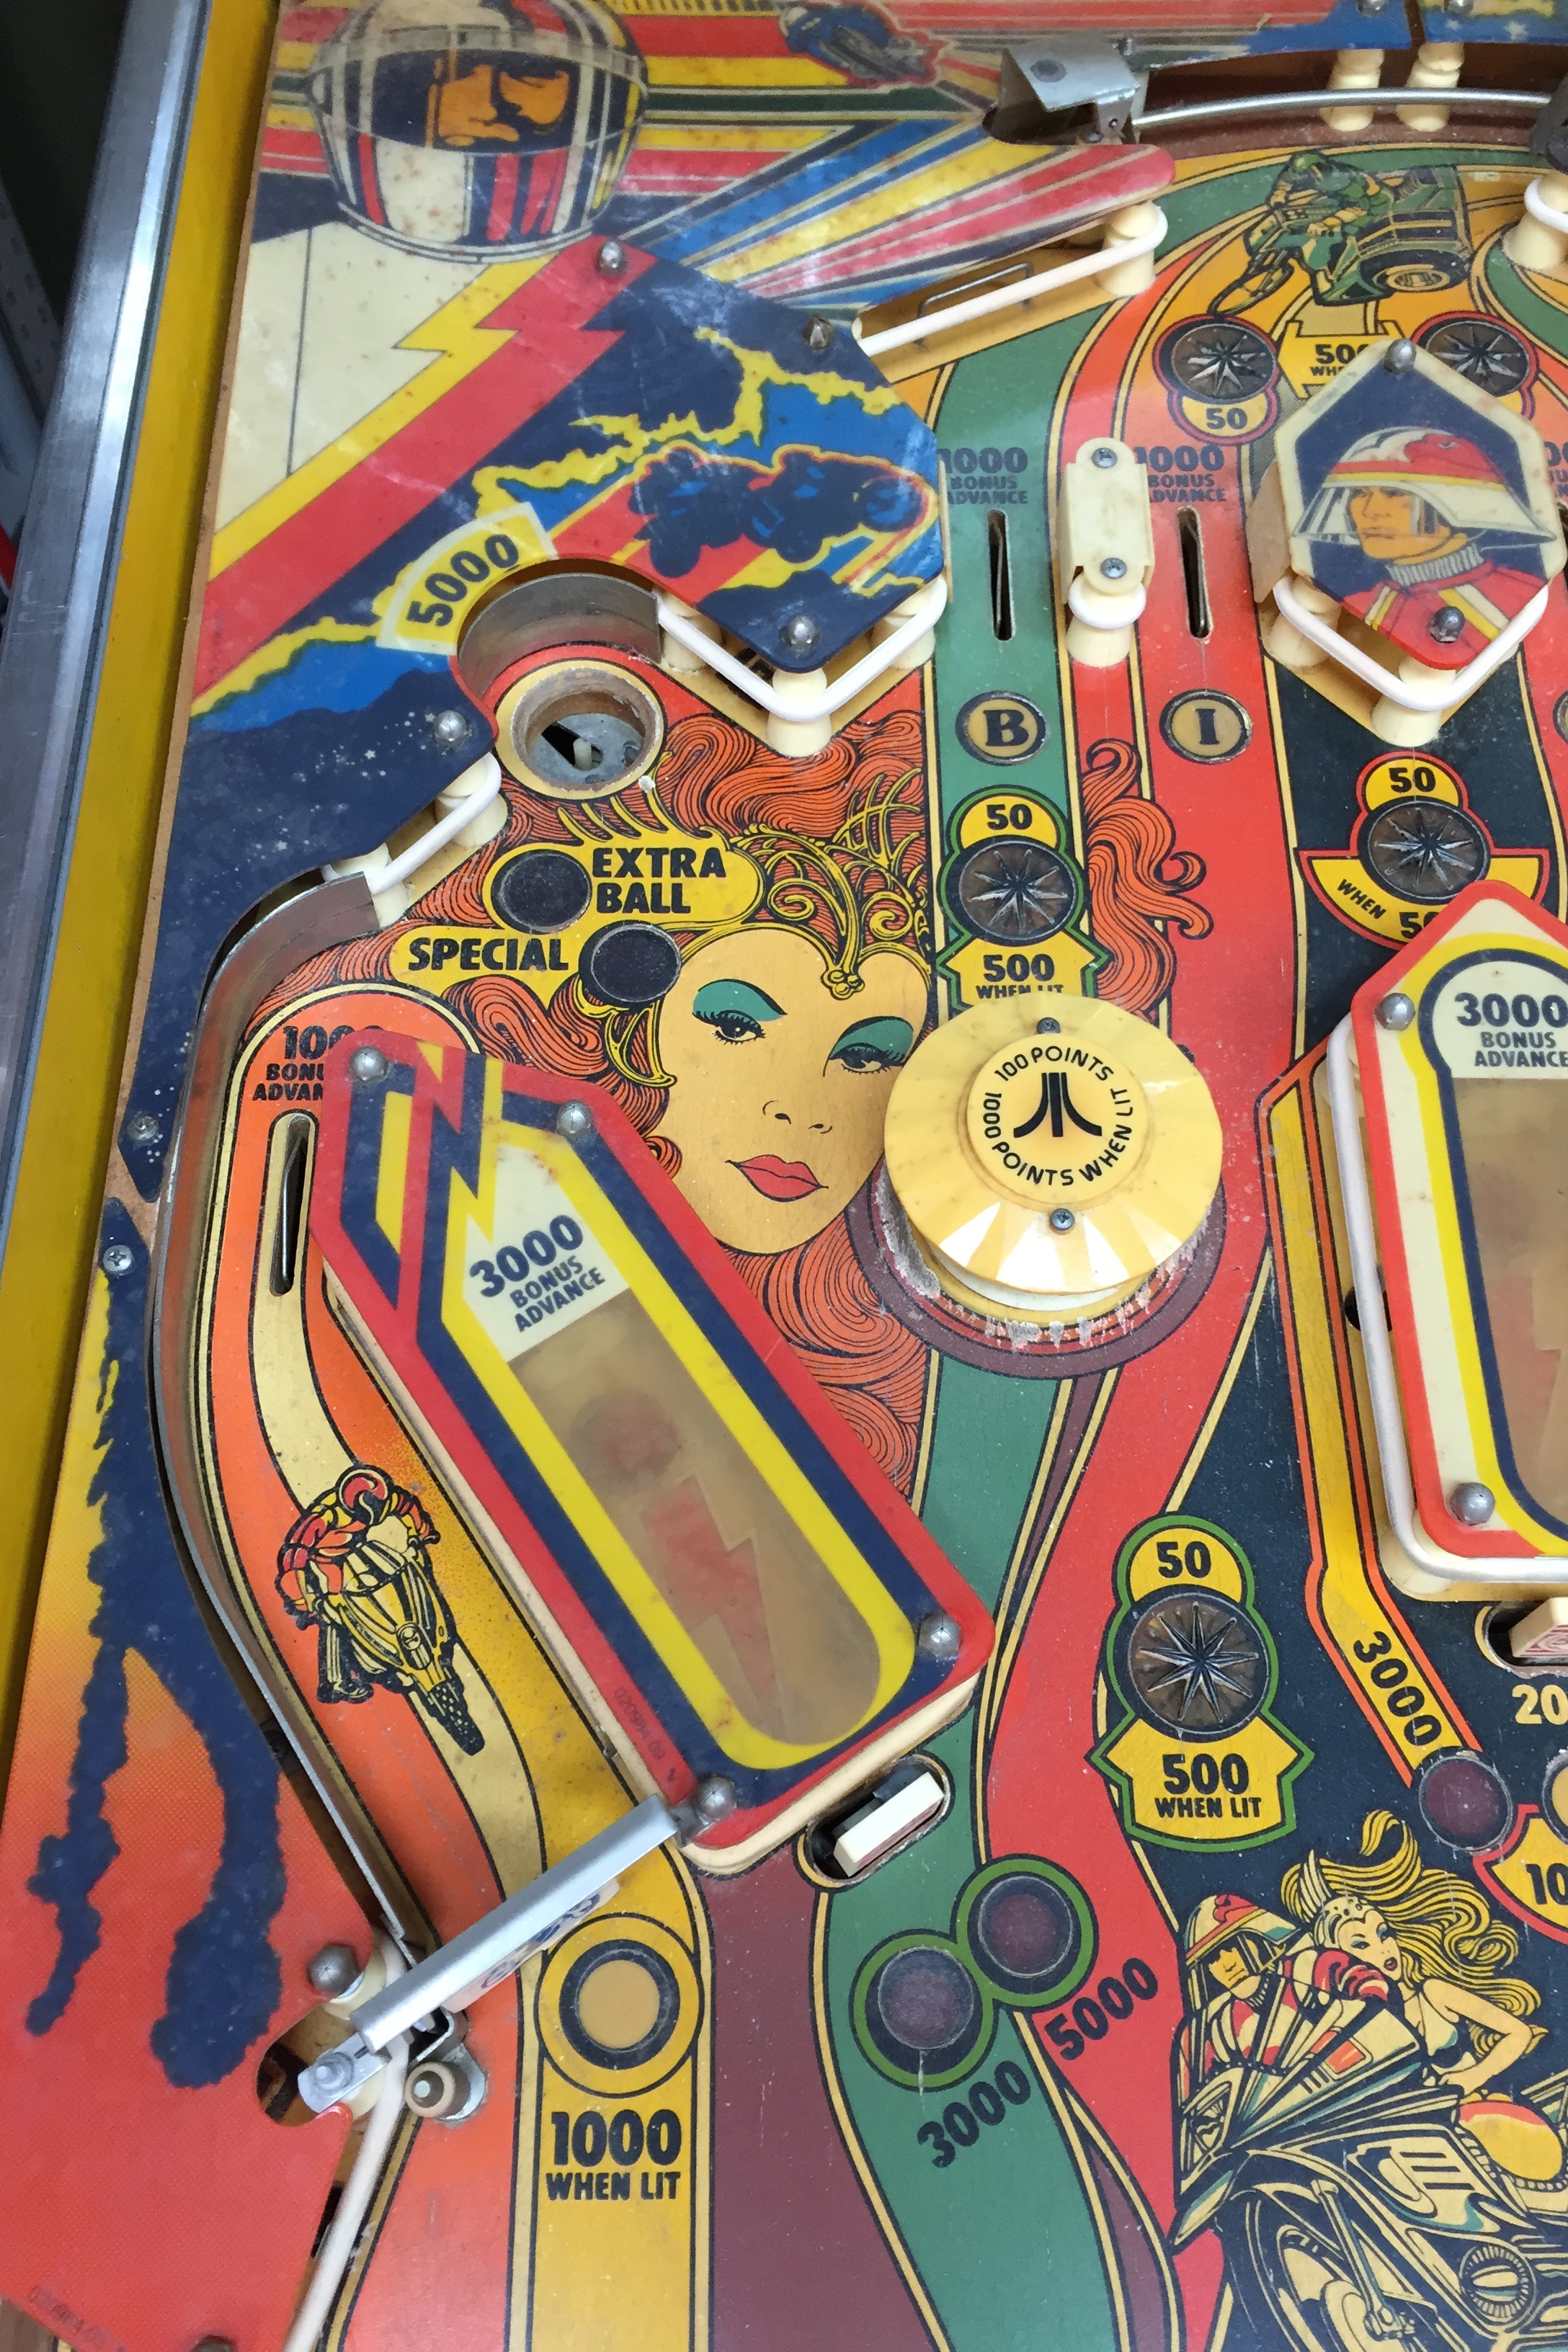
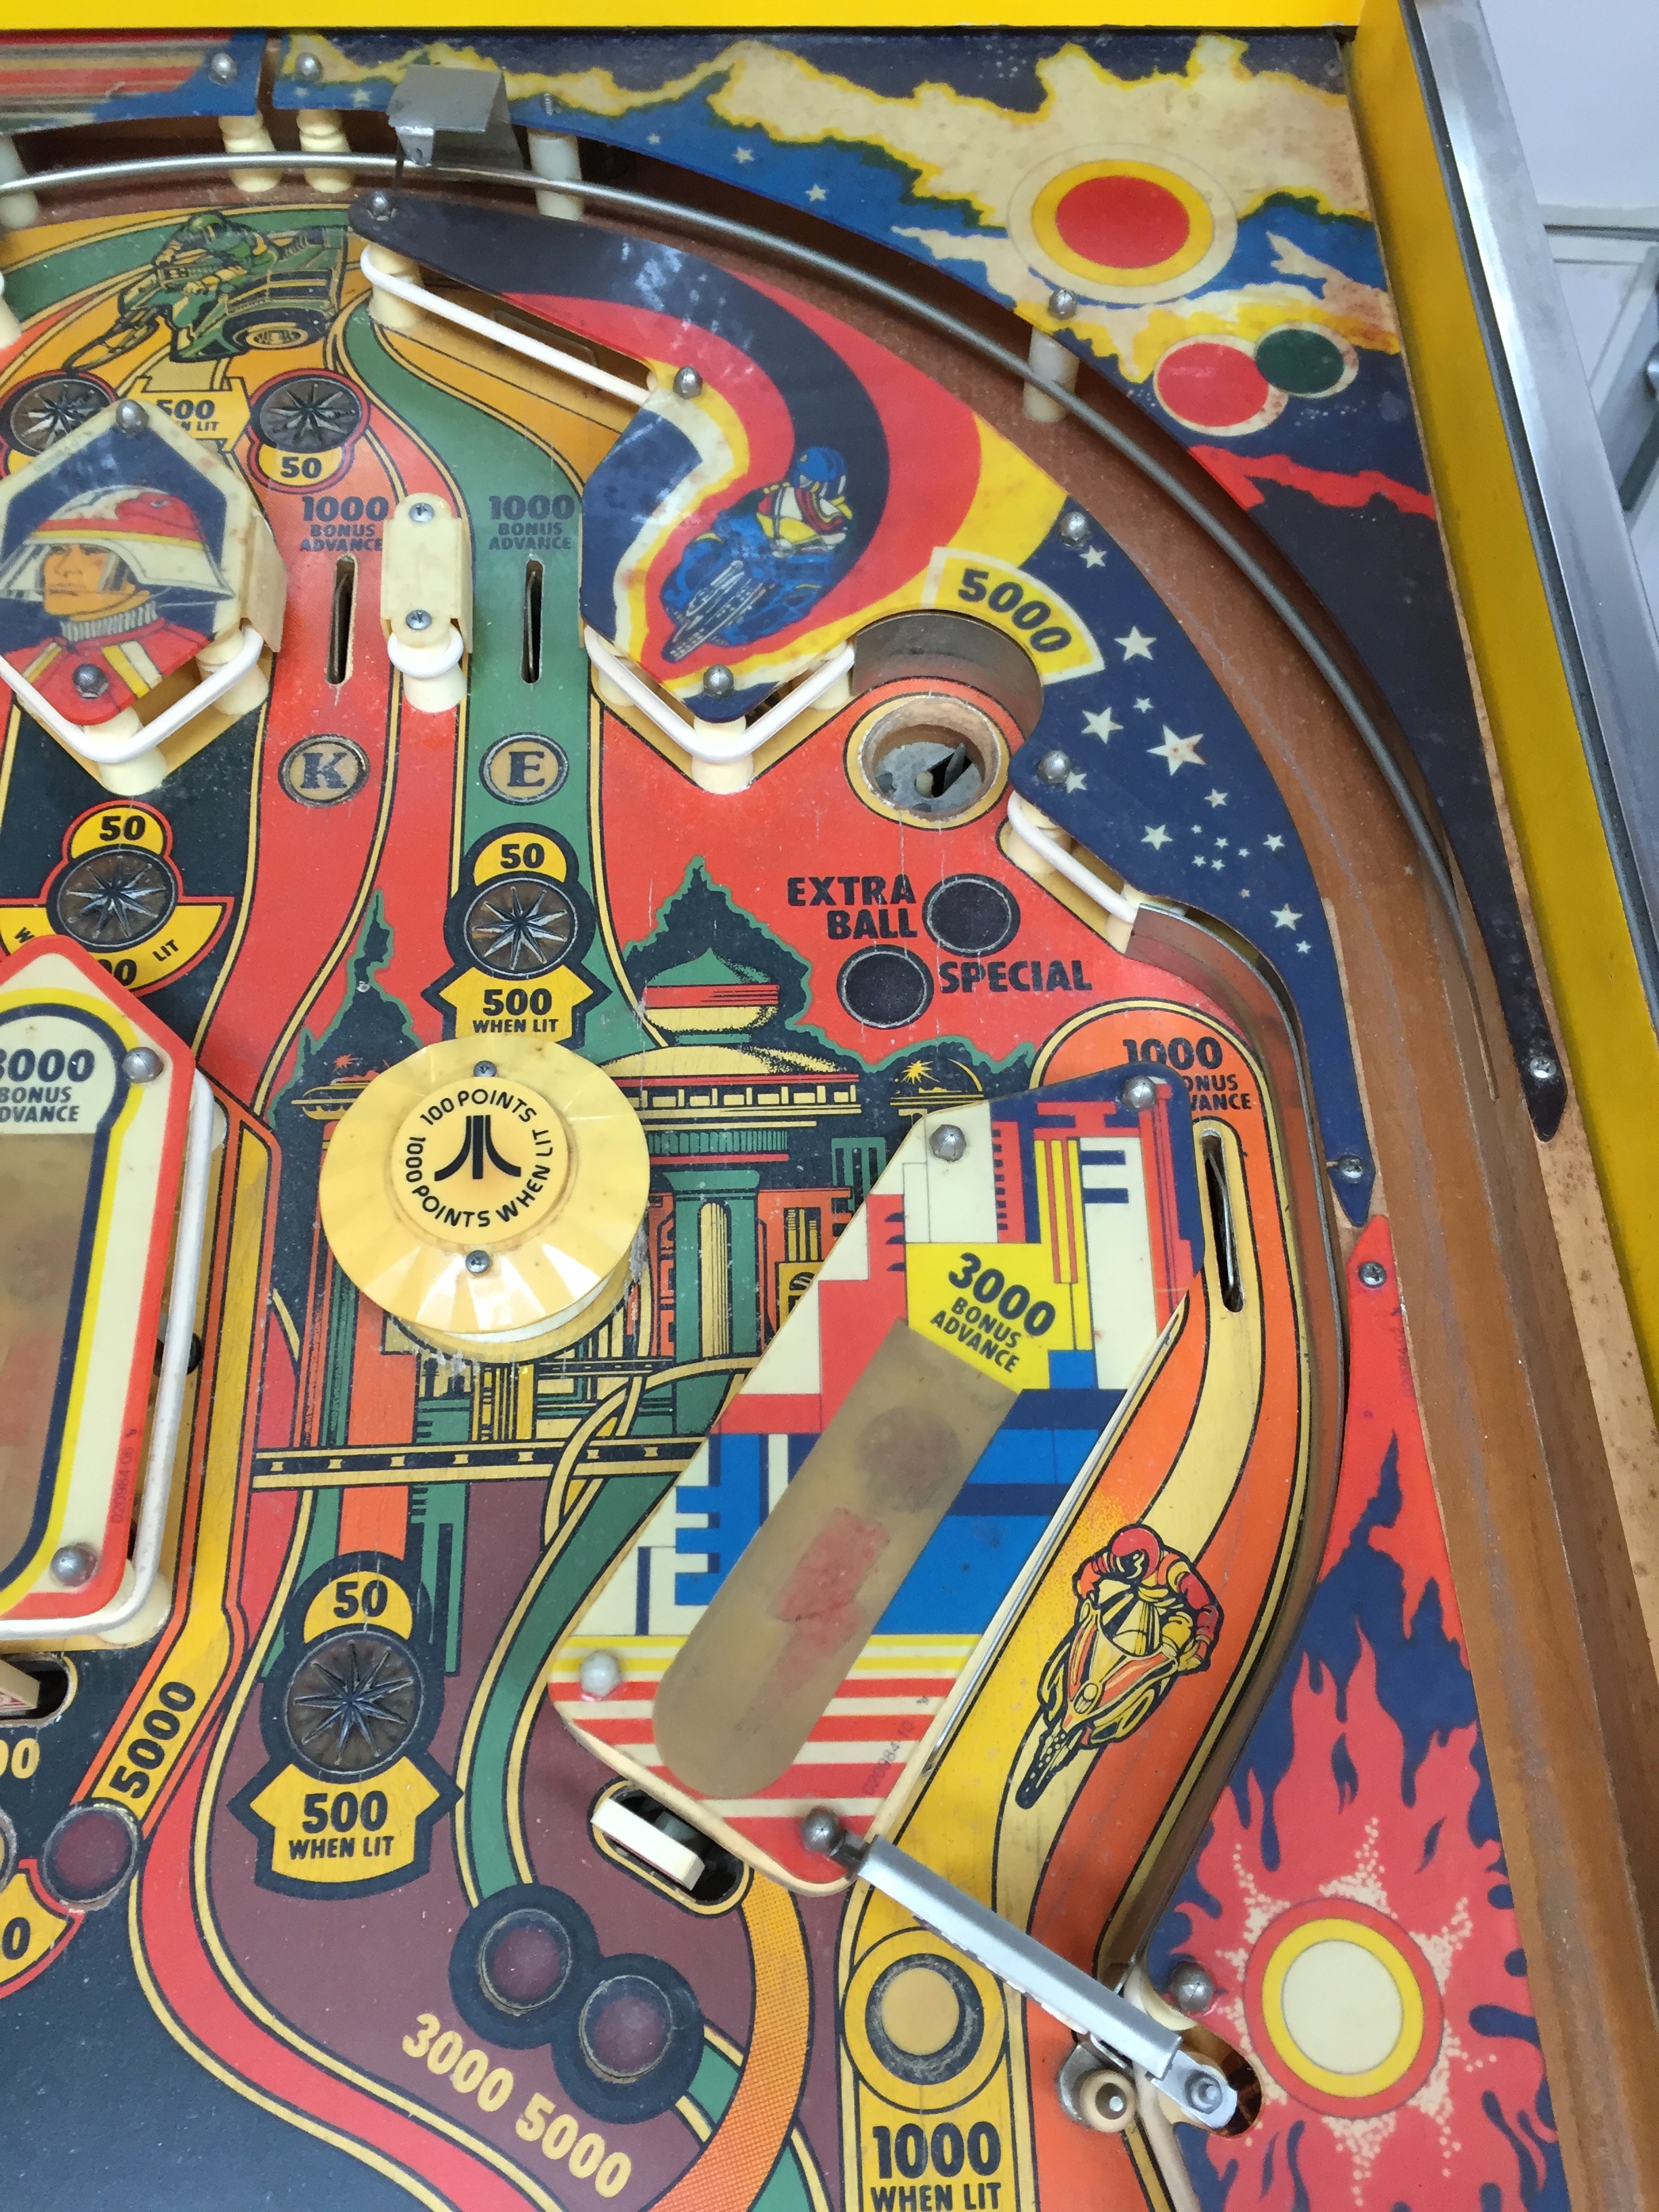
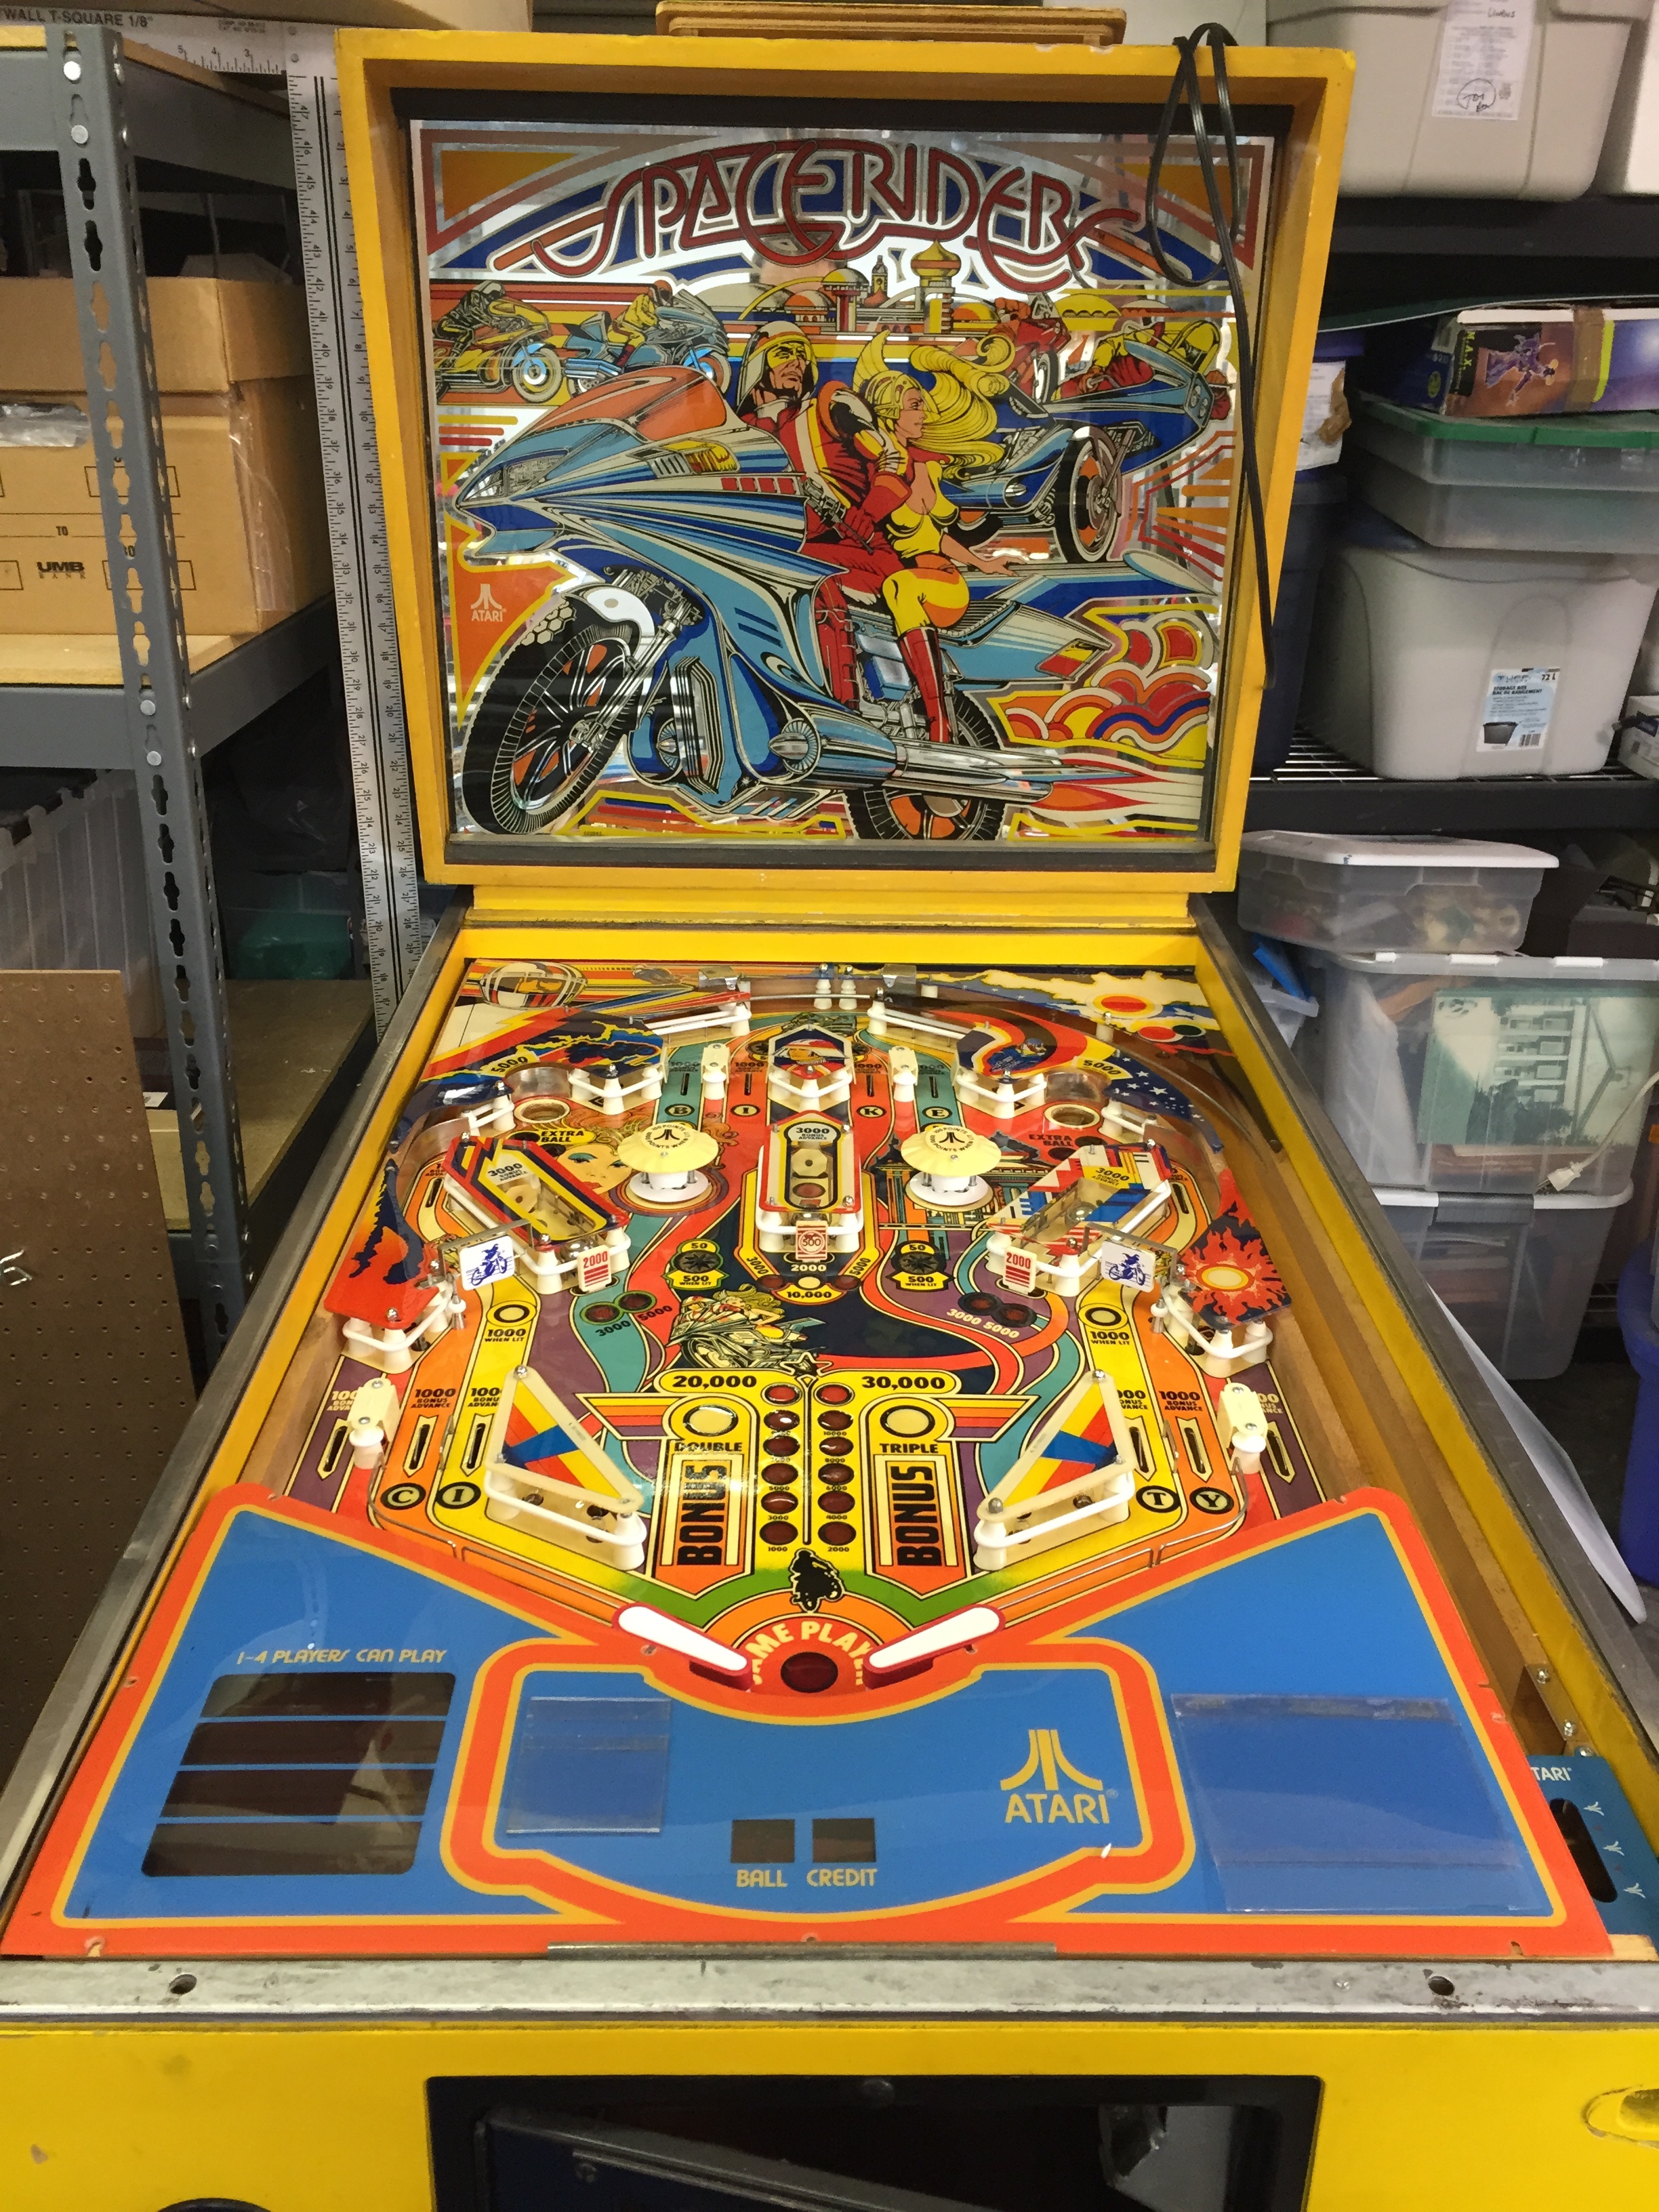
Here’s some pictures of the machine as it arrived, and before any cleanup.
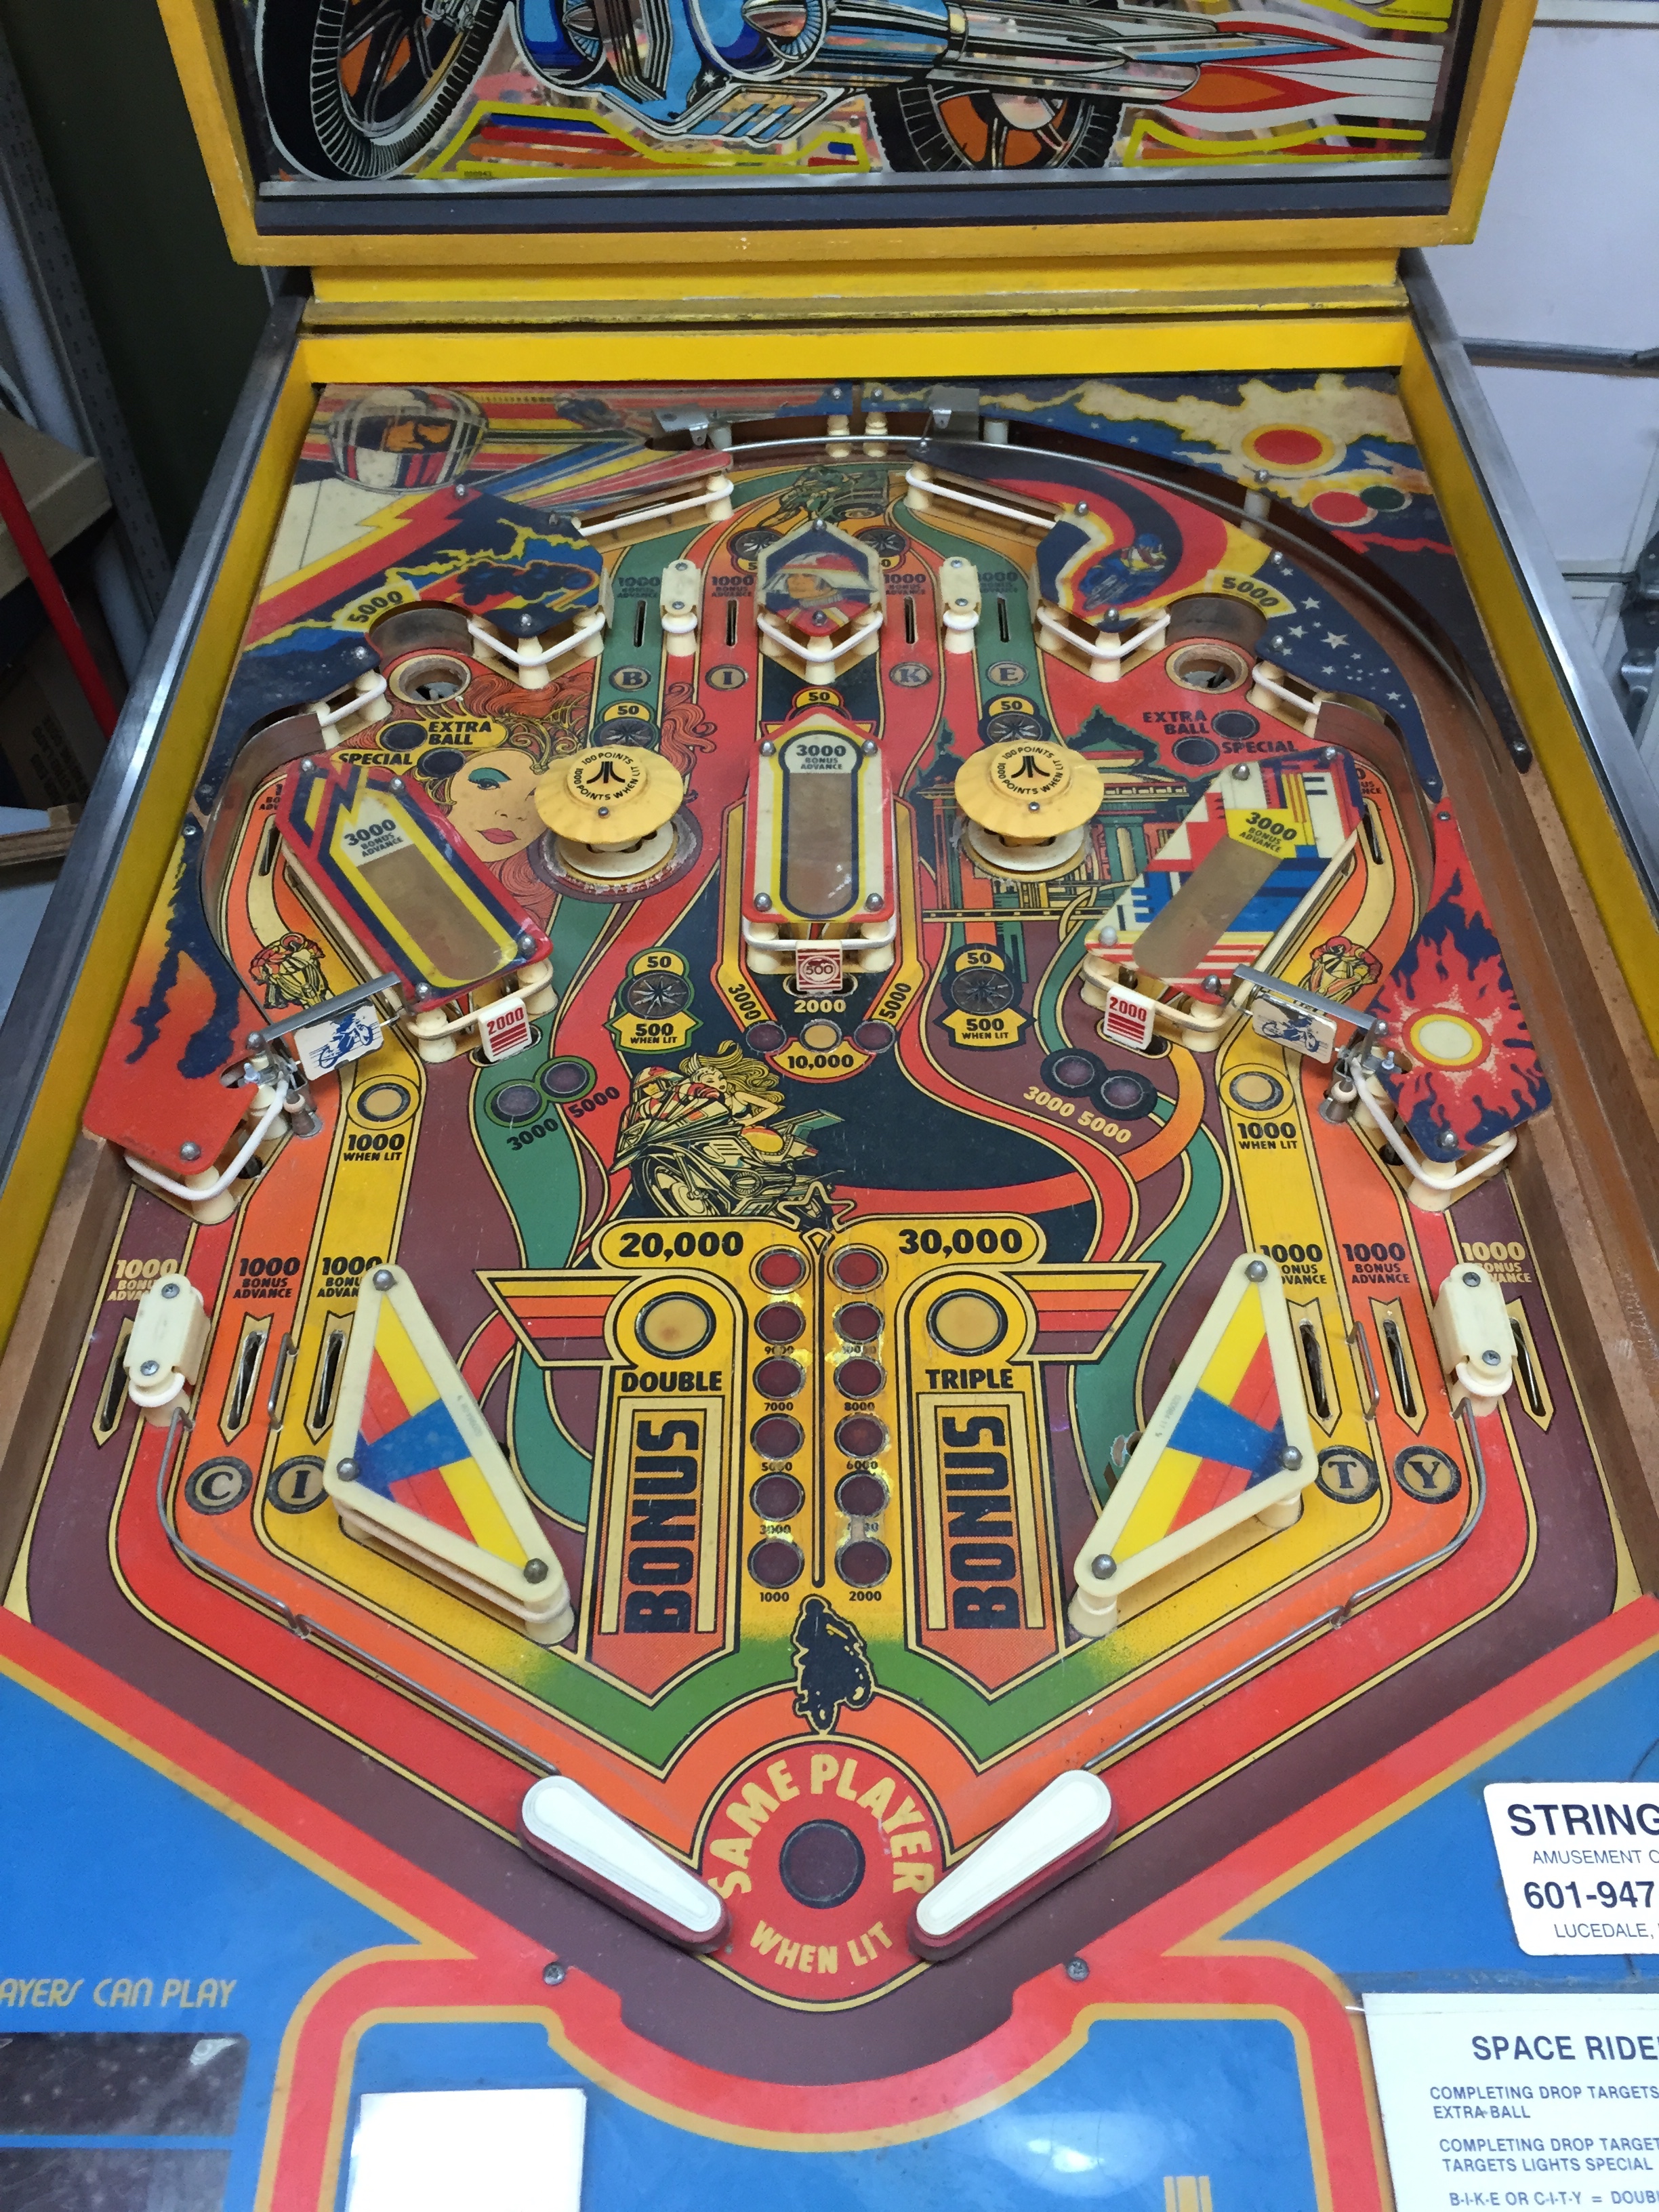
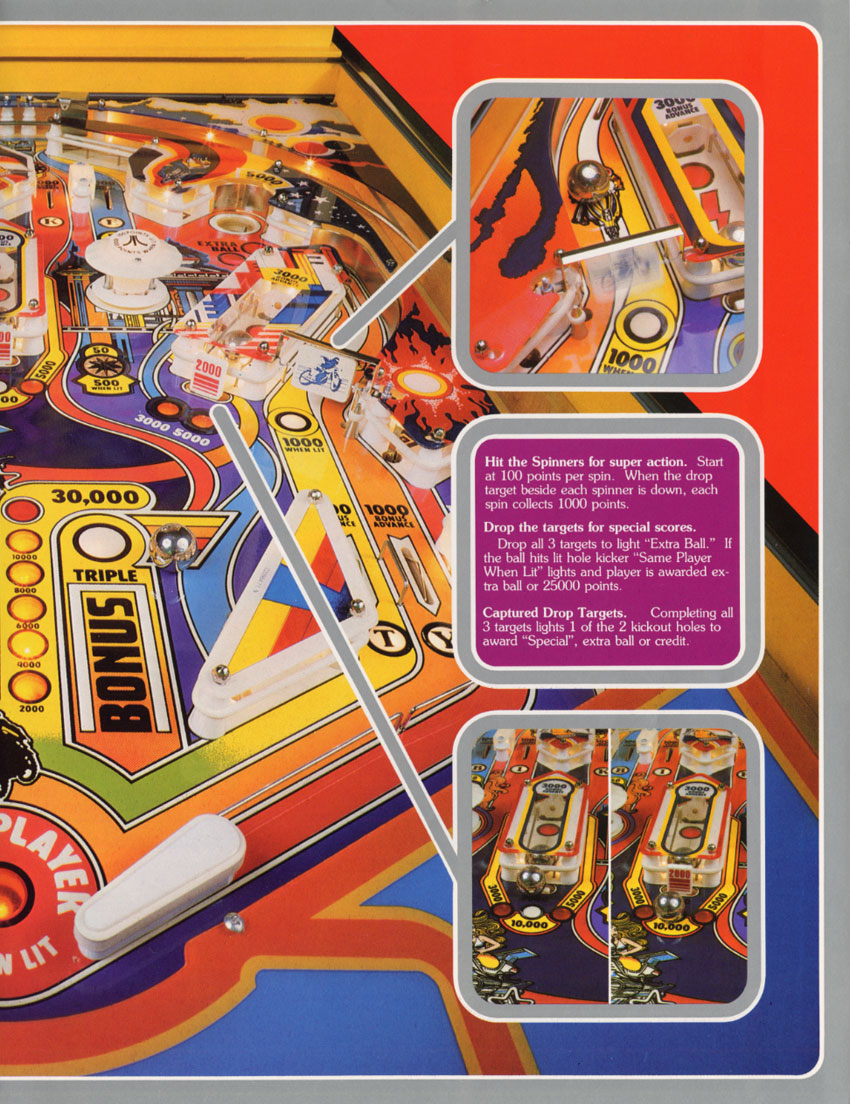
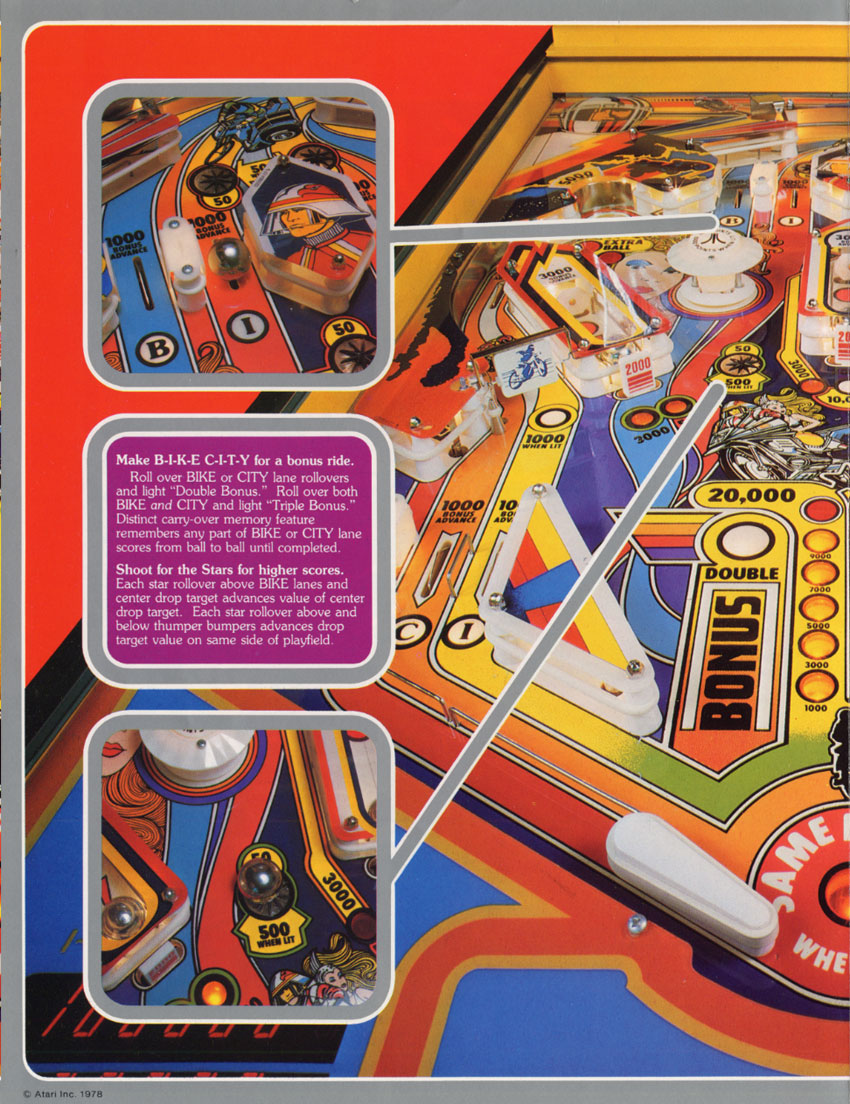
The plastics are very dirty (as is the playfield, and there is some pretty bad wear, but since I’m replacing it I’m not going to do much with it), and they have some weird spots on them. The tops cleaned up pretty well so I’m guessing overall they’ll clean up nicely.
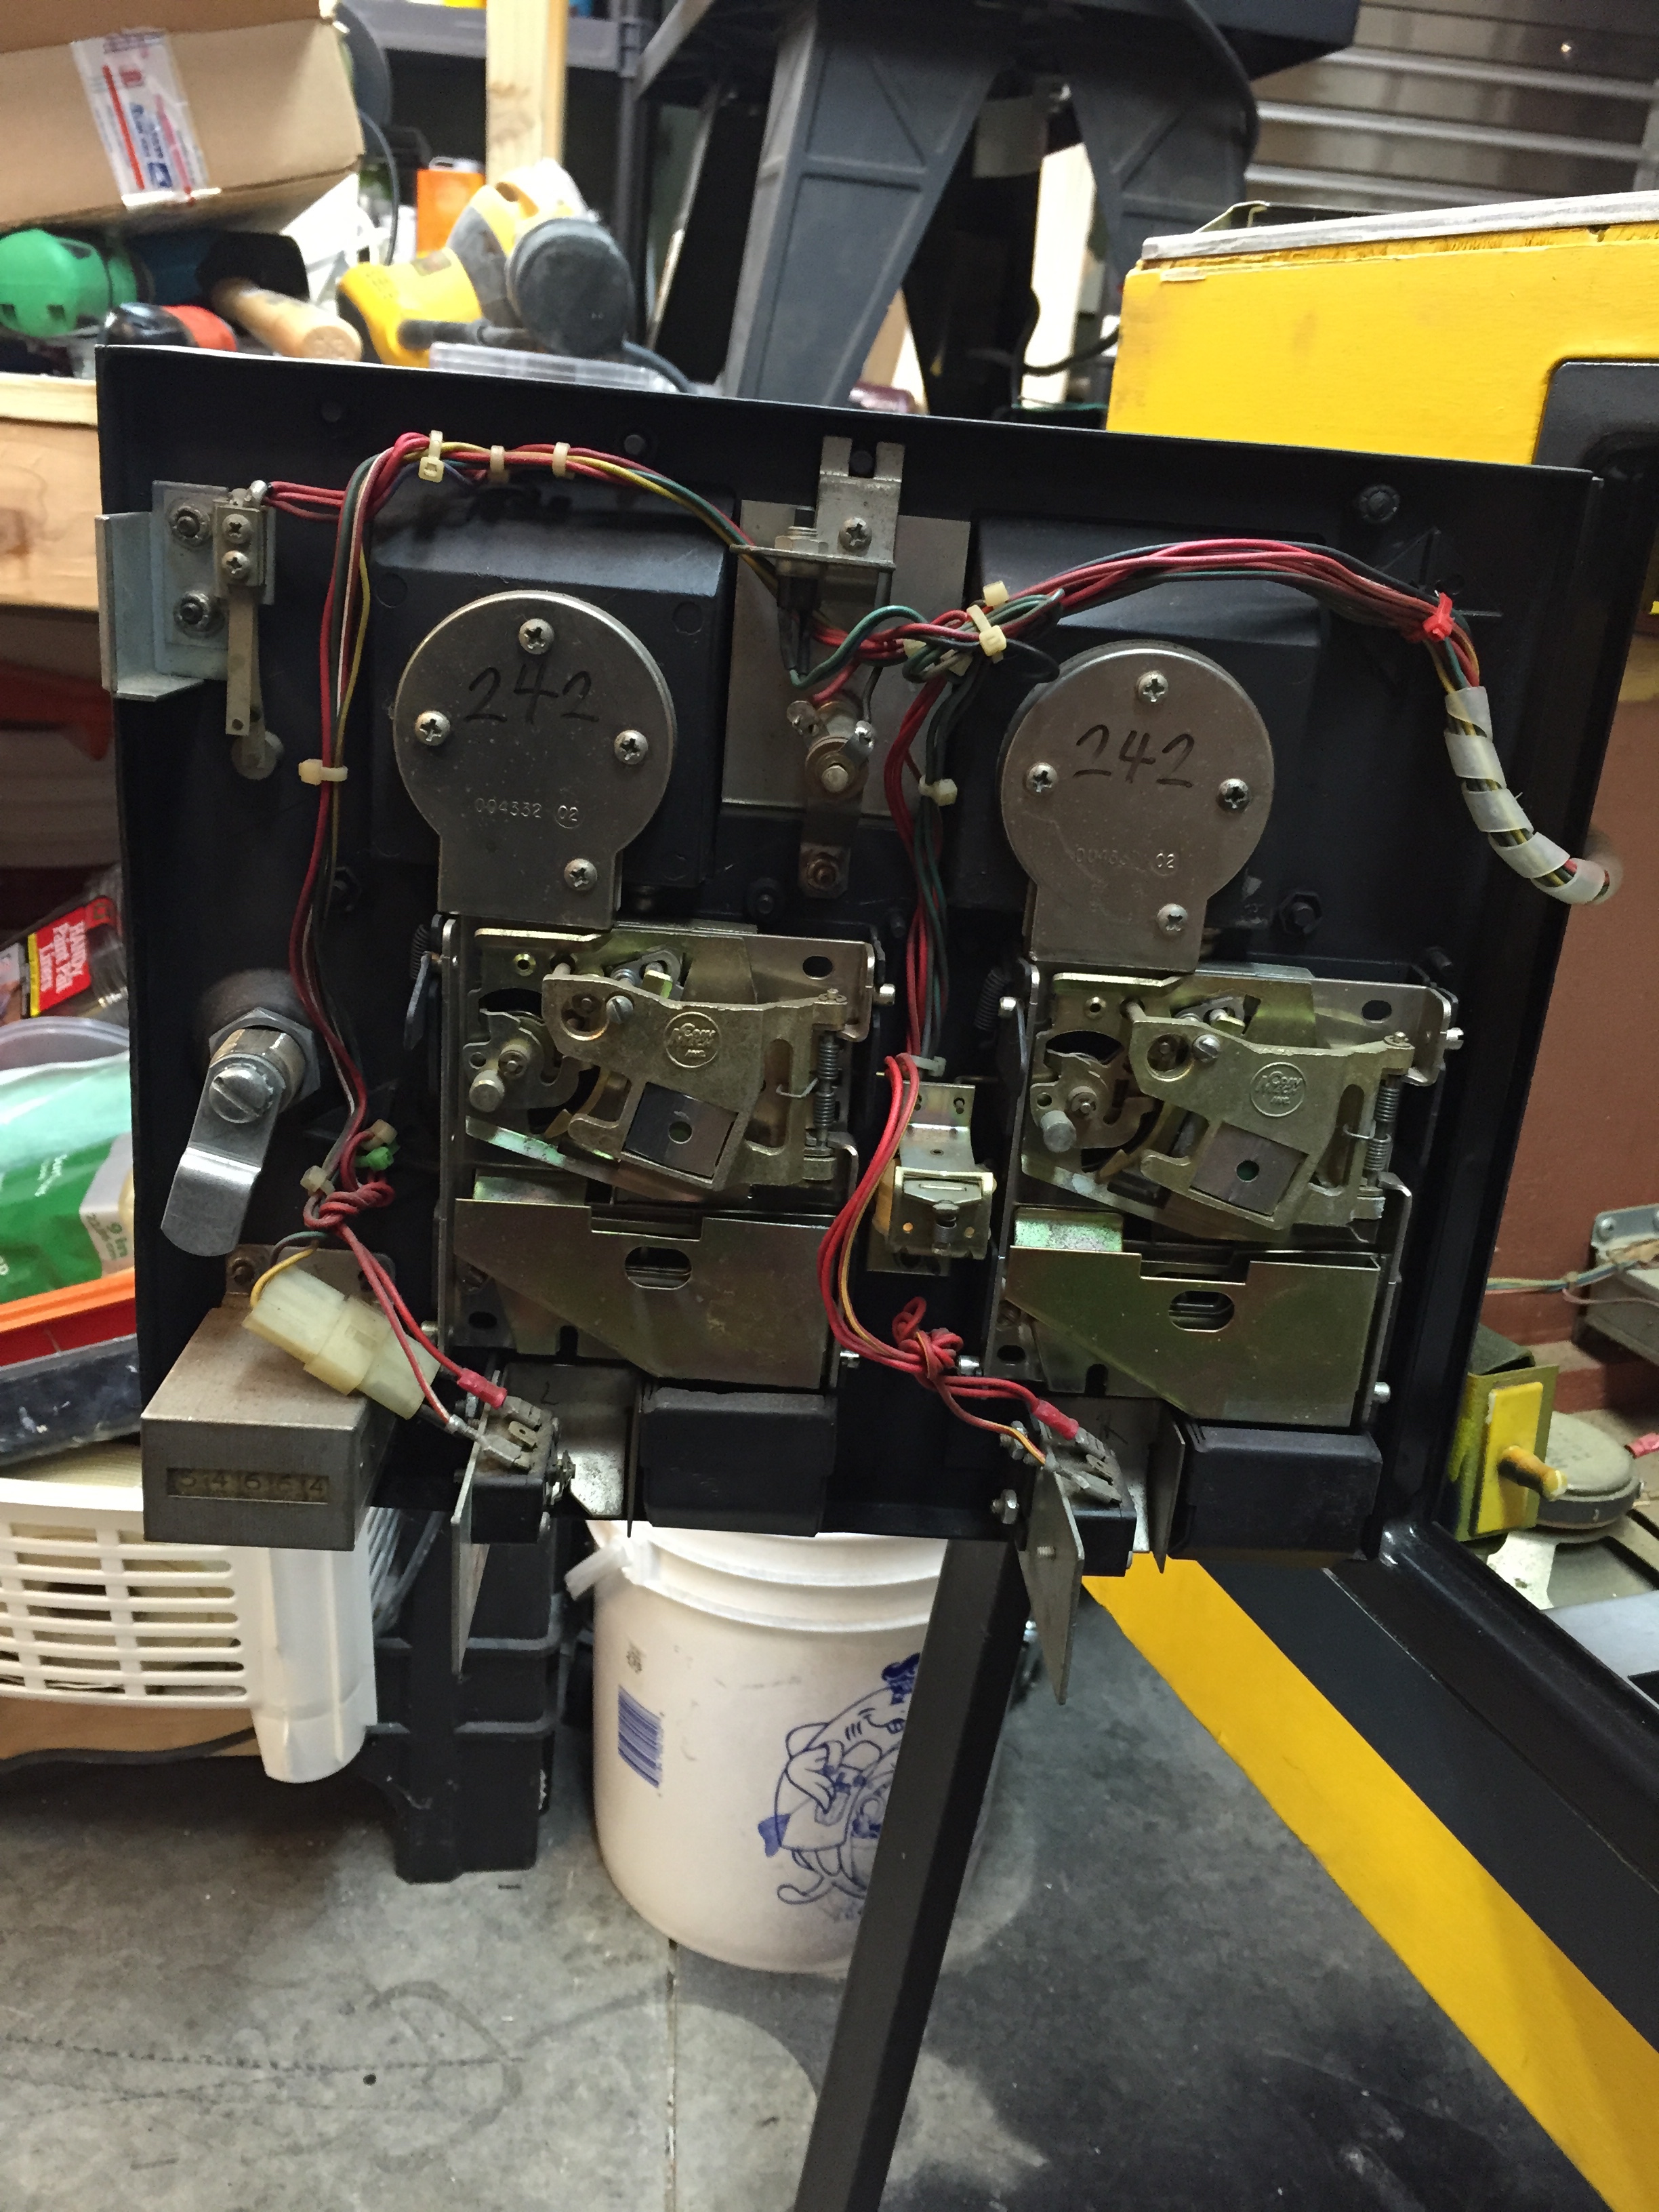
The coils, plungers, linkages, and drop targets etc all seem to be in good shape.
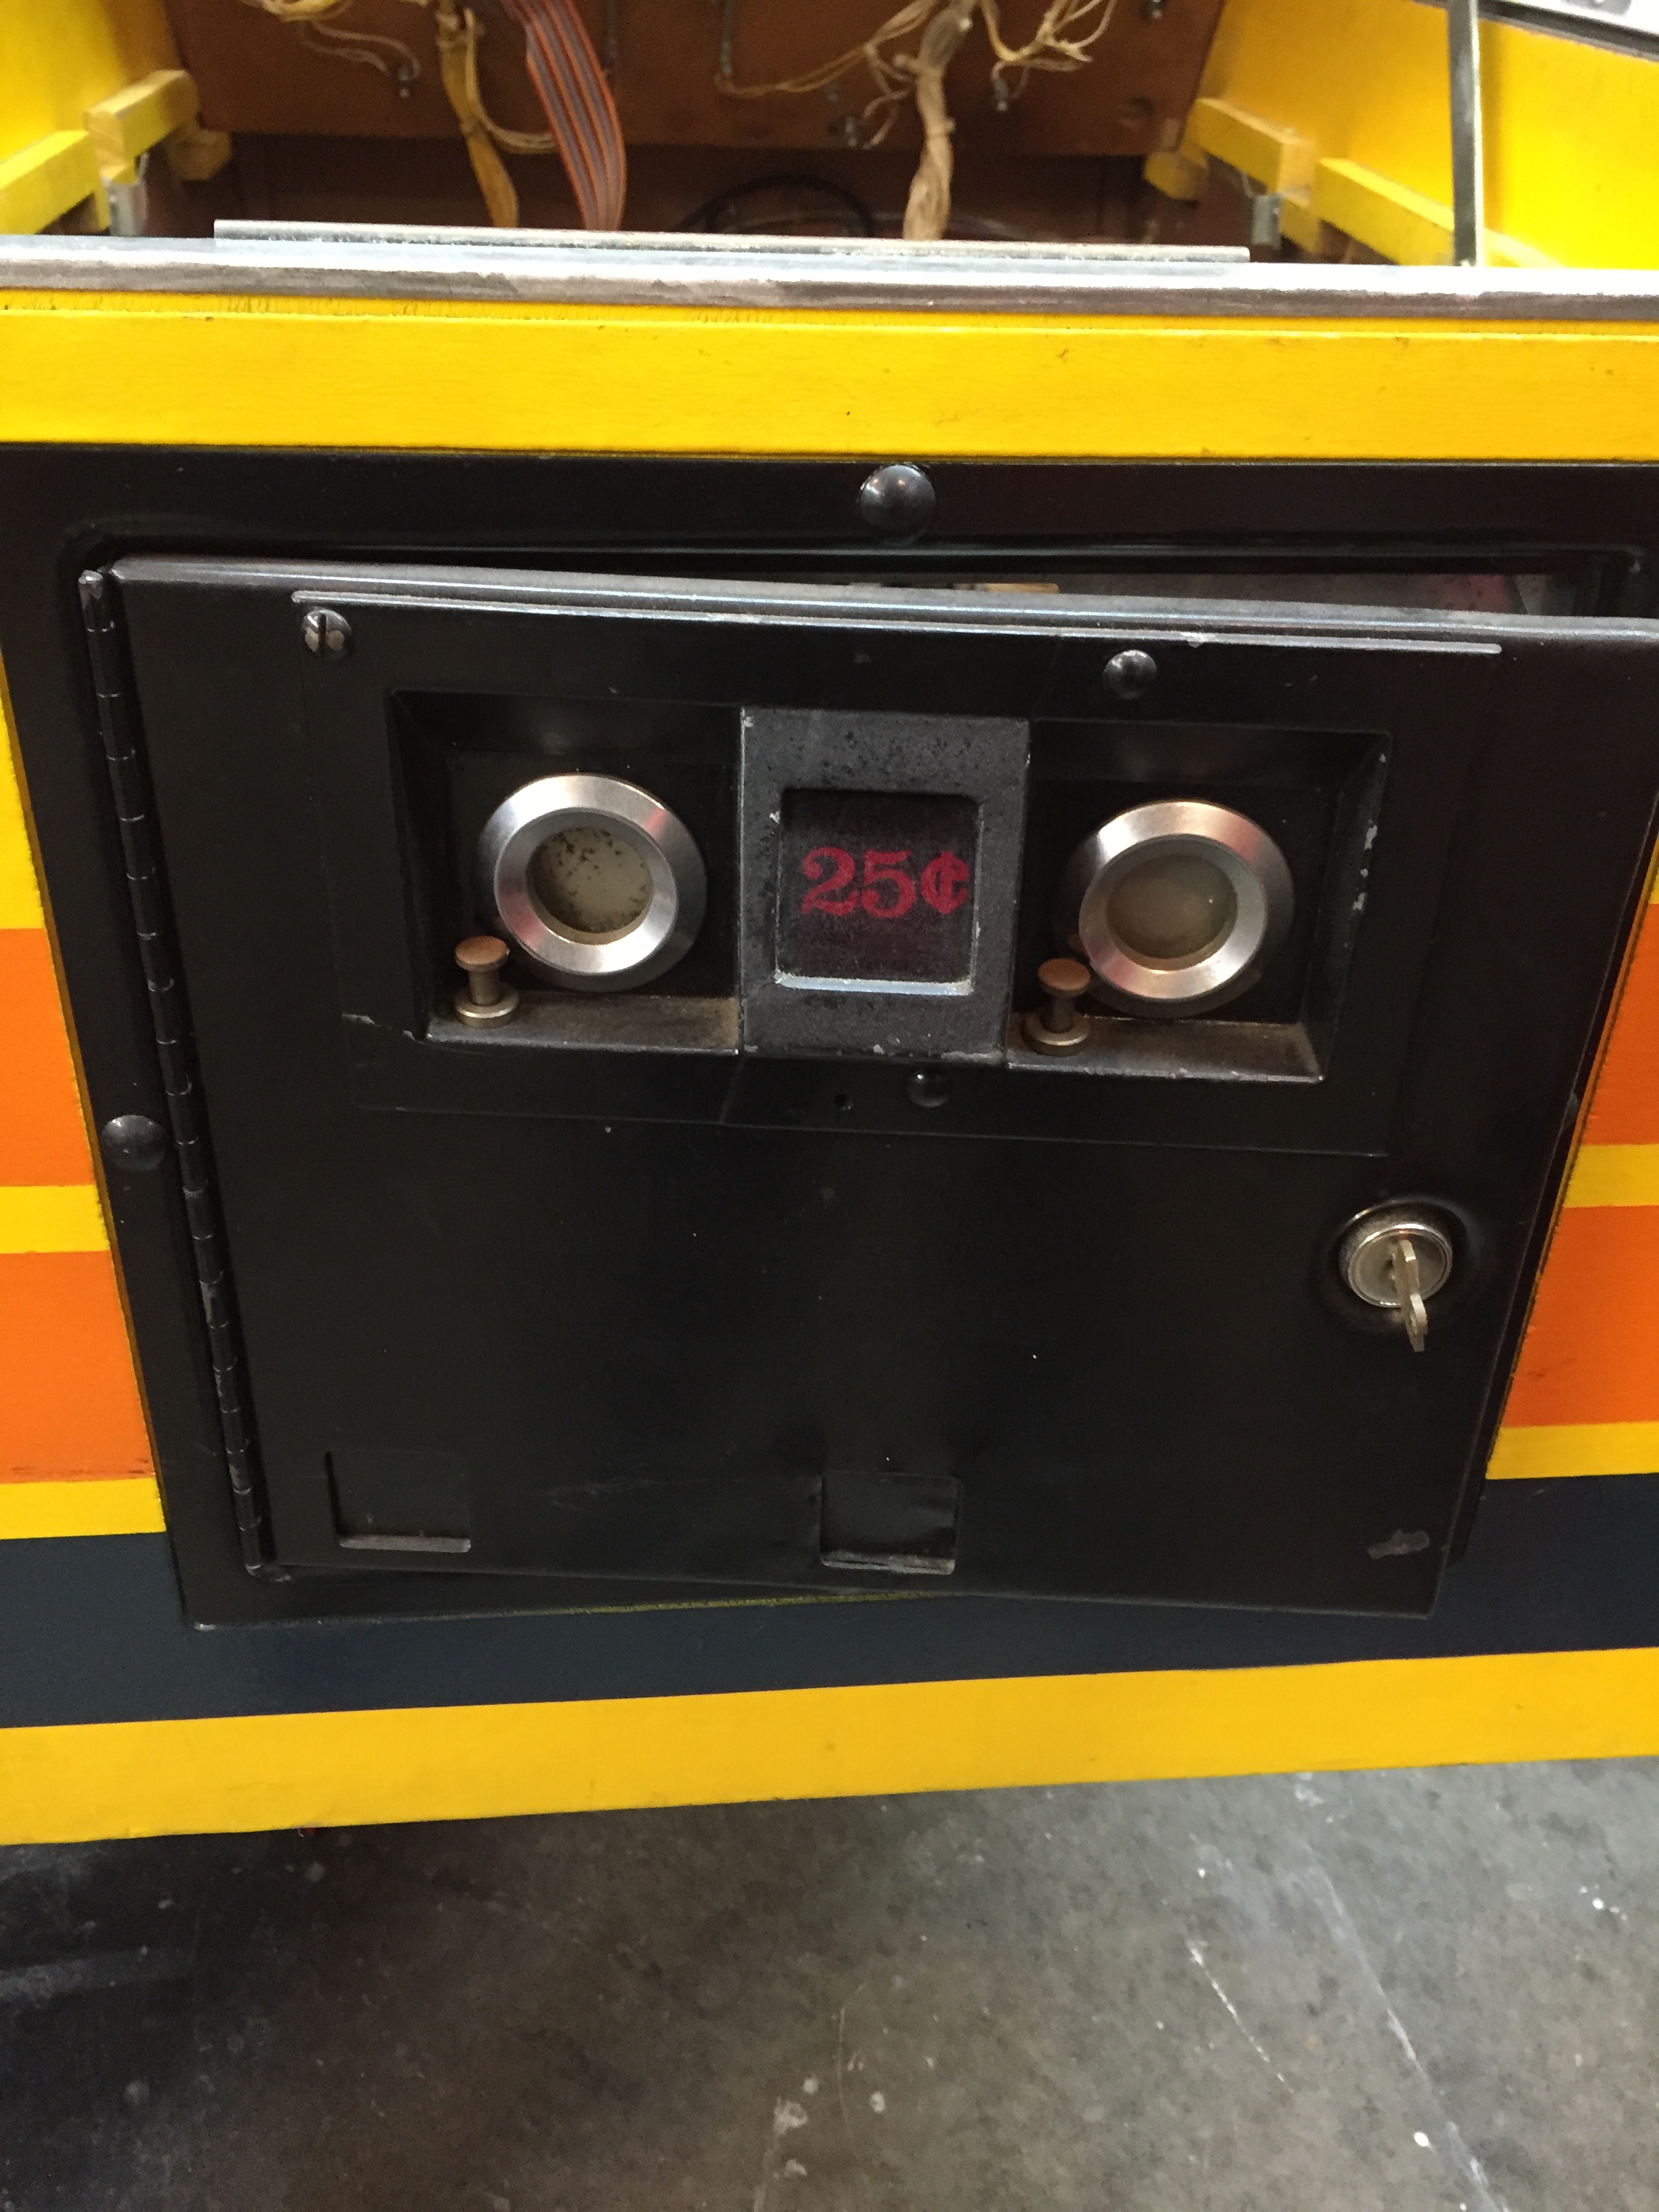
I think the Atari coin doors are so cool looking.
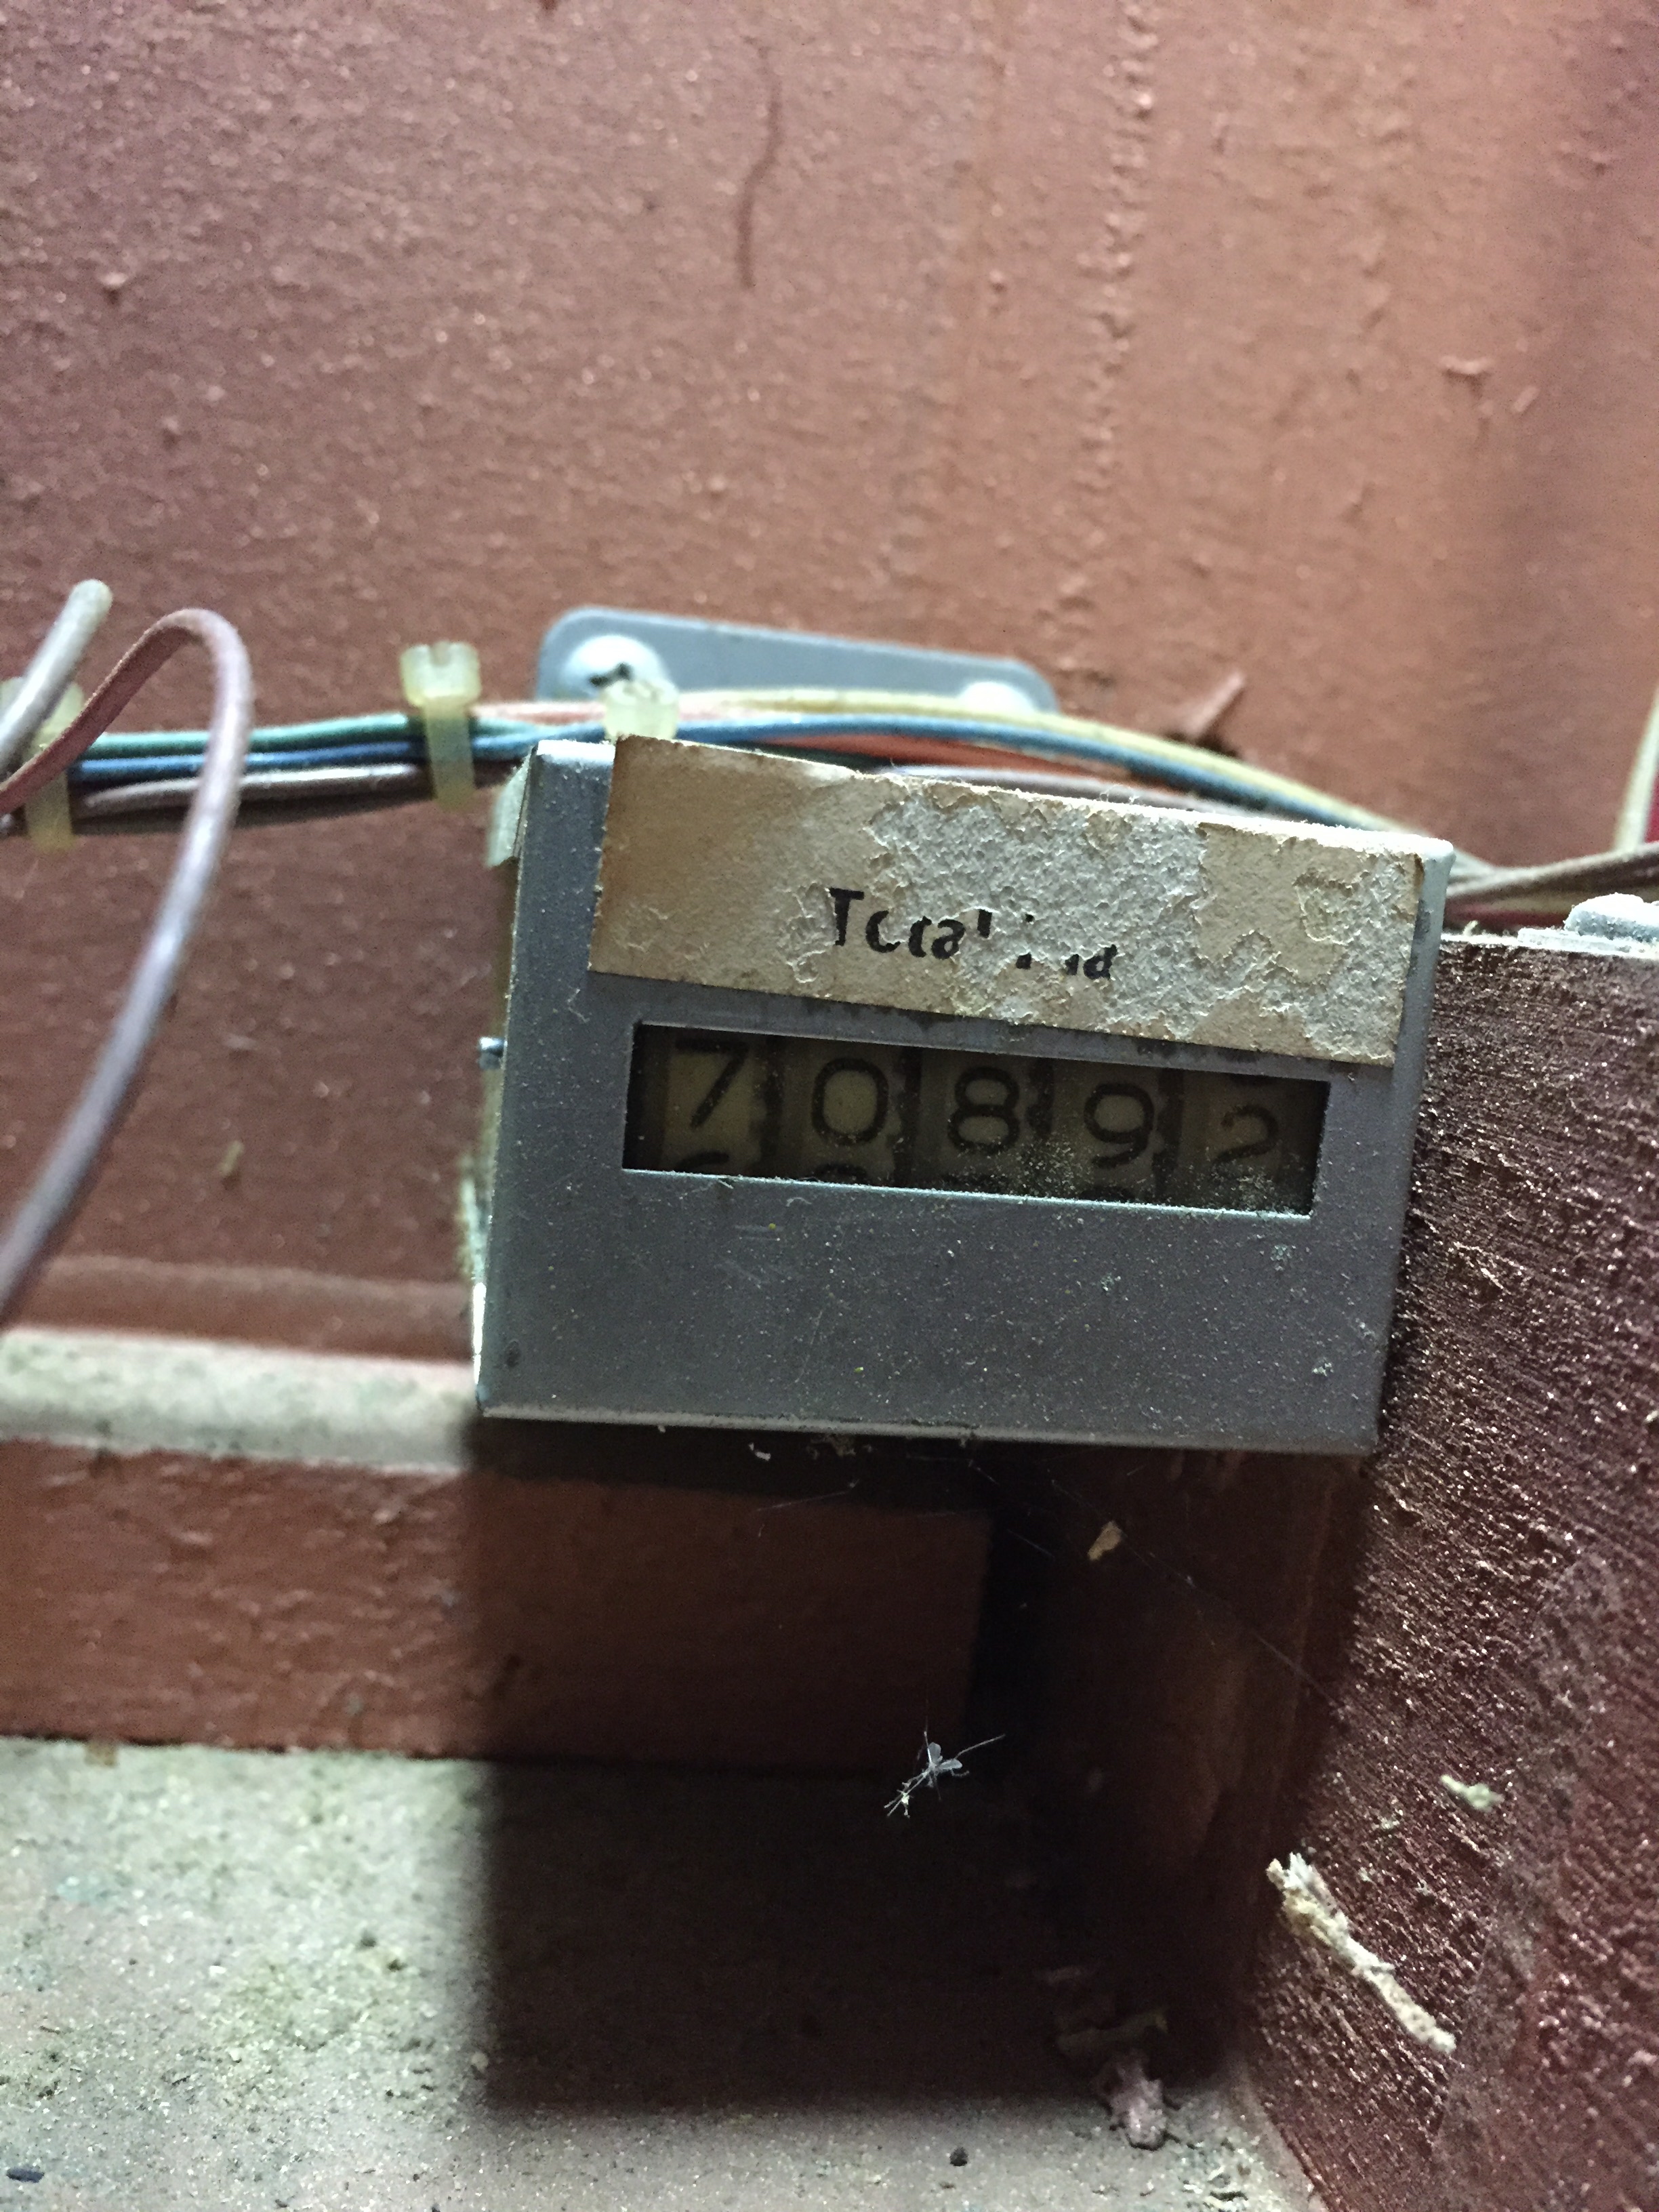
This is the first machine I’ve bought in a long time that still has its original coin box.
Its been well used – 70,892 plays. At 25 cents a play, this machine might have earned $17,723. I wonder how much it sold for new, and how long it was routed.
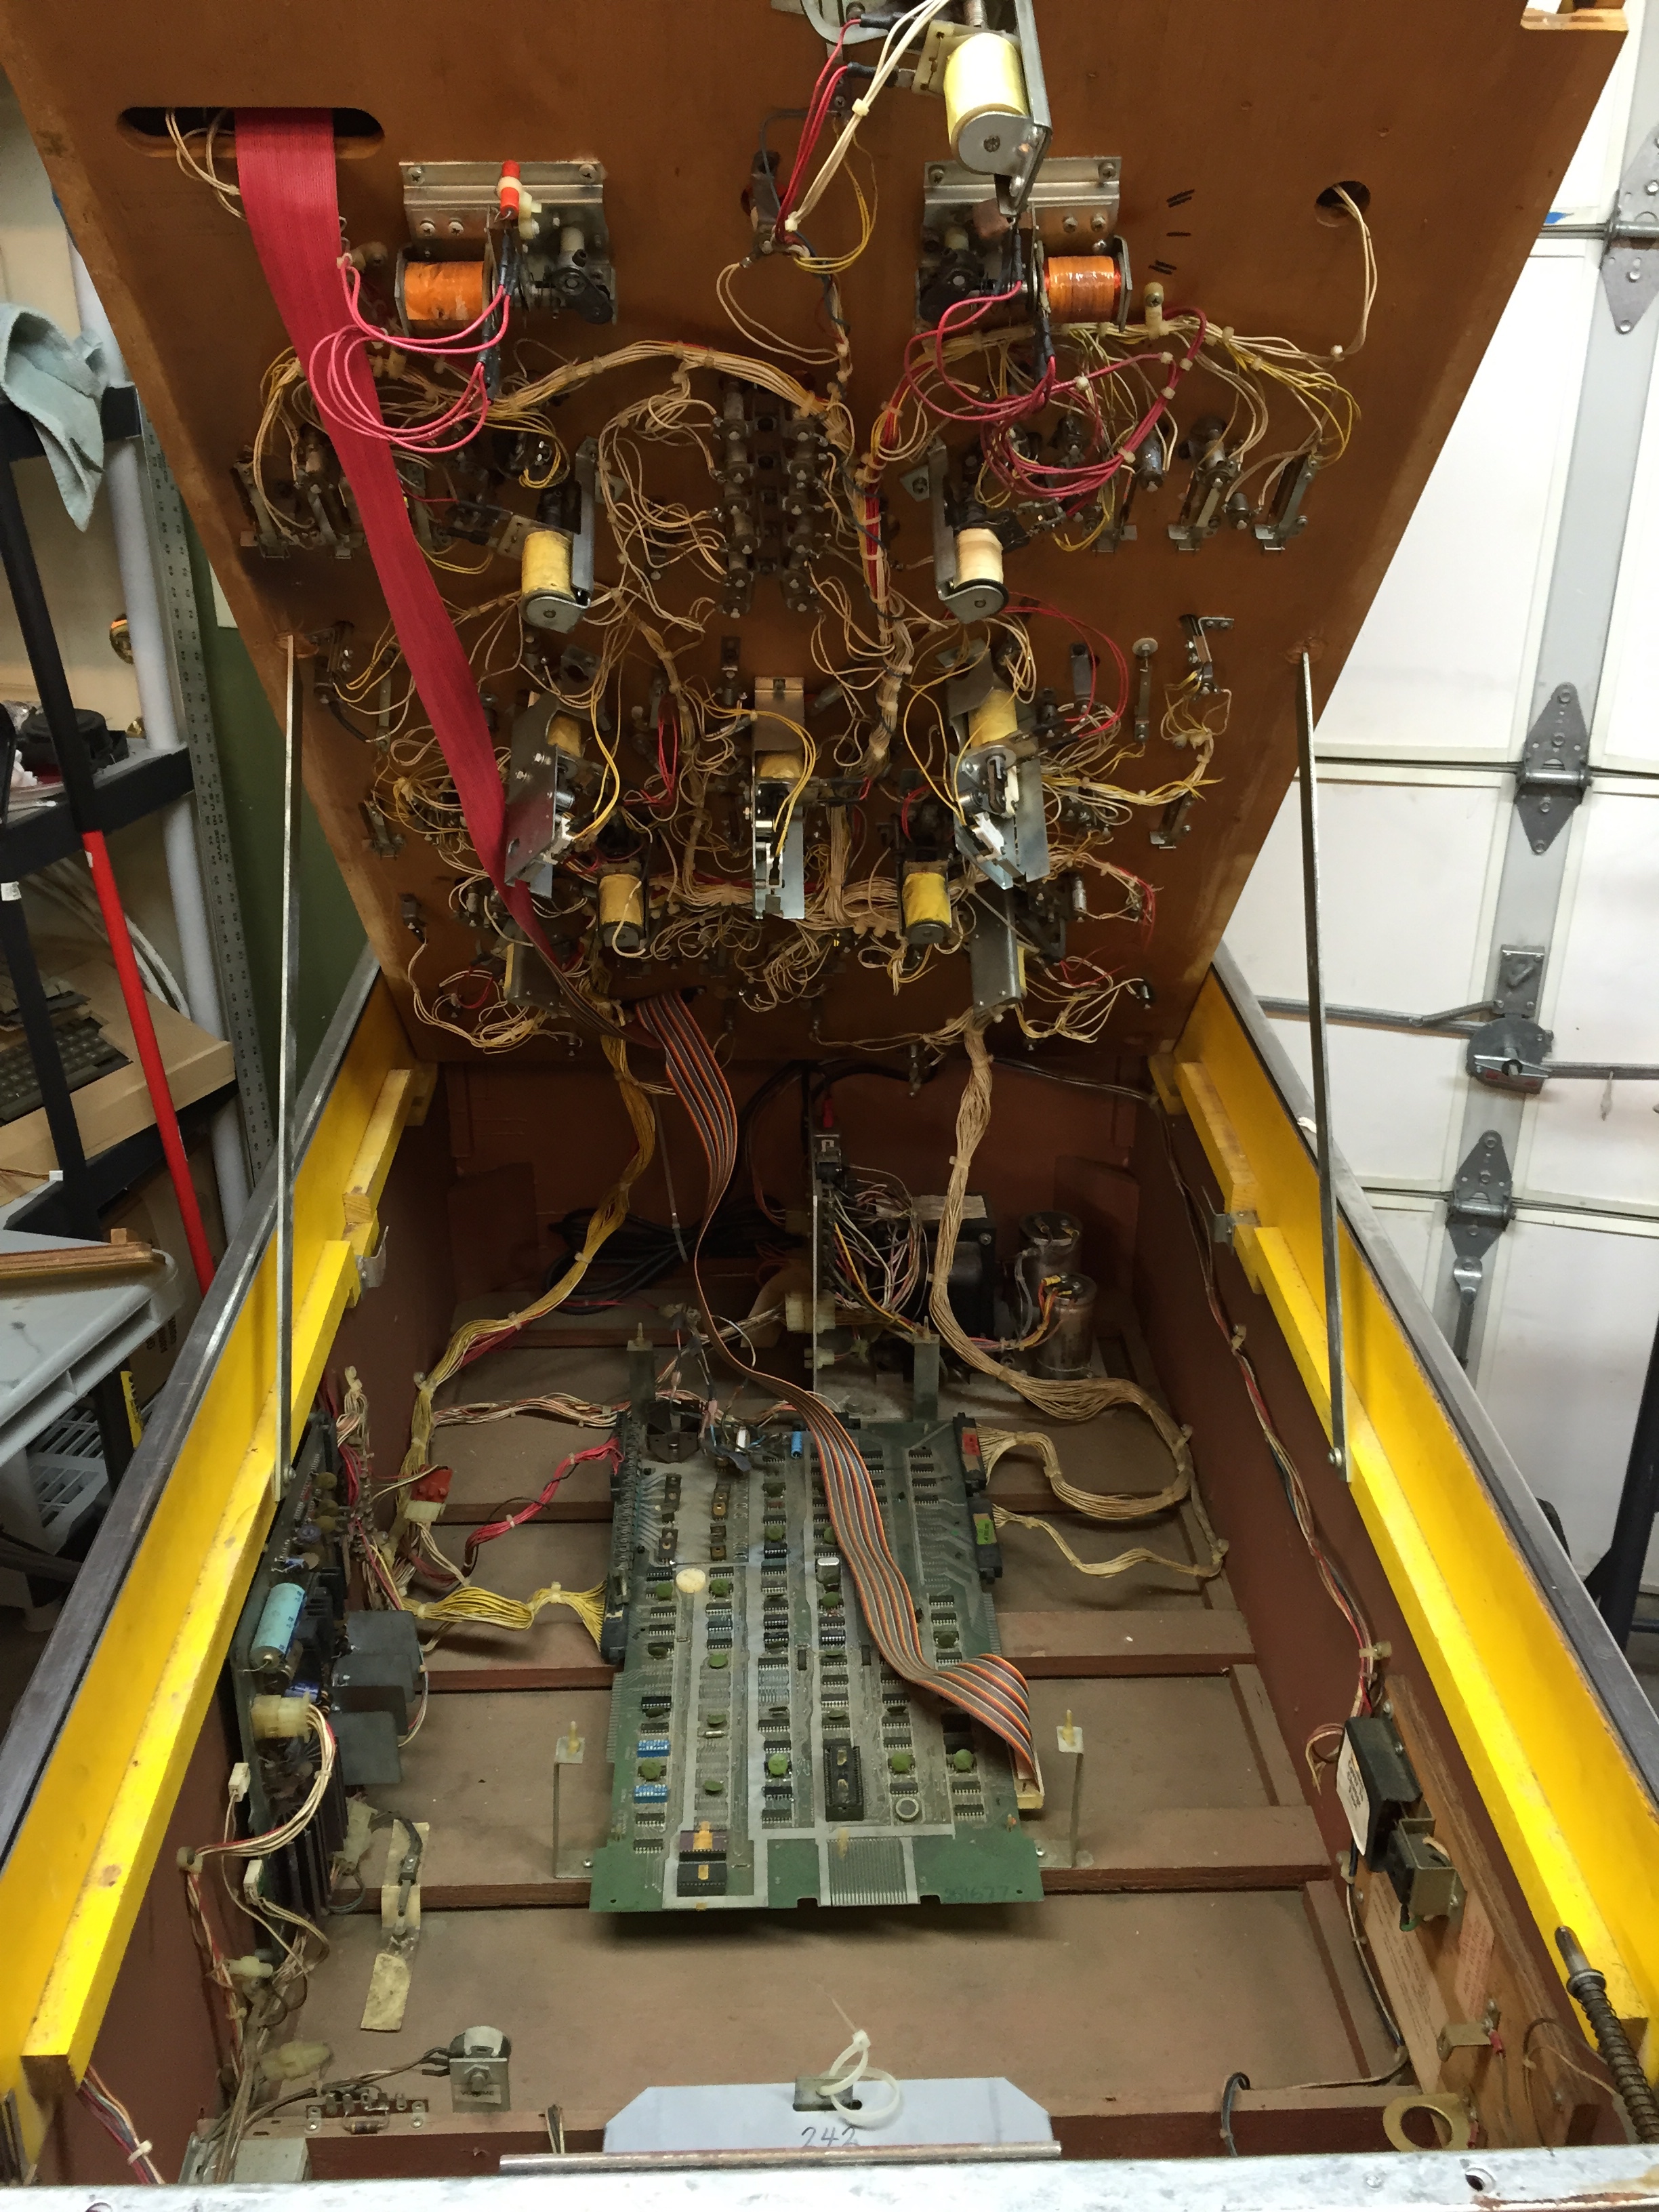
The boards look “ok”. Some of the chips and transistors have been replaced, and there’s evidence of it having been worked on. I just hope this thing wasn’t so far gone that it was parked in the back of a warehouse and forgotten until I bought it.


I’ll probably start working on the electronics first, then prep and clear the new playfield, and finally I’ll start cleaning up the playfield components and transferring them to the new playfield.
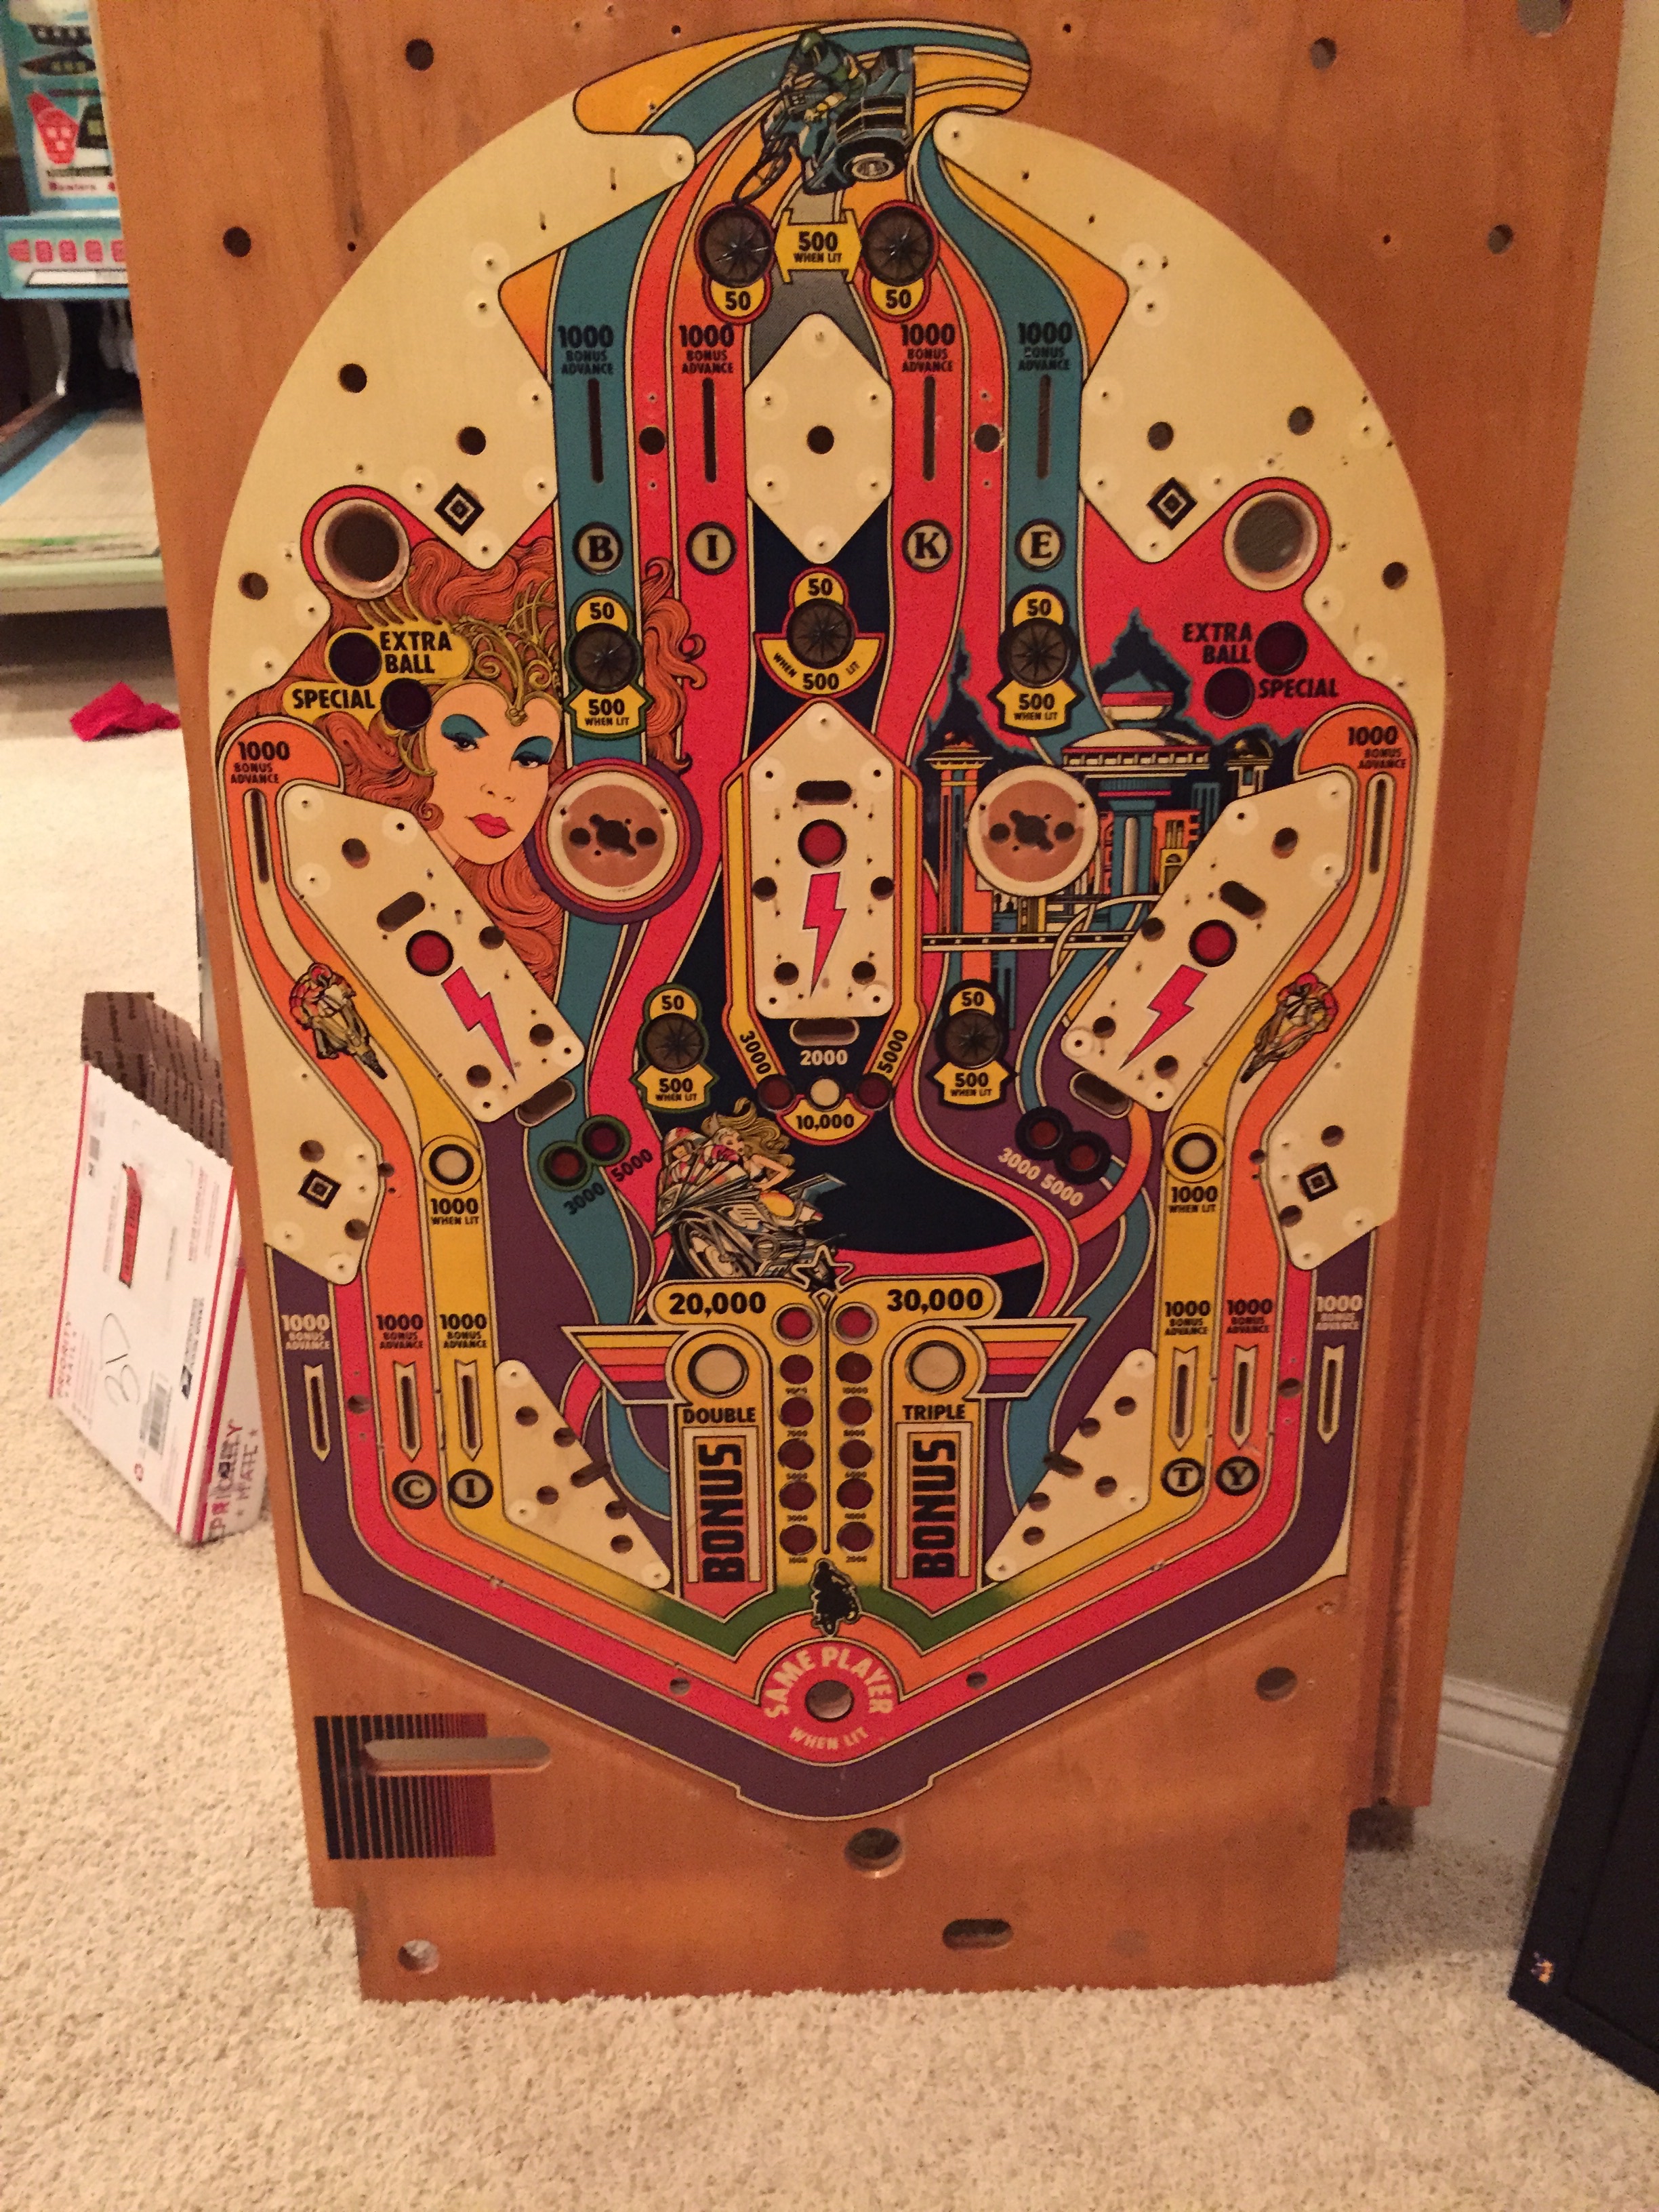
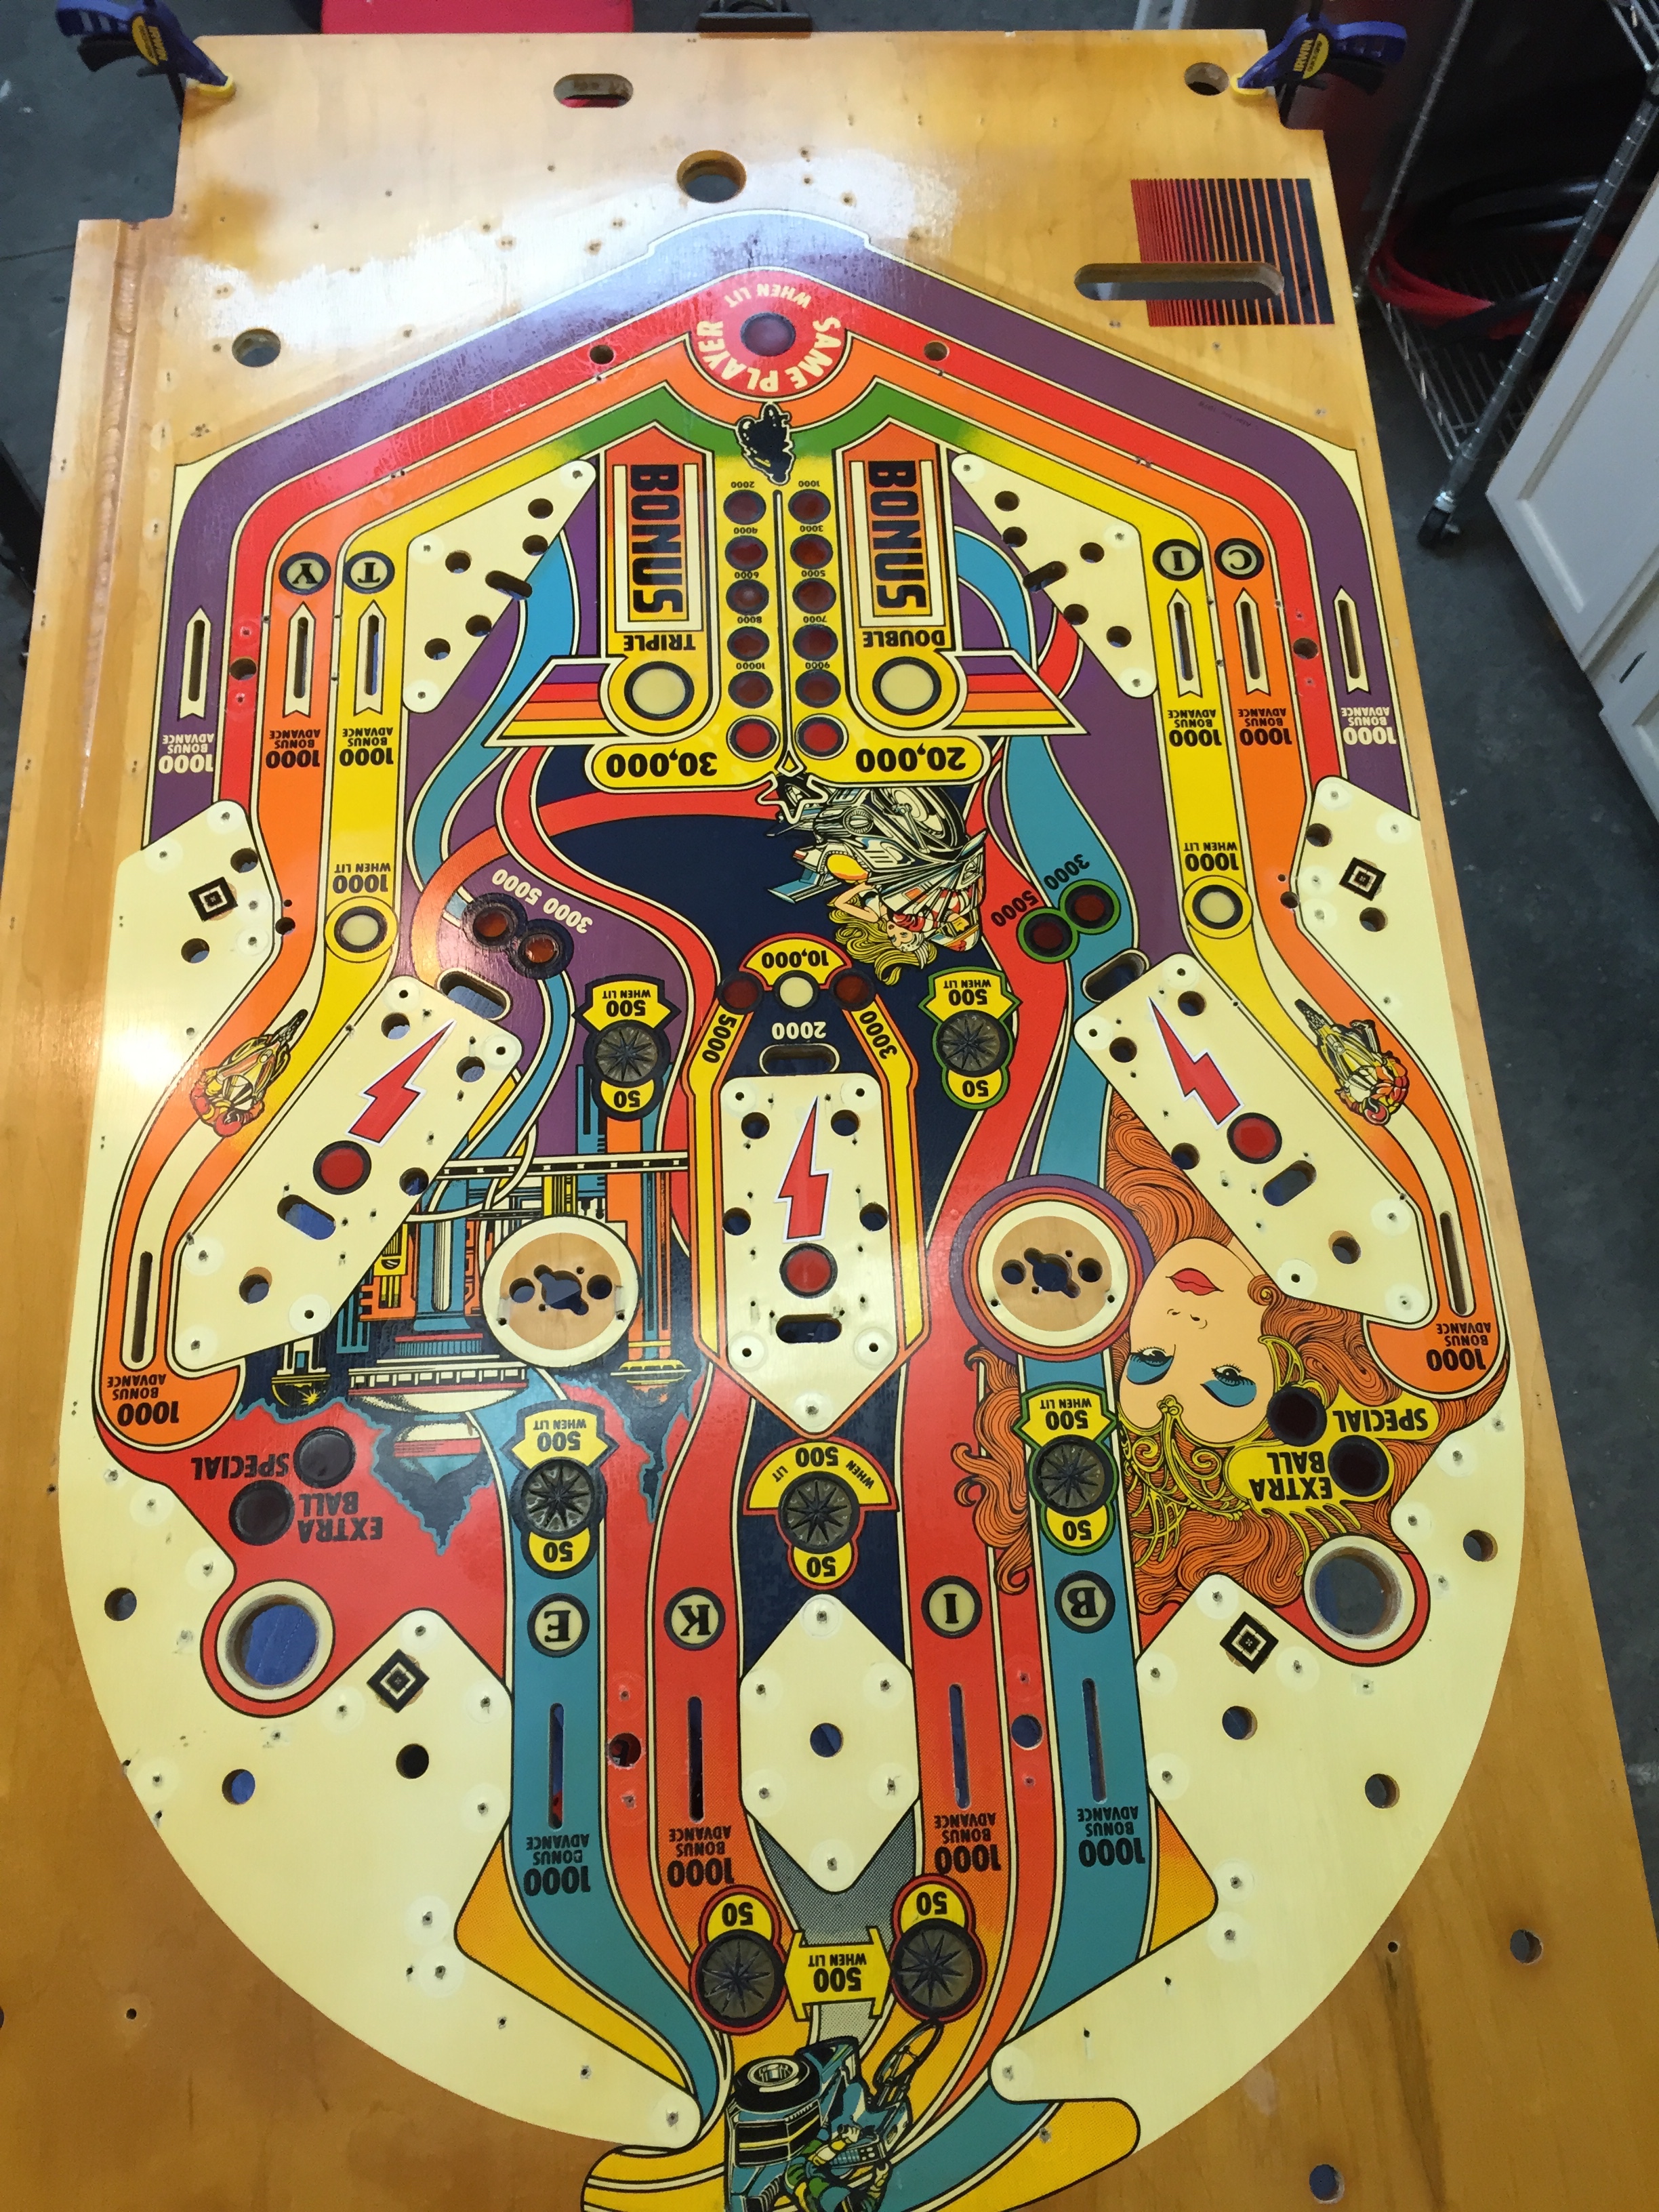
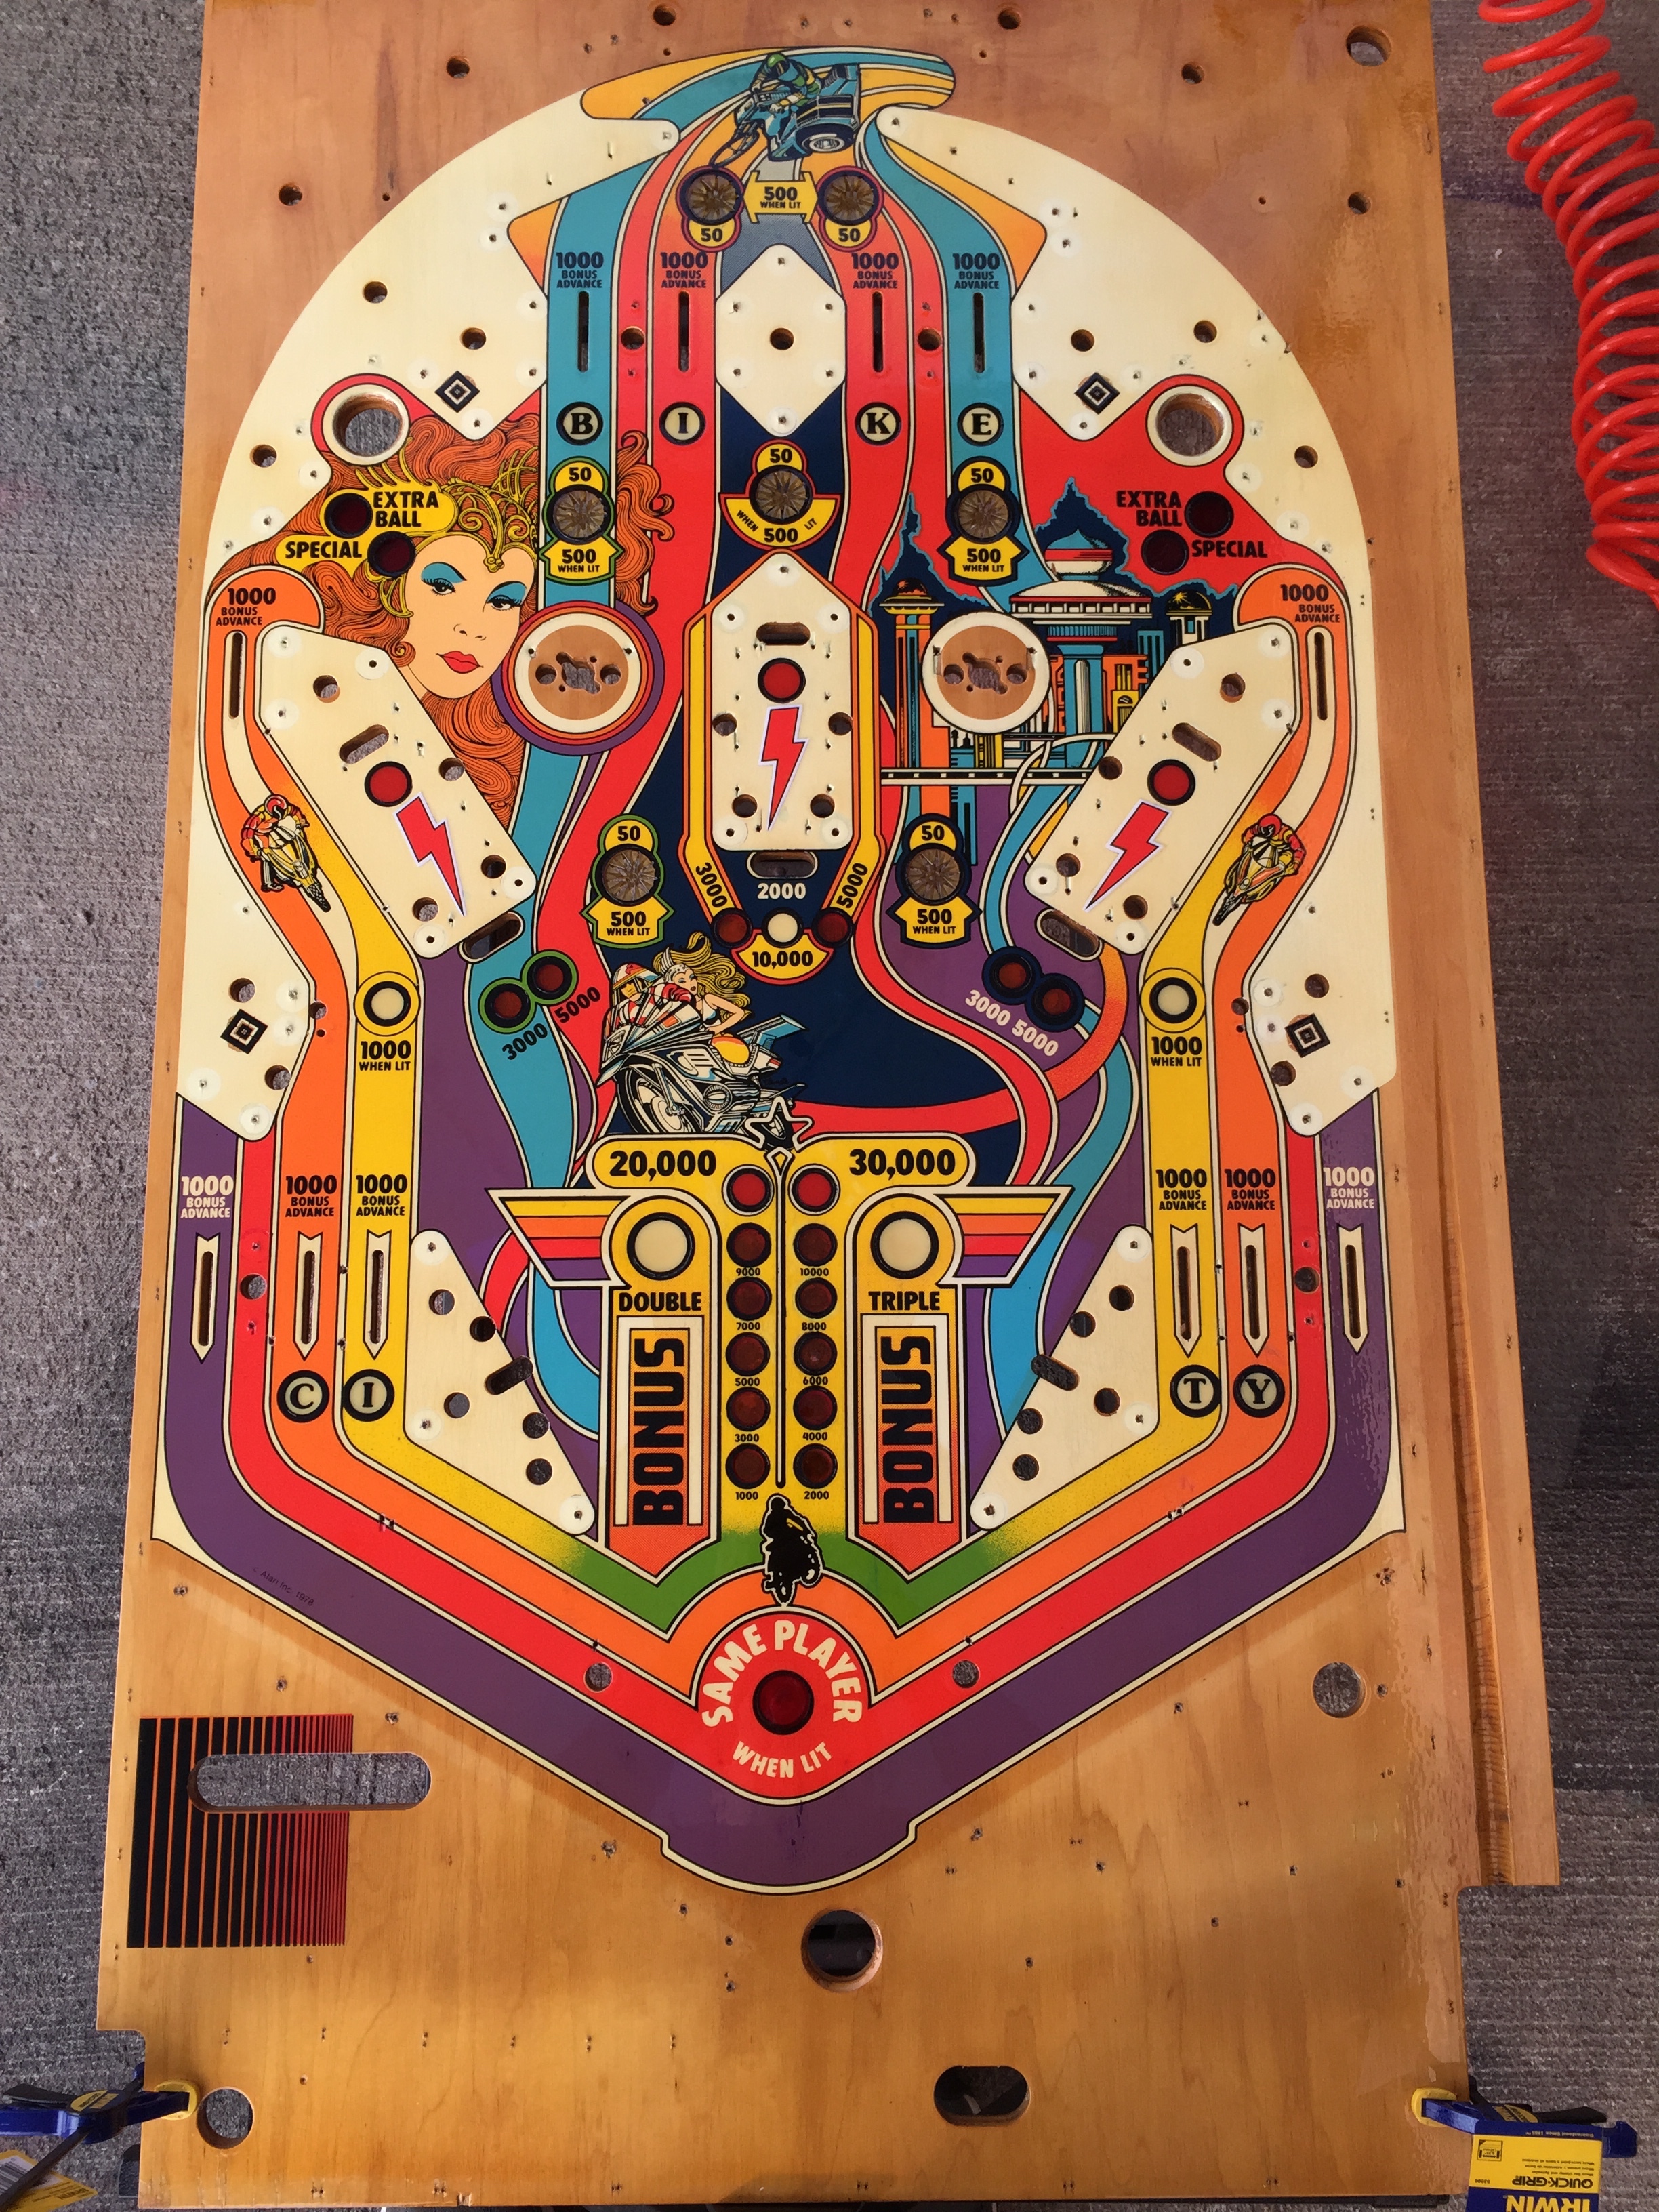
Replacement playfield
Turning on for the First Time
I plugged the machine in and (wait for it) nothing…
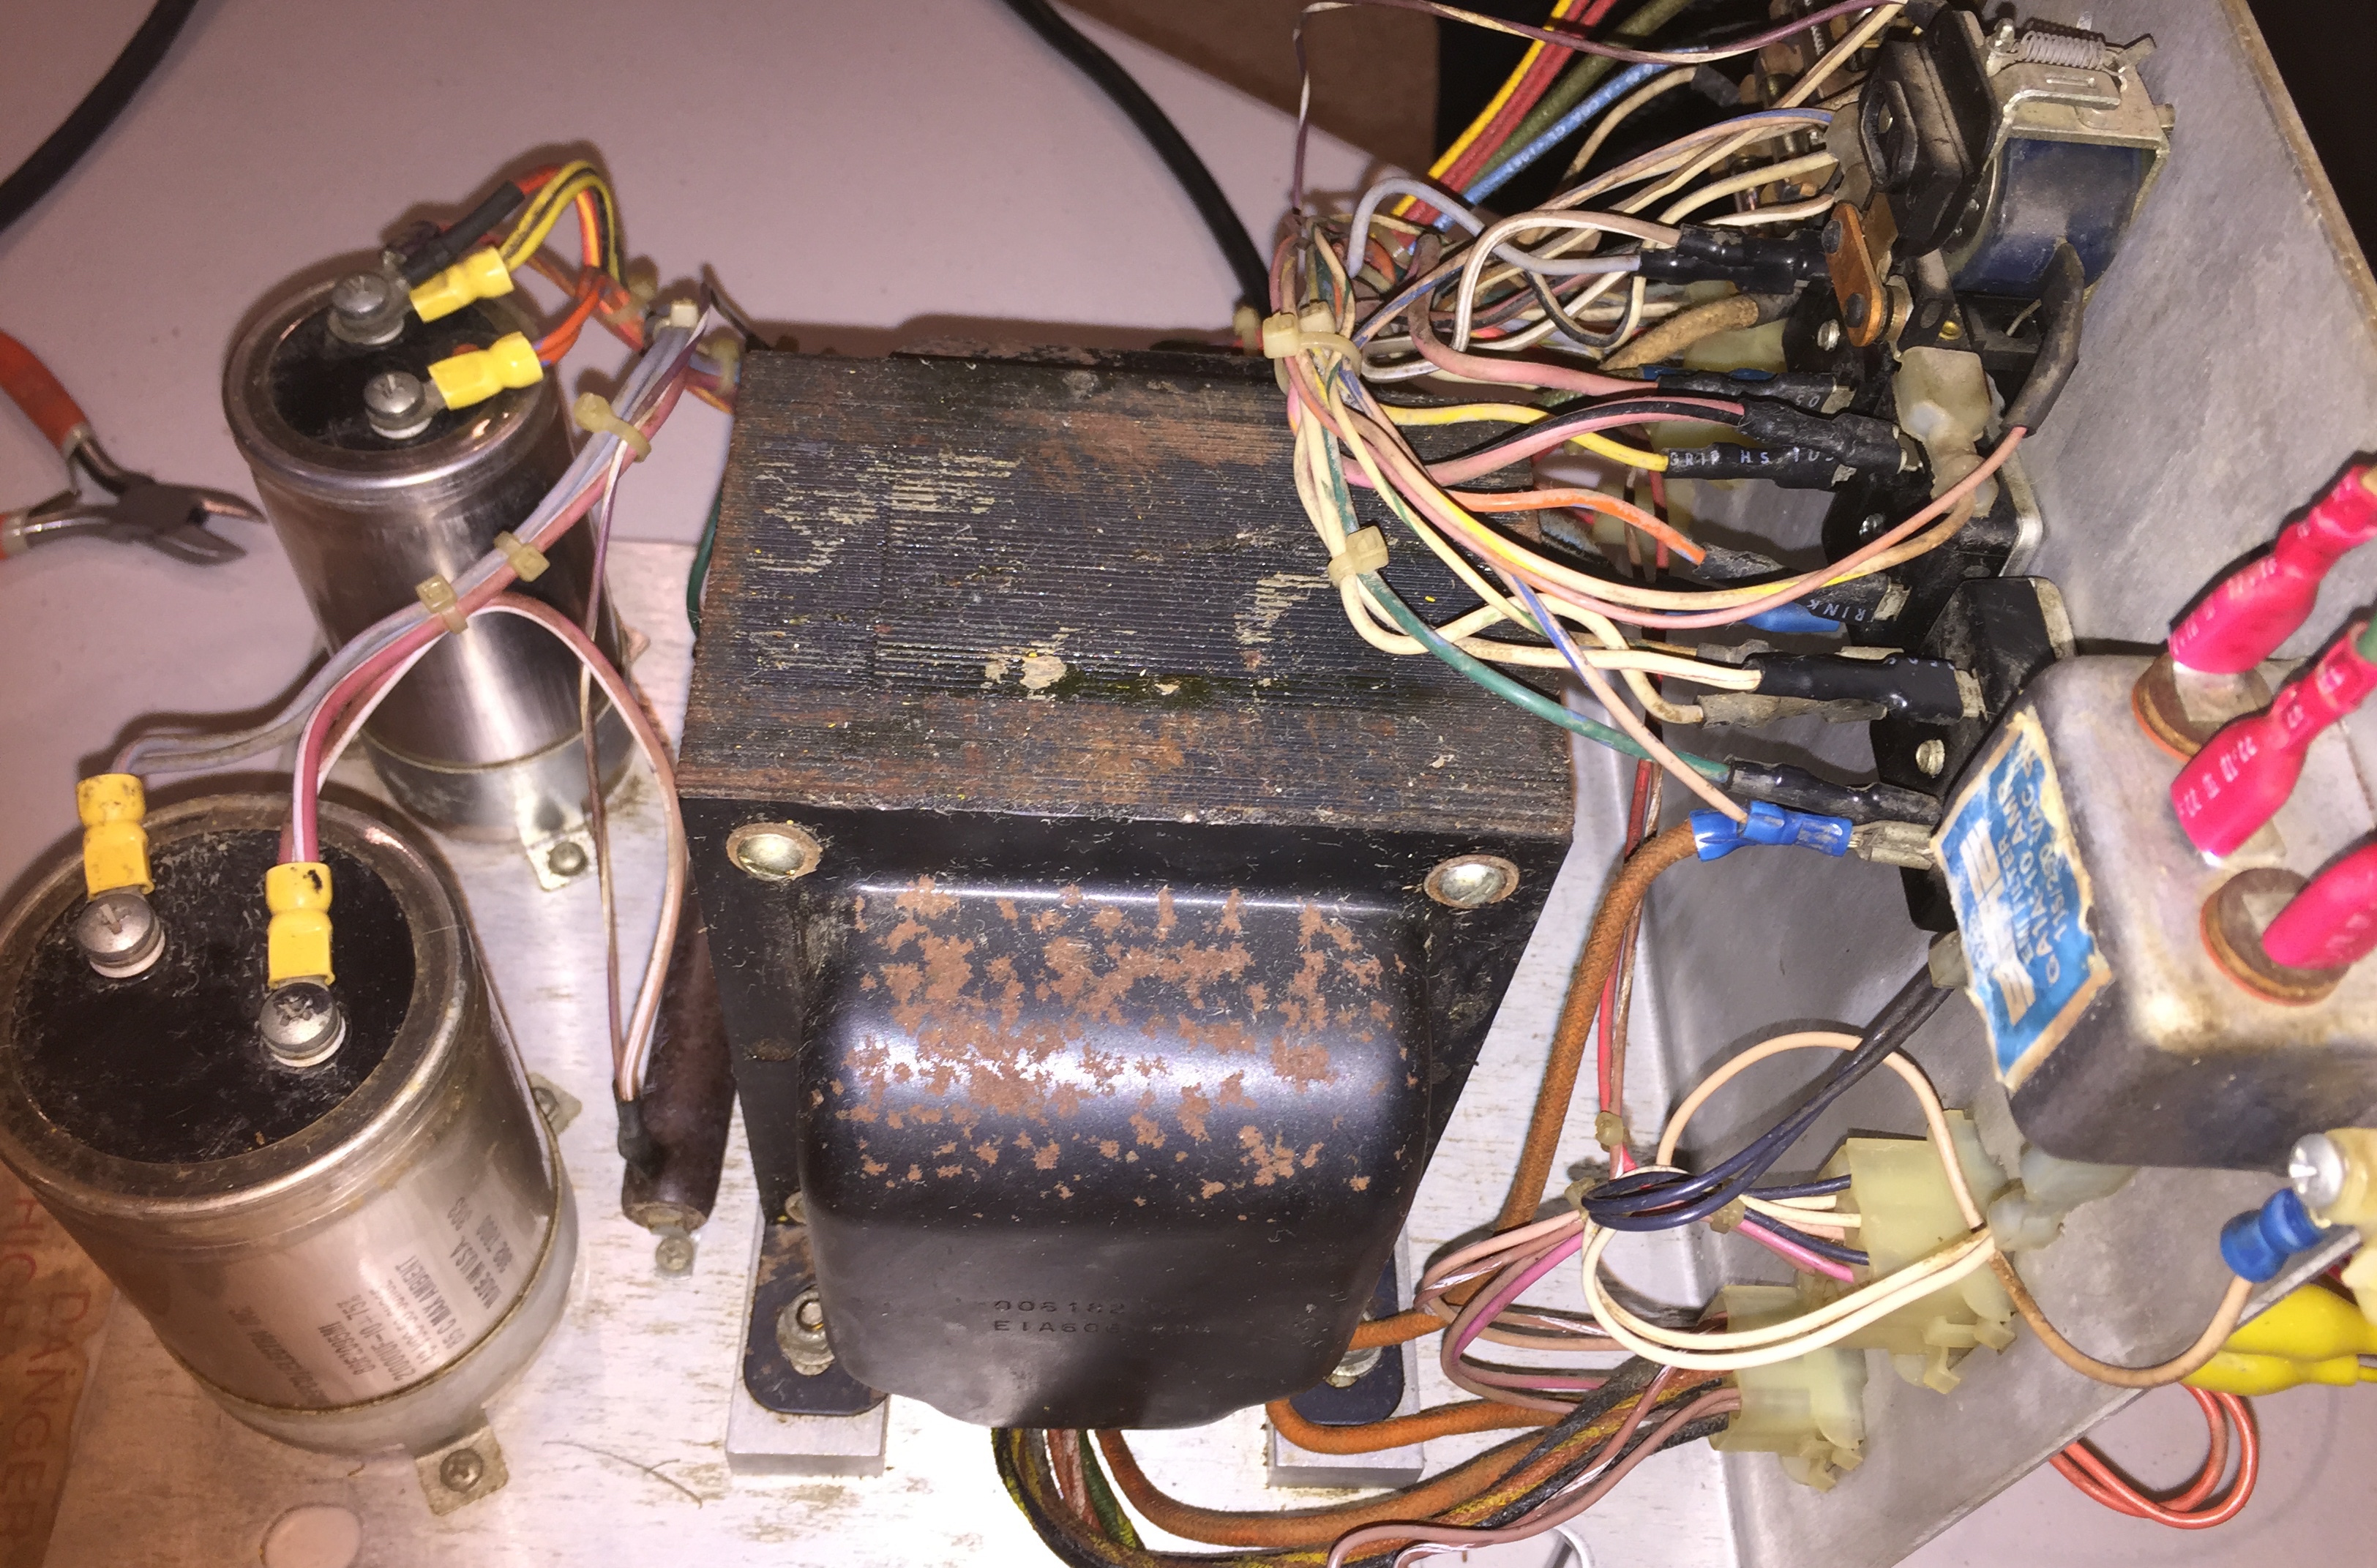
The inside of the cabinet was filthy and stinky so I figured I guess I’ll remove the motherboard, aux board, and power supply and go through them and while they are out I’ll sand all the grime out of the bottom of the cabinet and vacuum it out.
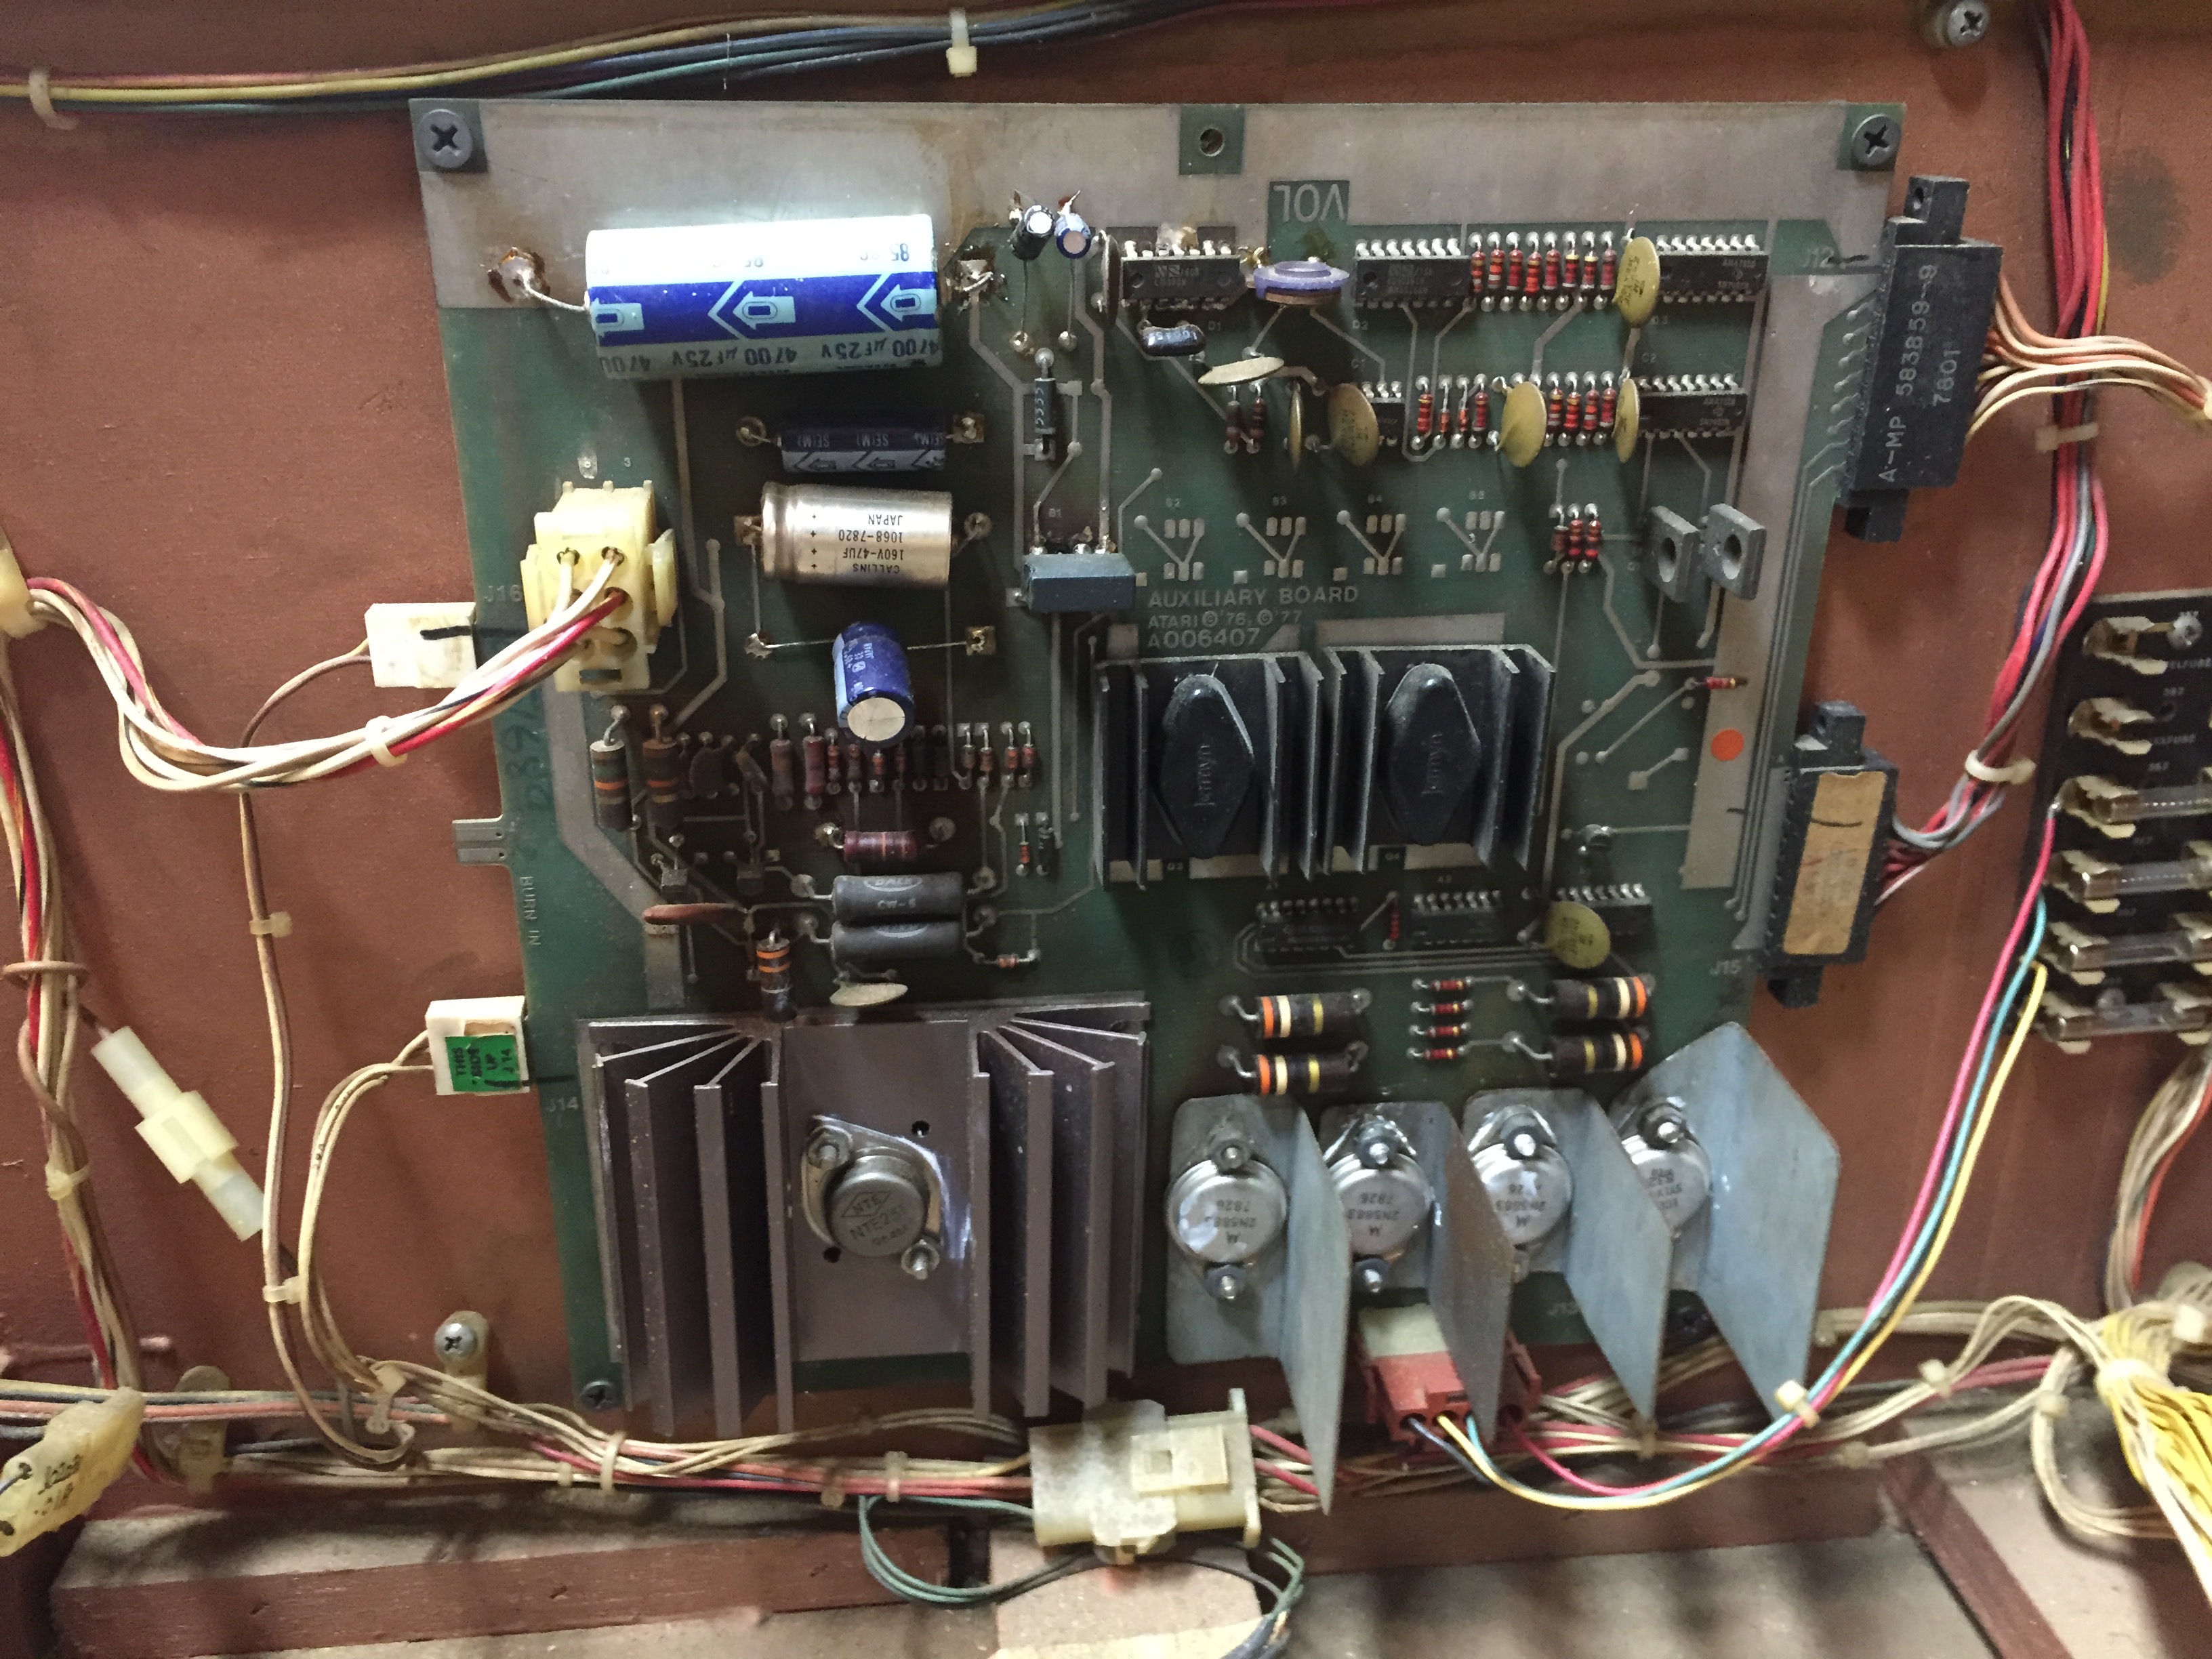
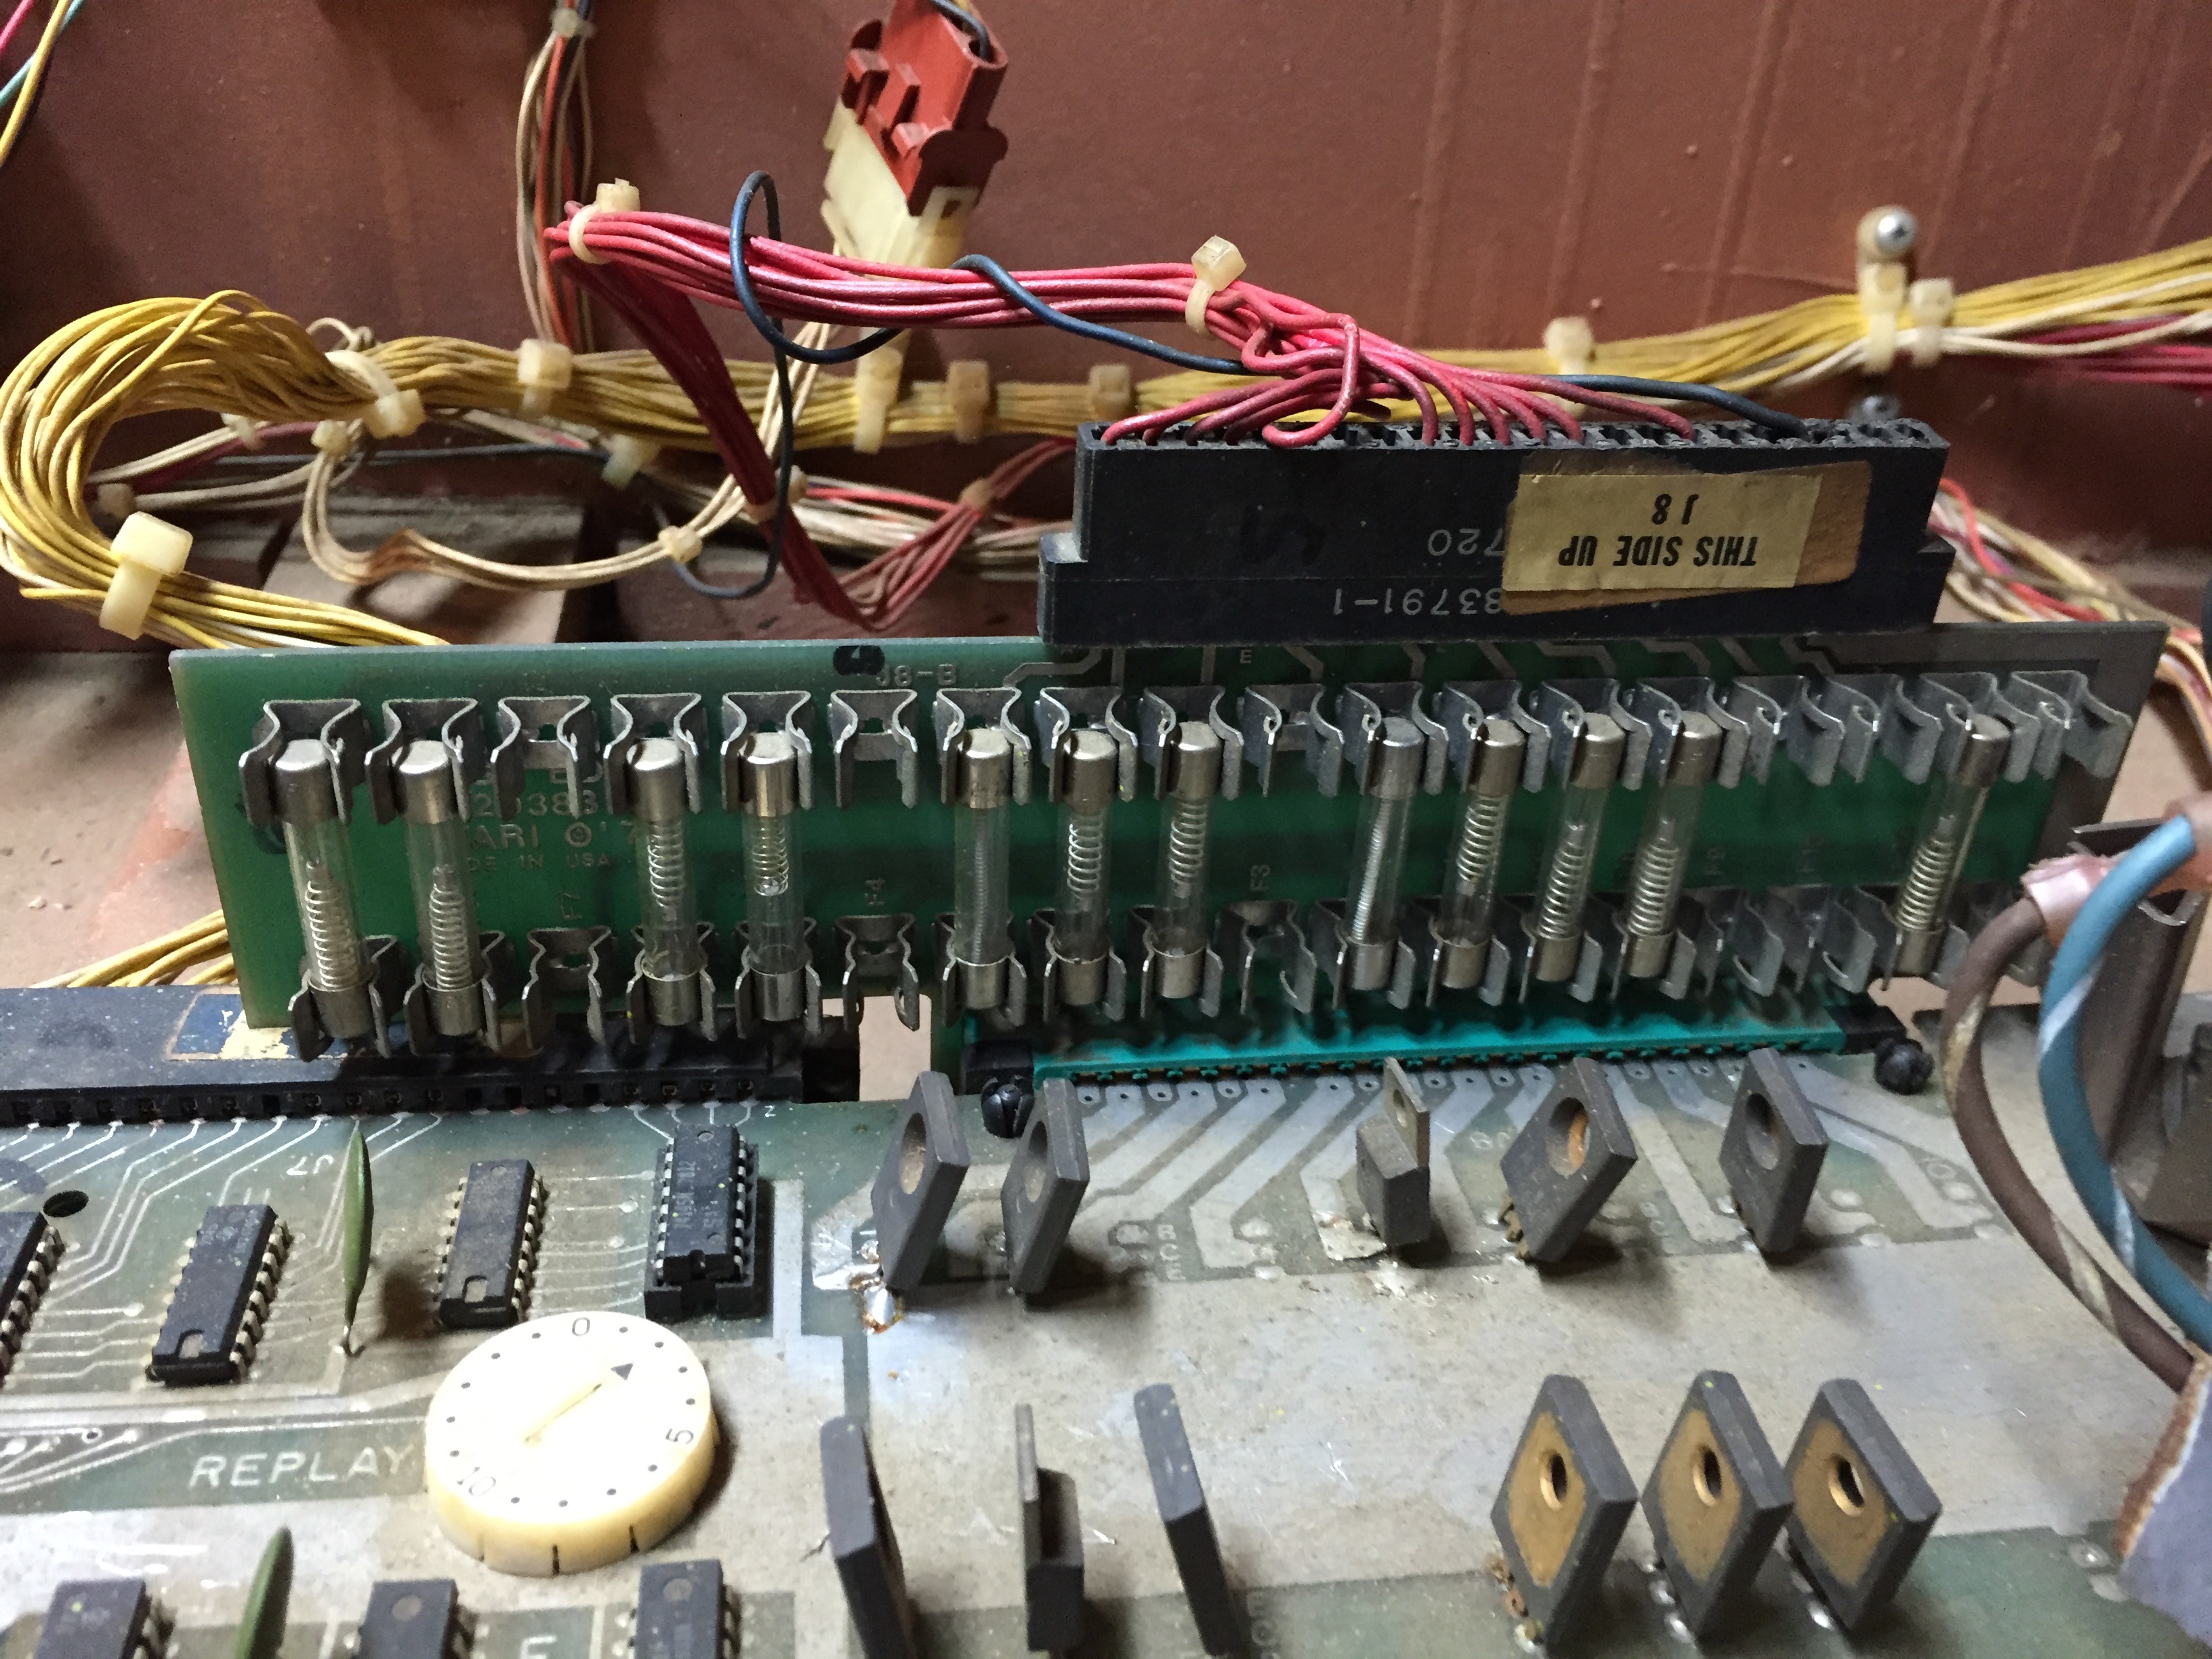
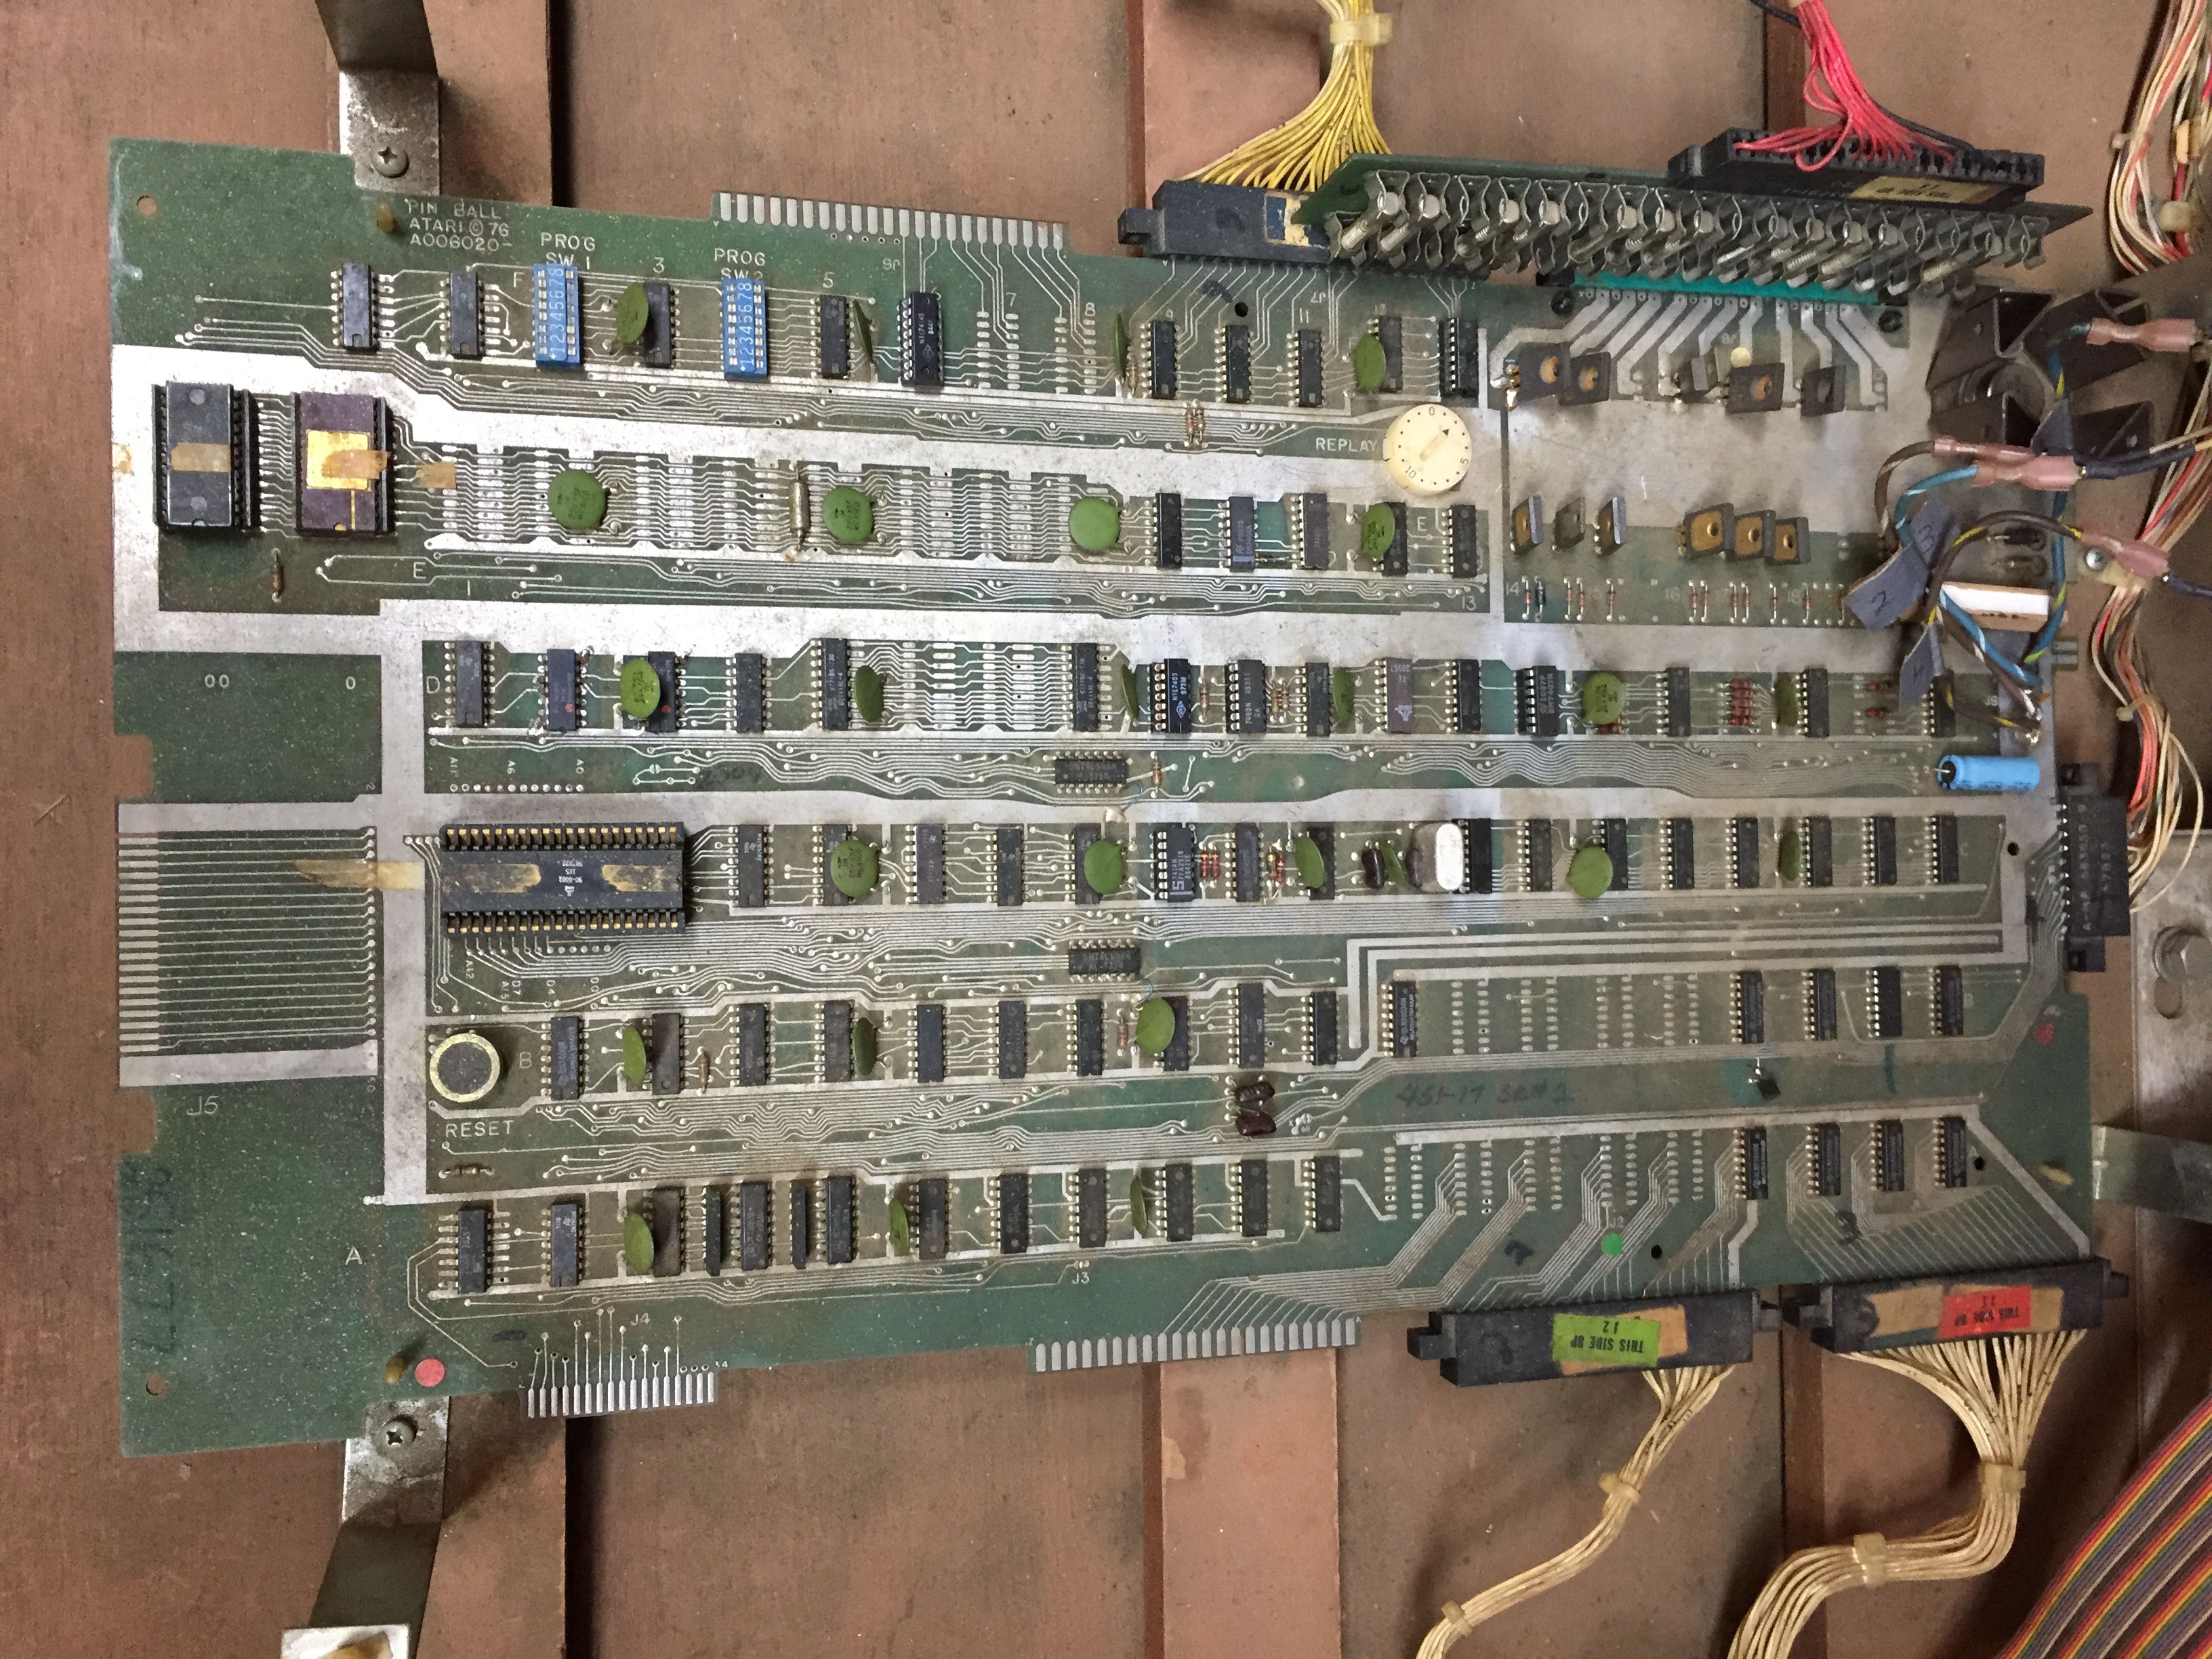
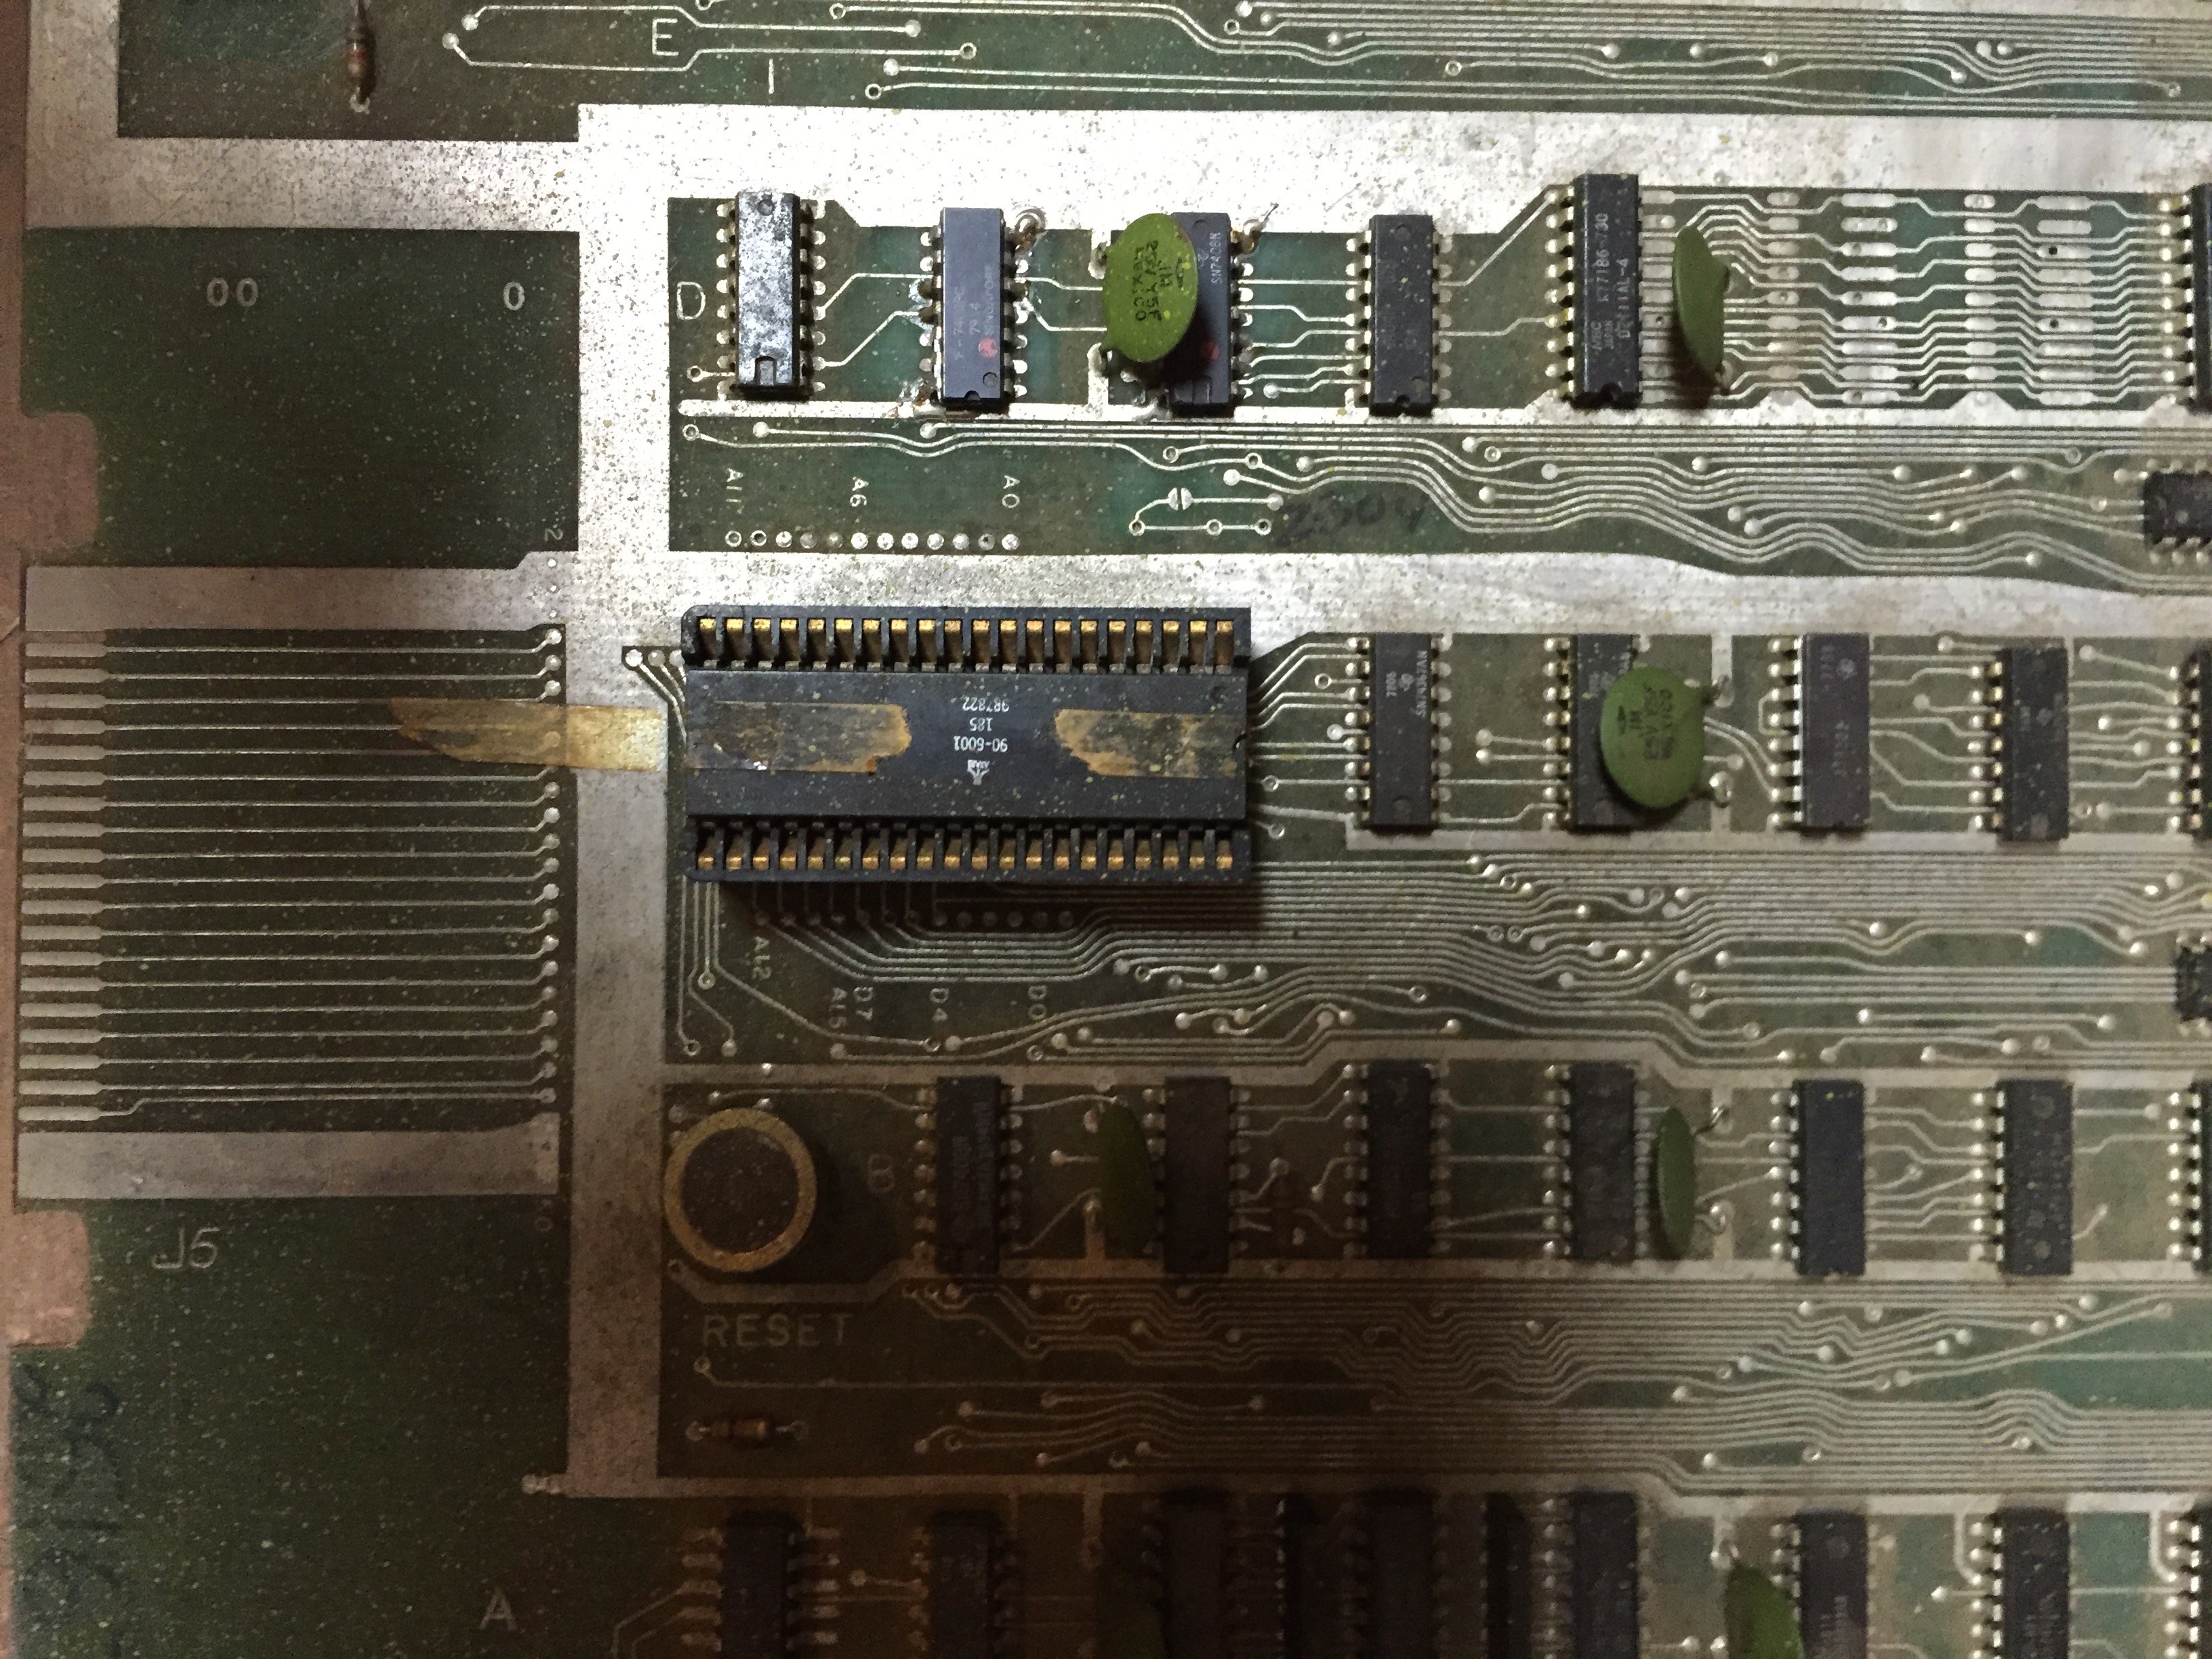
 I removed and started cleaning up the power supply. Once I got it cleaned up, I jumpered the power switch contacts to test it out and plugged it in. All the fuses were good and it appears all the supply voltages are there, so I think the power supply is ok. I’ll put it back in the game and start working on the motherboard and aux board next. These have been hacked up a bit more than I could tell from the pictures. It looks like a number of the caps and transistors have been replace, and some of the traces have been burned off the bottom of the board, so this thing has seen some trauma.
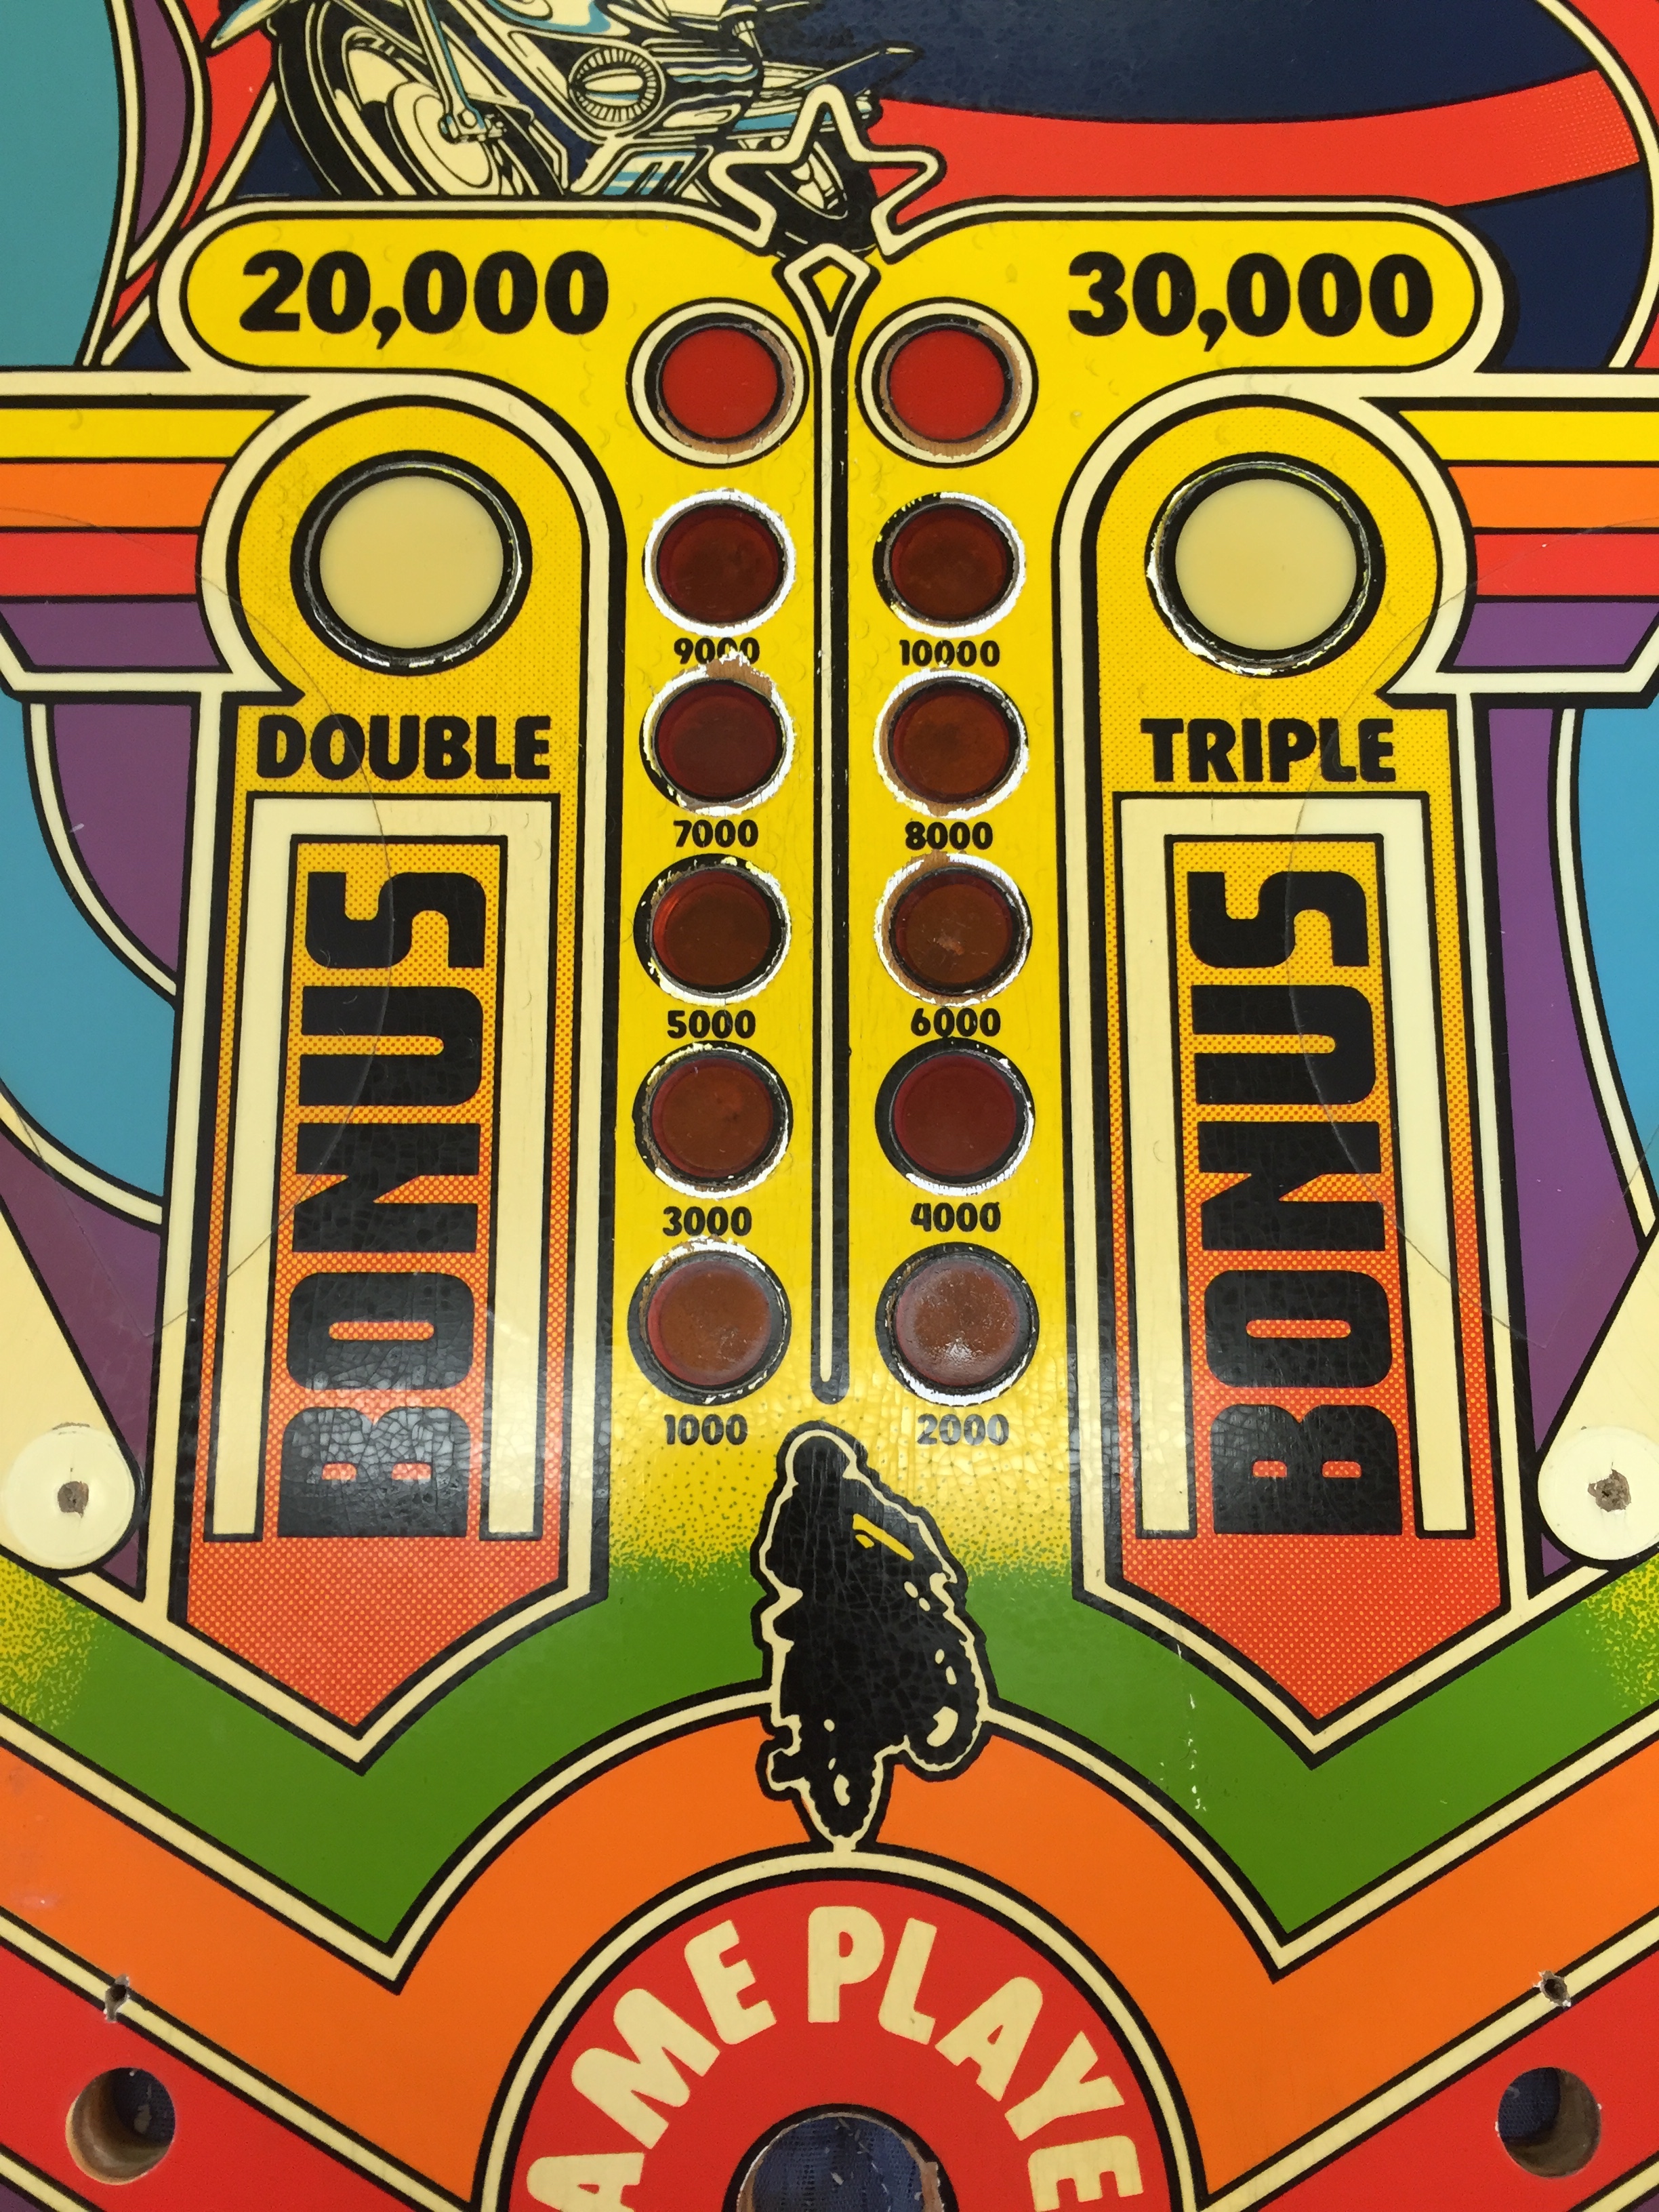
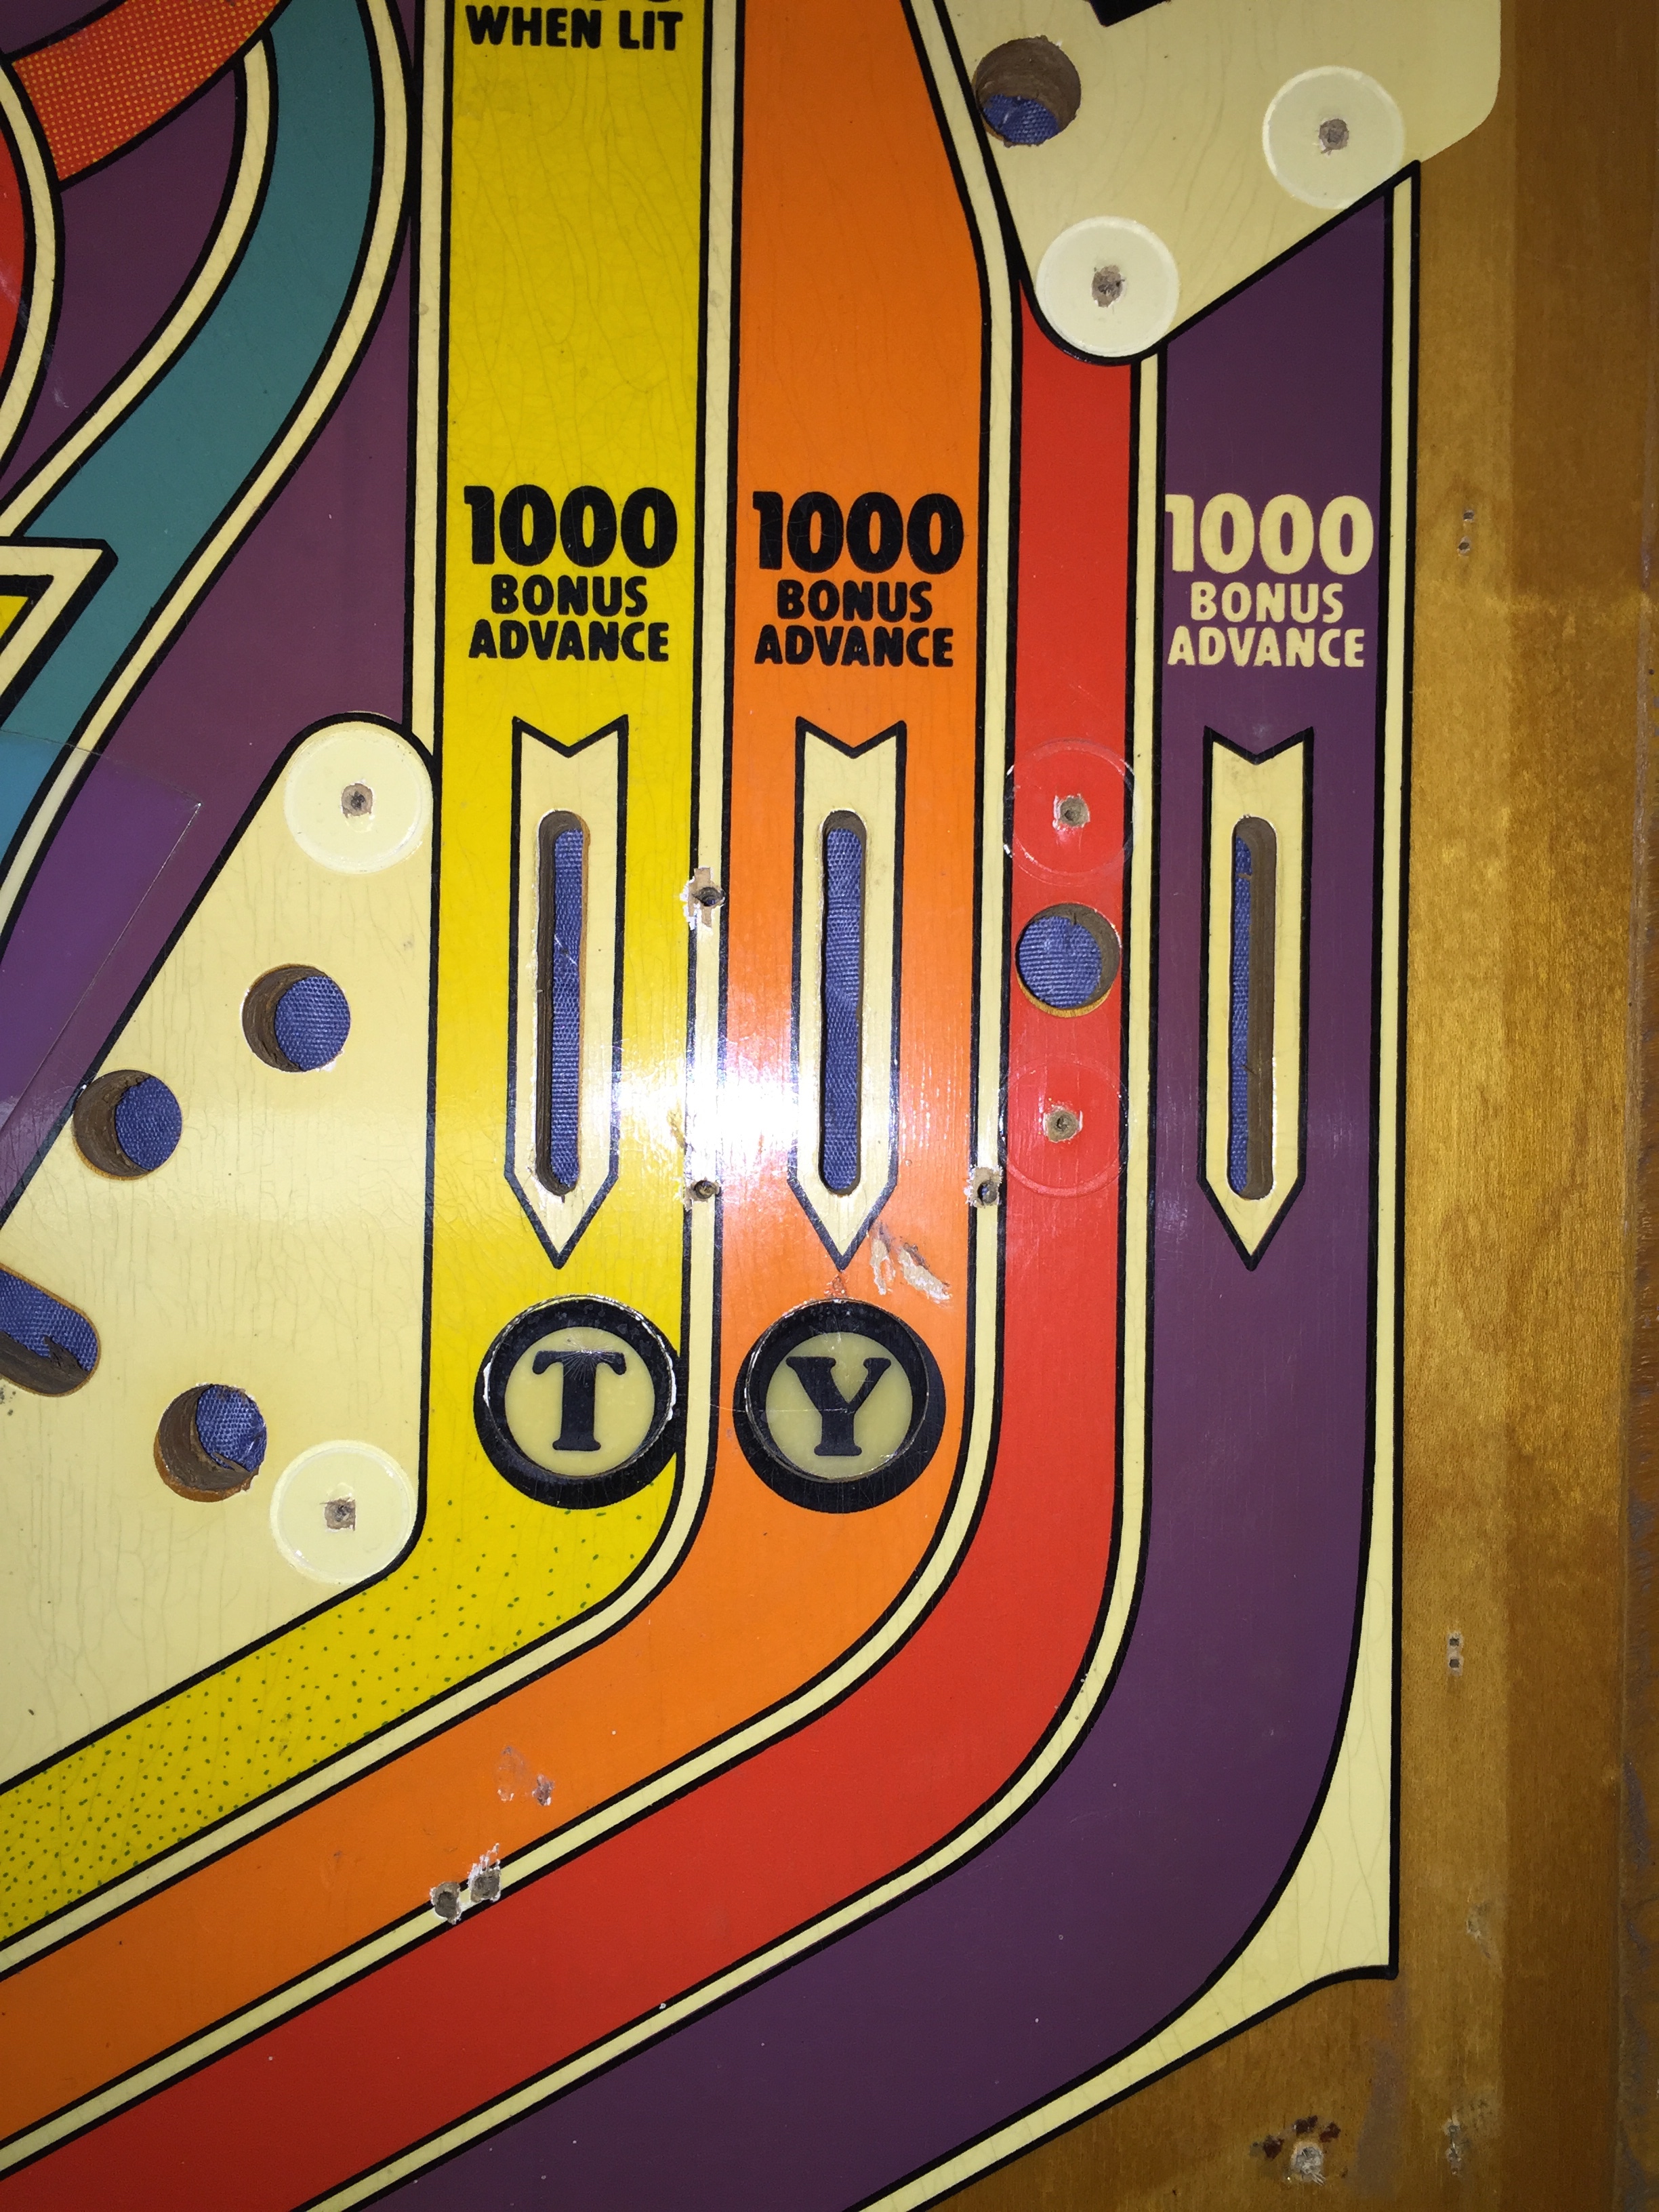
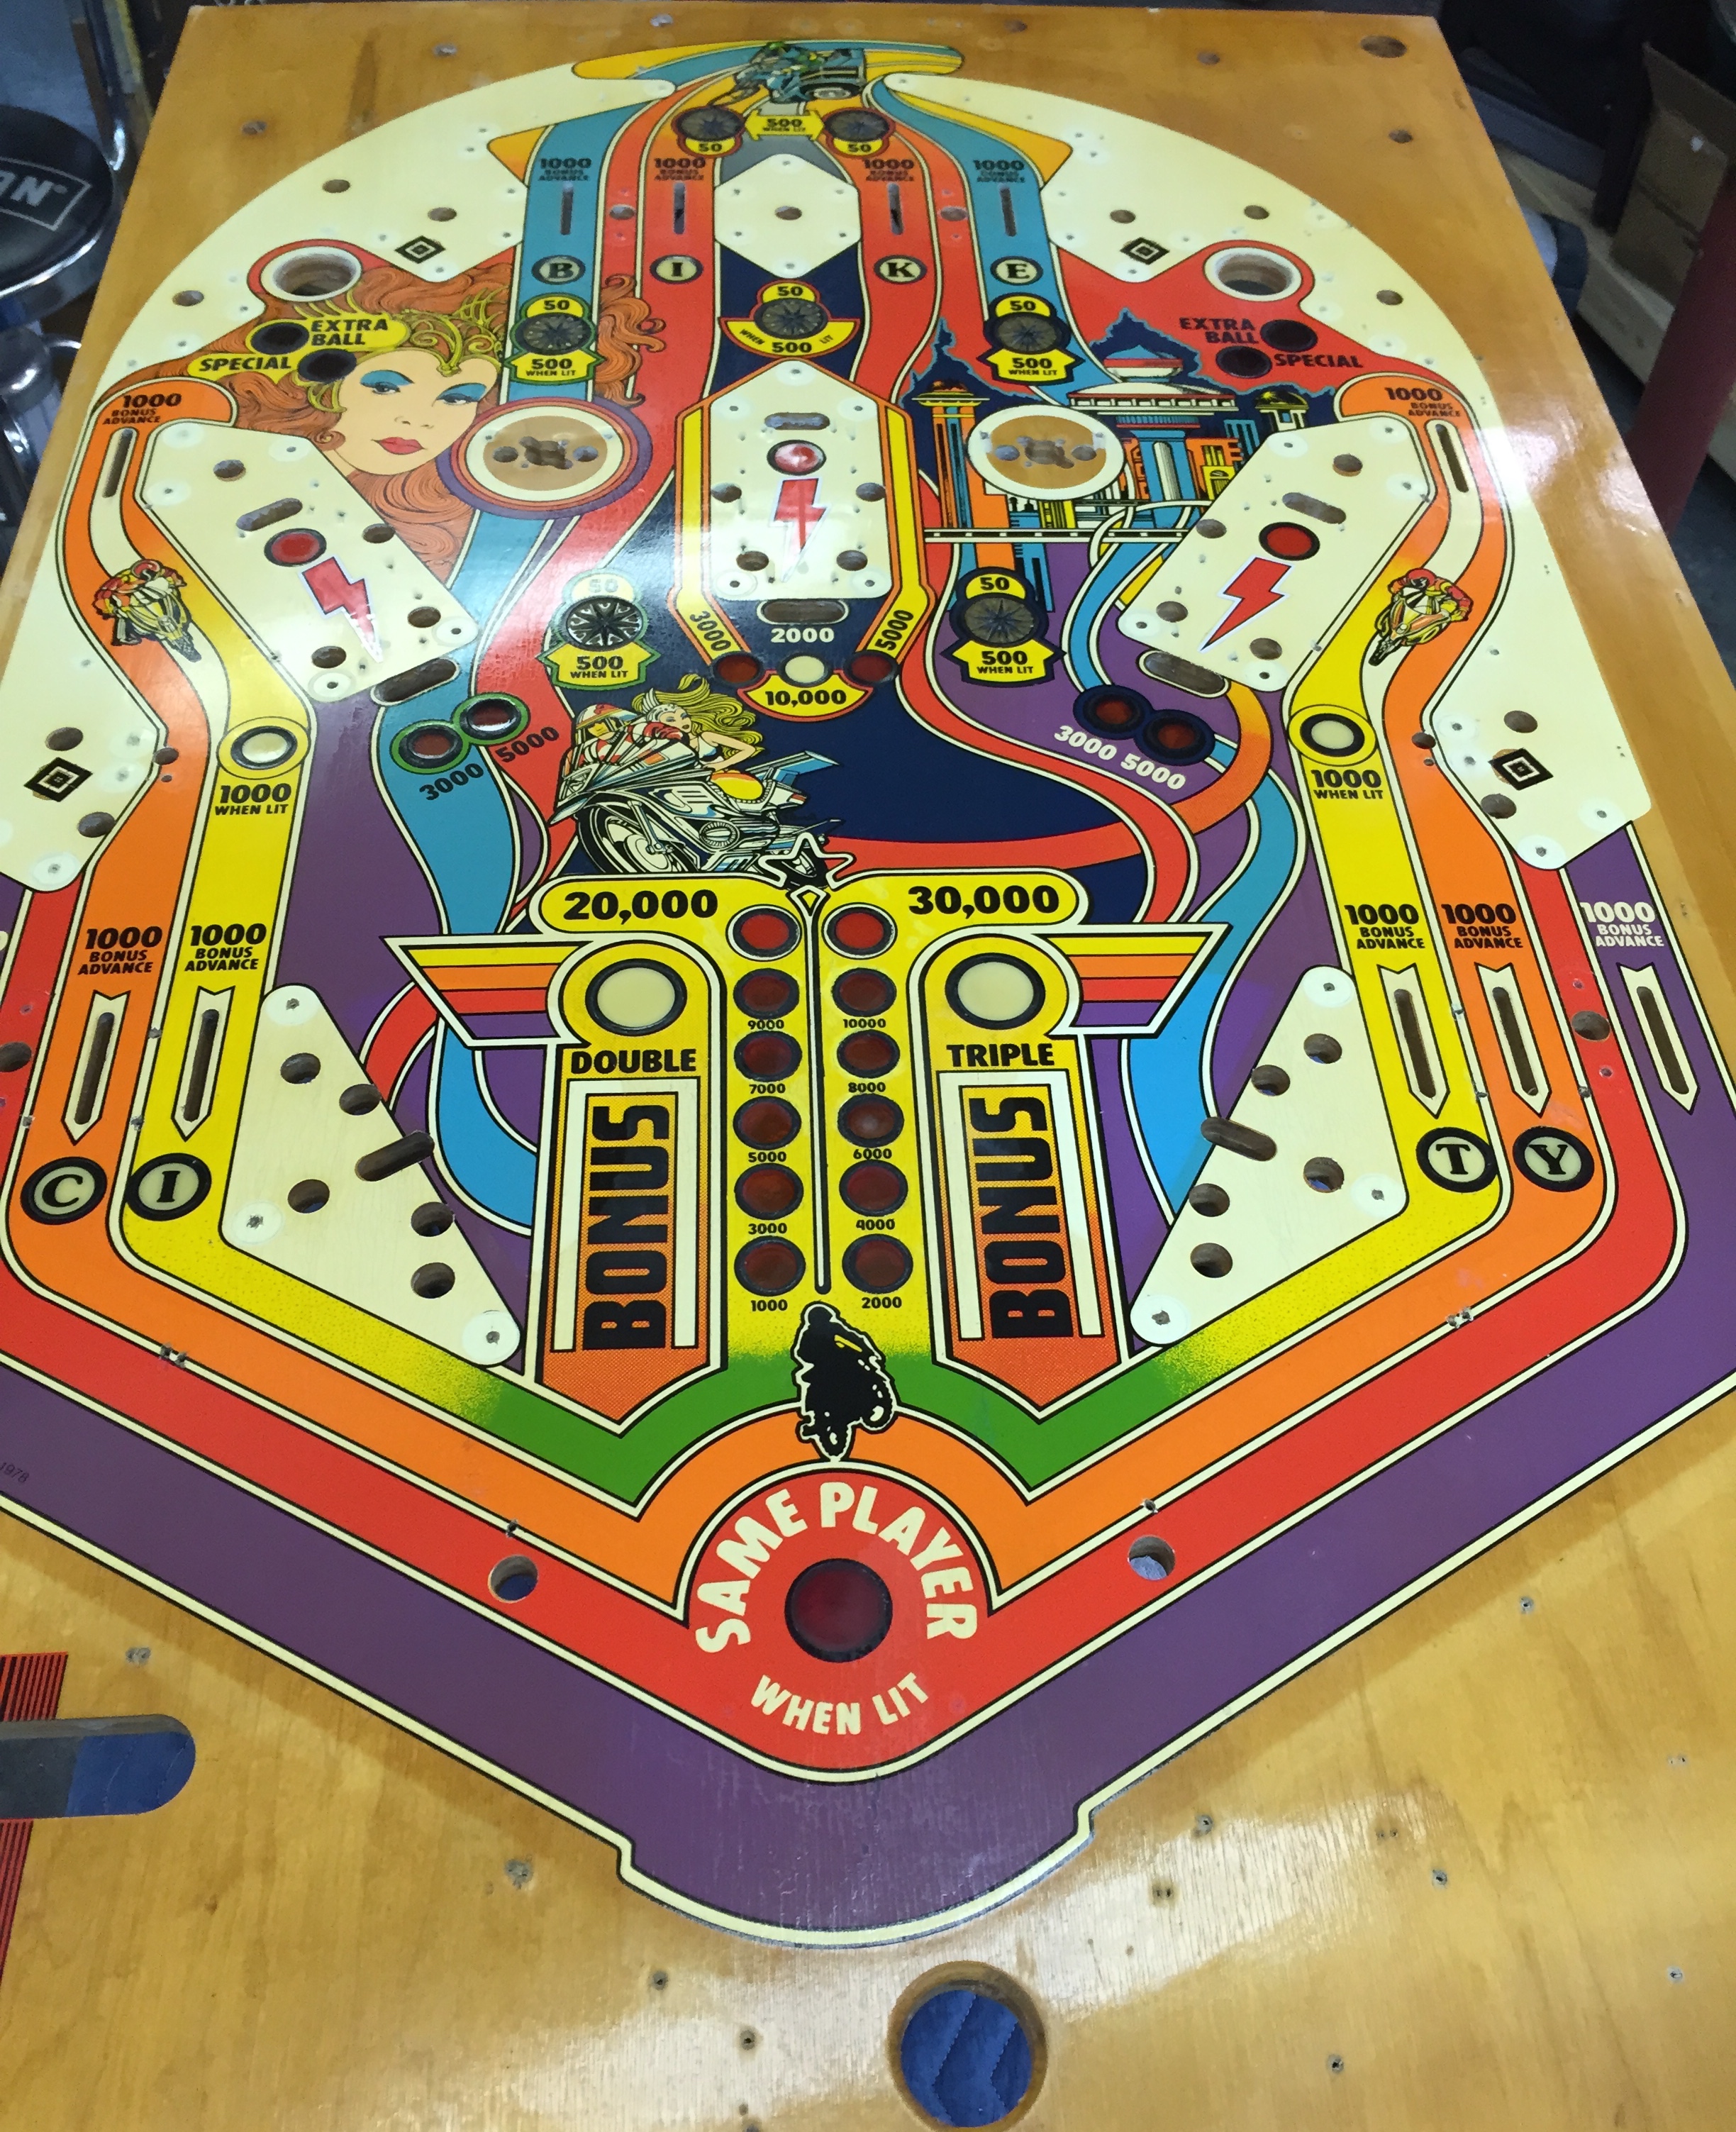
Playfield Touch Up
Here’s some before pictures of spots that need touch up before I clear coat the playfield.
Paint Touchup
Keyline Touchup
General Touchup
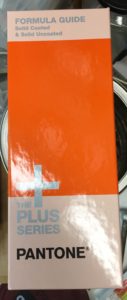
Pantone Guide
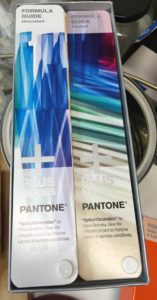
Pantone Guide
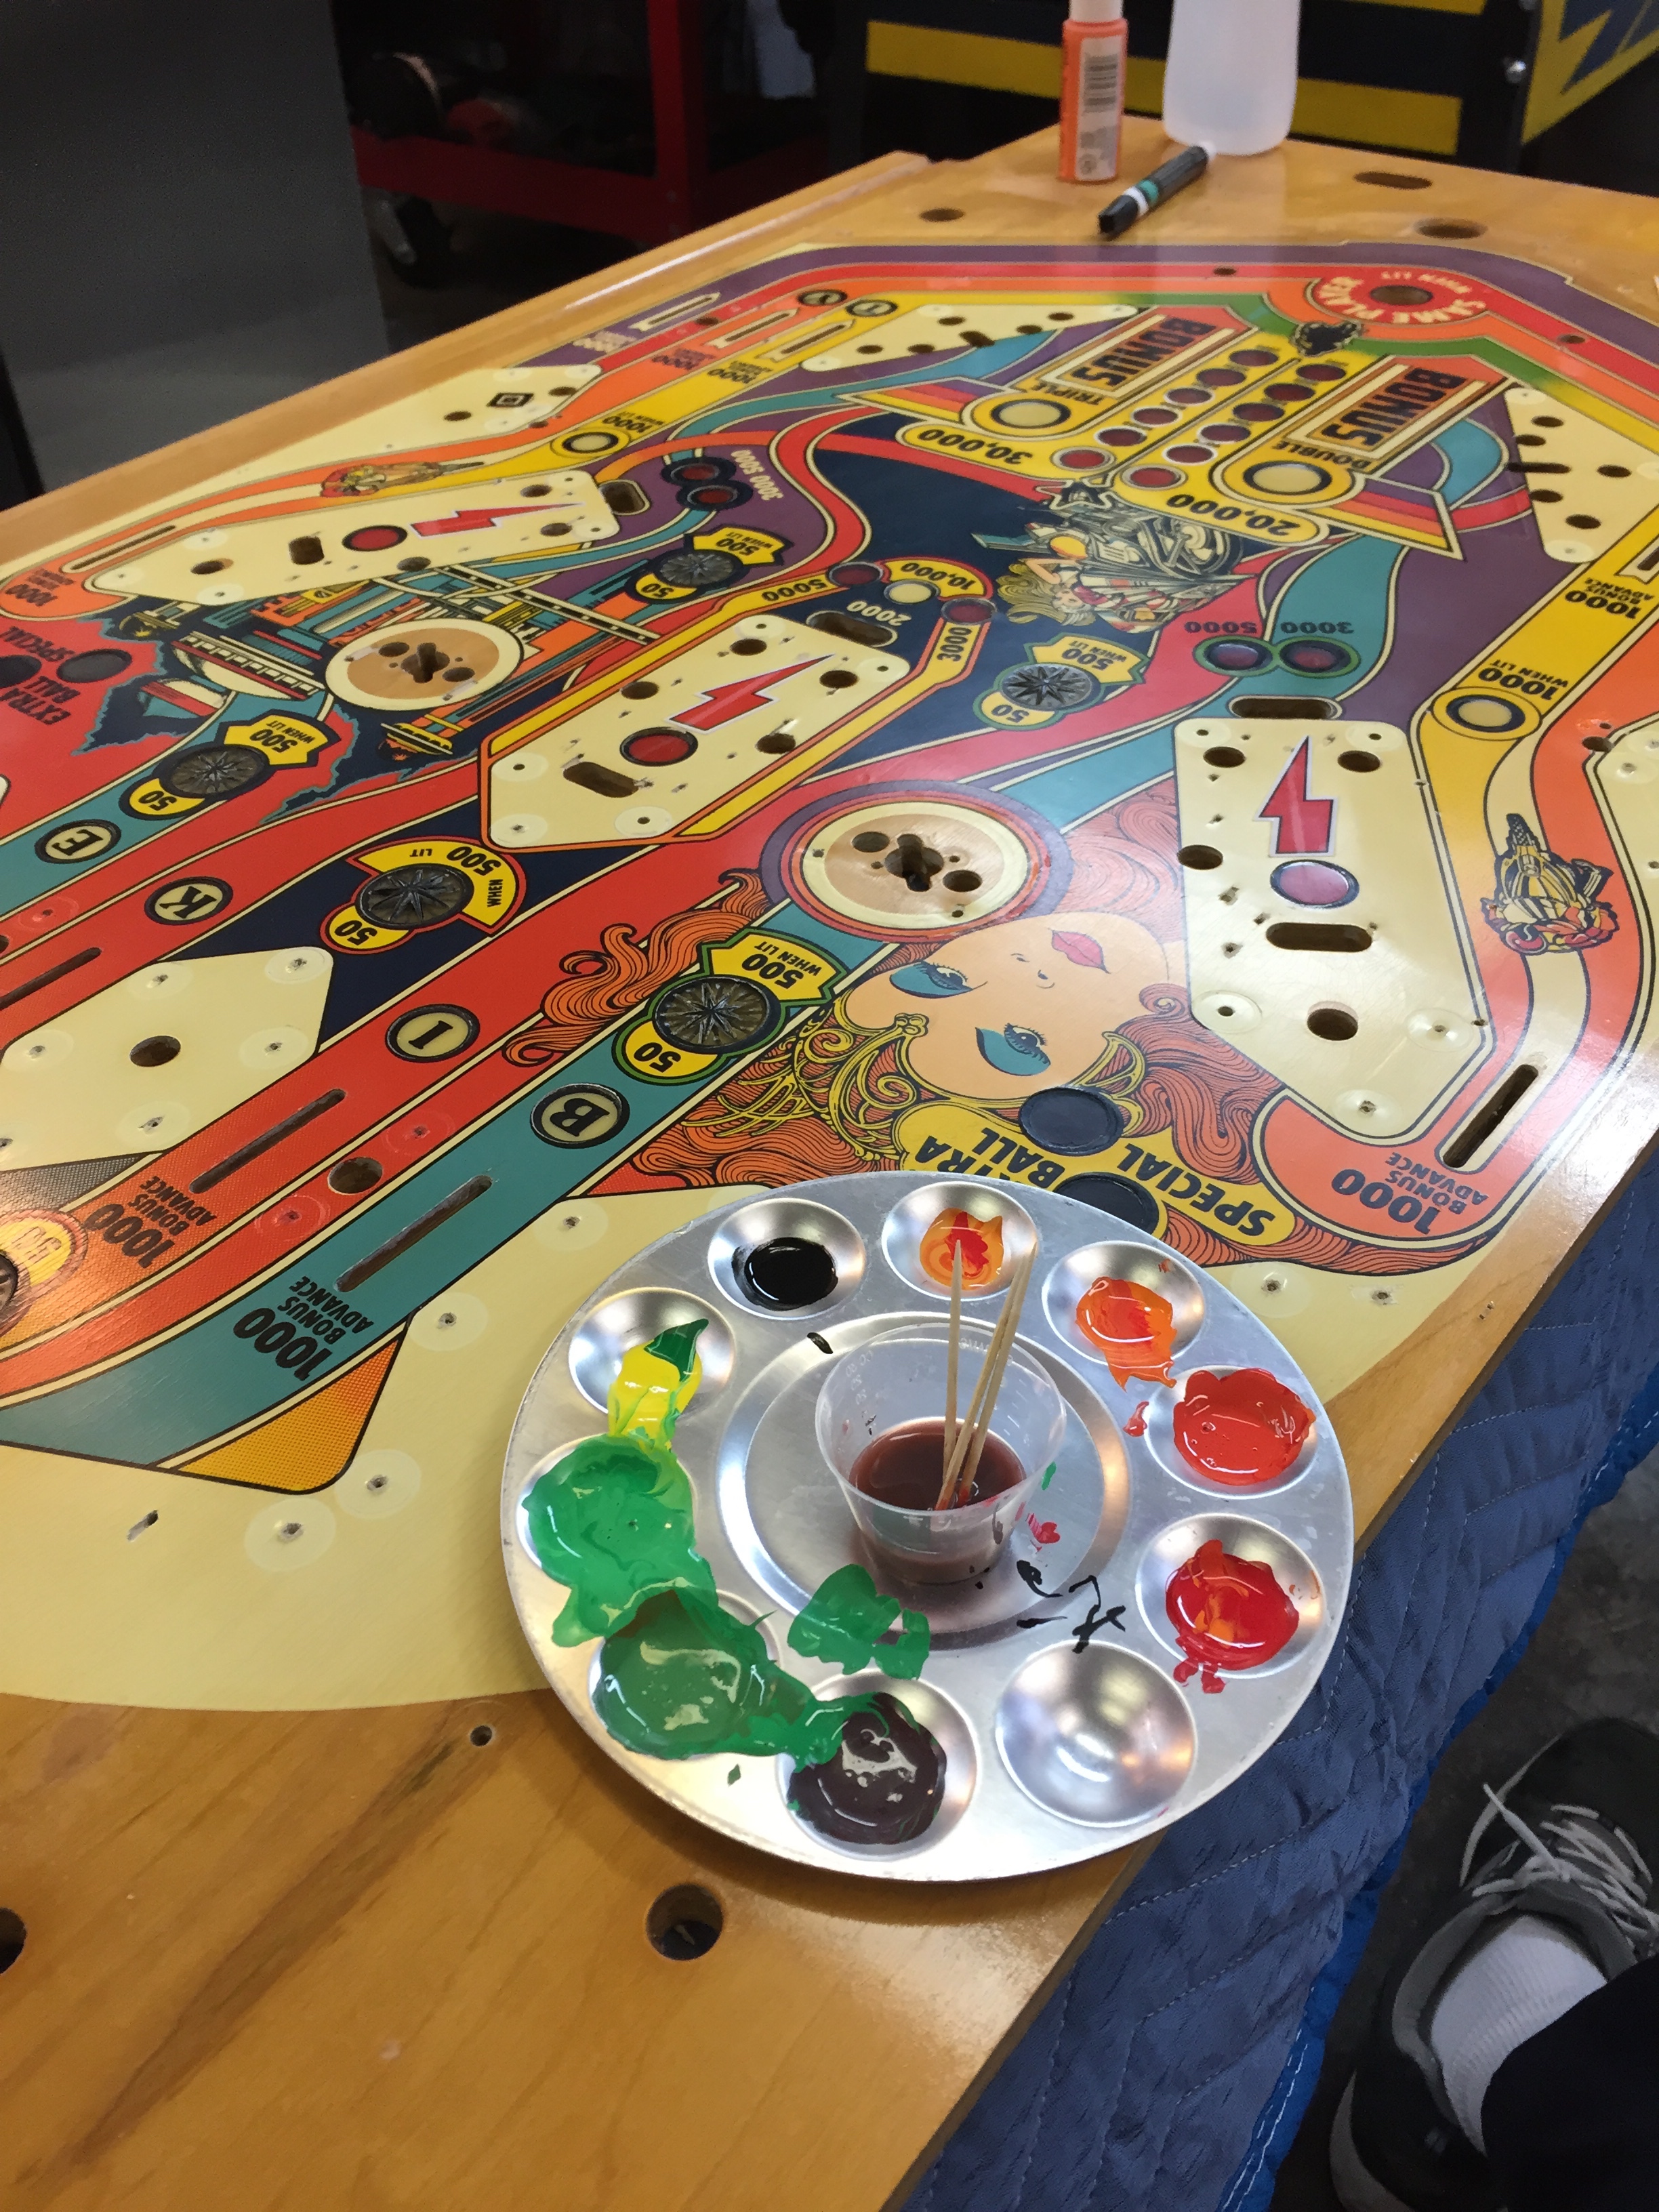
Color matching for the colors that Atari used on this playfield wasn’t too bad. One thing that helped quite a bit is that I finally broke down and bought a Pantone Color guide off ebay, and used that to match the colors on the playfield.
Even though I didn’t use the formulas to have custom paint made, it helped to know the right colors and proportions to mix to achieve the color I needed – this worked much better than the guessing I usually do.
Here’s an after picture. It’s not perfect, or even great, but I it’s about as good as I’m going to be able to get it, and it’s much, much better than the playfield that came with my game.
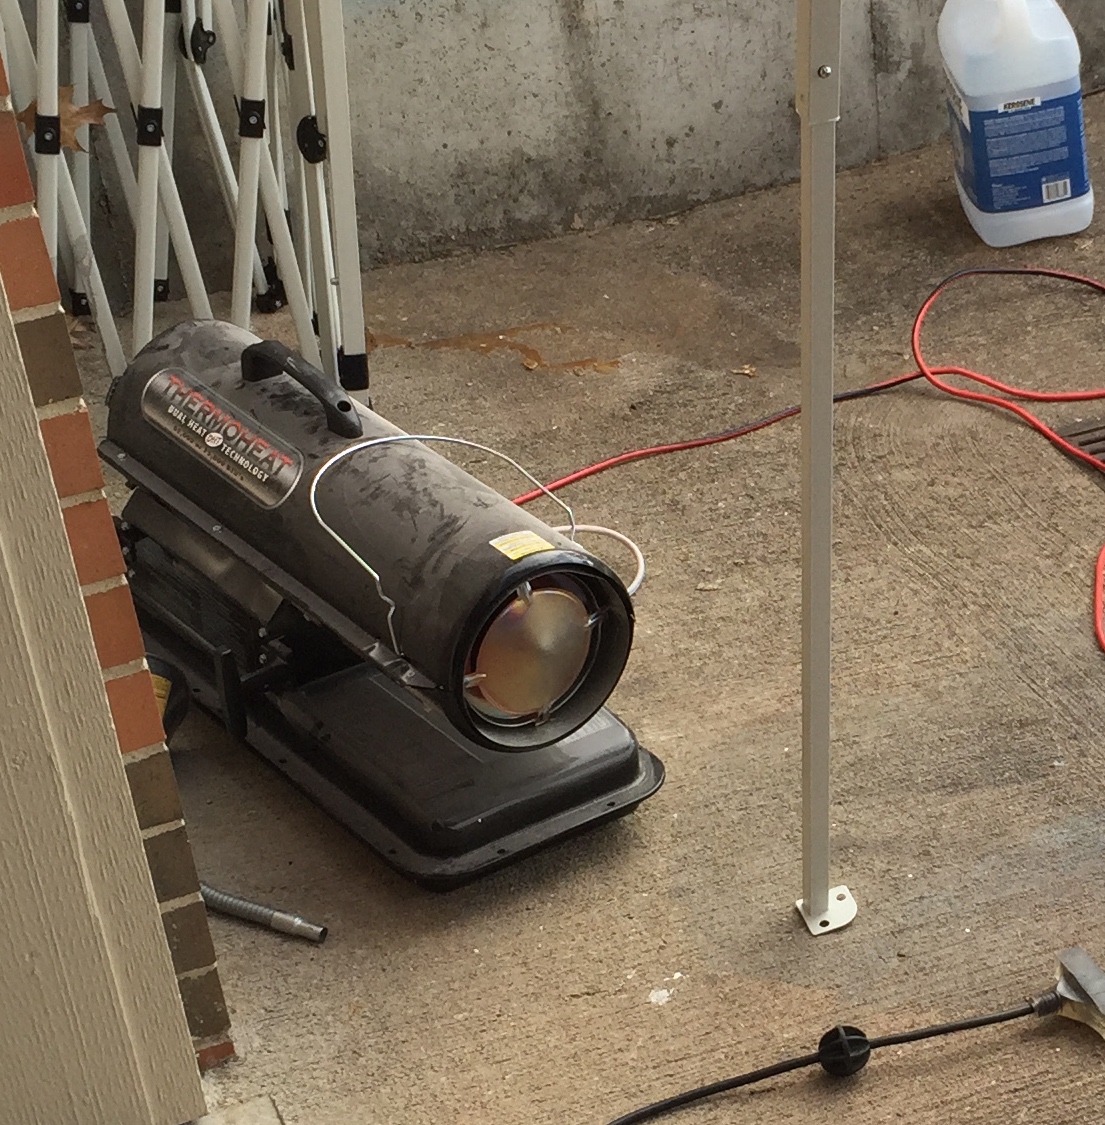
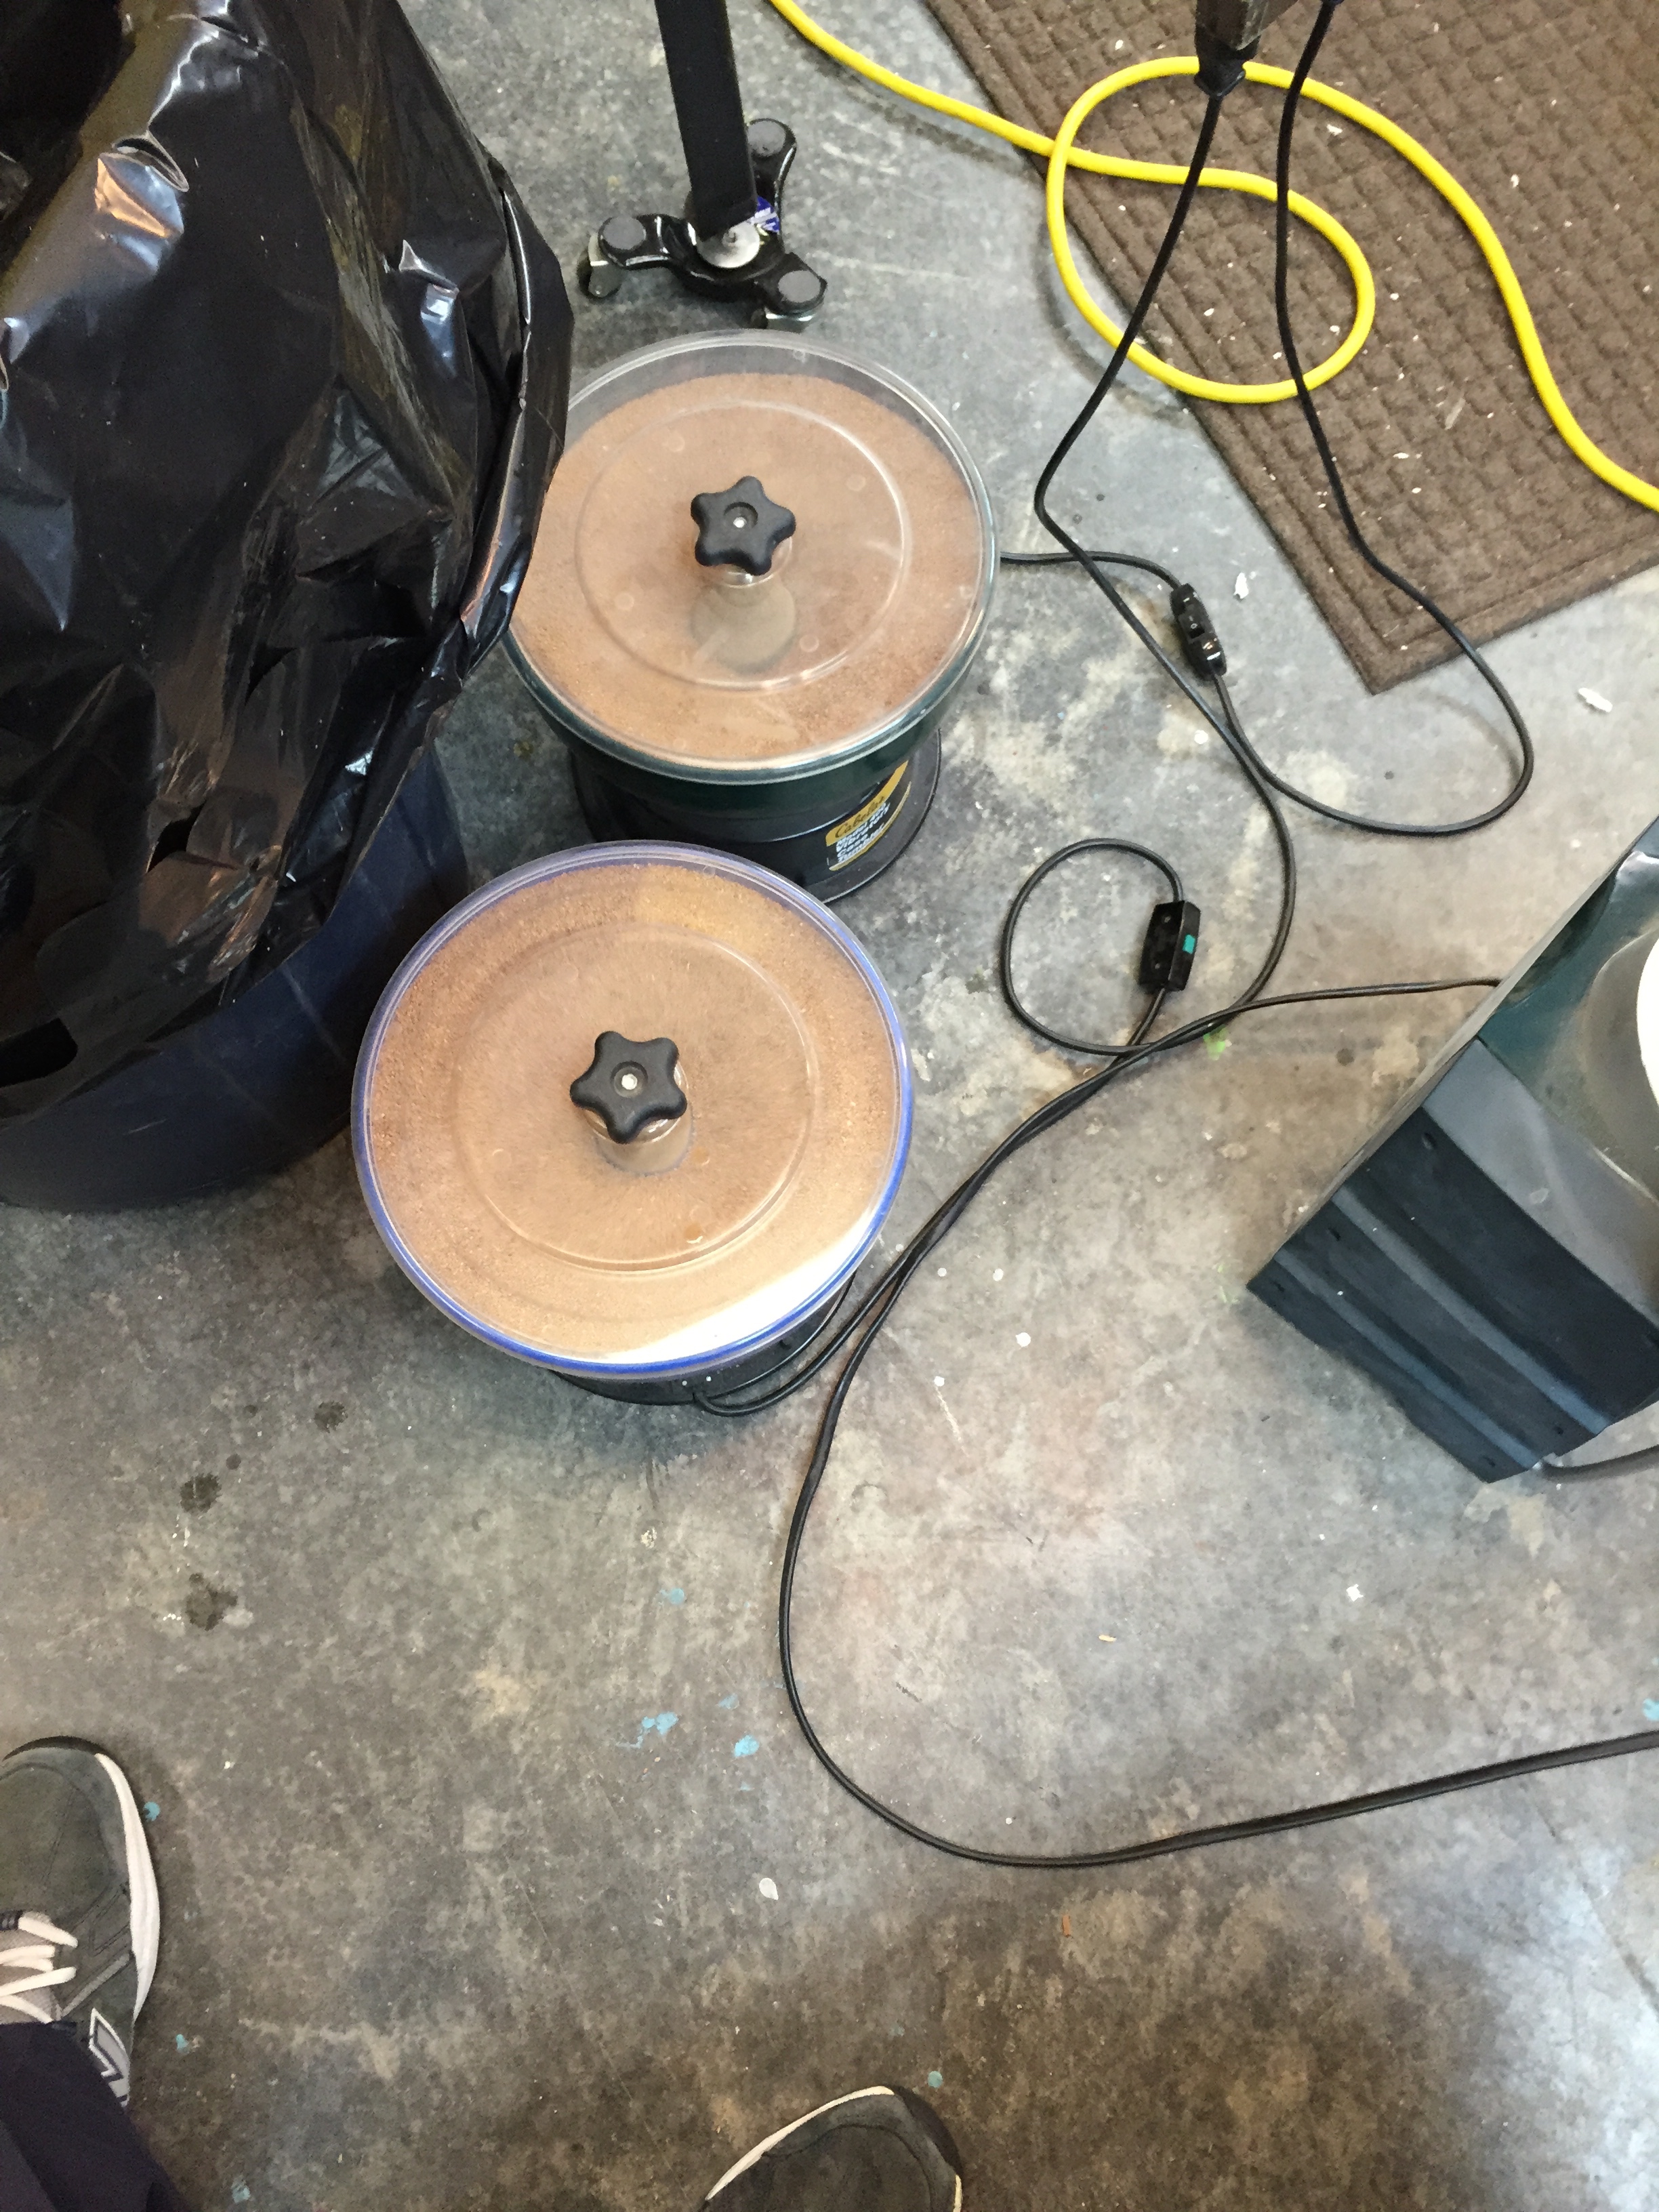
Today may be the day to shoot the clear. It’s cold out, and since I don’t have a paint booth, I have to set up one in the driveway. I’ll run my kerosine heater. I’ll post some pictures of the setup when I’m done.
Automotive Clear Coating
I went ahead and set up my Harbor Freight popup cannopy, and put a plastic tarp around it to block the wind/dust while I sprayed. I set up my kerosene heater, and was ready to go.
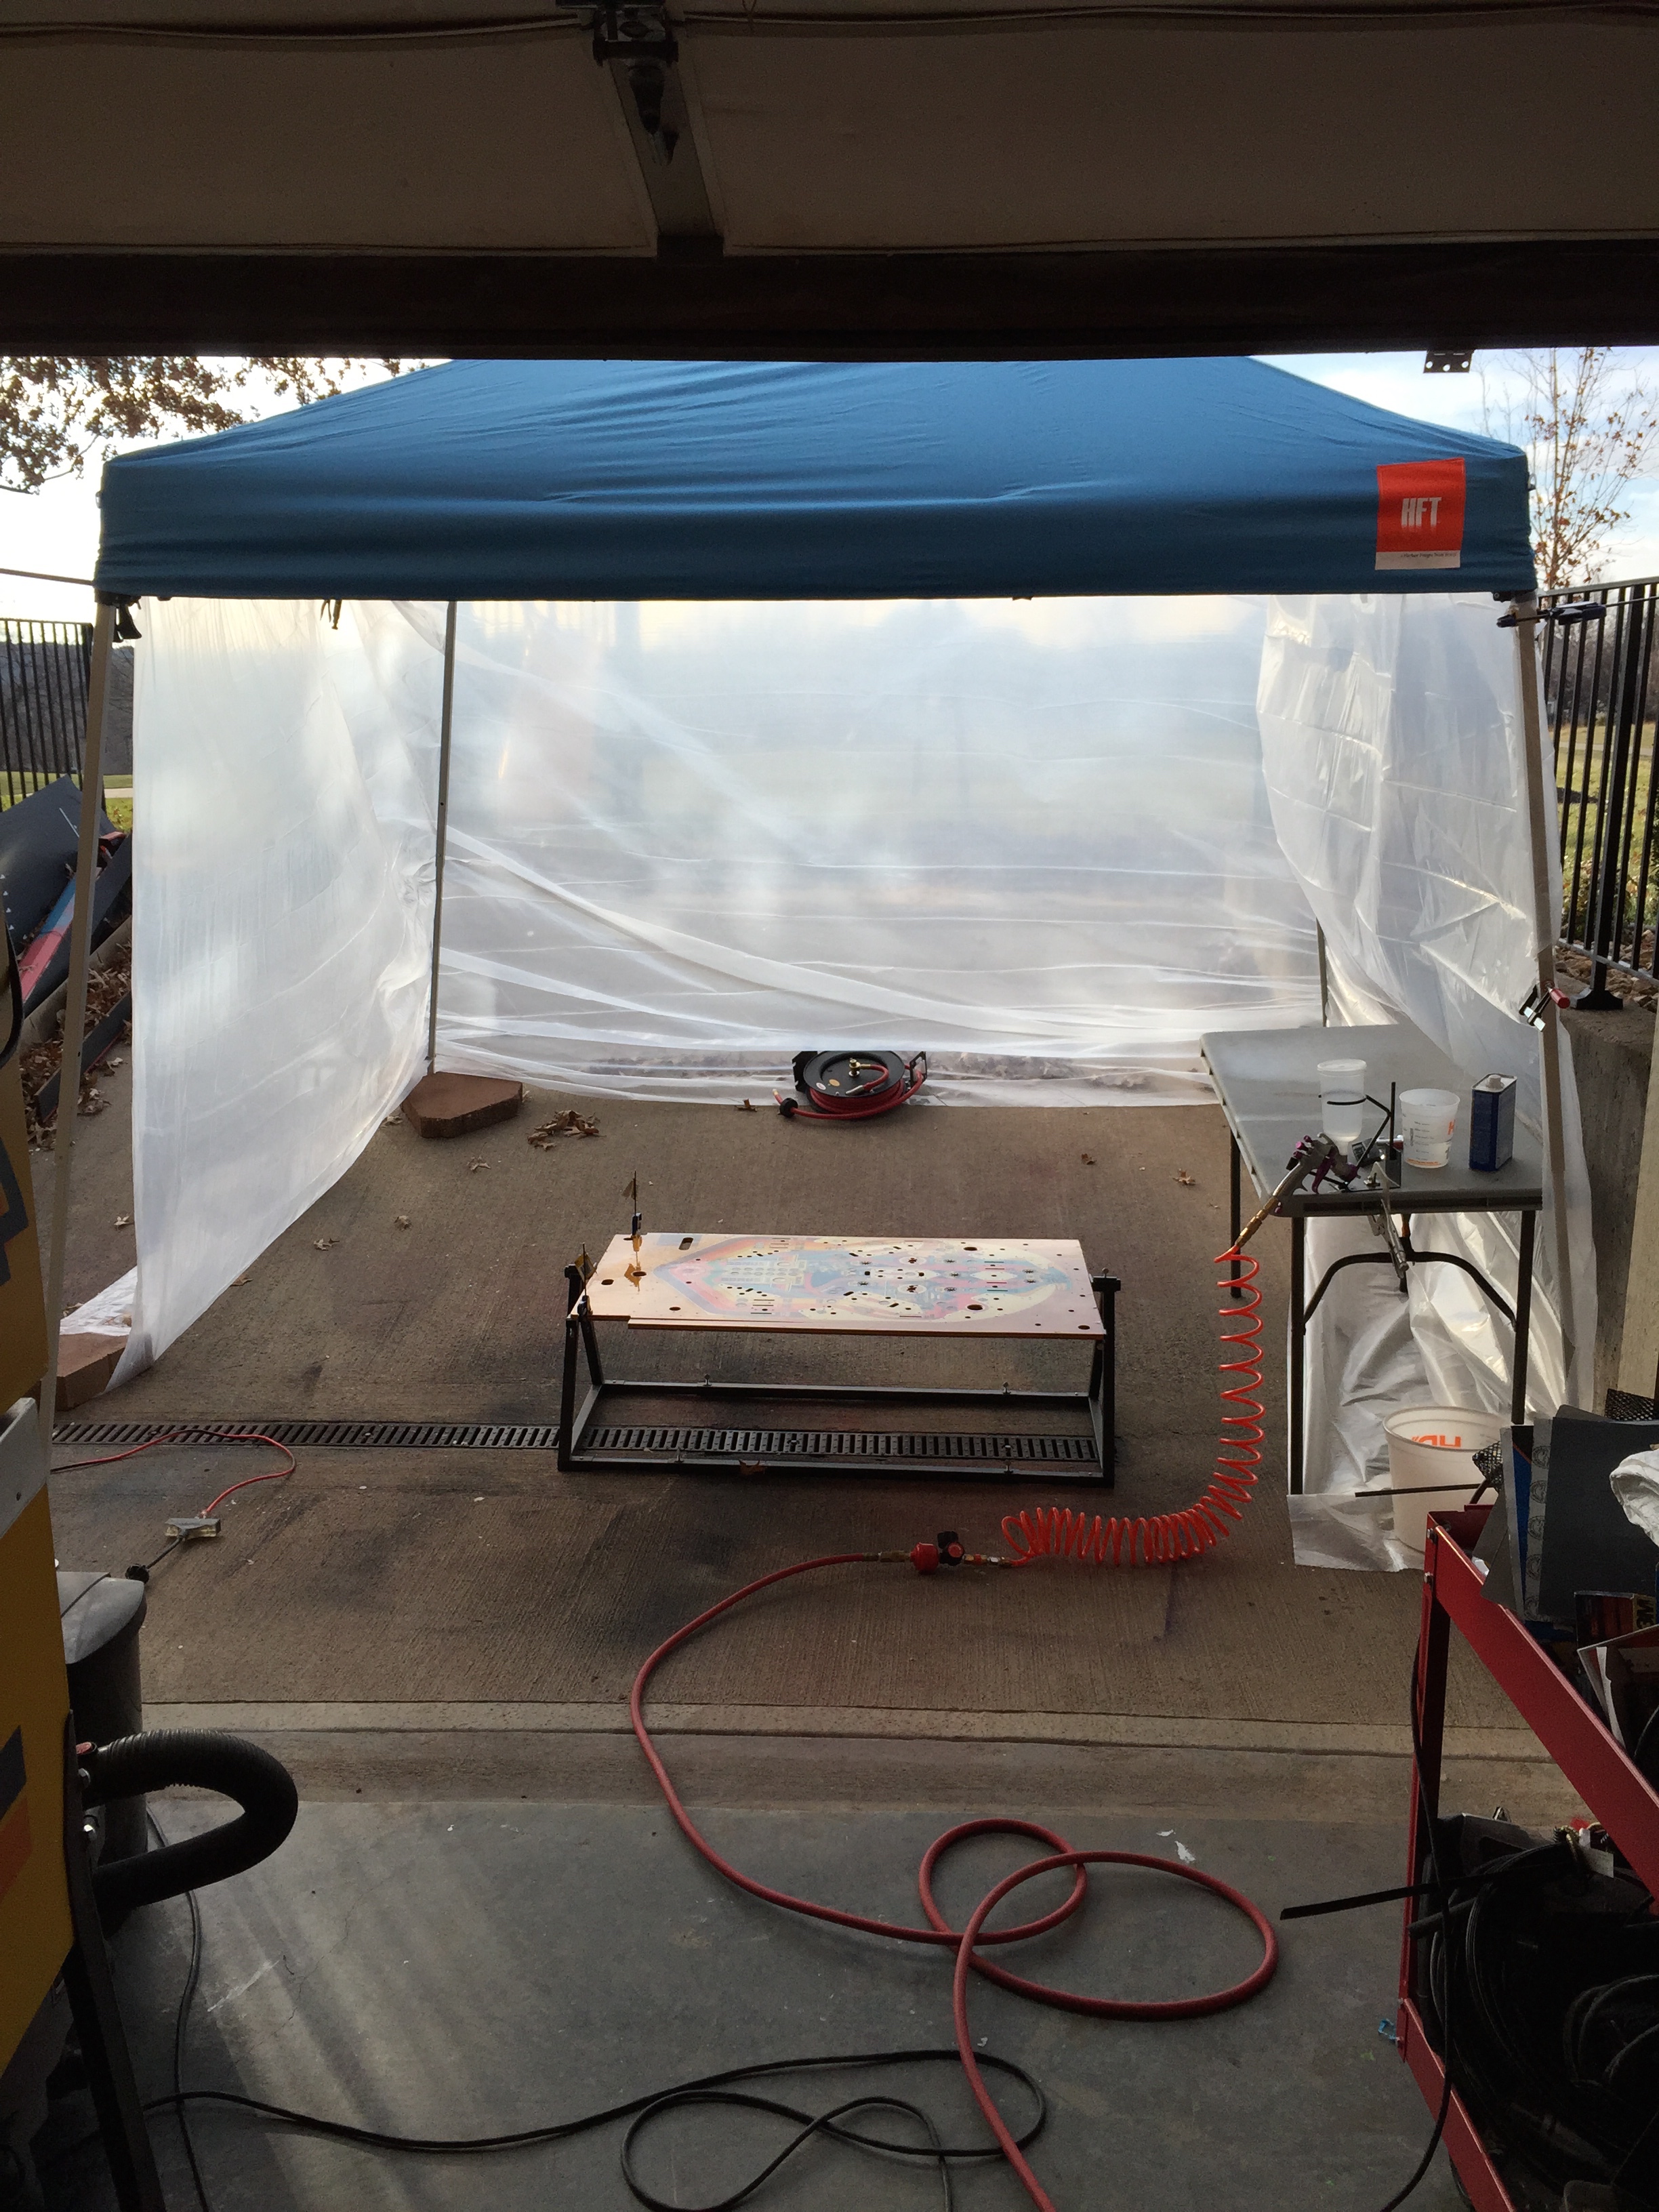
The tent area stayed about 60-70 degrees and that allowed me to shoot 3 wet coats of clear. I used the Omni AU 161/167 like I did on World Fair. As before, it turned out great. Here’s what it looked like after setting up for about 3 hours.
Now I’ve got to let the clear set up for about 7-14 days. That will give me time to start to remove all the components from the old playfield and clean them up (clean, tumble, polish, etc.).
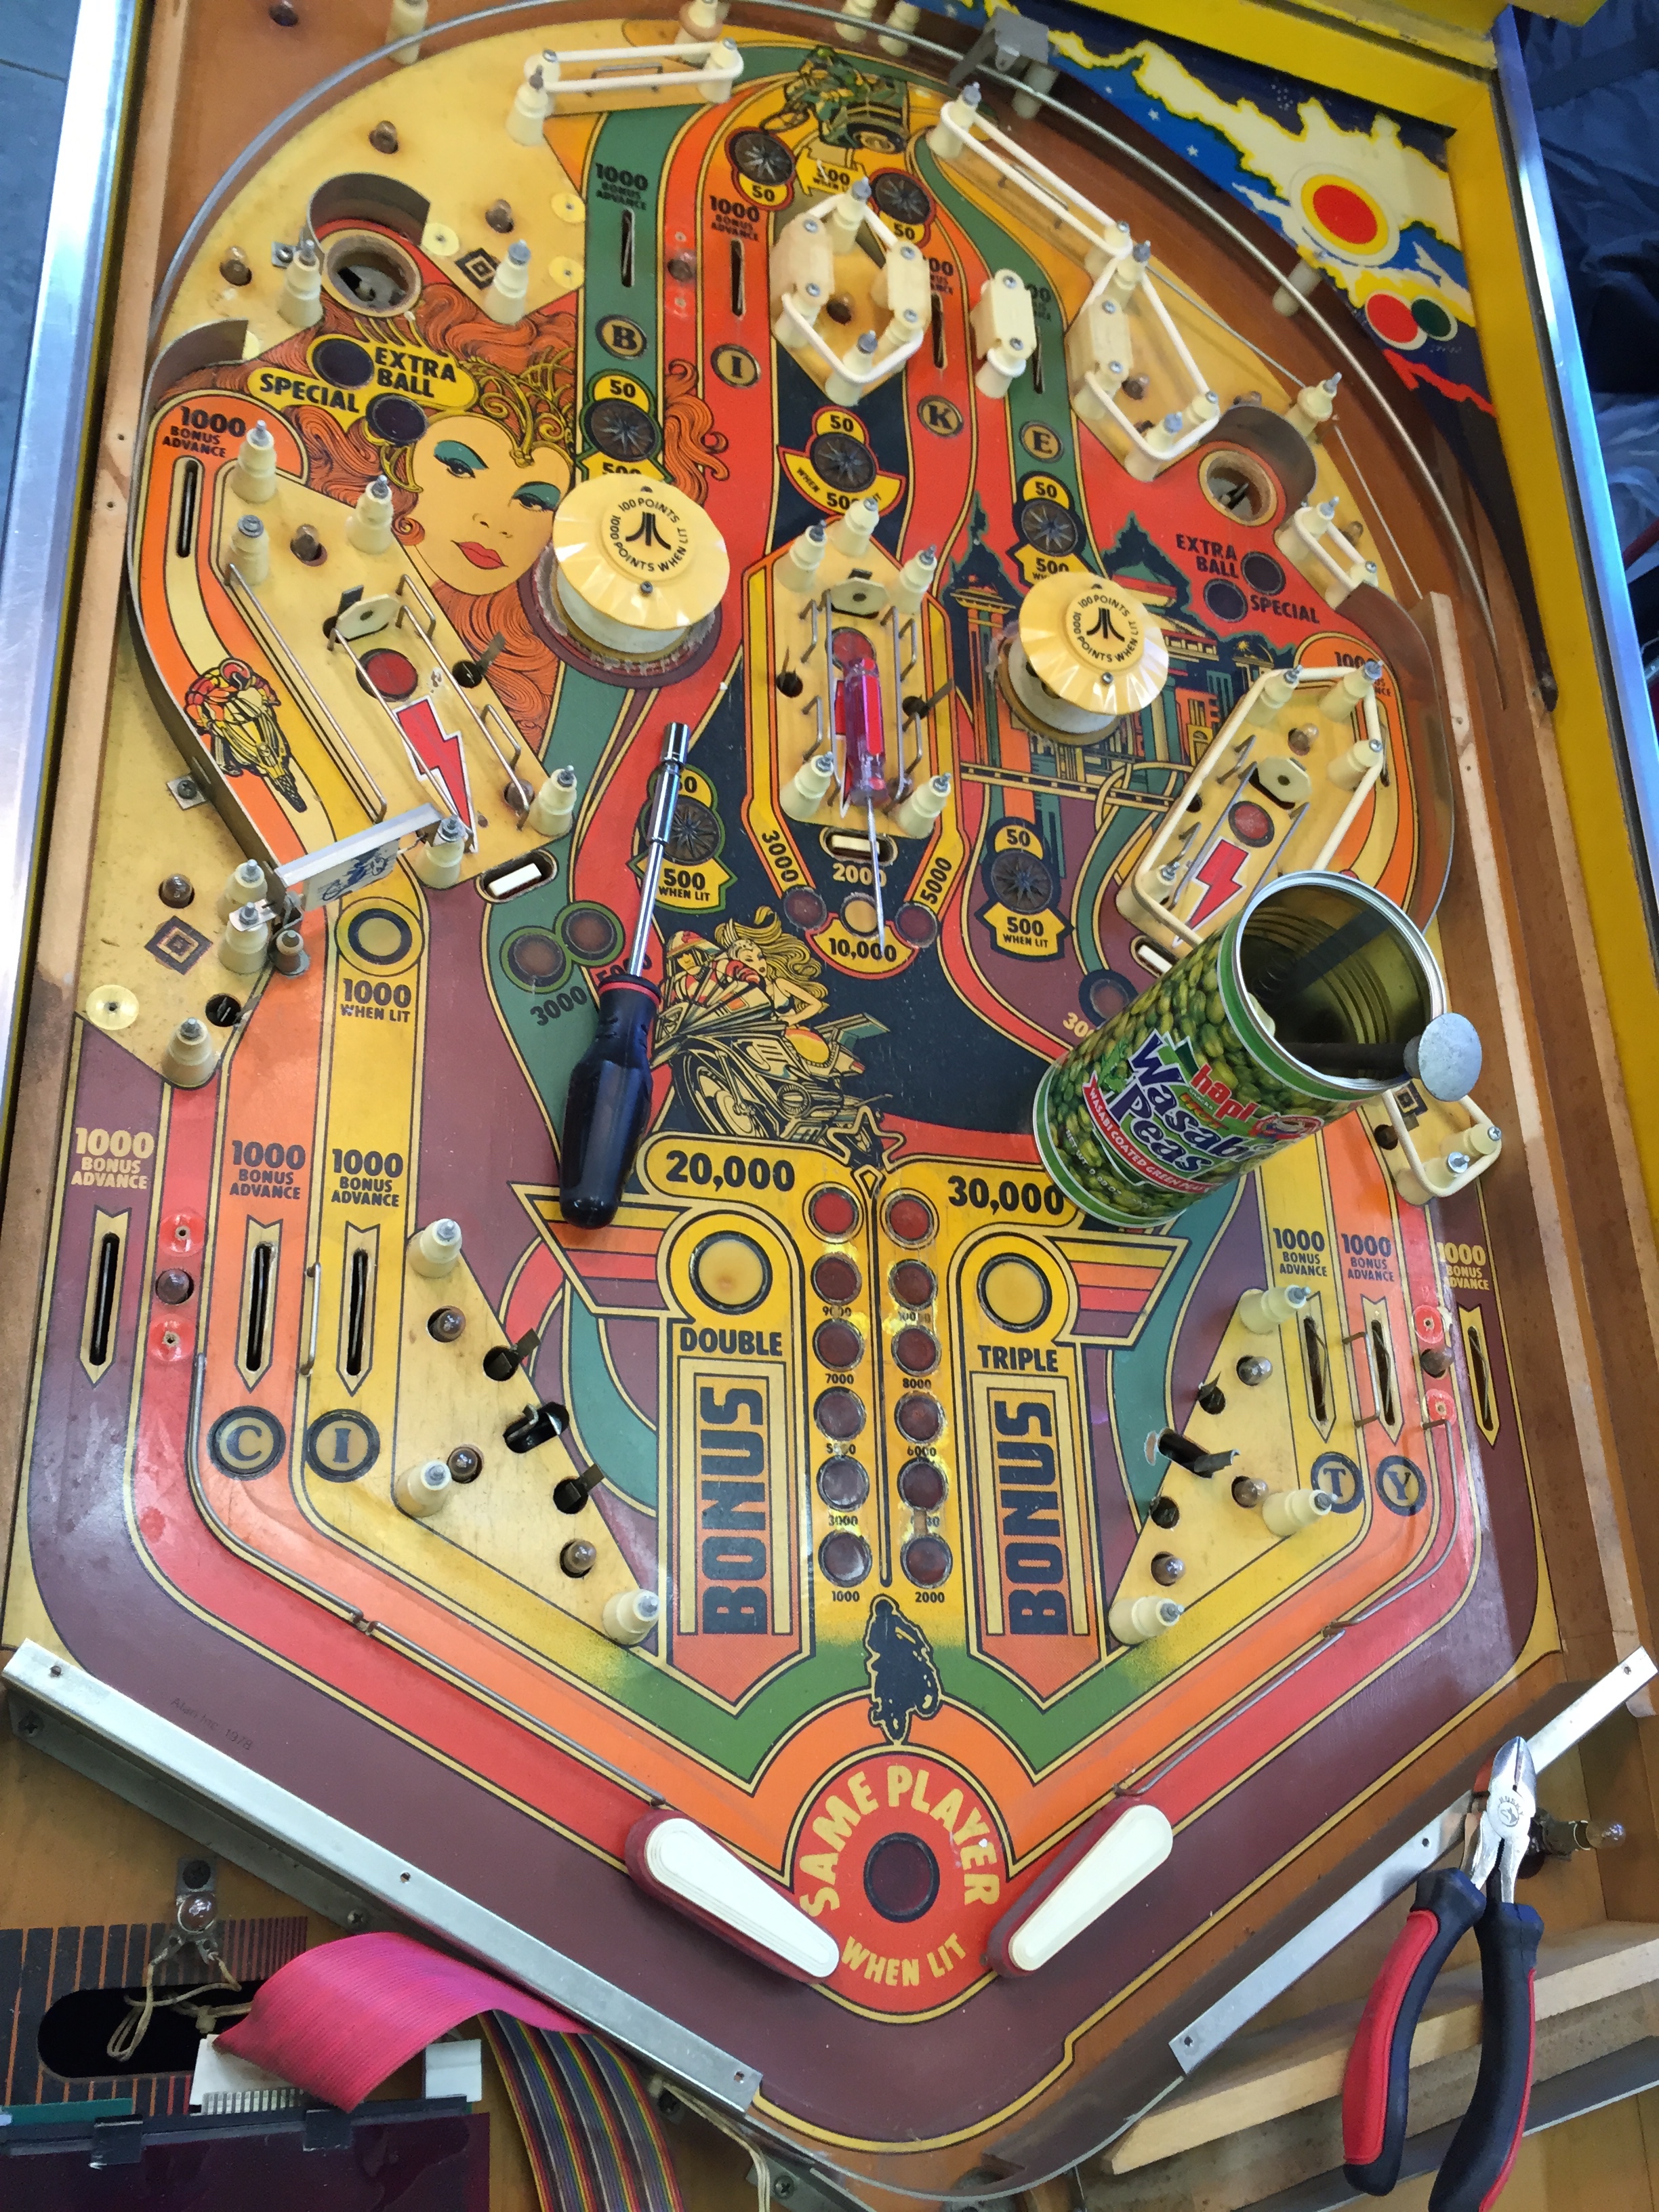
Stripping the Old Playfield
While my new playfield cures, I need to strip all the components off the top and bottom of my old playfield. These all need to be cleaned up, fixed, and transferred over to the new playfield. I’ve read that it’s important to take lots of pictures so you don’t forget where things go.
Here’s the top being stripped down. Even the side rails and all the metal guides etc. need to come off.
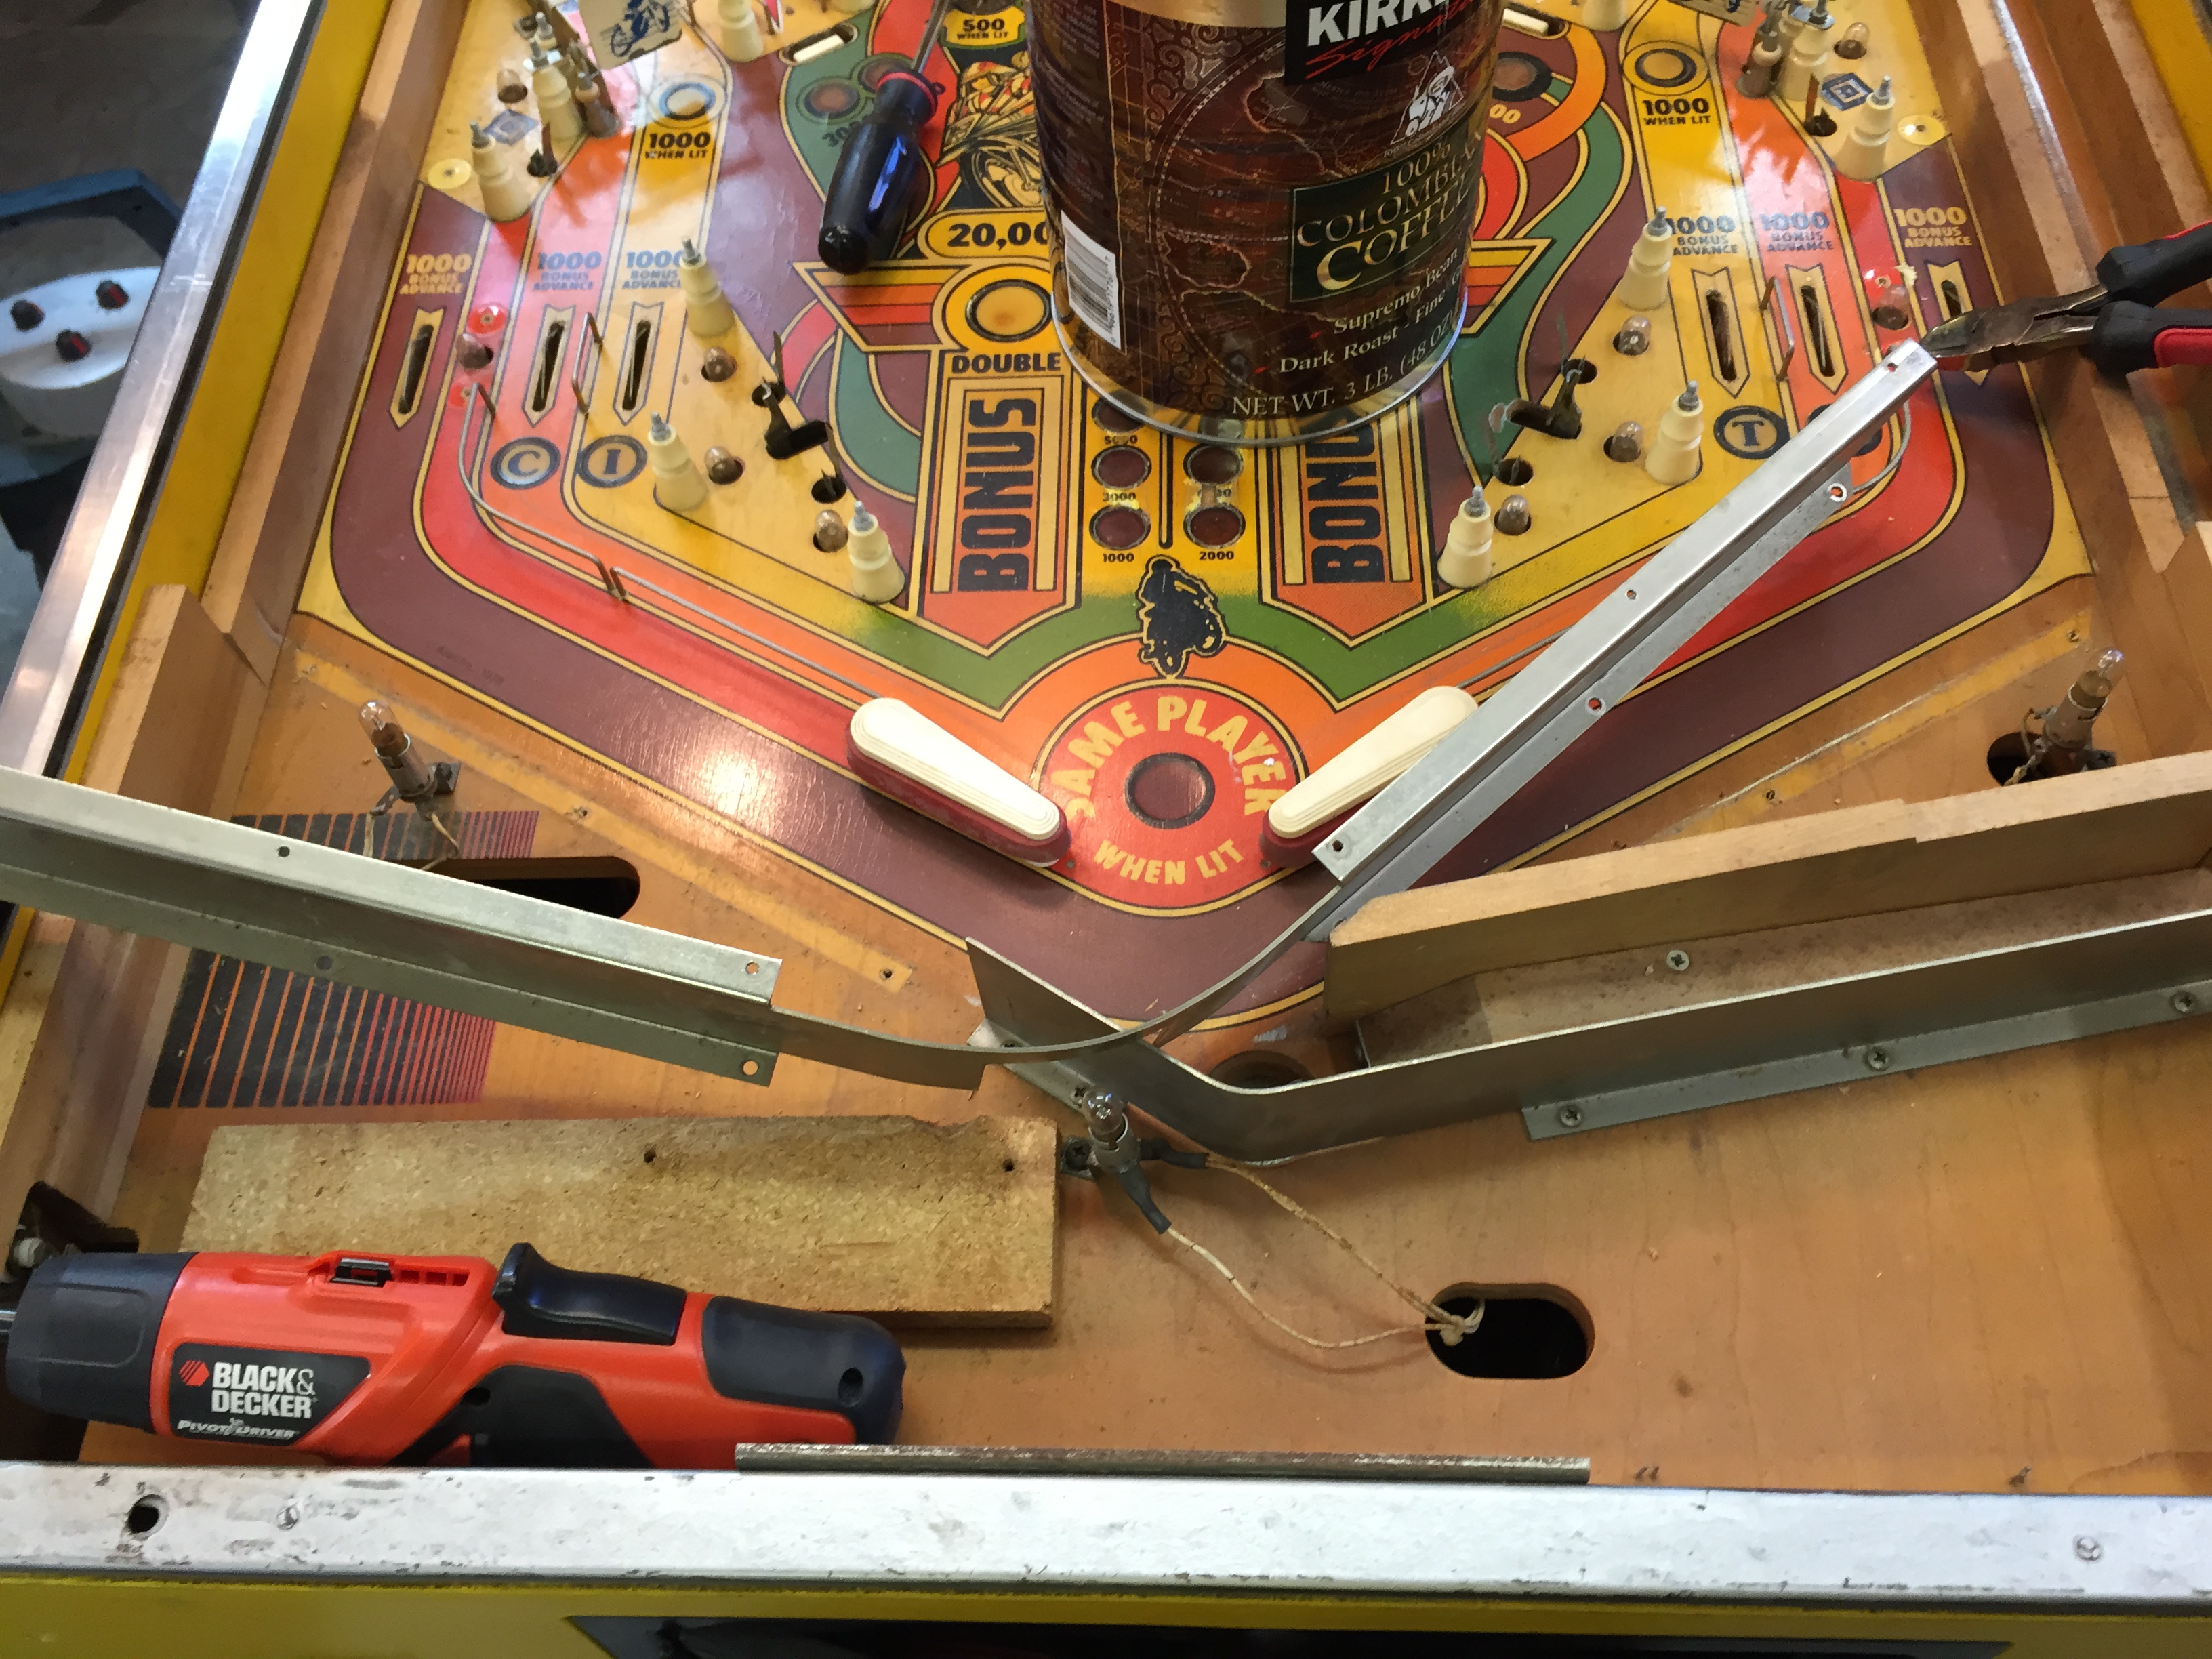
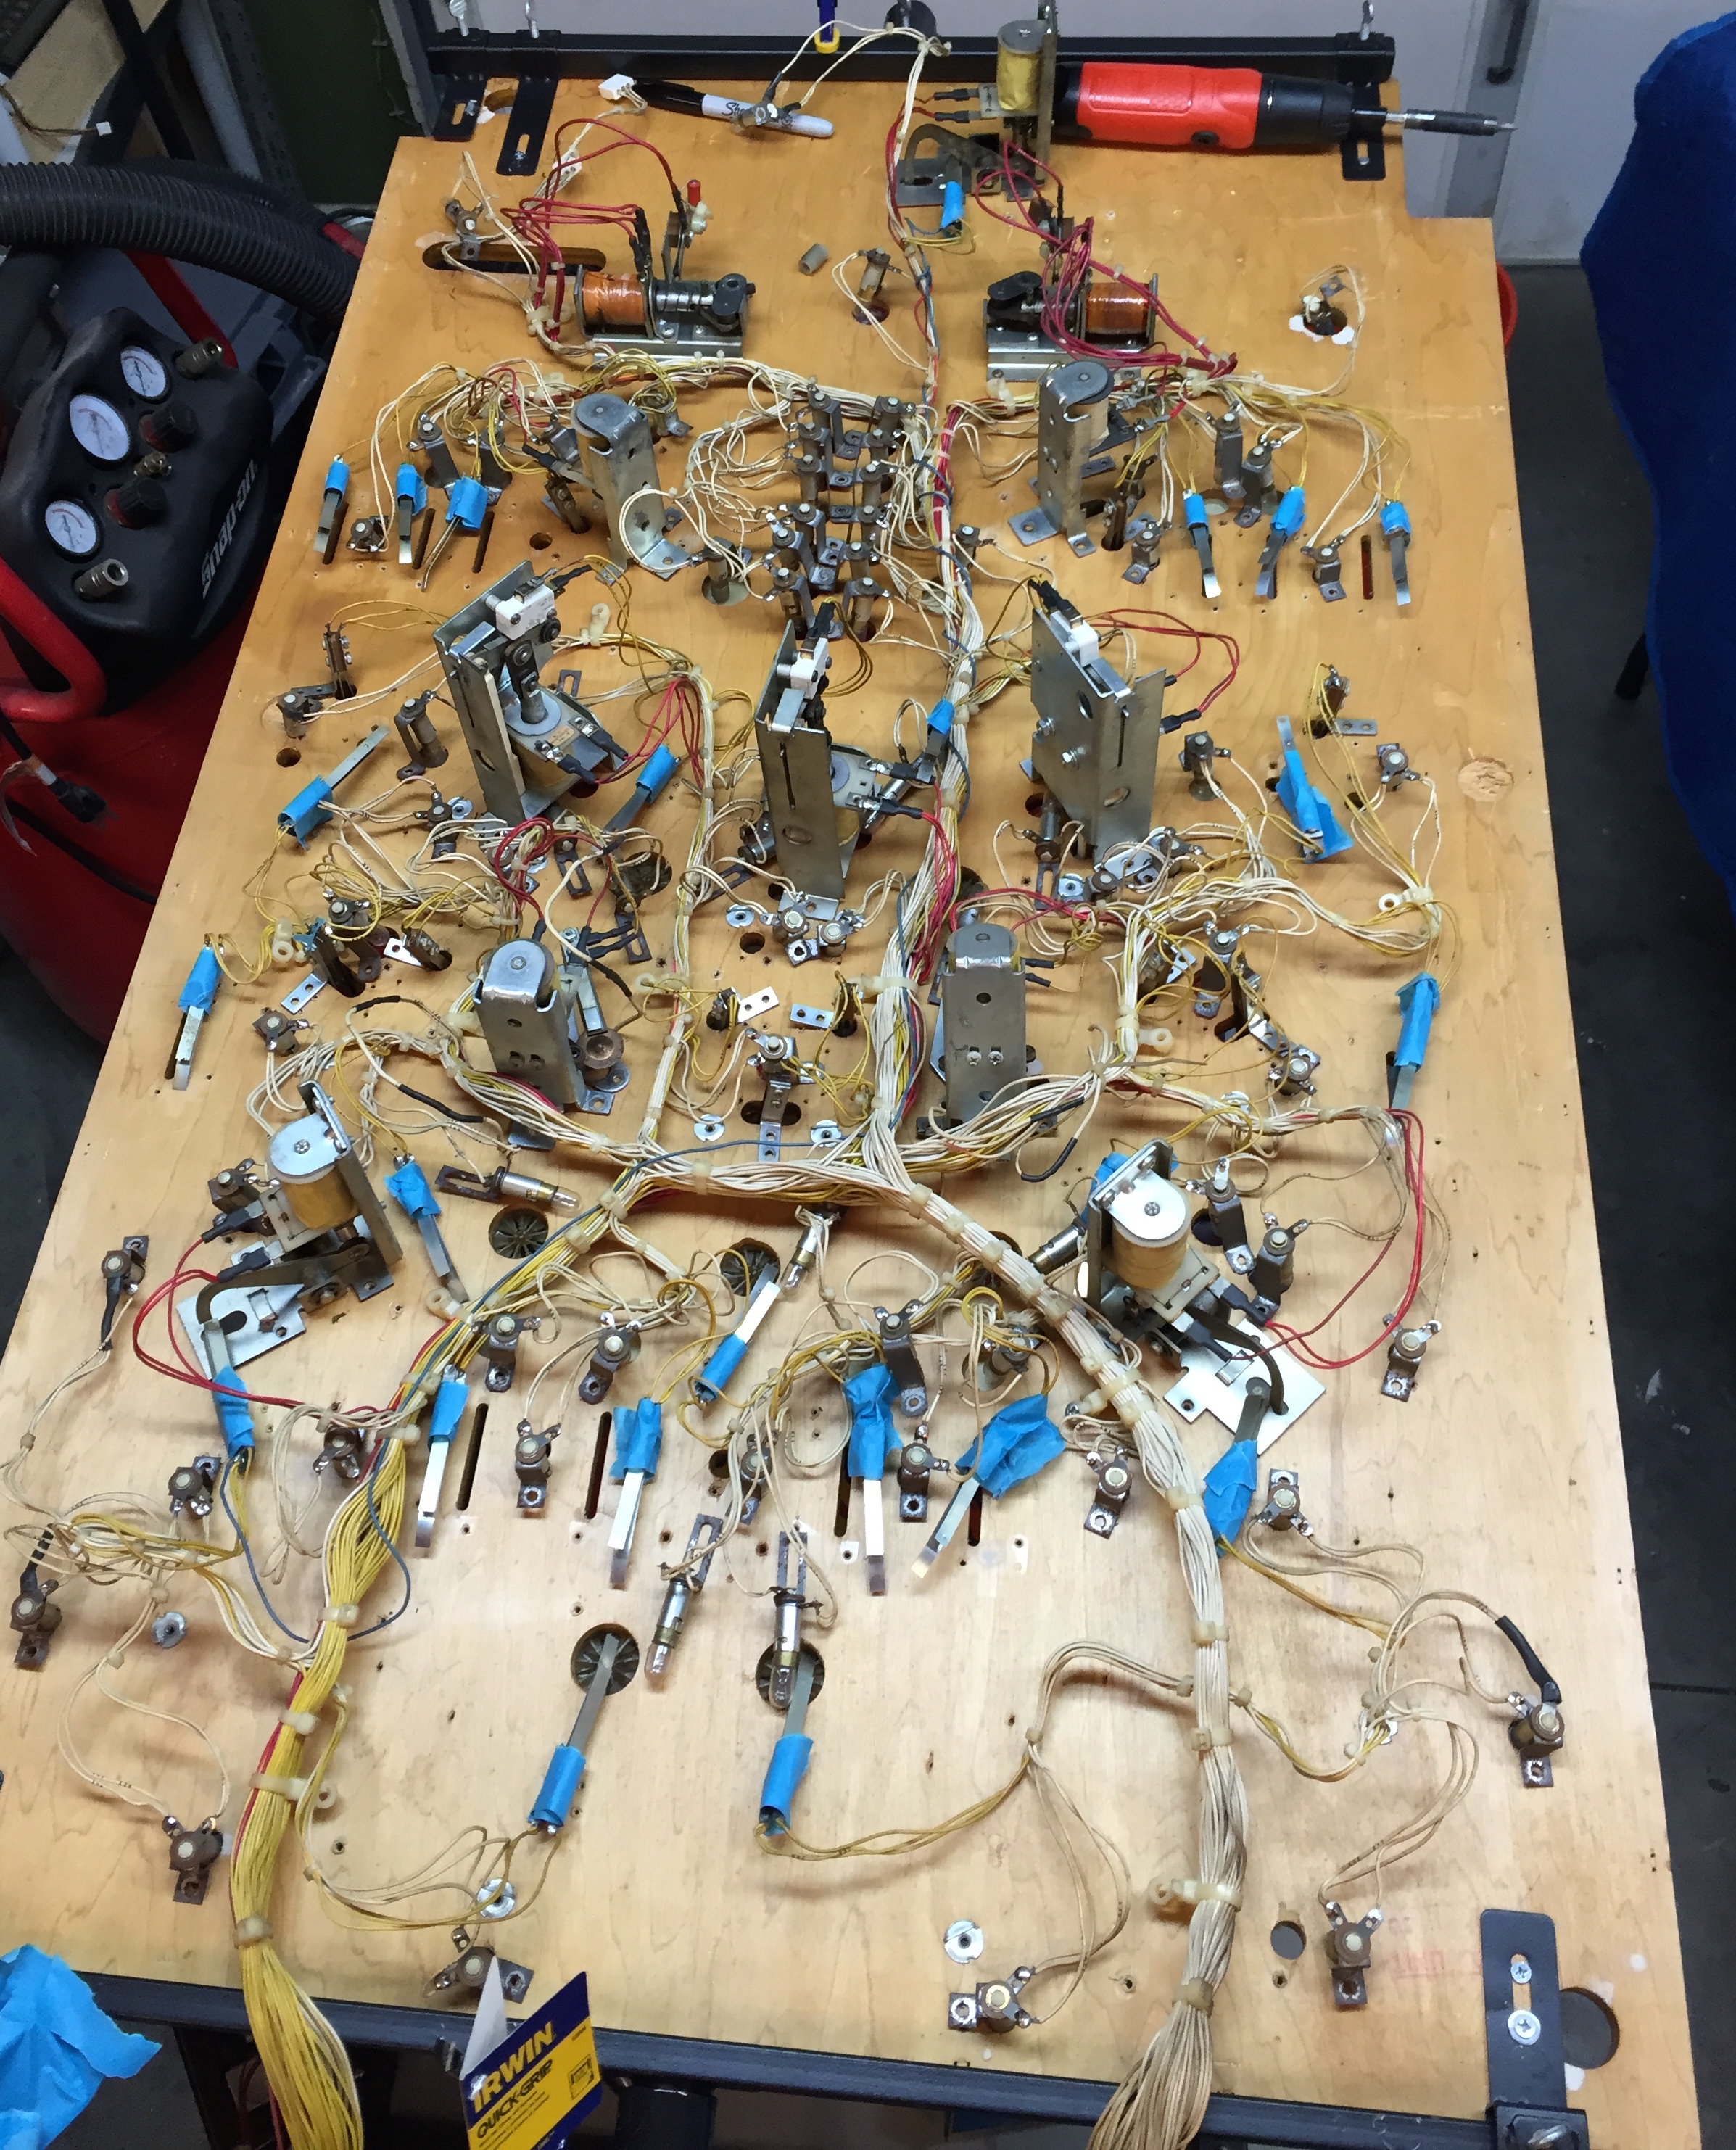
The bottom needs to be stripped as well. I’m planning to move all the components, wiring harness and all over to the new playfield as one giant group of stuff.
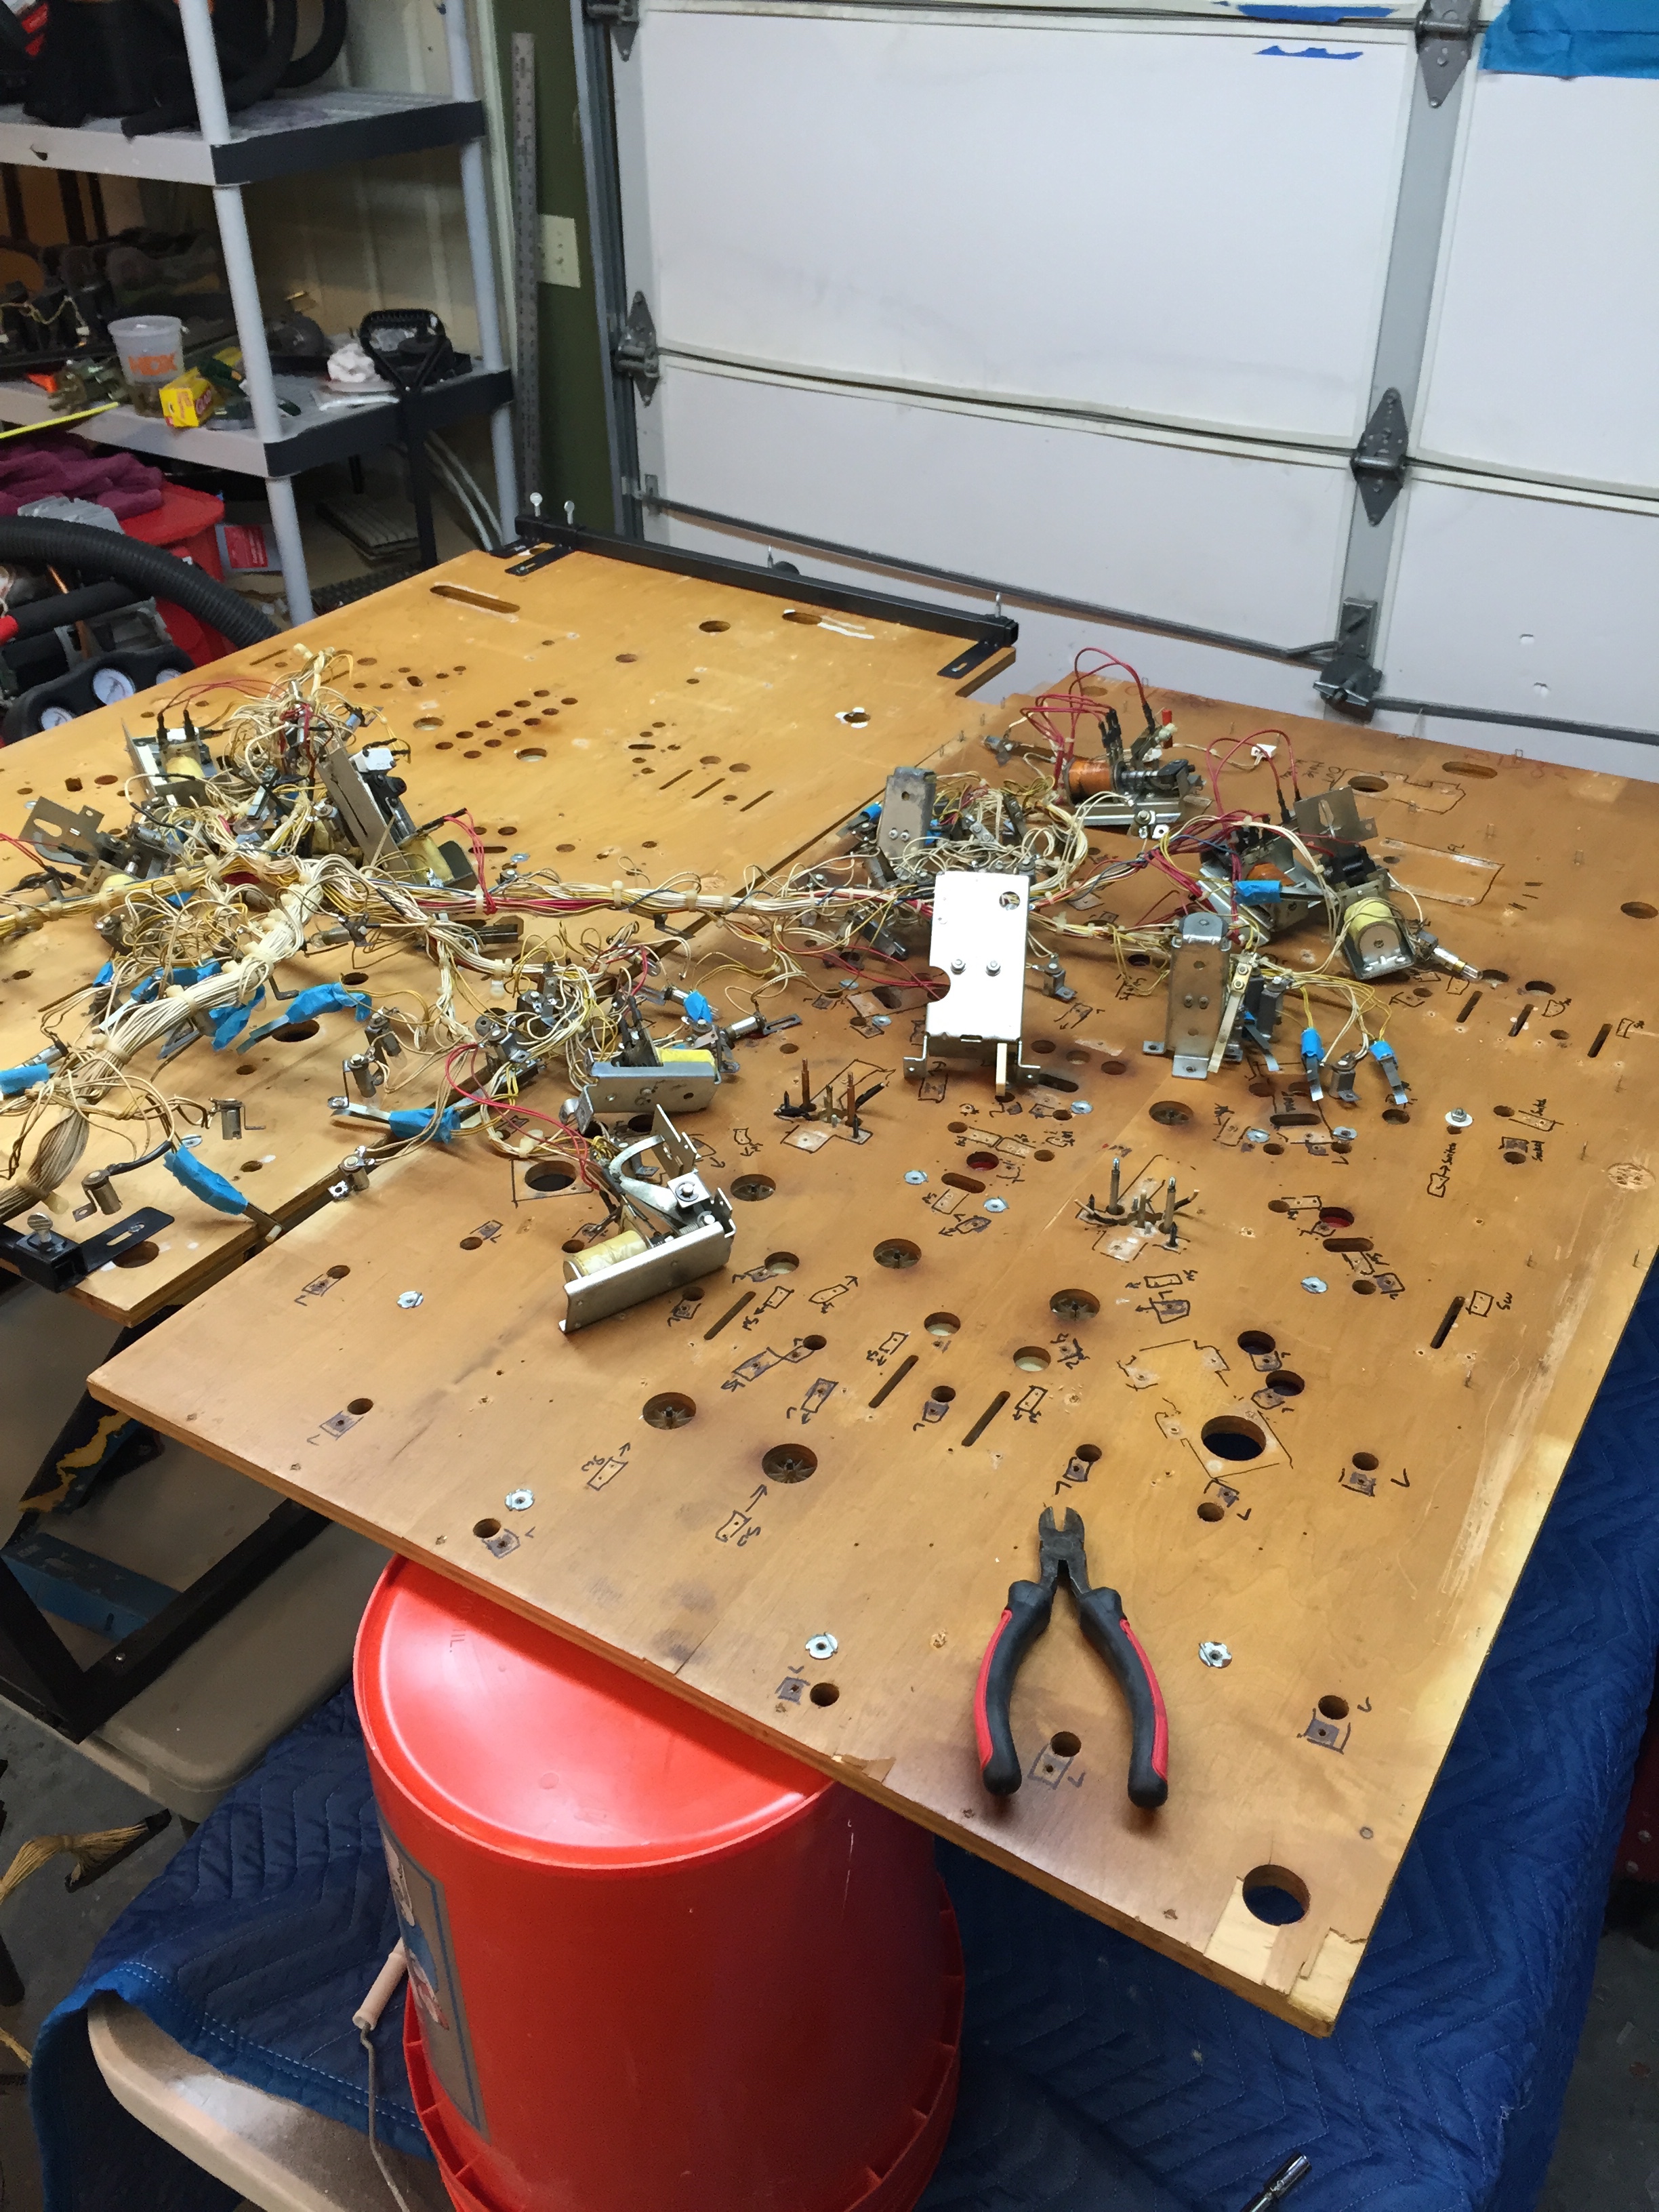
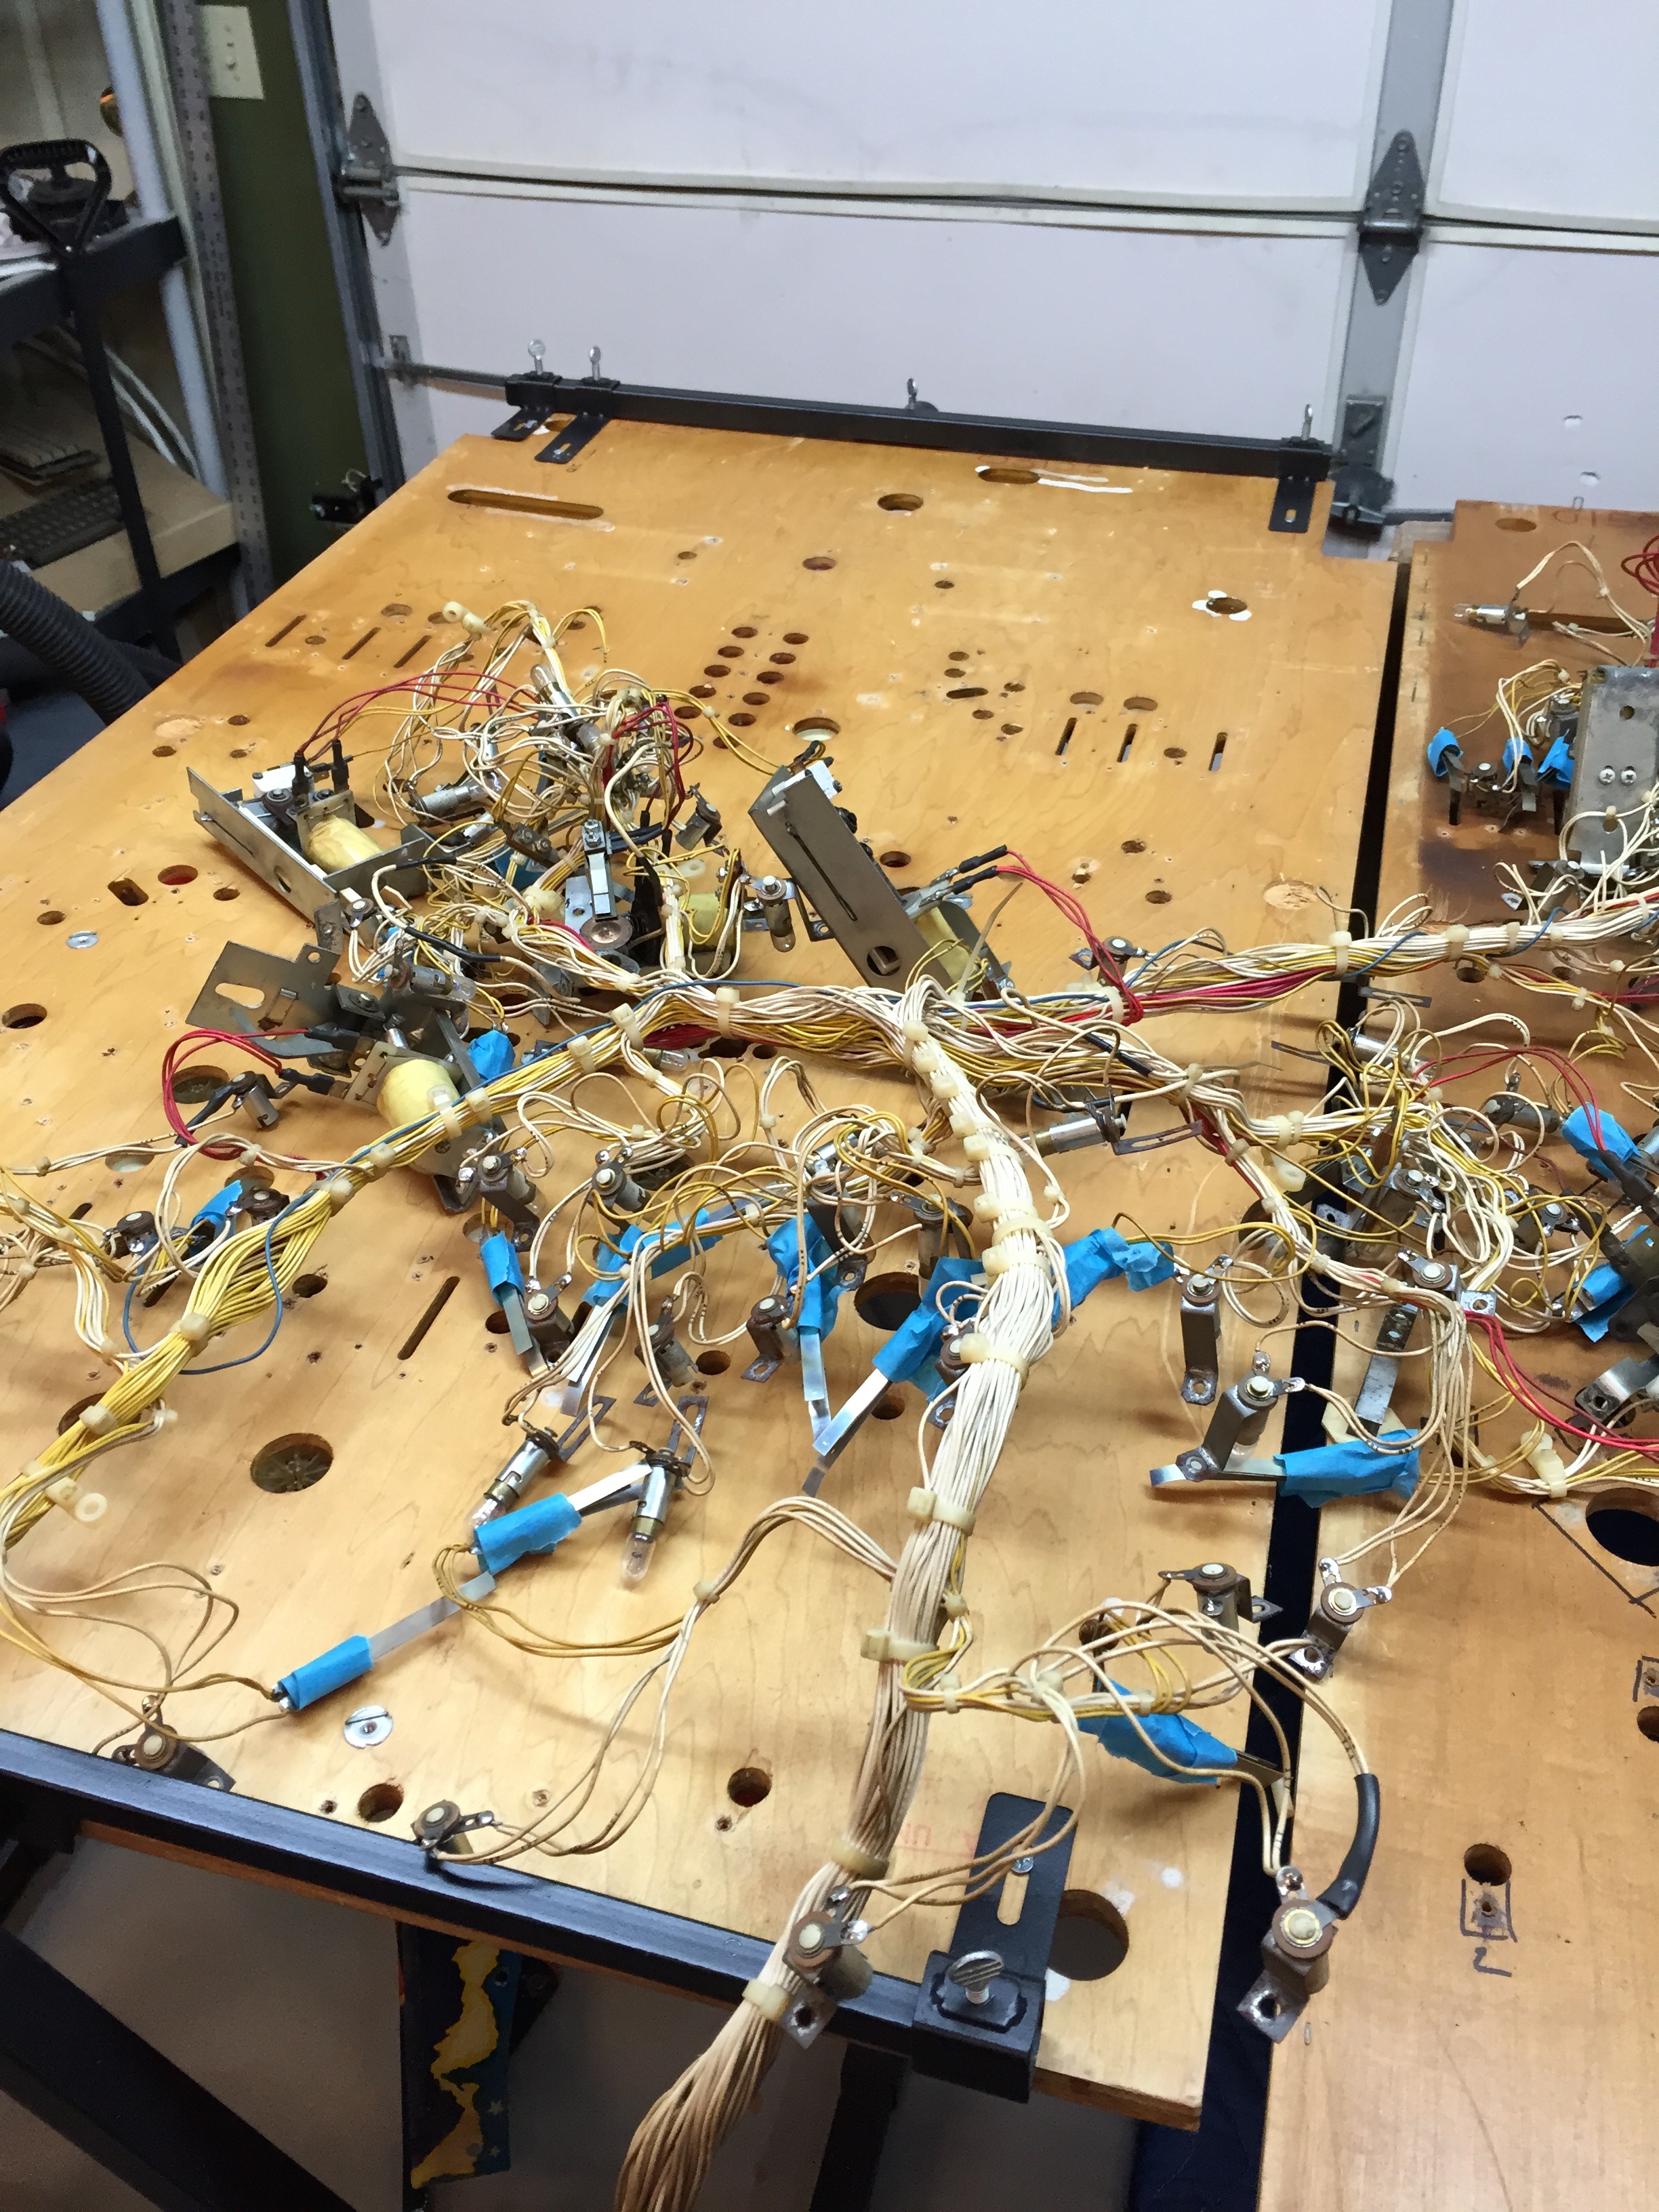
Once I had removed all the bolts and screws, I lined the two playfields up next to each other, and carefully dragged each group of components over. I didn’t want to get the wiring harness out of whack with the way it was originally laid out. It worked pretty good. I had to be careful to clear the screws that were left from the pop bumpers and I had to make sure all the switches had cleared their holes, as well as the stand up targets. Everything moved over ok – and I’m in the process of placing everything where it needs to go.
Whitening Yellowed Plastic Playfield Parts
My posts and lane guides were very yellowed. So much so, that the new pop bumper parts would contrast terribly with them. I found some folks using hydrogen peroxide, and UV light to whiten yellowed plastics so I decided to give it a shot. You be the judge:
Before:
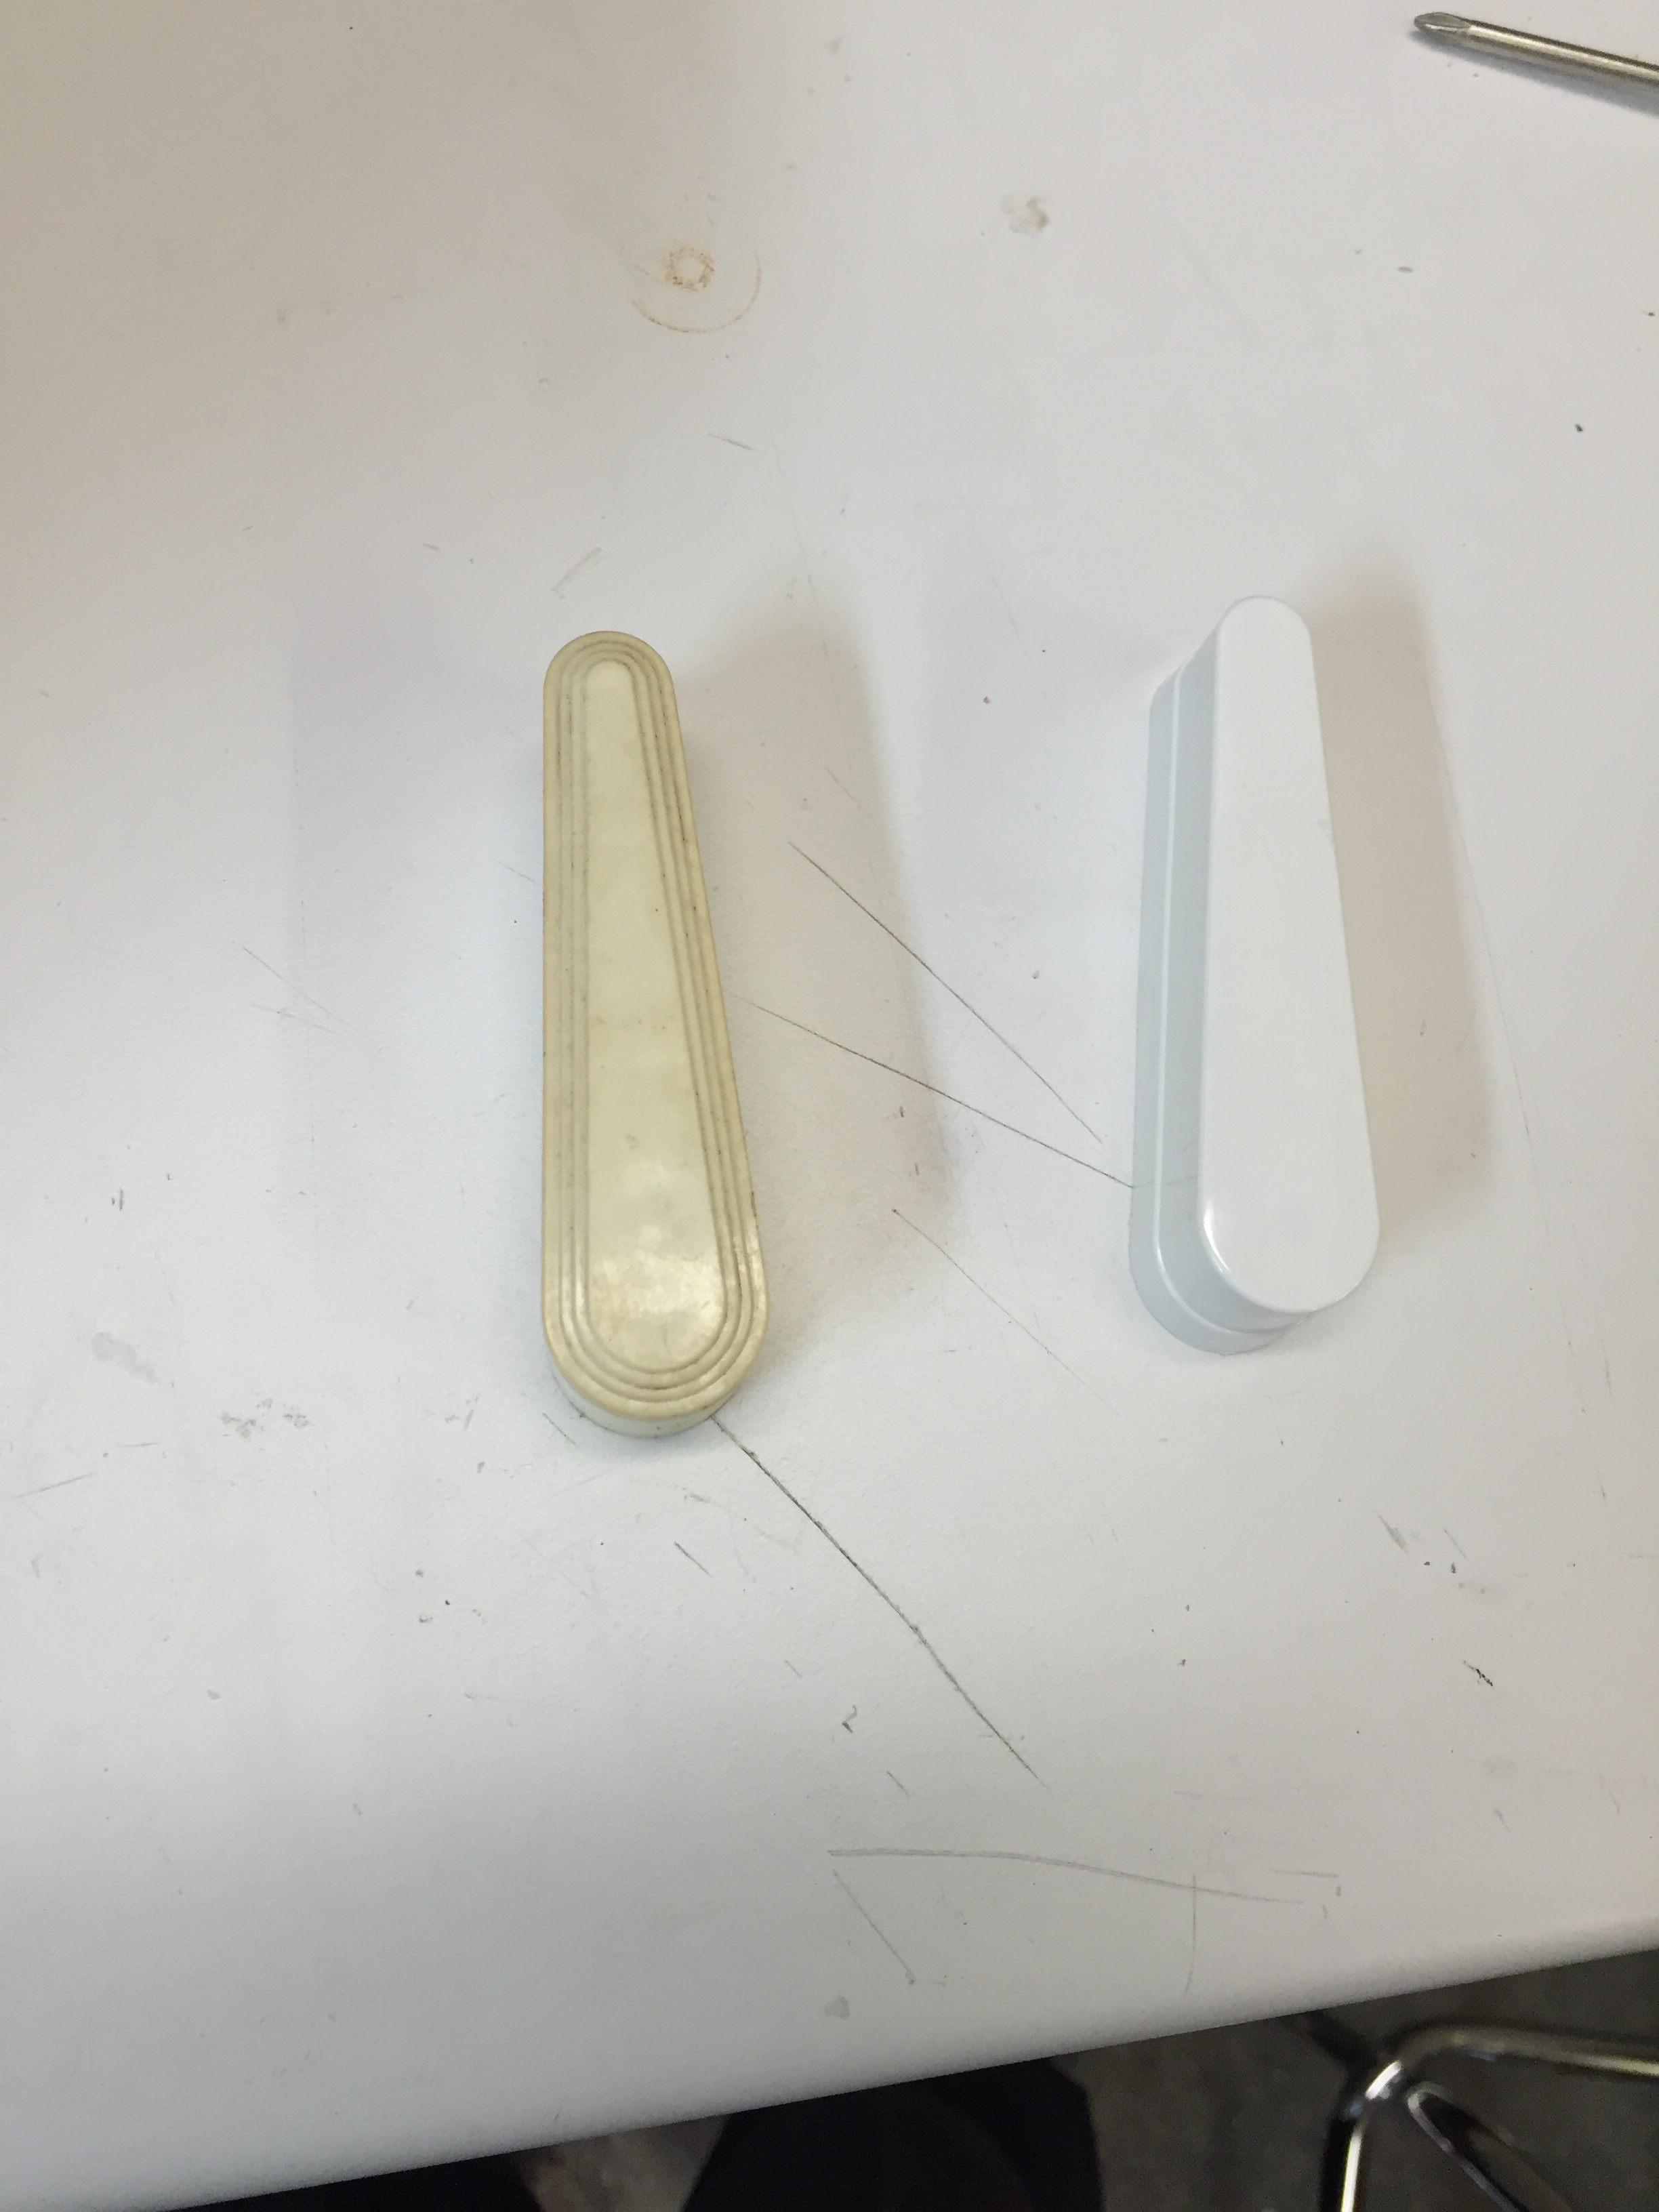
Old Flipper vs. New
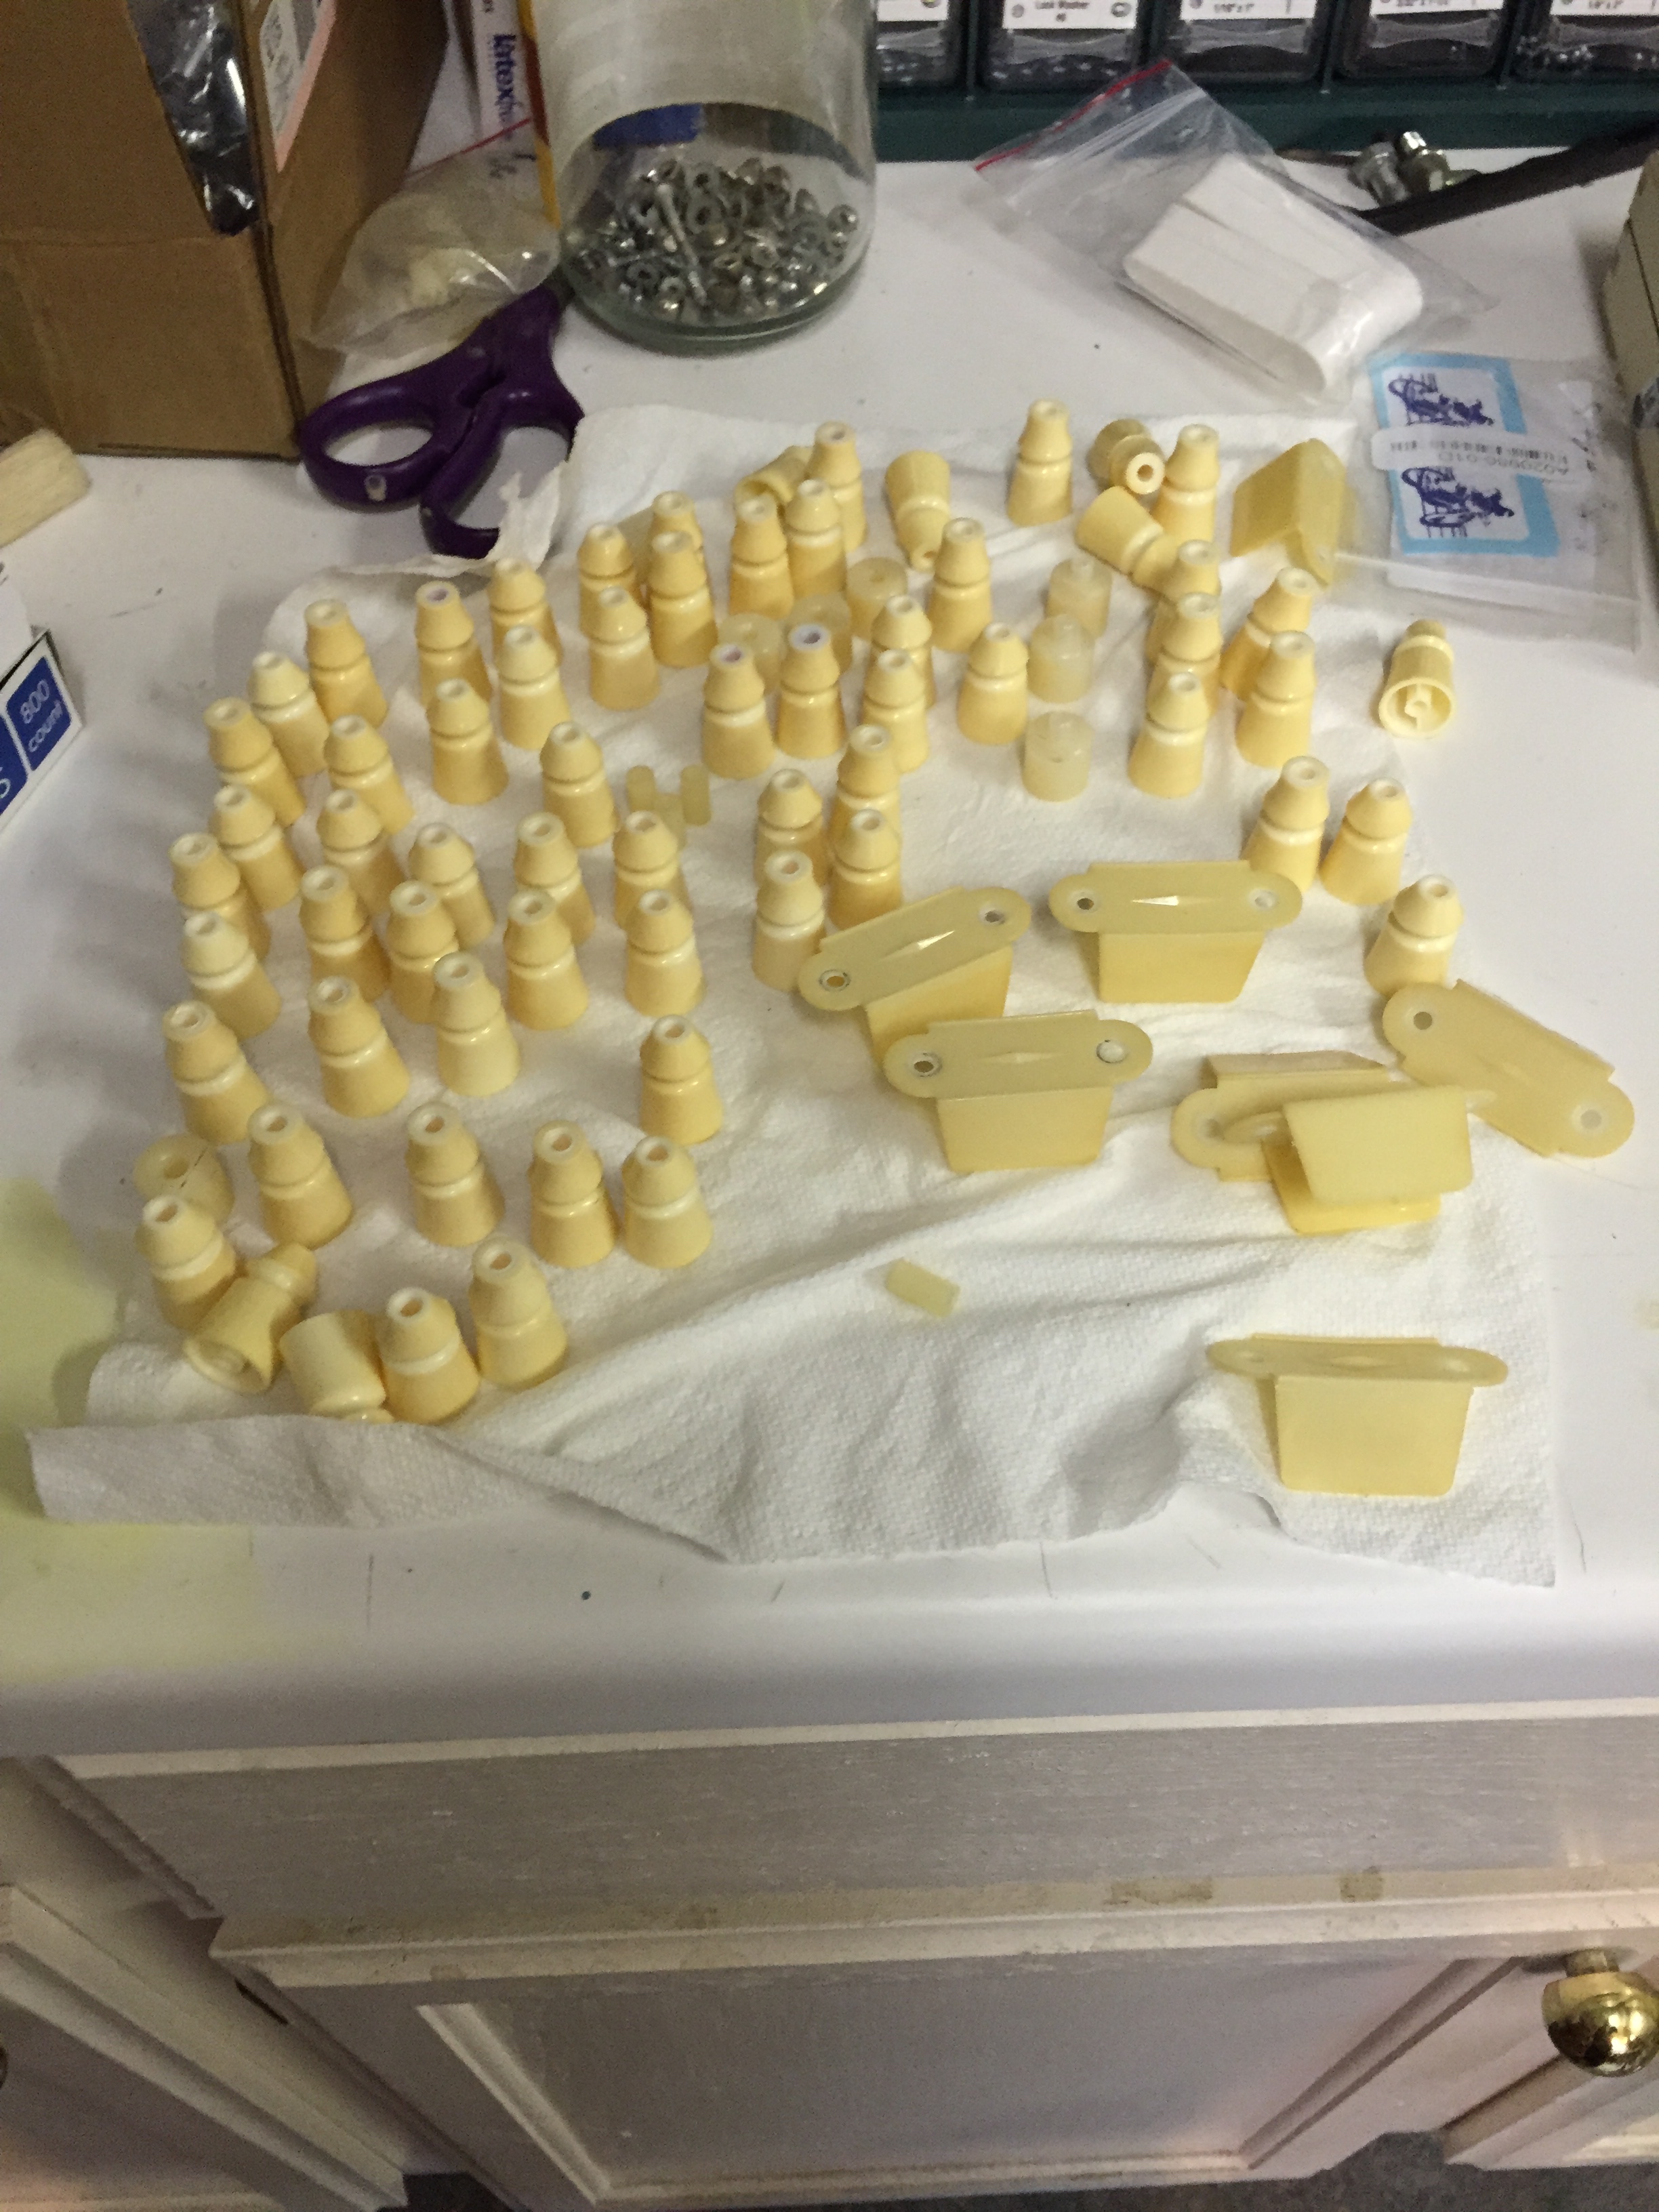
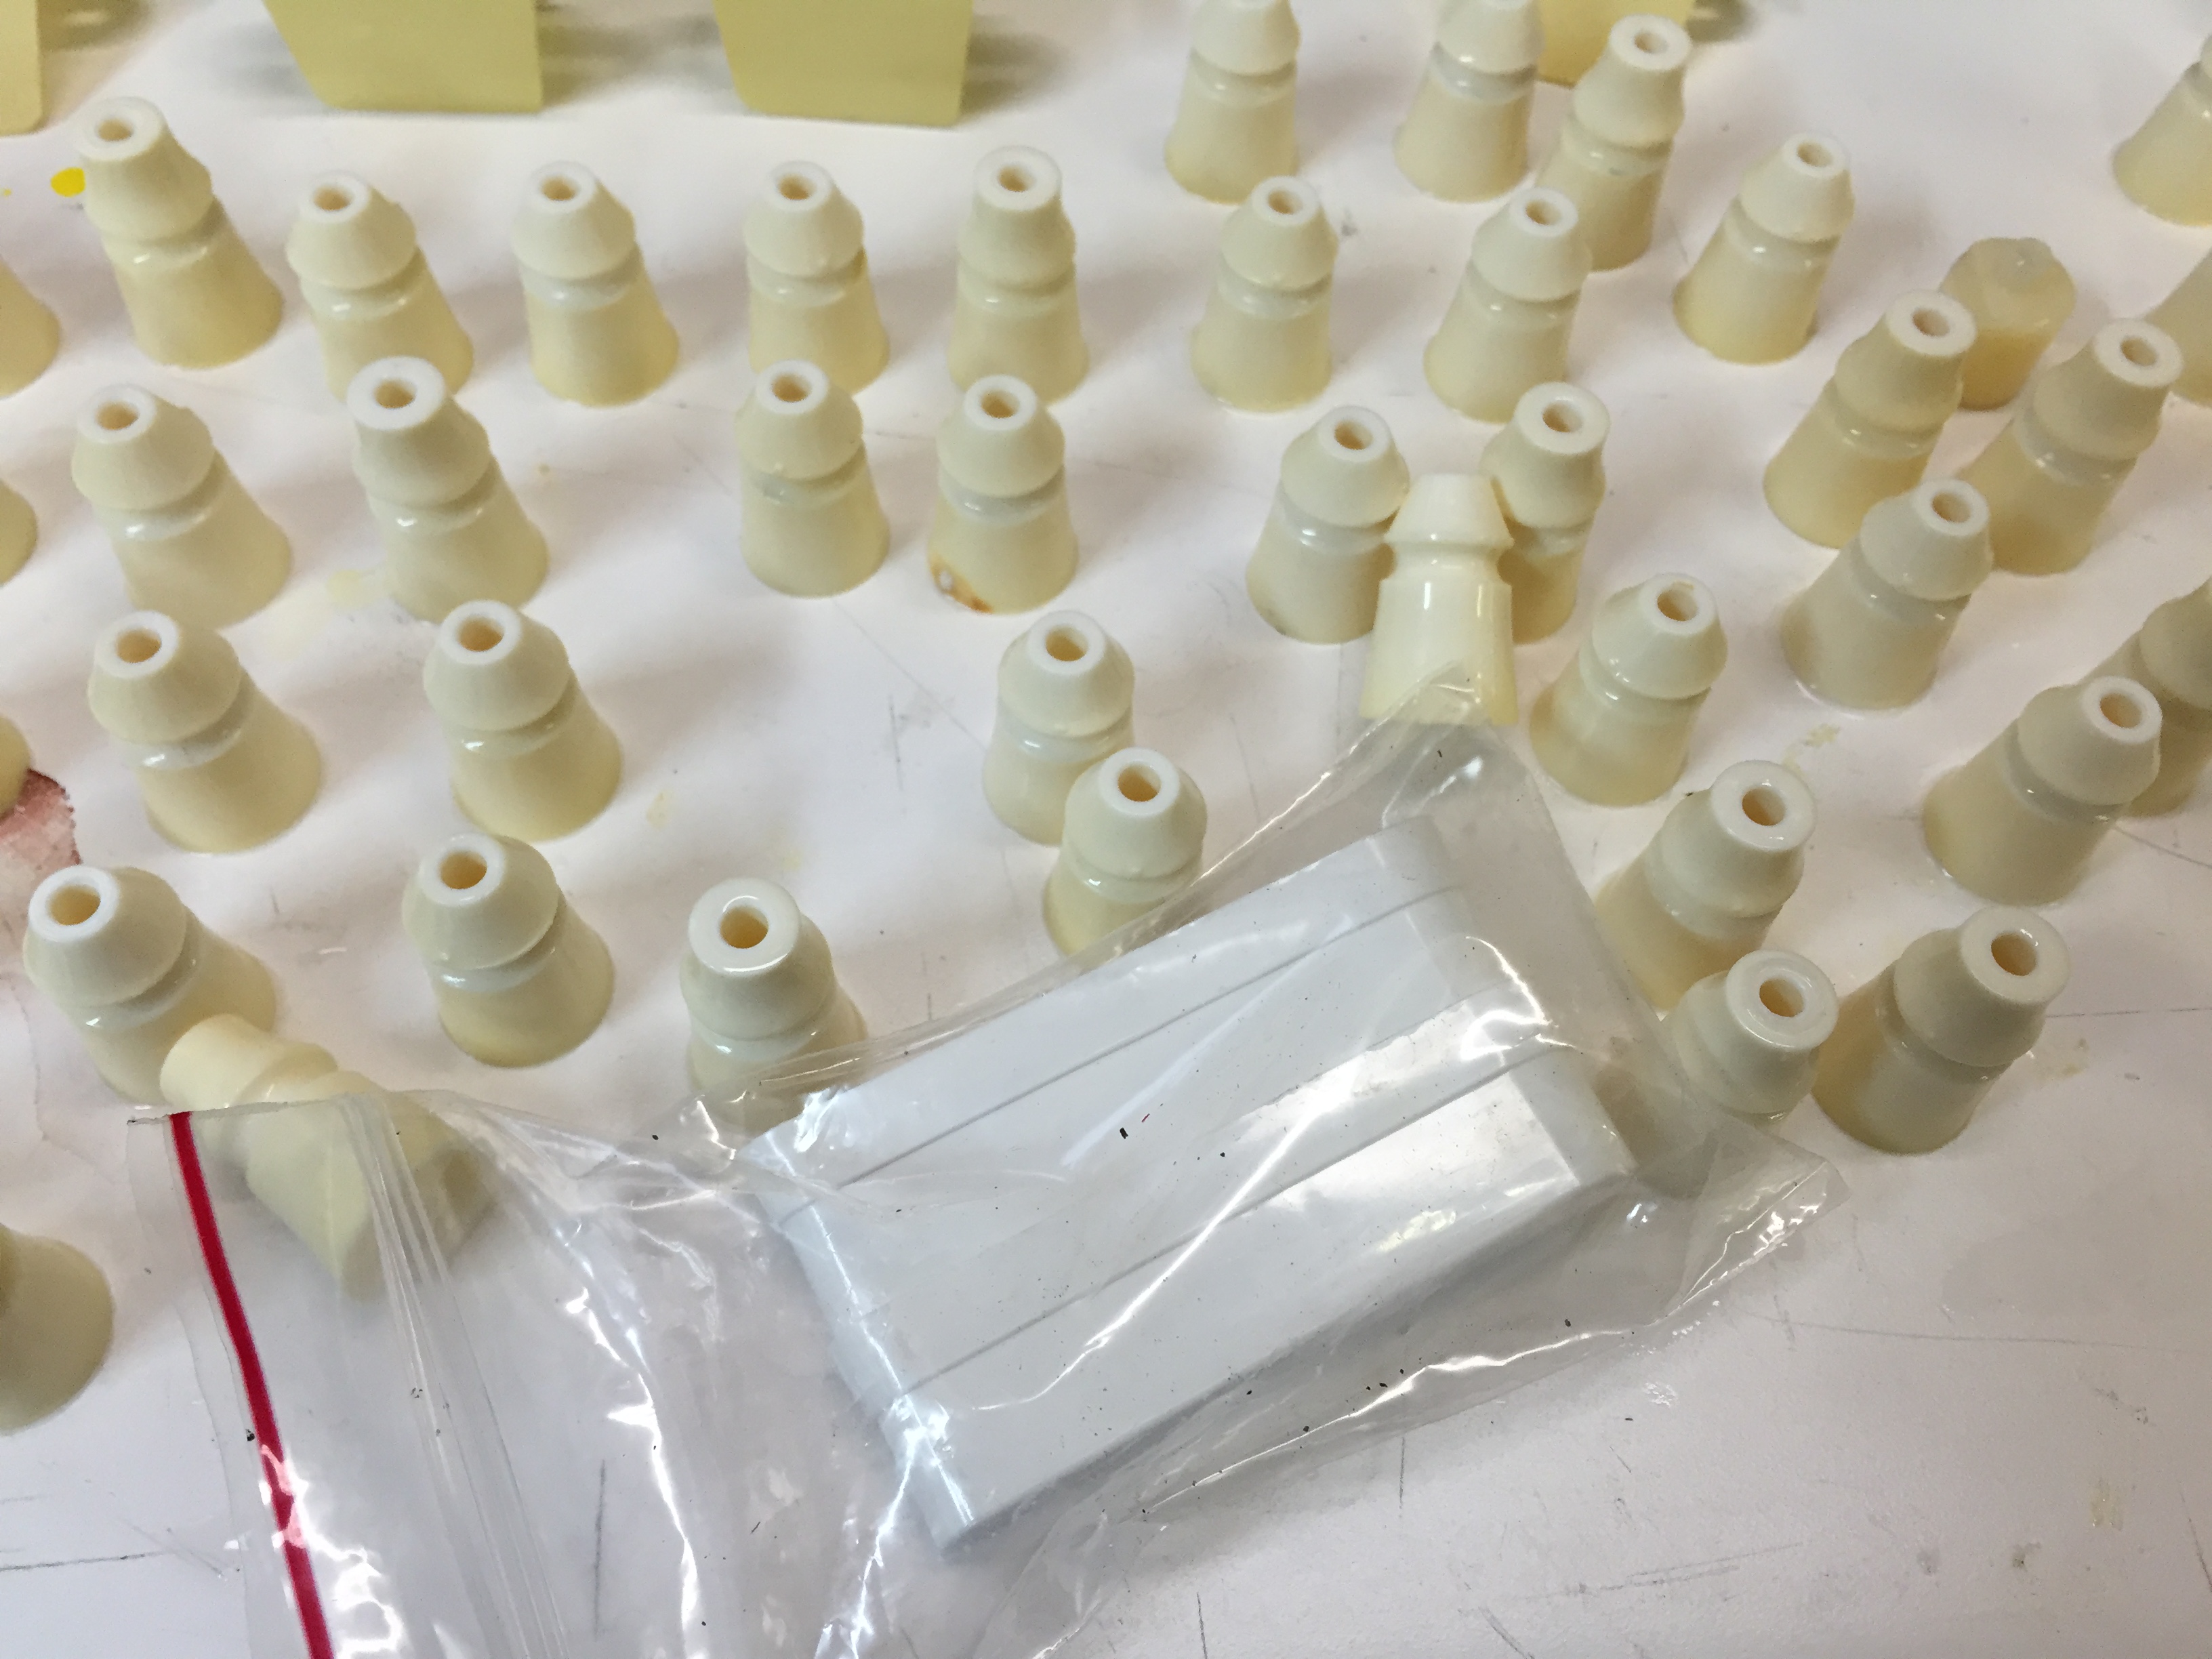
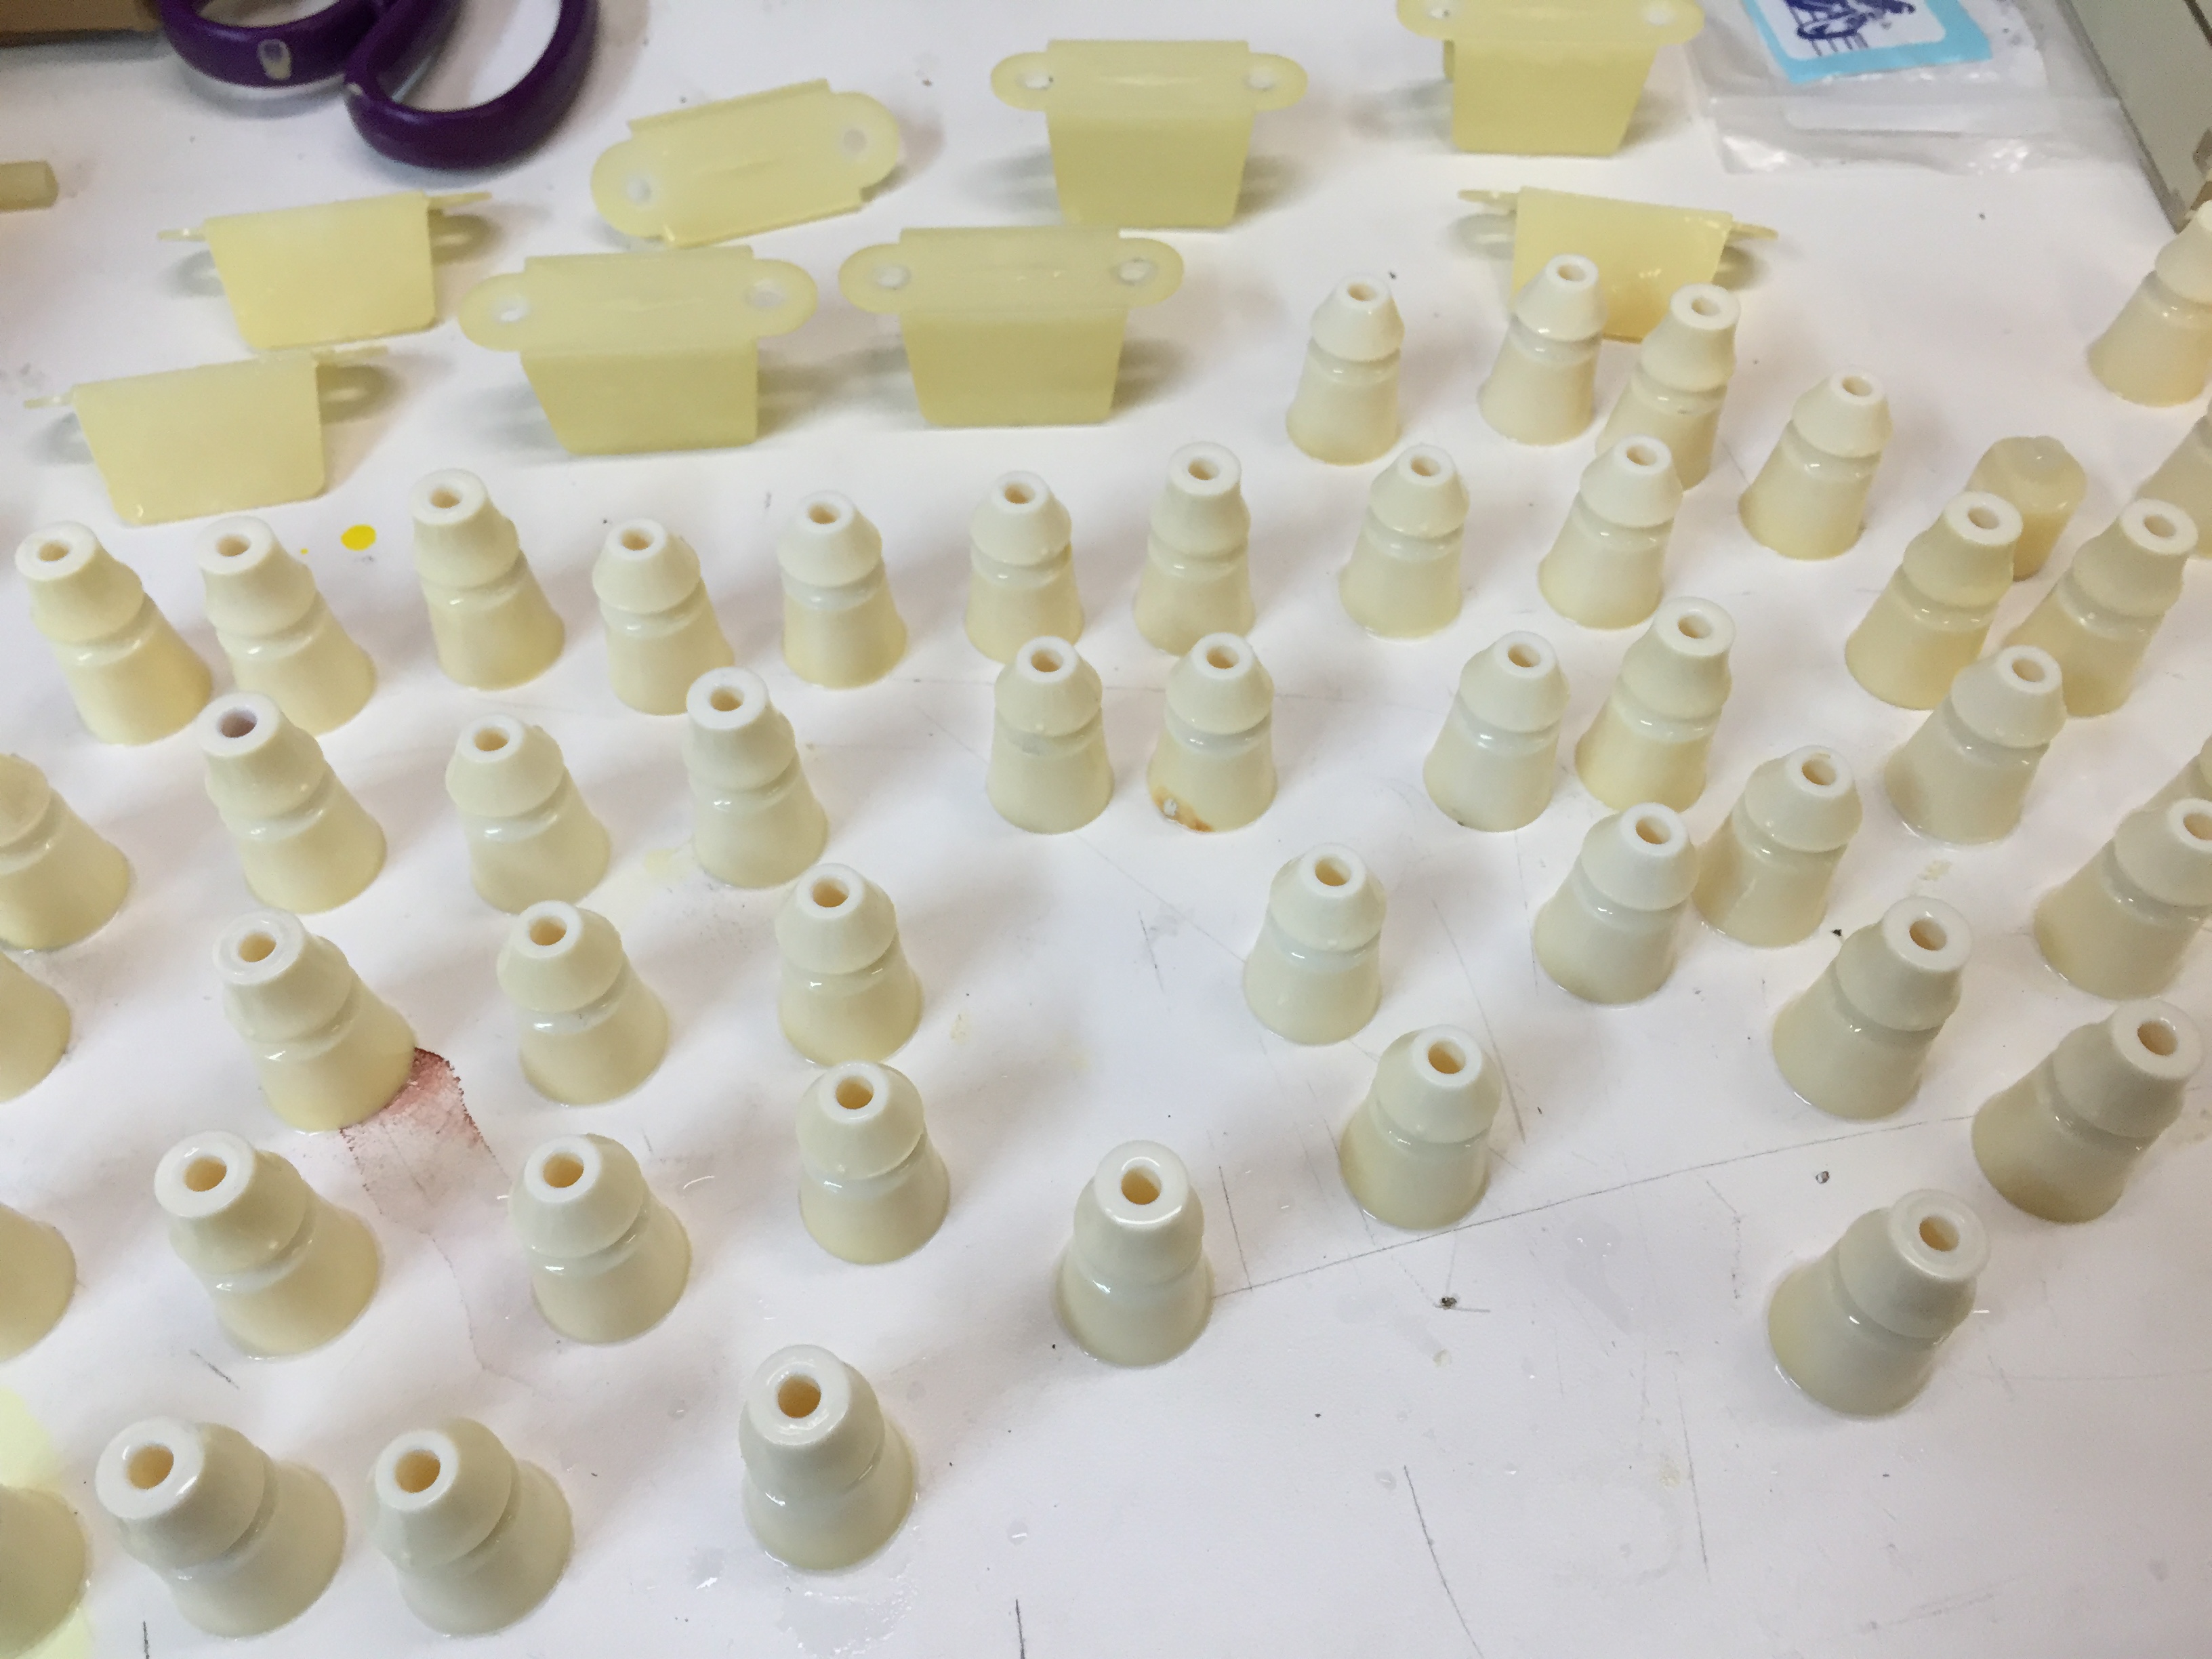
Old Yellowed Posts and Guides
Product Used – Reptile UVB light & Solon Care 40 Volume Creme (about 4 bucks at Sally Beauty):

Reptile UVB Light
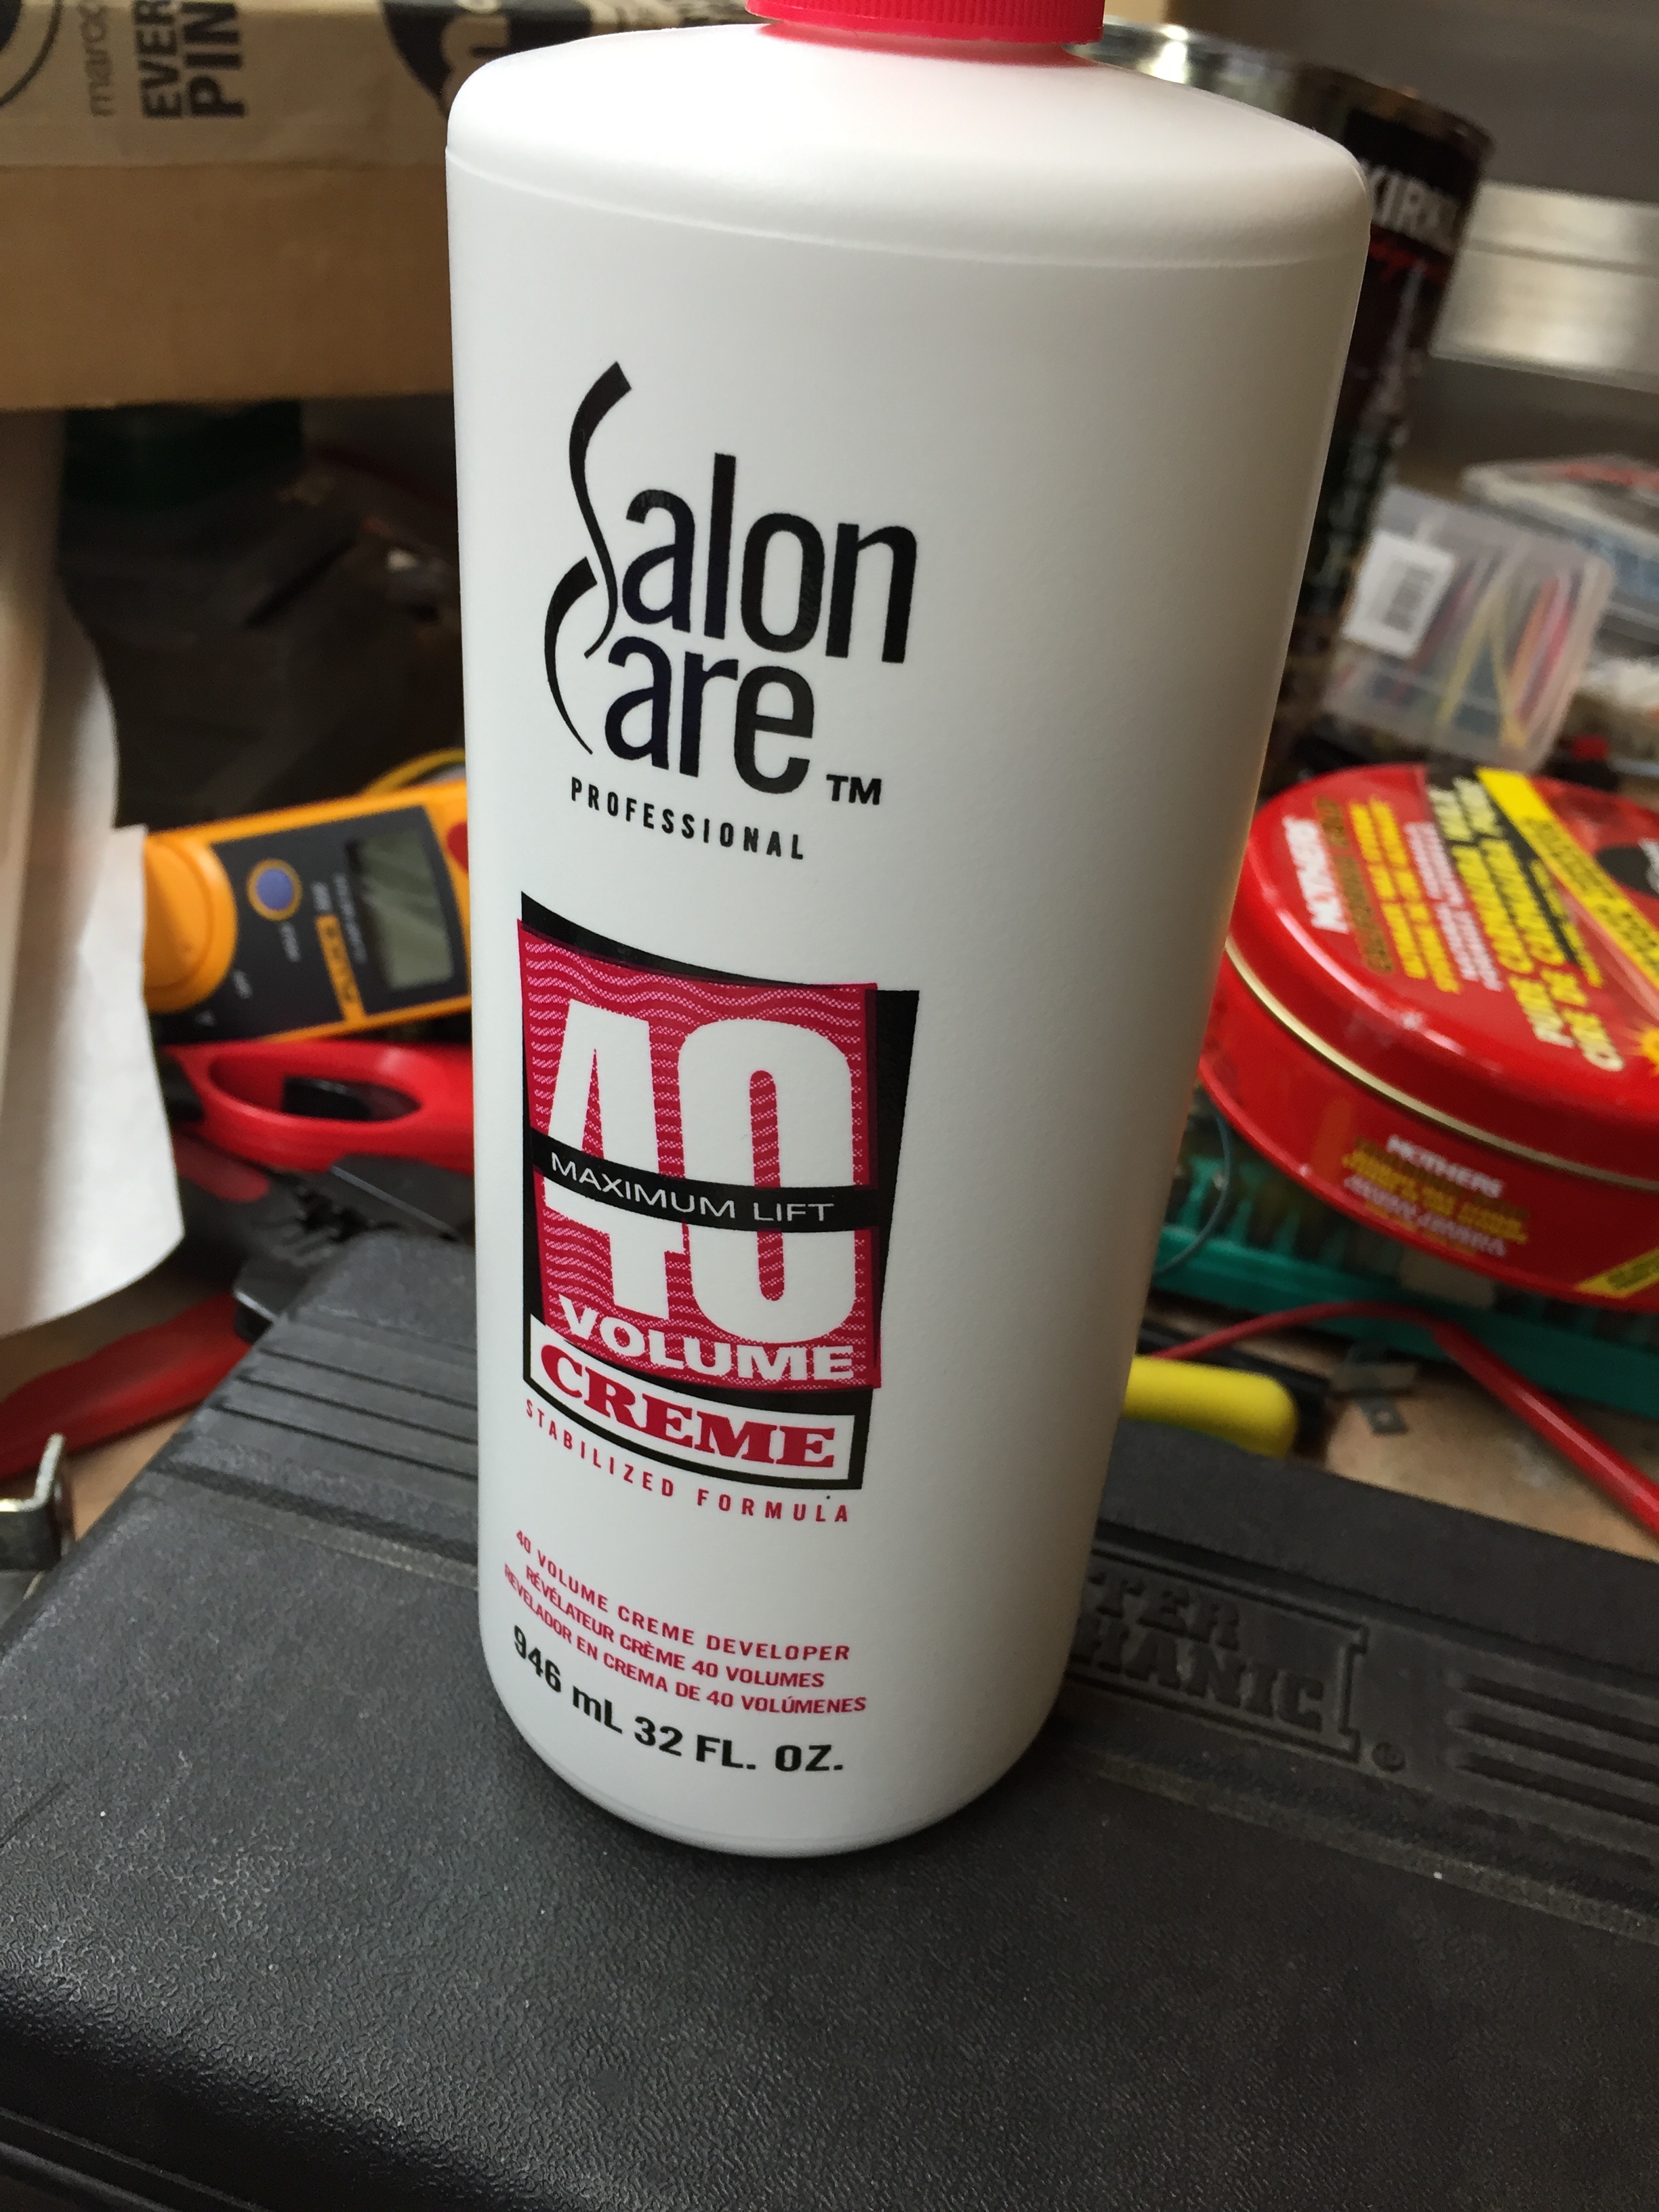
Solon Care Hydrogen Peroxide Creme
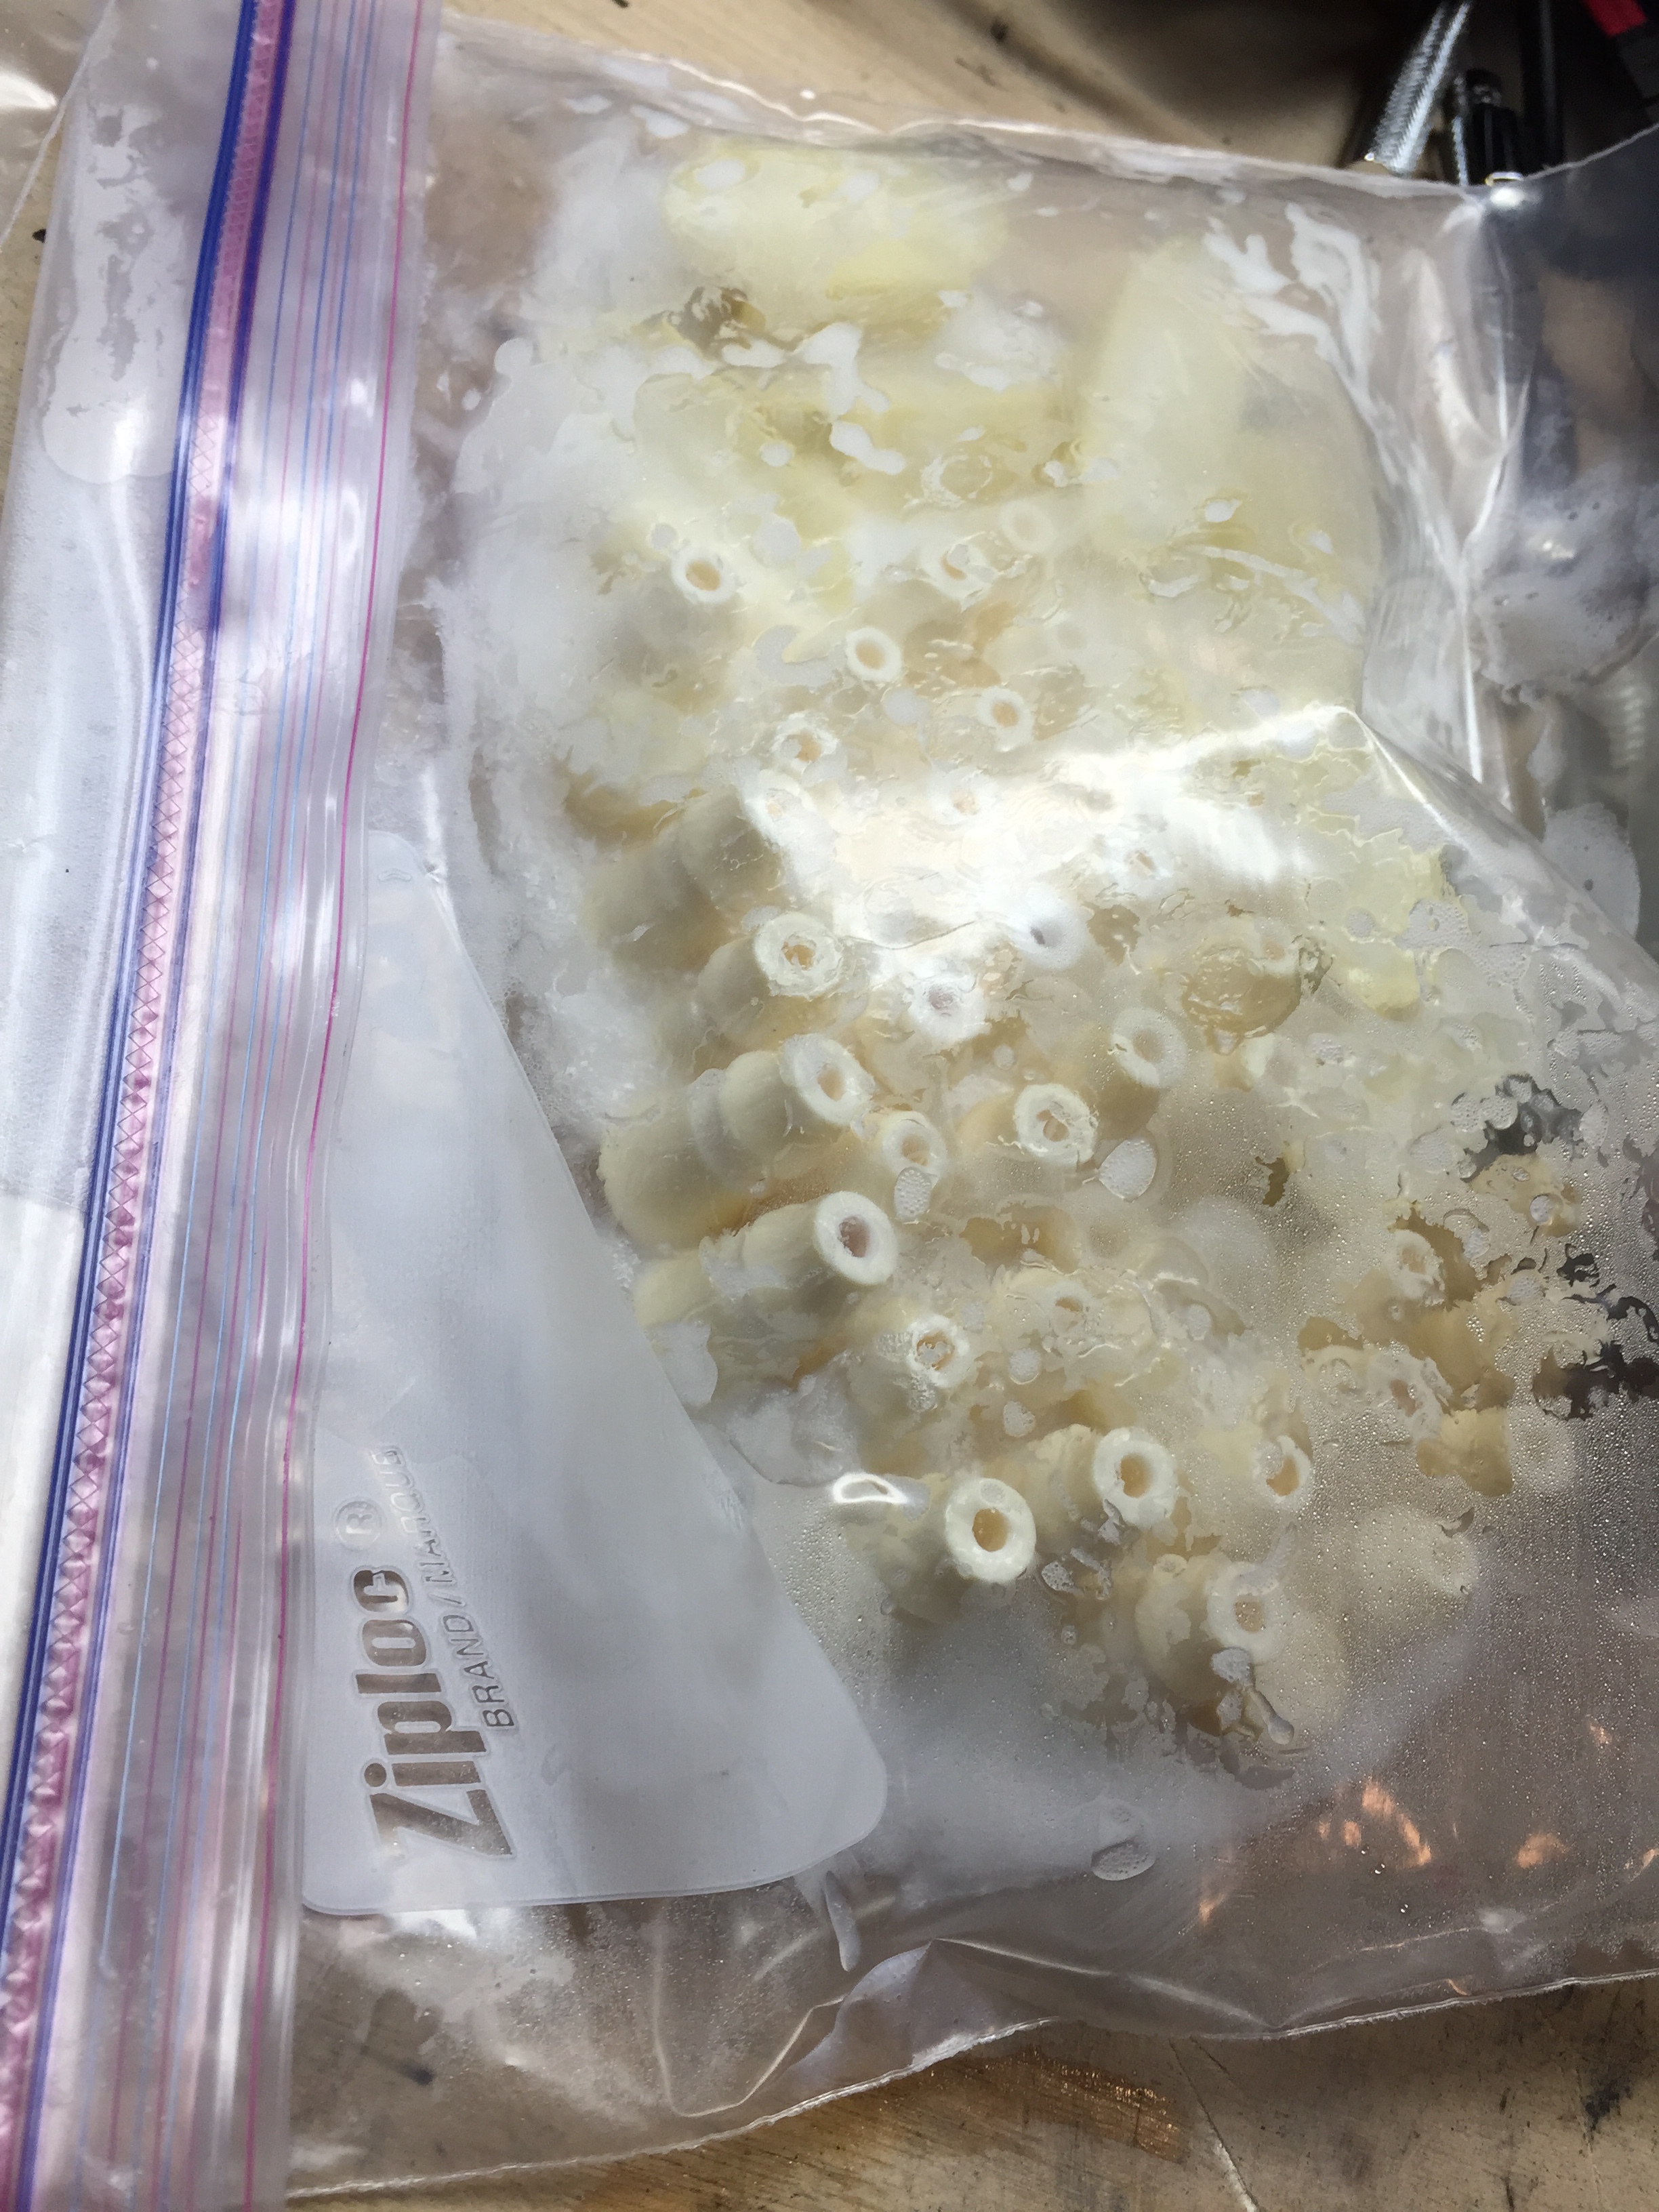
Coat the plastics in the gel, and cover (I used a zip lock bag), and put under UV light.
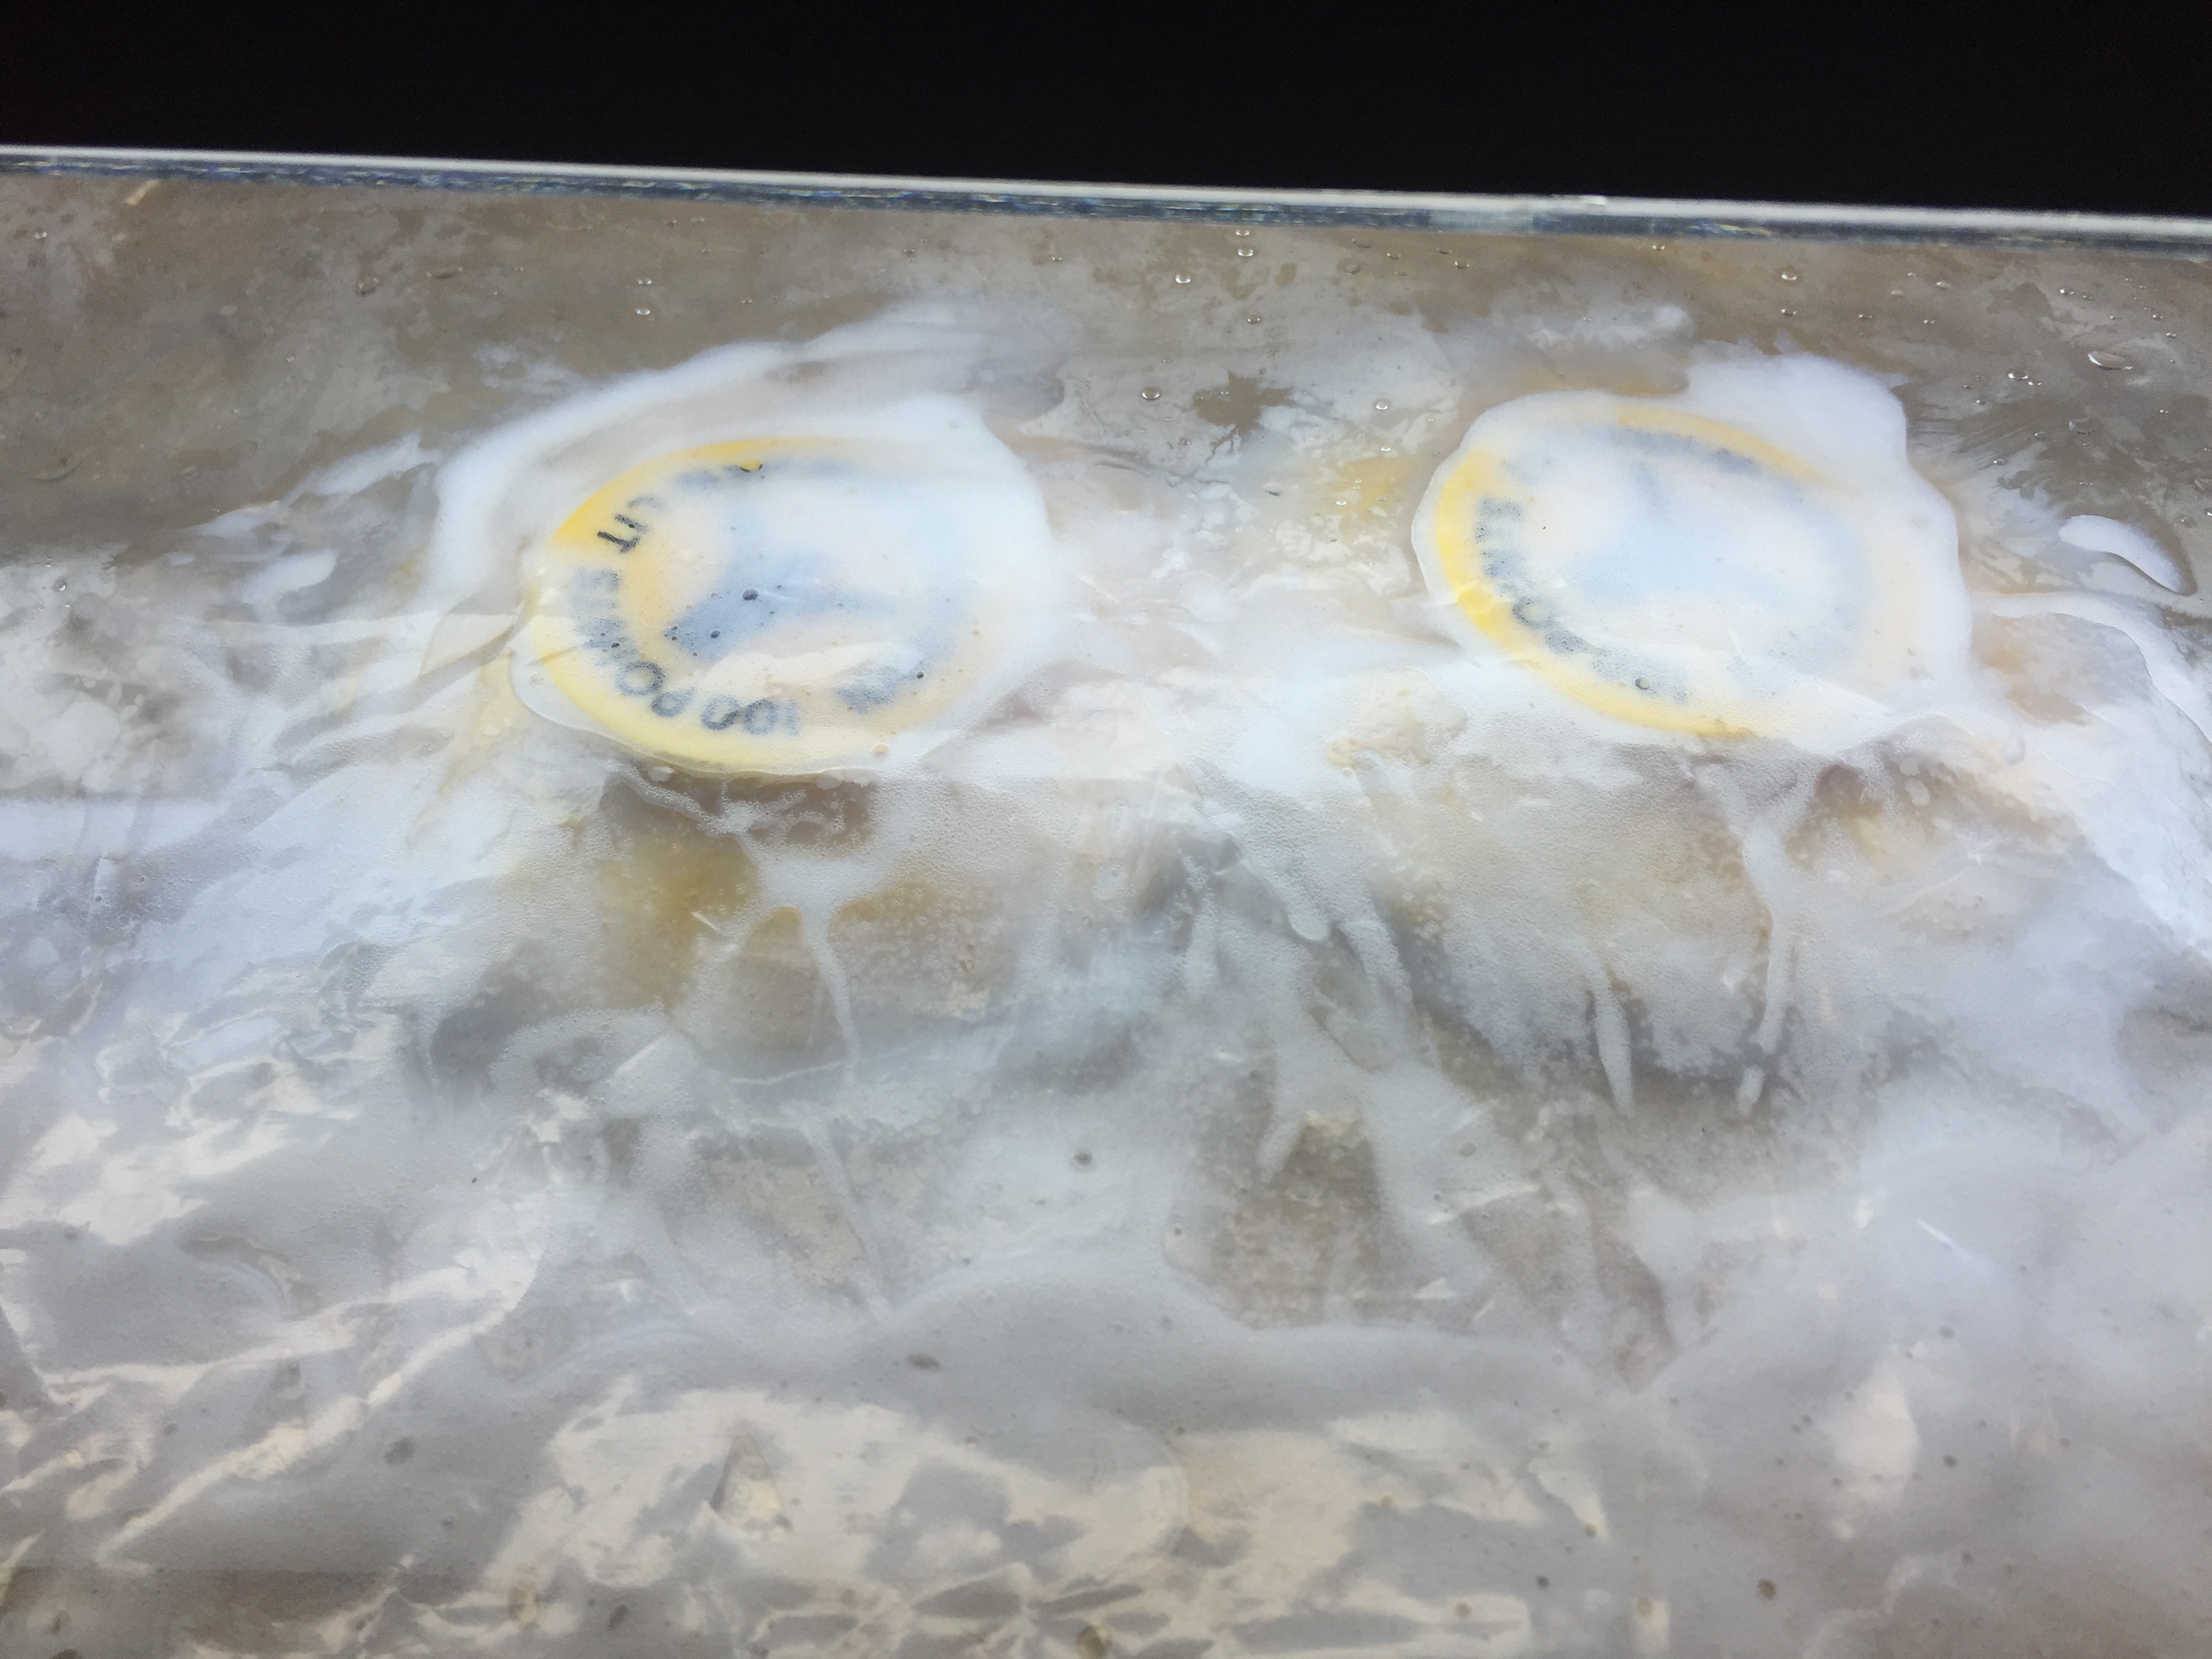
Pop Bumper Caps
Posts and Guides Coated with the Creme
After about 24 hours, here’s the result (make sure you wash the stuff off real good).
Whitened Posts vs. New Flippers
The posts whitened better than the lane guides, but look if I put them side by side – what a difference:
Before
After
Cleaning up Metal and Plastic Parts
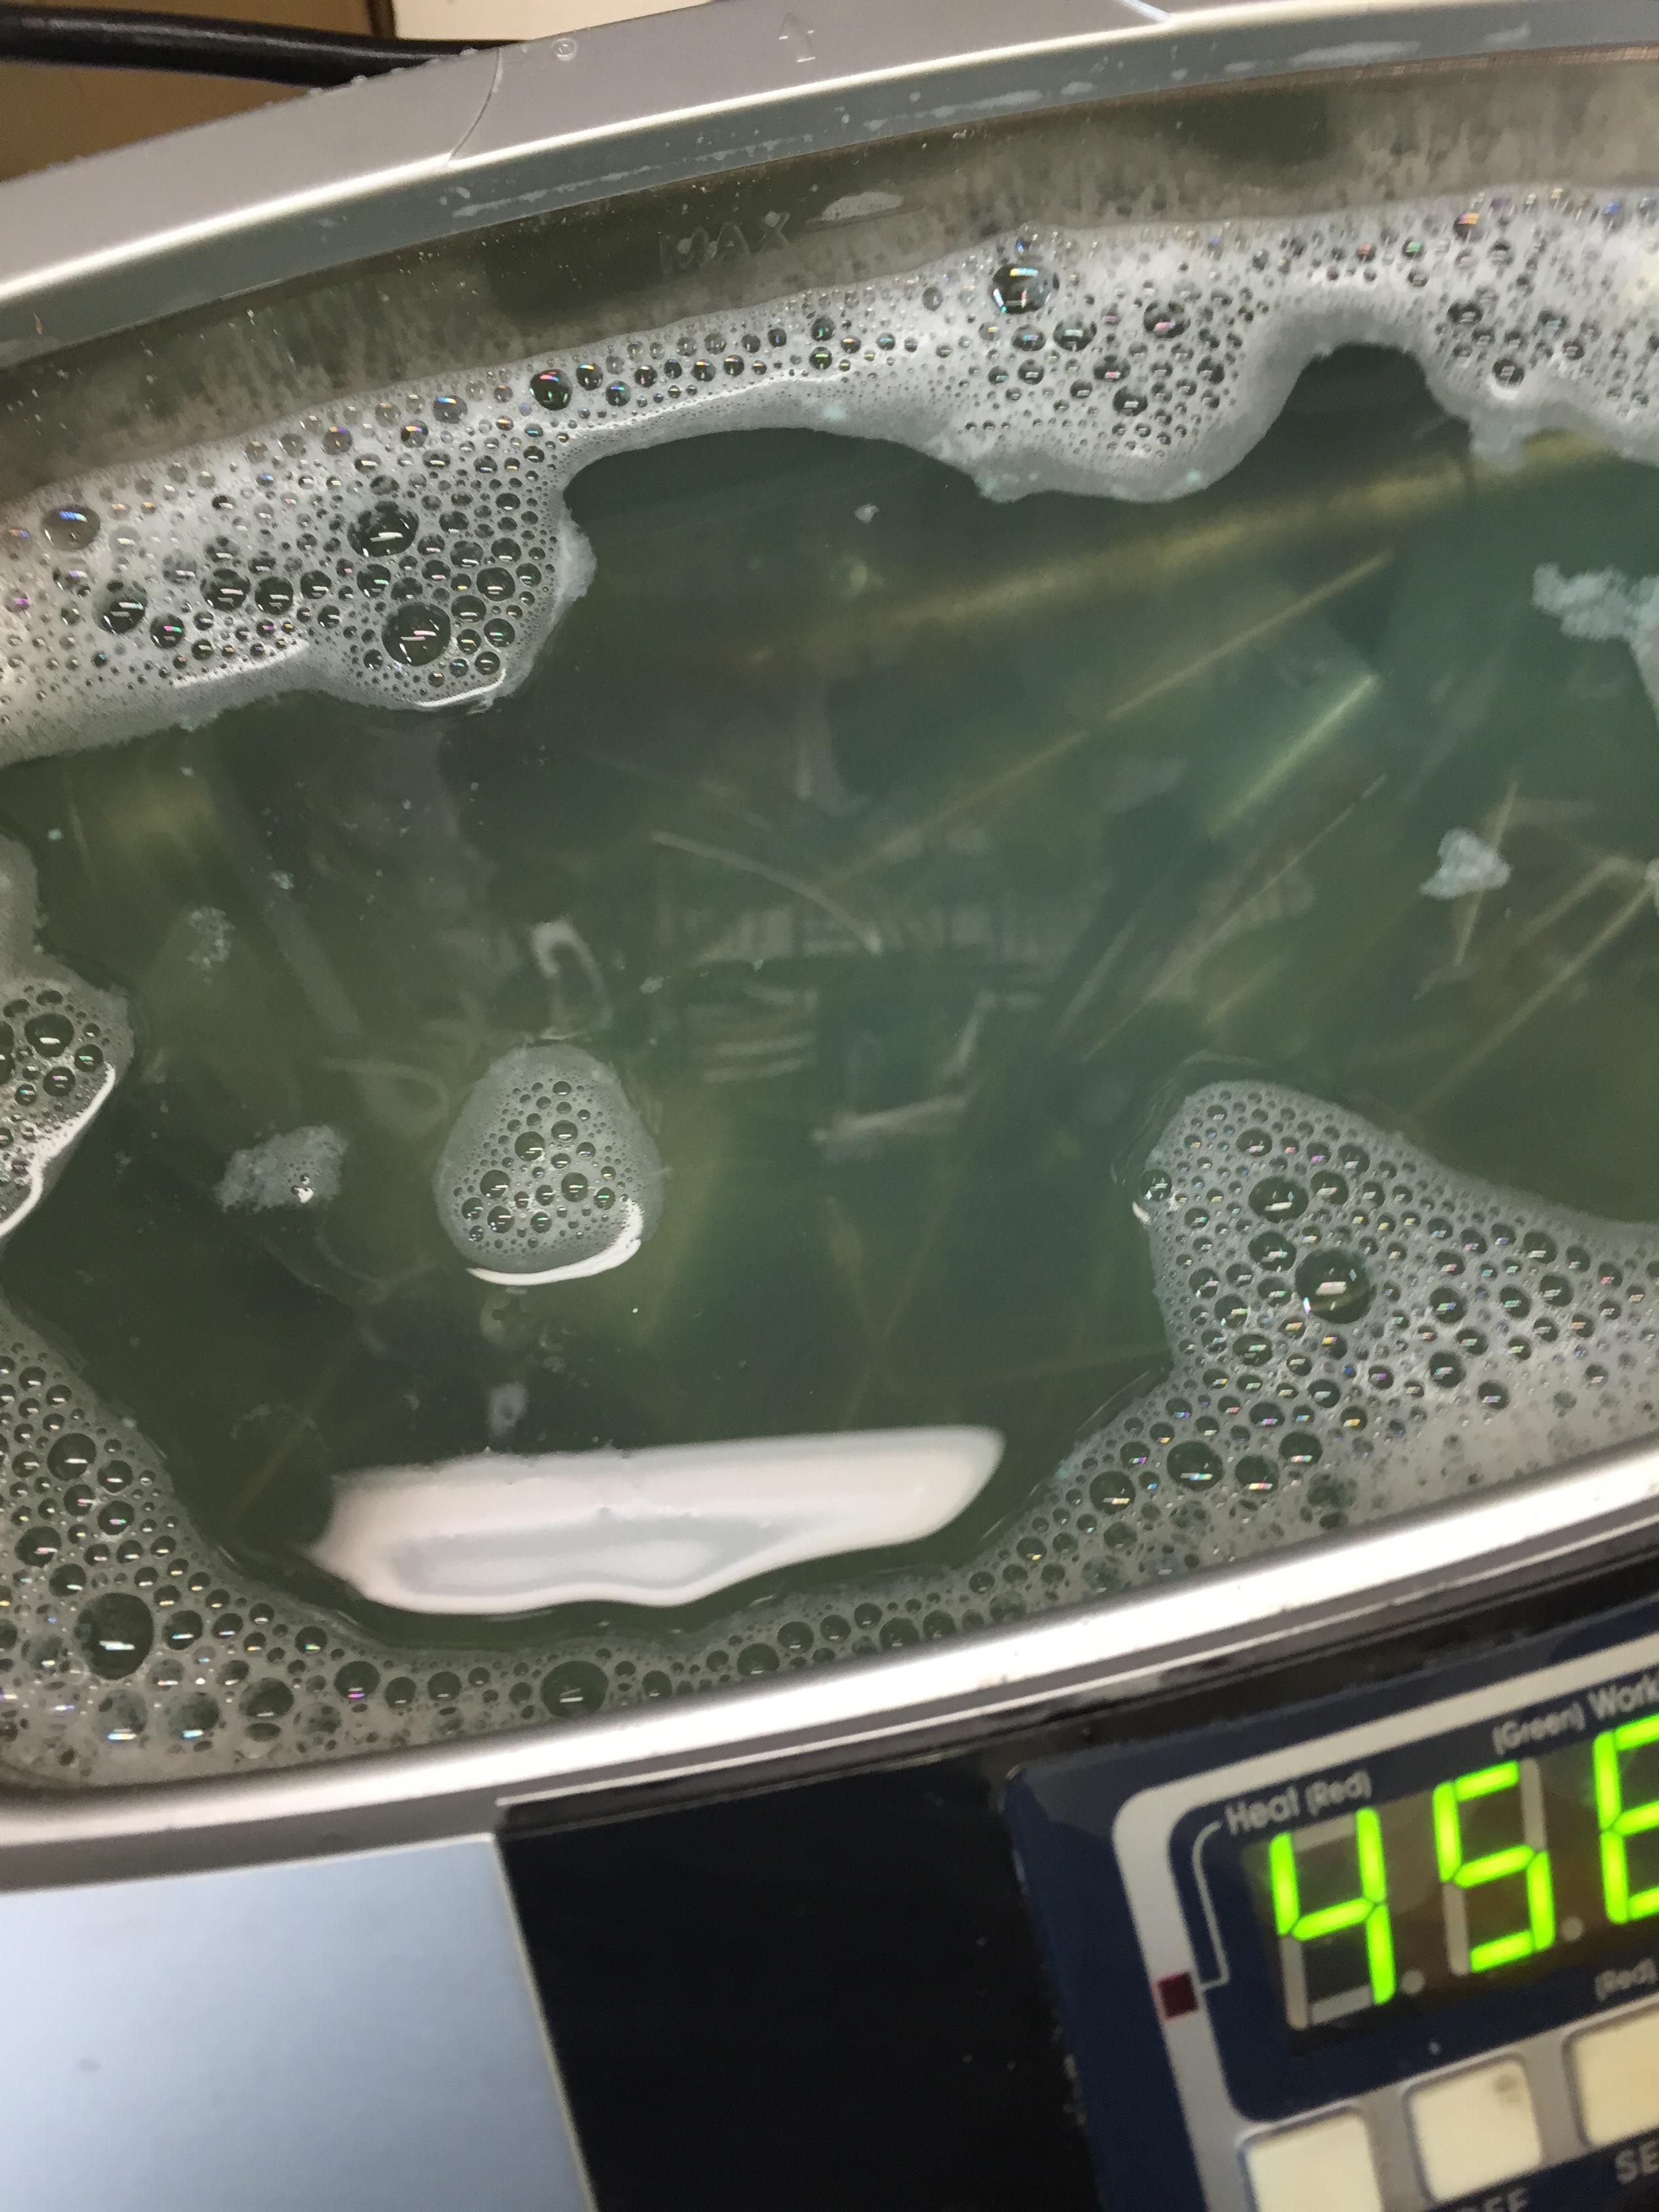
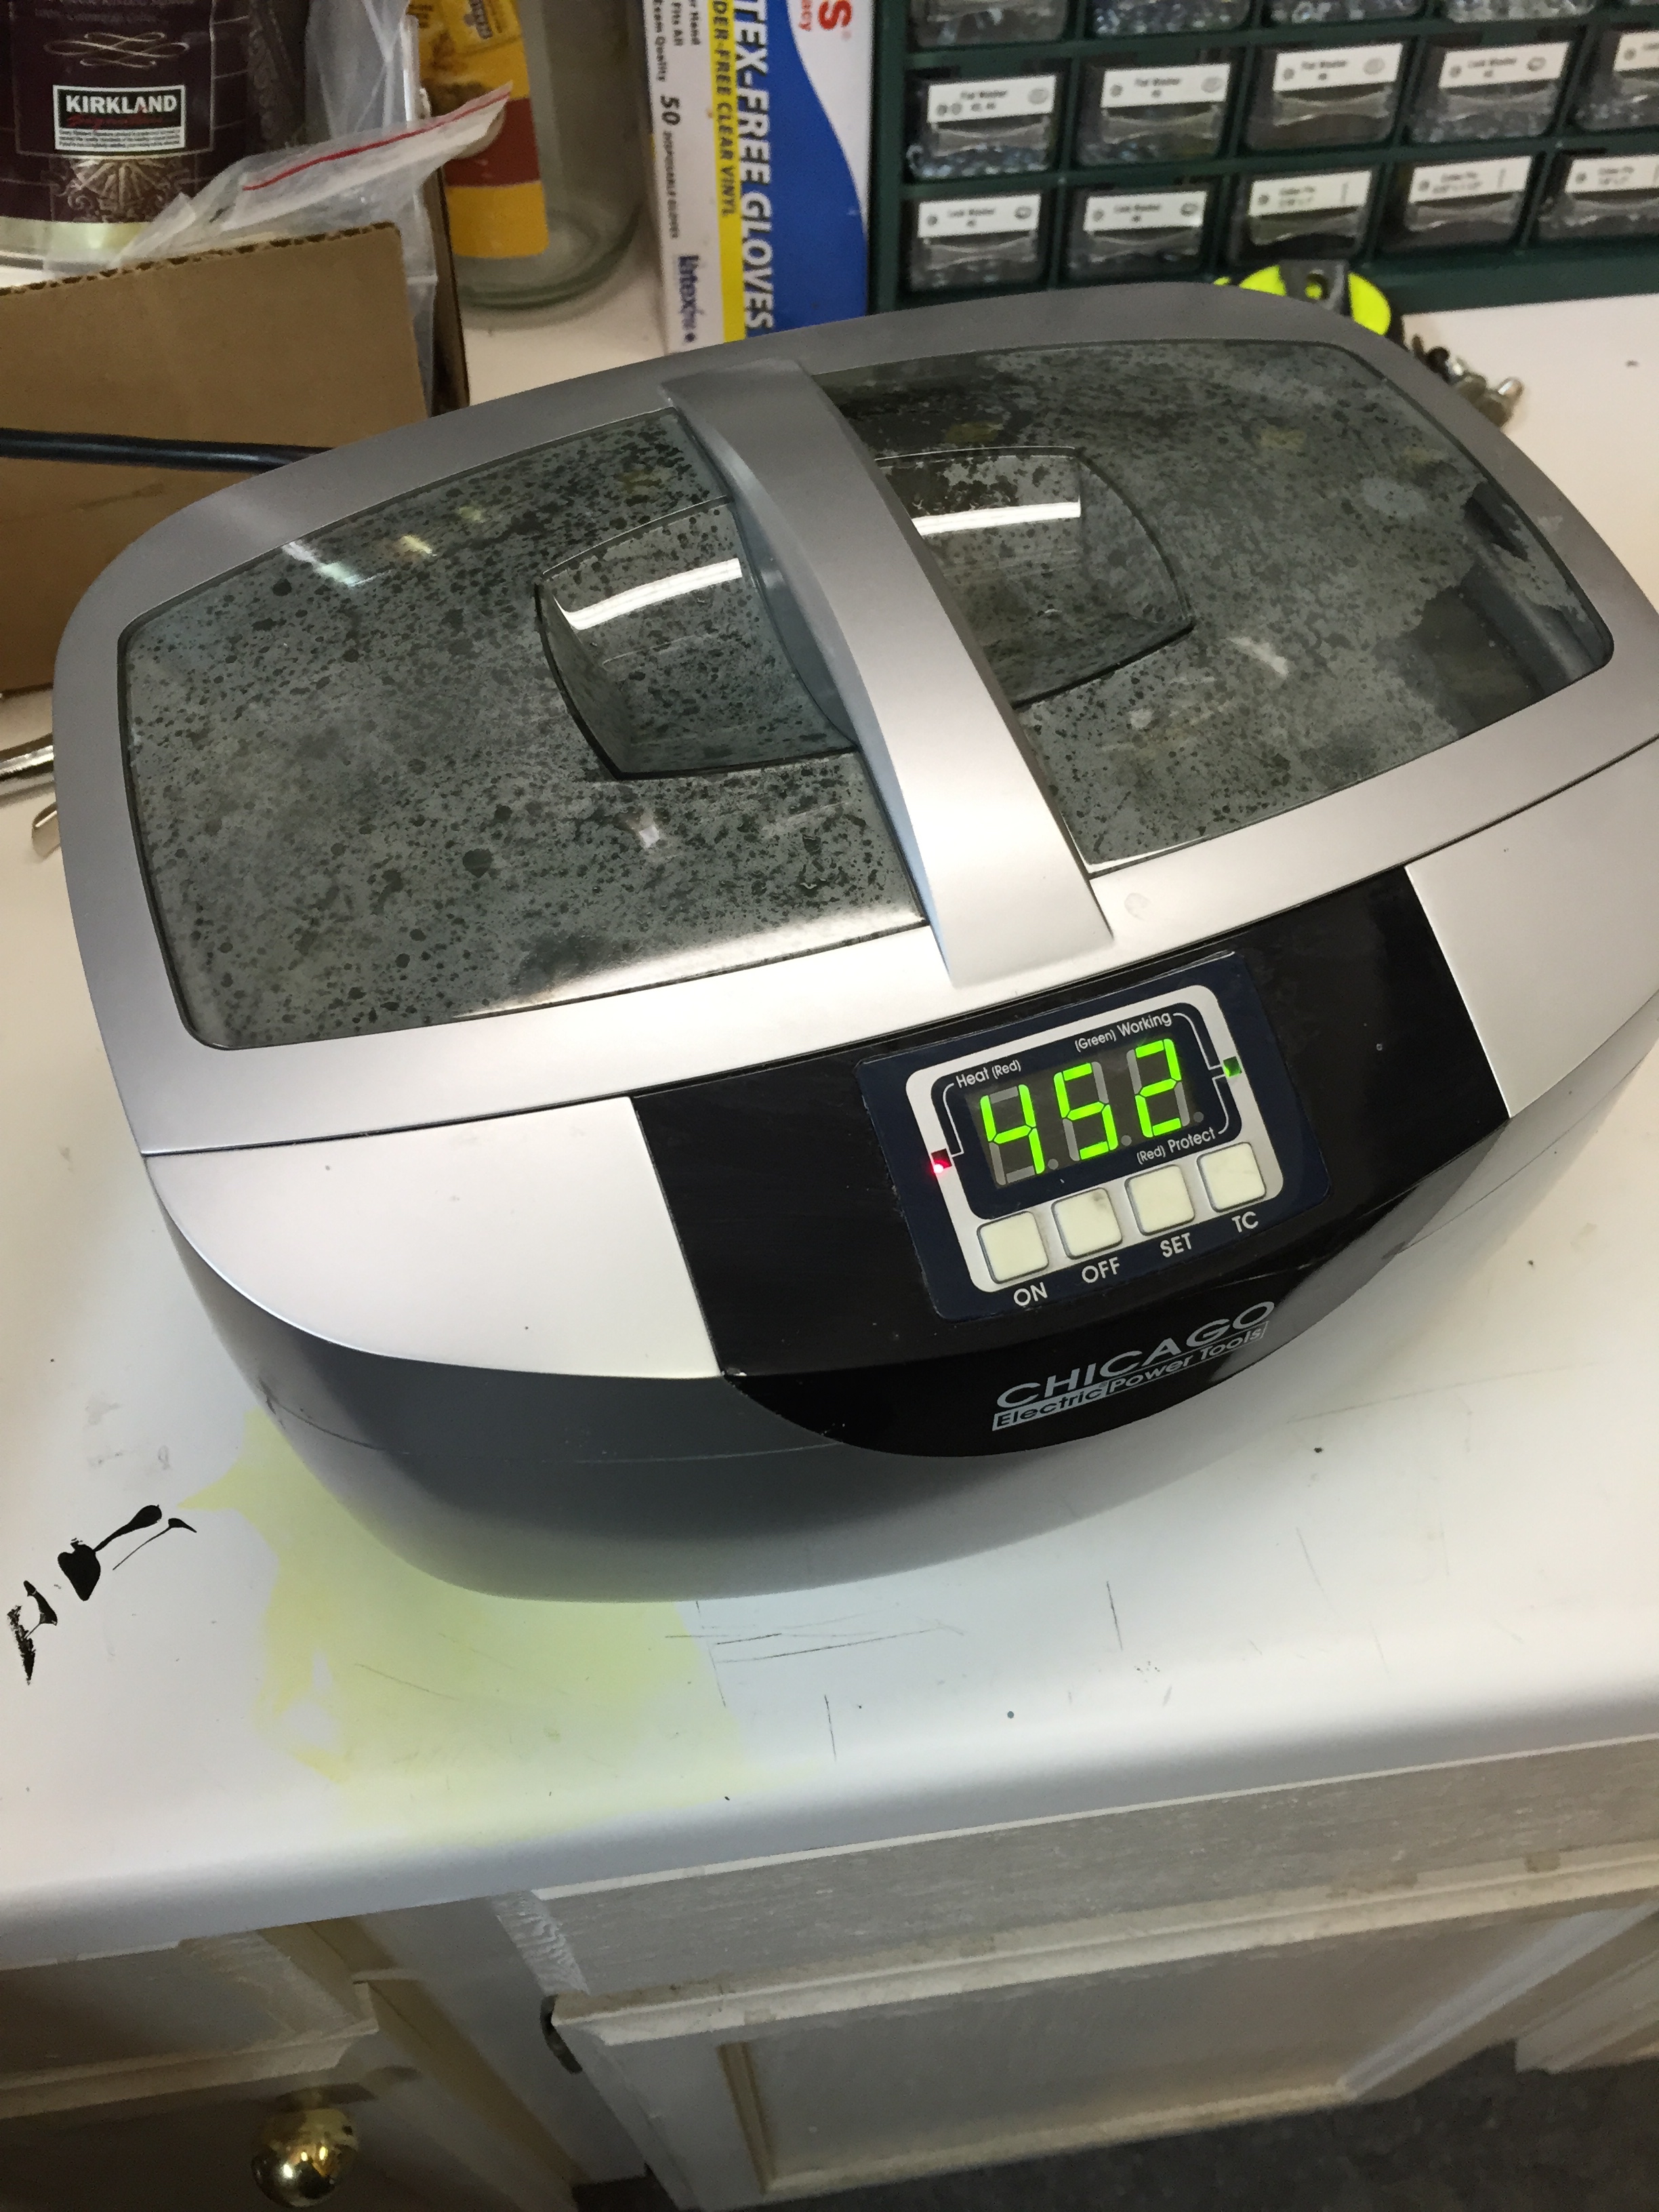
I’ve been using a Harbor Freight sonic cleaner to clean some of the metal and plastic parts before putting them in the polisher. It works pretty good on some things, and not so well on others. Also, I’ve tried a few different cleaners in it, but haven’t found a really good one yet. I’ve tried spic-n-span powder, mean green, oxiclean, etc. I may buy some purpose made stuff for it to see how it does.
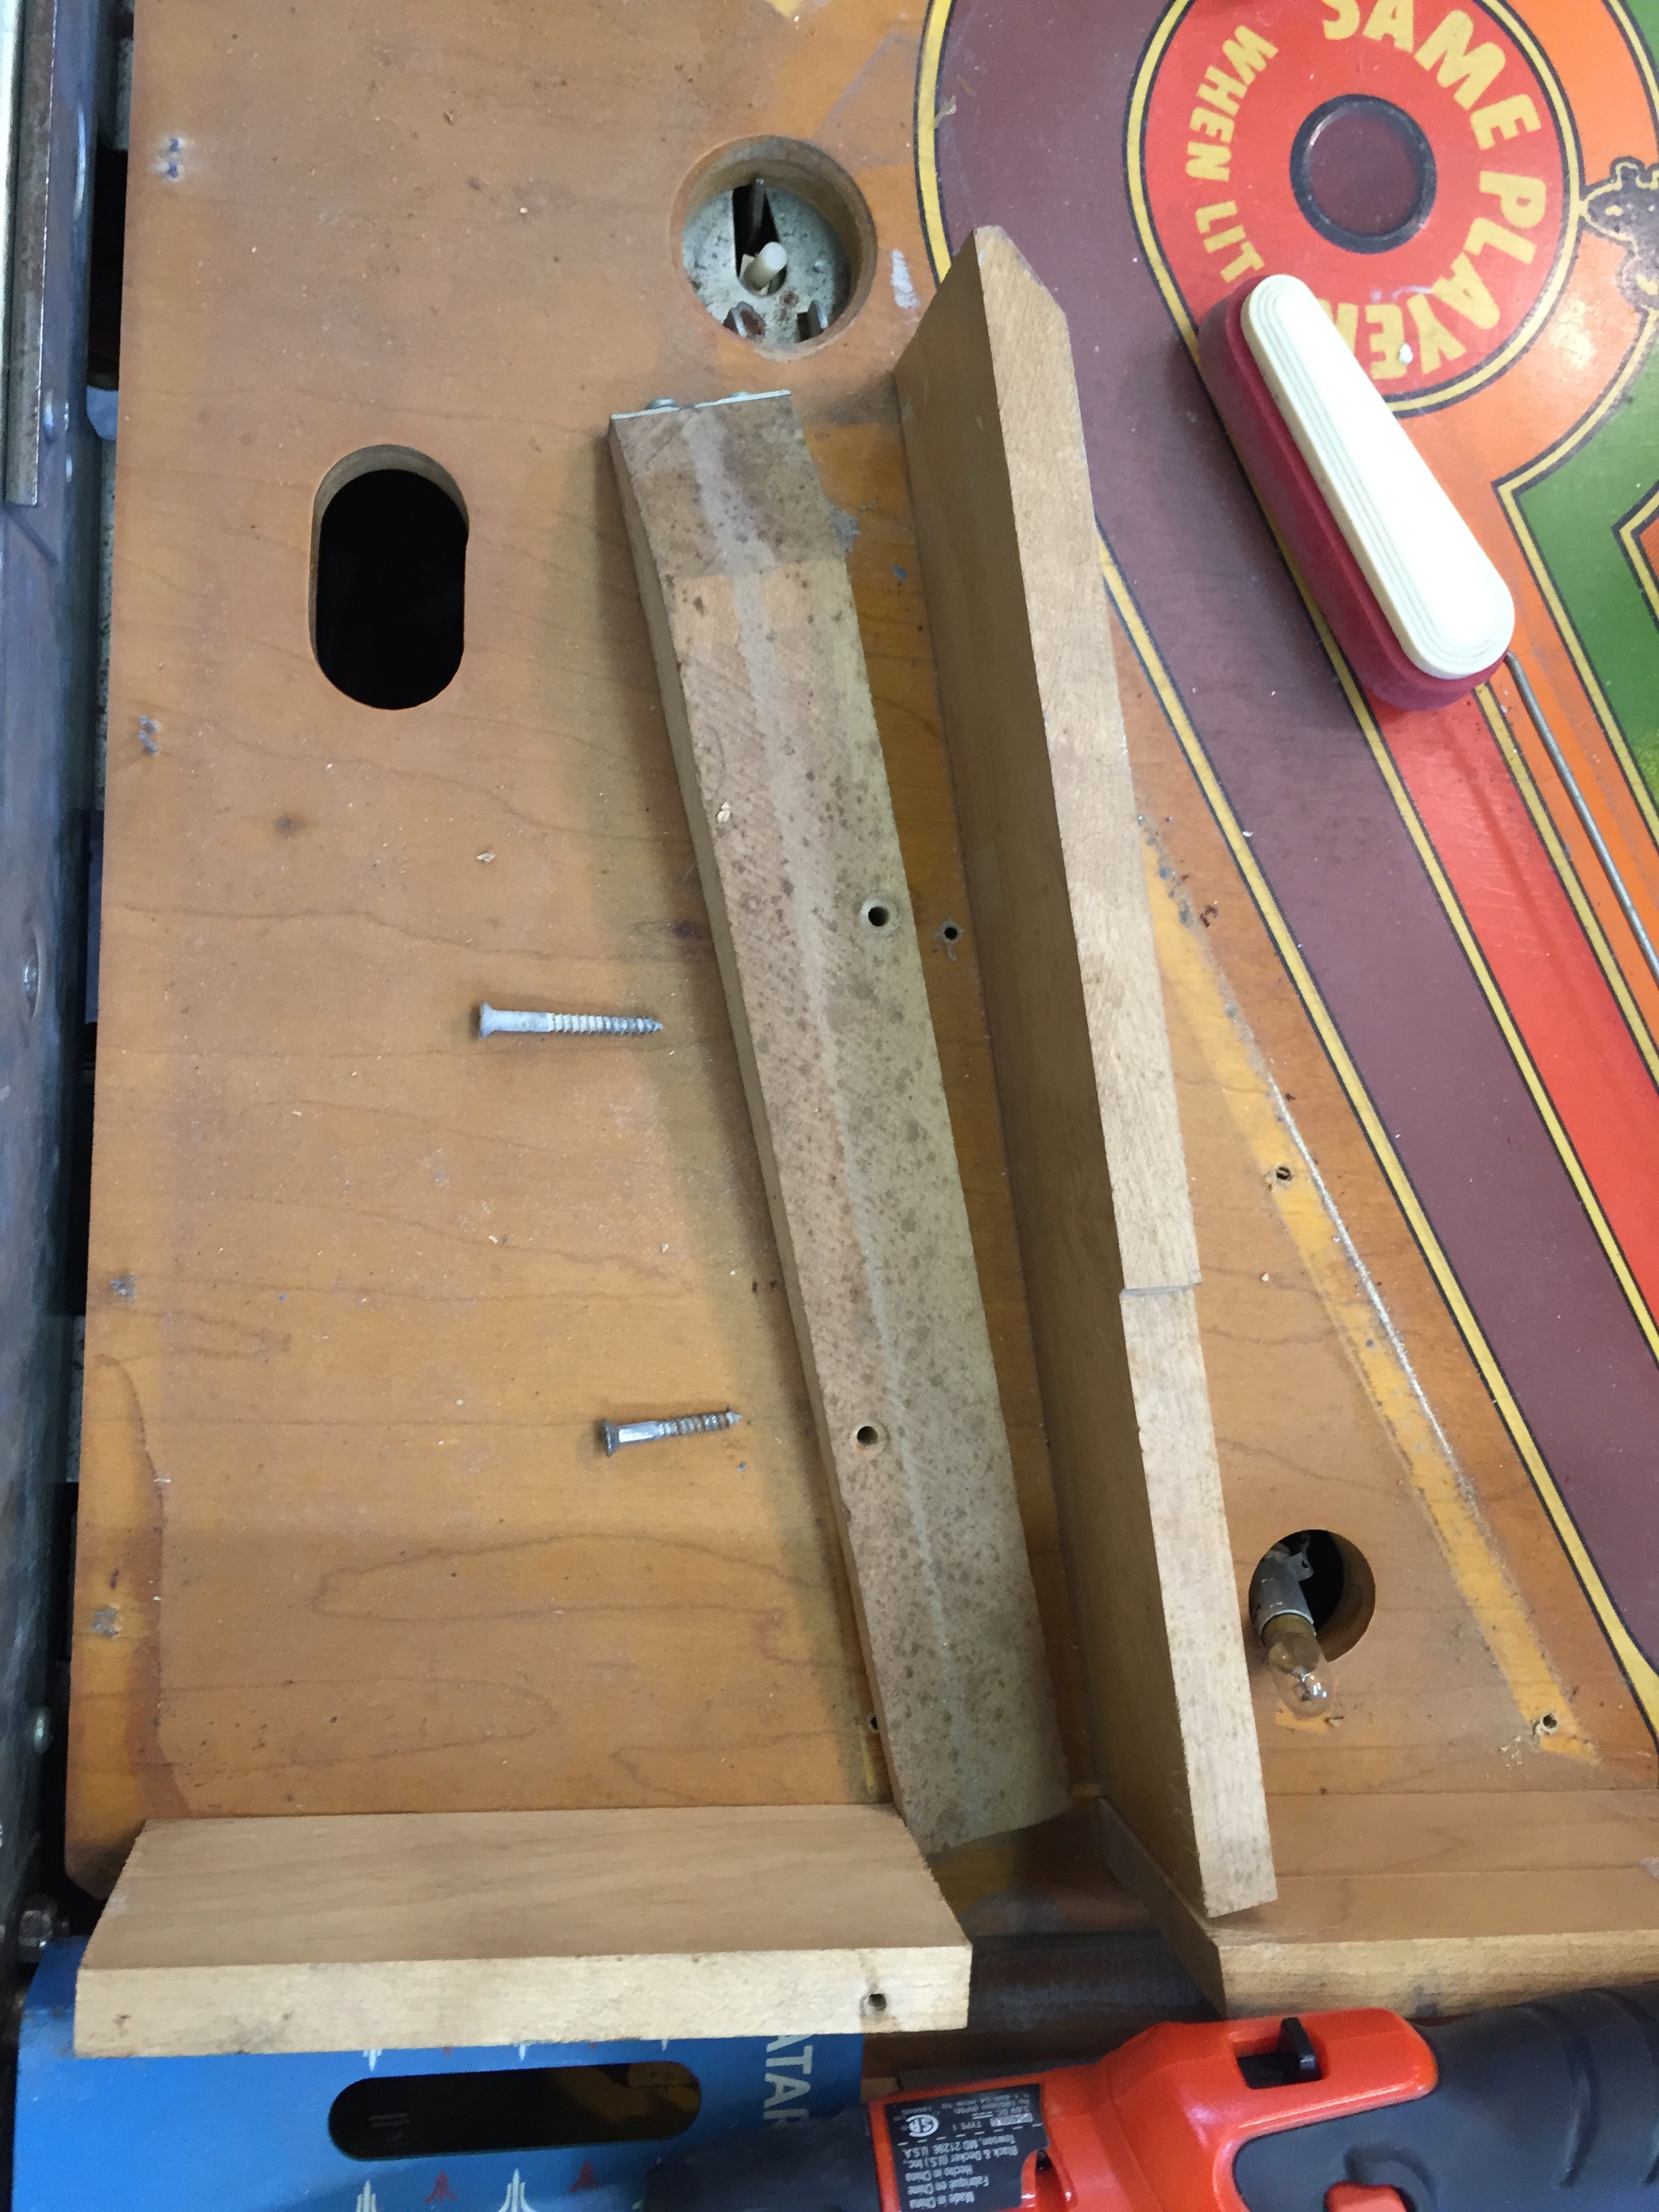
Populating the Playfield
All the posts, guides, wireforms, etc must go back on the playfield. Also, the wood sides and ball shooter lane side. The original sides were stapled on from the bottom of the playfield. I decided to use wood screws to attach them as that would hold better, look cleaner, make them easier to remove in future, and quite frankly is just better in my opinion. 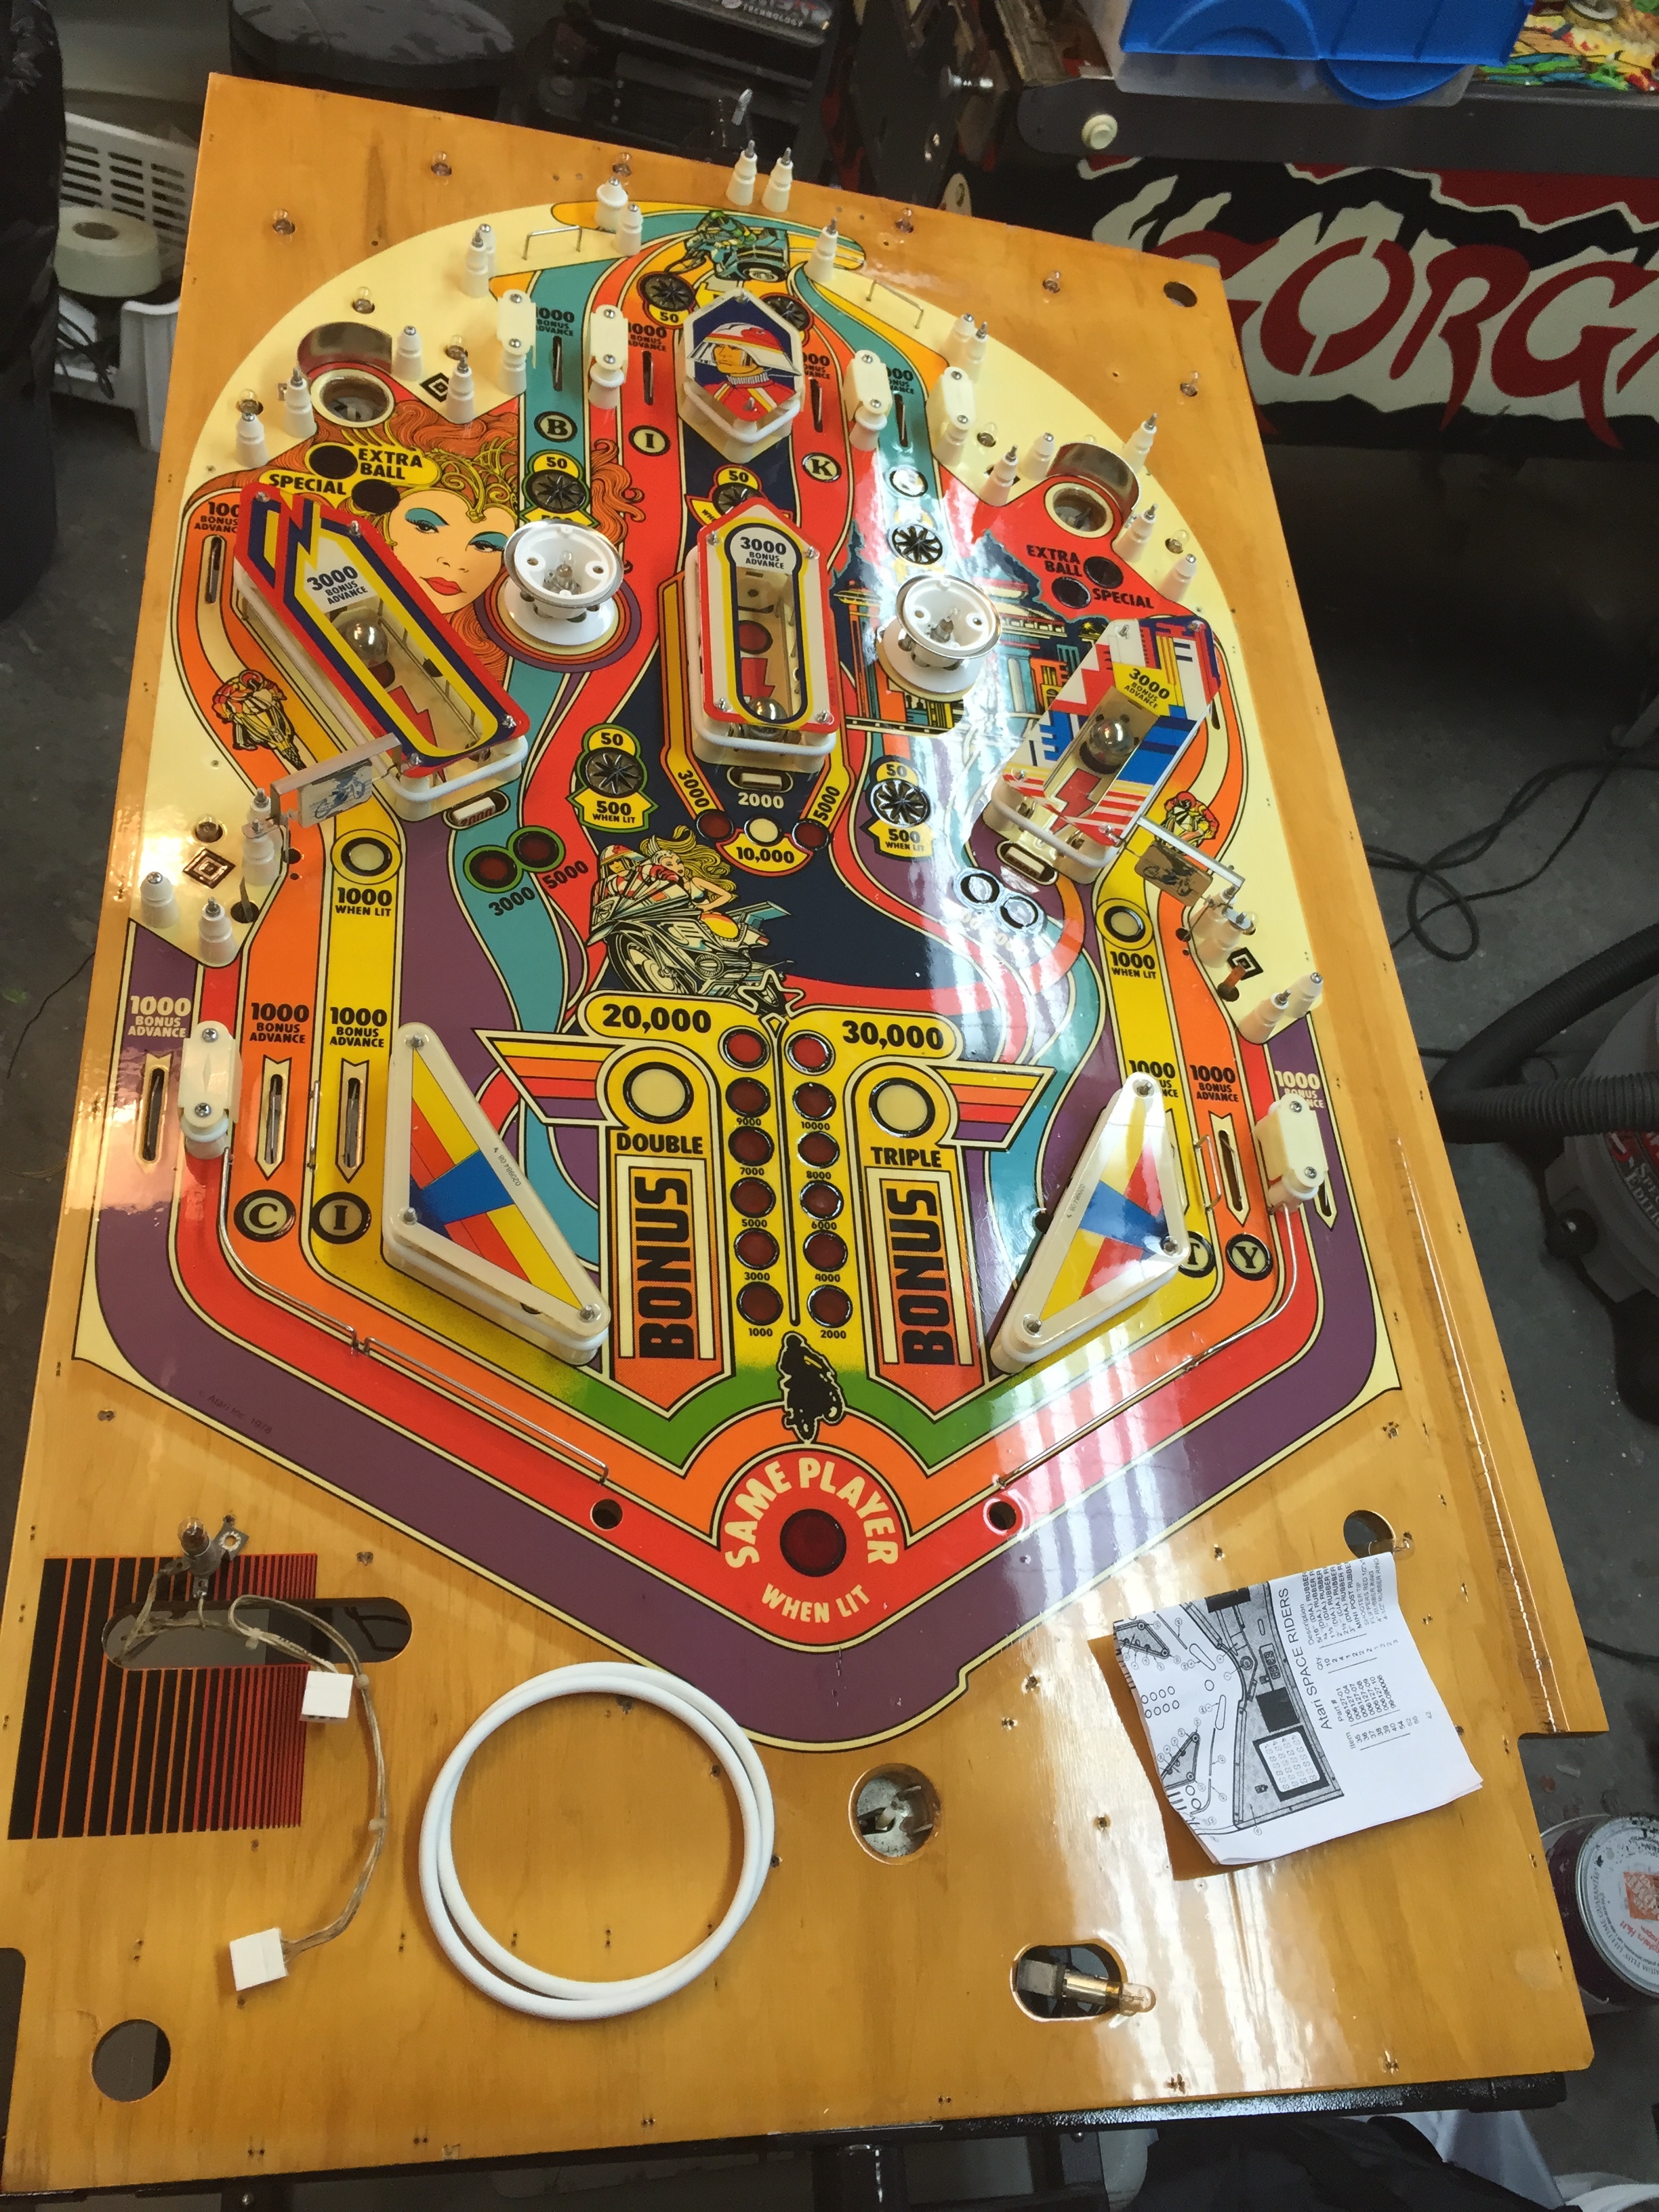
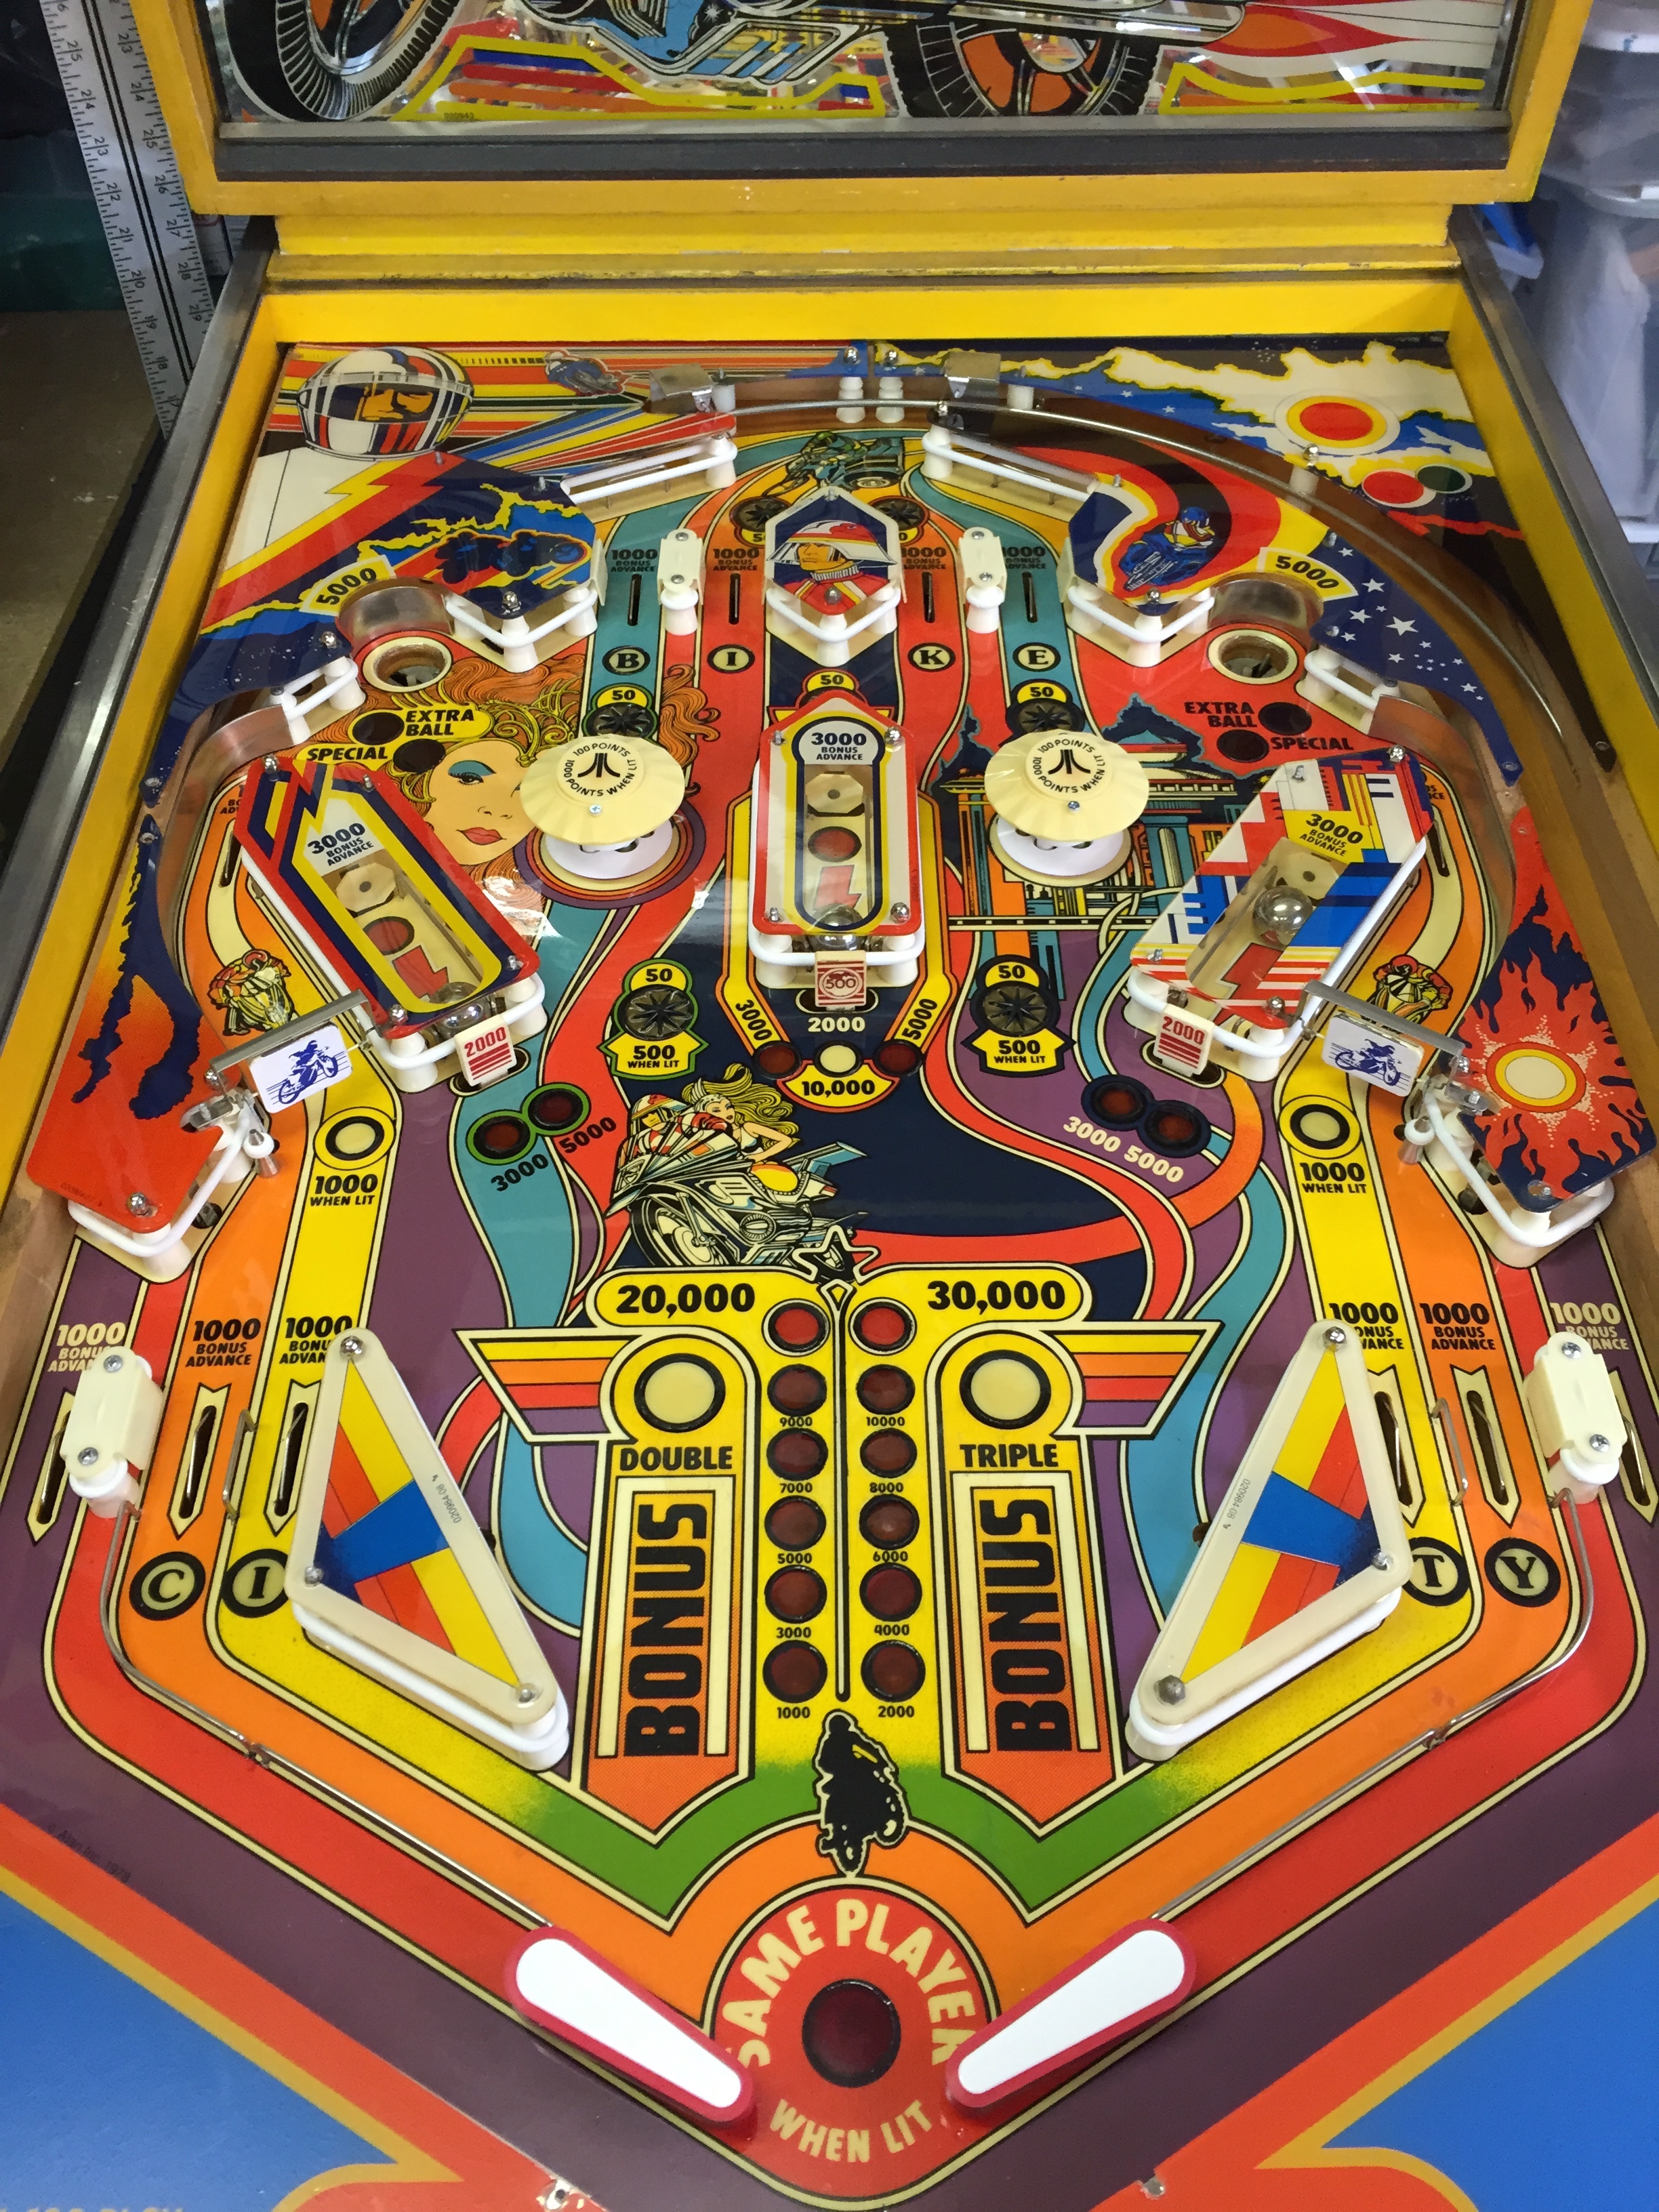
There are still quite a number of switches that need adjusting. I also have to replace some old light sockets that I just cannot get to be consistent. But, for the most part, the game is working pretty well. My clear coat didn’t level out all of my inserts as I had hoped it would. I think I learned some lessons for future clear coats. I went back and read Vid’s guides on Pinside.com, and he recommends letting the clear set up, and then wet sanding take flatten the areas around the sunken inserts, and then applying clear in the inserts themselves with an eye dropper, then shooting the next layer of clear. I had tried to dropper in some clear on a few of the worst inserts, but the problem I had was that it was just leaking down the sides of the insert and dripping off the bottom of the playfield, which meant it really did no good. Subsequent layers of clear did build them up enough to really improve the playfield, but not to totally get rid of some low spots. I may go back and use a technique I’ve seen in the top videos where shaggy uses super glue to fill in these little areas. I’ll update how that works if I decide to do it. At the moment it’s not really necessary as the low spots are not low enough to affect game play.
Oh, another lesson I learned – don’t spray clear over star rollovers without something in them to keep the clear from going down inside them. It didn’t look like it was going to be a problem, but, after 3 coats of clear, the openings in them were all smaller and the stars would fit, but would not freely move up and down within them. What a pain! I used a dremel with an engraving bit to slowly and carefully grind out the clear from the center and each star point. Took about two hours. Man, I can tell you I won’t make that mistake again!
Nice Work! I’m not a big fan of replacing or new art work… I’d rather see a damaged original plastic, backglass, or cabinet than to see something fully ‘replaced’ instead of ‘restored’. I haven’t done any games in a couple of years but may again…
I realize this is an old post, but I have a Space Riders machine that might be good for spare parts, if you are interested. I am in south Georgia.
Do you still have the space riders machine for parts?
I have an Atari “Space Riders” pinball machine for sell. Good condition. Cosmetic is good and so is the playing field. It works.
hi, I have to rebuild the box and the head of the “space riders” because I don’t have them.
I ask a big favor if you can give me the body and head measurements.
thank you so much
Hi, I have the Space Riders at a friends shop. I’d be glad to measure it for you, but it may be a few weeks before I will be able to.
Pete
I only read now, thanks
A guy near me has a Space Rider in pretty good condition, but not working, for sale for $400. Did your Space Rider become a keeper game or did it get passed along a few years later?
Hi, I did keep the Space Riders. I love the game. It’s very unique compared to my other machines and I like the variety. It has some fun shots. Does take a lot of maintenance.
Fantastic. I have Space Riders as well. I make it a little quicker by jacking the back legs up 2 inches. I’m just fixing little things as I go. Parts are hard to come by.