Here’s how to rebuild a Williams WPC era flipper. Start with a flipper rebuild kit from one of the retailers (marco, pbr, MAD, etc).
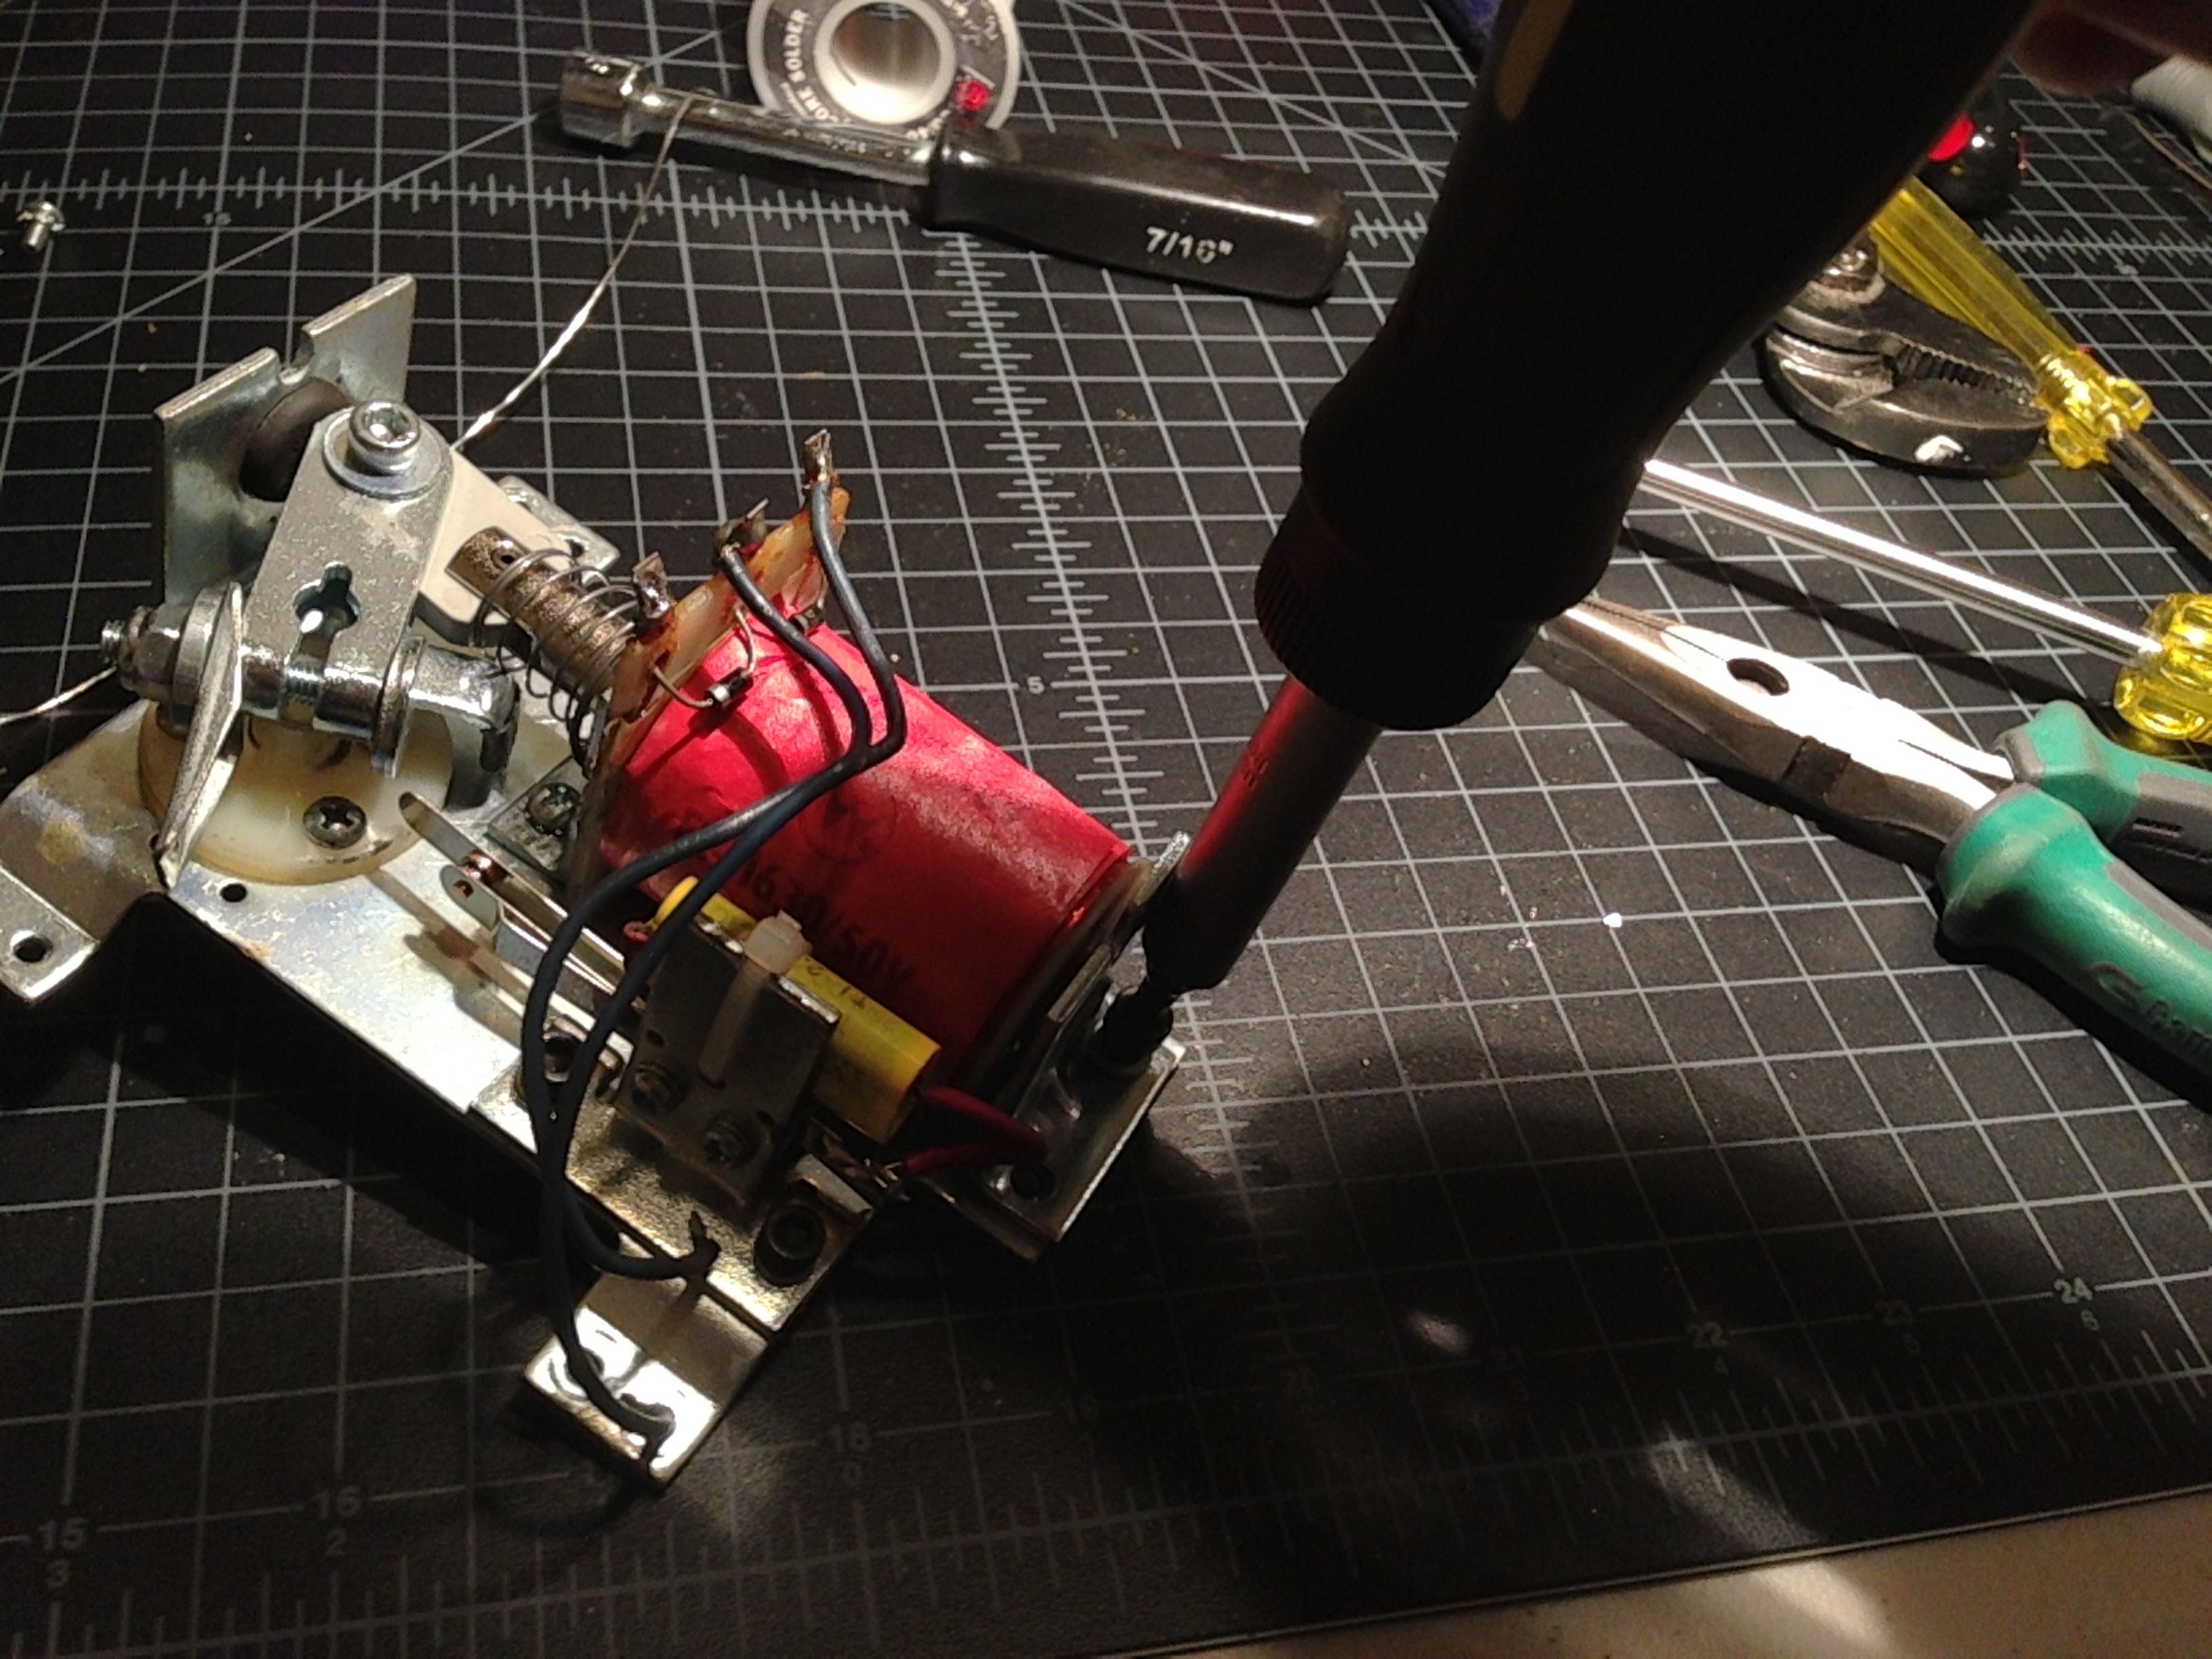
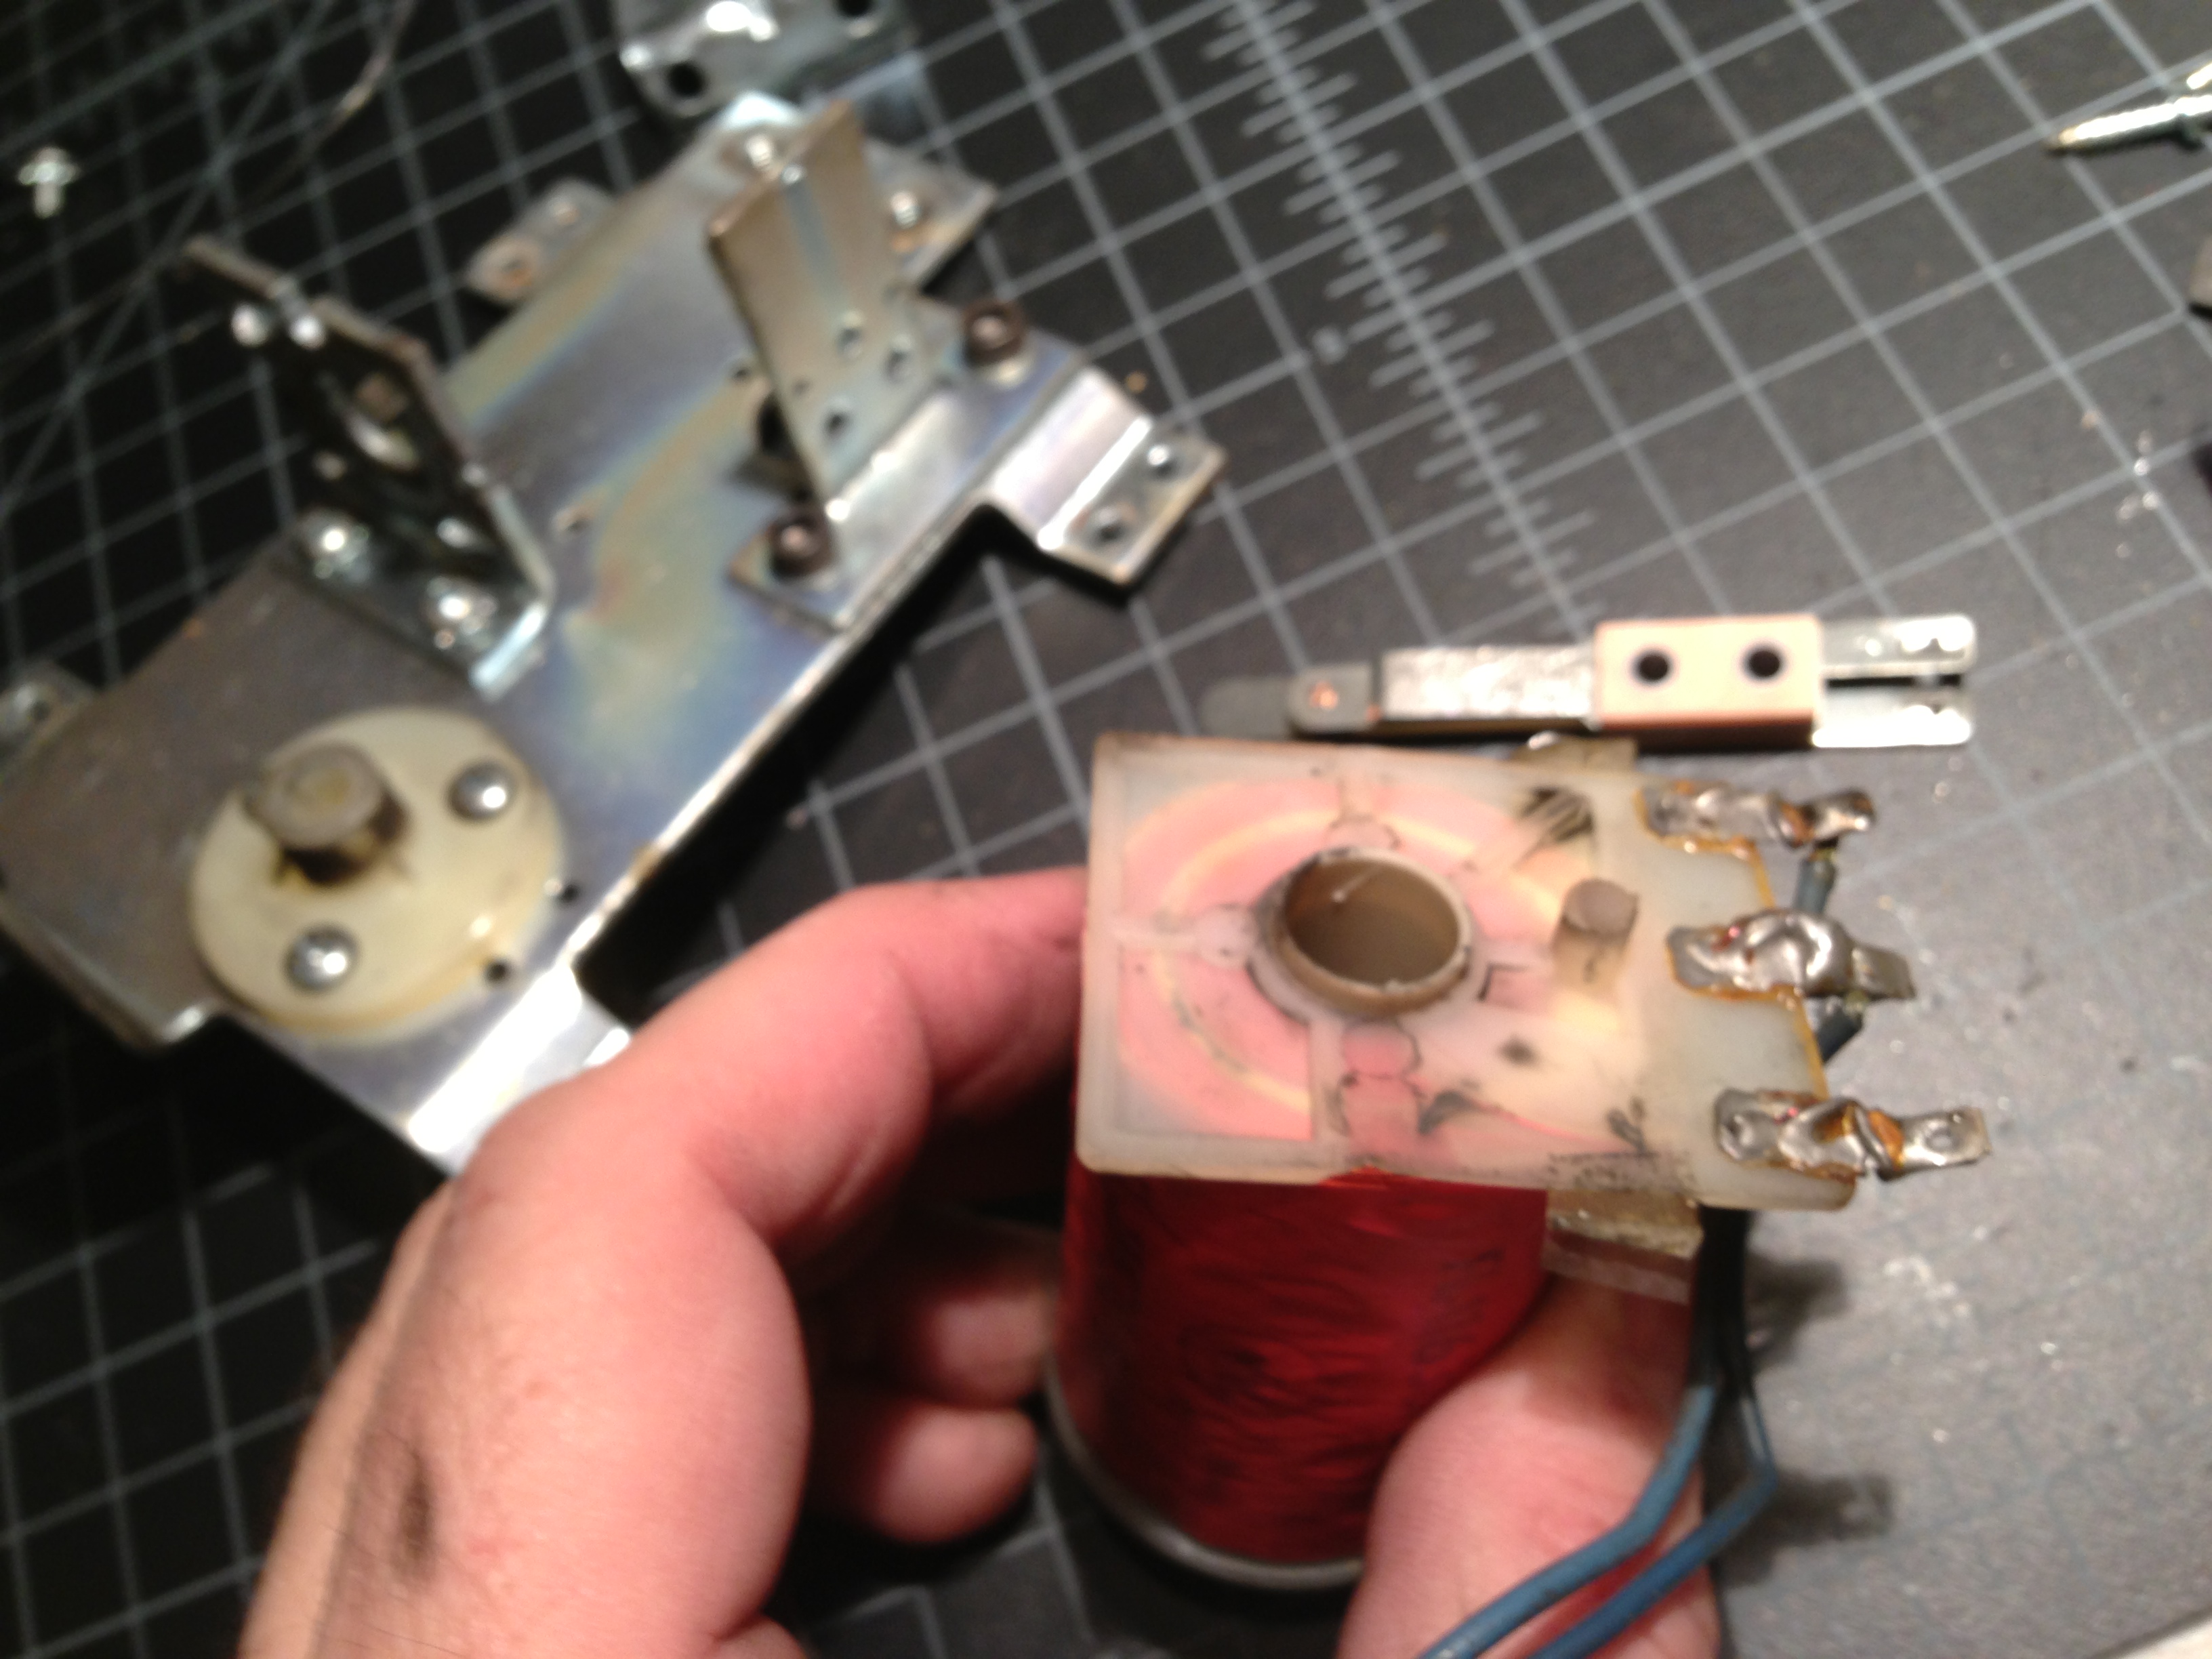
Step 1) Desolder the 2 wires to each flipper coil. The wires have already been removed in this picture, but you want to remove the wires from the game to the flipper, they will be on the 2 outside lugs of the coil. Remove the screws and loosen the bolt that holds the flipper itself on, and then remove the assembly from the game.
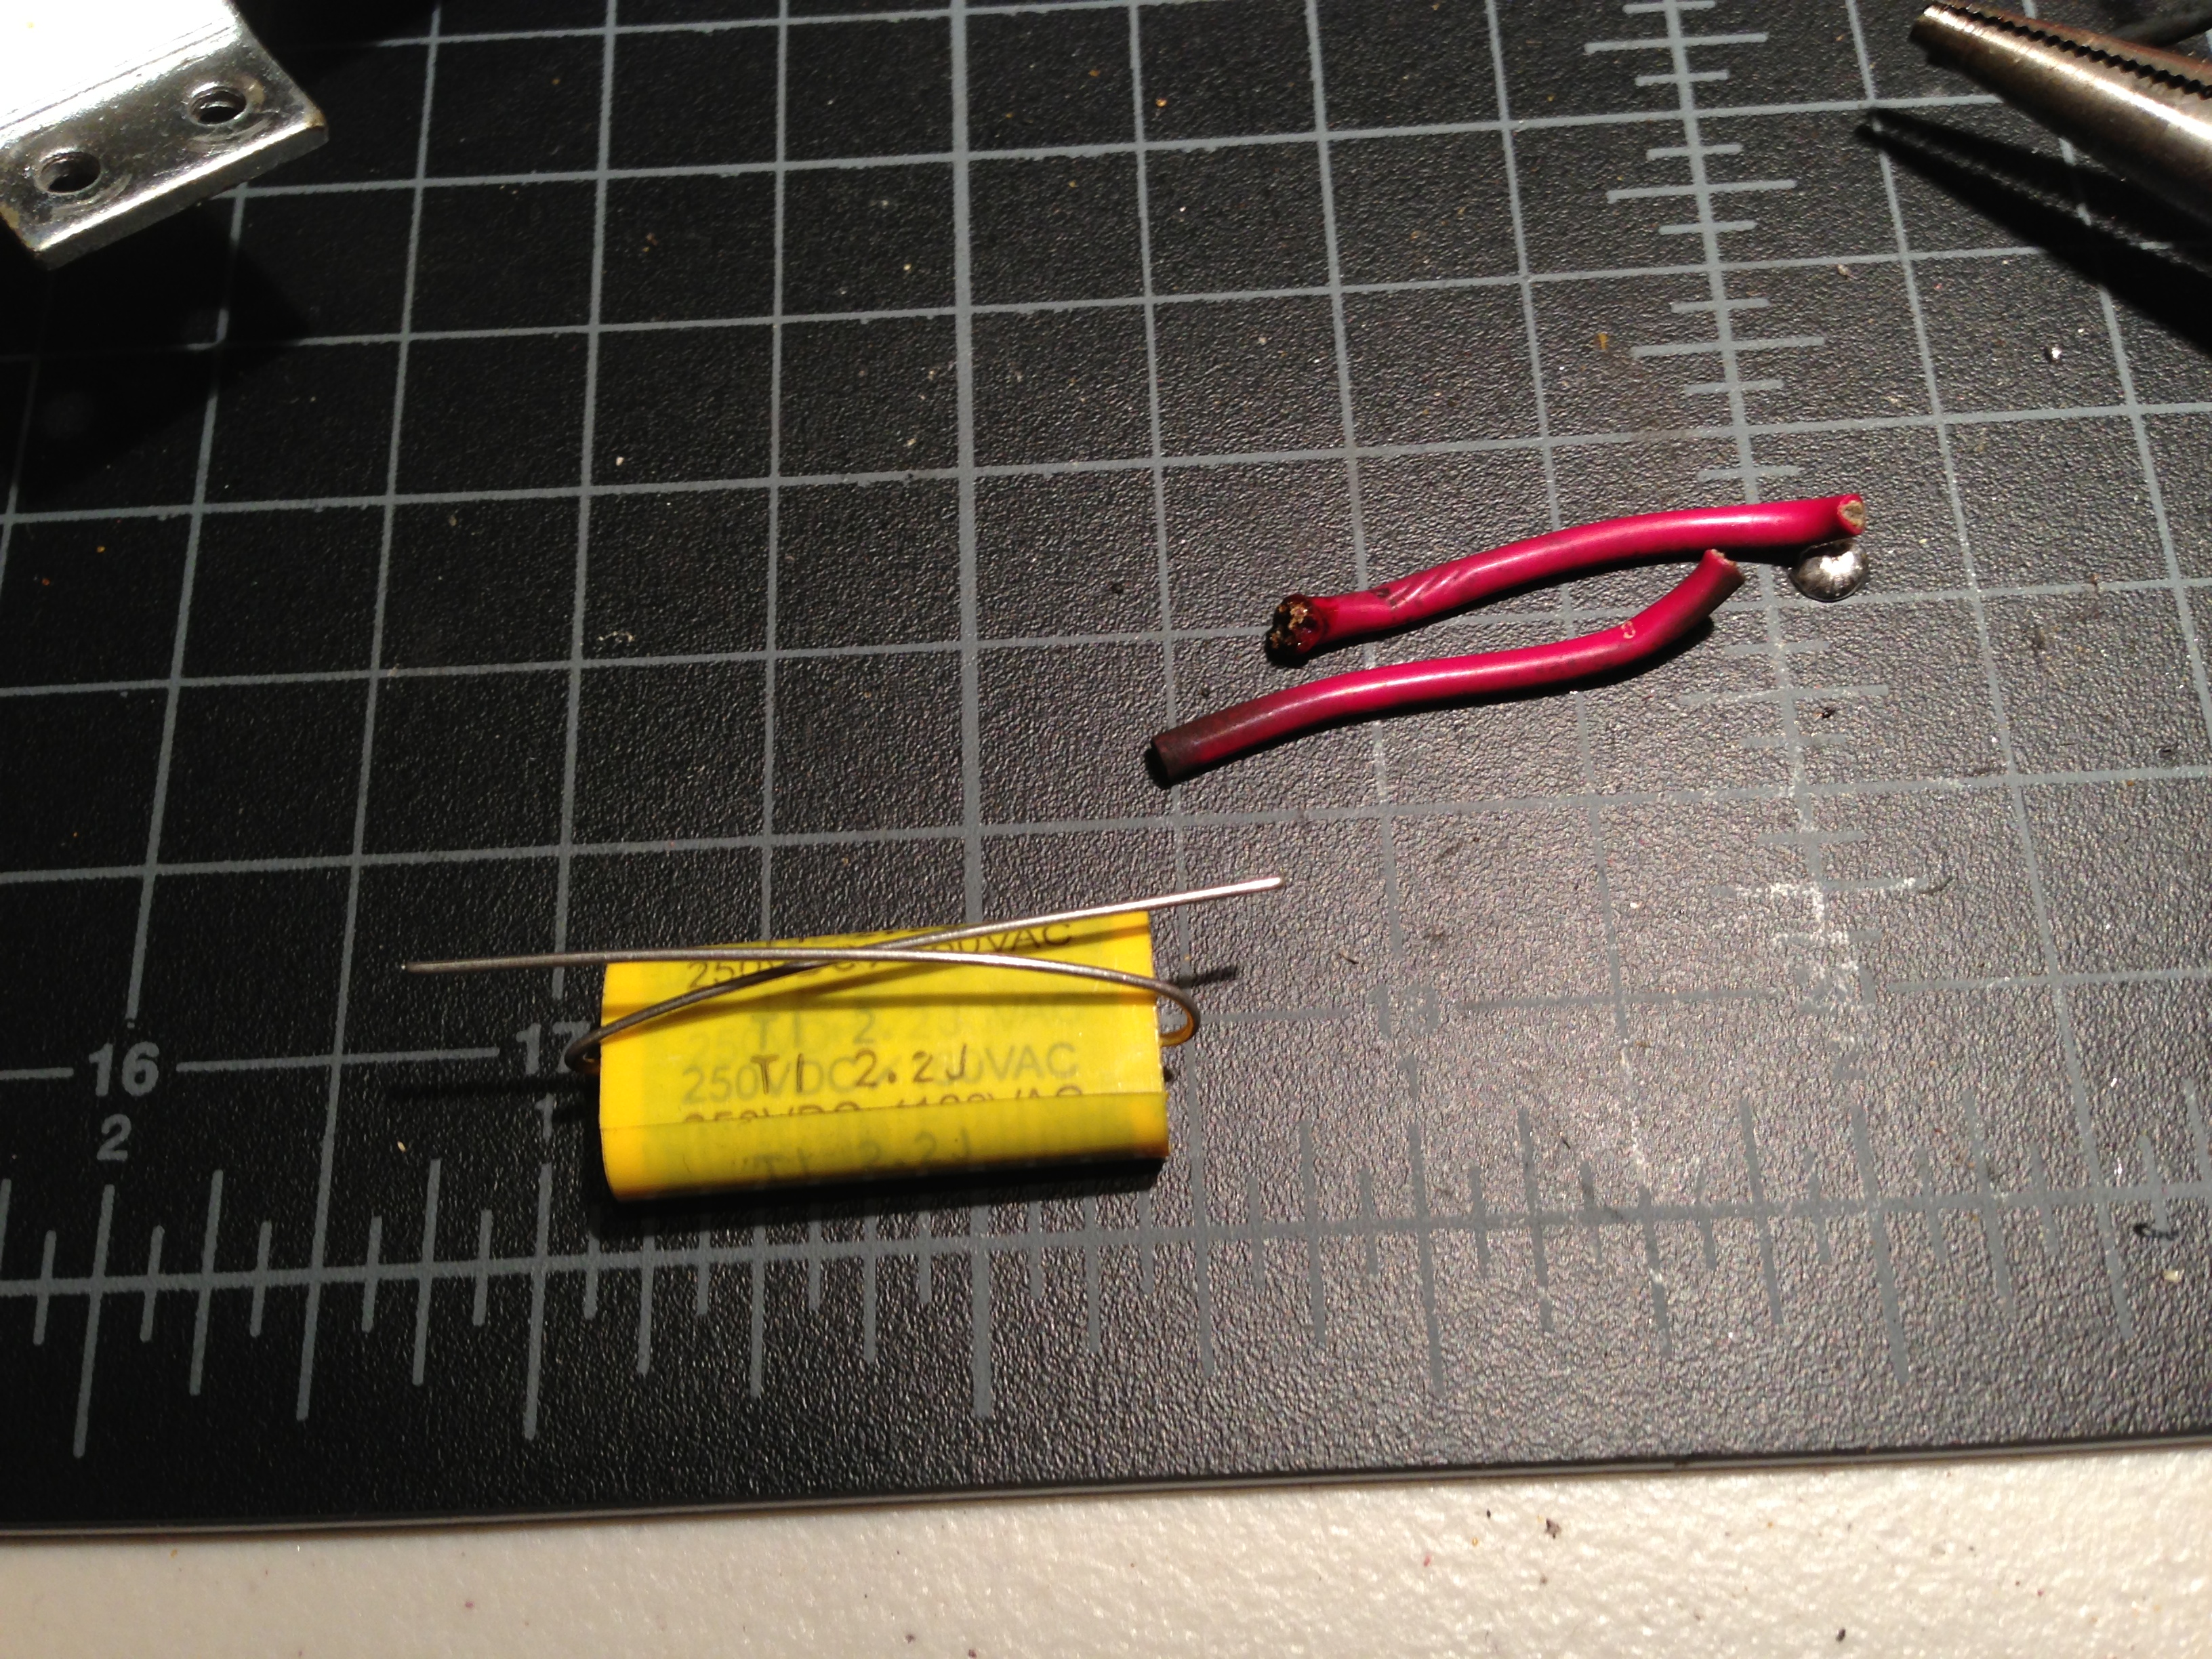
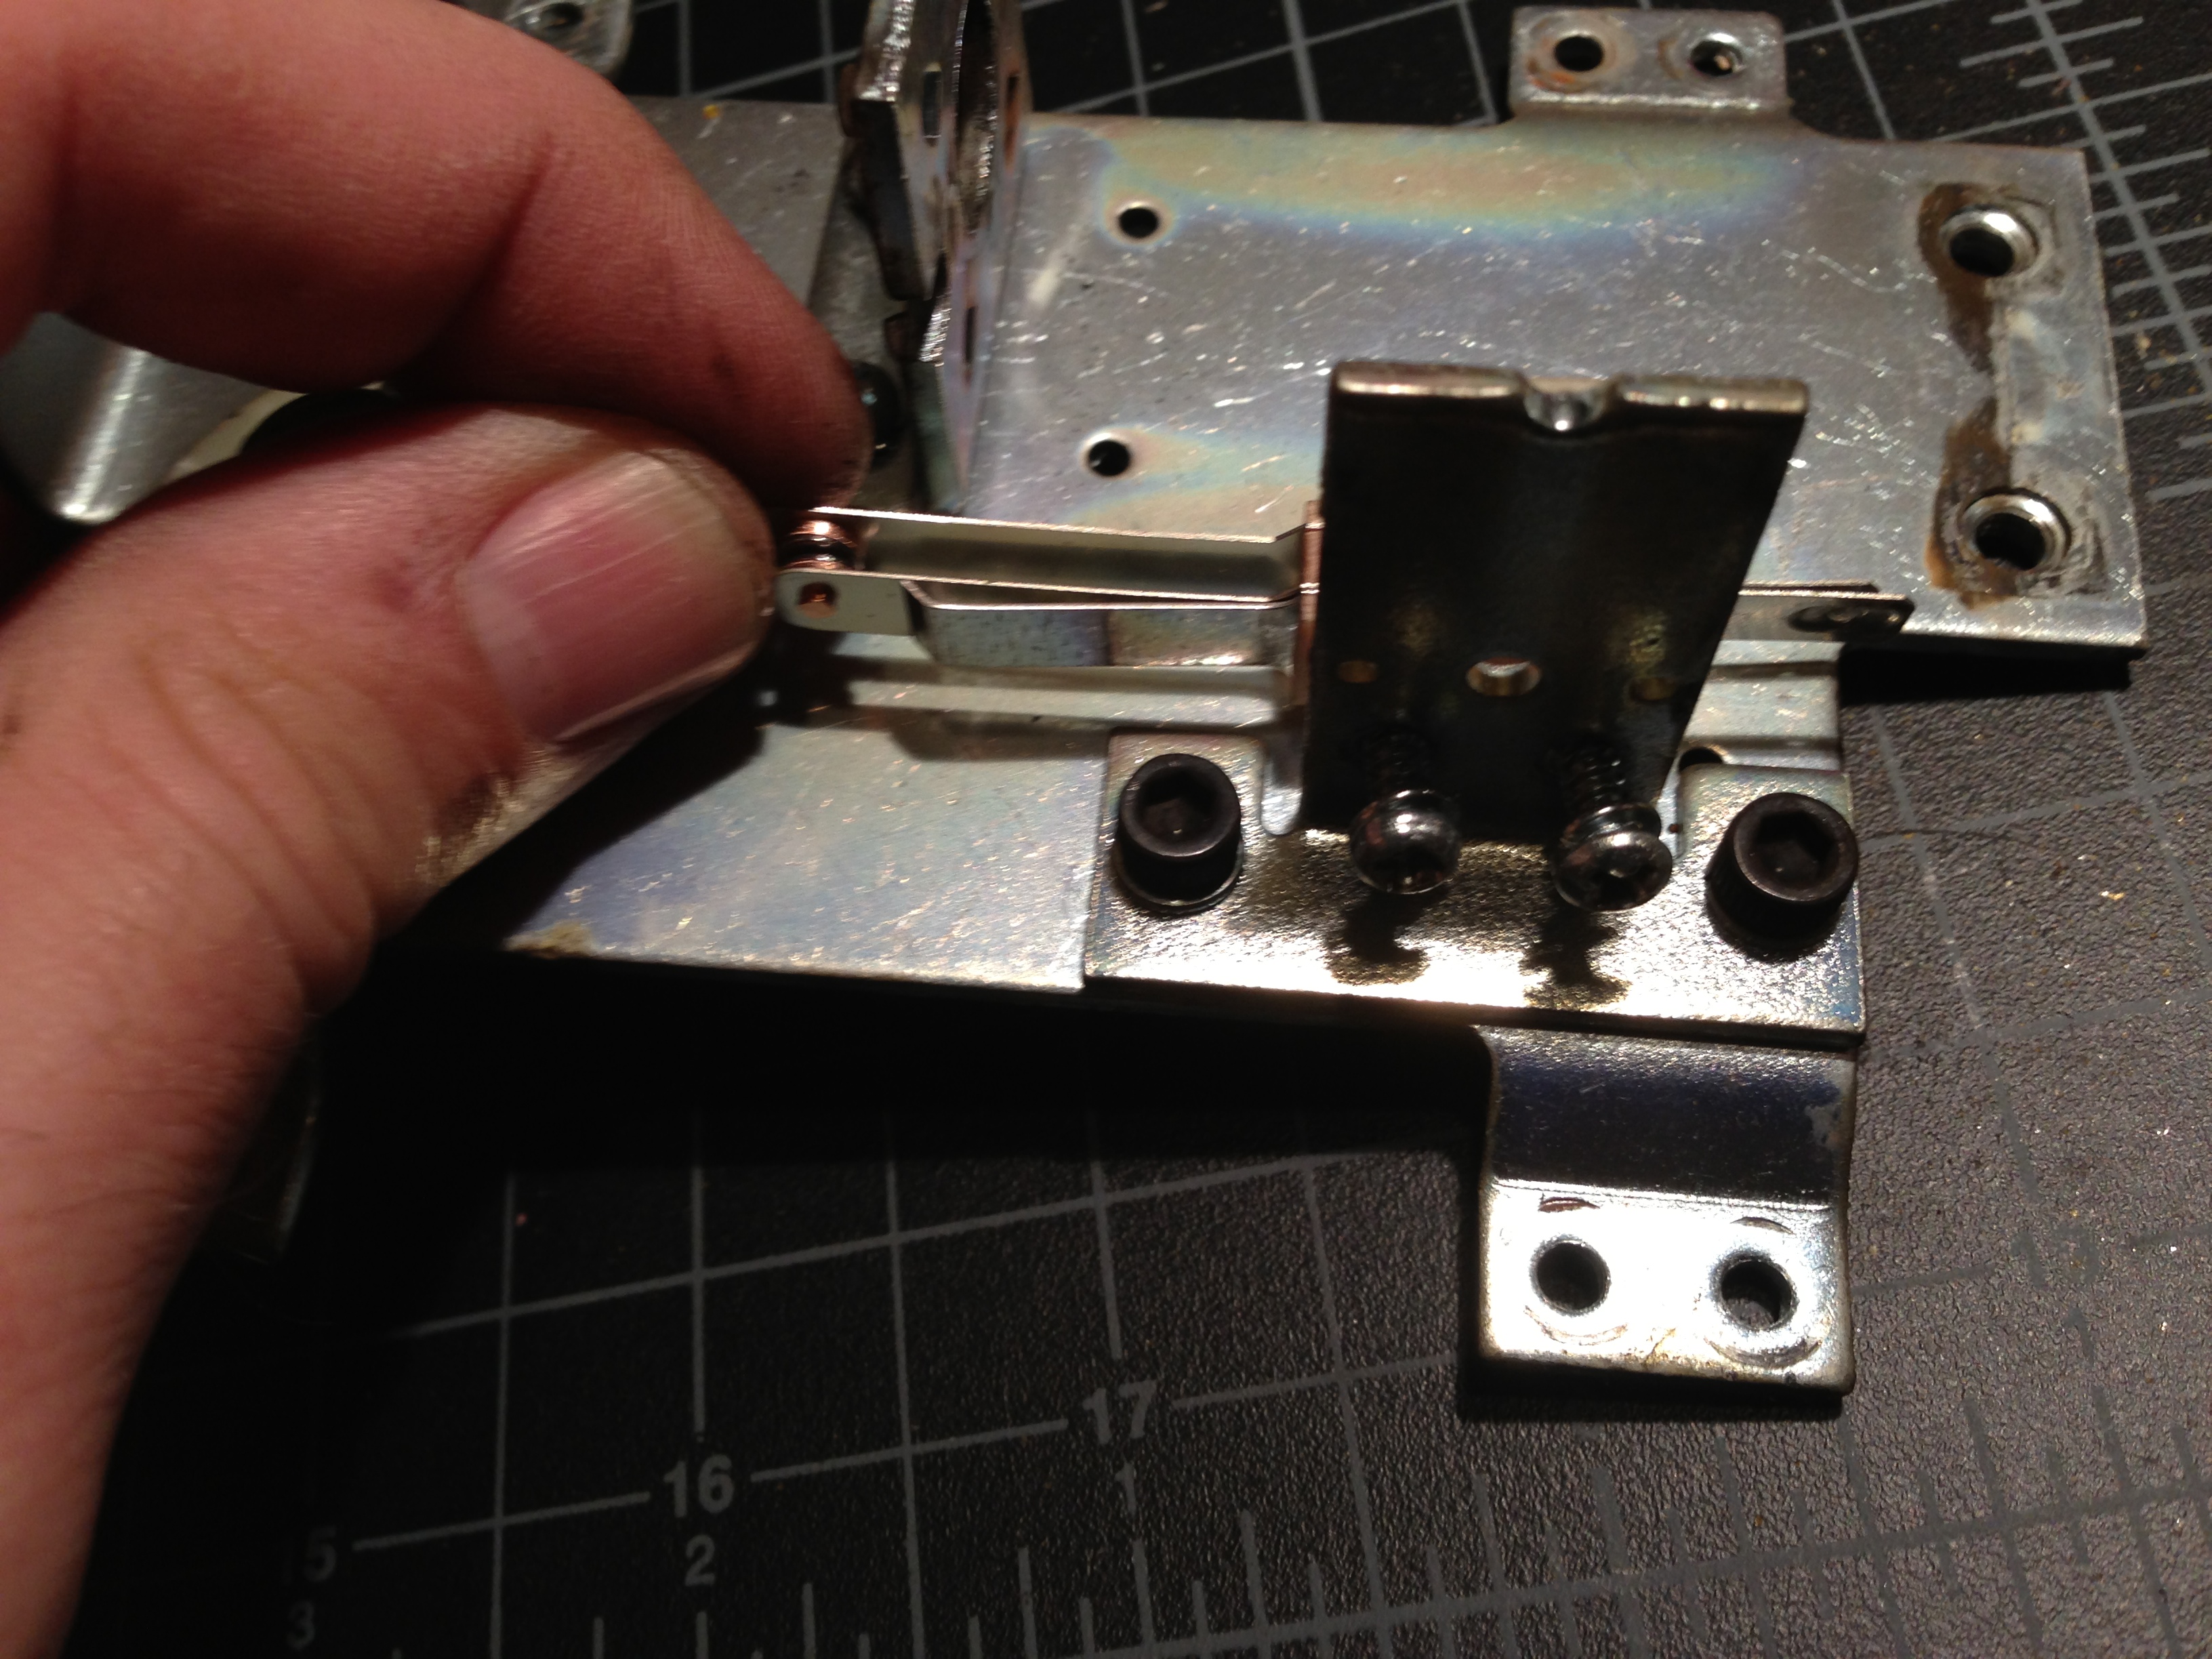
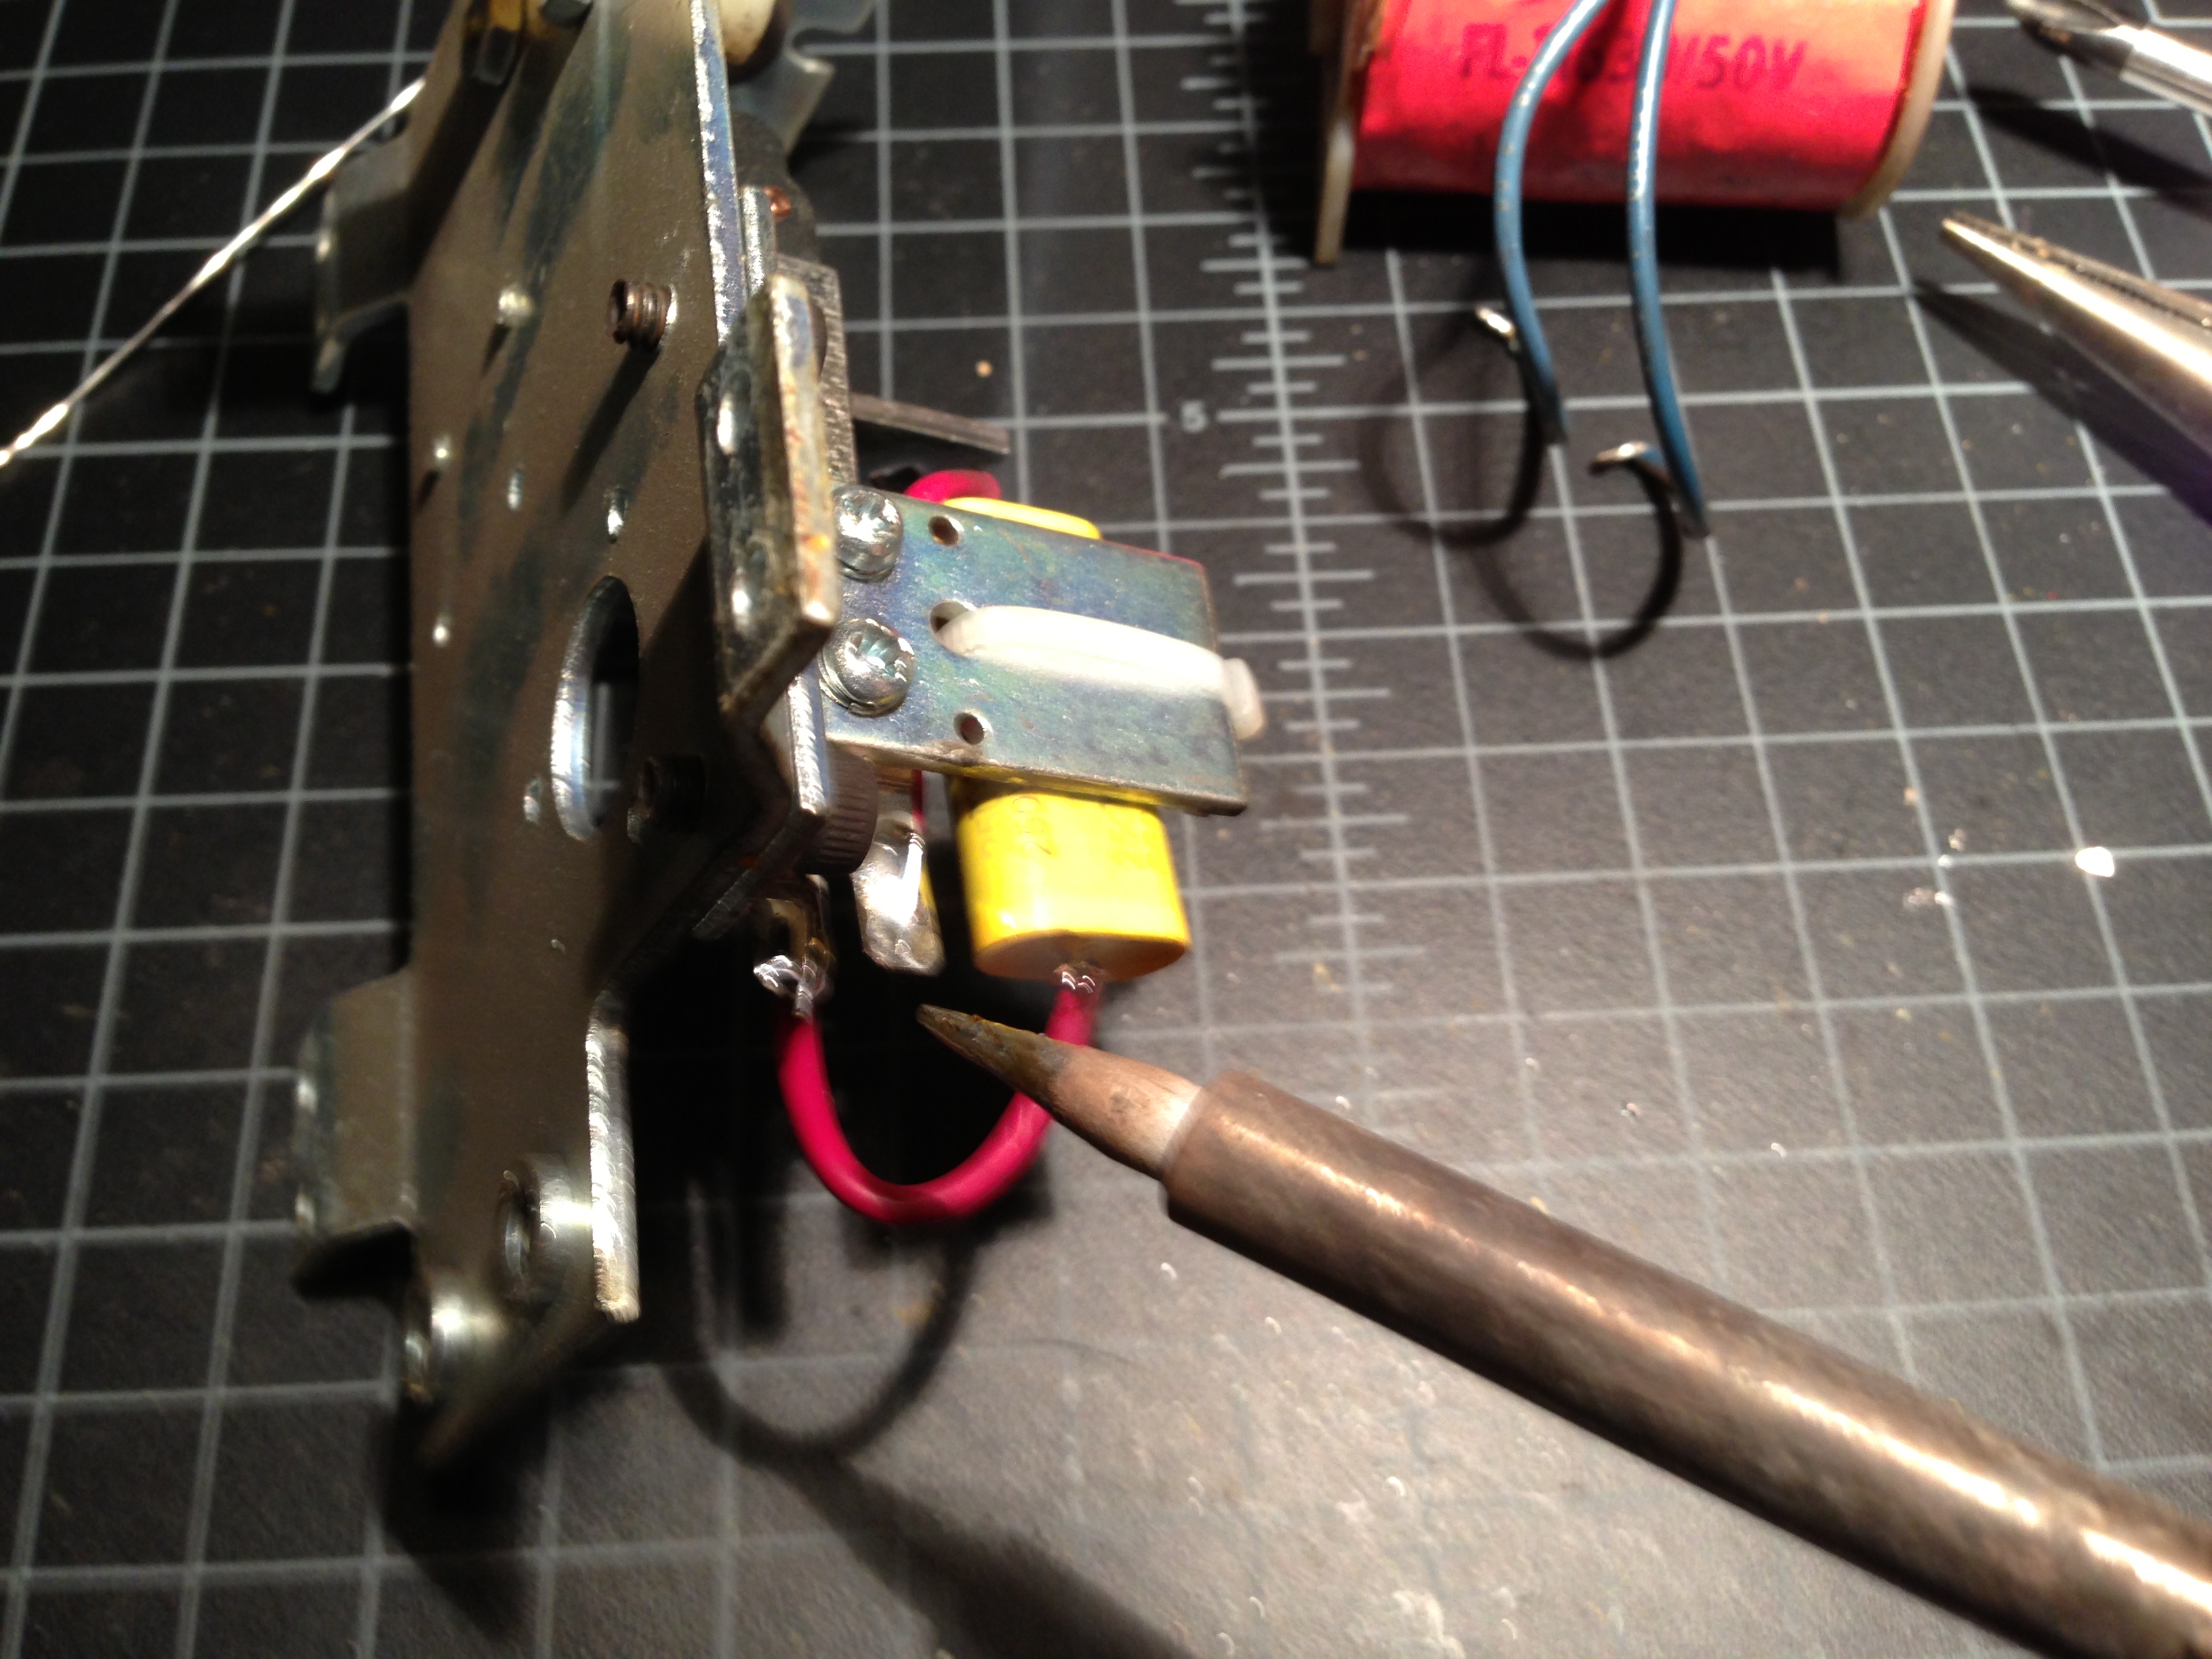
Step 2) Remove the coil stop, slide the coil back from the plunger, remove the plunger, the spring, and desolder the coil wires from the end-of-stroke switch.
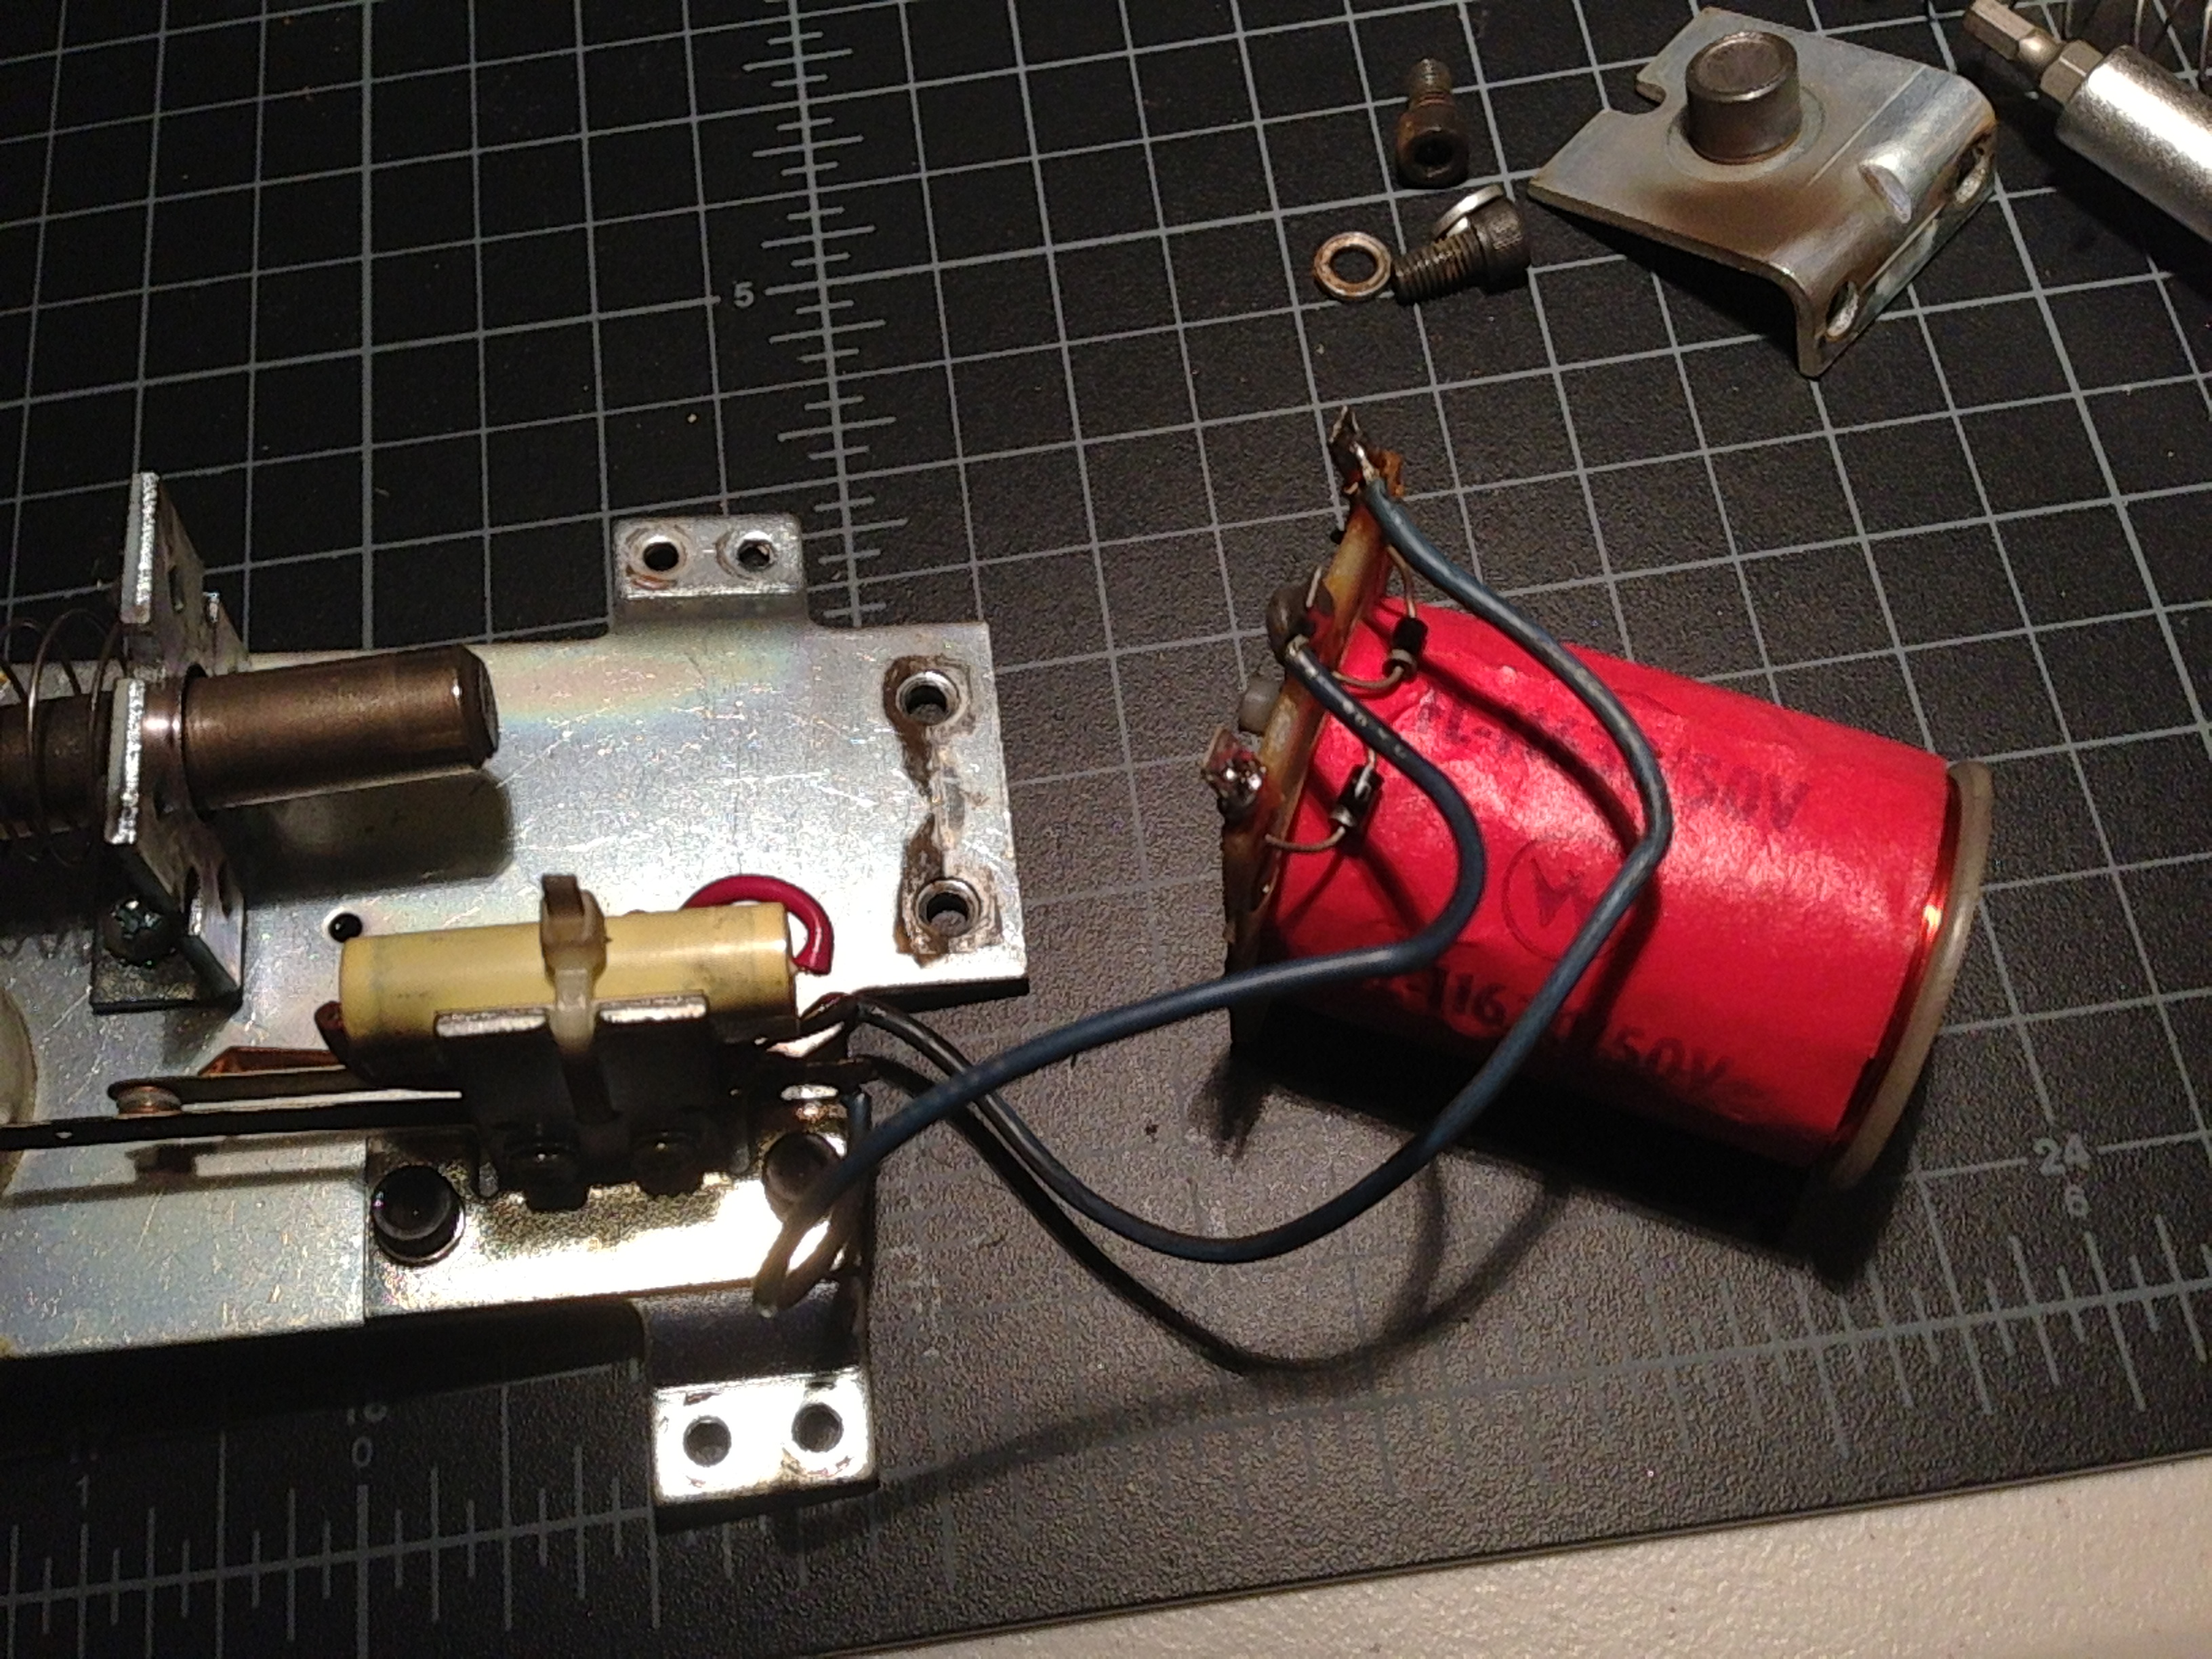
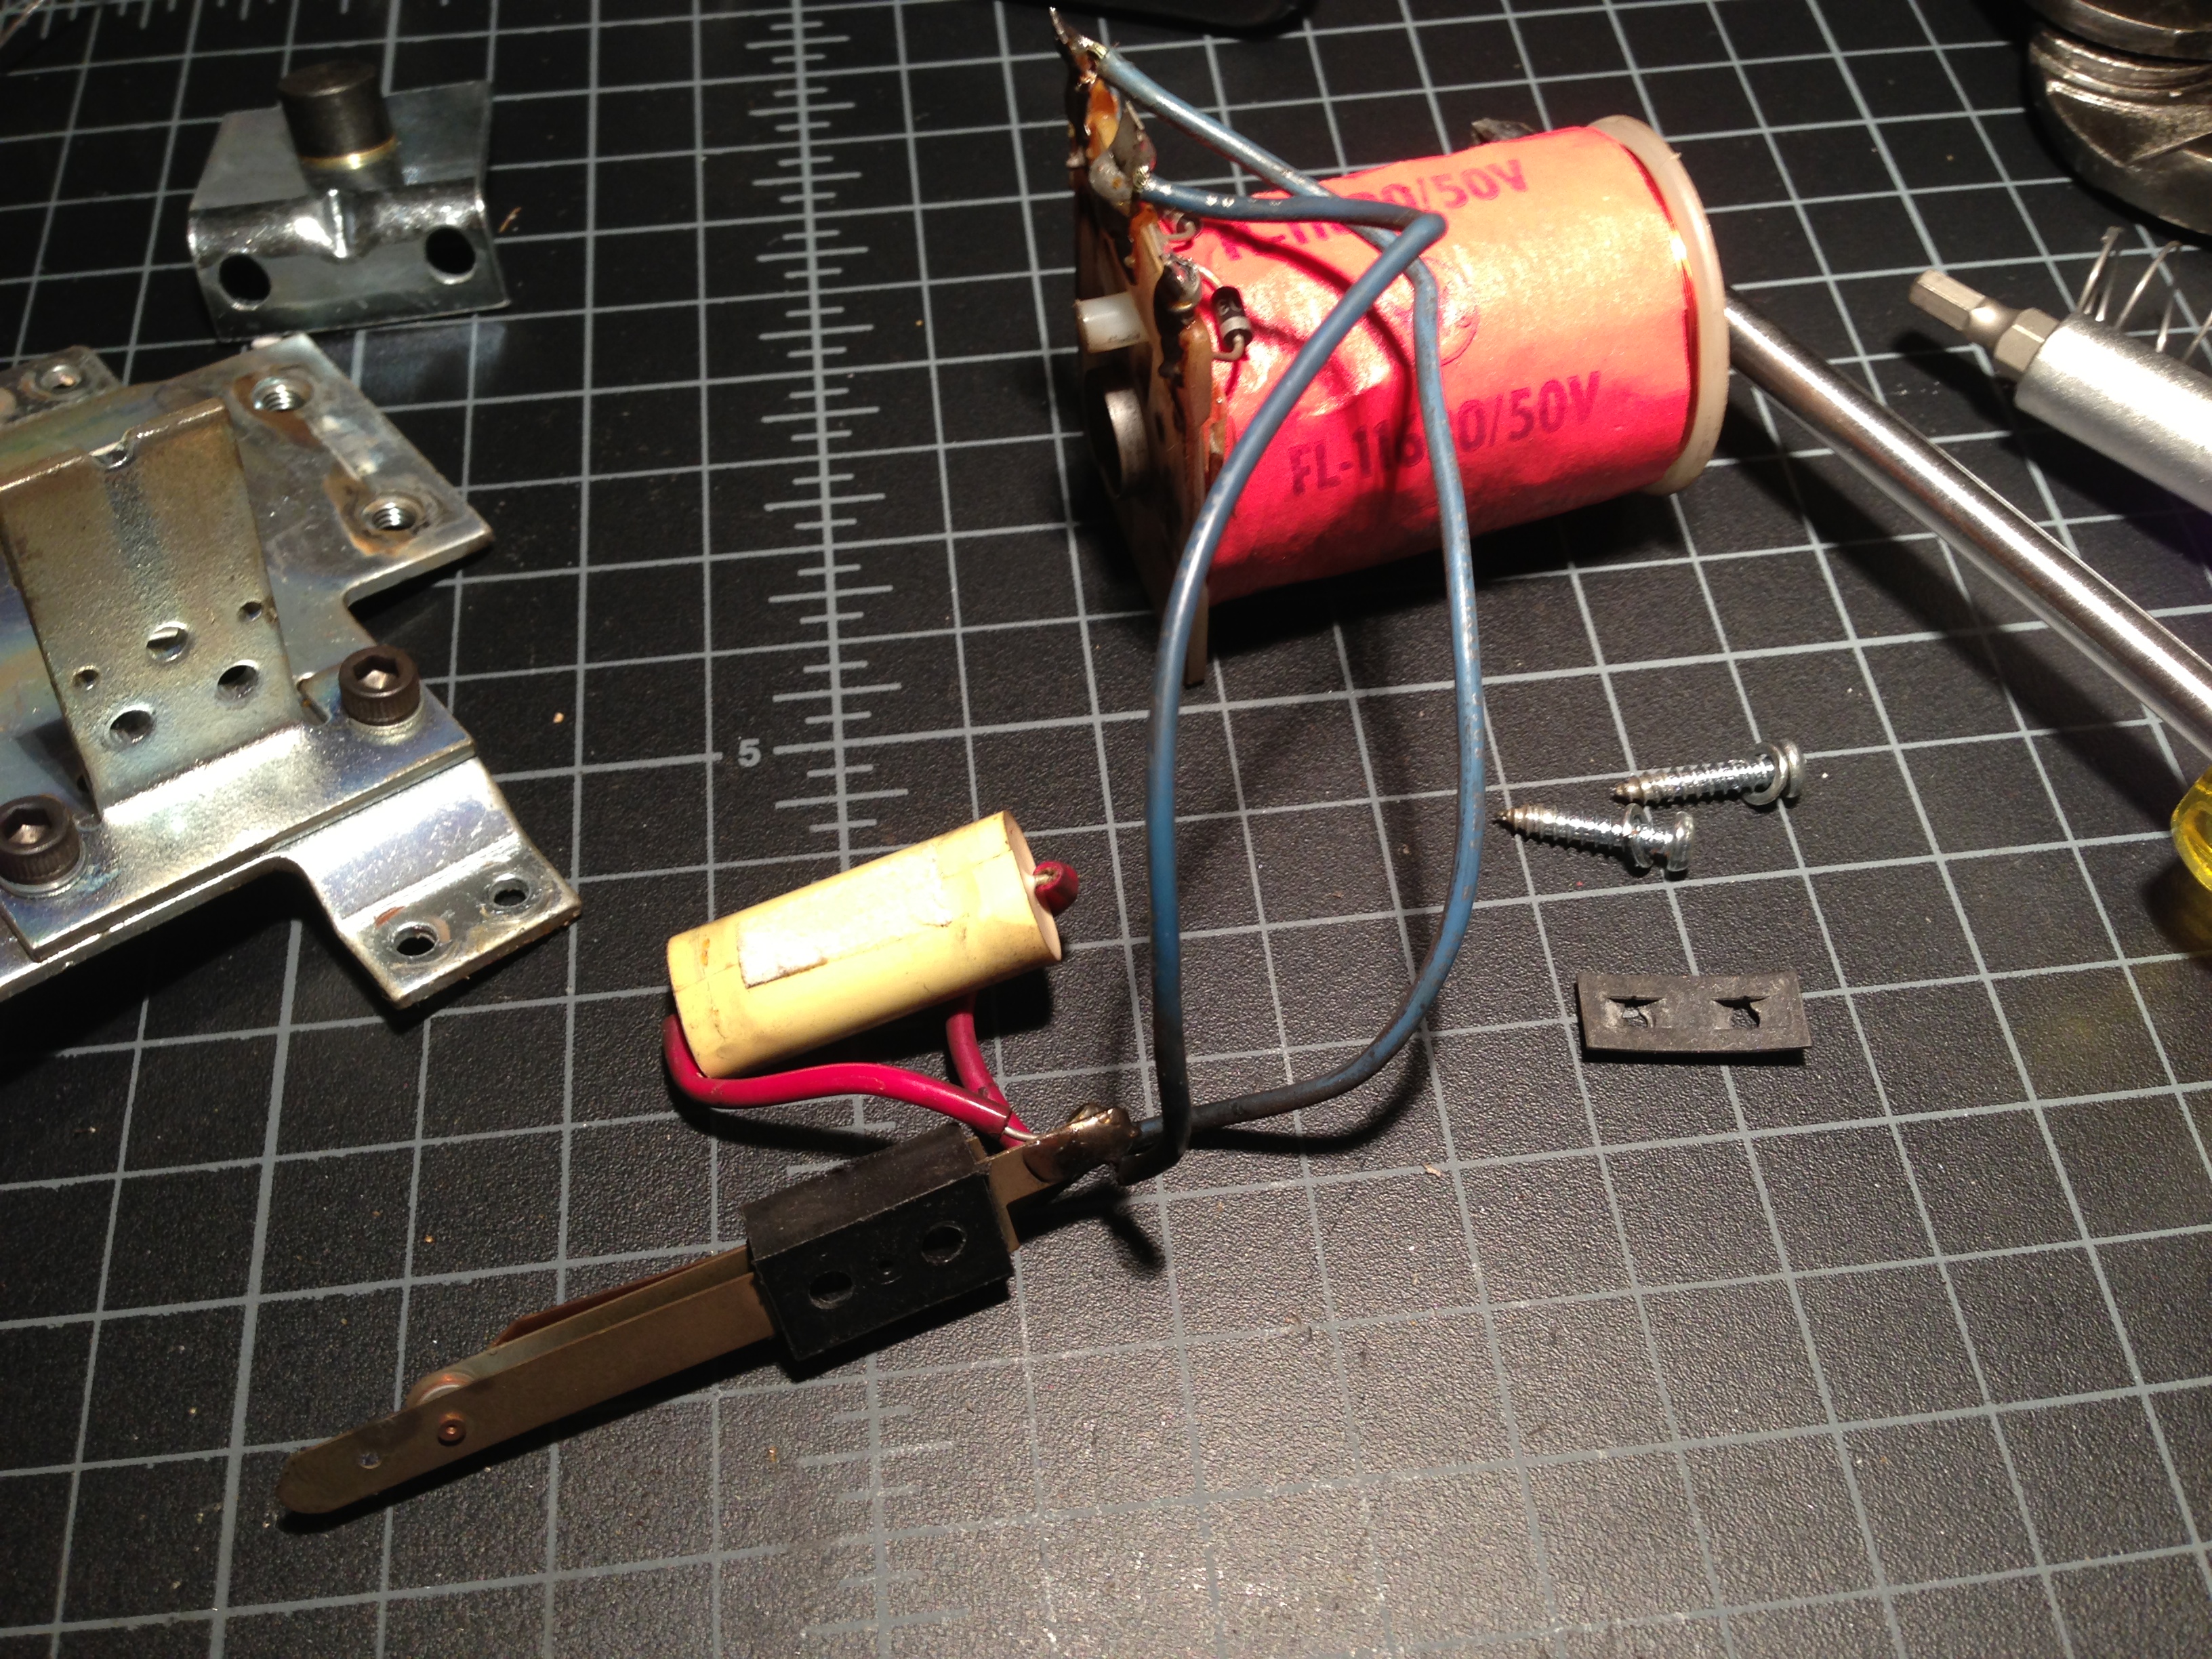
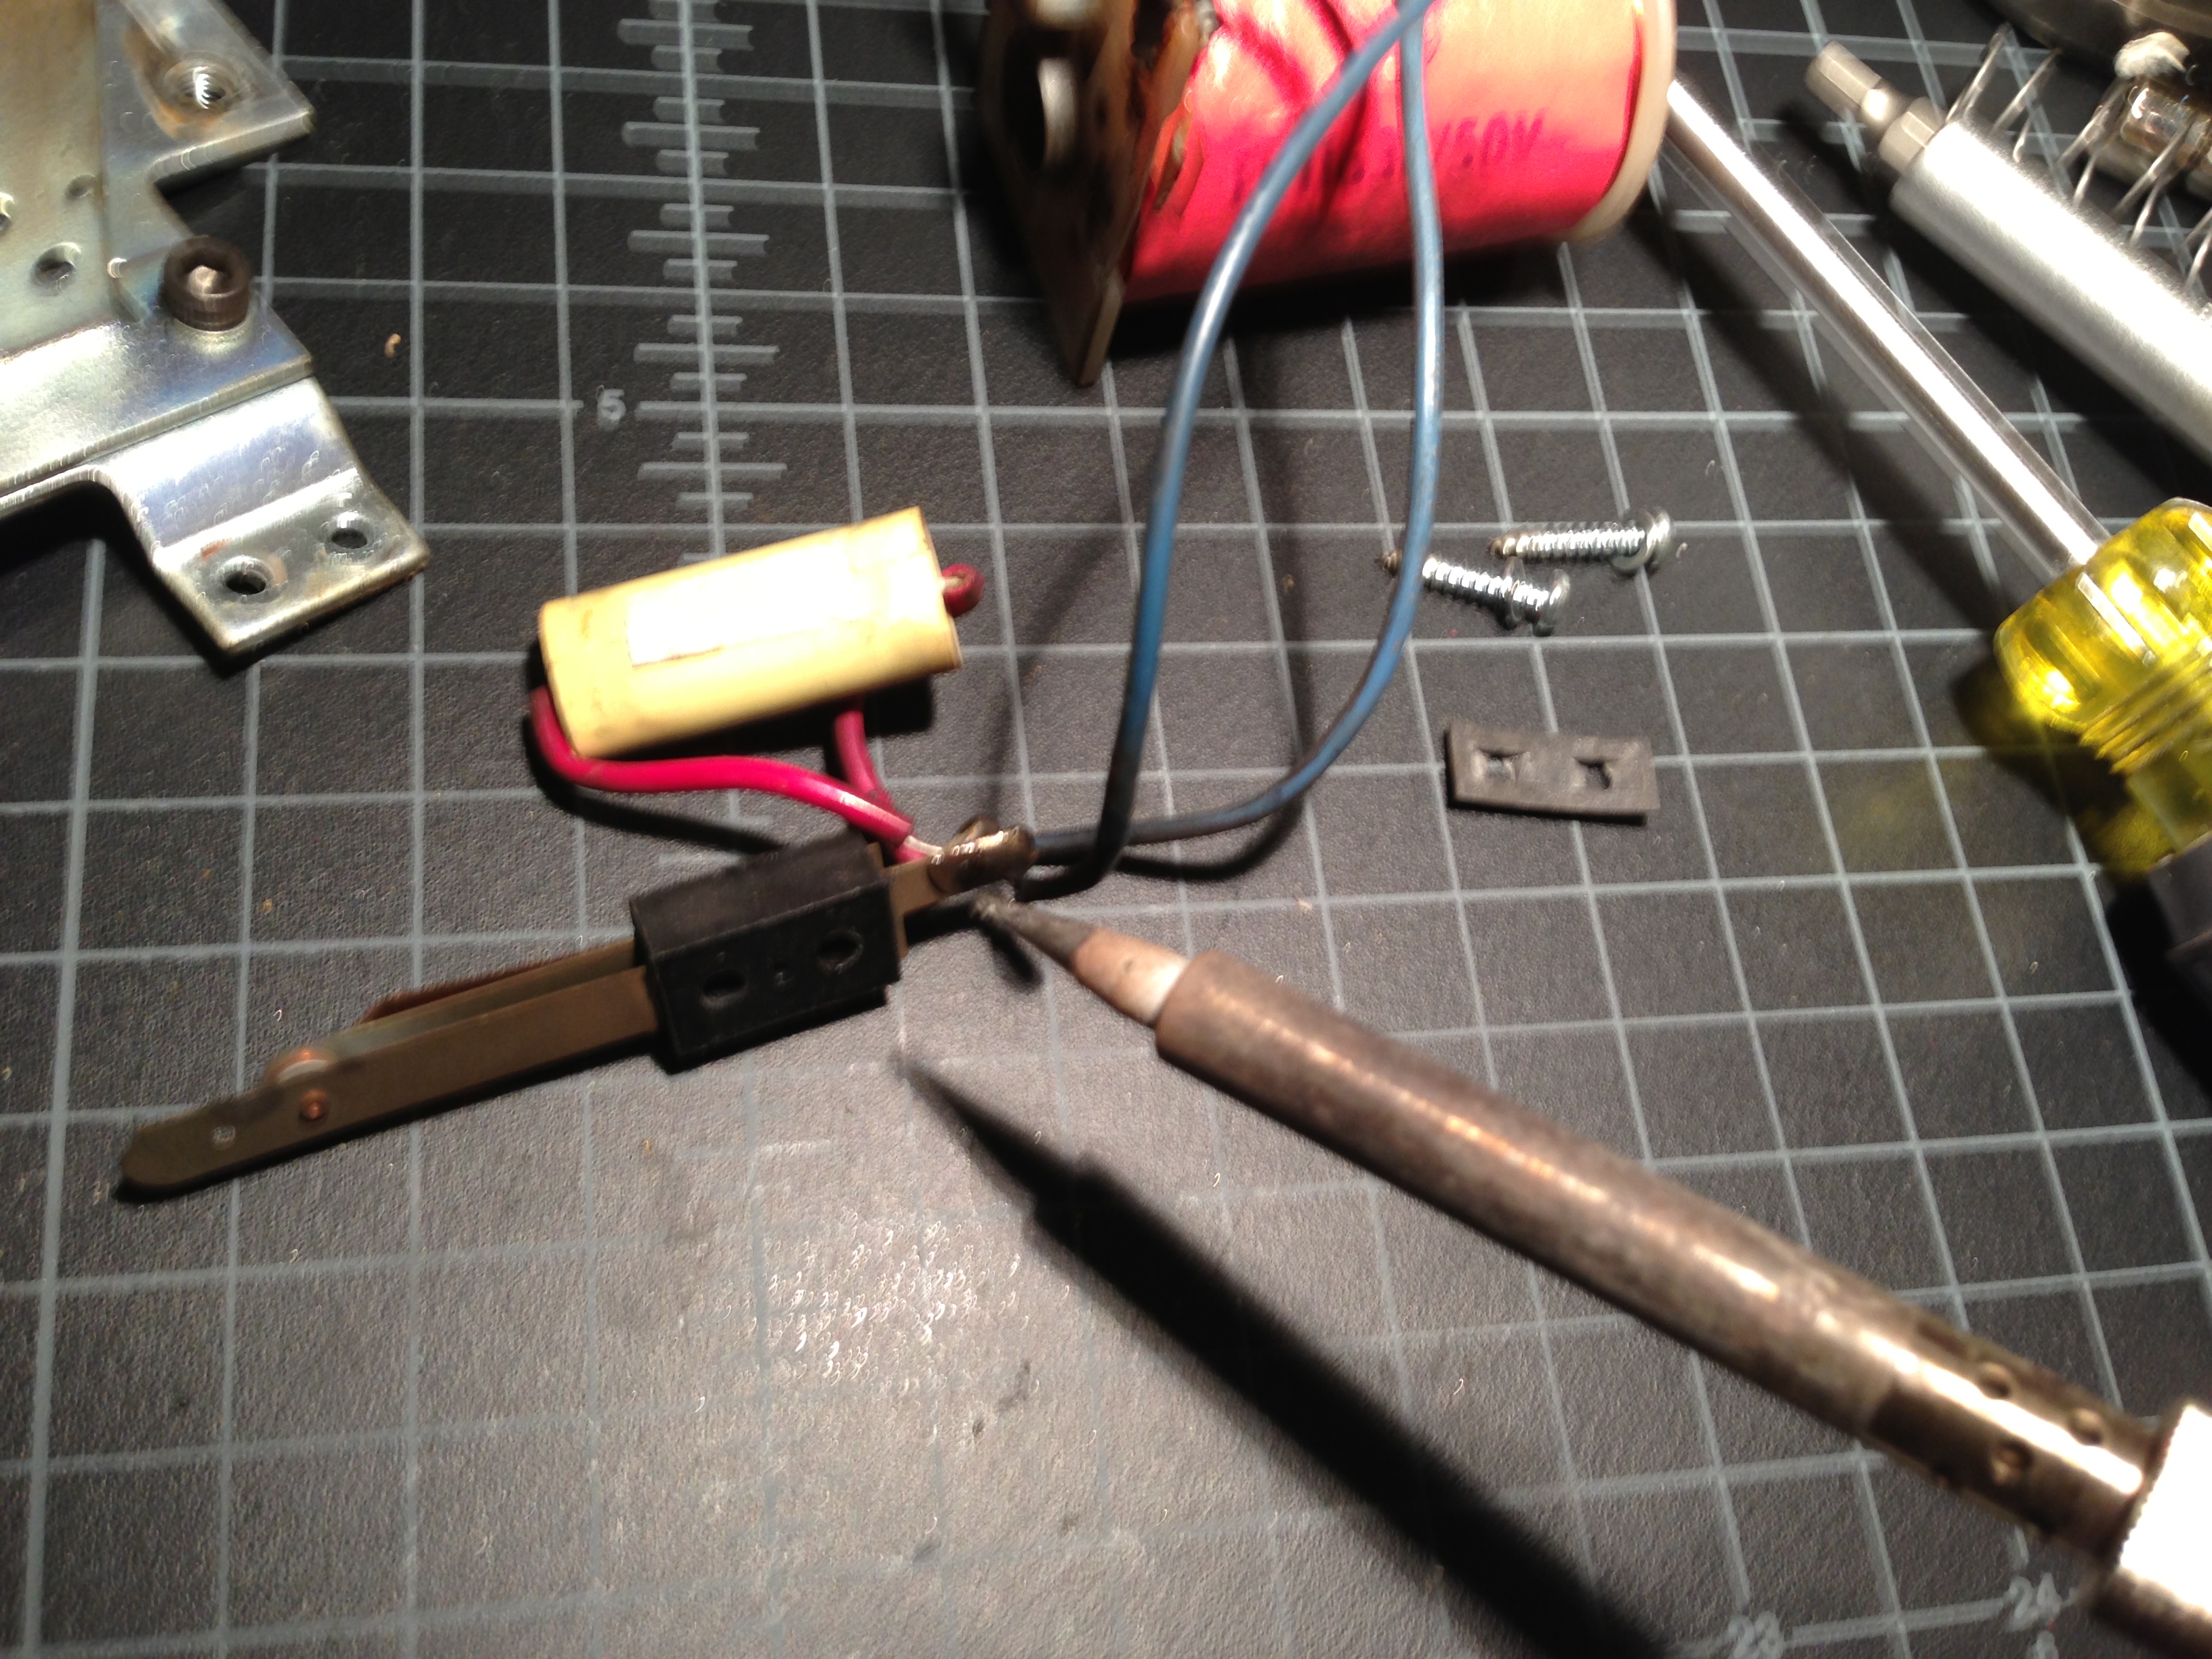
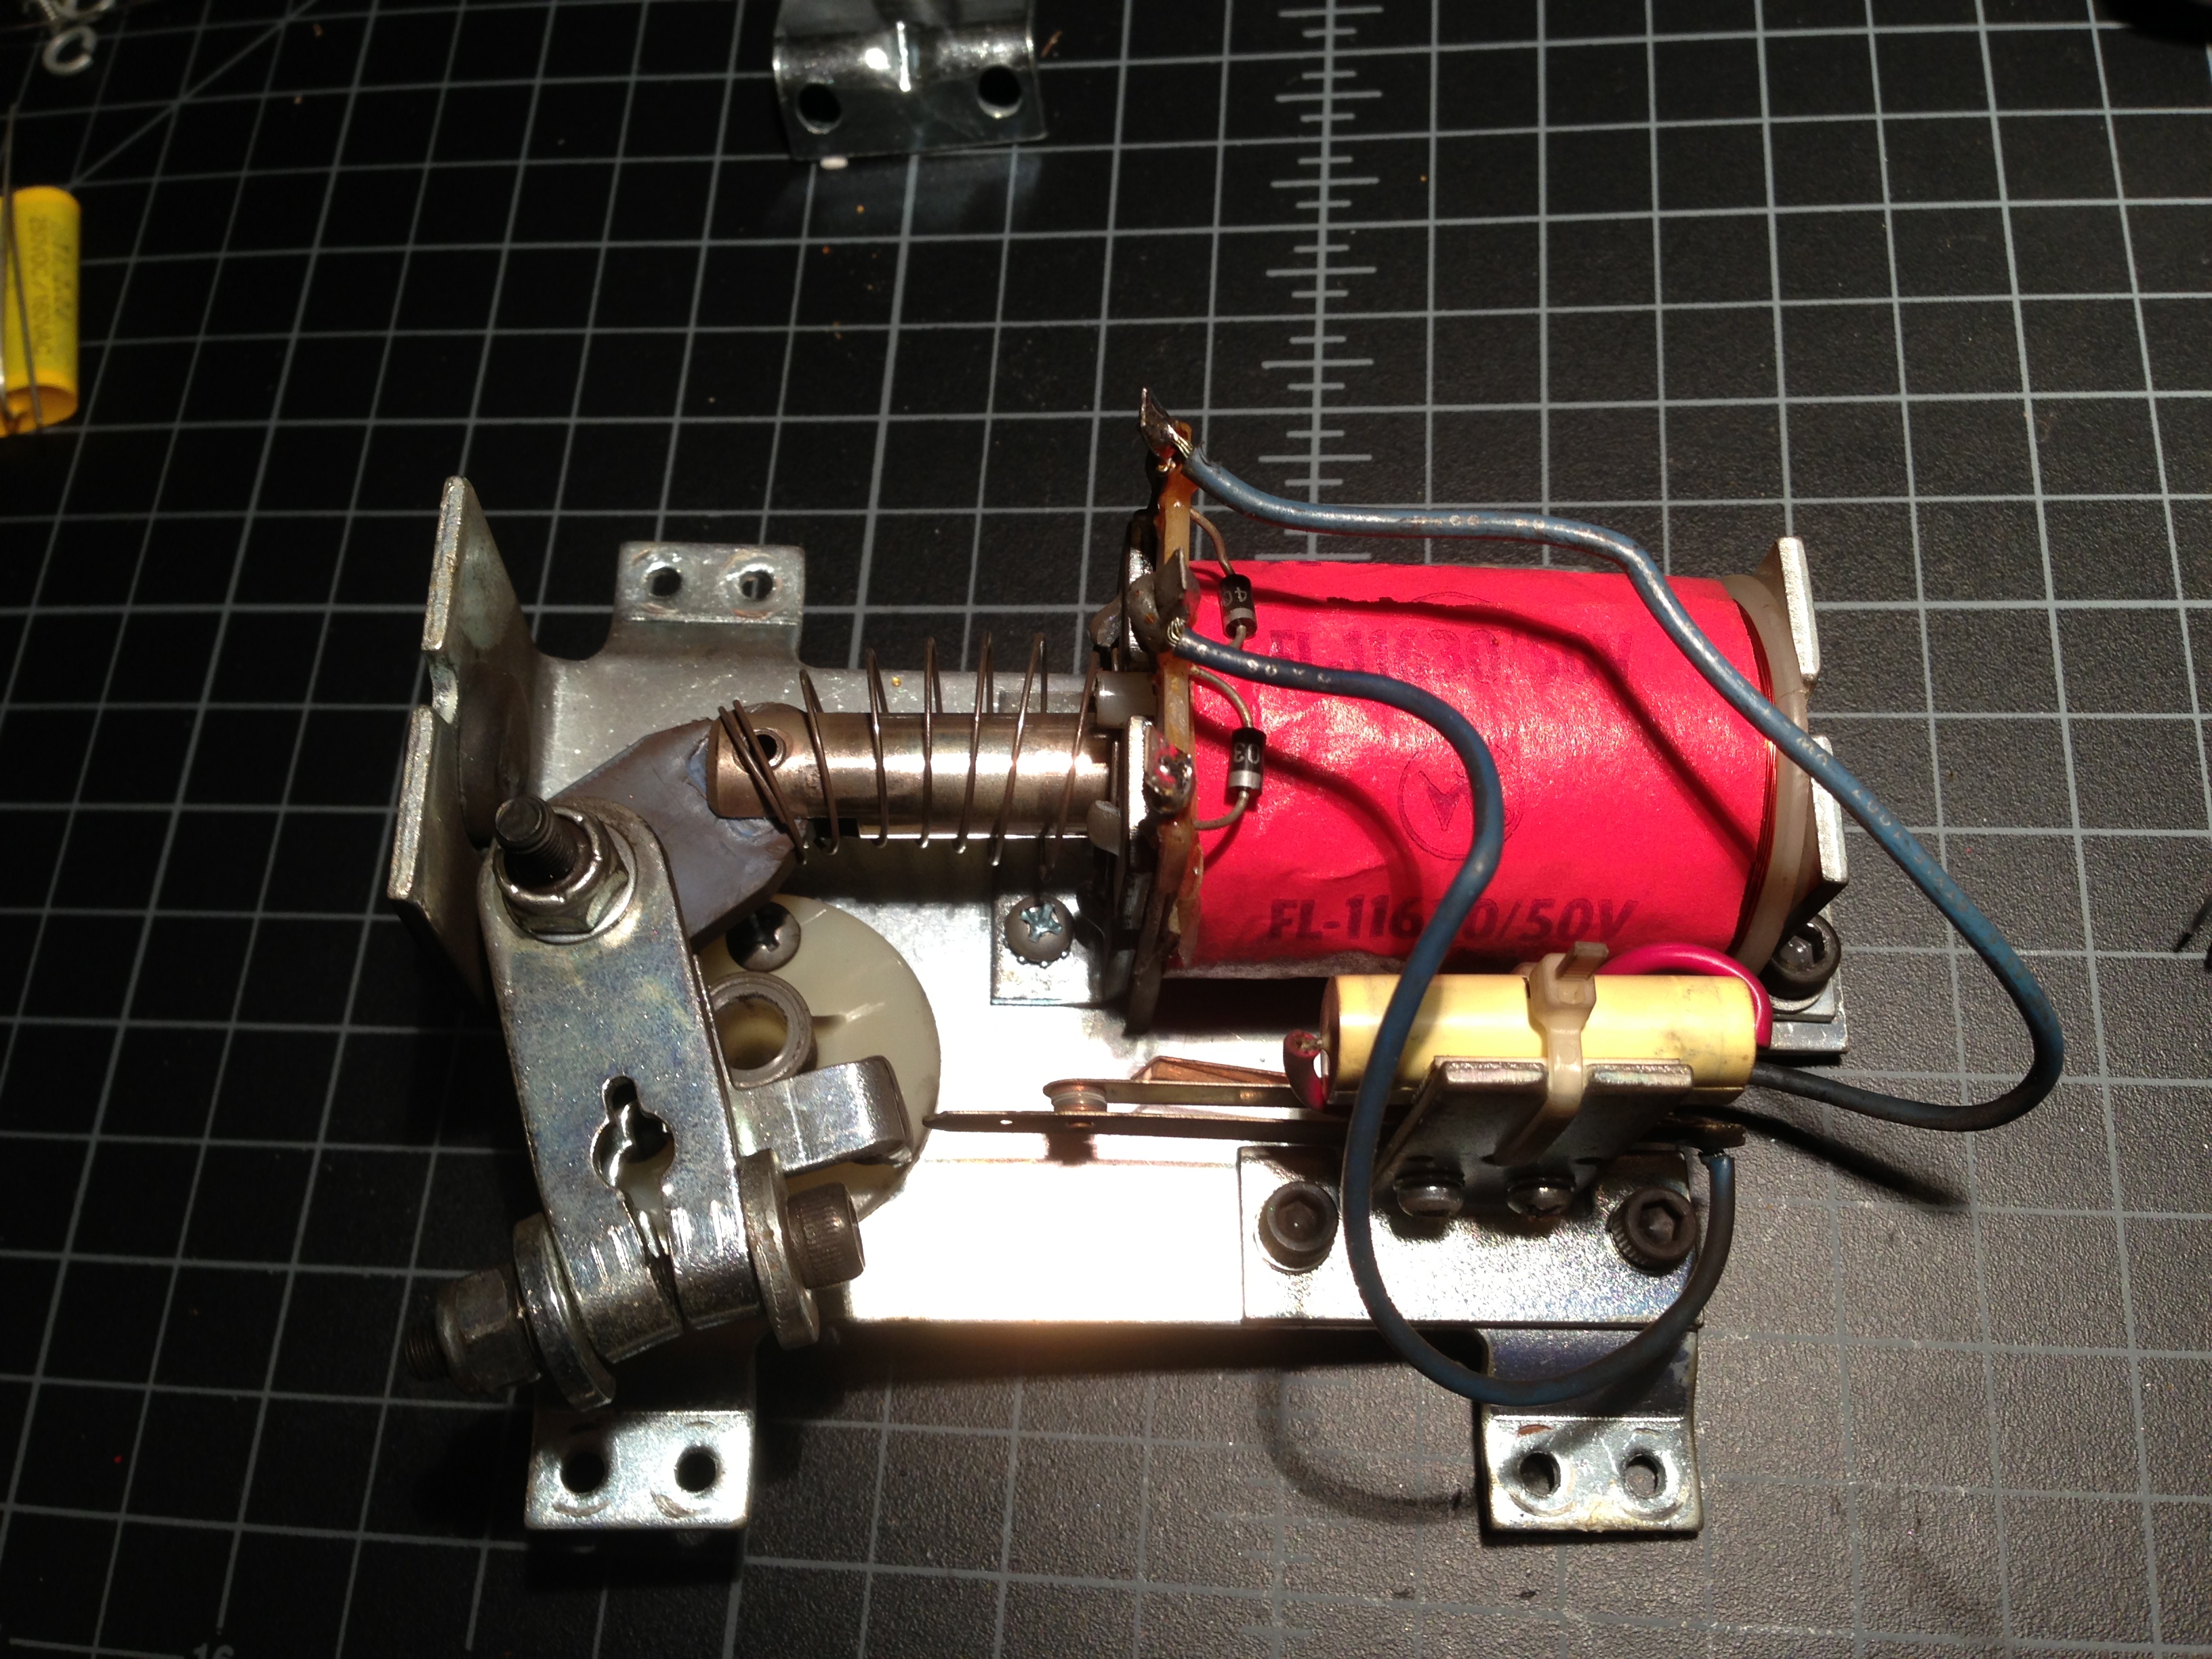
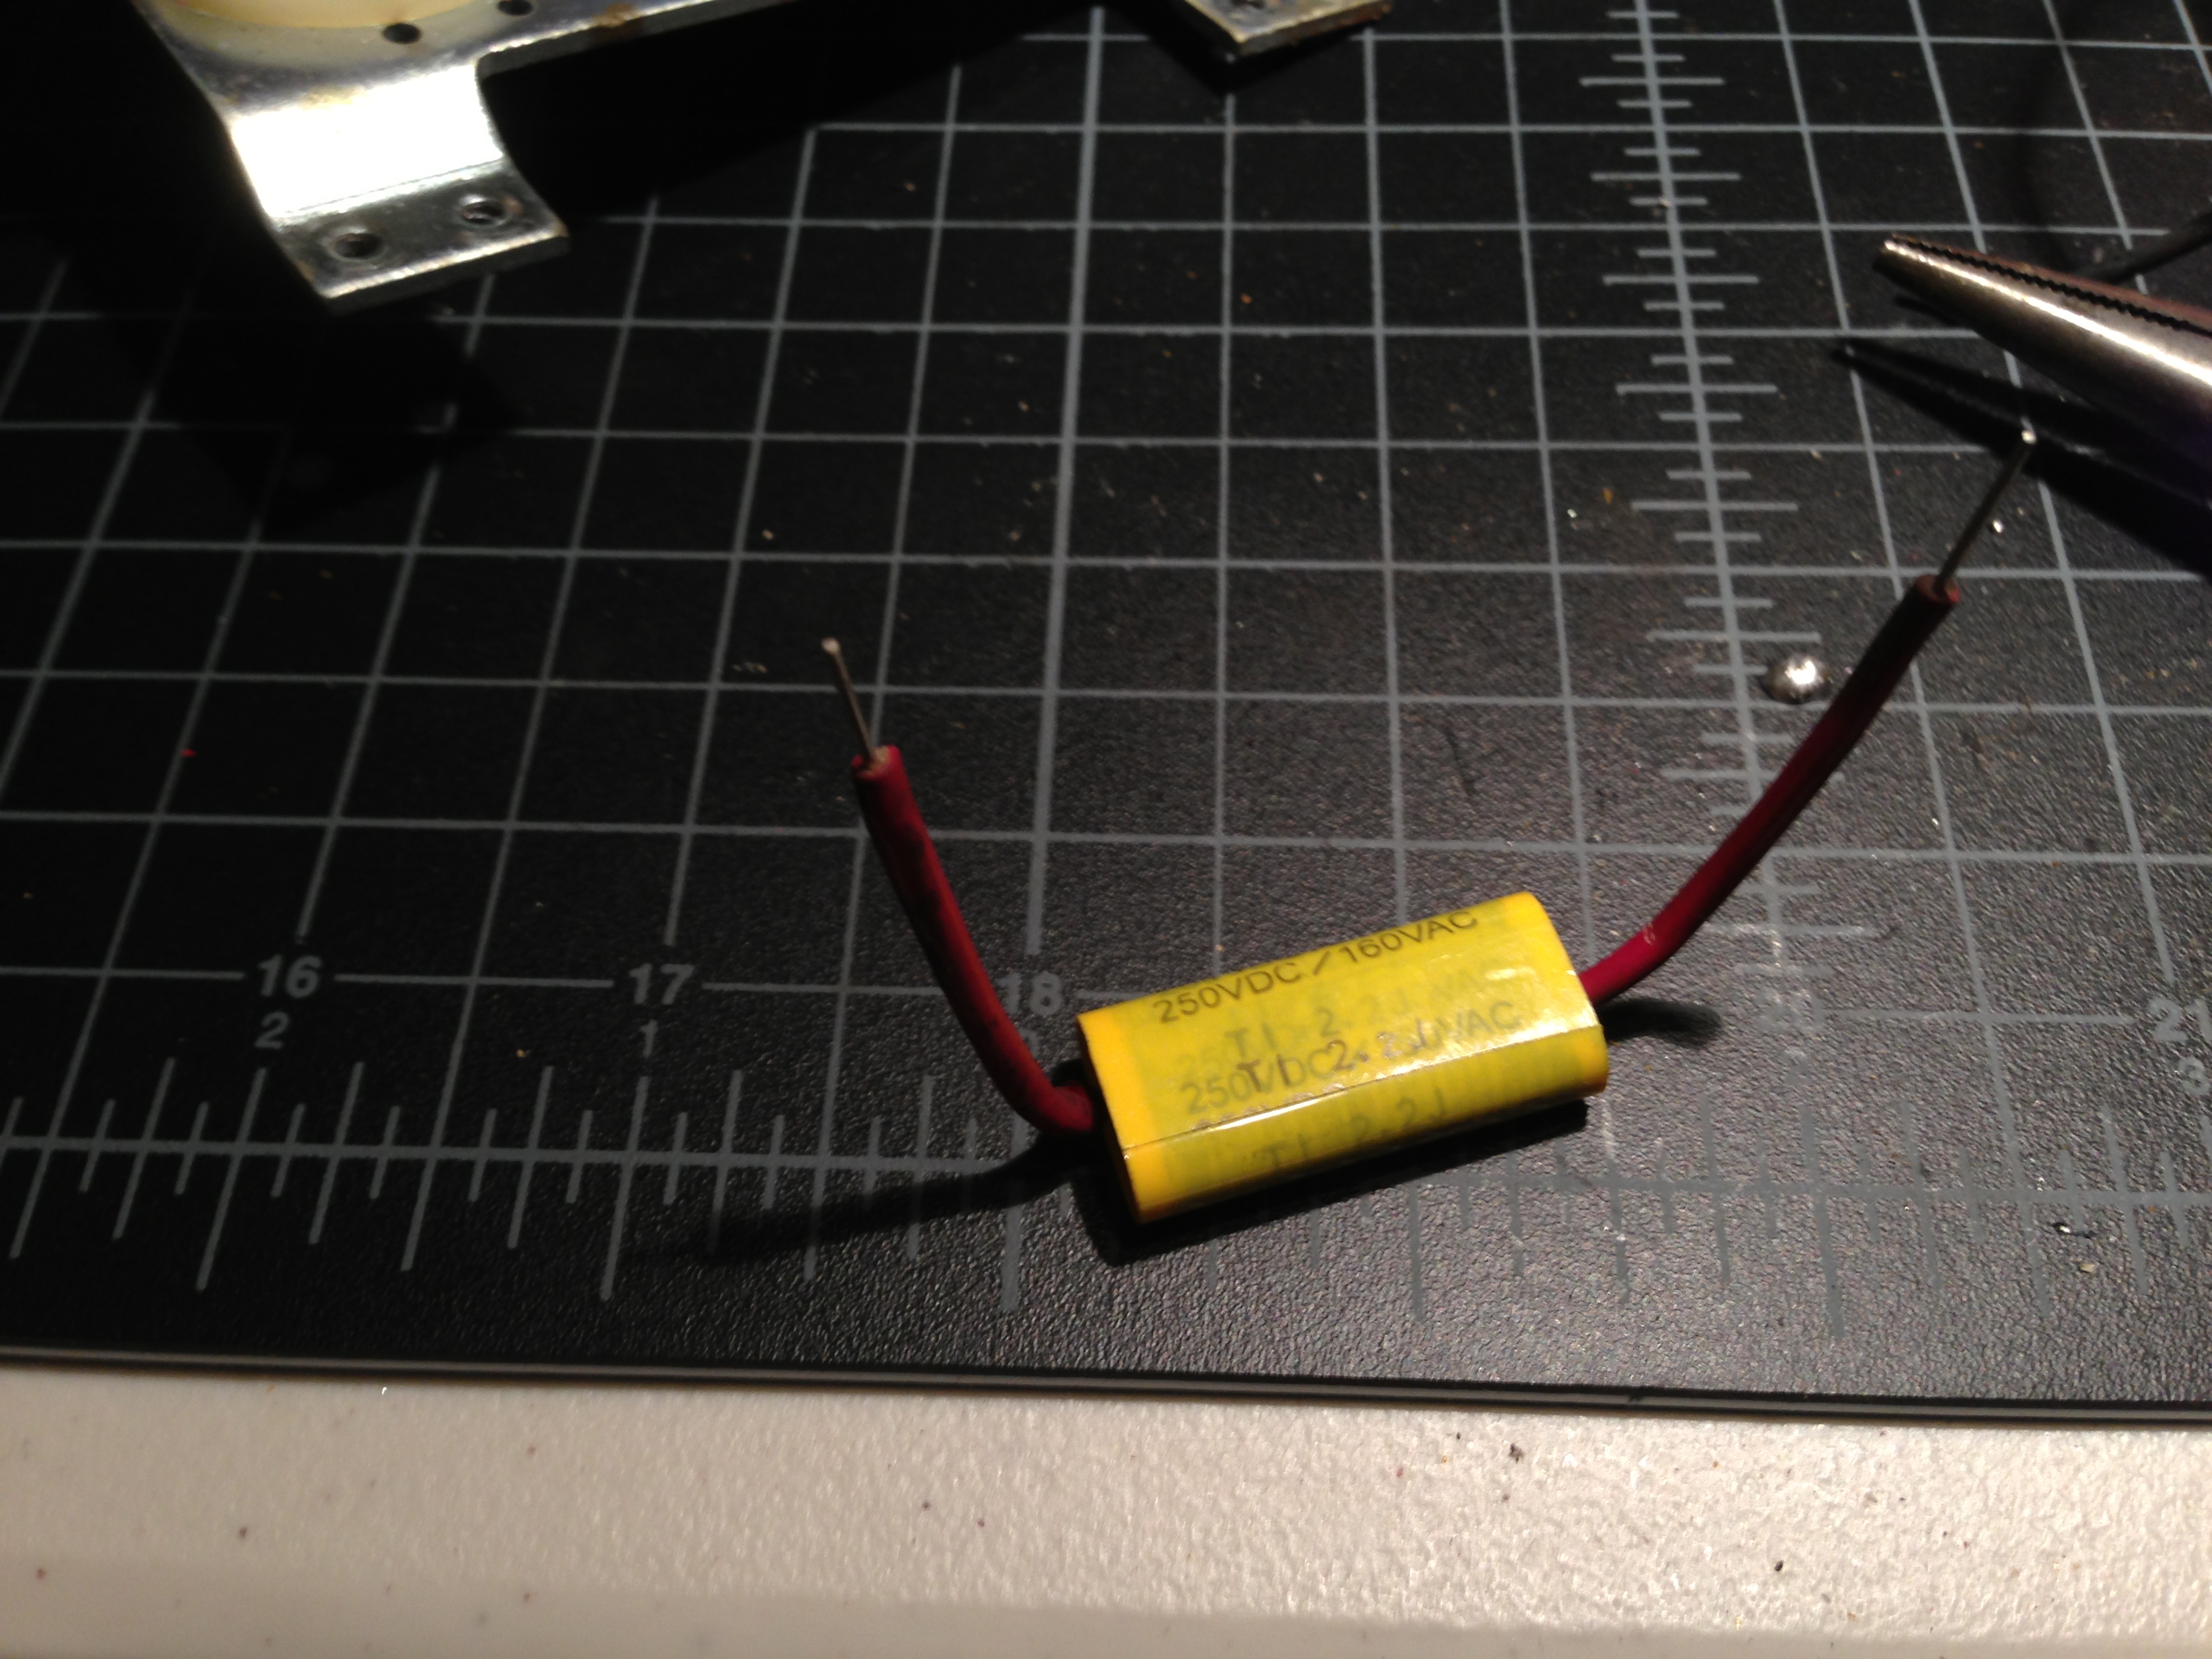
Save the insulation on the leads of the capacitor to use on the new capacitor.
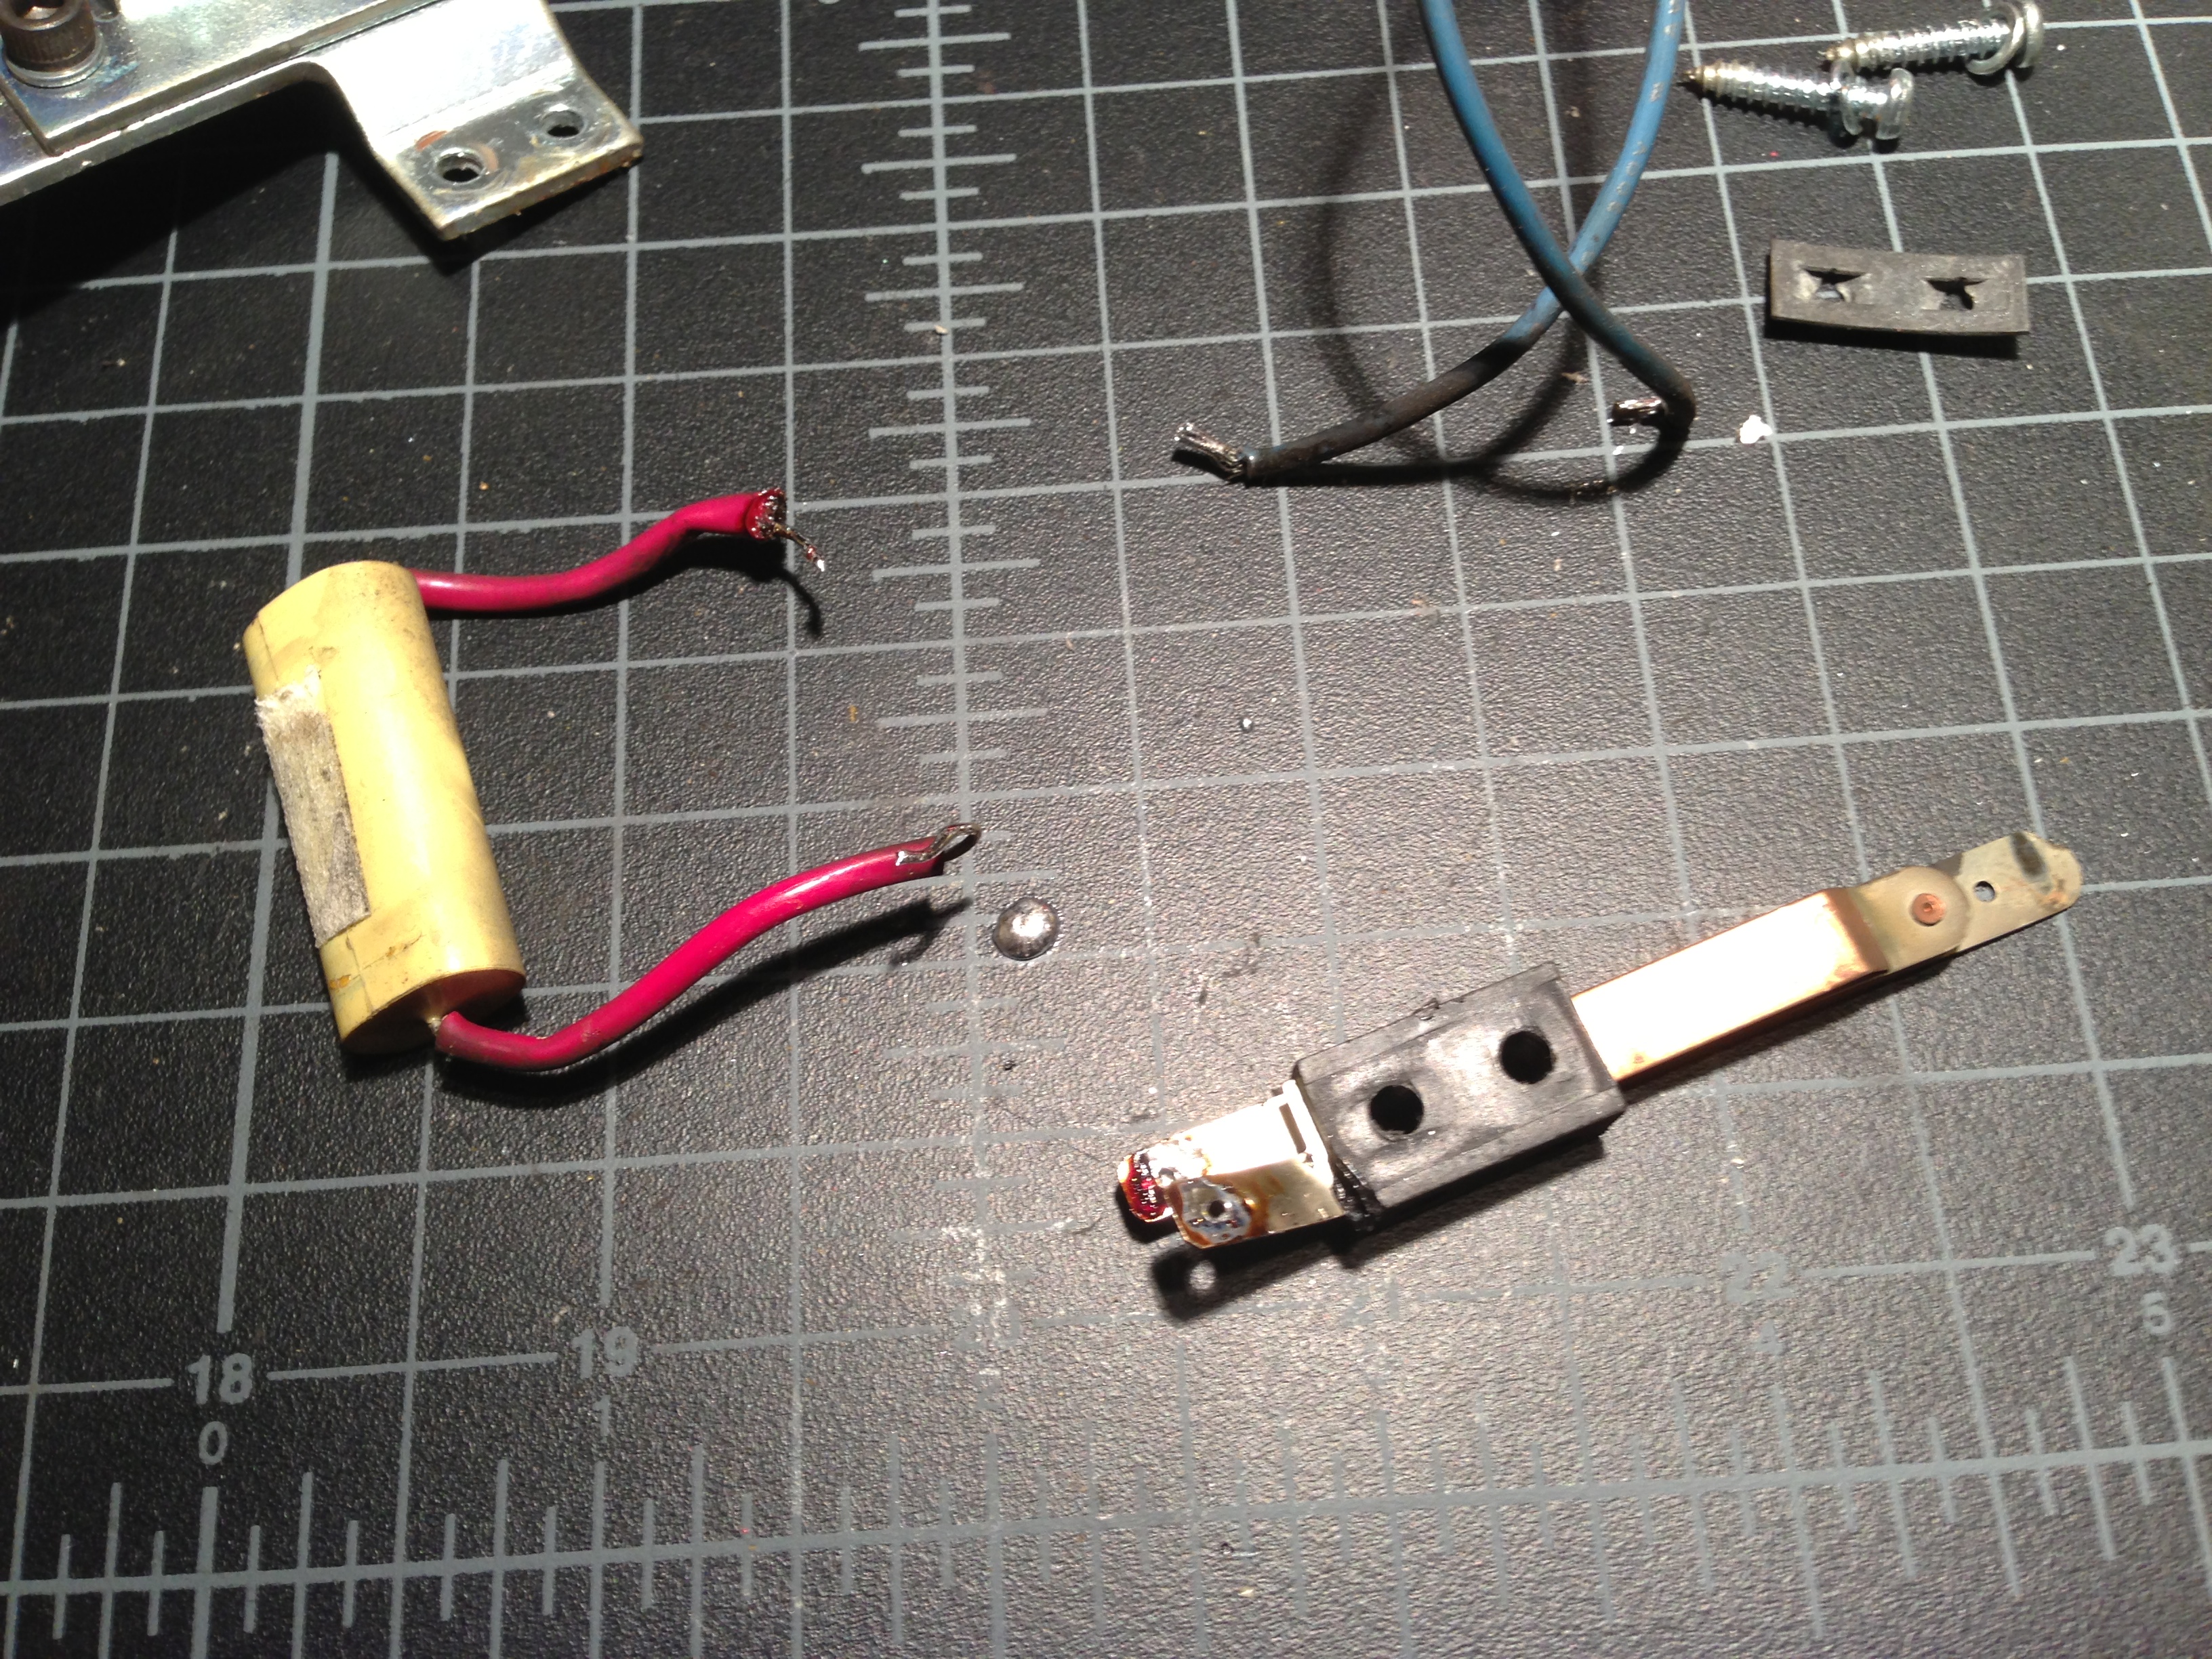
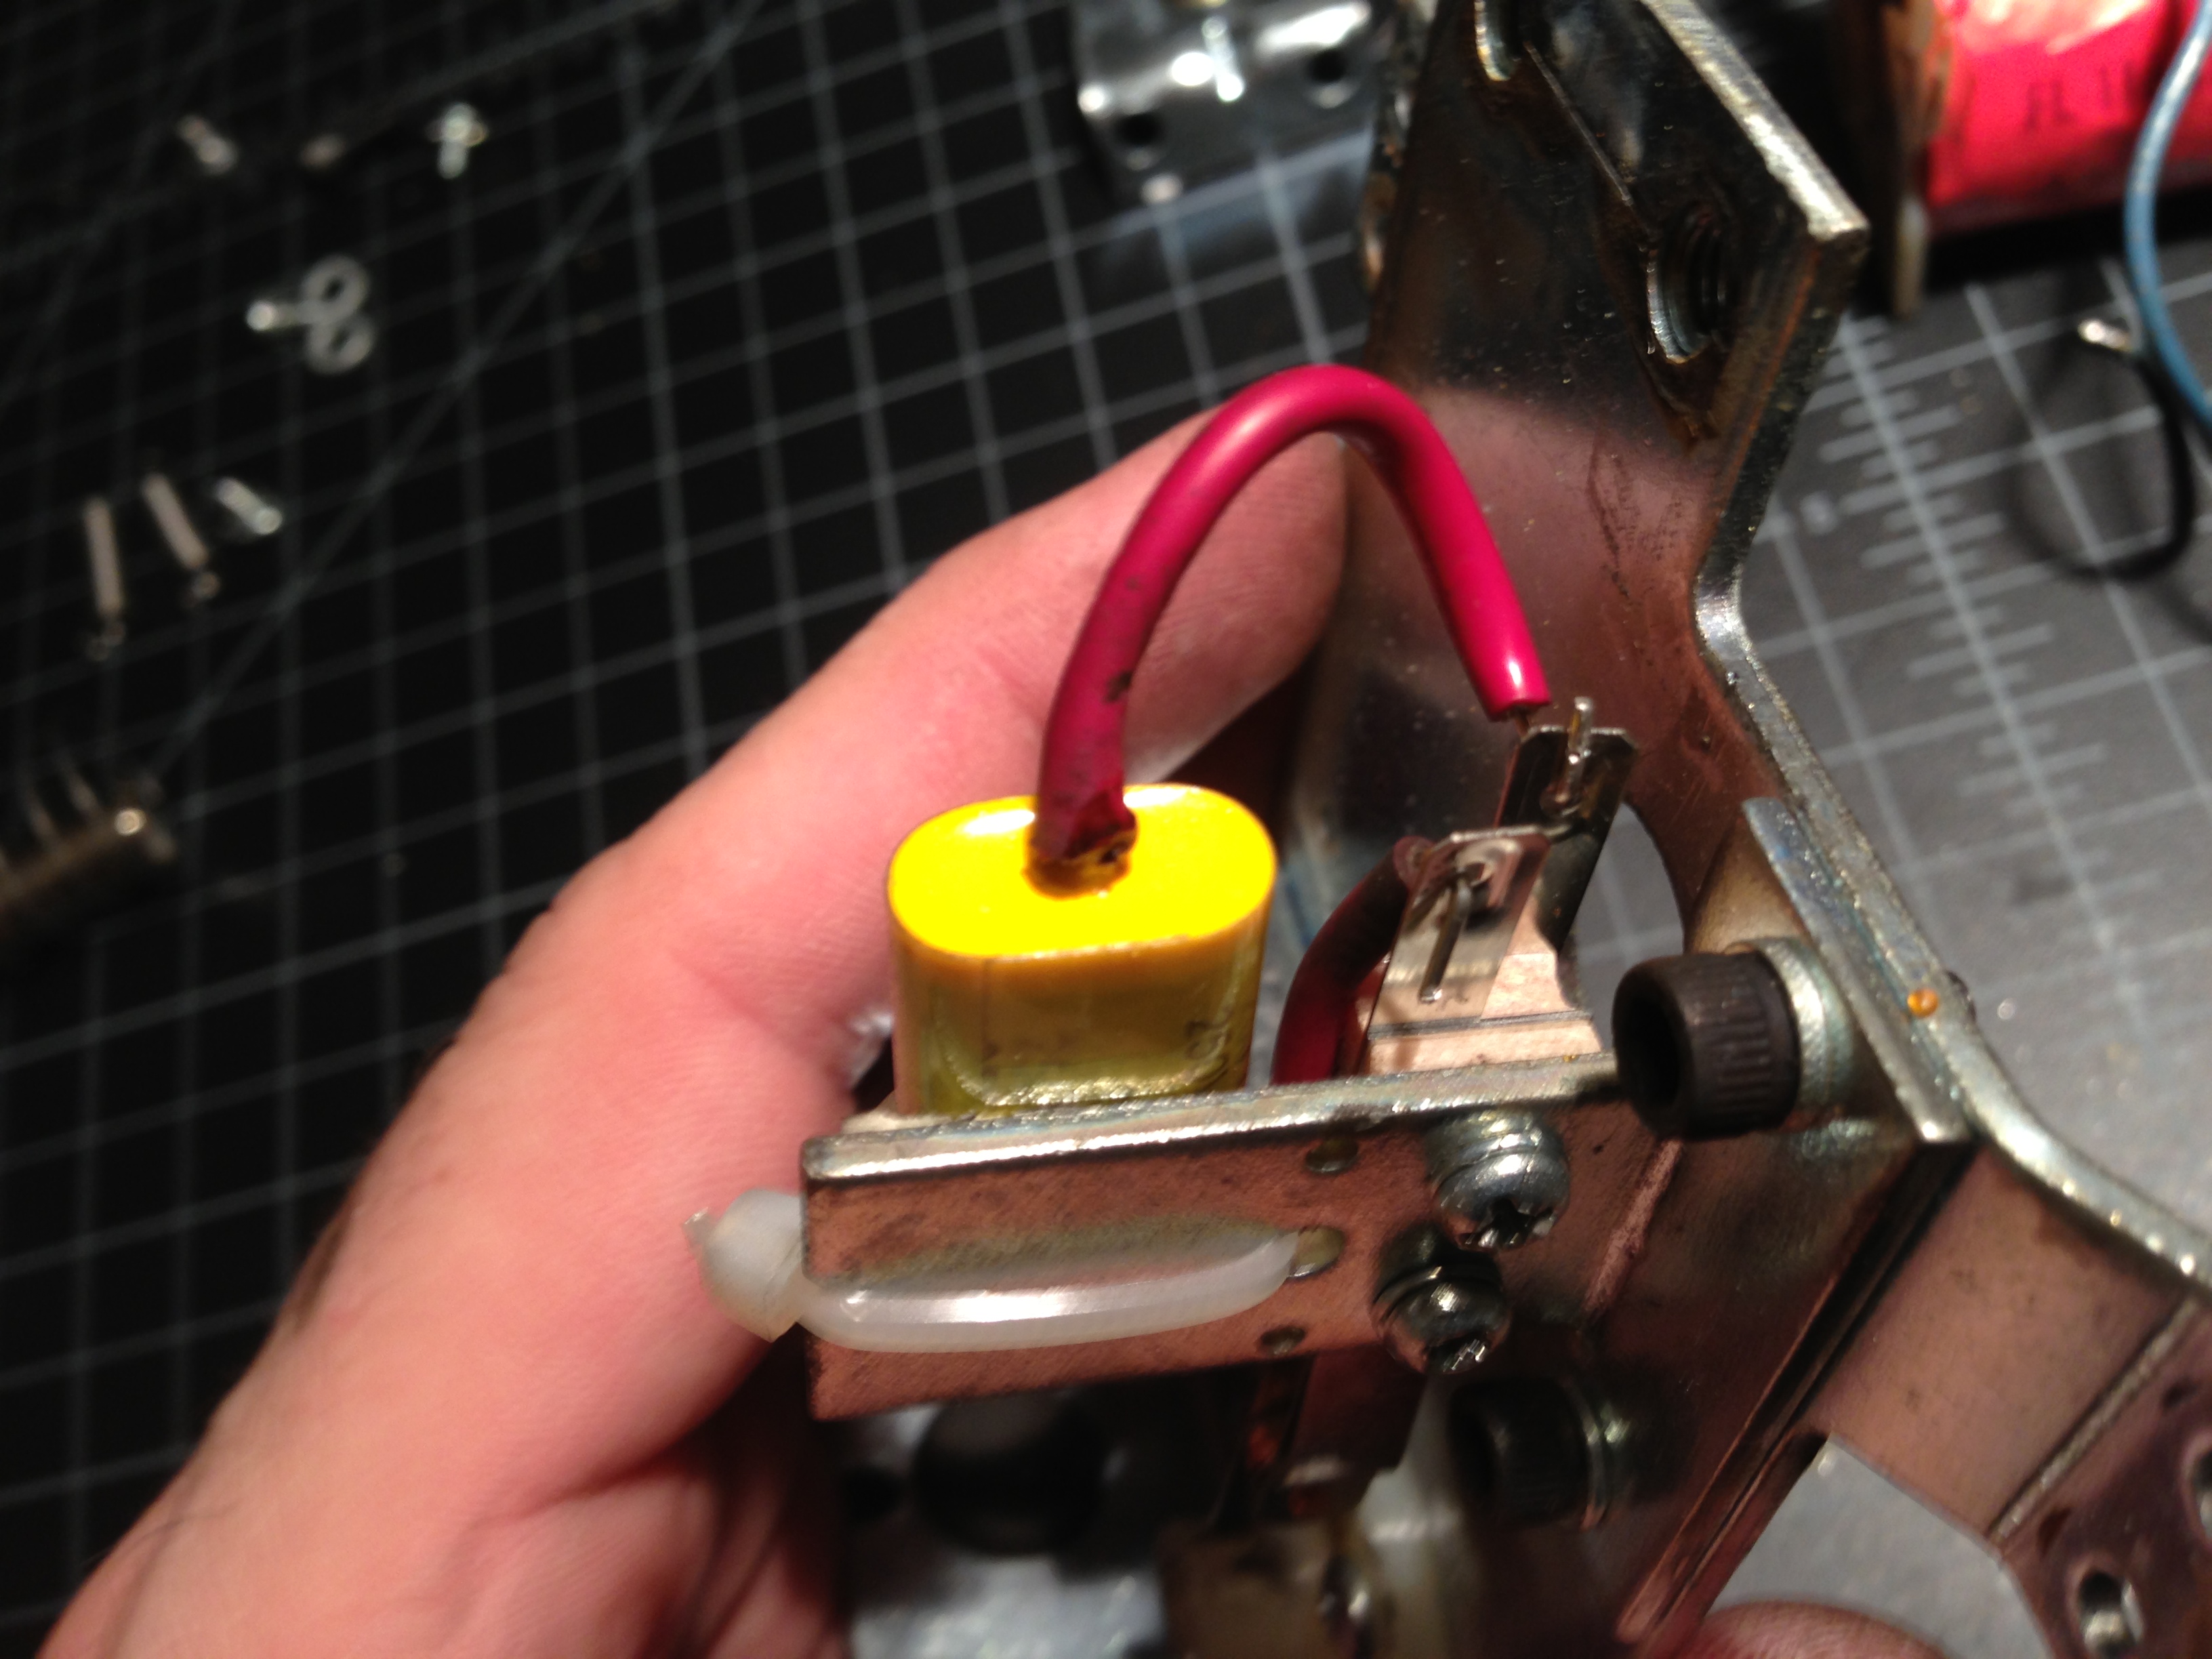
Now that you have the eos switch and capacitor desoldered, get the new ones, put the insulation from the old cap on the new one.
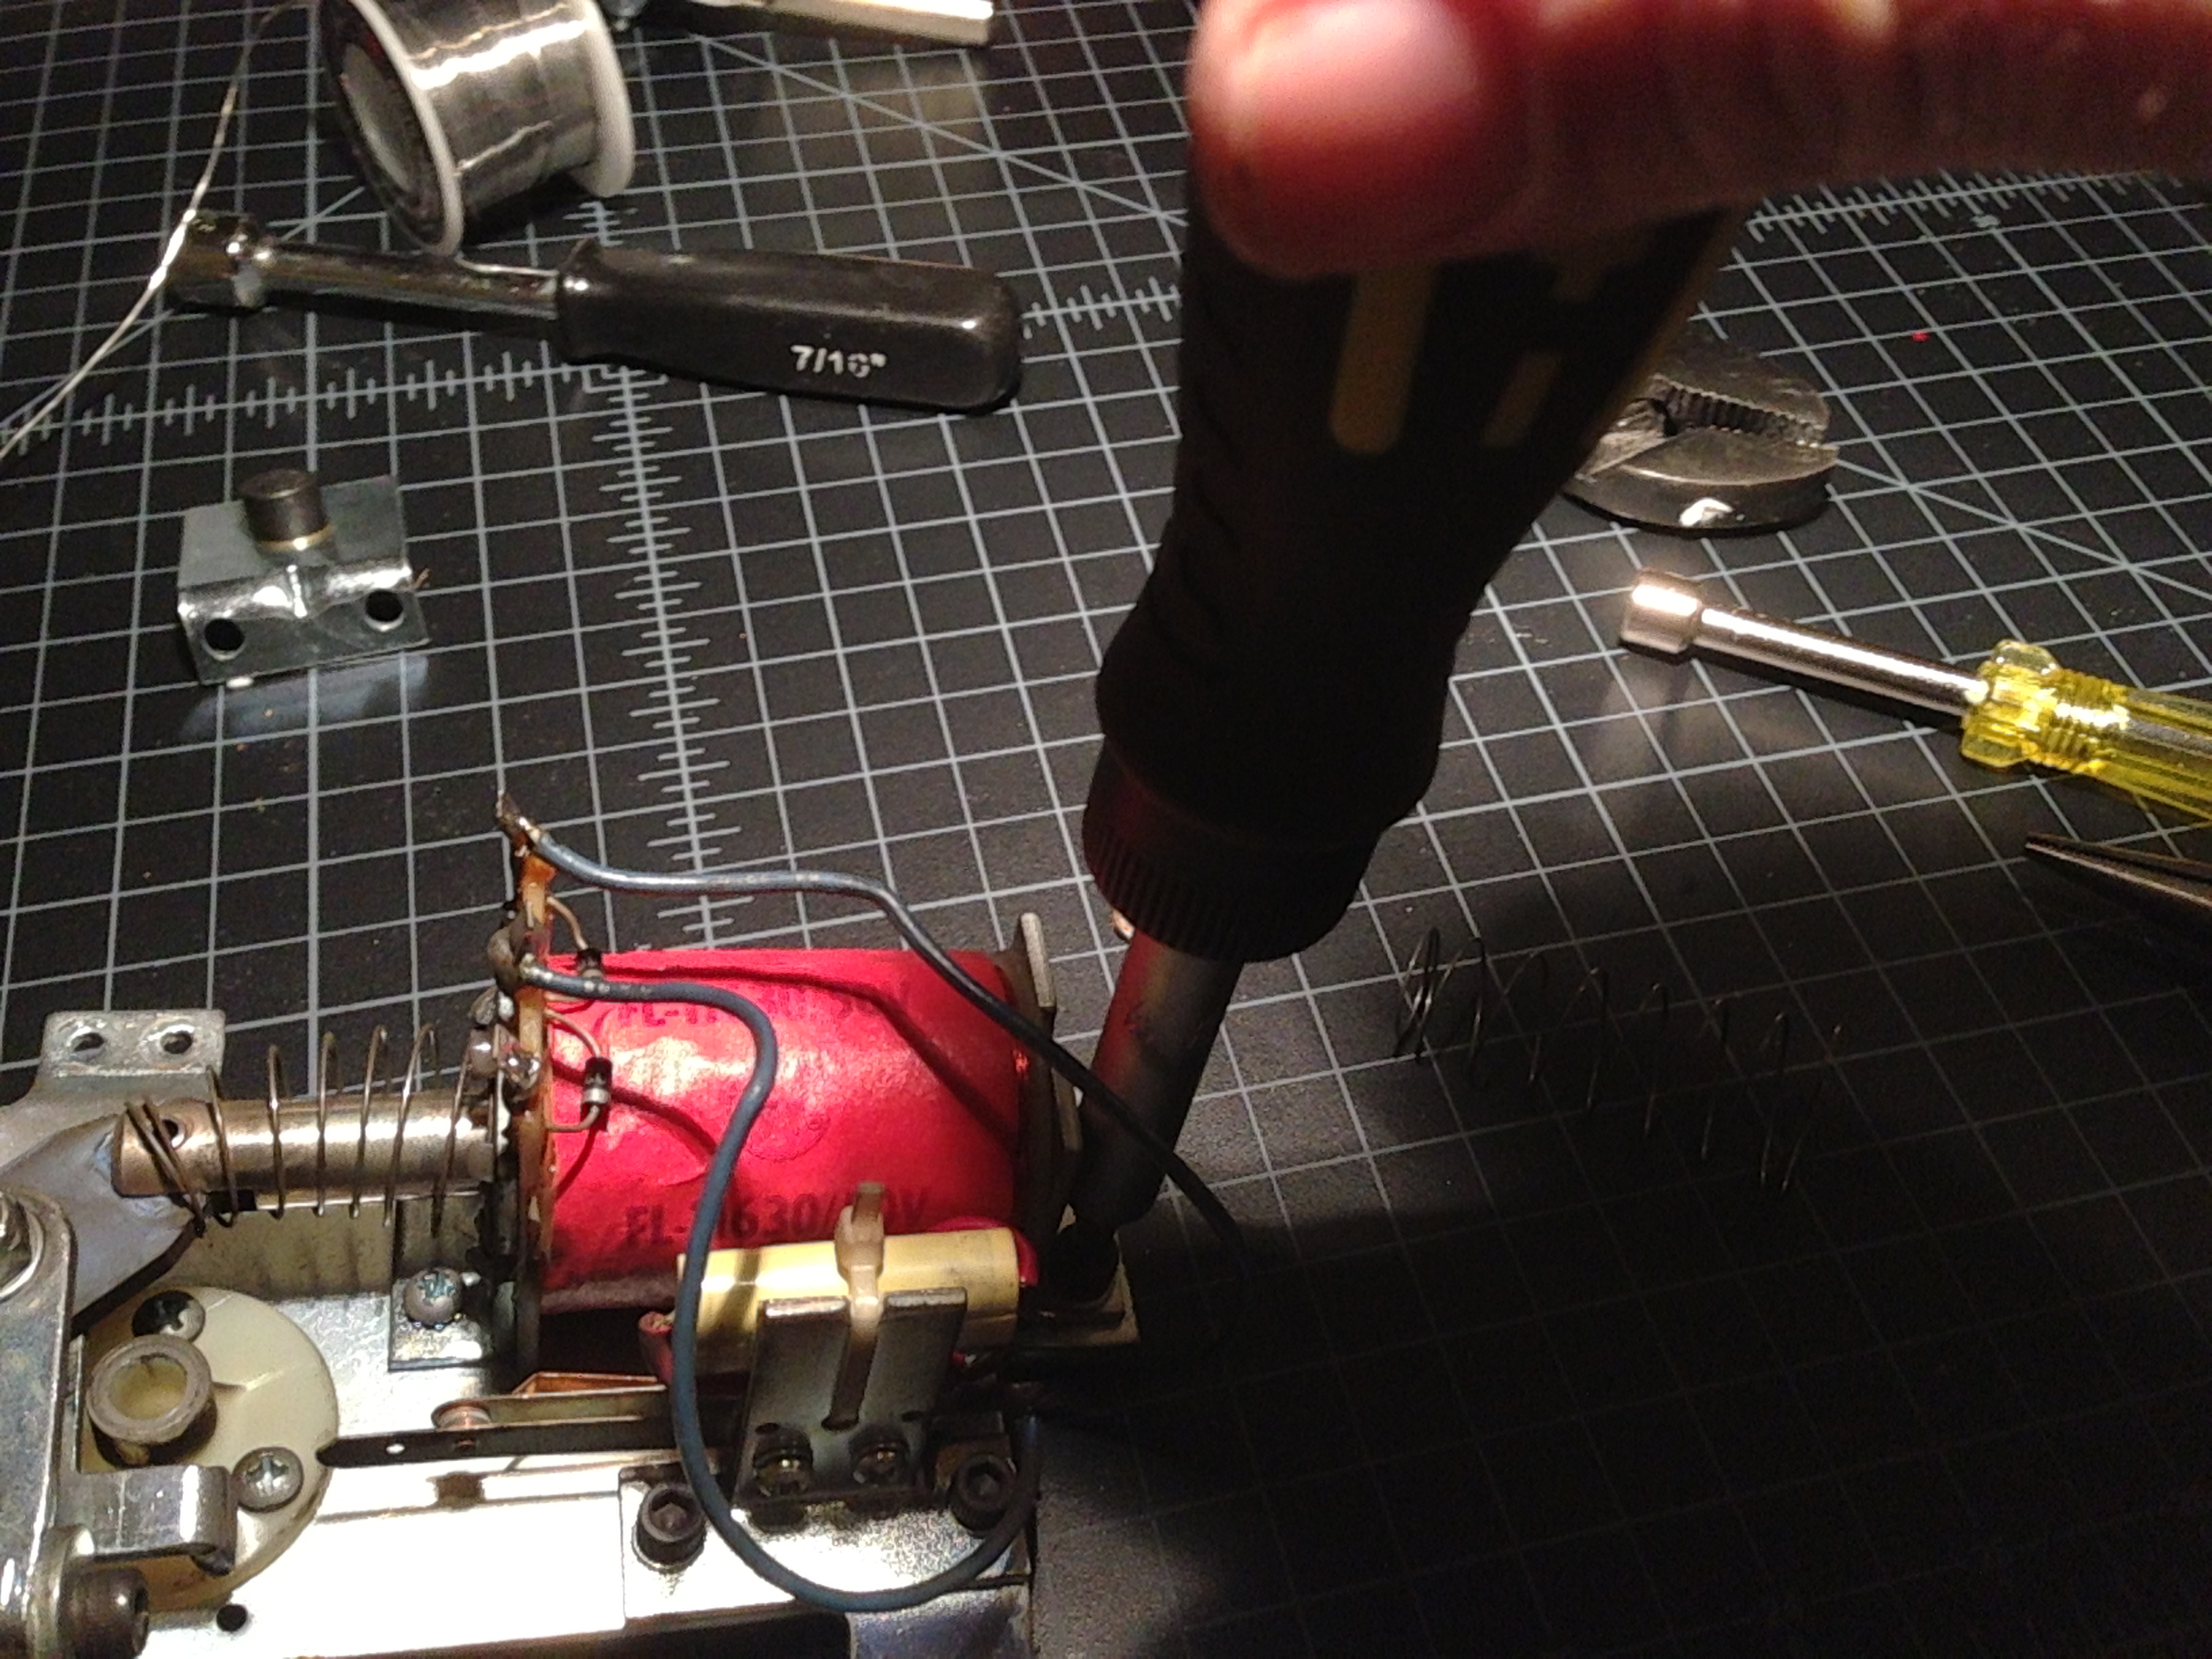
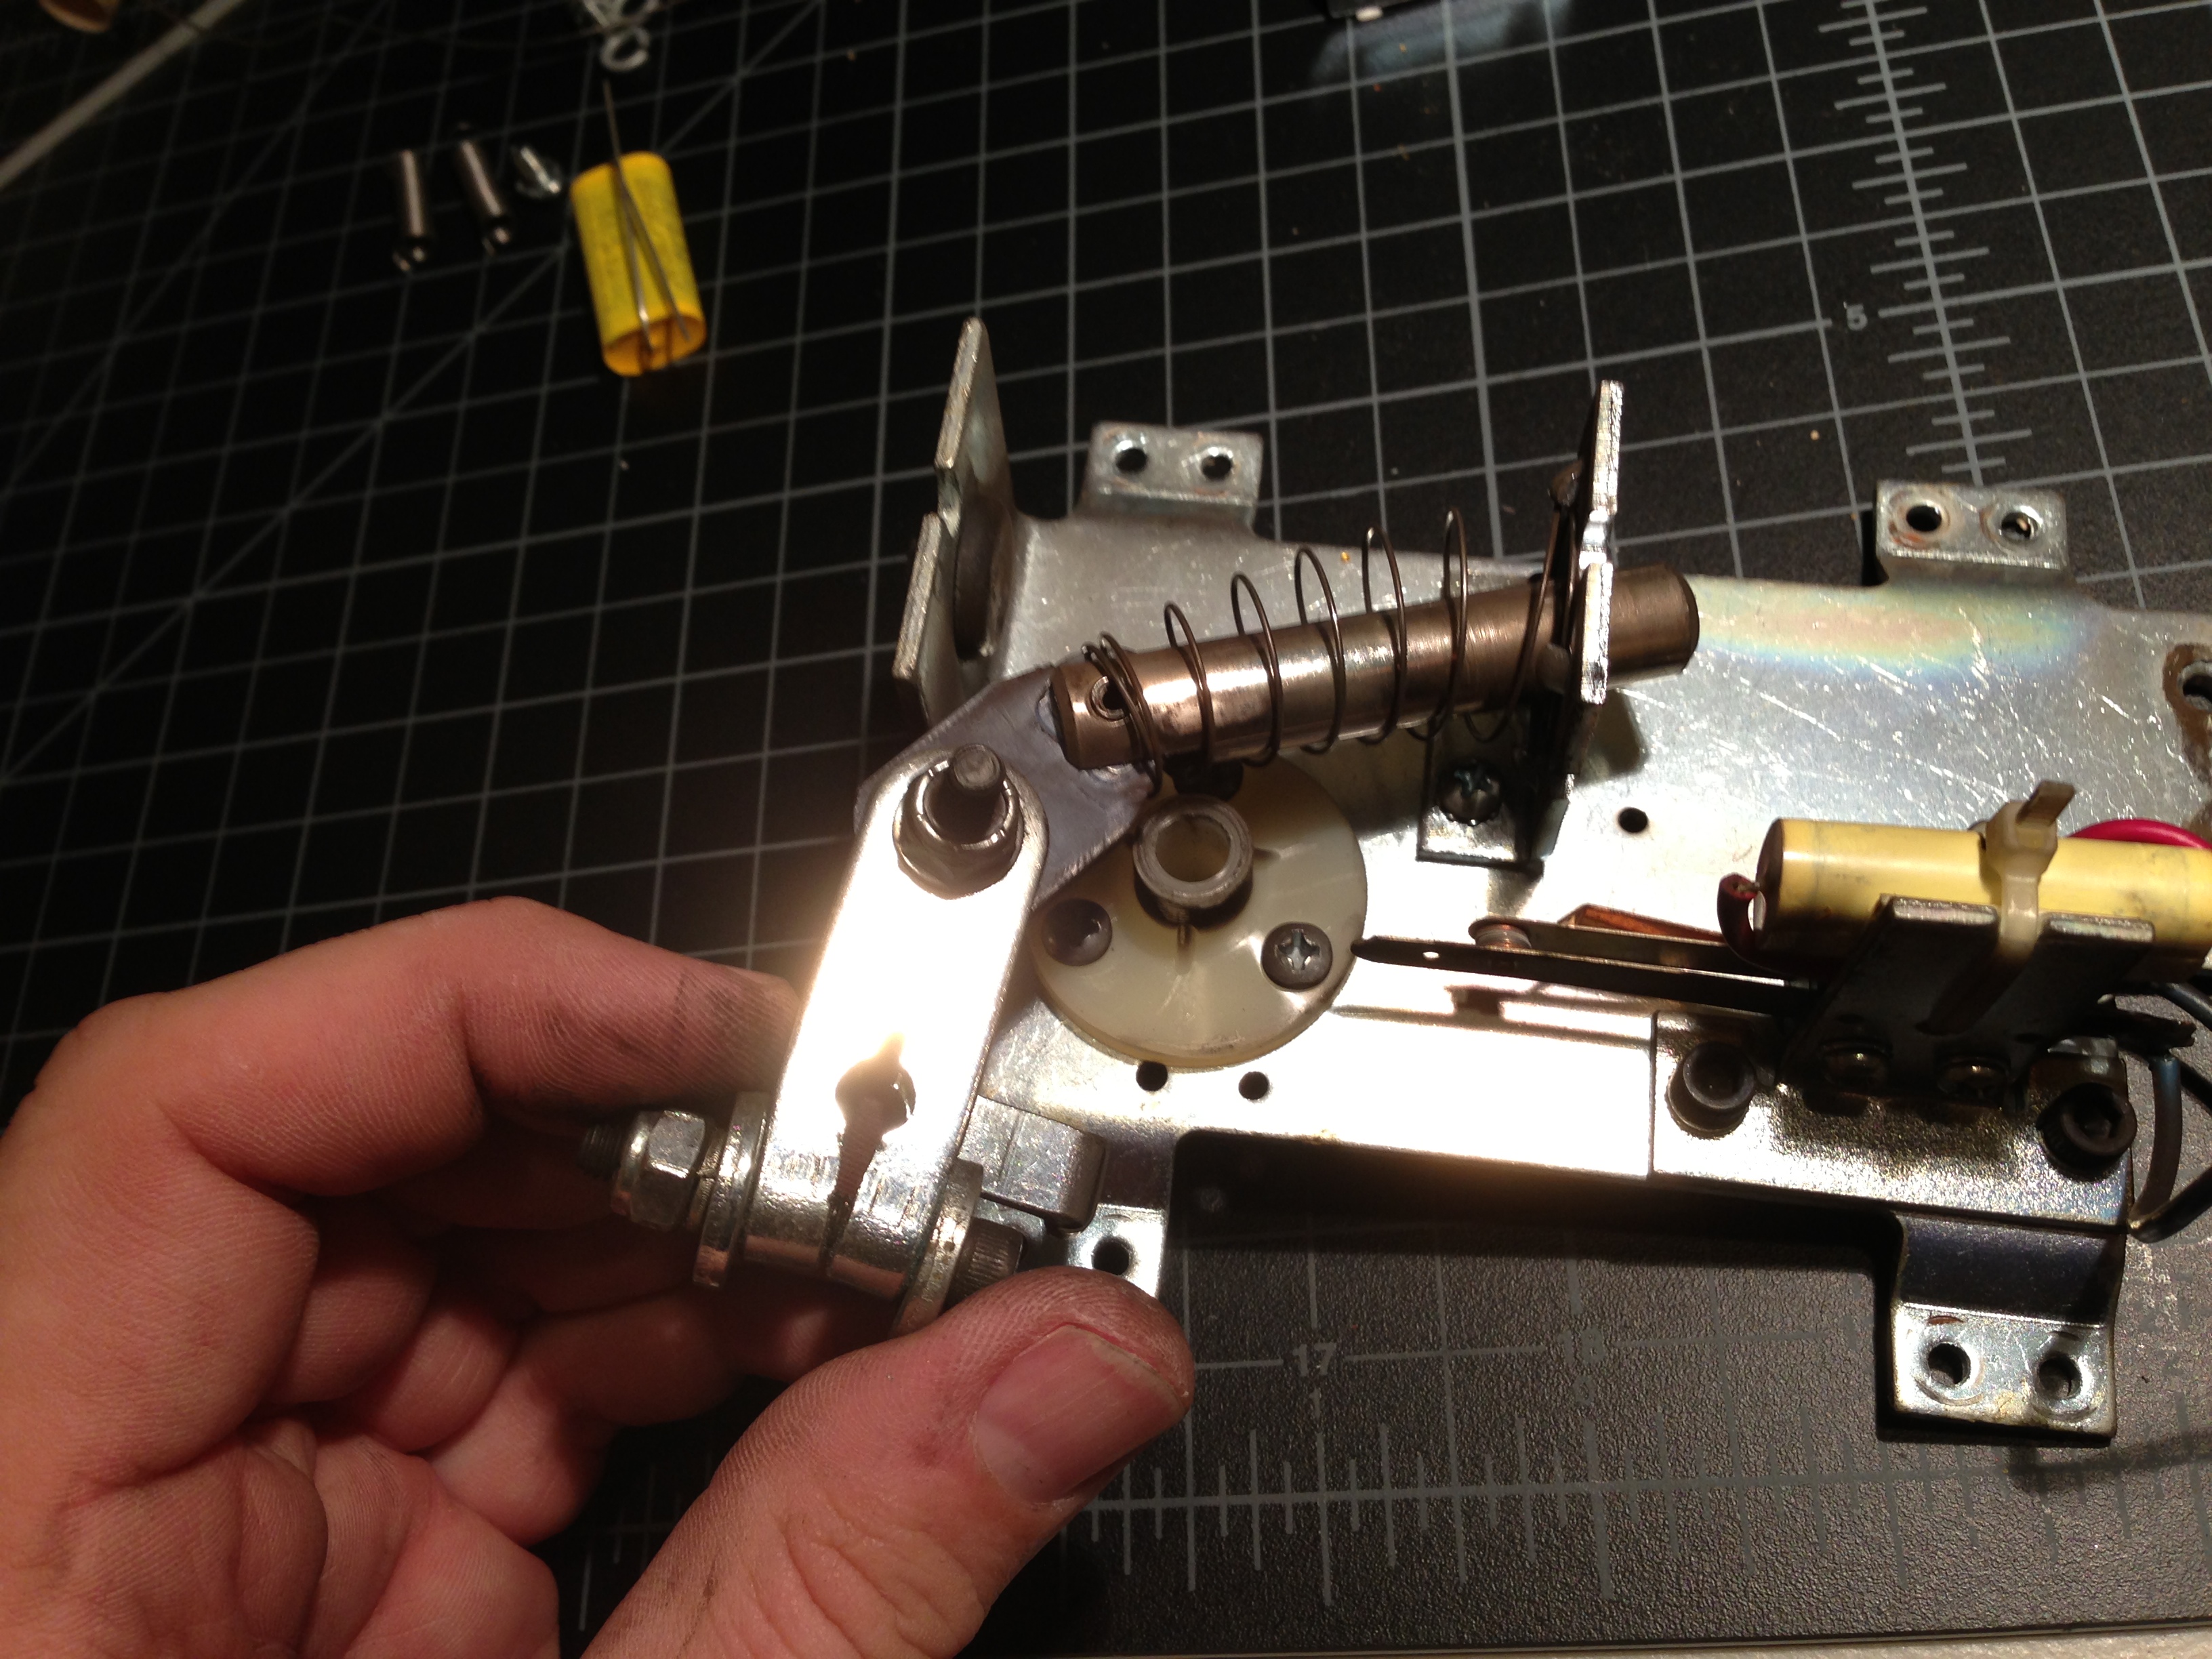
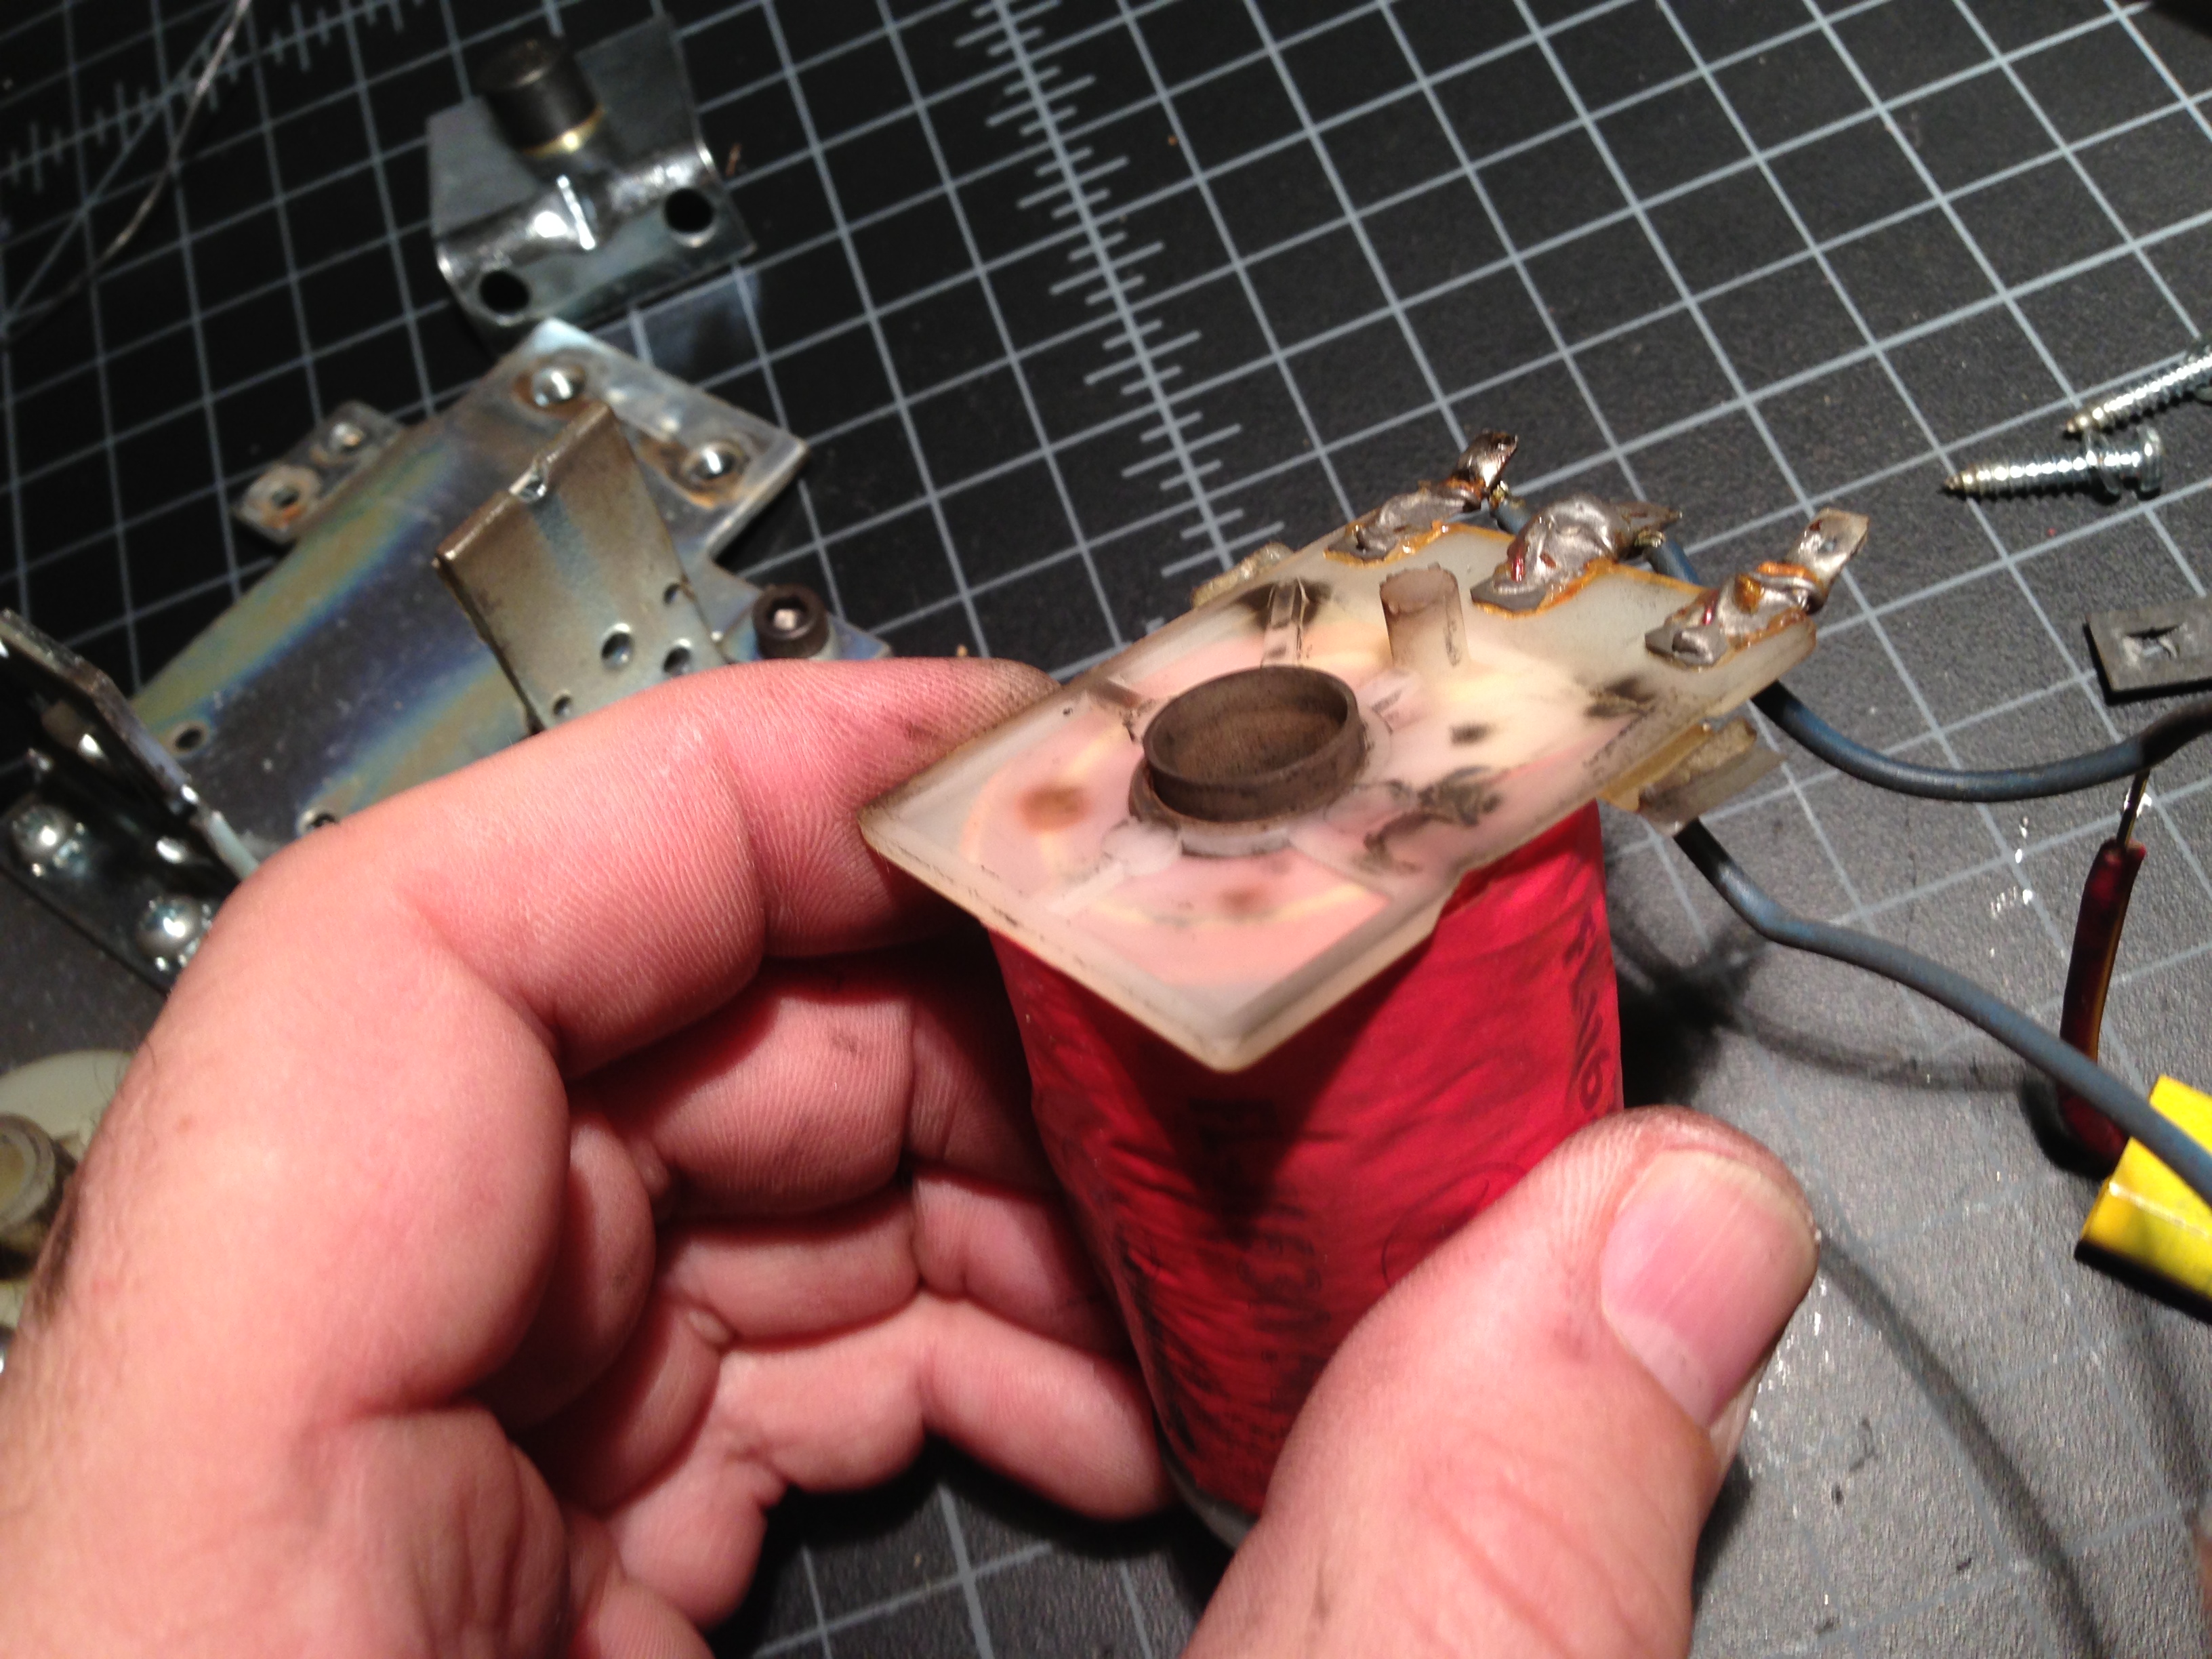
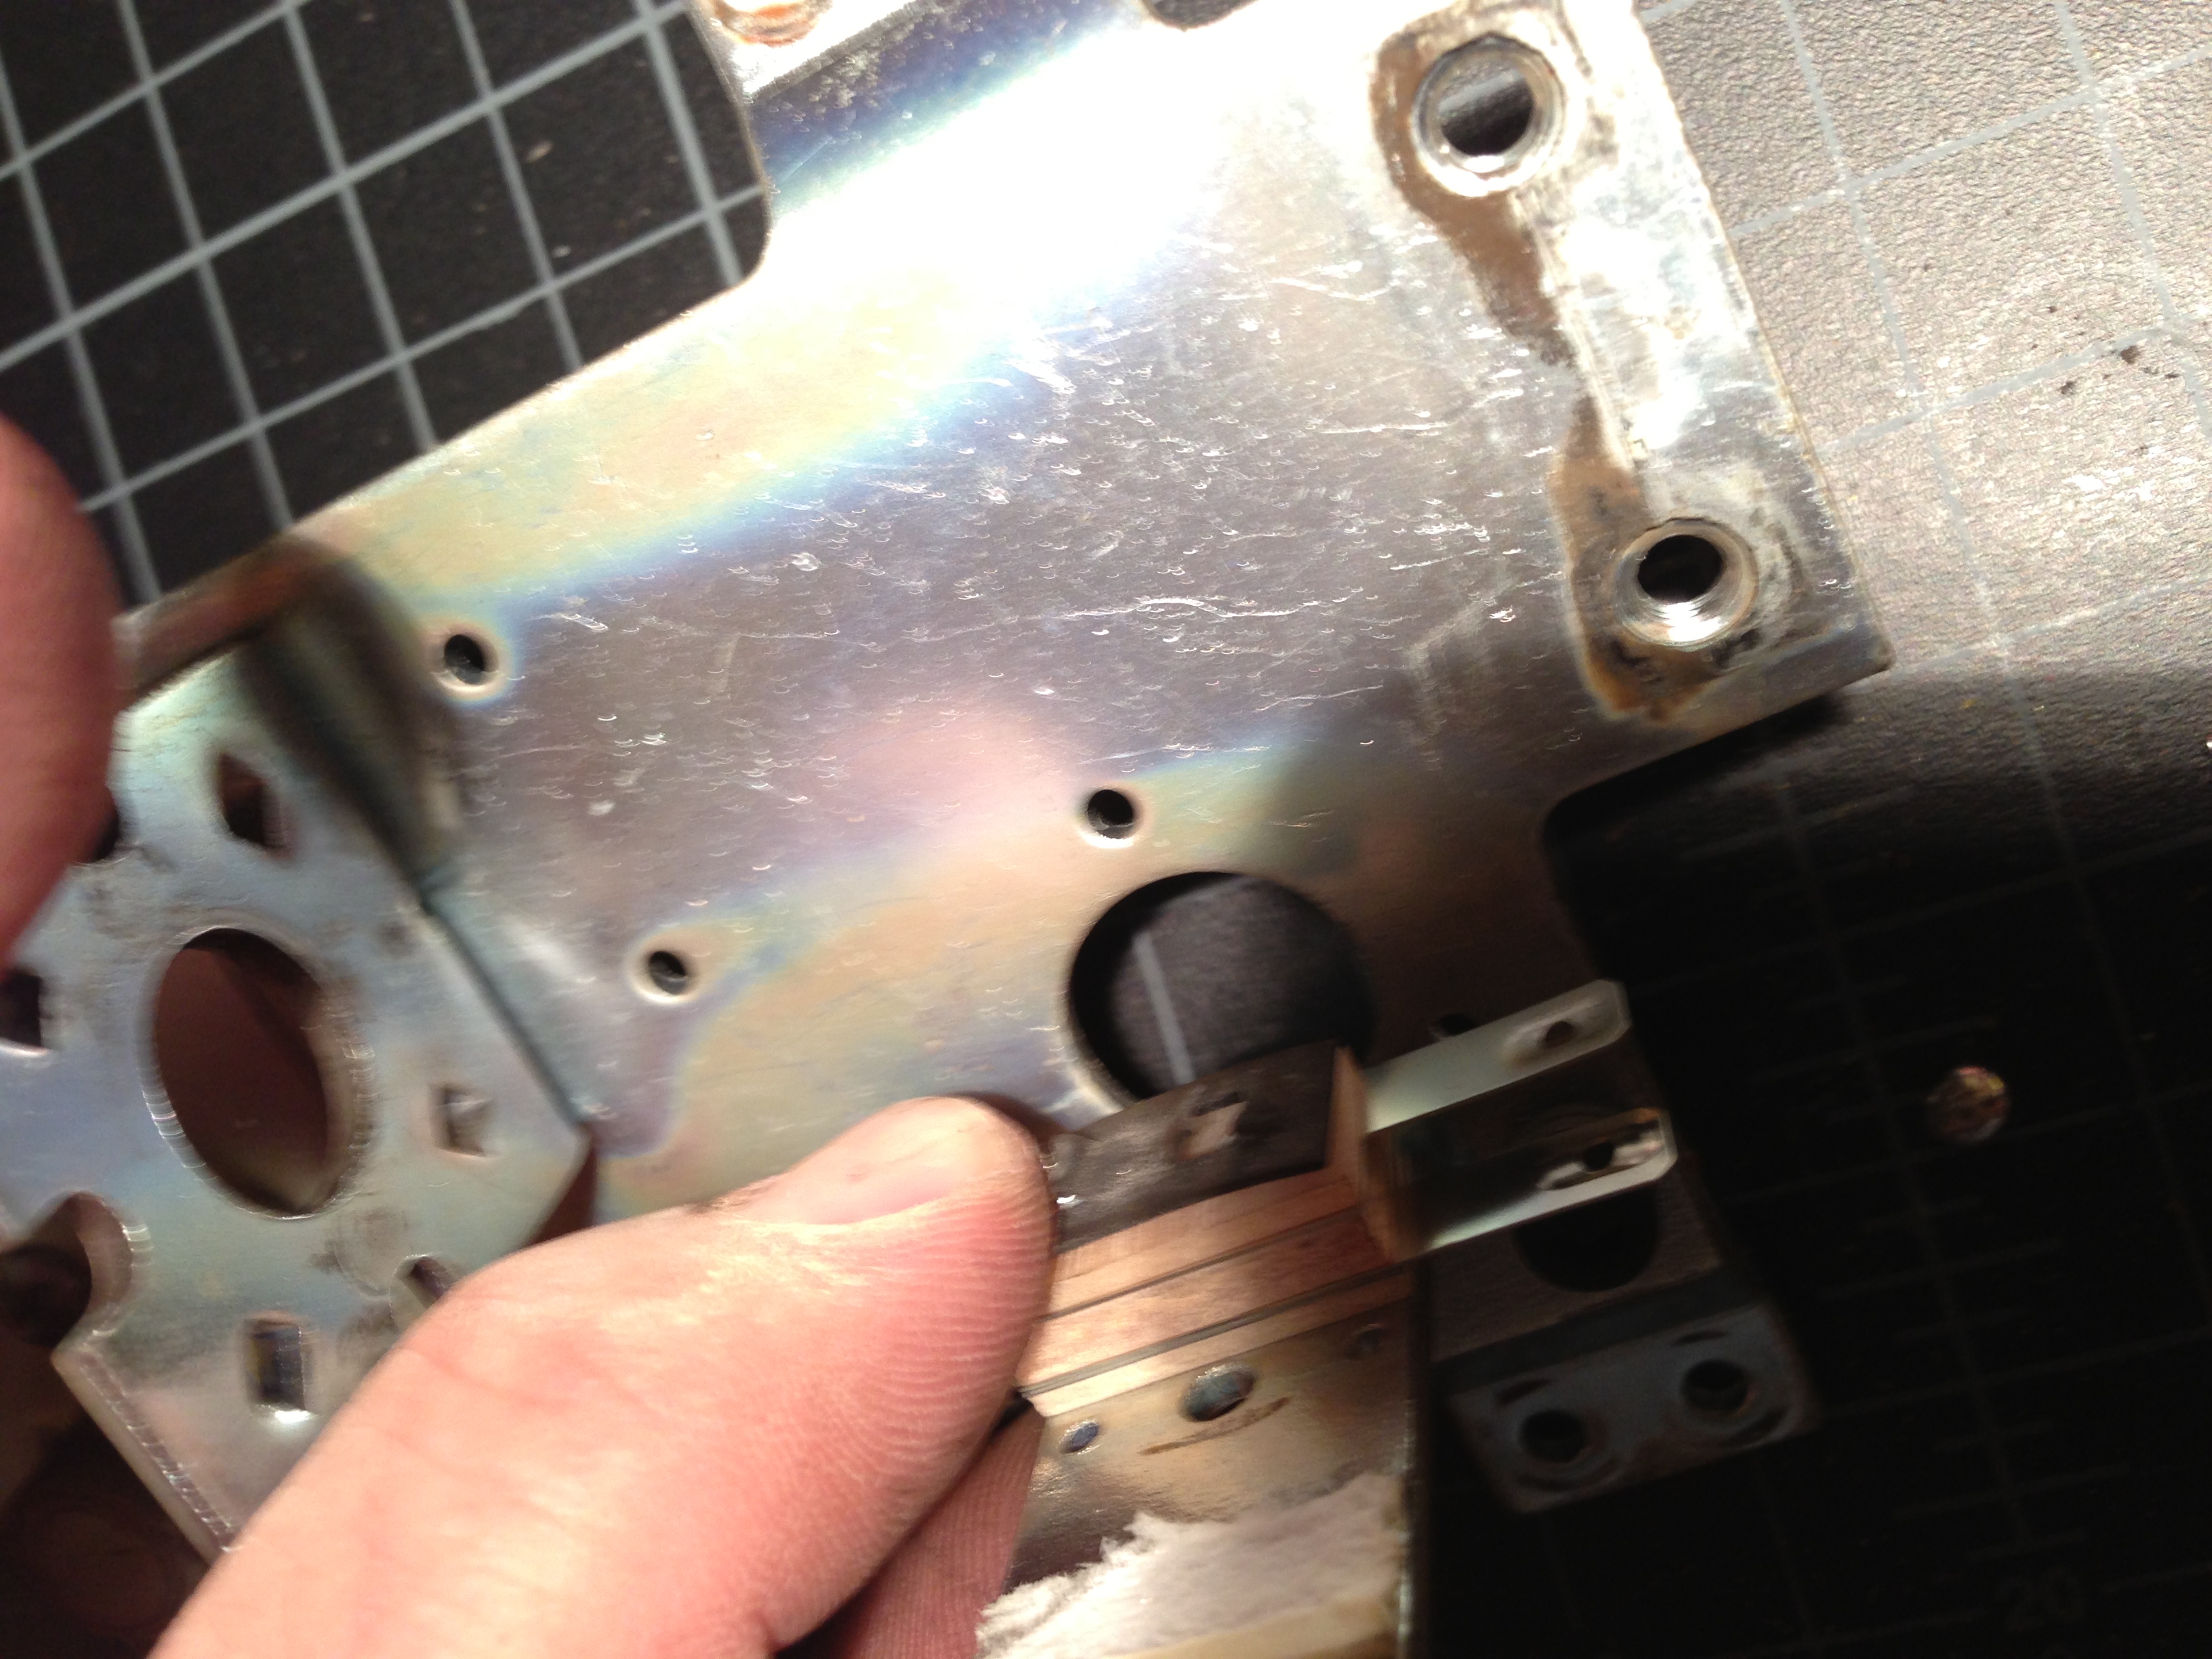
Step 3) Remove the old coil sleeve. This may be difficult, and you may need to use needle nose pliers, and some force. Be careful though, because if you pull off the lip, it may be very difficult to get the rest out.
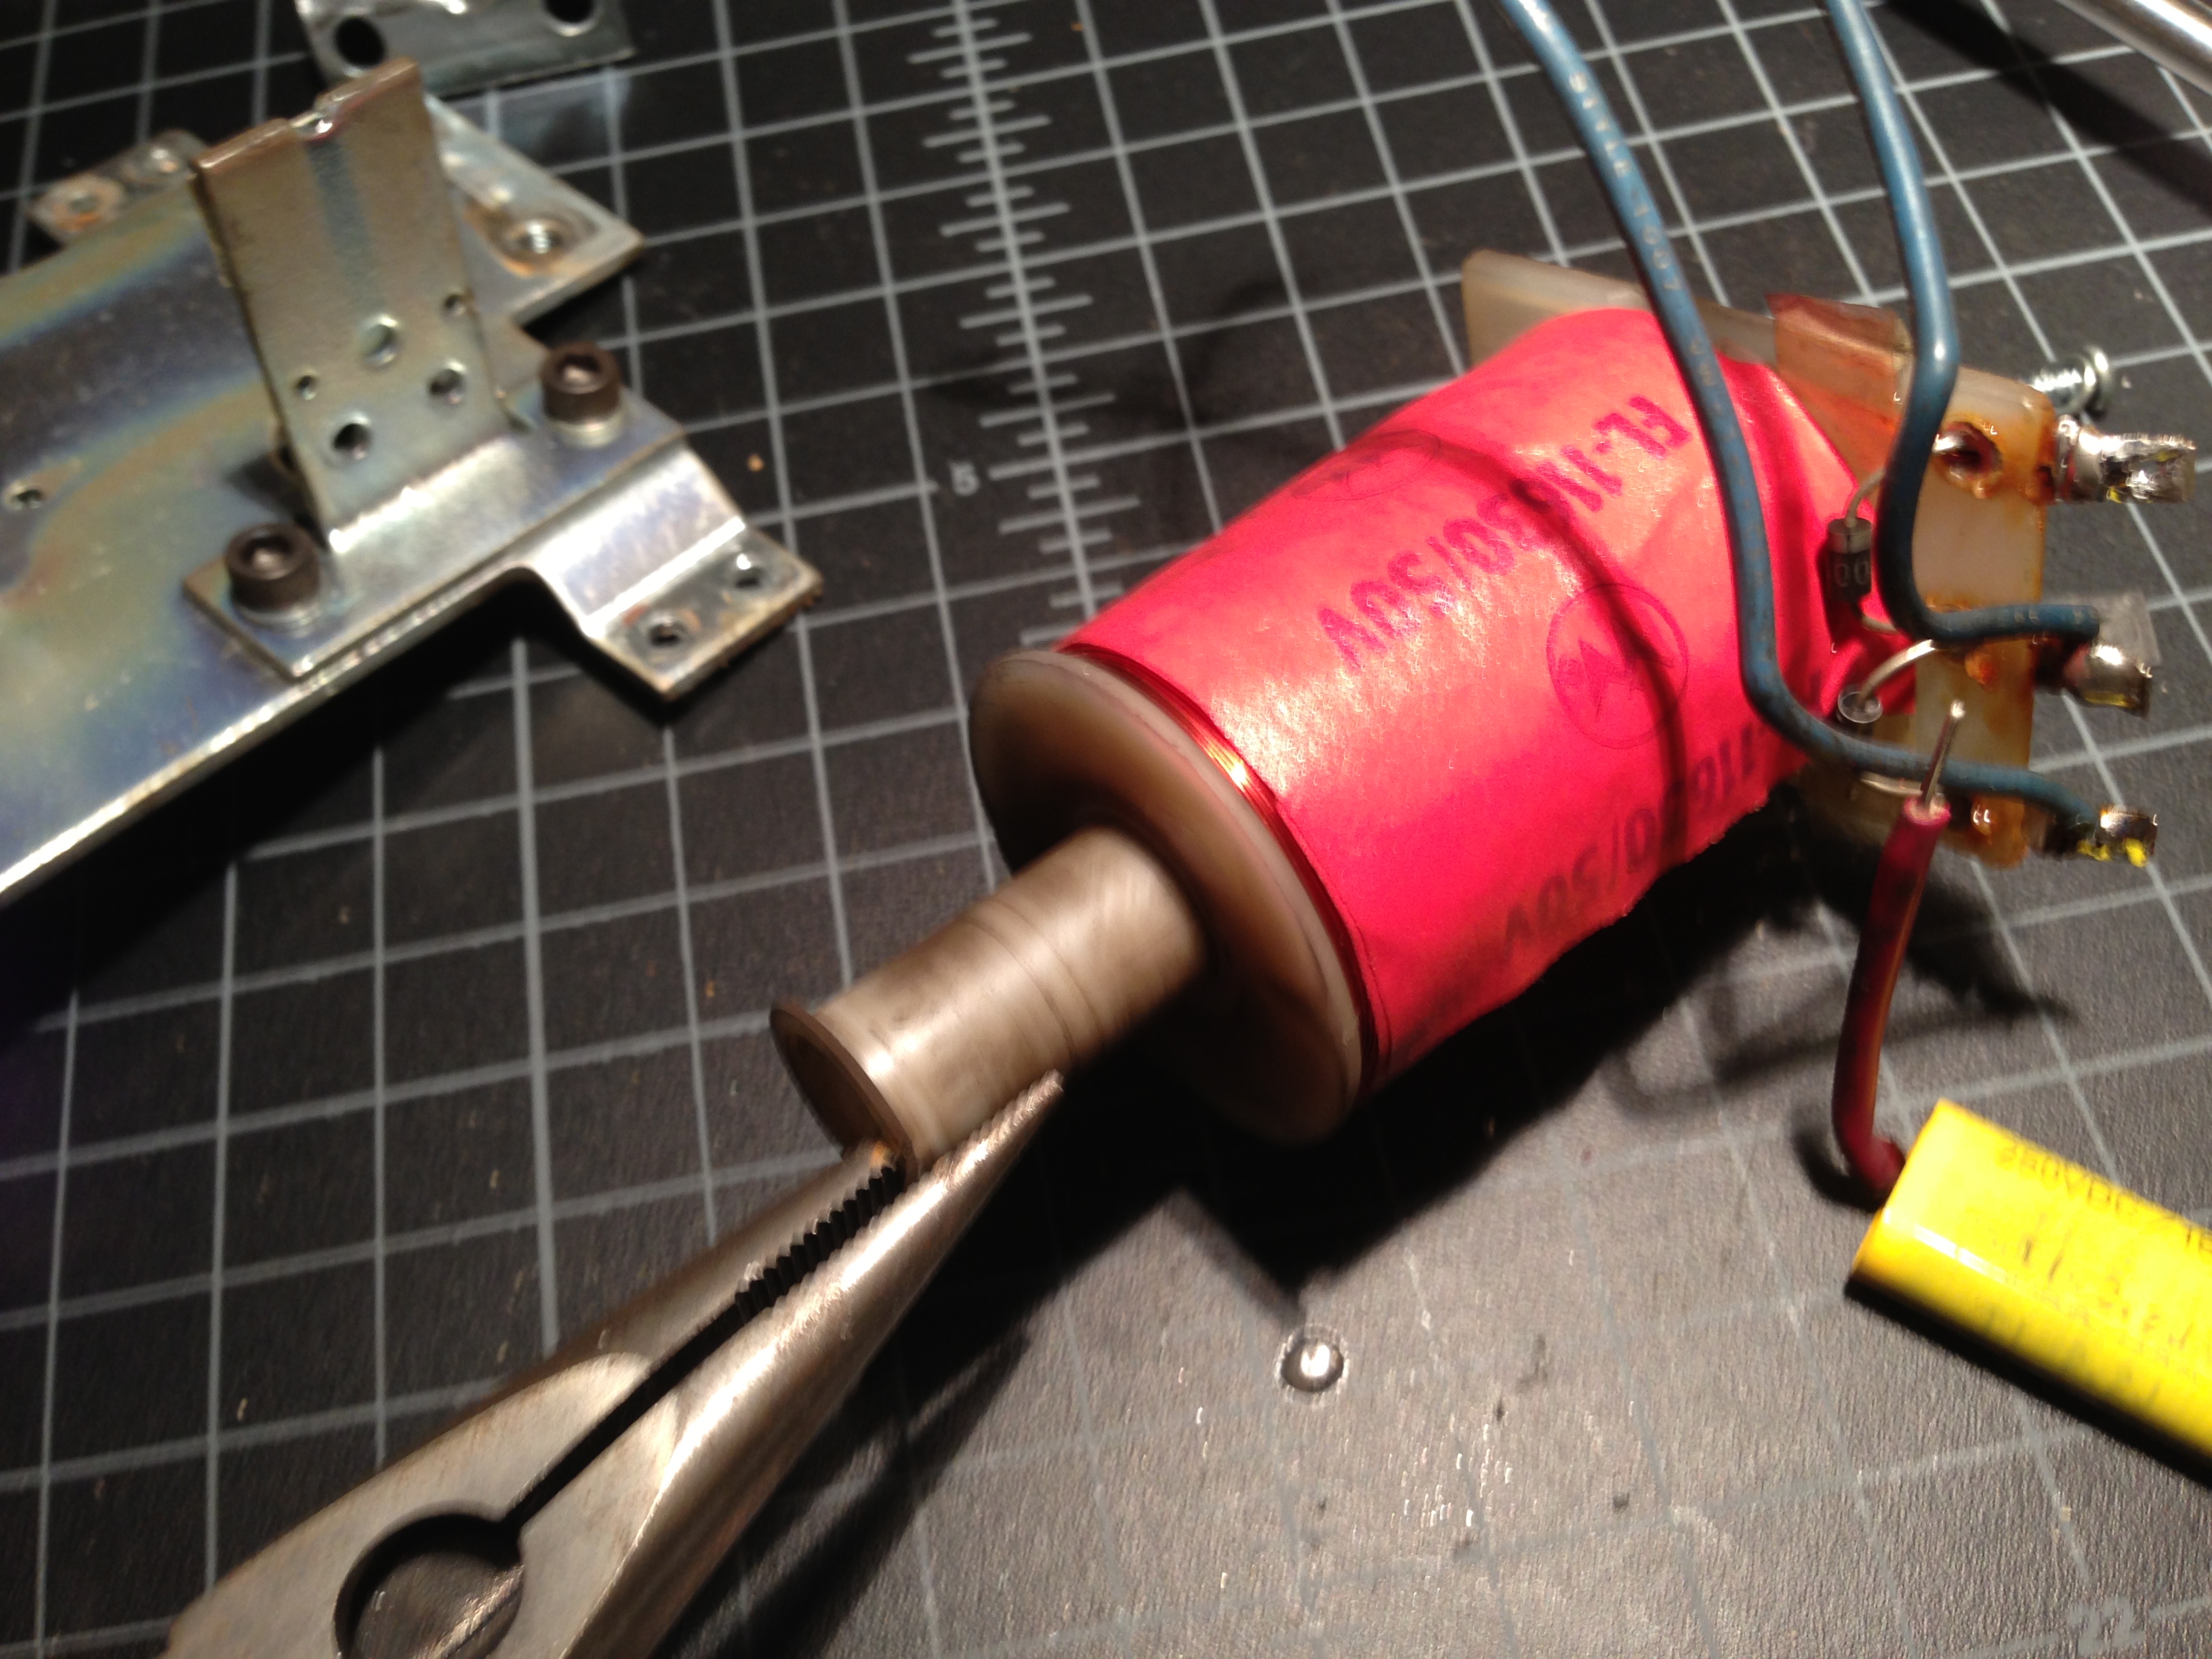
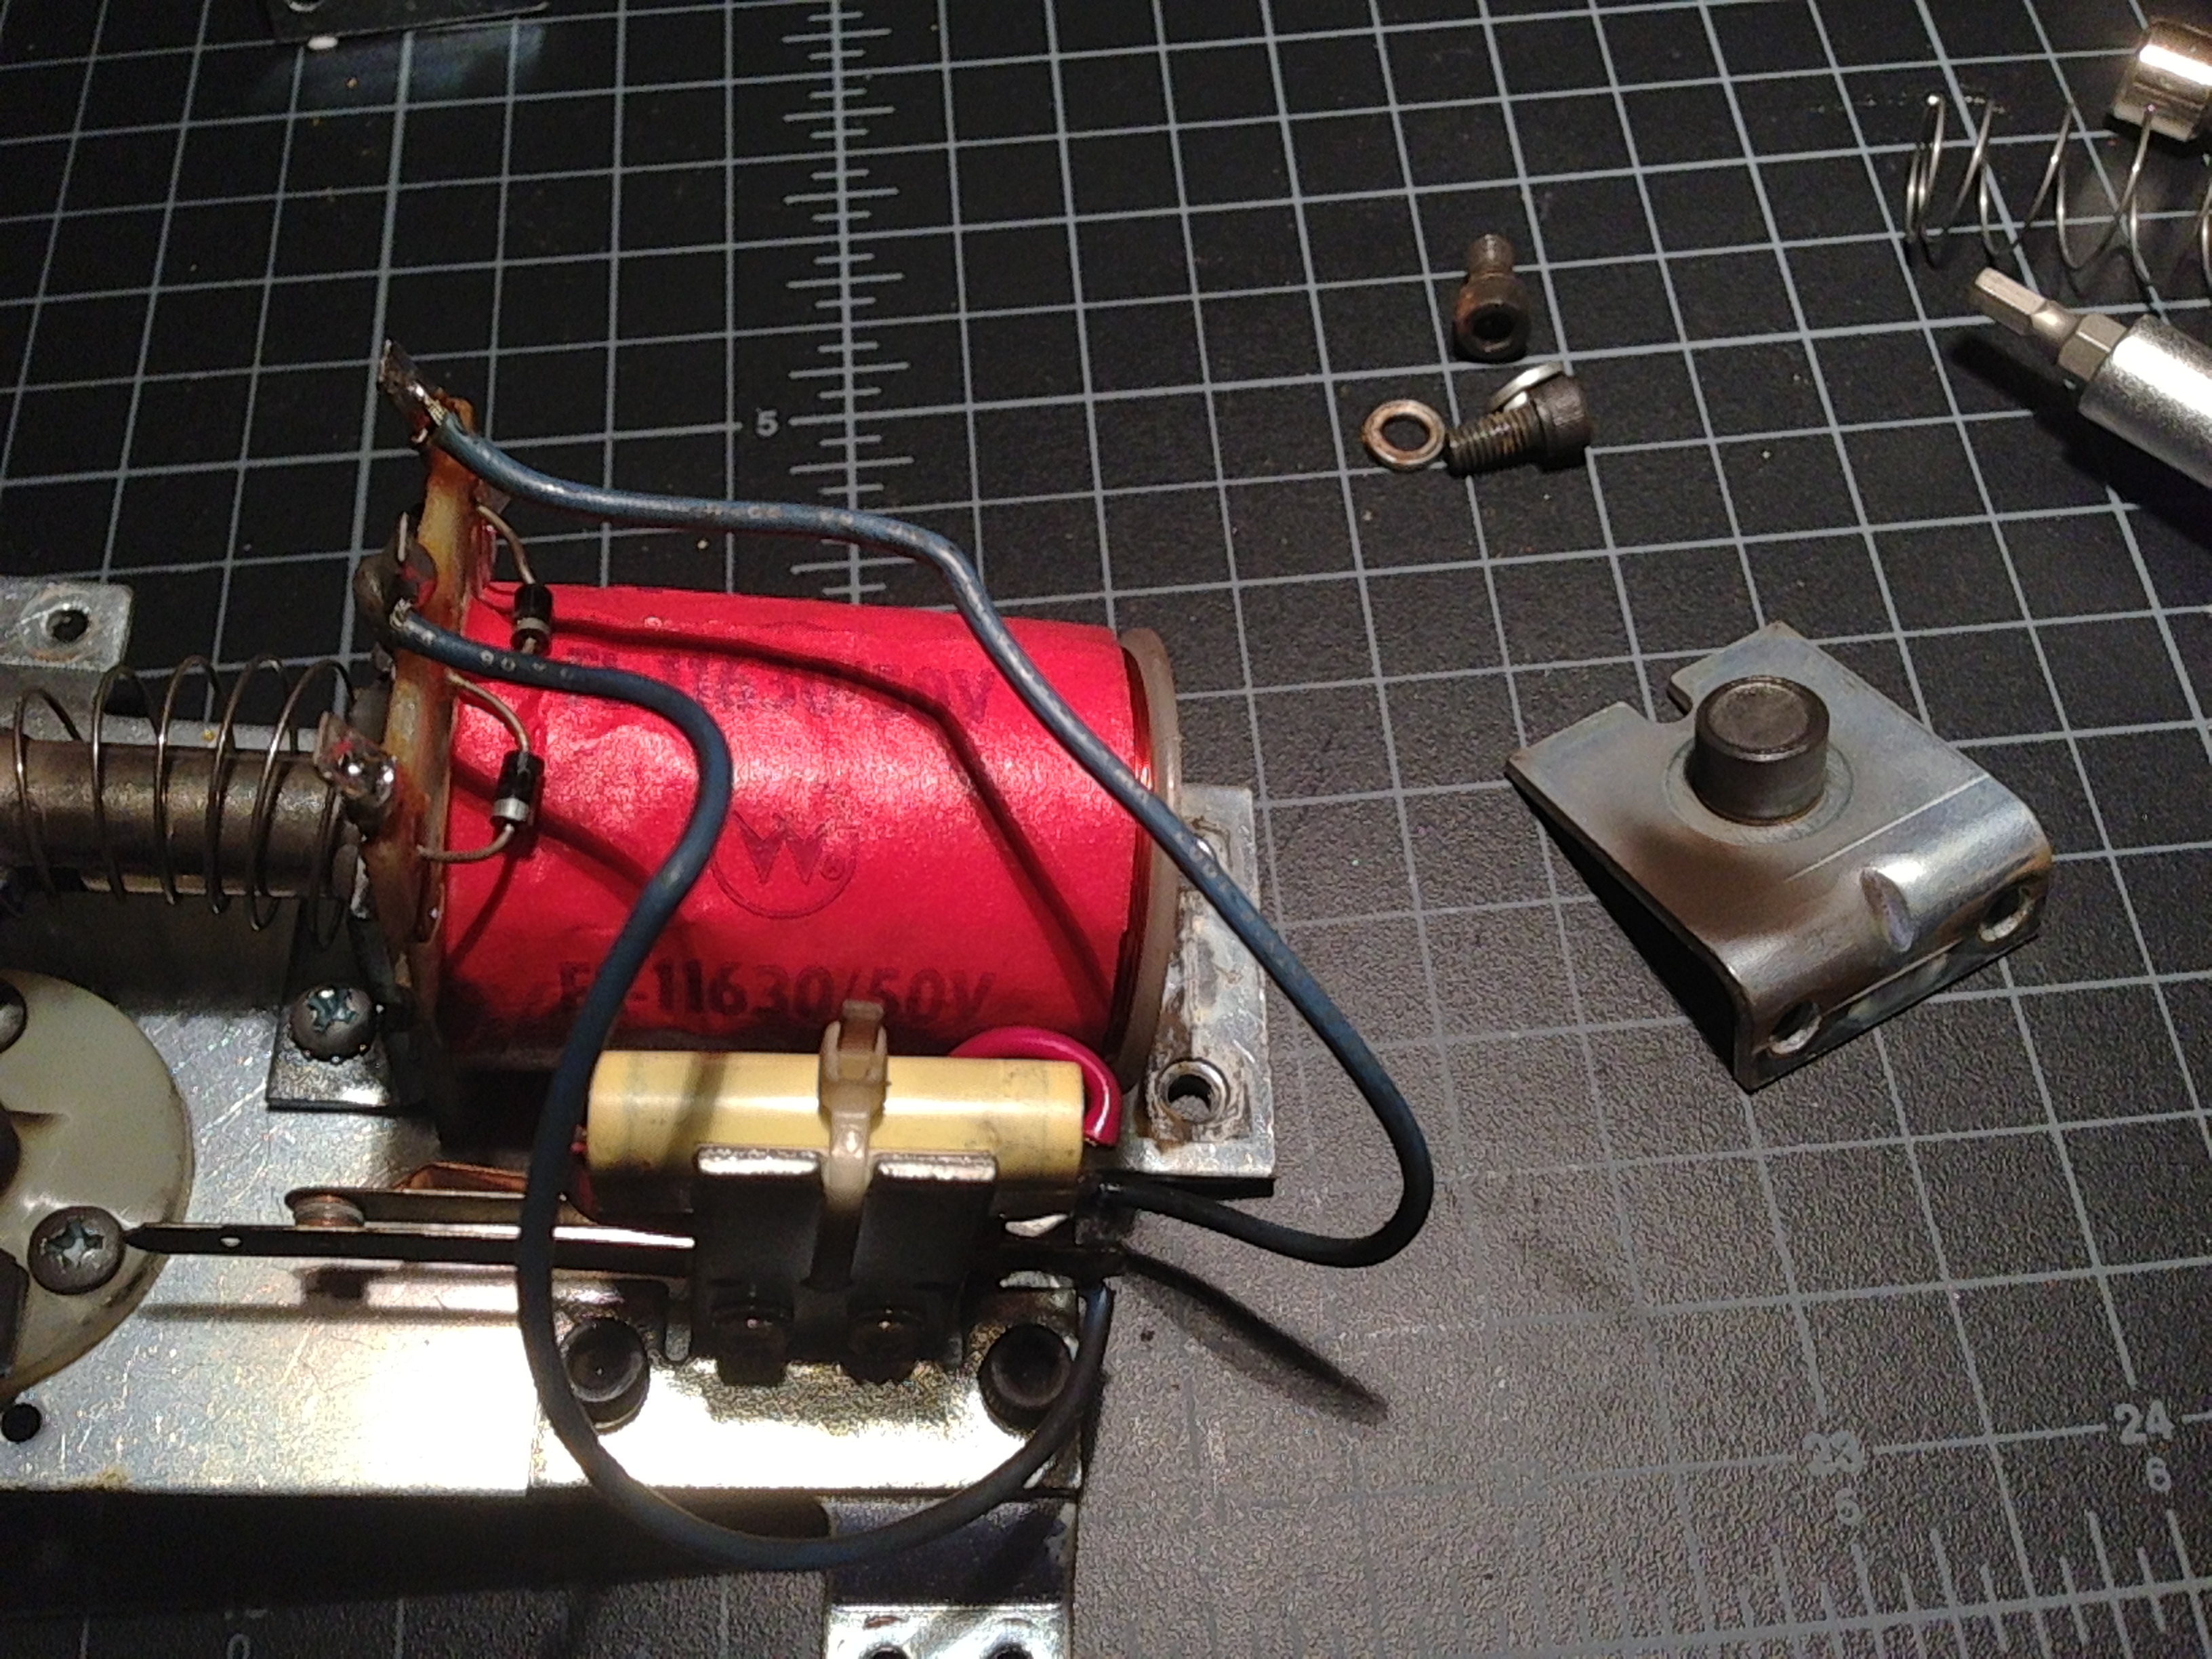
Step 4) Slide the new coil sleeve into the coil (make sure you put it in the right way). It inserts from the end without the lugs.
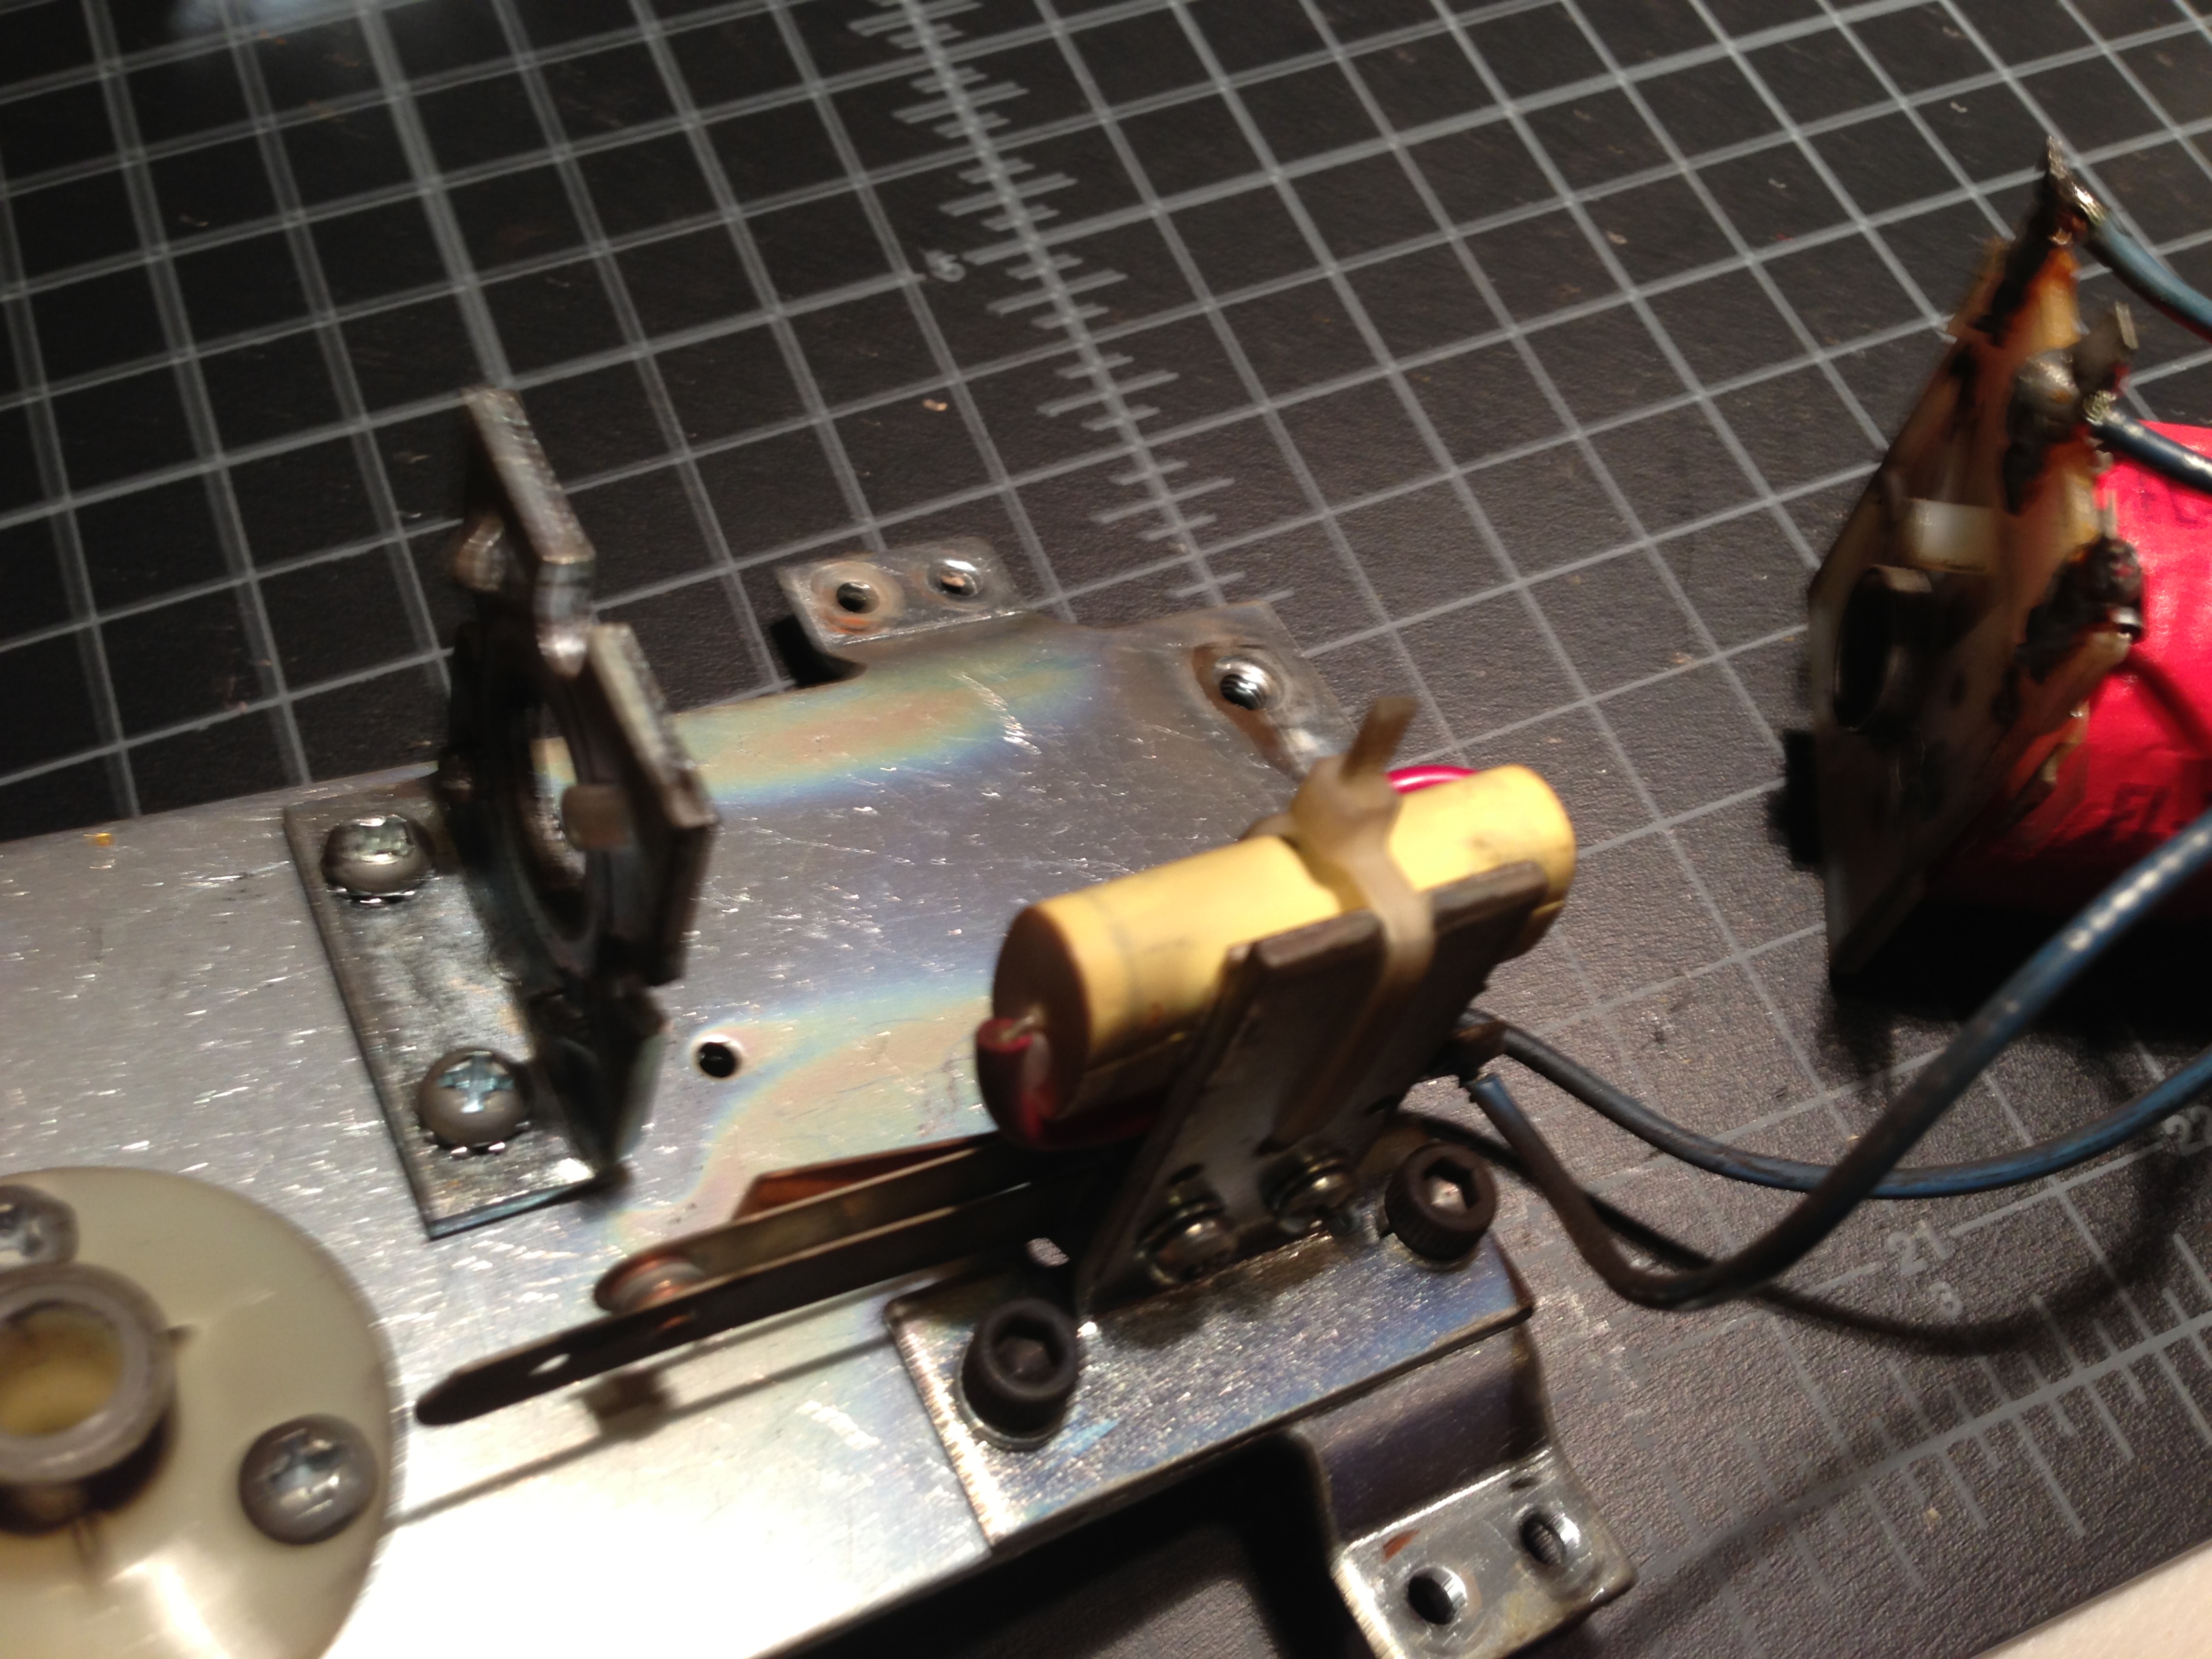
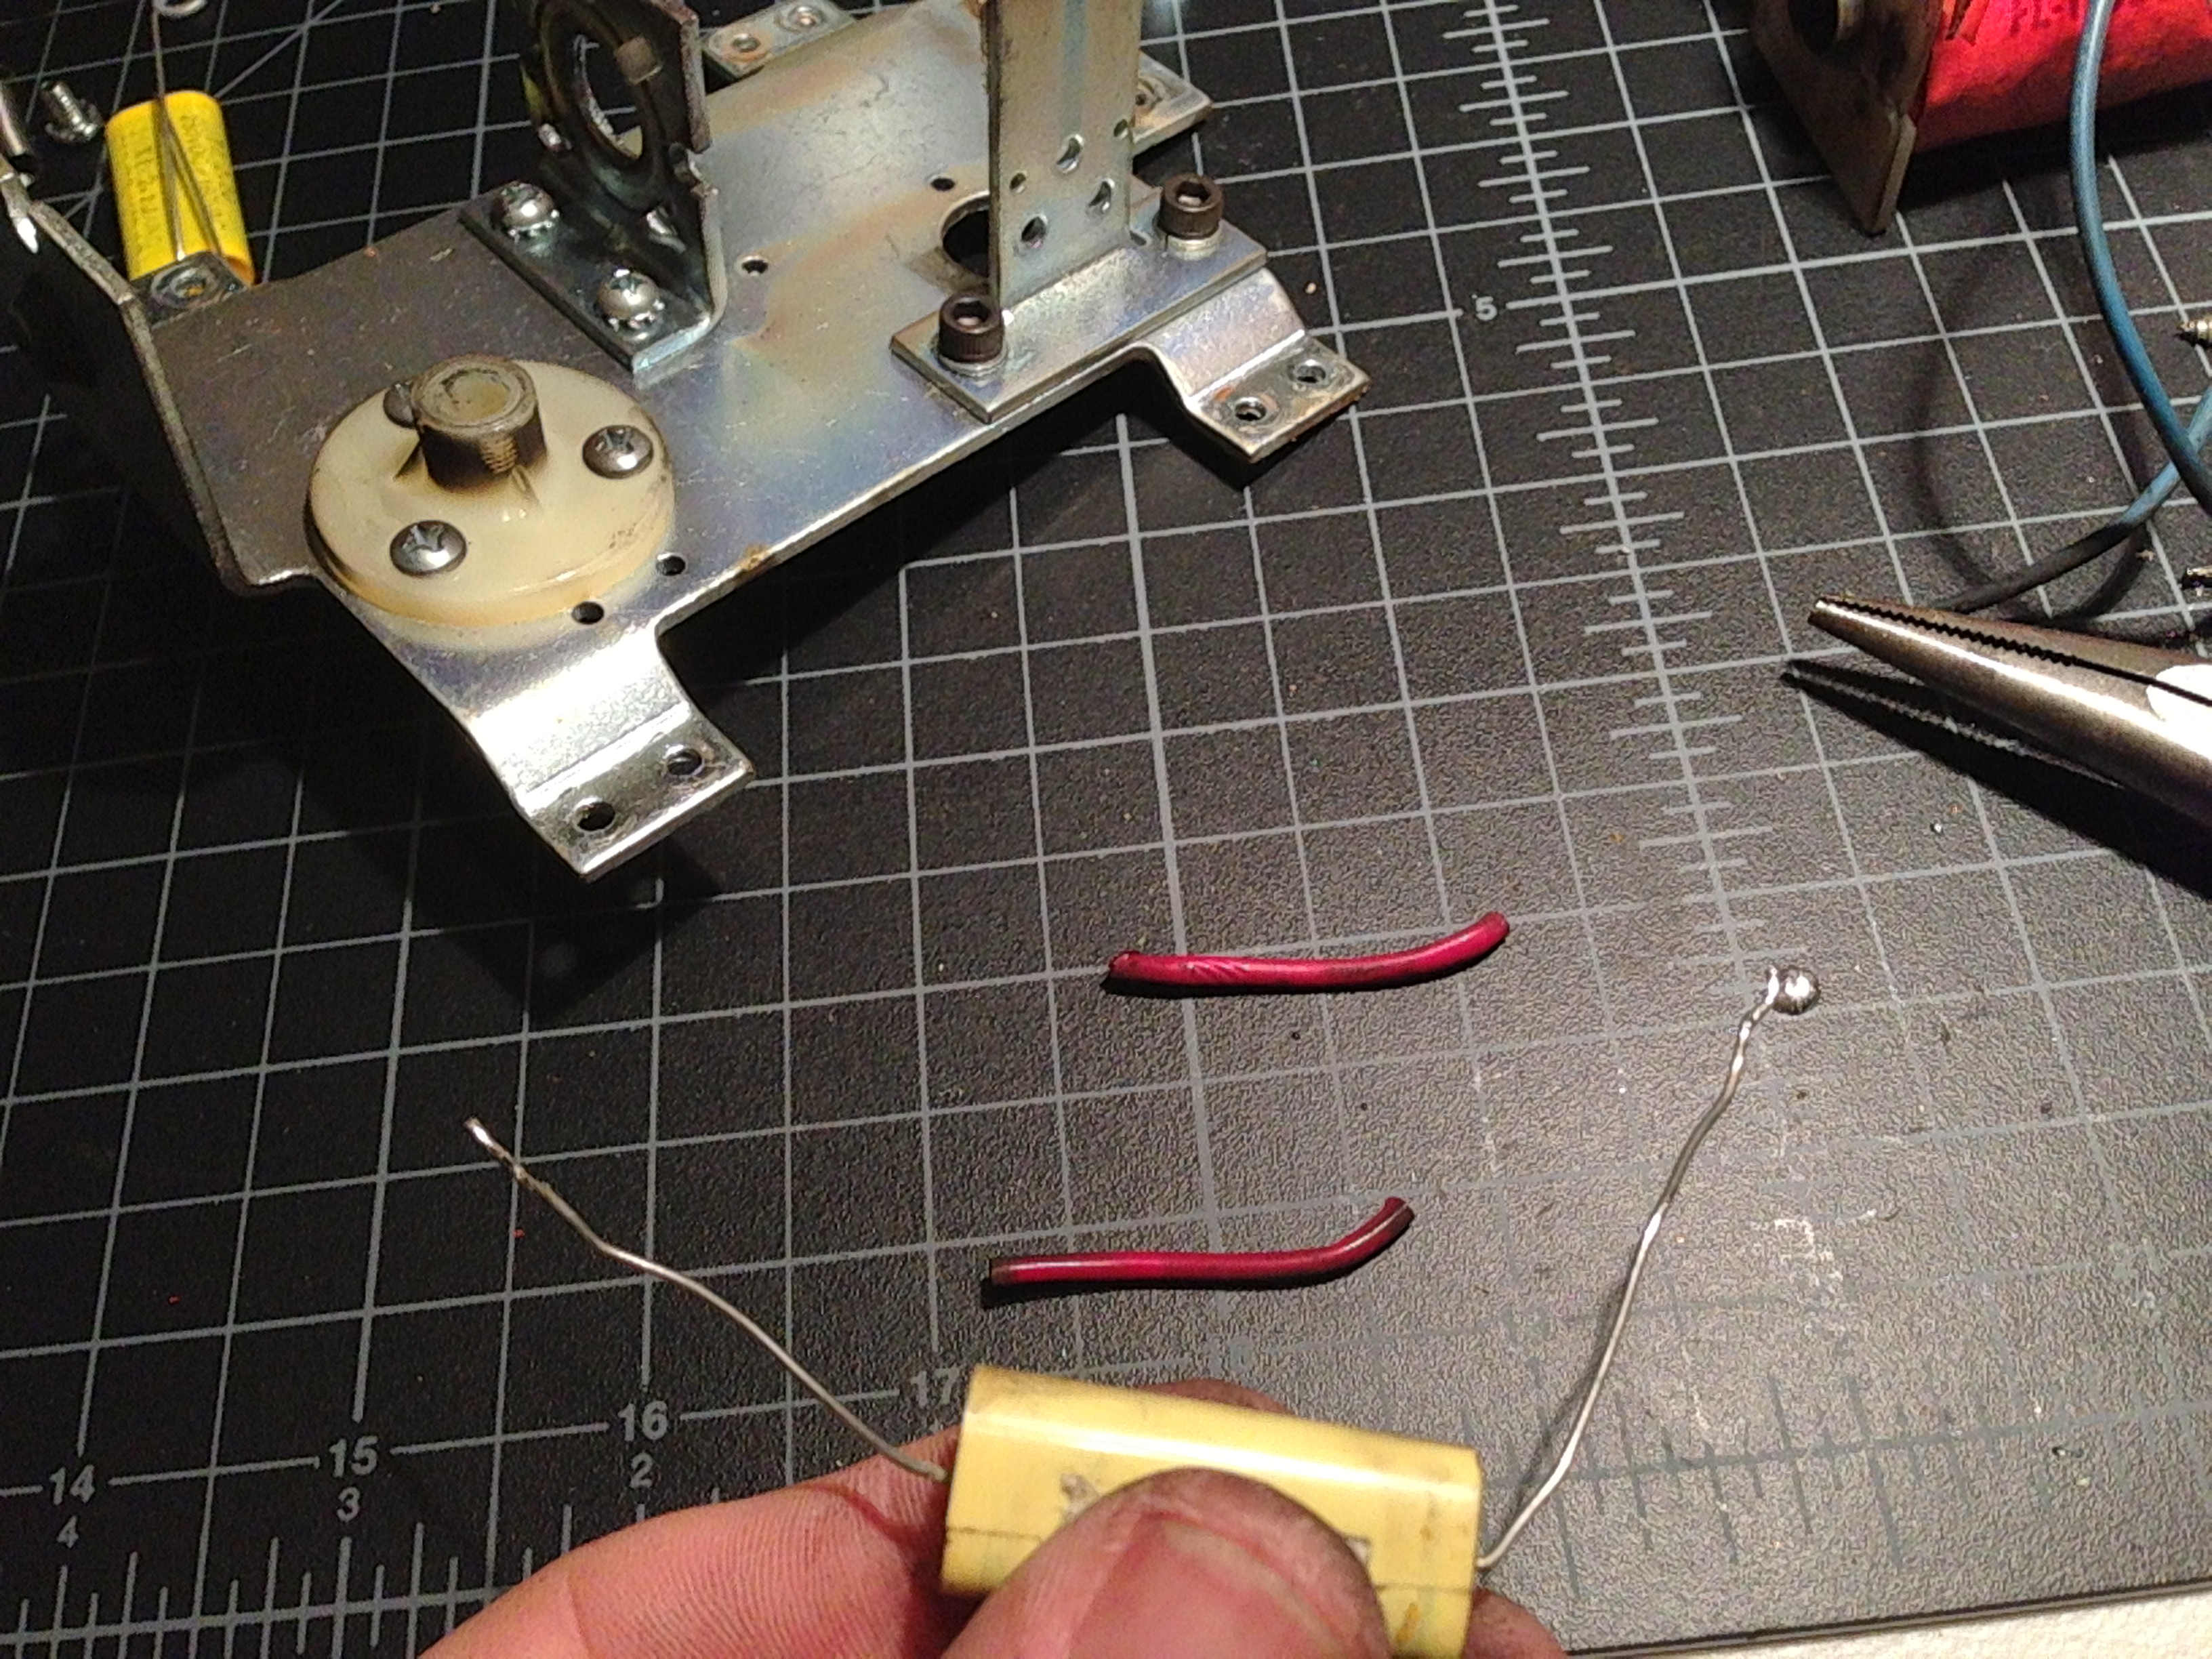
Step 5) Mount the new switch and cap to the bracket, and run the cap wires to the switch and resolder them, leaving a little extra solder on the switch ends to make it easier to attach the wires from the coil.
Step 6) Put the spring on the plunger, and insert into the bracket, then put the coil back on, over the plunger, holding the spring back. Seat the spring into the spring holders on the bracket. 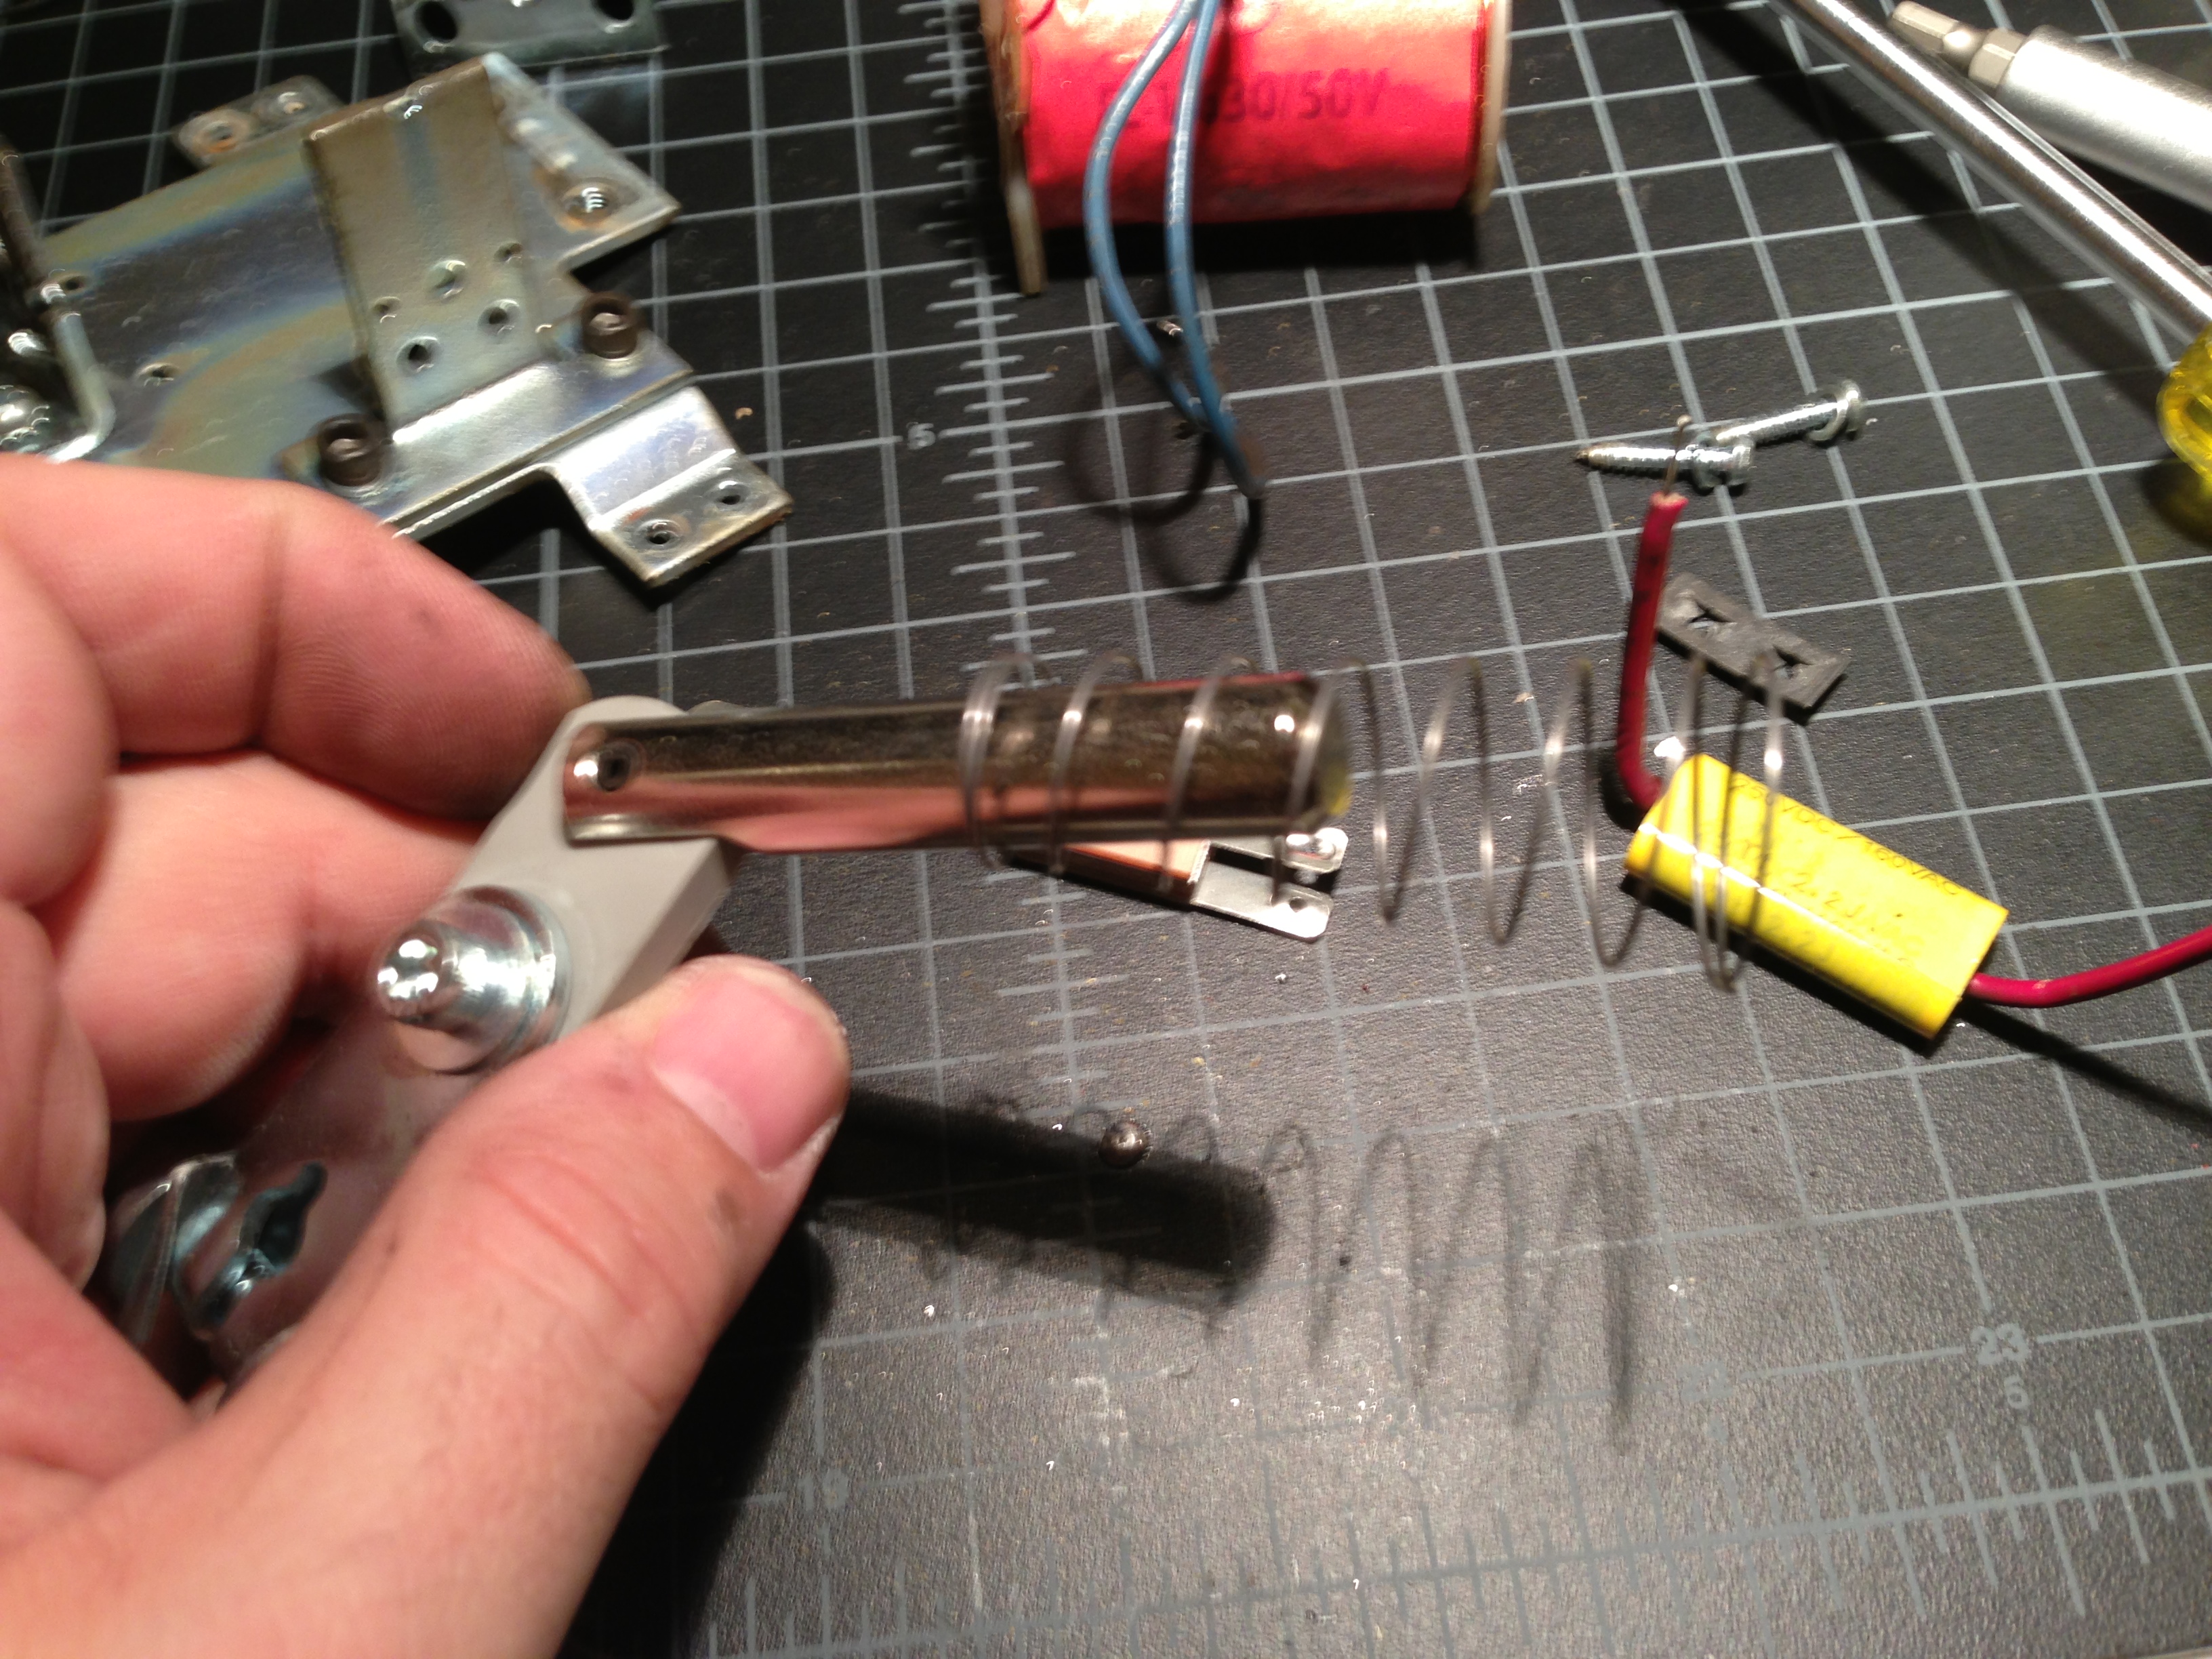
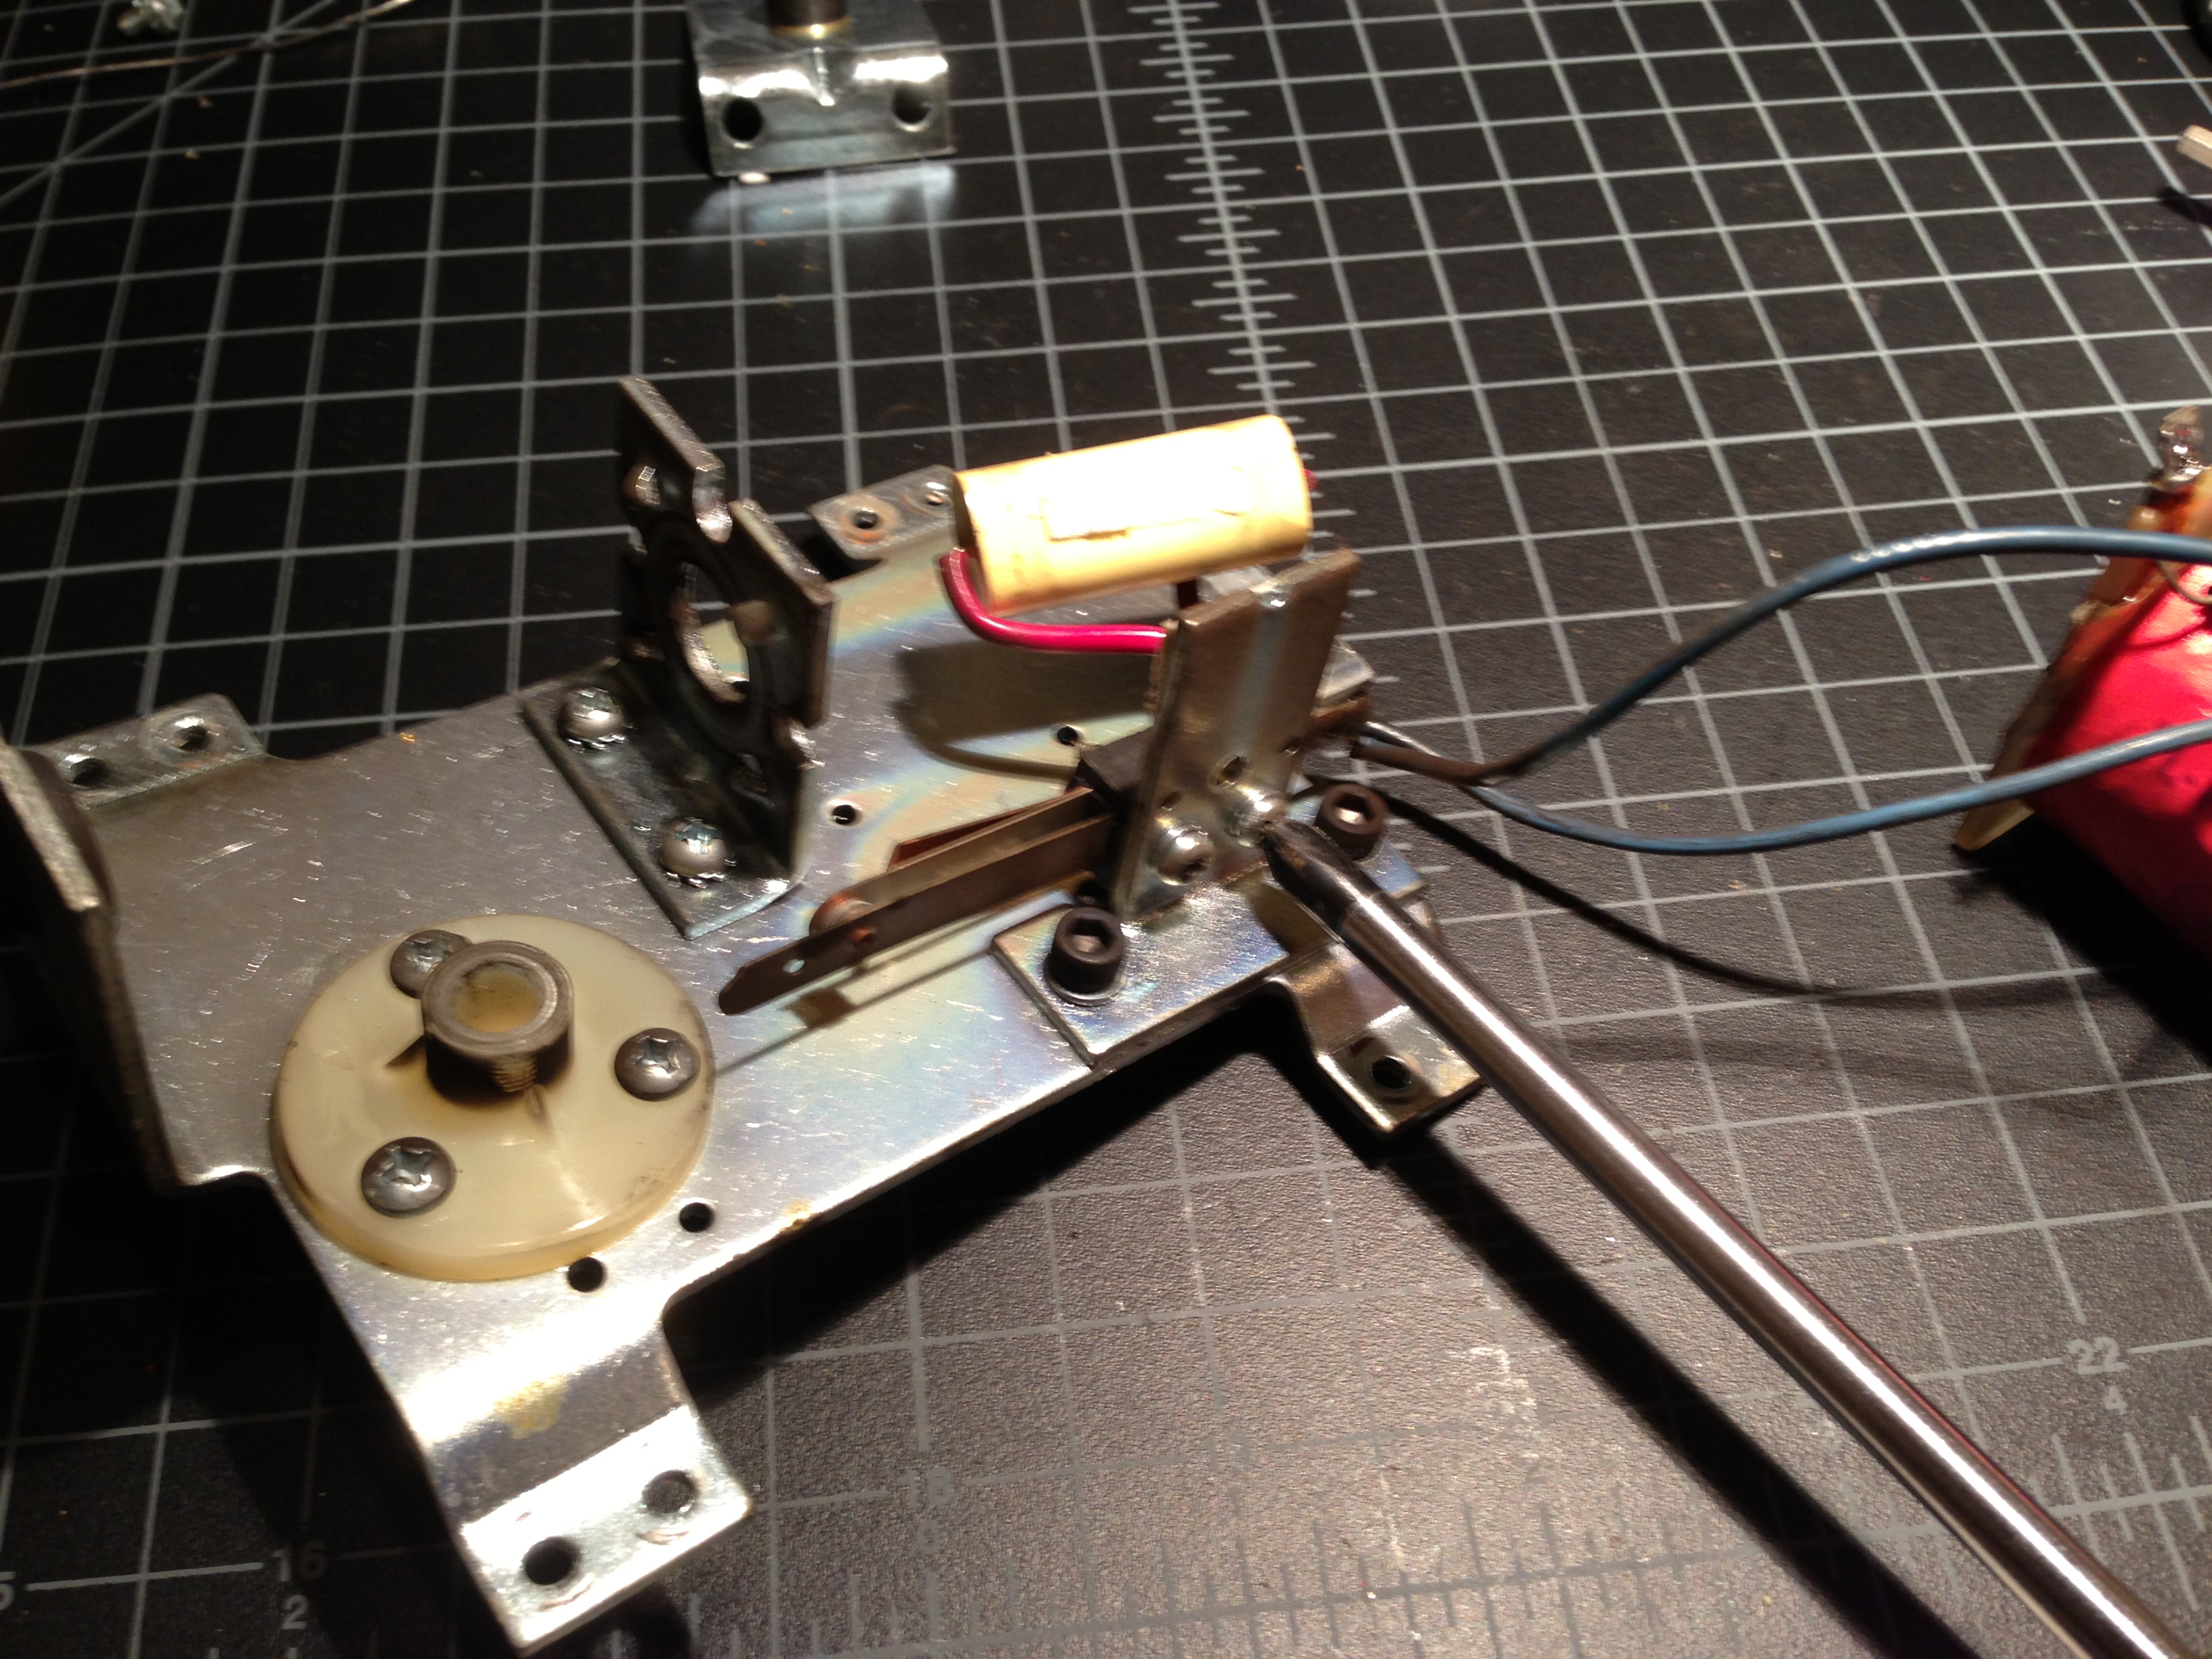
Step 7) Re-attach the coil, and coil stop, tightening the screws. If you have a new nylon flipper bushing, replace that now, and re-attach the bracket assembly to the game, and slide the flipper into the pawl, and tighten the holder bracket.