

Lucid’s Cabinet Circa 2003
Back in 2003 I saw arcade cabinet plans posted by a guy called “Lucid” for a MAME style cabinet you could build yourself out of MDF. I had never worked with MDF before, but from what I read, it was very forgiving, and even a novice woodworker could do a decent job with it. I decided to give it a go. Lucid’s site disappeared for a while after I used it, but then showed up again. Here it is if you are interested. (looks like the URL has gone stale again…, I’m linking a copy I have locally) http://www.lusid.net/arcade/ The reason I post this particular plan is it’s simplicity. There are lots of resources for building arcade machines, but this one is one of the simplest I’ve seen. I think these plans produce a cabinet that looks authentic, is the right size for most folks, and most people can actually execute the plans! Whatever plans you use, have fun with it…
Here are Lucid’s cabinet plans Cabinet_Design_Rev7 and control panel templates CPtemplates.


I hadn’t seen many detailed plans before I found Lucid’s site, so for me this was a sign that I needed to try my hand at building one of these. Over Christmas vacation that year, I planned to build my cabinet. I ordered my buttons, coindoor, joysticks, and trackball from HAPP Controls and patiently waited for them to arrive. I planned to use an old 21″ monitor I had, and also a computer to run MAME. I had played with MAME a bit before that, and knew how to set it up, so I got all that ready while I waited for stuff to arrive. I also found plans for button layouts and worked with those to plan my control panel.
I went to Home Depot and bought 3 sheets of 8×4 5/8″ MDF, and started in on all the cuts. Everything went well, although one thing I learned is that when you cut MDF, it puts out a LOT of sawdust, as that’s essentially what it is to begin with.
Here’s some of the original components I used. I’ll list some of the upgrades I’ve done over the years in the next few weeks.
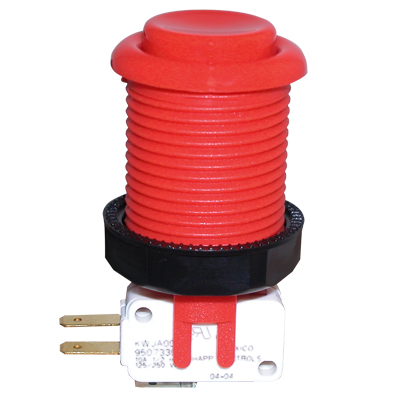
Happ Buttons – I used various colors – these are the red ones, they also have many other colors. I used HAPP’s 3″ Trackball, along with a mounting kit for it.
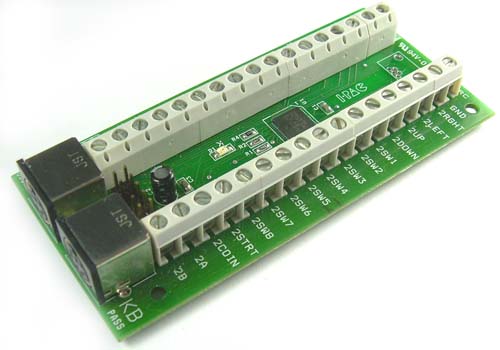
I used Ultimarc’s ipac. These have gone through a number of changes over the years, but essentially they work the same way. This maps your buttons to keyboard keys that MAME and other emulators understand.
The cabinet was a big hit, and I have steadily upgraded it over the years, along with dragging it all over the place with me as I have moved. There were a few things that I never did that I had always wanted to – like getting professional side art, a monitor bezel, control panel overlay. Over this last Thanksgiving holiday, I decided to finish this stuff off – as well as finally putting the cabinet on wheels to make it easier to move.
Current Components


I used a 26″ ViewSonic flat screen monitor which I picked out to fit the cavity as closely as possible. I had to trim the plastic on the edges of the monitor case on both sides to get it to fit. With the larger monitor, in 16:9 format, I can configure MAME to use the bezel artwork around the viewport for the game.
The marquee, side art, and control panel overlay were printed by https://www.gameongrafix.com/

I used a bezel from Happ to place in front of the monitor, and a piece of tempered glass, with rubber edging. Happ bezel: https://na.suzohapp.com/products/monitors/49-7627-00
The control panel overlay is laid over the wooden control panel, and holes cut for the buttons to slide through. A plexiglass cover was cut to fit over the panel and overlay, and is held down by the buttons and other controls that are attached from below the control panel.
I’ve used two kinds of lighted buttons on the panel – single color and RGB. https://www.ultimarc.com/ultralux.html

Under the control panel are the controllers that handle the mapping of the buttons, joystick, trackball, and spinner to the inputs for MAME. MAME maps these inputs to the inputs for each game.

Control Panel Box 
Underside of Panel 
Underside of Trackball 
Underside of Buttons 
Spinner (right) and RGB LED Controller (middle) 
USB Hub 
Ultimarc iPac Encoder 
Trackball Controller and BetaBrite Remote

Each button is mapped to one of the inputs on the iPac.

https://www.ultimarc.com/ipac.html The models of the iPac have changed over the years, but what you see in mine is similar to the iPac 4, which has enough inputs for 4 players. The iPad has a USB interface to the computer. The Trackball and Spinner have USB interfaces as well, and look like a mouse to the computer.

The Joysticks I used are Ultimarc Ultrastiks. https://www.ultimarc.com/ultrastik_info.html These can be dynamically configured via software to emulate 2 way, 4 way, and 8 way, standard or diagonal joysticks. I don’t think the “feel” of these is quite as authentic as the original joysticks in some of the games I play, but I do like the ability to dynamically configure them to work better for games such as Q-Bert which needs a diagonal joystick to work really well. These are also USB.

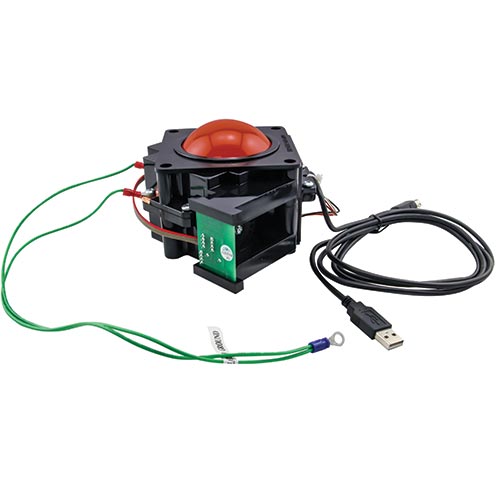
The trackball is a HAPP Controls model that is the original trackball I bought for this machine. It’s held up well. I have had to do a rebuild on which you can read about above, but otherwise it’s still going strong. Here’s a link to a similar model to what I used – these new models have the interface included as well as RGB illumination included. https://na.suzohapp.com/products/trackballs/56-7000-24


Inside the bottom of the cabinet is the computer. You can immagine over 15 years, there have been many generations of computers in this cabinet. Now there is an AMD 6 core X86 processor, running Windows 7. I’m running Hyperspin, which is a front end for MAME that gives you a user interface to select which game you want to play, and to see graphics and animations for the games you have loaded. In the left hand picture above, you can see the shelf I built in the bottom of the cabinet to set the computer on. There’s room for storage of extra parts as well (such as old buttons, joysticks I’m not using, etc). In the middle picture above, you can see the back of the coindoor, which is a HAPP Over/Under model https://na.suzohapp.com/products/coin_doors/40-0038-00 which is mounted through a rectangular hole in the door to the cabinet. In the right hand picture is the amp that powers the speakers for the cabinet, and it is plugged into the audio output of the computer. The speakers are car speakers and are mounted above the monitor.

In the above picture you can see the keyboard drawer. This uses a sheet of plywood for the bottom of the drawer, and a piece of MDF from the front of the cabinet for the front of the drawer. It uses standard drawer slides (purchased from Home Depot), which are screwed into the edges of the drawer bottom, and the outside walls of the cabinet. The keyboard and mouse give access to computer when you need to configure MAME, Hyperspin, or Windows etc.
Rebuilding the trackball
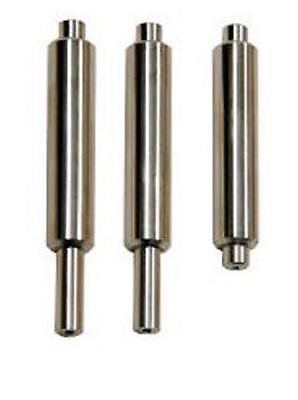
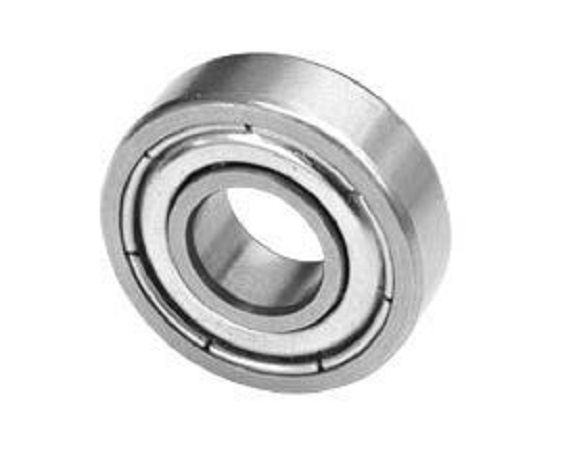
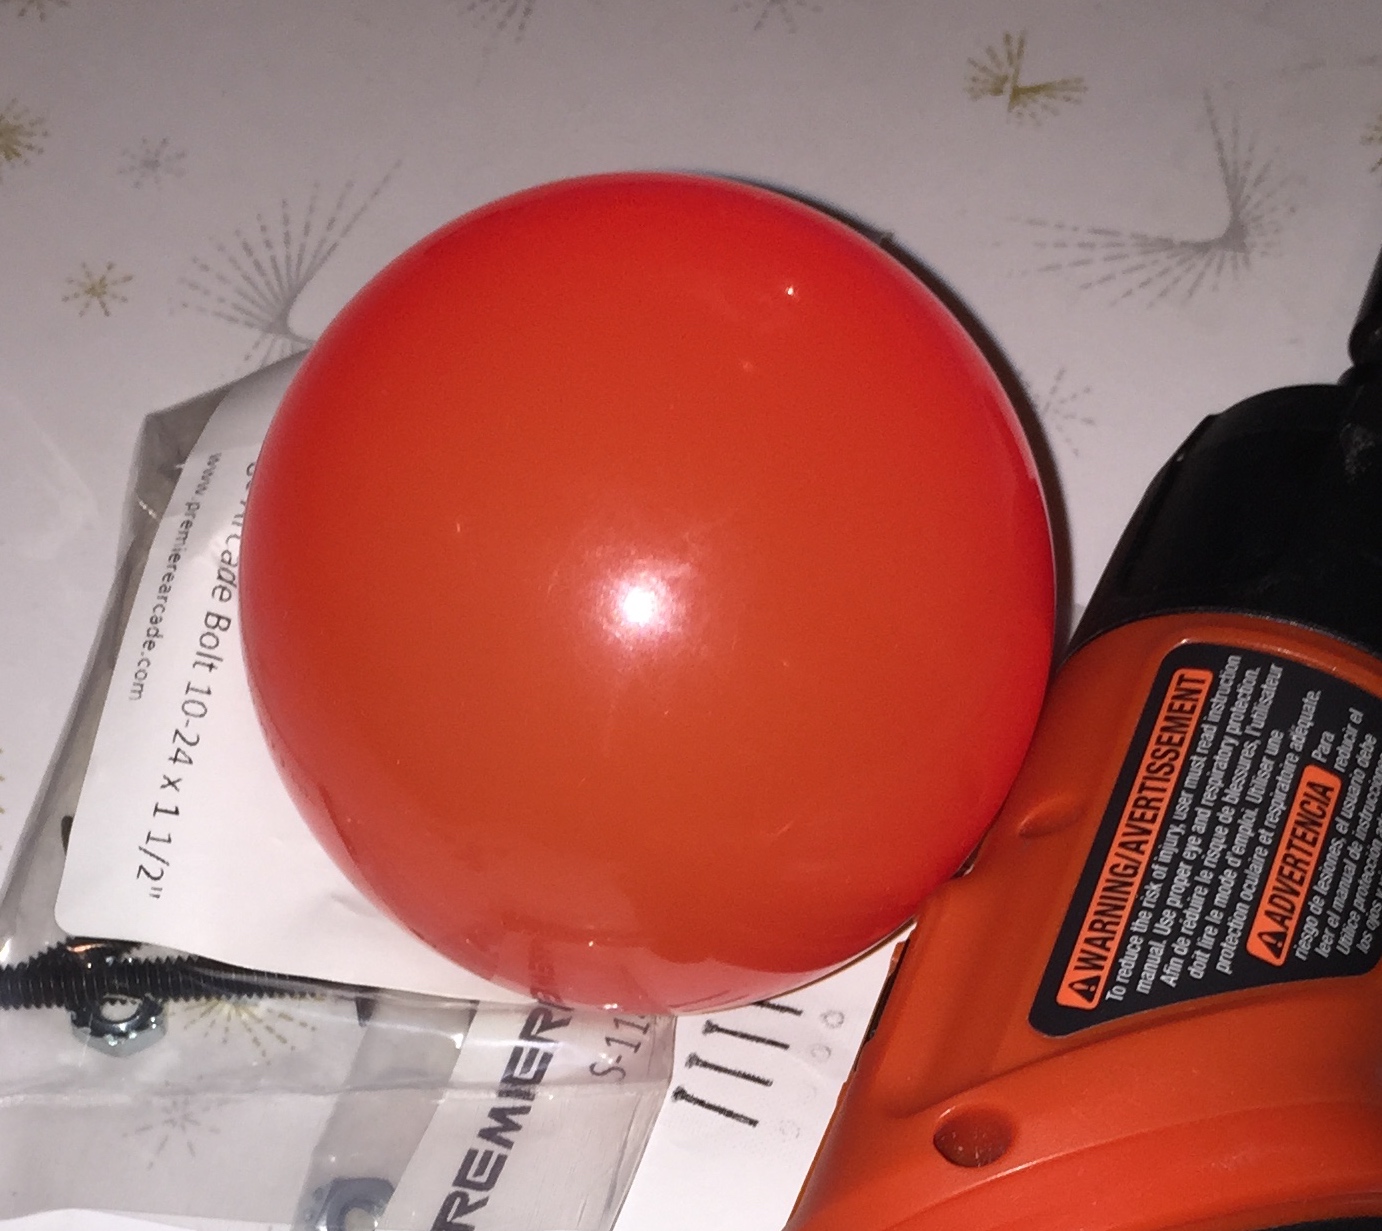
My trackball was getting to feeling pretty rough after 14 years of use. I had never taken it apart to clean it, and if it sat for a while it would feel really rough. After some use it would usually get better so I really didn’t make it a priority. I had a wild hair and decided to see if I could find the parts on HAPP or eBay. Gameroomguys were selling some carriage bolts I needed for my coindoor, and so I checked to see if they also had the rebuild parts. Sure enough, they listed the idler arms and the bearings. You can also buy a kit. I ordered them both.
I took the trackball apart and the idler arms/shafts were really dirty and also really worn. The shafts are the silver colored rods (3 of them). You can see how dirty and worn they are where the ball rolls against them.
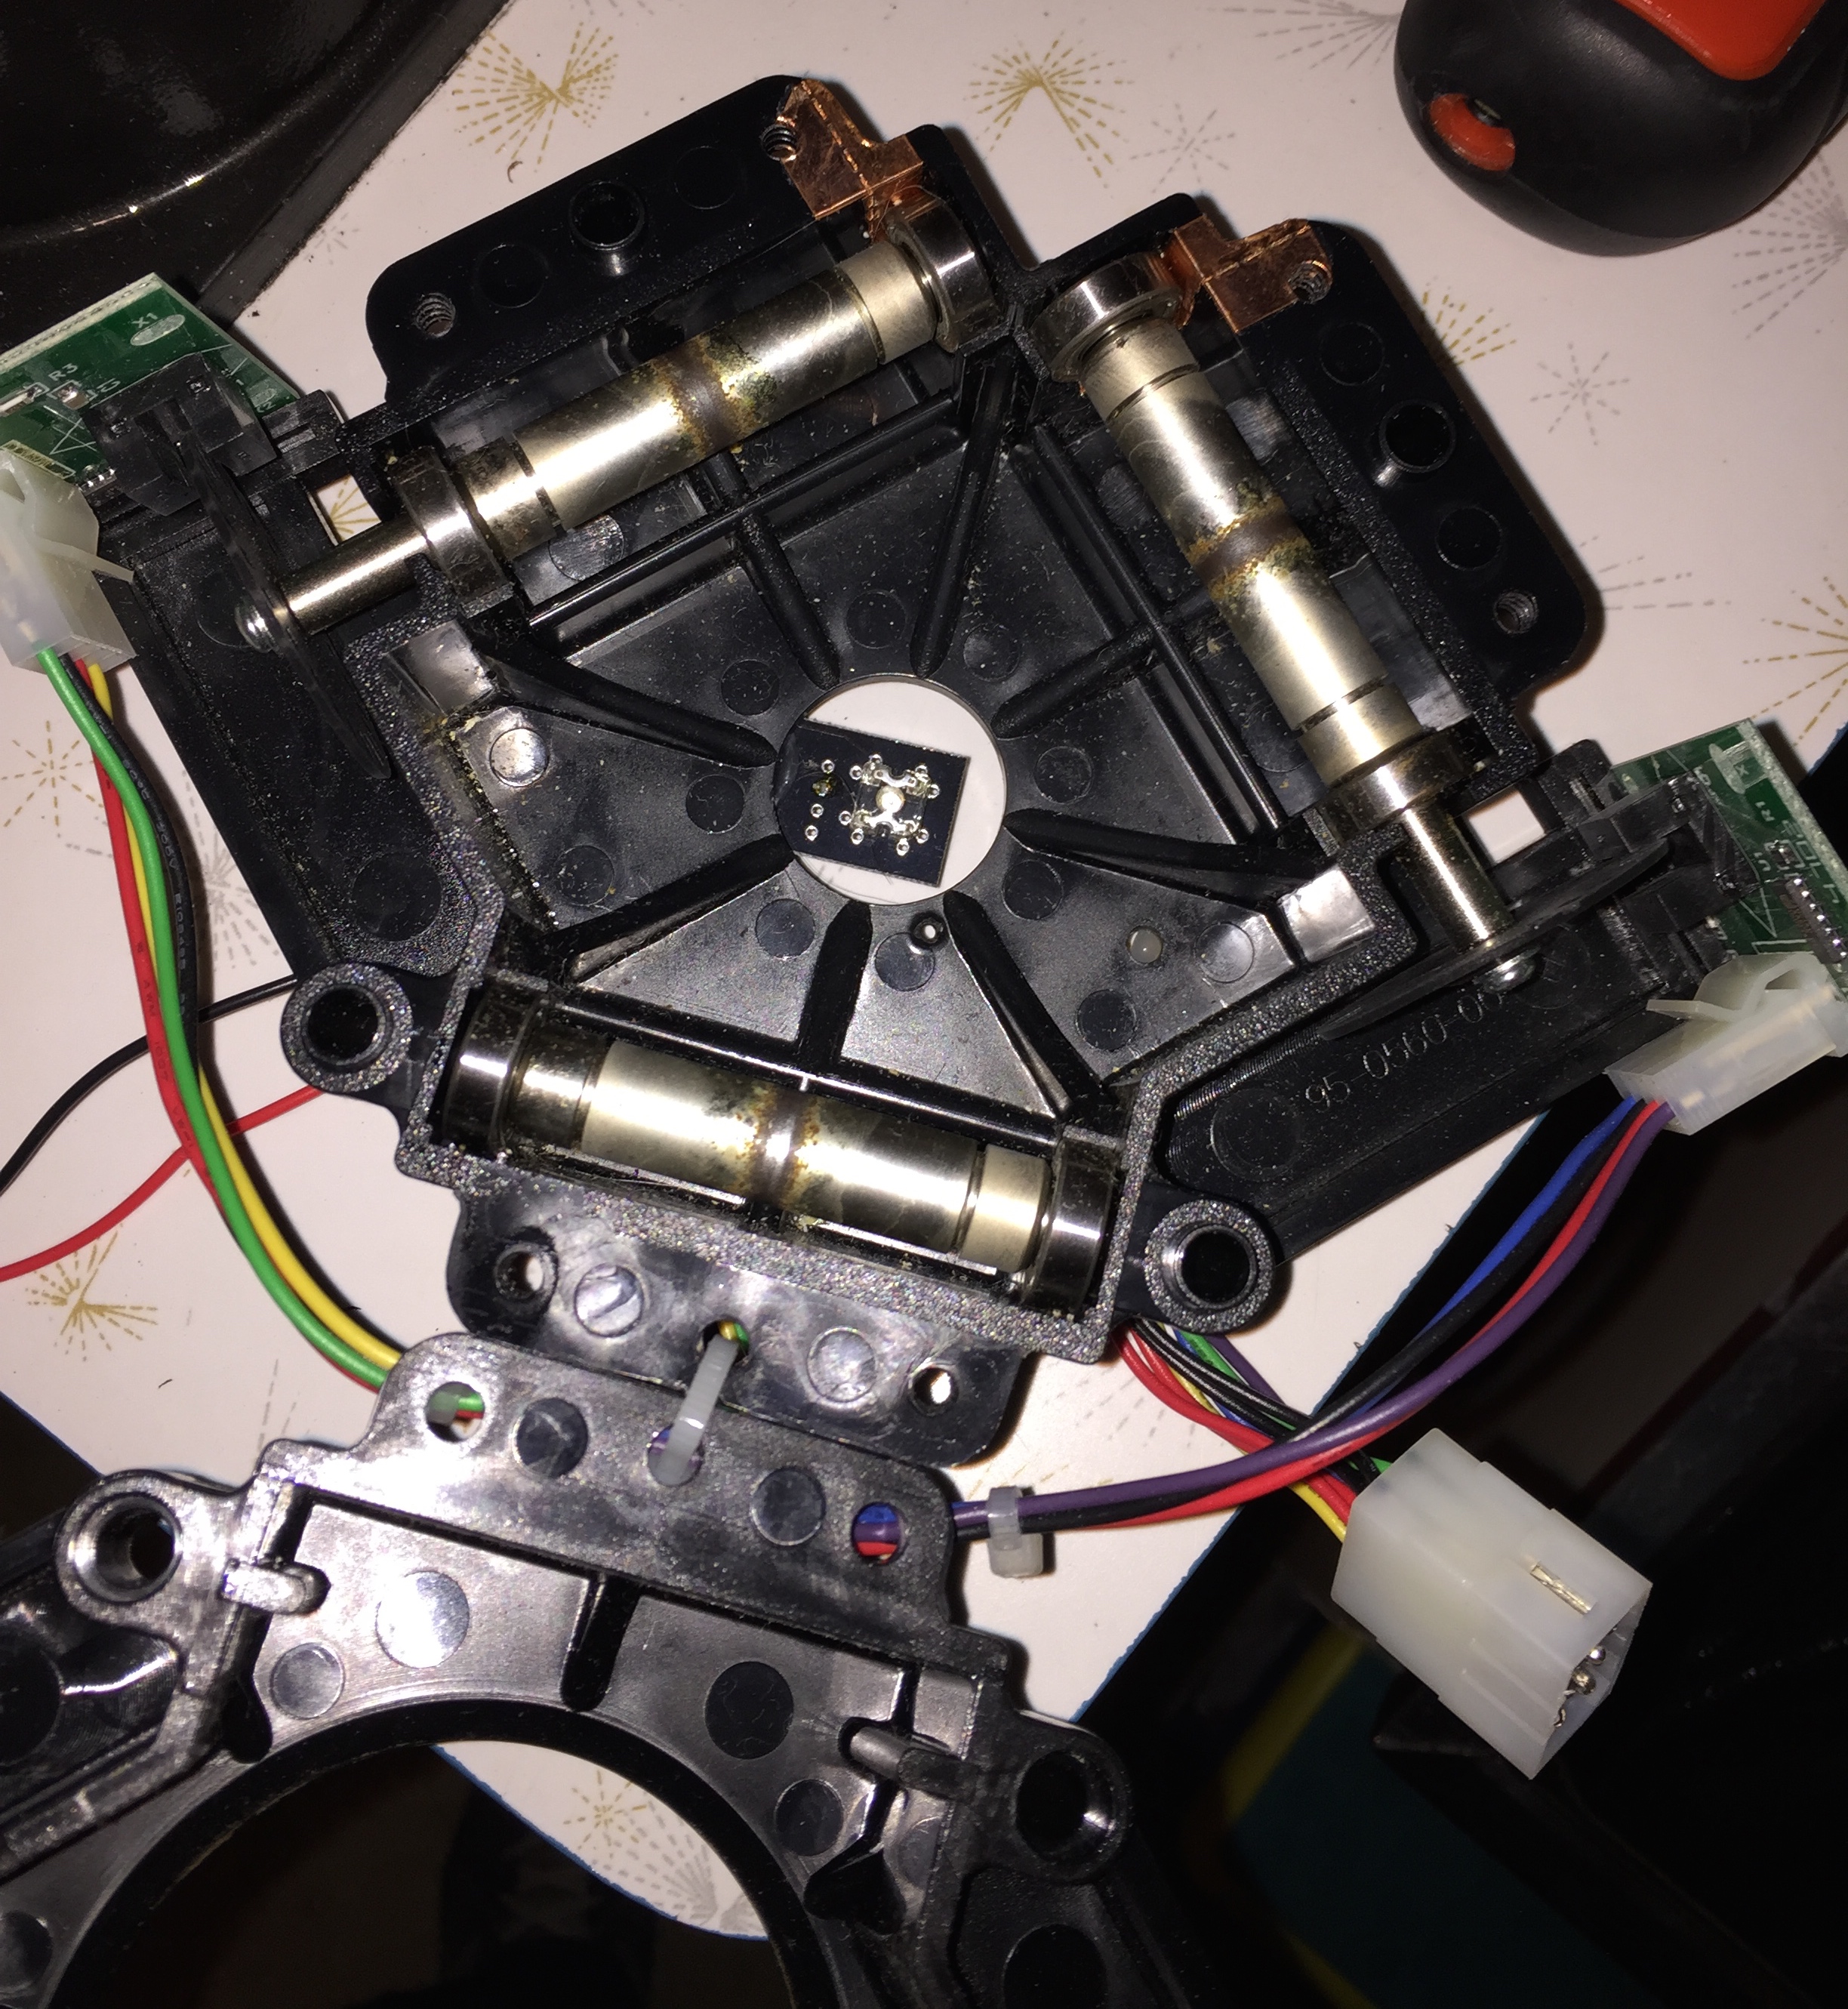
I wiped them down a bit to remove the dirt, just so I could see how much was really wear. This is what they looked like once they were cleaned.

New idlers/shafts and bearings.
The ball itself was still is pretty good shape, so I didn’t replace that – although you can buy replacements for them.
With the new bearings and idlers/shafts the trackball feels brand new!